The 21st century has seen the return of popularity of handicrafts. The trend of creating craft items captivates women of all ages. They knit, weave, embroider and sew anywhere, regardless of the region. Handicrafts are valued in everyday life, as a unique exclusive thing makes the interior richer.
- Jute thread in handicrafts
- Jute filigree for beginners: rules, technique, preparation for work
- Pros and Cons of Jute Rope
- What is the difference between jute rope, linen rope and manila rope?
- Recommendations for creating stencils
- Jute Craft Ideas
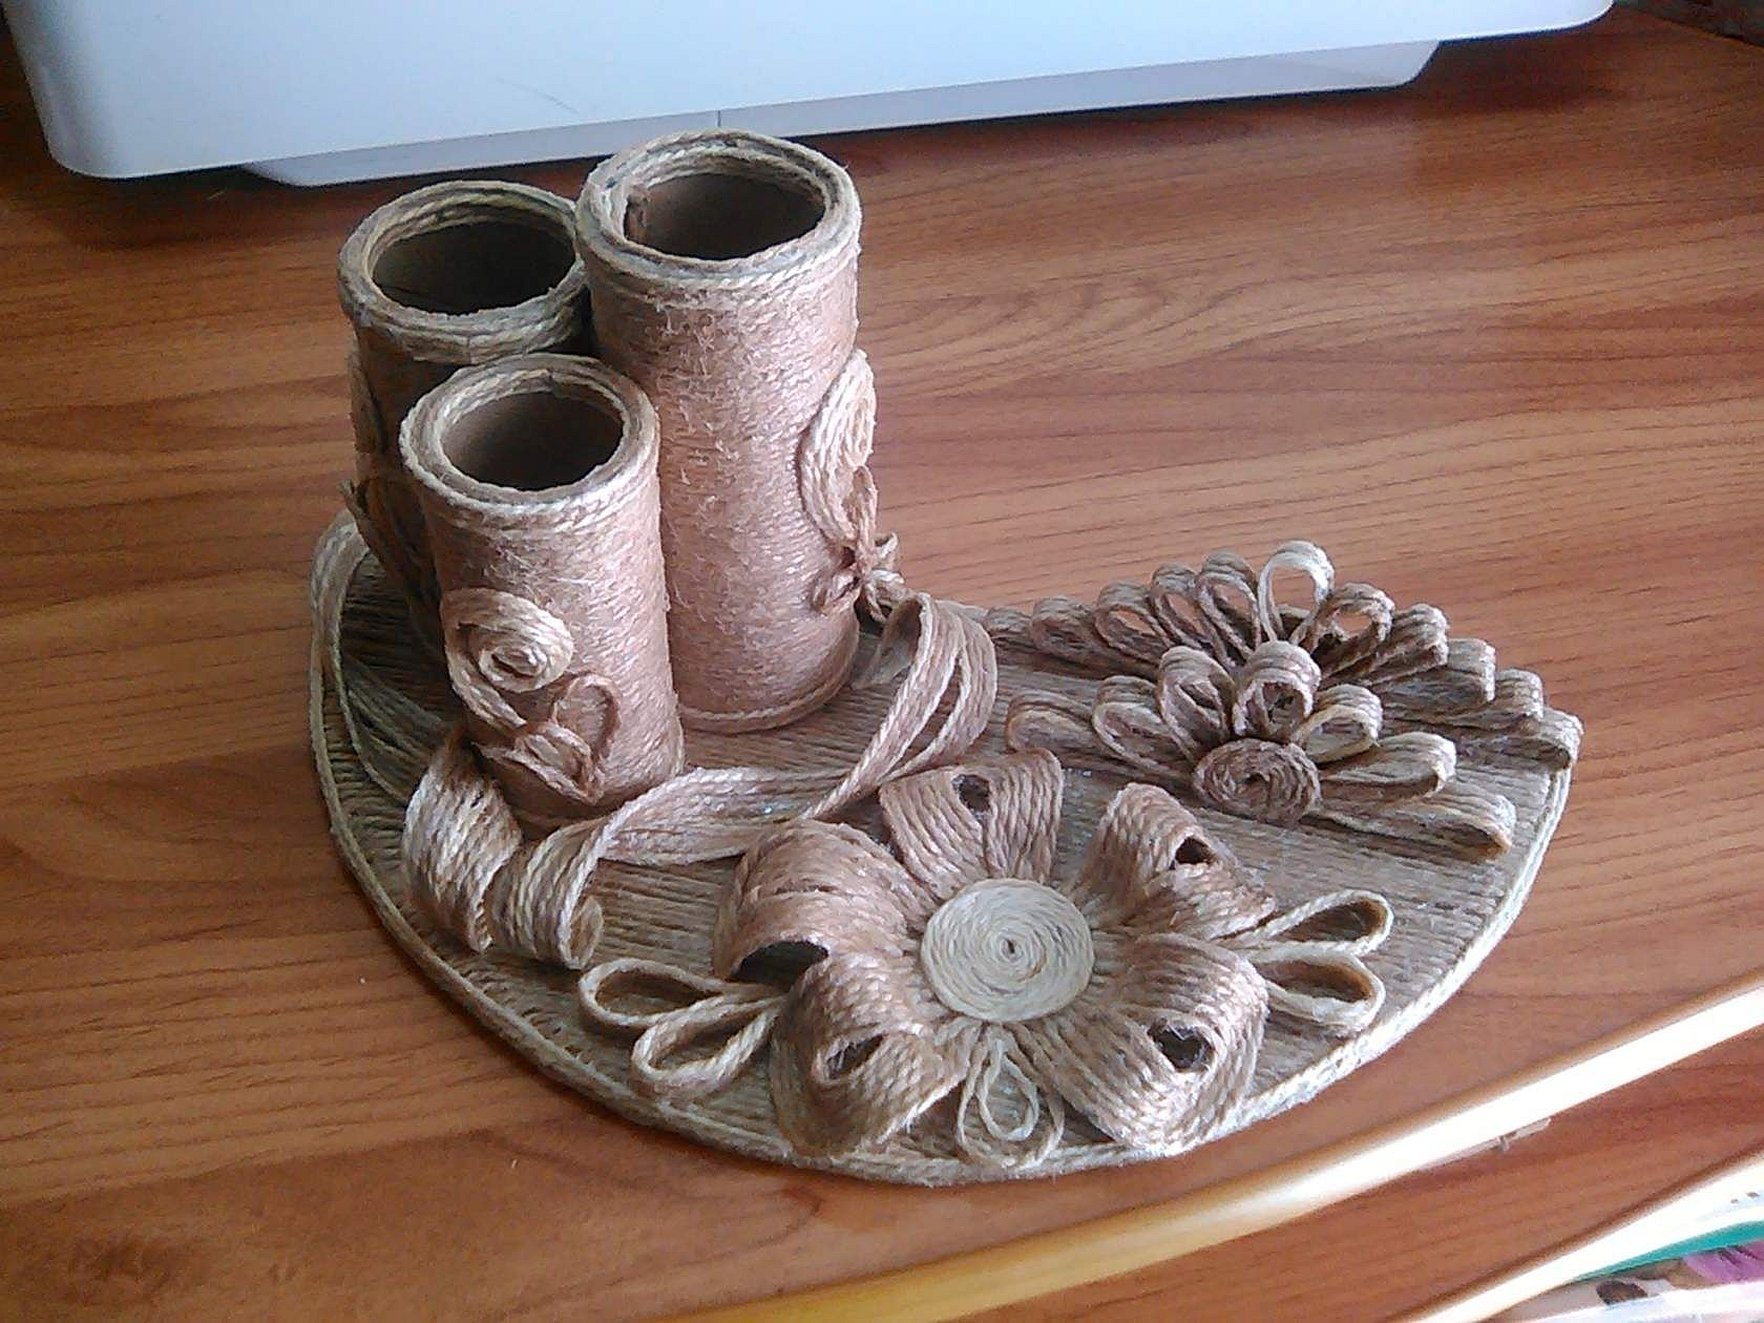
- Candlestick
- Butterfly
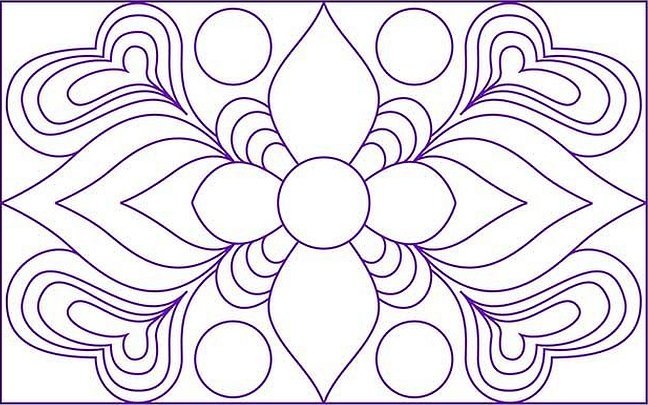
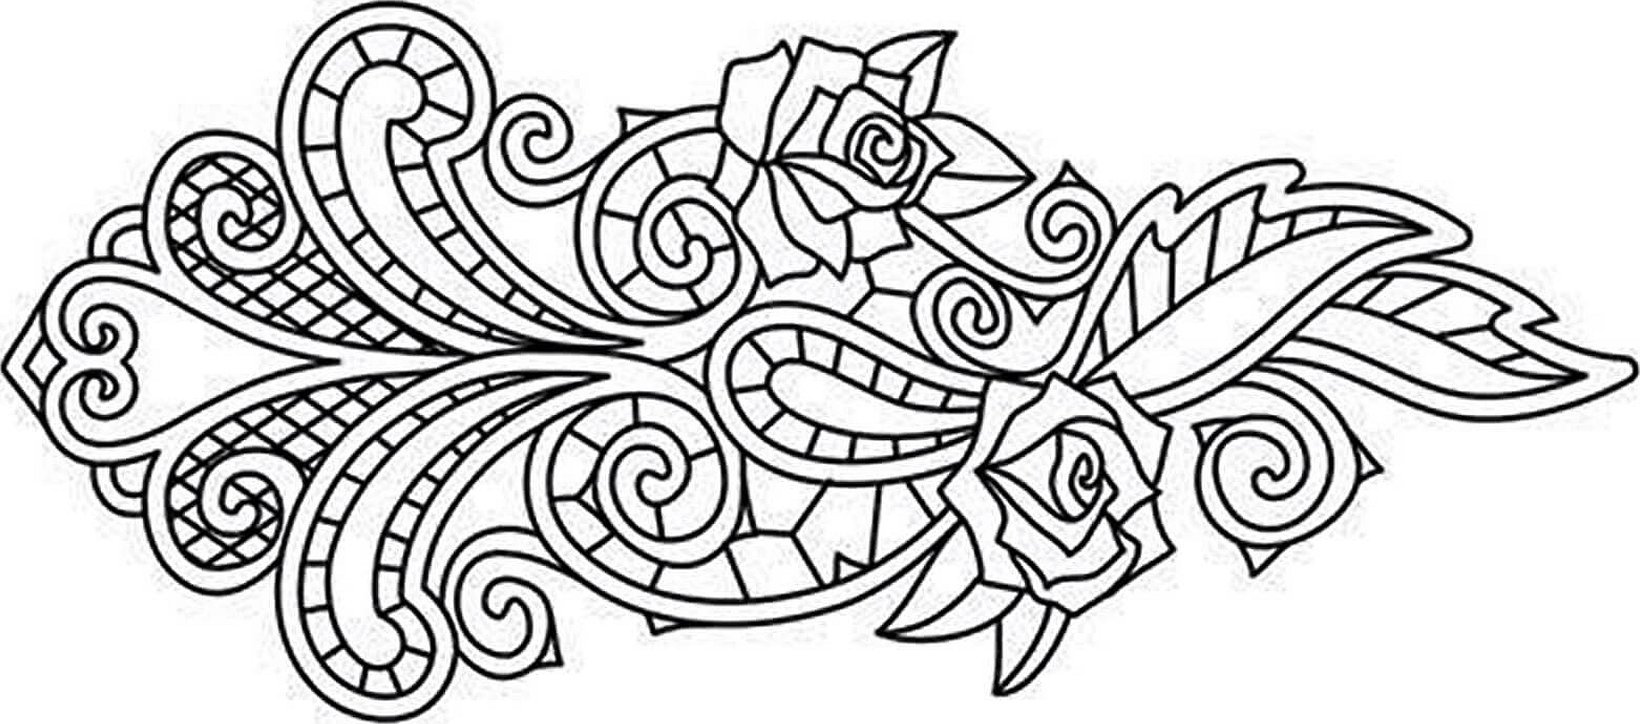
- Patterns
- Openwork flowers
- Casket
- Hot Drinks Coaster
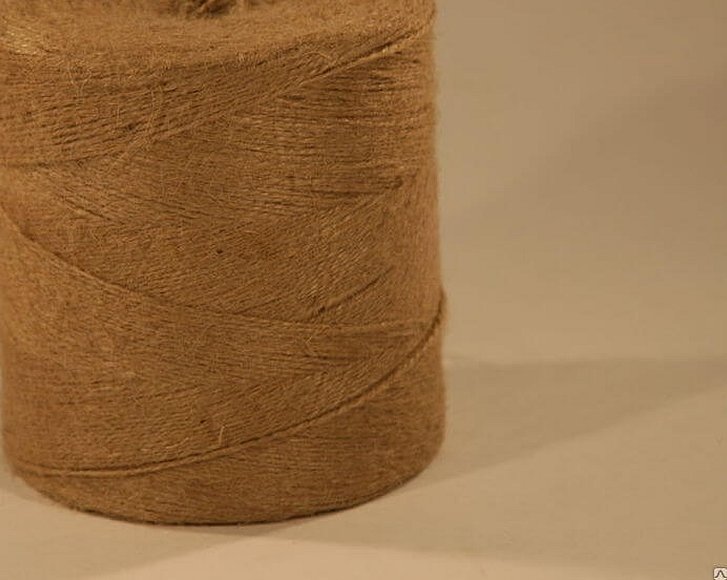
Jute thread in handicrafts
Due to the popularization of the hand-made industry, the demand for jute products has increased. To master the technique of their creation, you will only need a special thread, a set of stationery materials, as well as patience and attentiveness. To master the technology of creating crafts from jute with your own hands, you do not need special knowledge and skills. Jute thread can be purchased at any handicraft store, it is inexpensive, and additional materials can be collected from improvised means.
Jute filigree for beginners: rules, technique, preparation for work
The jute weaving technique for beginners is incredibly simple and is no different from the professional one. The main rule is to place all sorts of patterns, assembled from thread, on a flat surface. After the pattern is composed, the thread is fixed, and the product is sent to dry.
For your information! In the last century, jute jewelry was a wire frame. Today, the main tools are threads of all lengths and thicknesses.
In the Middle Ages and early times, rope products were highly valued. Gold, silver and copper particles were woven into the paintings. Today:
- jute rope products must have a strong frame. To do this, you need to select a thread of maximum thickness. Thin threads are suitable for decoration, but the main work should be done with thick twine;
- as auxiliary tools you need to use high-strength transparent glue, tweezers, scissors and a paper knife;
- During the finishing process you may need a needle, a crochet hook and acrylic varnish;
- for those who want to learn more about what can be made from jute with their own hands, professionals recommend purchasing additional decor: rhinestones, sequins, beads;
- jute thread can change color, it is enough to pre-treat it with acrylic paint.
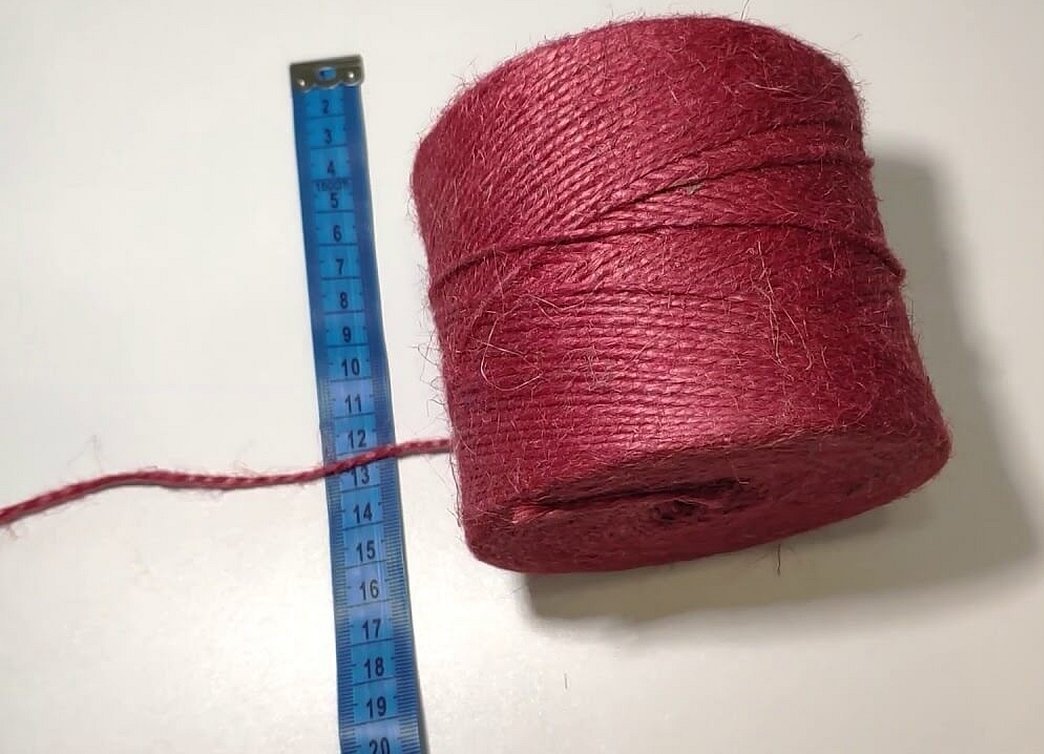
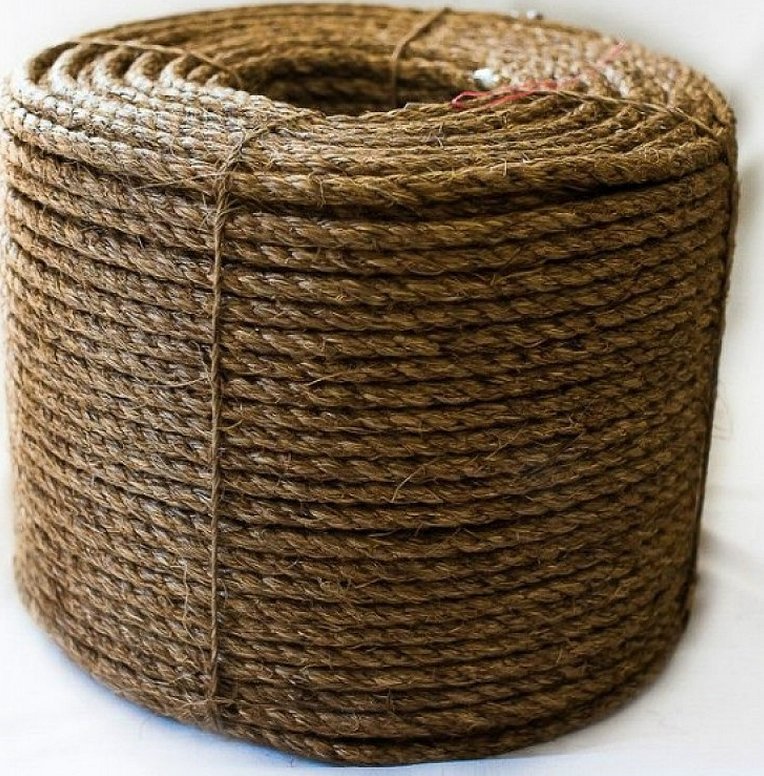
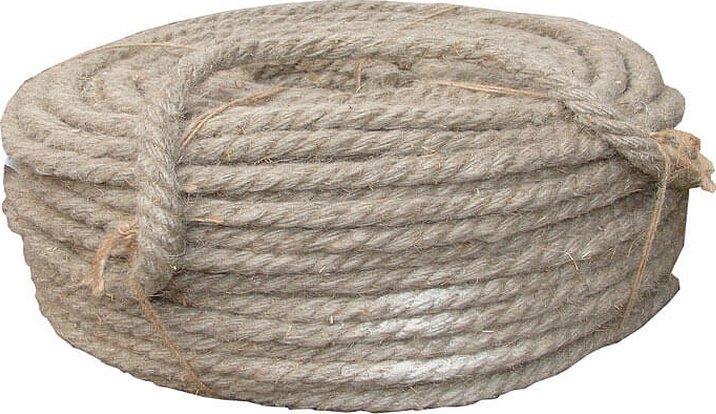
Pros and Cons of Jute Rope
Before you start weaving with jute, you need to get to know the material.
Jute is a plant that grows primarily in India. After jute reaches its maximum length (3-4 m), it is cut and delivered to the factory. There, the plant soaks in water for 2-3 days, is dried, and turned into threads.
The main disadvantages of the fiber include its short life. Like all natural materials, it is subject to rapid decay. In addition, the plant absorbs up to 30% of moisture, which is why it takes a long time to dry and is difficult to process.
Important! Hand-made jute products are durable, but have certain difficulties in production.
What is the difference between jute rope, linen rope and manila rope?
Manila rope is moisture-resistant. It is an interweaving of Manila hemp fibers. They are multi-colored, so it visually resembles a zebra. Manila rope is much stronger than its analogues, has a noble color. It is used to decorate presentable premises, and it is quite expensive.
Linen rope has a dull gray color. The advantage of working with linen rope is the softness and pliability of the material. It is not durable, but is the most popular material for creating canvas.
Jute rope has a golden hue with a natural yellow effect. It is durable, moisture-resistant and easy to use. The visual combination of jute thread with wood makes it a favorite tool for decoration.
Recommendations for creating stencils
Before you start creating crafts from jute thread, you need to prepare a stencil.
A stencil is a drawing or a schematic sketch of an image that is used by craftsmen to apply a symmetrical image to all kinds of surfaces. A stencil is a kind of self-made copying machine that helps to multiply the number of drawings, create all kinds of copies and transfer the desired drawing to any household item.
Simple tips for creating it:
- the technology of making jute paper is very simple, you just need to choose the right pattern;
- stencils for jute filigree can be drawn independently, relying on your own desires and imagination. However, it will be difficult for a beginner to imagine a pattern for working with jute thread, so at the stage of getting acquainted with handicrafts, it is recommended to print a stencil from the Internet;
- The main rule of the stencil is a clear and visible pattern. The lines should be large and bold. For ease of use, it is better to use white A4 paper.
Jute Craft Ideas
According to the unspoken rules of holiday etiquette, the best gift is one made with your own hands. Crafts made from jute will be a pleasant surprise for a wedding, housewarming, christening, birthday and New Year.
Below are the main ideas for creating a product from jute rope with your own hands.
Candlestick
Step by step instructions:
- The jute thread needs to be twisted into a ring with a radius of approximately 5 cm. For a quicker effect, it is recommended to use a stick. The ring needs to be secured with a knot.
- The number of rope rings should be 12.
- A circle with a radius of 5 cm is placed on the stencil from twine.
- The remaining rope needs to be gathered into loops and placed around the perimeter of the circle.
- Another circle with a diameter equal to the first is applied to the front side of the loops.
- A string of twine is glued along the edge of the loops.
- The twisted rings created at the very beginning are glued to the base of the tape.
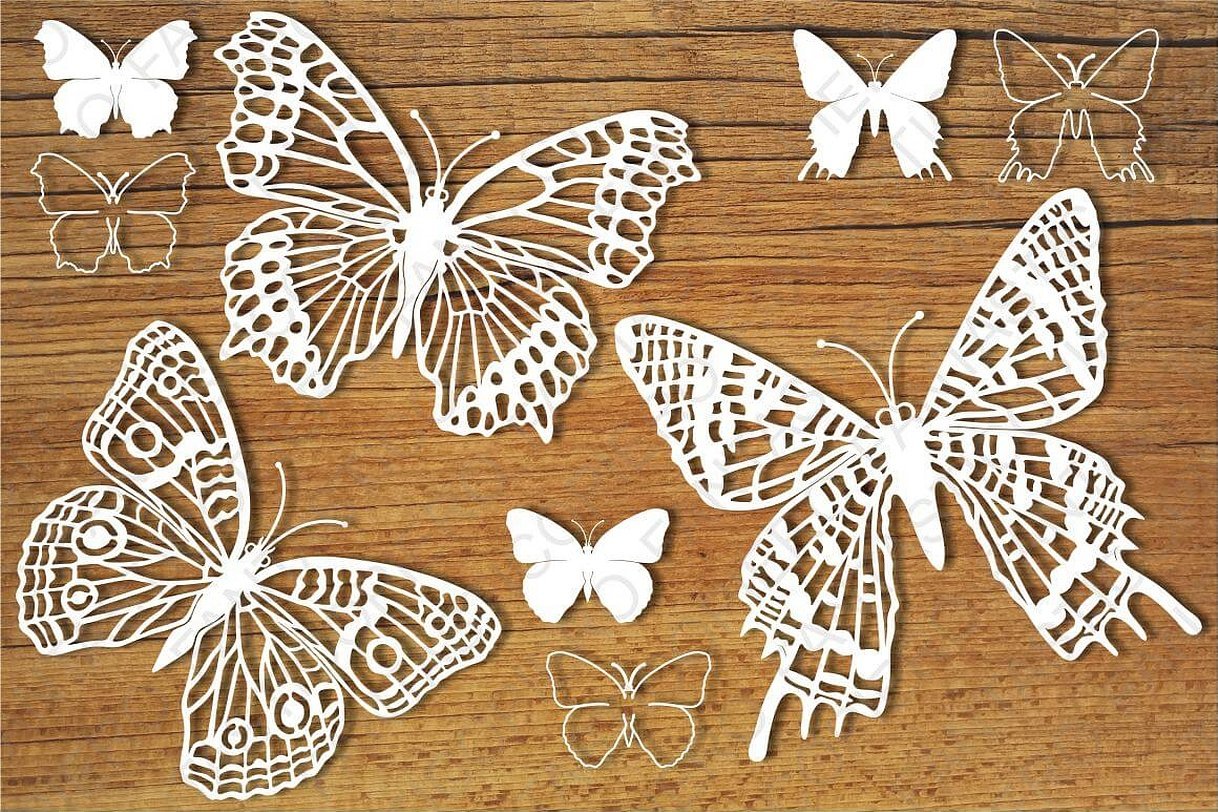
Butterfly
For those who want to know what can be made from jute as a gift, there is an original idea - a designer bow tie made by hand.
First, you need to find a stencil with an outline image of a butterfly. The drawing needs to be placed in a multifor and glue applied along the outline. It needs to be applied from the base of the image to the edges.
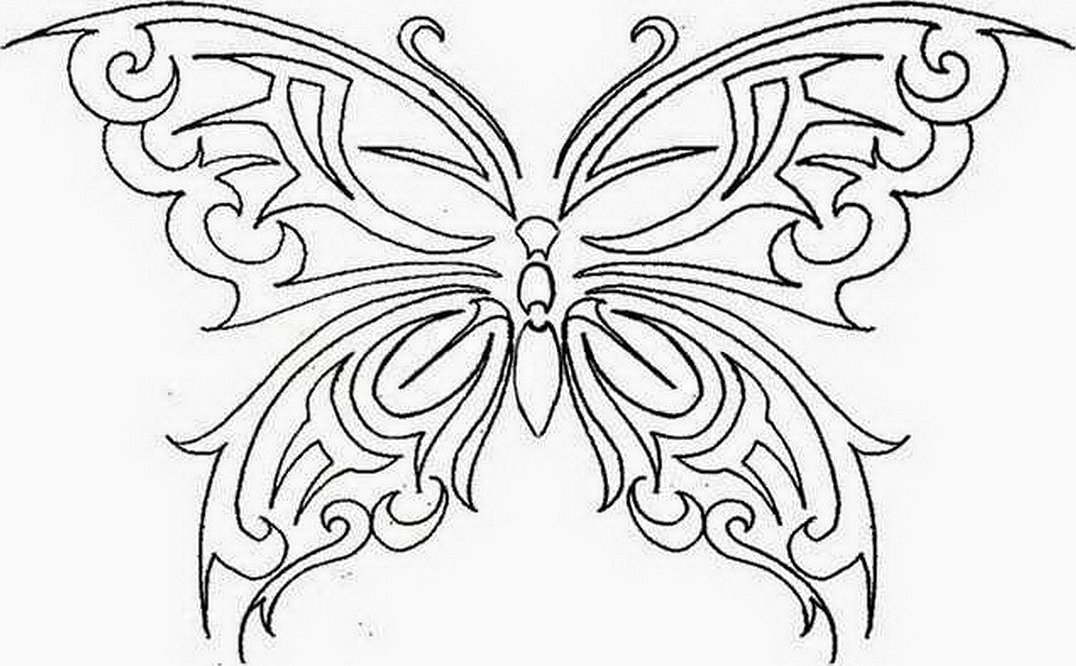
Important! It is recommended to distribute the adhesive substance with a toothpick to ensure an even consistency.
The creation of the craft should begin with the development of large elements that are at the bottom of the drawing. You can't rush when twisting the rope, it must be carefully treated with glue and wait until it is absorbed. A symmetrical element of rope should be applied to the glued contour of the stencil. It is recommended to hold the jute, pressing it with tweezers at the junction.
Please note! The contour must be distributed in two rows.
Next steps:
- Once the main parts are glued together, the work moves inside the image.
- The processing technology is the same: first large parts, then small ones.
- Empty spaces can be filled with arbitrary patterns.
- The main rule is to maintain symmetry.
Patterns
The patterns for creating crafts use several basic elements. The main ones include: loops, leaves, bends and rings. The most popular element is the loop. It comes in two types: single and filled. The second is distinguished by the presence of additional patterns inside. The loop also has different bases and tops. It can have a pointed, round and peak-shaped form. The simplest technique for creating a loop is round. Such a pattern is made from one thread. The peak-shaped form of the loop, in turn, is made using two segments glued to the top of the base.
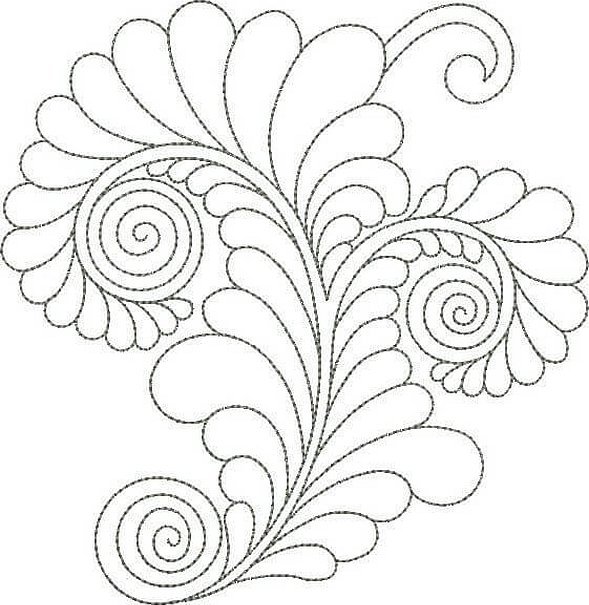
Openwork flowers
First, you need to print out the jute patterns shown in the pictures, distribute it in a multifor and generously grease the contours with glue. Please note that the rules for distributing the twine were described above. When making a flower, you should adhere to the color palette: the veins inside the plant should be made gray, and the contour with a bright emerald thread. A napkin with openwork flowers will take a worthy place at a family gala evening.
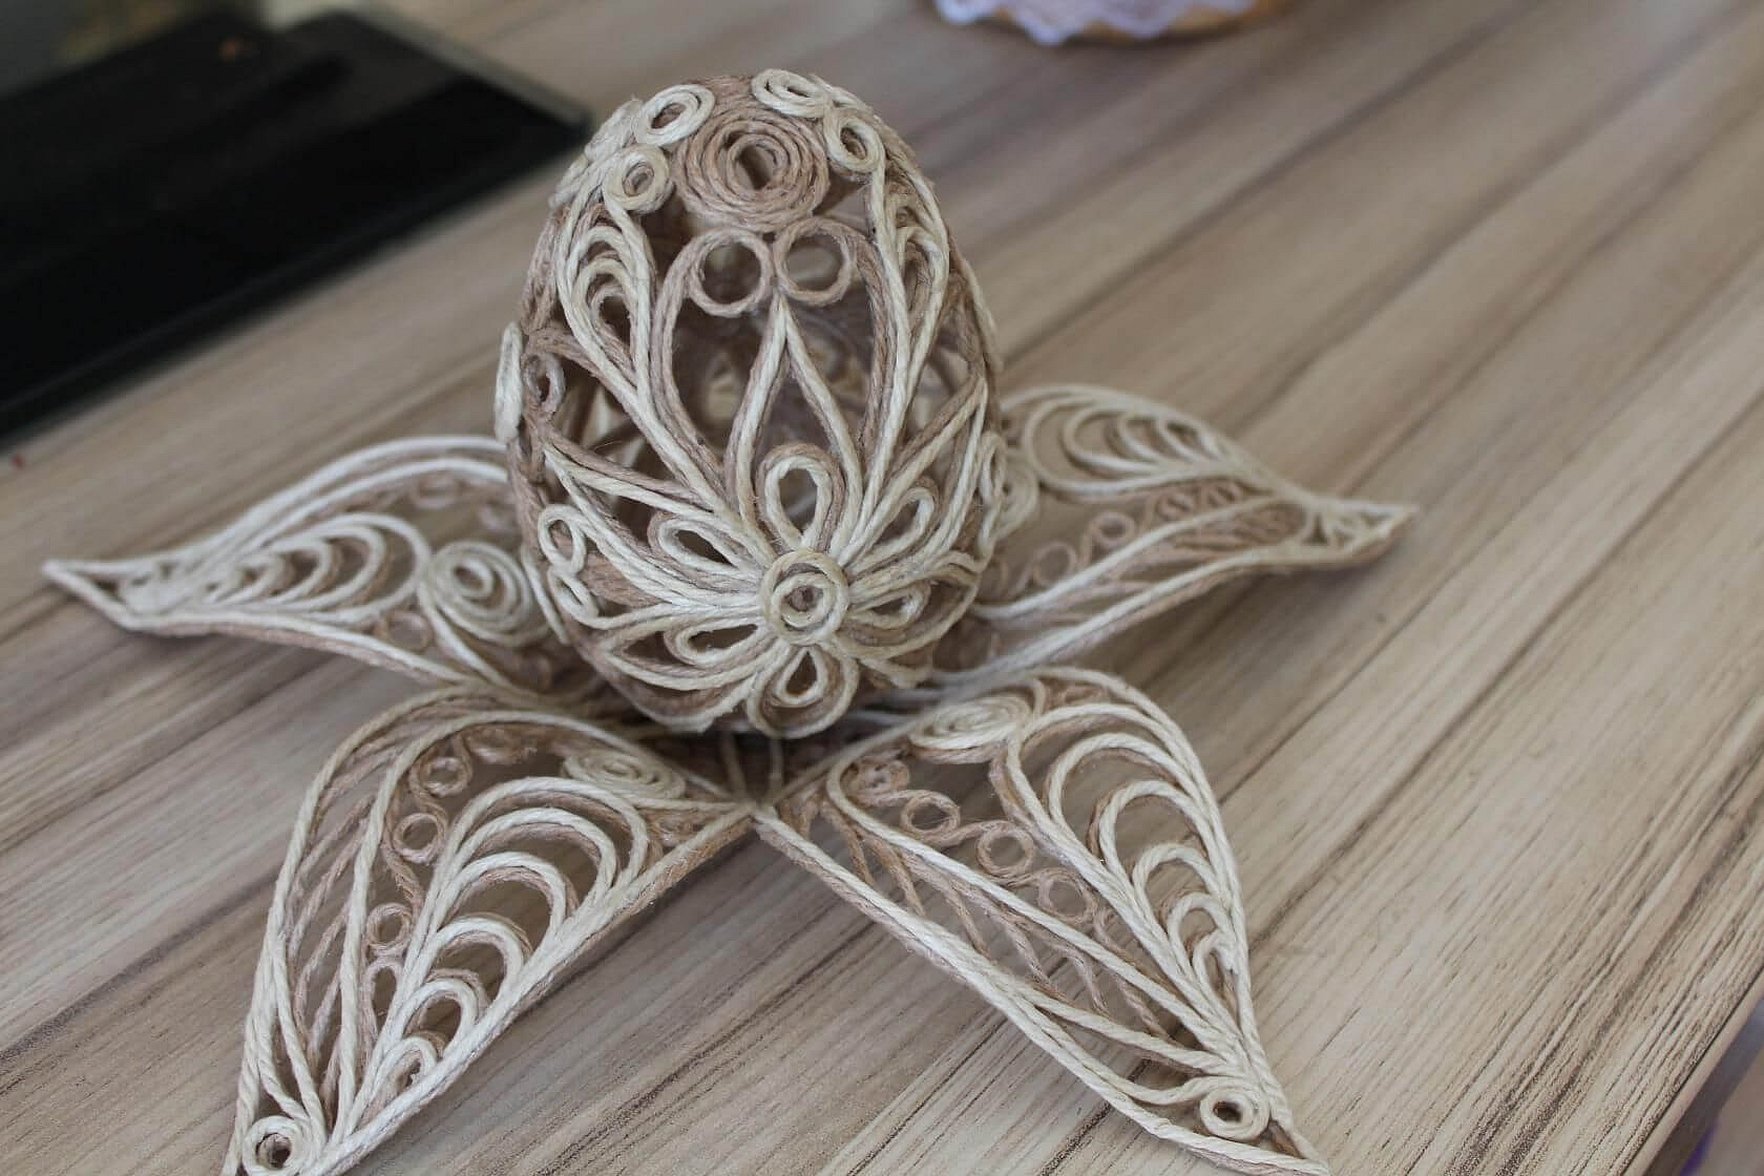
Important! Although craft stores may offer a wide range of different colored cords, a craftswoman can change and create a palette using acrylic paint.
Casket
To weave an openwork box, in addition to paper and glue, you will need a small cardboard box. It will serve as the base for the future box, so you need to take care of its strength and size in advance.
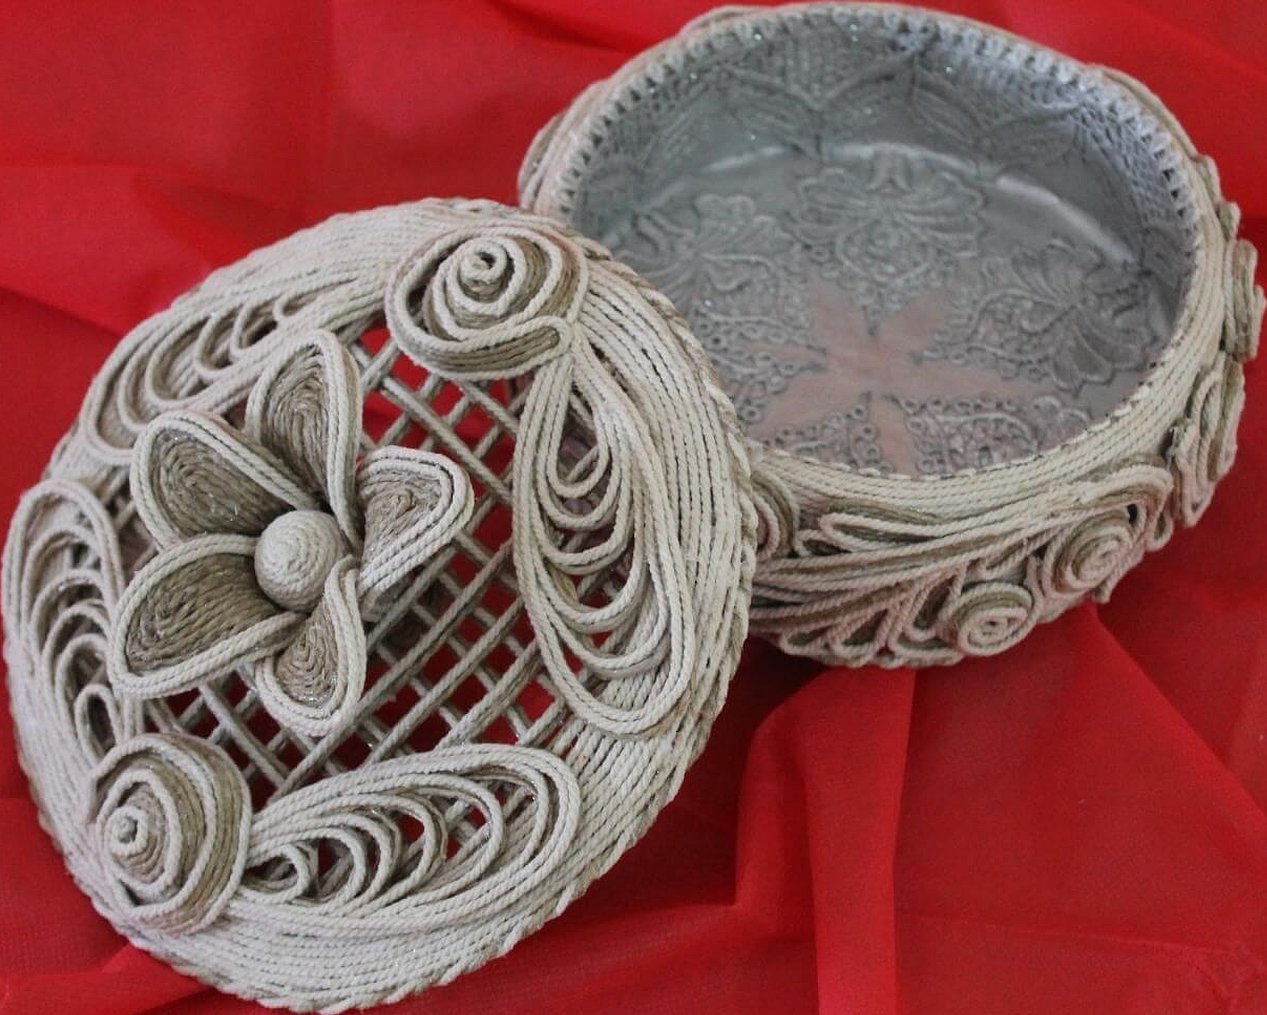
You need to glue a stencil to the box and cover the product with film or cellophane. Curls can be attached using liquid transparent glue. In hard-to-reach places, it is better to use a cotton swab. After the box dries, you can use acrylic paint and decorative elements: beads, feathers, pebbles.
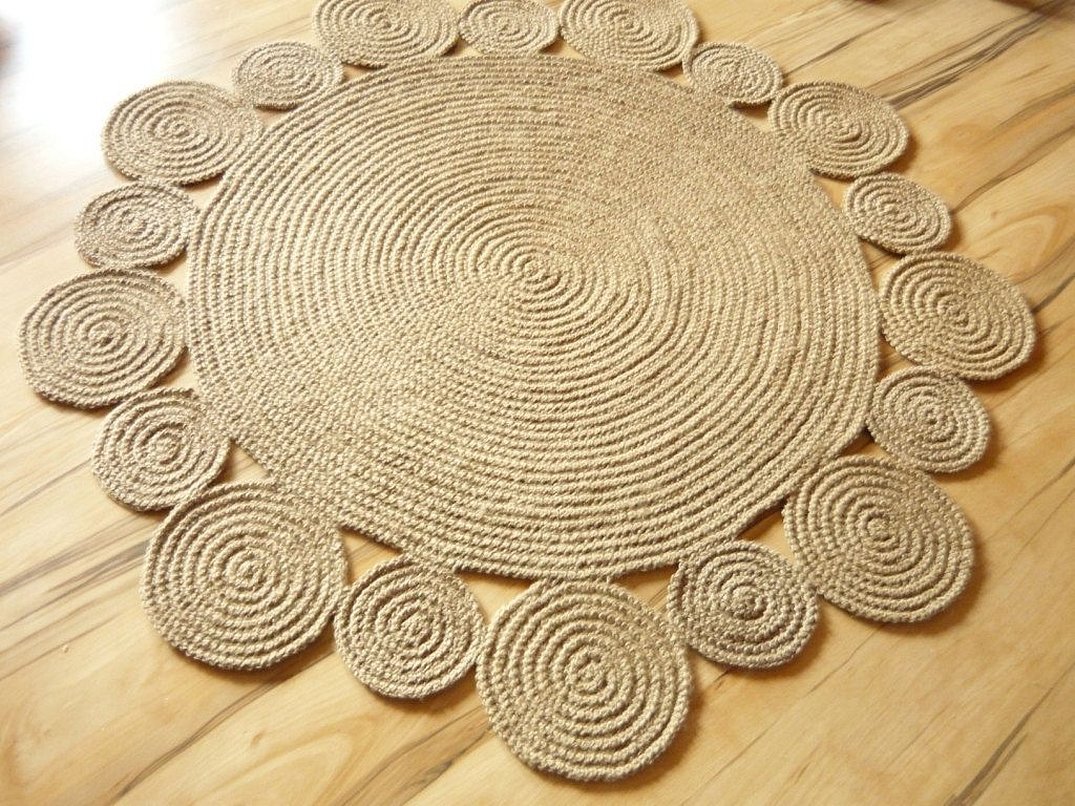
Hot Drinks Coaster
To create a household product from jute fabric, it is recommended to use ready-made dishes. Experienced needlewomen use glass kitchenware, on top of which they draw an interesting outline. Classic food film will help protect the image. Openwork patterns should be attached on top of it.
After the dishes are covered with polyethylene film, they need to be coated with glue (the jute thread is pre-cut depending on the patterns). The main thing is to form the future pattern from the "snail", only after it should other patterns be glued.
Please note! To save time, it is recommended to use scissors in several functions at once. They can not only cut the edges of the threads, but also hold the workpiece.
When the “snails” are dry, you can glue the braided “droplet” pattern onto the surface.
Thus, there is nothing complicated in creating crafts from jute. If you follow the rules described above, the result will surprise even a novice craftswoman.