Nowadays, there are different types of knitwear on sale, so any girl can make a fashionable hat on her own. Soft stretch knitwear is usually used for such items. This article tells you how to sew a knitwear hat.
- Types of hats
- What is the coefficient of stretchability and how to find it
- How to sew a fly agaric mushroom hat for a child
- How to properly beat a beret: military and not only
- We draw a pattern and cut out a hat with ears
- How to sew a knitted sock hat
- DIY knitted hat with ears: patterns
- How to sew a wolf hat with your own hands
- How to sew a hat and snood from knitwear: a pattern for women
- How to sew a beanie hat: step by step guide
- Pattern of a knitted hat for a girl
- Pattern of a knitted hat for a boy
- How to sew a turban hat from knitwear
- Double-sided knitted hat with your own hands
Types of hats
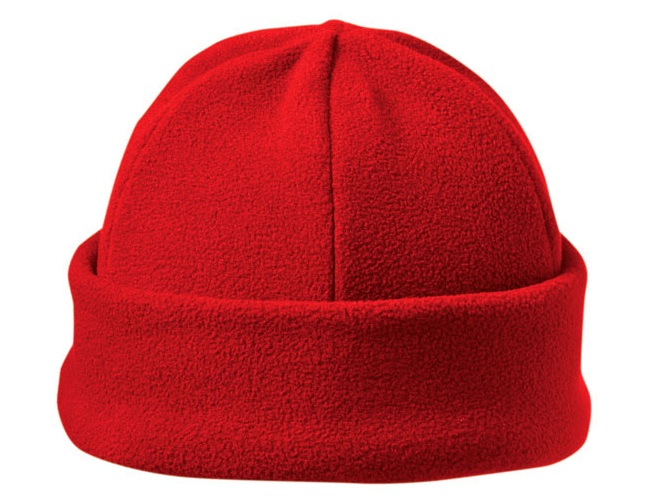
A beanie is a nice knitted hat that fits snugly around the head. It can be of different styles: with a visor or with a turn-up.
The beret is one of the most common hats that suits almost everyone. They are made from different fabrics.
A snood is a soft, warm and comfortable item of clothing. The hat can be made of wool or fleece.
A hat with earflaps is a cozy winter hat made from fur, sheepskin coat, and thick materials.
What is the coefficient of stretchability and how to find it
Before sewing a knitted hat, you need to understand what the stretch coefficient is. The stretch coefficient is the ratio of the length of the stretched fabric during stretching to the length of the sample before applying force.
It is very easy to determine. You need to take the material from which the product will be sewn and stretch it, having marked the reference point in advance.
How to sew a fly agaric mushroom hat for a child
Tools required:
- 60 cm of cotton fabric in blue and hot pink tones;
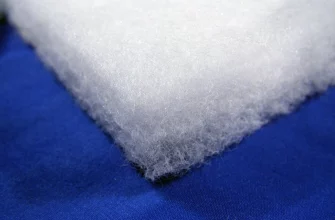
- 60 cm foam rubber;
- light colored felt for the mushroom;
- light-colored satin ribbon;
- elastic band;
- needle and thread;
- pins;
- sketch paper;
- scissors;
- compass;
- overlock.
From the white material, you need to cut out a large circle, also making an allowance of 2 cm around the entire perimeter. From beige felt, make 15 circles of 5 cm each. Distribute them evenly over the mushroom cap and pin them, allowances are not needed here.
Iron the fabric with the circles sewn on. Sew the top of the mushroom with pins, folding the side allowances inward and forming a cone.
The lower and upper parts need to be sewn together. To do this, combine the blanks with the right sides inward, baste them by hand and stitch them on an overlock. Manually sew a cone of foam rubber and insert it into the blank made of material. To do this, pull the pins out of the pink fabric to make a hole.
Pull the bottom part to the top, secure it to the top of the mushroom using a needle and thread, pulling the white fabric as tight as possible.
Sew on satin ribbons on both sides and elastic.
How to properly beat a beret: military and not only
- Beret;
- Water (preferably hot);
- Shaving gel;
- Hairspray;
- Razor;
- Scissors;
- Any plastic card;
- Cockade.
First, you need to cut out the lining of the beret, but do not cut out the insert for the cockade. Then place the beret in boiling water for three minutes. Then squeeze it out a little, insert the cockade exactly in the center, put it on your head and tighten the strings at the back of your head, tie it.
Without removing the product, start smoothing it out in all directions with your hands. Finally, remove all the pits on the beret.
Next, you need to apply a lot of gel to the beret without removing it from your head. After a couple of minutes, wet your hands with water and start quickly rubbing the gel into the beret.
After removing all the streaks and cloudy spots, giving it a little more shape, smooth out the imperfections and leave it to dry without removing it from your head for about 2 hours.
Please note! When it dries, remove the pellets with a razor.
We draw a pattern and cut out a hat with ears
The hat is very light, so you can use any children's headwear for the pattern.
On the sheet, draw a rectangle with one side equal to 0.5 of the head circumference (taking into account the coefficient), and the second side equal to 0.5 of the hat depth. Next, you need to round the corners.
To make the pattern even, you need to:
- First, trace the pattern in full size;
- Mark the center of the cap;
- Fold the halves of the pattern exactly in the center;
- Trace around the outline of the second half;
- Cut out the pattern.
How to sew a knitted sock hat
To sew the product you need:
- Knitted fabric;
- Threads;
- Scissors;
- Sketch;
- Overlock.
Fold the front part of the material from the bottom up from the inside (this will be 2 layers of the hat).
Then from left to right.
Apply the pattern leaving 1 cm for seams and cut out.
Straighten the material.
Fold the hat in this way: straighten it along the entire length and join it along the back seam (the front part of the material from the inside).
Next, sew the double seam that is on the front of the hat.
Fold the product in two layers, carefully so that all the seams match, sew the product and turn it inside out.
DIY knitted hat with ears: patterns
The pattern is approximately the same as in the previous version. Do everything as described above. But since the hat has ears, a lining is needed, so the operations must be carried out both on the knitwear and on the lining. You can sew a knitted hat for a child approximately like a fly agaric hat.
How to sew a wolf hat with your own hands
Materials:
- Two pieces of fabric, 50 cm each;
- One piece of fabric 70 cm;
- Loop and button.
It is made of three parts: two side and back. The sketch is one for any size, because the skull sizes are almost the same for everyone. The dart is optional. Sew all 3 pieces of fabric on an overlock to make a hood. Insert the loop into the seam of the right part of the hat.
Please note! The button is attached at the end of the work, after trying it on.
How to sew a hat and snood from knitwear: a pattern for women
You can sew a knitted hat for women from soft fabric. It is very easy to make a snood scarf. You need to fold the material in half lengthwise and baste.
After this, the finished pipe is sewn together to form a circle.
Attention! The size of the ring is adjusted as desired and depending on the number of layers of the scarf. For the hat, the simplest pattern in 3 steps is taken.
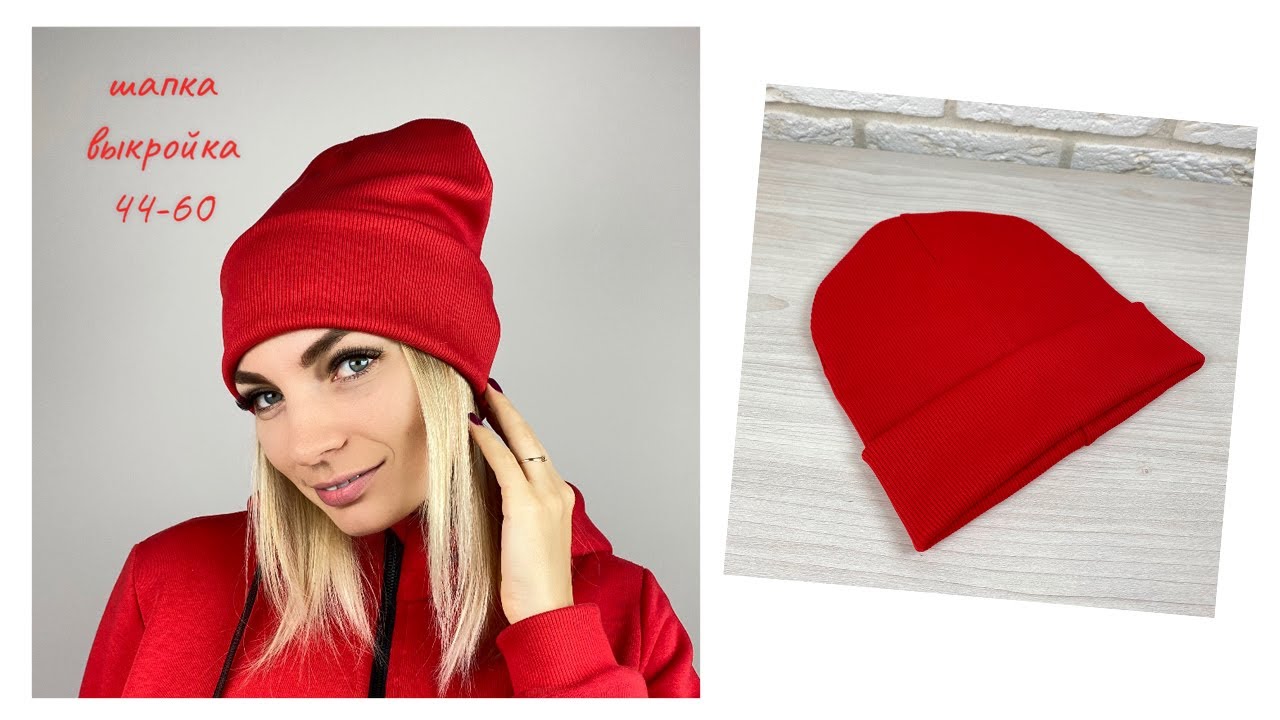
How to sew a beanie hat: step by step guide
- Place the pattern on the fabric.
- Trace around with soap and cut out the resulting drawing.
- Fold the fabric piece right side in. The elastic of the hat is at the bottom, and the short cut (dart) is in the upper right corner.
- It is necessary to make a dart, then a long side seam to the elastic band.
- Turn right side out, finish sewing the elastic. After turning the seam, it will be invisible. If the beanie hat is without a turn-up, the seam should be done to the end.
- Lay the hat out so that the long seam is in the center. Pin the top of the beanie and sew it up.
- Turn the product right side out, making a lapel.
Pattern of a knitted hat for a girl
To make a knitted hat for a girl with your own hands, you need to know three measurements: head circumference, face circumference, and the distance from the eyebrows through the top of the head to the base of the skull.
For example, OG - 50, OL - 54 and 36
Next, draw a pattern of the product. Draw the segments with smooth rounded lines - these are darts so that the hat fits comfortably on the head. Lower the back of the product by 1.5 cm and outline the front and back of the head with smooth lines. The pattern is ready.
Pattern of a knitted hat for a boy
You can sew a knitted hat with your own hands in two layers.
The lower part is made of single-color knitwear, and the upper part has a pattern and holes. So, you need to cut out two parts from the material. Their sizes depend on the circumference of the boy's head (plus 8 mm is added from each part for seams). For an approximate age of a child of 4 years and a head circumference of 50 cm, the width of the pieces is 24 cm (the lower layer is 8 mm smaller) and the height is 19 cm (the lower layer is 2 mm smaller).
How to sew a turban hat from knitwear
Materials and tools:
- A rectangular piece of fabric measuring two head circumferences.
- Threads in tone.
- Decoration (hairpin, brooch).
Course of action:
- Fold the knitted fabric in half to form a circle the size of the head circumference.
- The cross of the ends is the front part.
- Place the loose ends behind the head and sew to the back of the garment.
- Attach the decoration.
Double-sided knitted hat with your own hands
Transfer the pattern to the material, leaving allowances for the seams. For each part, you need to cut 2 equal parts, a total of 4 parts. One part of the product will be black, and the other white. This means you need 2 white parts and 2 black ones. In order for the product to sit well on the head and not wrinkle, you need to make a dart on the top. Fold each part in half and sew along the line at the top. The depth of the dart is about 7 cm, and the width is 4 cm.
Place the white and black pieces with the right sides facing inwards and sew on the machine. Turn the hat inside out, the product is ready.
DIY knitted hats are gaining popularity in the modern world. They can be made unique and original.