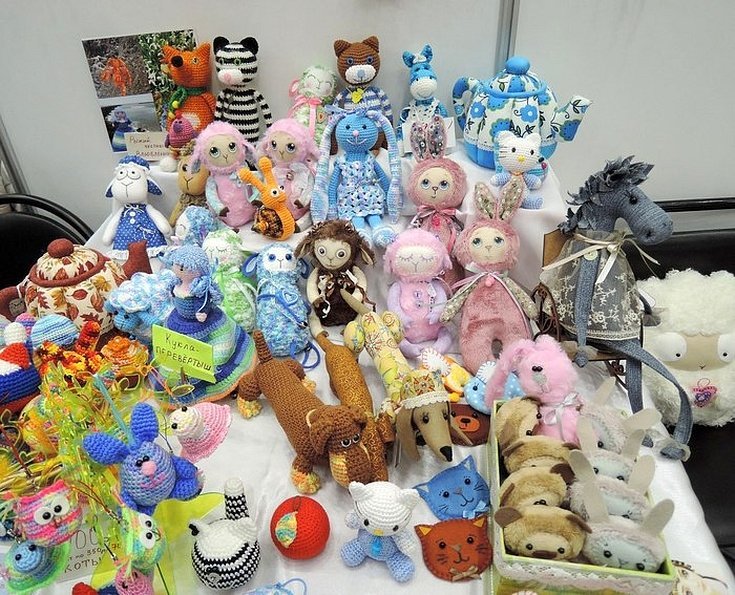
Knitting toys can be a great activity that will help calm your nerves, while away your free time, and create a real "friend" for your child. The principle of making such things is not difficult if you have basic knitting skills. There is a huge variety of patterns and models, among which you can choose the right option for yourself. Homemade toys, knitted by hand, have many advantages over store-bought products: unique design, good quality, individuality in terms of size and decoration.
- Knitting toys with your own hands
- What tools and materials to take to create a toy
- What you need to prepare for work
- Basic rules for knitting toys
- How to start knitting a toy
- Some tips on how to knit amigurumi correctly
- How to stuff a knitted toy with your own hands
- The most popular schemes
- Master classes of works with description
- Little Owl
- Mouse
- Teddy bear
Knitting toys with your own hands
The kid will play with great pleasure with a homemade toy, the base of which is crocheted or knitted. It does not matter who the toy is intended for - a boy or a girl, since it is the design that will determine their popularity.
Knitted toys can be made according to certain patterns and algorithms. It is permissible to change, modify and alter the parameters of some parts. It is possible to create a real collection of several knitted items created in the same style.
Some kids even give nicknames to their favorite toys.
Please note! Particularly skilled needlewomen can make toys so that the child can decorate the product himself. Thanks to this, children's imagination and fine motor skills are developed.
In the manufacturing process, it is important to create not only a beautiful design, but a functional "construction". Any creative approach is welcomed in the work.
Handicrafts are considered a complex type of craft. But at the same time, any handmade item is highly valued. If a person makes a toy himself, it seems even more valuable.
What tools and materials to take to create a toy
It is impossible to start making a soft toy from yarn without preparing the necessary tools and materials. Naturally, knitting needles or a hook are needed for knitting. Additionally, you will need scissors, markers, a needle and thread for sewing.
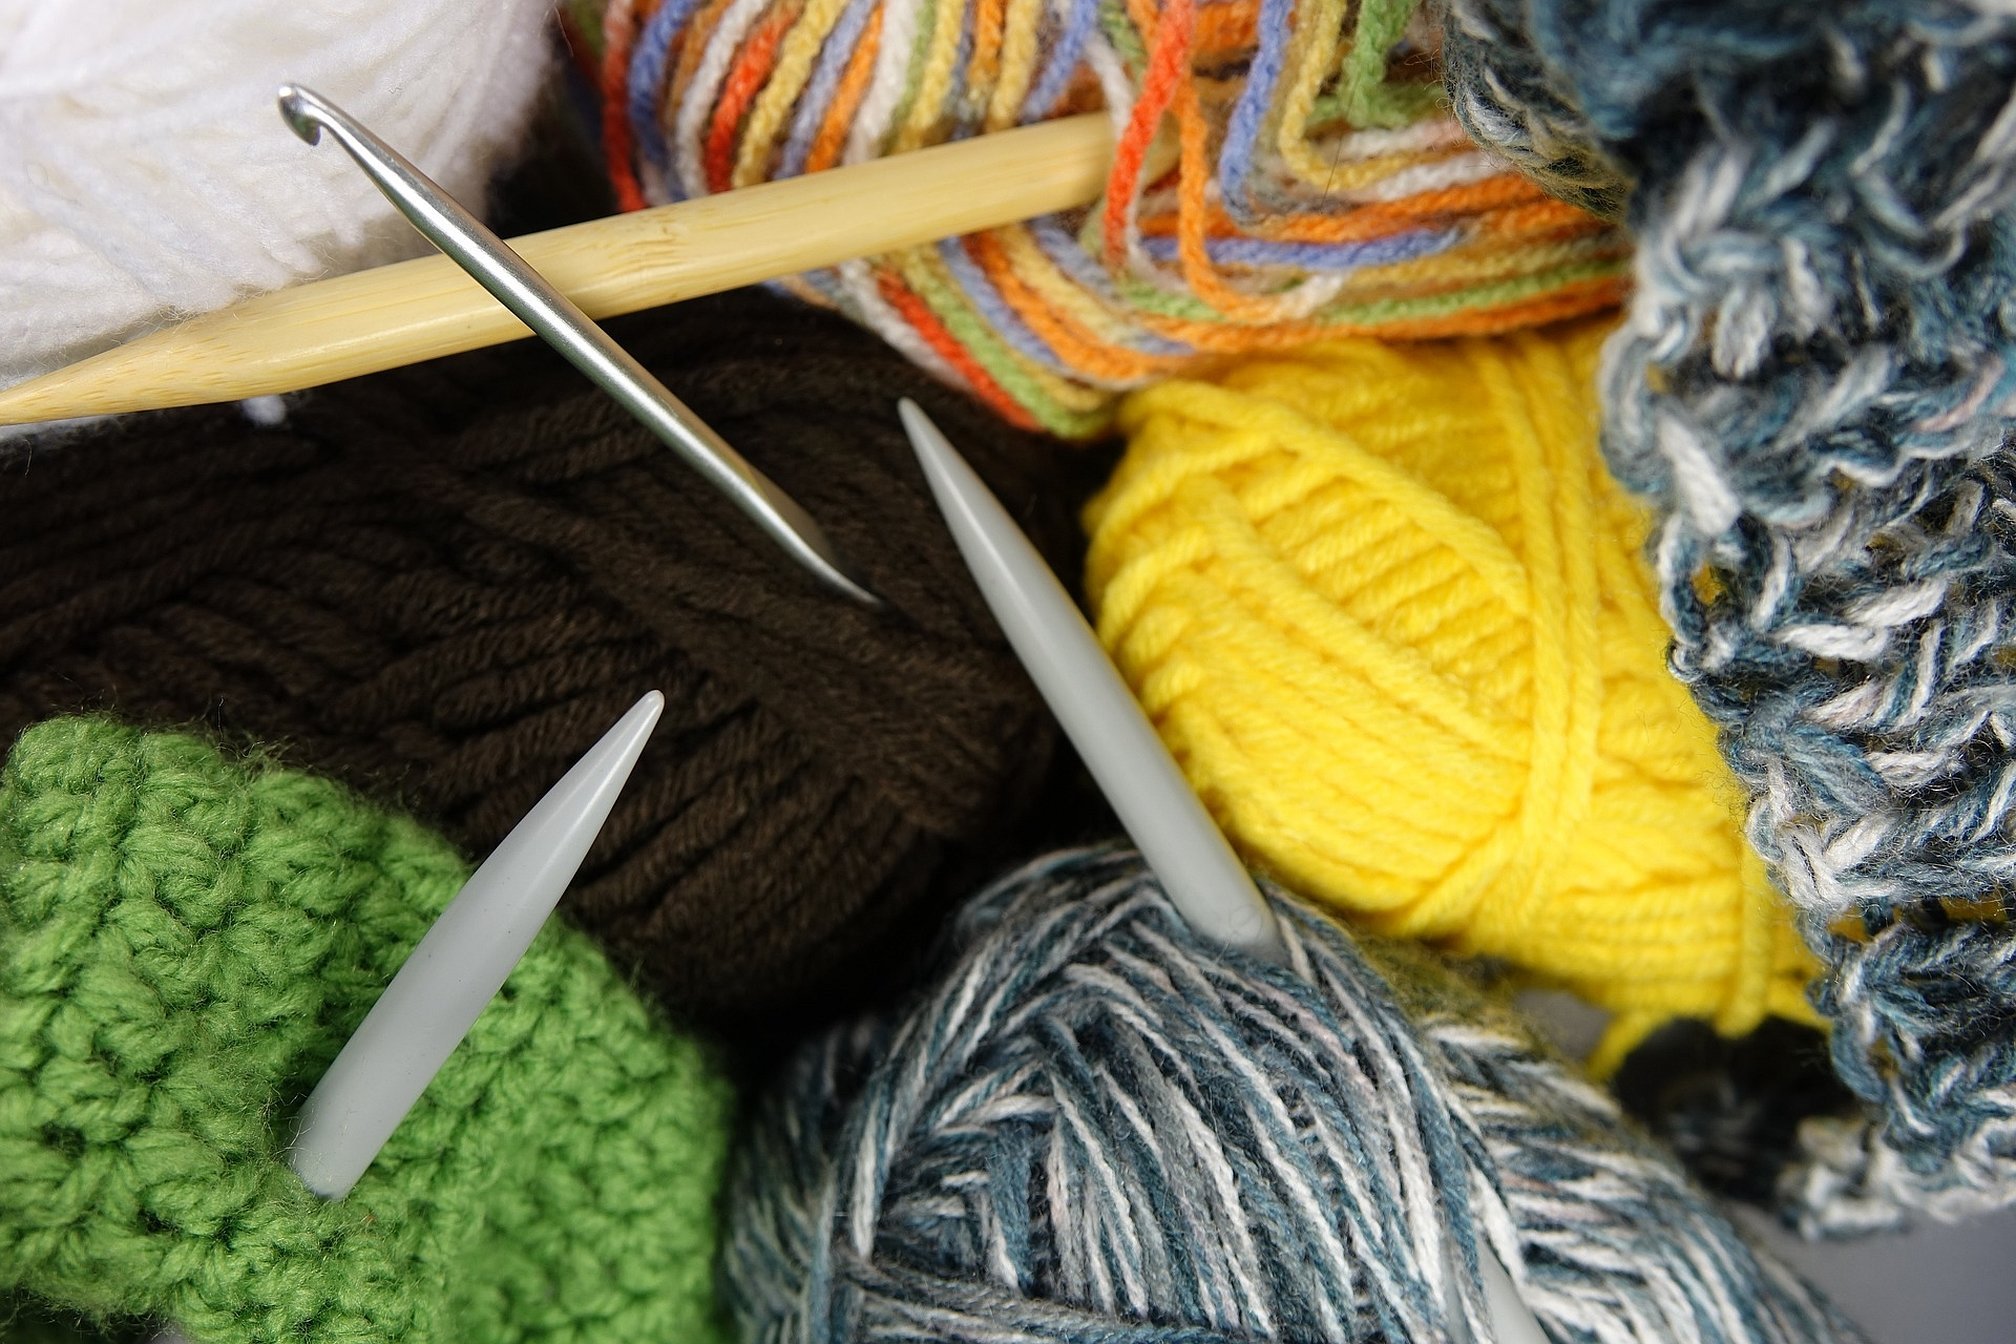
The main choice involves choosing the “right” yarn:
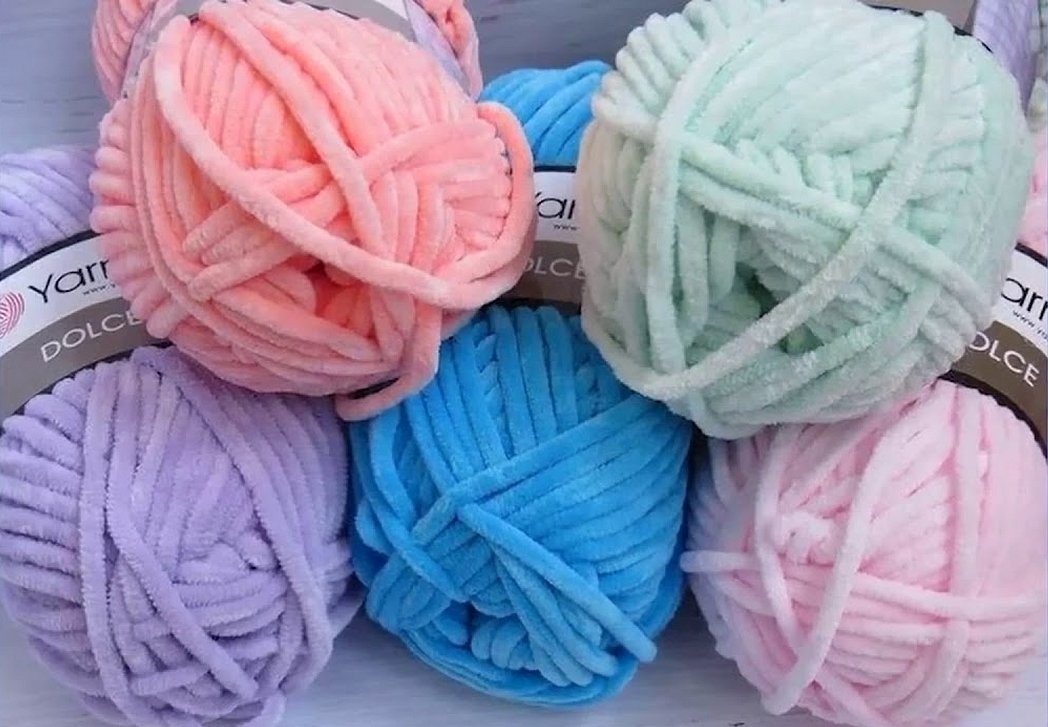
- Plush yarn can be used. Then the product will be soft and attractive.
- To get a fluffy base, it is worth buying a "grass" or boucle thread. Sometimes iris is used.
- To make the simplest models, it is acceptable to use regular children's acrylic.
Cotton thread, lurex, silk, and floss are also used for finishing. It is worth considering that to create volume, you need to choose a filler: synthetic padding, holofiber, finely chopped foam rubber. We must not forget about fittings.
What you need to prepare for work
In addition to purchasing tools and materials, you should also:
- Select a knitting pattern and fabric manufacturing option.
- Get instructions with a step-by-step algorithm of actions.
- Prepare a comfortable workspace with good lighting.
Please note! In order for the child to be able to fully develop using the toy, it is advisable to come up with an interesting design. It will not hurt if the model turns out funny.
Basic rules for knitting toys
When knitting figures, it is worth considering some rules:
- First, you need to determine what kind of sketch will be used, namely what kind of animal.
- Then the dimensions of the figurine are specified.
- Next, you need to decide how exactly you will knit the fabric and each detail, with what tool - a crochet hook or knitting needles.
- At the end of the work, assemble the prepared parts. It is best to sew the elements with a hook, which can easily pick up a separate loop.
If you choose an initially complex method of making a thing at a basic level of skill, then many problems will arise and the result may be unpredictable. This should be taken into account when selecting schemes and algorithms.
How to start knitting a toy
There are many techniques on how to start knitting a product. Every beginner or experienced needlewoman always chooses the most optimal one according to her strengths and knowledge.
Please note! But still the most accessible and unusual technique is amigurumi.
The scheme of such a “beginning” is completely simple and accessible.
Some tips on how to knit amigurumi correctly
Amigurumi is a simple yet effective technique for starting any piece. It is also a quick method for forming a base for knitting in a circle. Before you begin, here are a few tips to follow:
- Knitting using this technique should be done exclusively from yarn that is at least 30-50% synthetic fibers.
- For work you need to choose a hook 2 sizes smaller than the recommended one.
- You need to determine the "zero" that fits the required number of loops that are knitted into the loop.
- The round piece should be filled with stuffing as the sides are formed.
- It is possible to avoid mistakes in the process of work only when the scheme is strictly followed.
- It is not advisable to confuse the back and front sides, as they differ significantly in the relief of the pattern.
Please note! Learning to knit using the amigurumi technique is easy – the main thing is to first form a loop of the required size.
The detailed principle of formation of the beginning can be seen in this diagram.

This description will definitely help even an inexperienced needlewoman to start self-educating herself in knitting.
How to stuff a knitted toy with your own hands
Making soft toys with your own hands is not such a quick matter. Each stage of creating a thing has its own nuances. It is especially difficult to stuff toys with filler. If this procedure is performed incorrectly, the finished composition will have an unattractive appearance, over time the filler may become bunched up or delaminate.
Initially, it is worth choosing a suitable filler. There are many options: fluff, dry herbs, cut foam rubber or yarn, synthetic padding, holofiber, silicone granules, comforel. Of all this variety, comforel has the best characteristics.
How to stuff various crafts with filler (comforel):
- If you need to stuff a long element of a toy, you should use an elongated object with a wide end, such as a wide wooden stick. However, you should not stuff the part too tightly, so that it does not stretch or the seams do not come apart.
- When filling a small part of a product or a miniature toy, do not put too much stuffing. It is better to leave some free space.
- A flat part or toy must be filled layer by layer. Each layer must be "nailed" a little with a flat wooden ice cream stick. You can fill it not with layers of material, but with loosely rolled circles.
To fill each part of the toy evenly, you need to take a small piece of material each time. If you stuff large layers, then as a result, everything can get knocked together into a large lump and disrupt the relief of the surface of the craft.
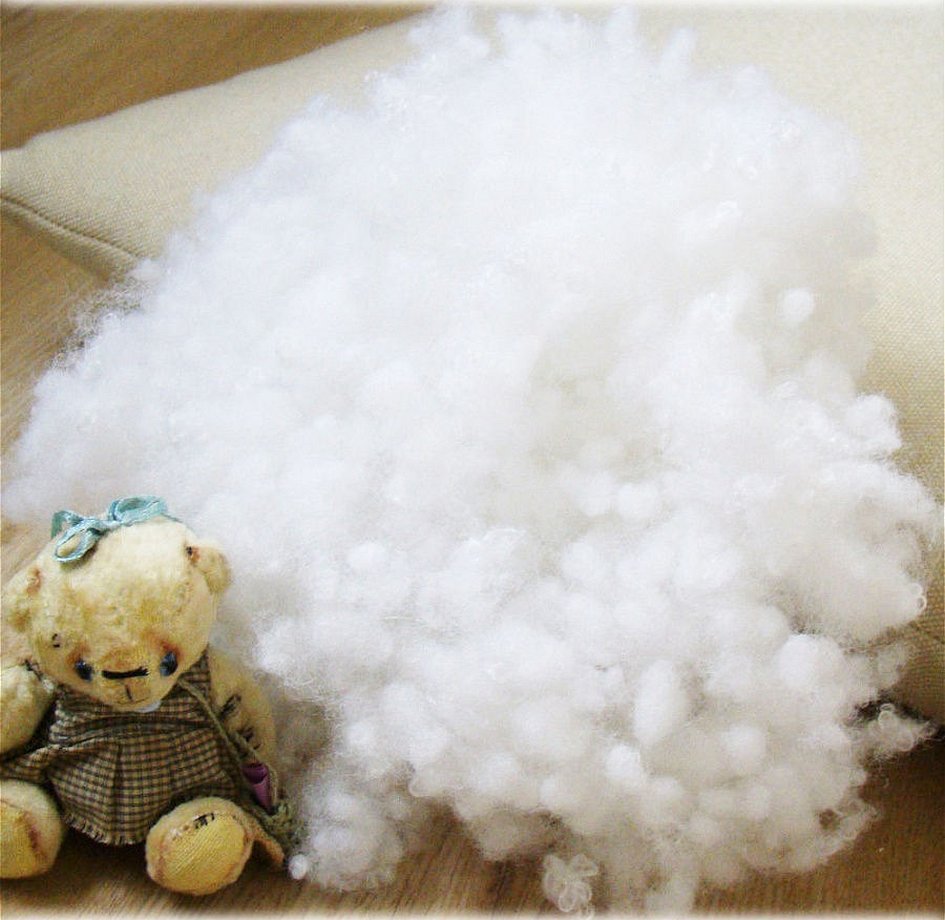
Additional information! Comforel is an artificial fluff that does not burn and does not emit volatile substances that are hazardous to the body.
If you choose a light and soft material for stuffing and lay it out and distribute it correctly, the craft will be voluminous and will hold its shape for a long time.
The most popular schemes
In 2019, the most popular models of knitted toys were determined. A kind of rating was compiled by Internet users. Interesting and at the same time simple patterns were especially often chosen.
Which animals have become the most popular according to active needlewomen:
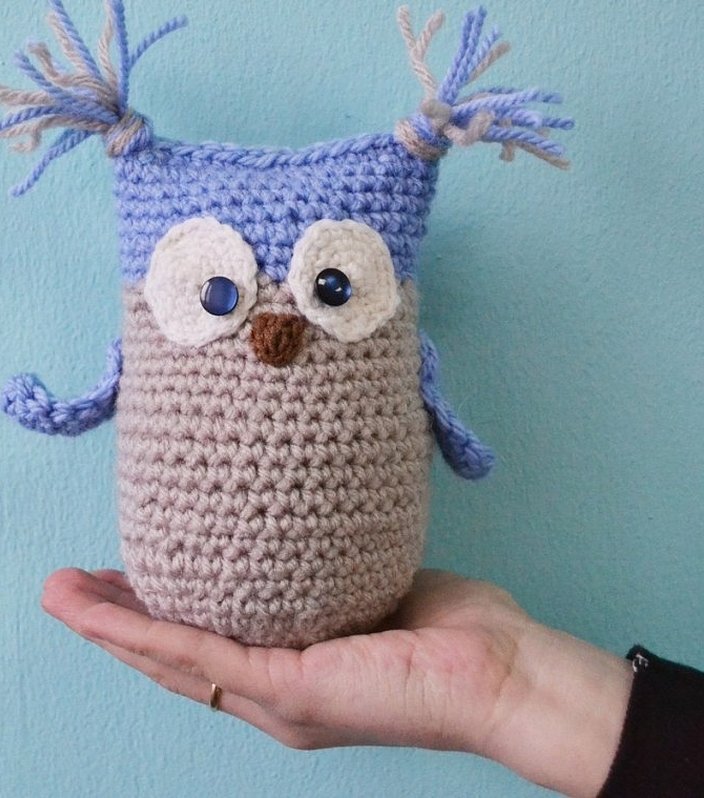
- A funny little owl with fluffy ears on top of its head.
- The most interesting version of a toy, which is also a ball.
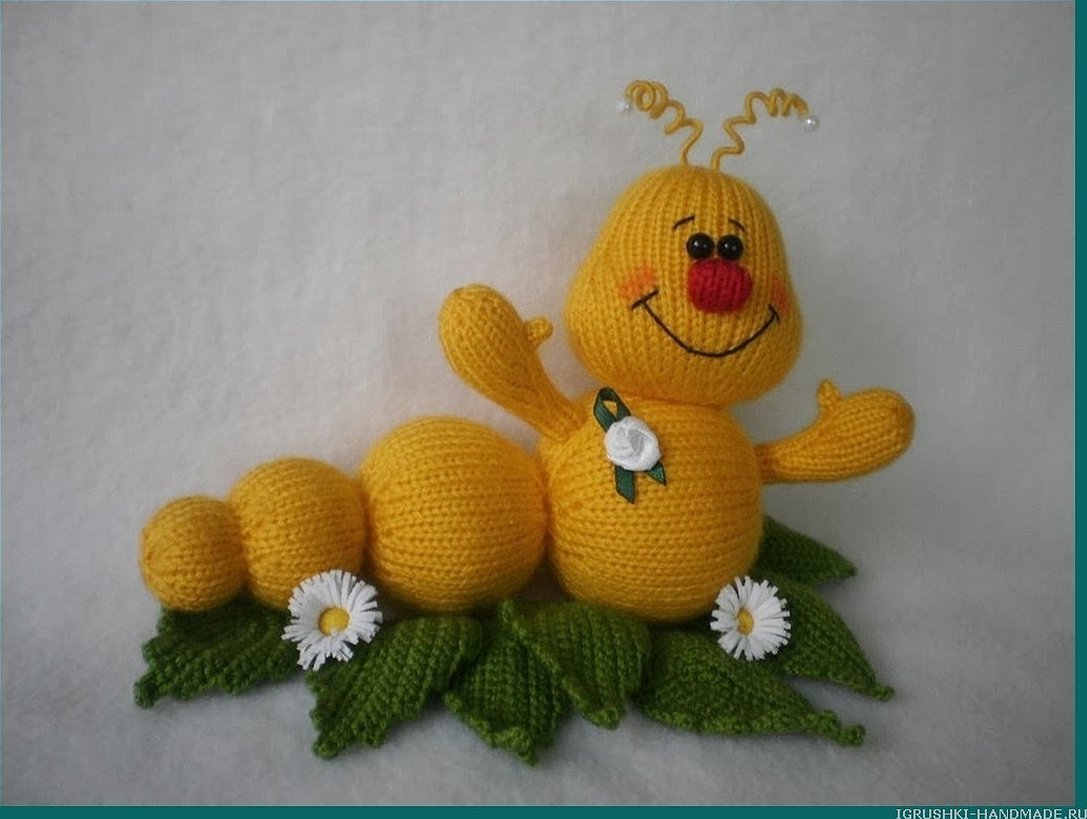
- Knitted caterpillar with a multi-element body.
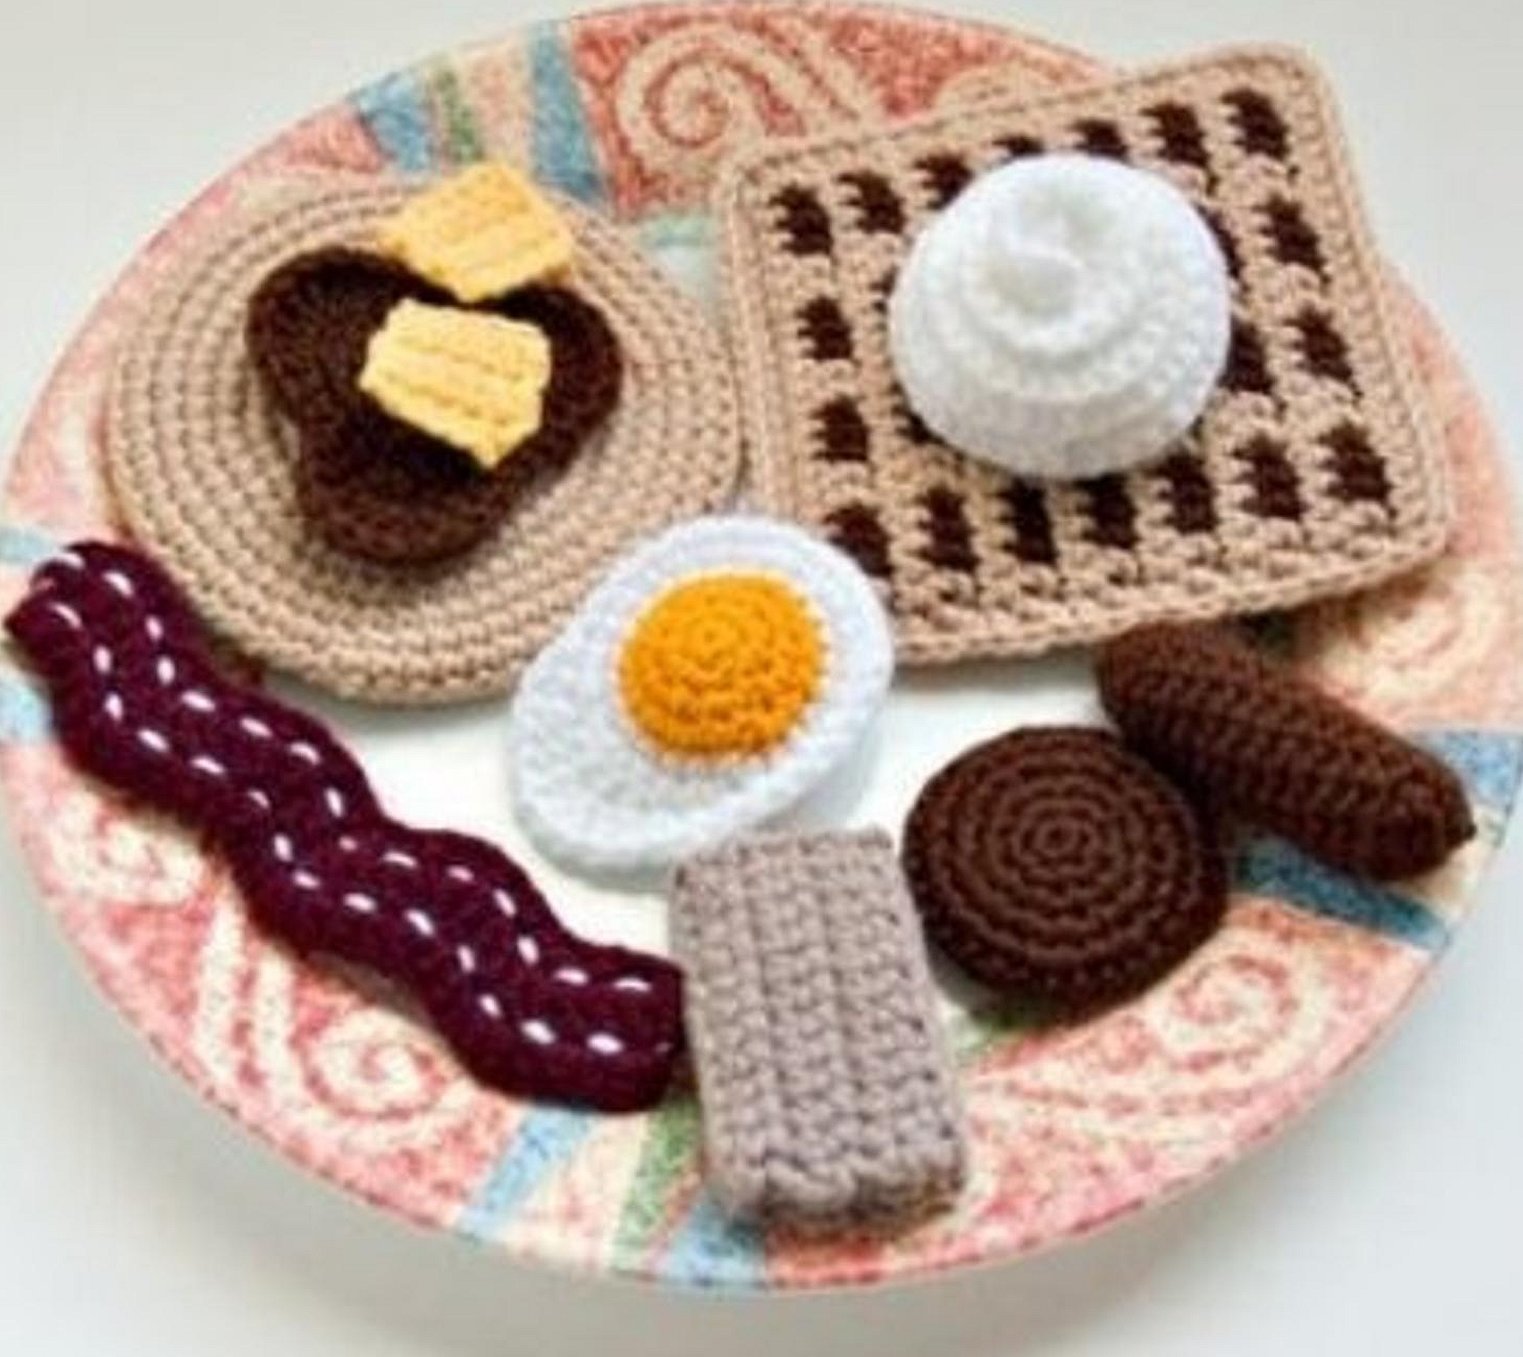
- A new trend is knitted food products that are used to create real sets for fun cookery games.
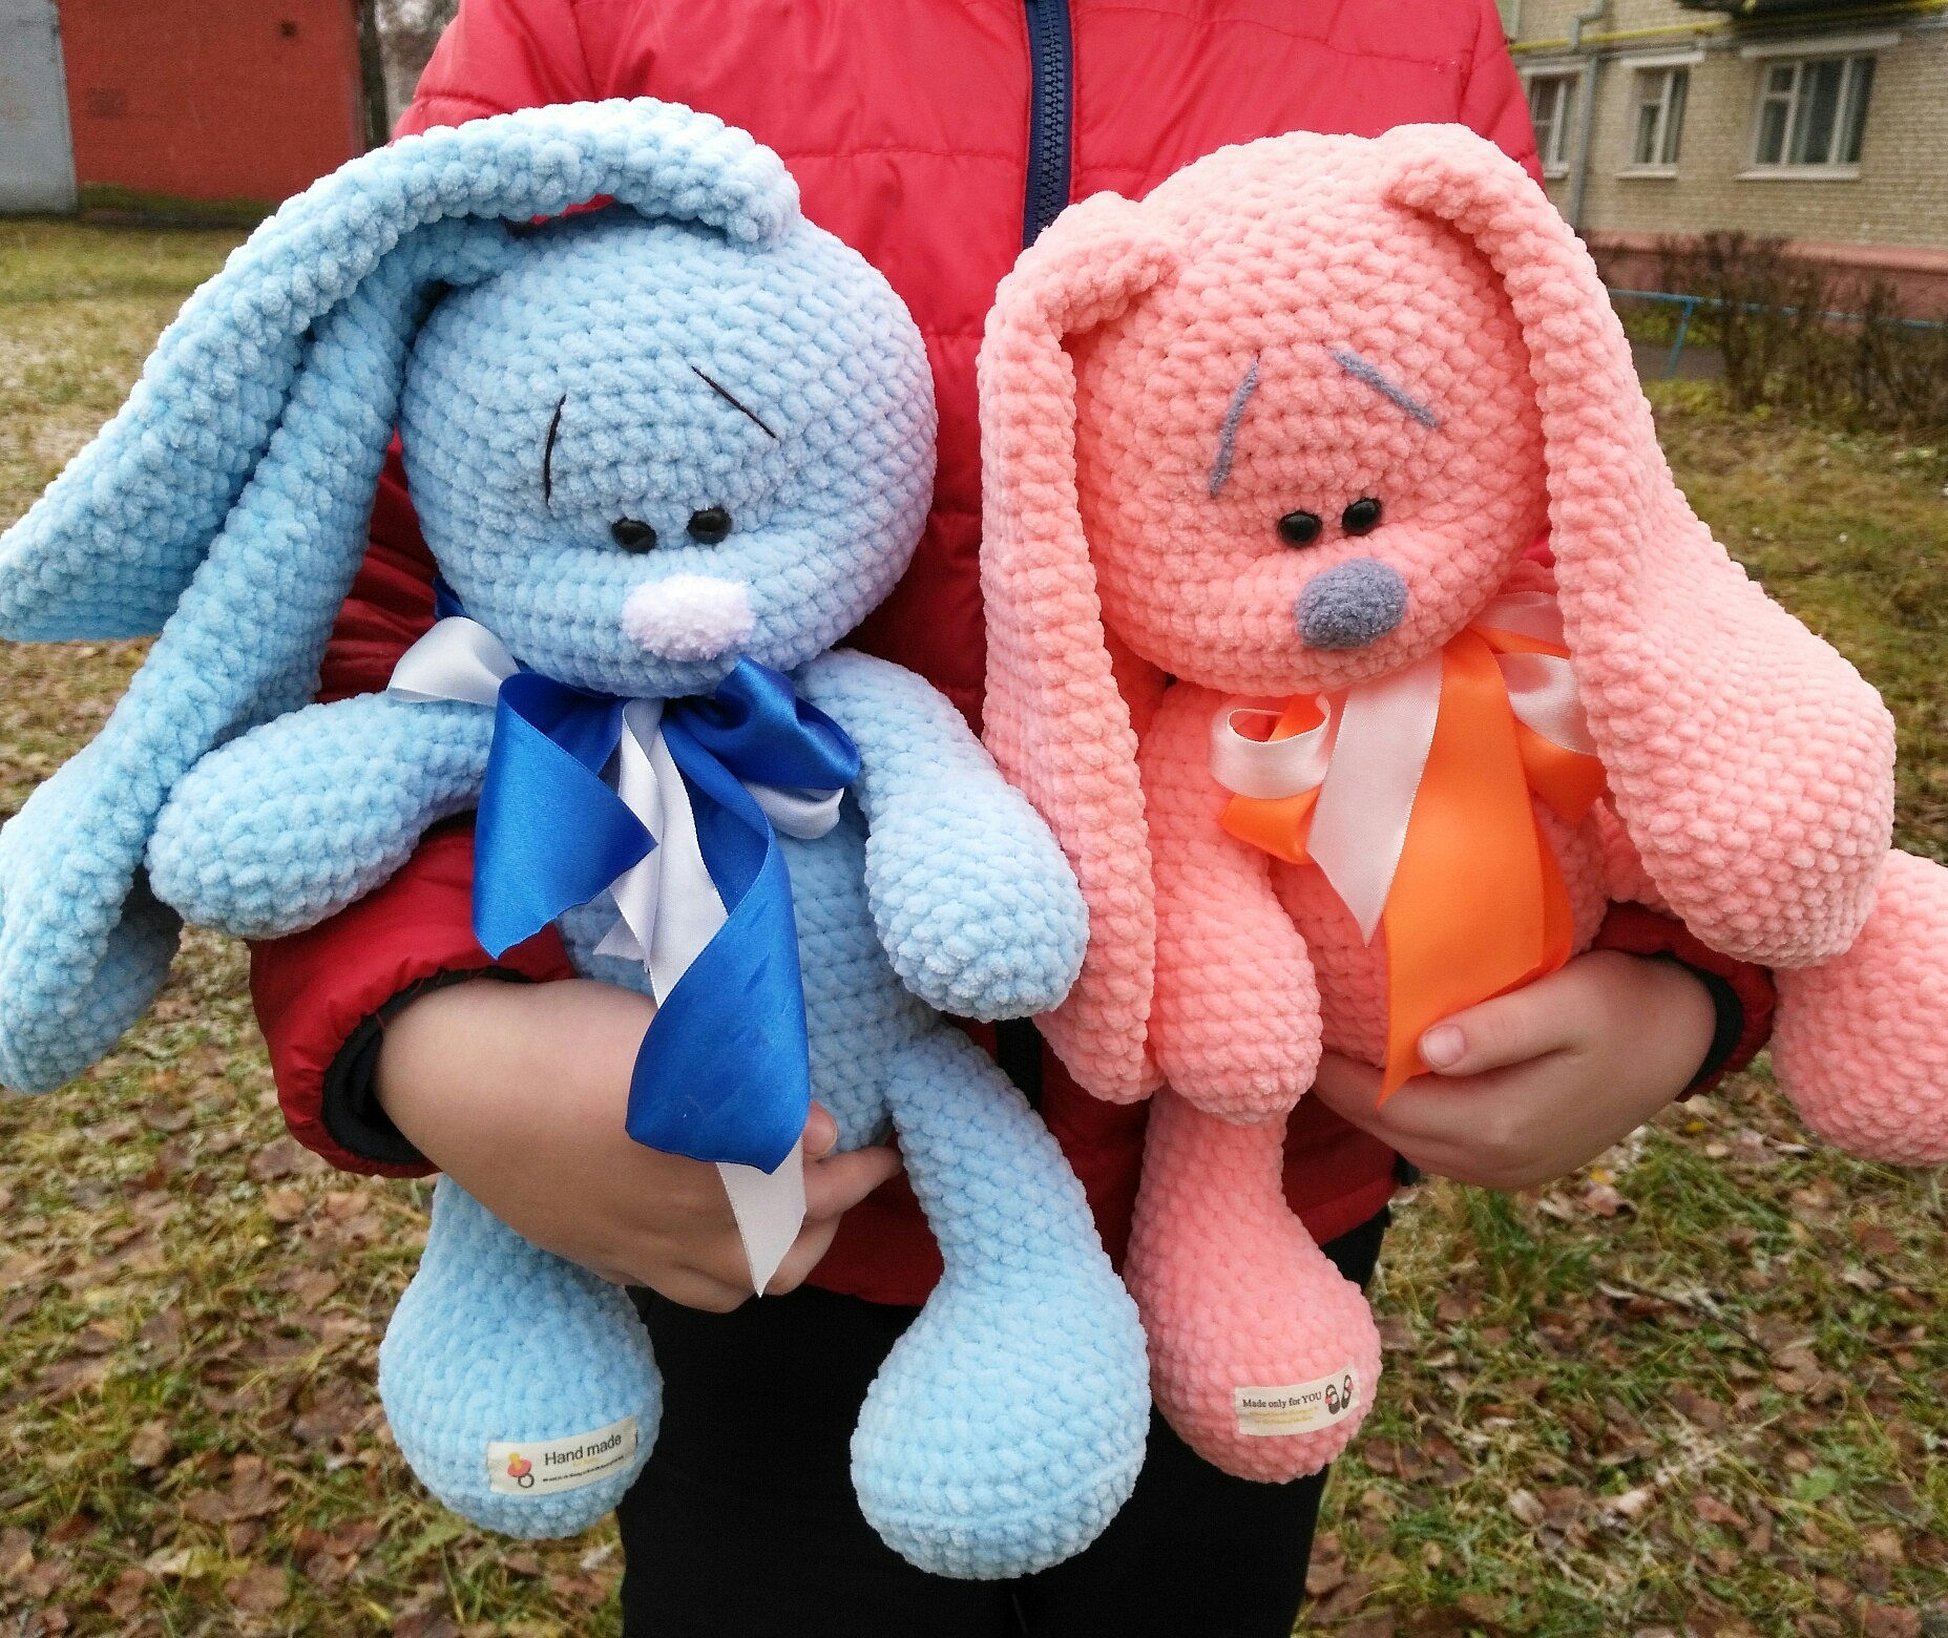
- Toys of various sizes and complexity made of plush yarn in any design.
Please note! Each new product is a toy with a multifunctional purpose - a sorter, a textured figure, a pillow.
If you use a detailed algorithm, you can repeat the pattern without much effort. It is acceptable to slightly change the basic design if your hand is at least a little "stuffed". Additionally, the finished knitted copy can be decorated according to individual preferences.
Master classes of works with description
Crochet toys are made according to specific patterns, which are selected completely individually. Below are some of the simplest of them.
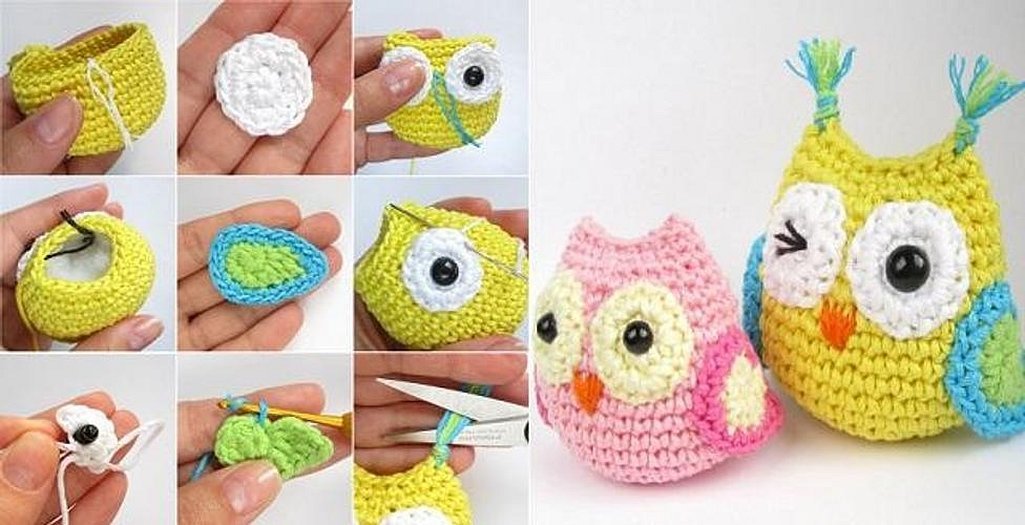
Little Owl
A full master class on making an owl with tassel ears:
- From the main color yarn, knit the owl's body as follows. Cast on a chain of 5 air loops (AL). Close the chain into a ring.
- In the next row, knit 2 single crochets (SC) into each loop.
- In the next tier, repeat the same increase in each loop. Knit another 2-3 rows in the same way.
- Next, knit the entire fabric with sc without adding.
- After forming 4 cm of such a base, gradually move on to decreasing - in each row, remove 4 columns.
- When there are about 6 loops left, finish knitting.
Please note! To make a cute owl, knit 2 circles to form the eyes from white yarn.
Next, the wings are formed:
- Cast on a chain of 6 VP.
- Then knit in a circle for approximately 2-3 rows.
At the end, all the parts are assembled.
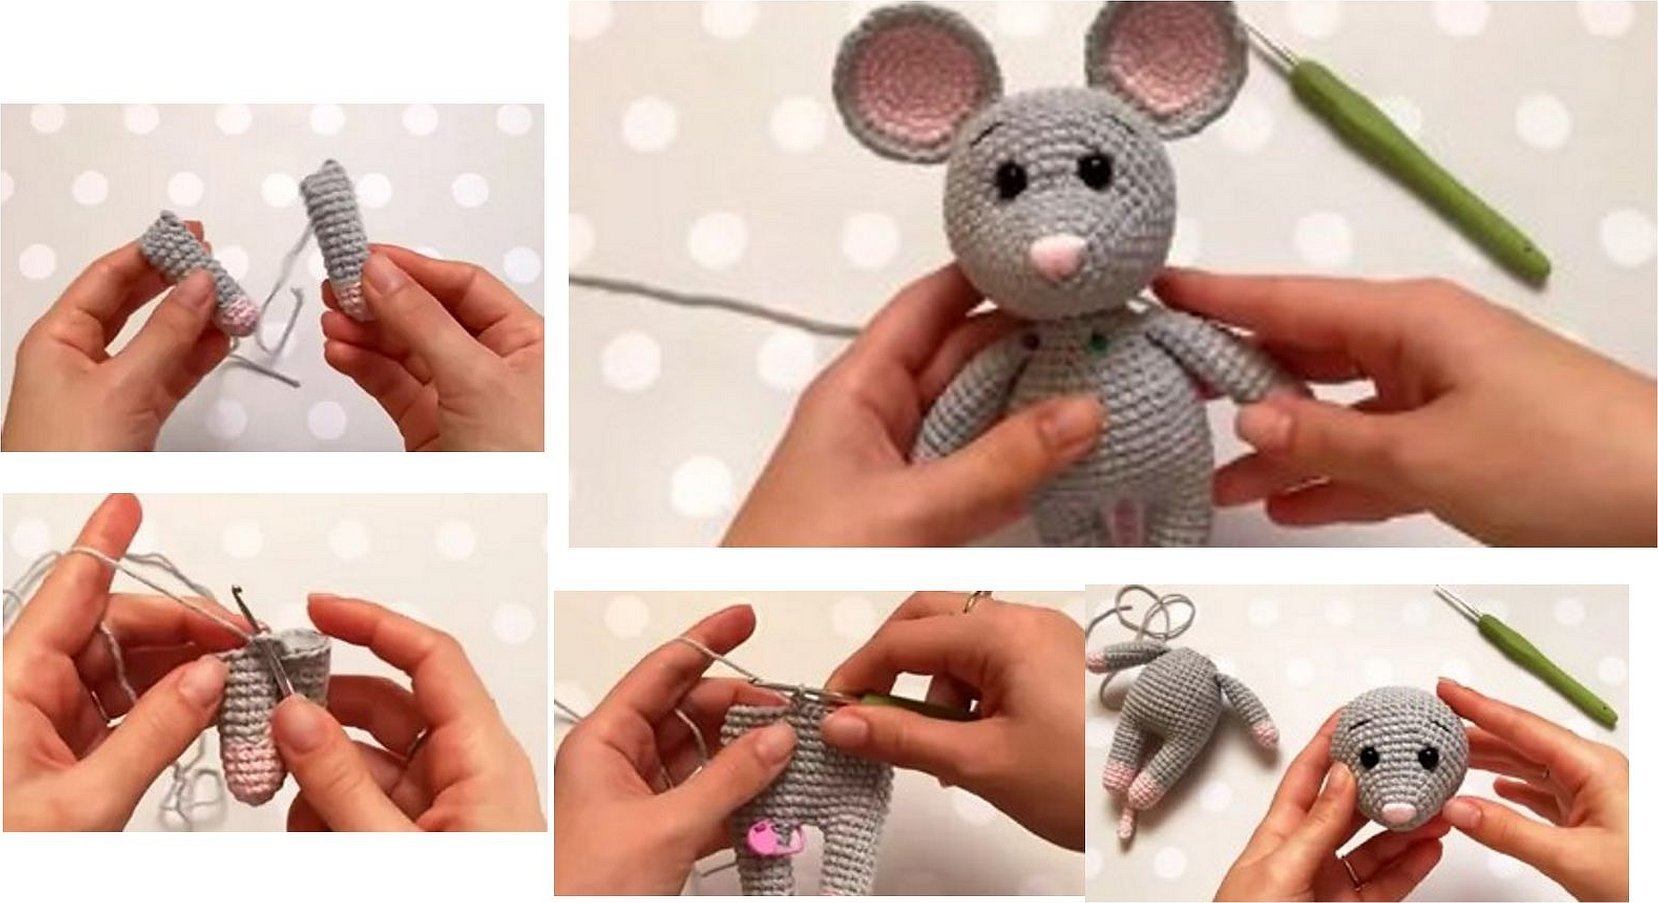
Mouse
A wonderful idea is a knitted mouse, which will not only be fashionable, but also very popular, as it is a symbol of the current year. It can also be an interior model.
Here is a simple short algorithm for knitting a mouse:
- First you need to make the legs, then tie them together and continue making the body.
- The upper paws and head are made separately.
- Then all the parts need to be stuffed with filler and sewn together.
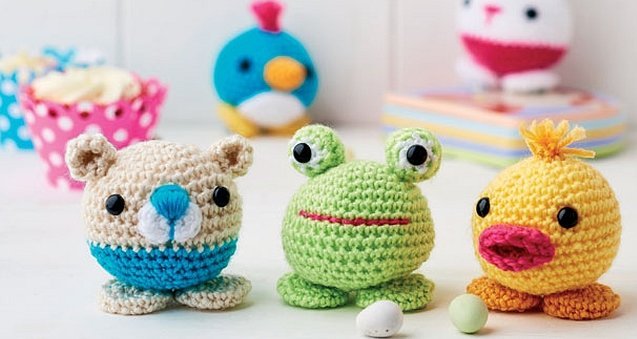
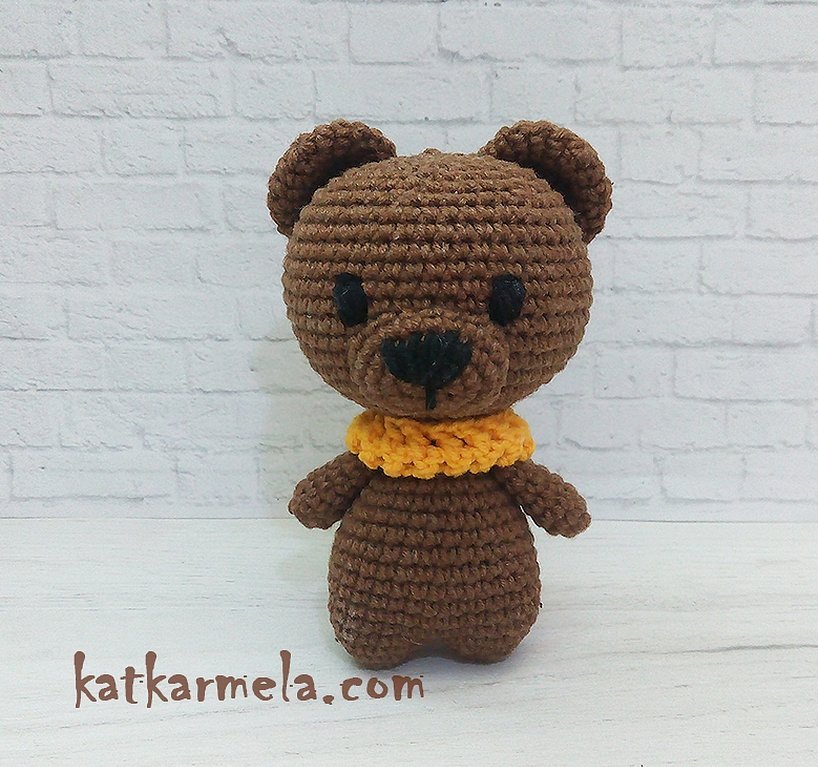
Teddy bear
The most popular toy is the bear. For it you will have to use a detailed MK.
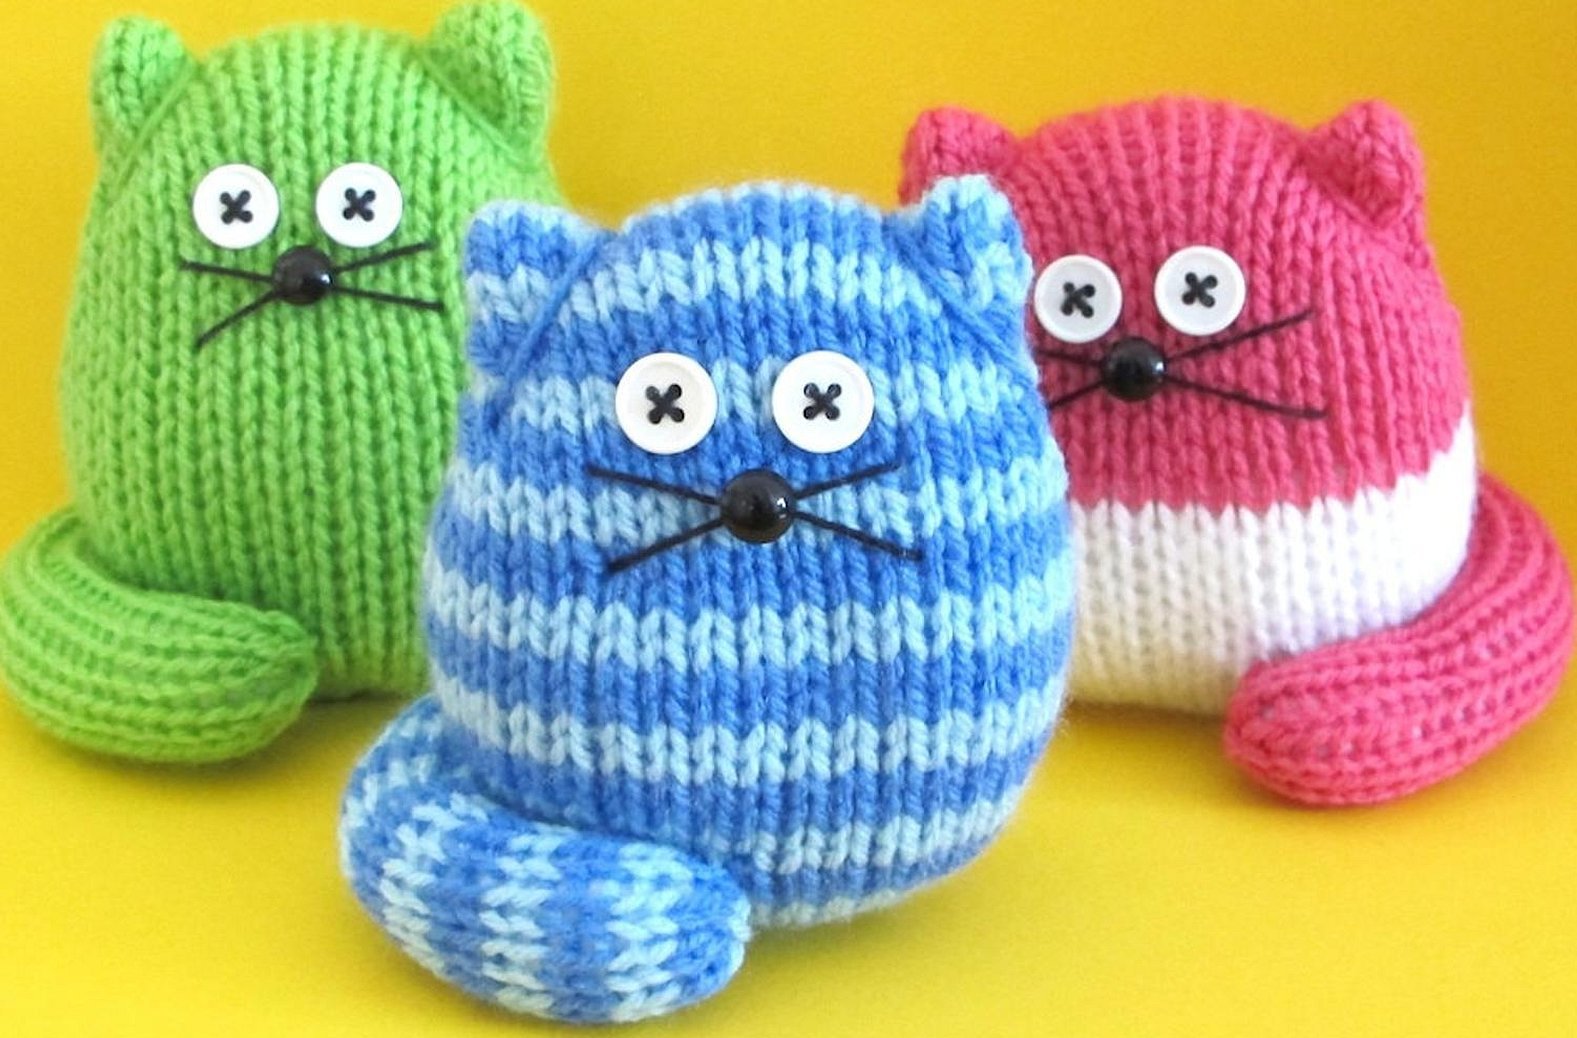
Please note! The basis of such a figure is an amigurumi ring. The unusual color of the yarn (green, purple, pink) adds zest.
The lesson then consists of several stages:
- The knitting starts in an original way – from the legs. You need to cast on 6 loops on the amigurumi ring, and then make an increase in each loop.
- You need to work 2 more rows with the same number of loops (12), cut the thread.
- Using the same pattern, you need to make the 2nd part and leave the working thread.
- Then you need to connect the legs with a chain of air loops (17 loops).
- Then you should knit 30 single crochet stitches in a circle to get 11 rows.
- Next, in each subsequent row, you need to make 1 decrease along the back until there are 15 columns left.
- Then you should move on to making the head, adding 6 columns in each row.
- When the number reaches 30 loops, you need to do the same decrease.
- The paws, ears and muzzle are knitted separately.
- Then assembly takes place.
The result is such a small bear.
Any crochet toy will look unfinished if you don’t decorate it according to your idea.
As you can see, as a result, each knitted element of the toy forms a full-fledged soft figure of any design, so it is advisable to try and knit each column, each loop. When making soft toys, it is worth considering a lot of nuances and knowing the rules. There are some models that are more or less popular. In any case, kids will like them.


