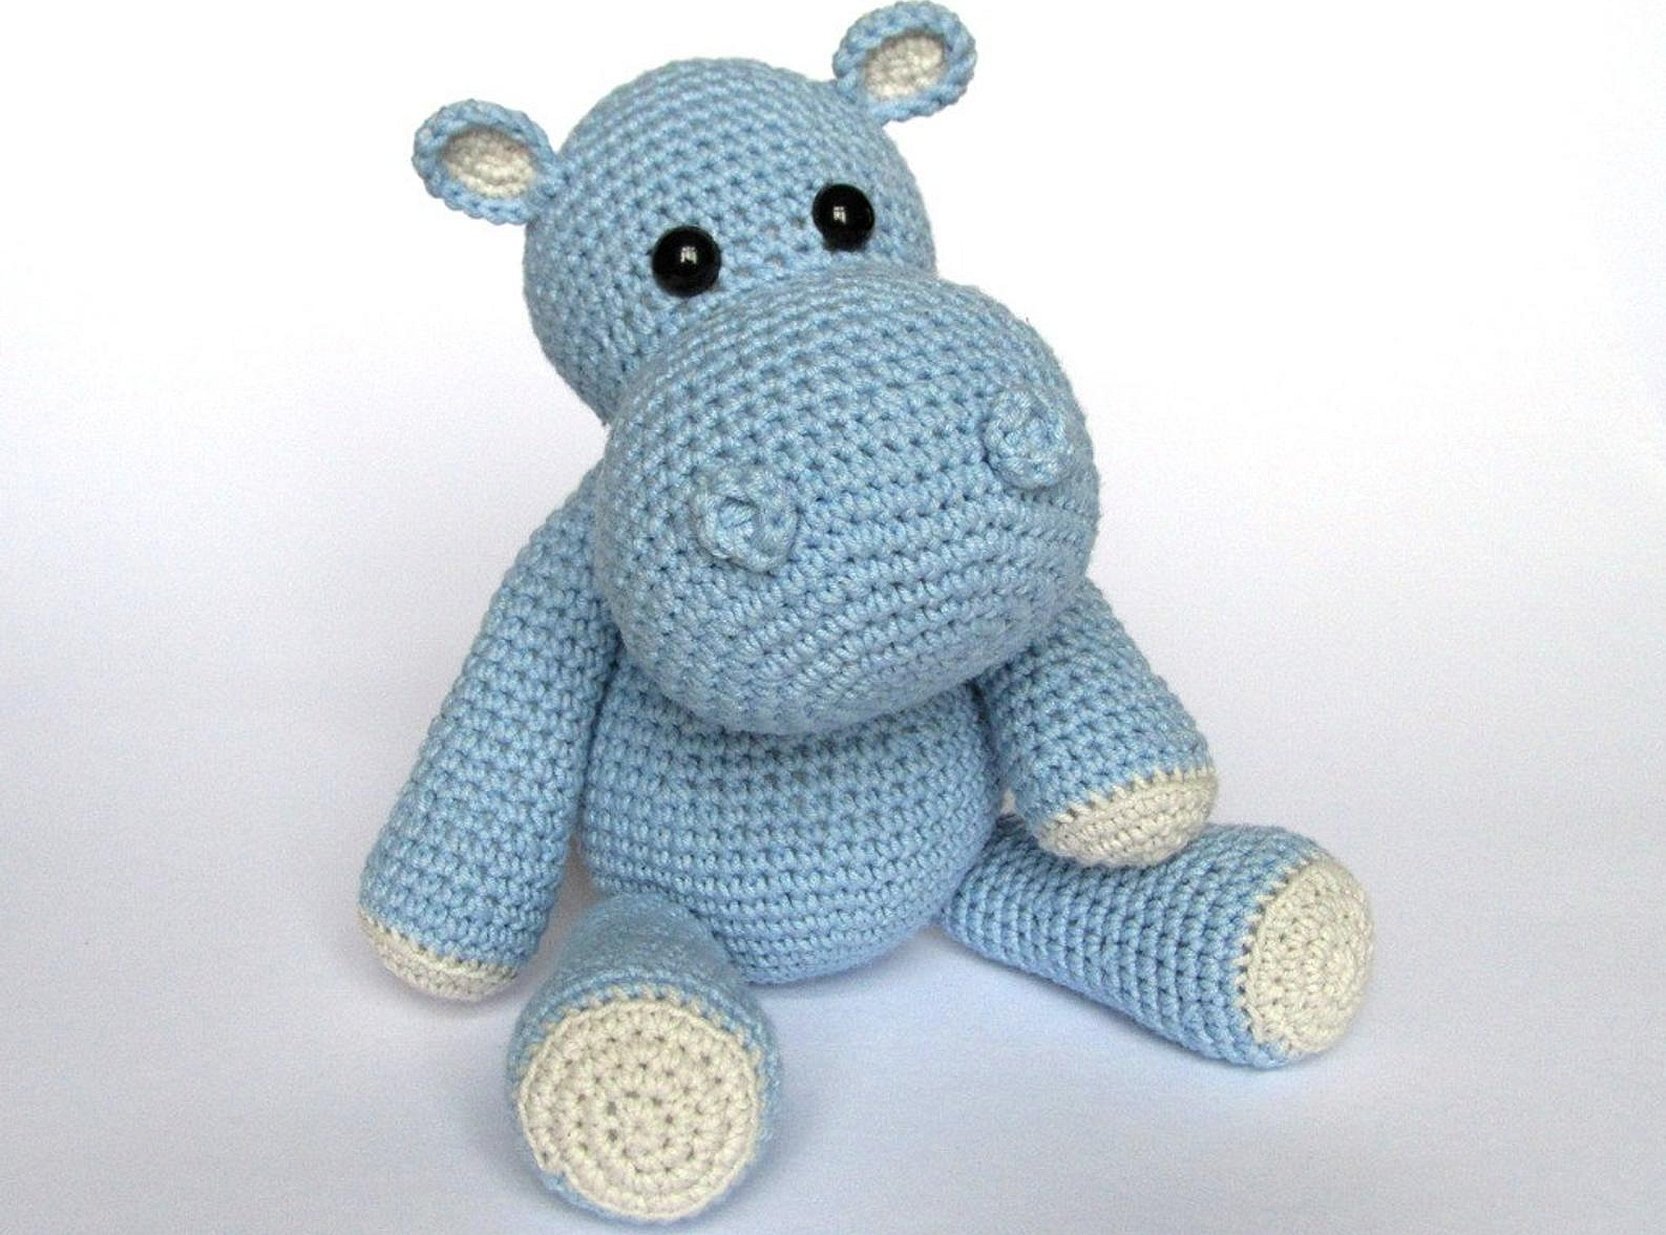
At first glance, a hand-crocheted hippopotamus is an original, difficult-to-make product, the motive for making which was the desire to please or surprise the baby. However, with the help of simple patterns and descriptions, a crocheted hippopotamus will decorate the interior of a child's room.
What yarn is best to use for a toy?
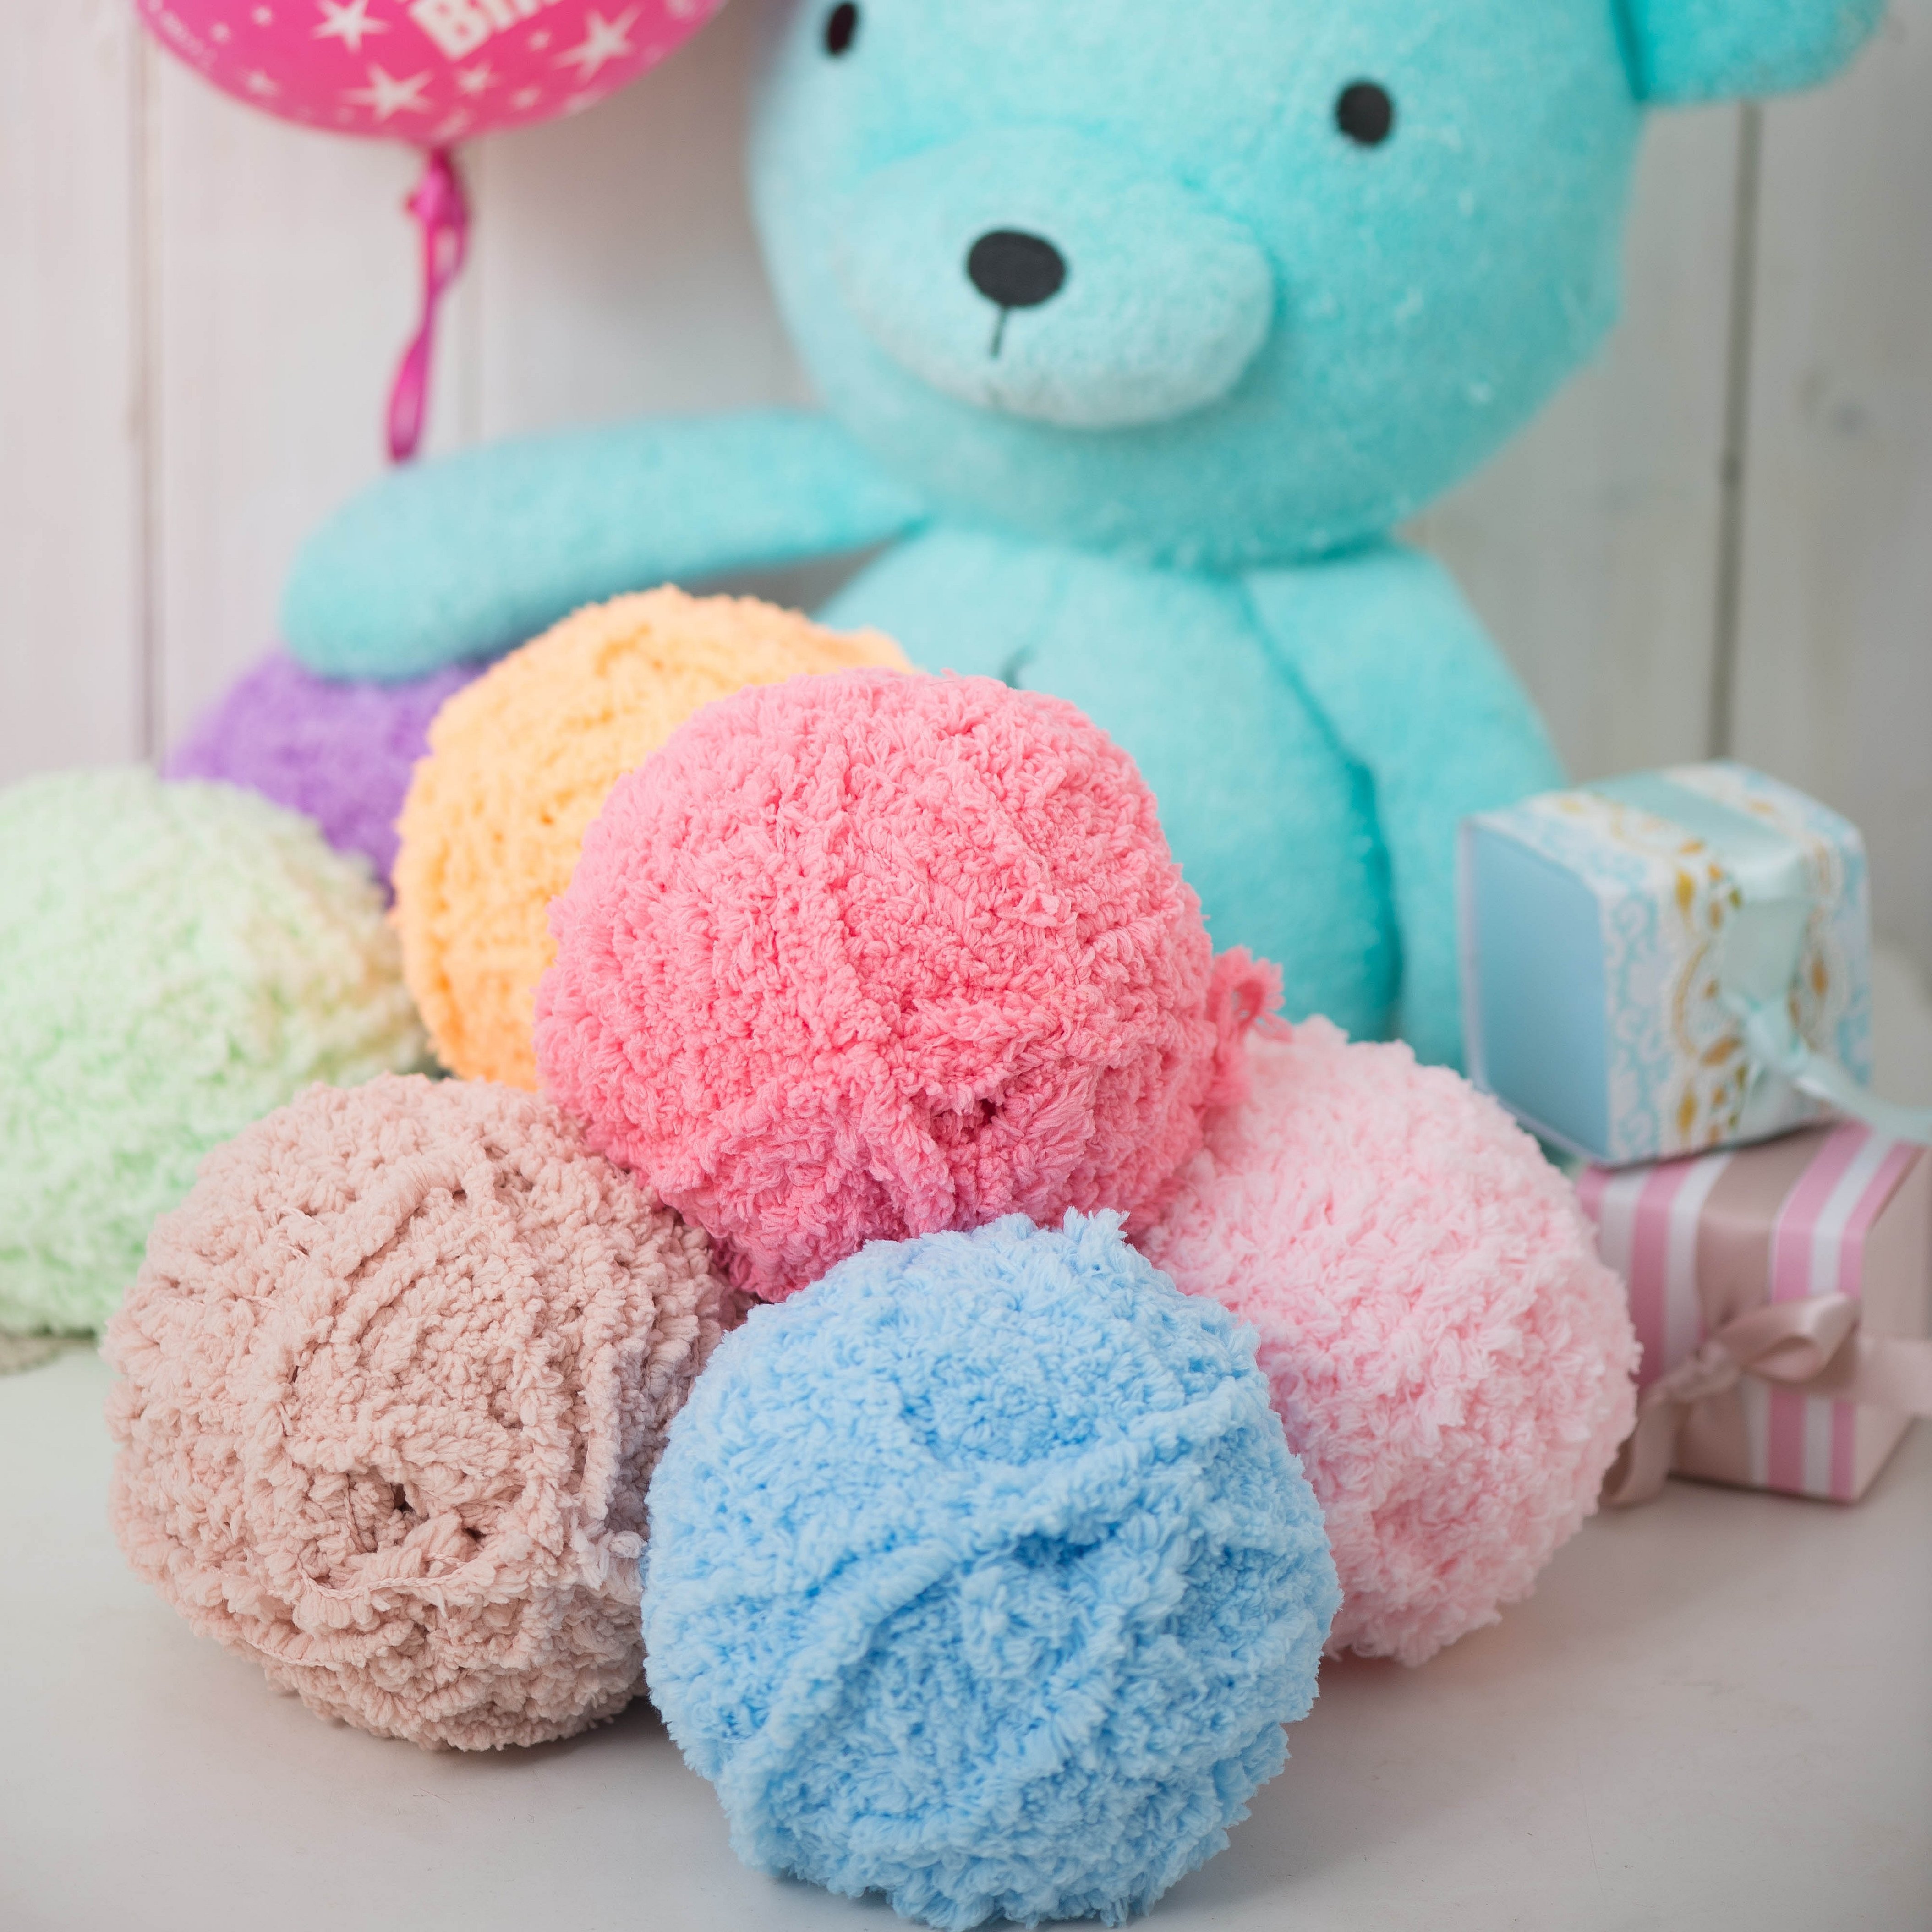
Knitting involves the use of special threads that have different characteristics and areas of application. For amigurumi, it is worth giving preference to plush yarn. Polyamide and nylon are also good choices.
Attention! Toys are mostly intended for children, so it is necessary to look for a hypoallergenic composition that can be easily washed.
Advantages of Plush Yarn
This material can be acrylic, cotton, viscose. Despite this, any plush fiber has the following advantages:
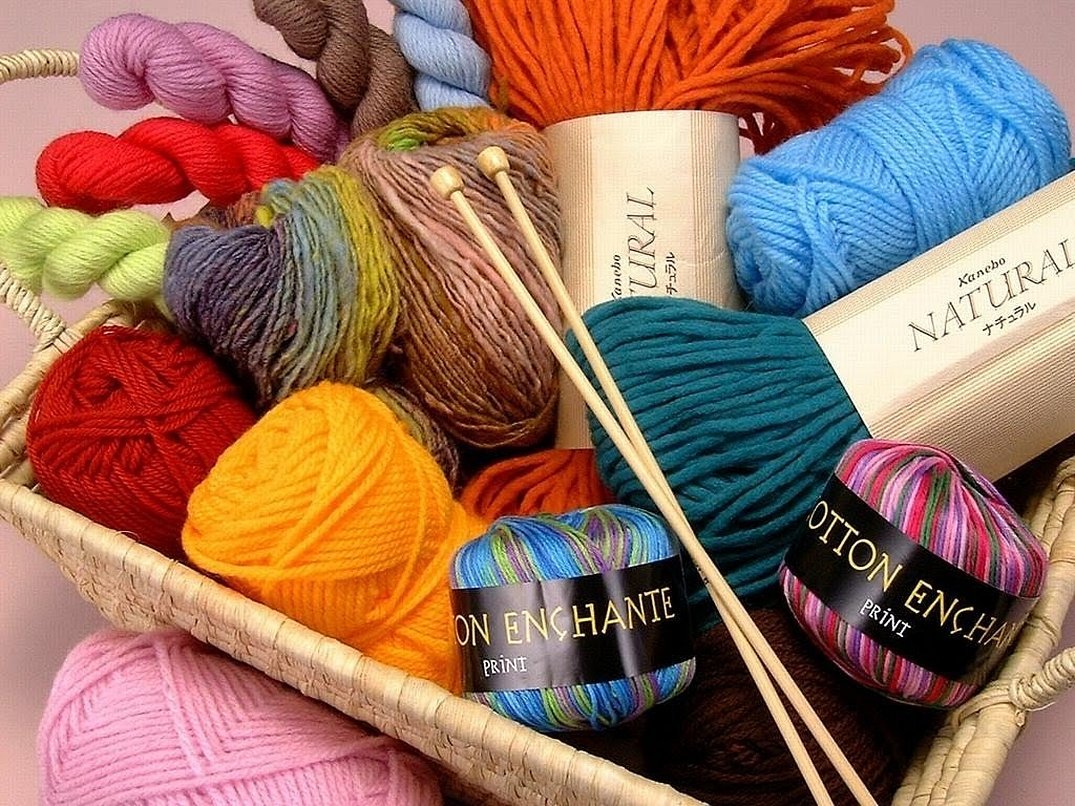
- A wide range of colors, shades. The palette is available in all stores specializing in handicrafts.
- Regardless of the pattern or design on the diagram, the result looks harmonious.
- The high density of the fabric is ensured by the softness and texture of the yarn.
- Versatility in use. This material is perfect for knitting children's clothes, blankets and pillows.
- Light weight of finished works.
- Hypoallergenic. Plush does not contain natural wool, so allergic reactions are excluded.
- As a result, the work looks more voluminous than when using other threads.
- When machine or hand washed, the finished product will not lose its appearance due to stretching or shrinkage.
Other options
In addition to plush yarn, there are a number of other textures that can be used to make a soft toy or conduct a master class.
Polyamide
It has a strong, durable fiber. During washing, it tolerates the effects of not only high temperatures, but also various chemical compounds. Polyamide weaves are medium in stretch, which preserves the shape of the product regardless of its condition (dry or when exposed to water). Among the advantages, they also note unpretentiousness in care. However, significant disadvantages remain susceptibility to electrolysis, loss of color over time when exposed to light for a long time, and the presence of a favorable environment for the development of microorganisms.
Please note! However, craftsmen often use this material in their work.
Nylon
In terms of quality characteristics, it is close to polyamide, but it has one obvious difference. The texture was specially developed by DuPont and is a successful combination of silk and nylon, due to which any product made from it is pleasant and soft to the touch, but the degree of electrolysis remains quite high.
Polyester
A familiar synthetic compound with high air flow conductivity. Polyester items retain heat, and toys stay warm for a long time. The manufacturer often adds animal wool, cotton or flax to its composition to increase durability during use and elasticity during washing.
What else do you need for work?
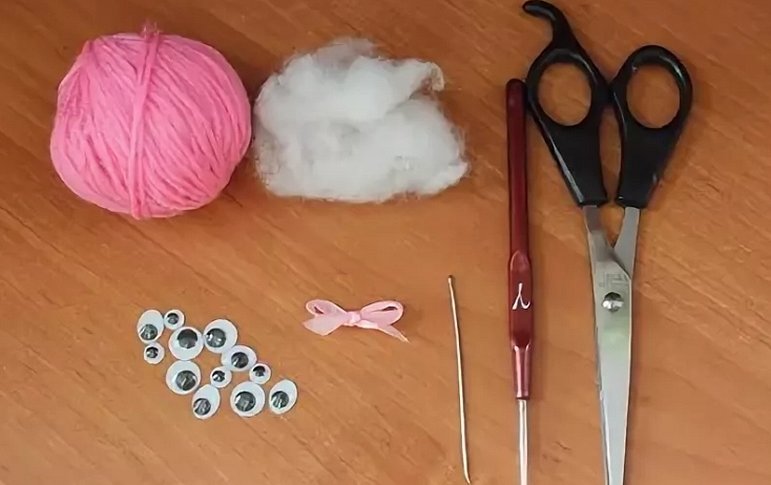
How to crochet a hippo figurine? This crochet lesson will require the following:
- Yarn (1 package (skein). For classic knitting - in one thread, for double knitting - in two.
- The hook is 3 mm thick.
- Filler for African hippo.
- Eyes, a snout for the muzzle (you can buy ready-made plastic ones or take some dark-colored yarn for them).
- Scissors.
- Long needle for joining small parts.
Step by step description of knitting
When everything you need is ready, you can proceed to the main part – the knitting itself.
The following abbreviations are used below:
- VP – air loop;
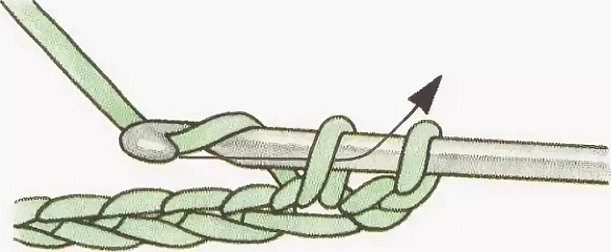
- BN – without yarn over;
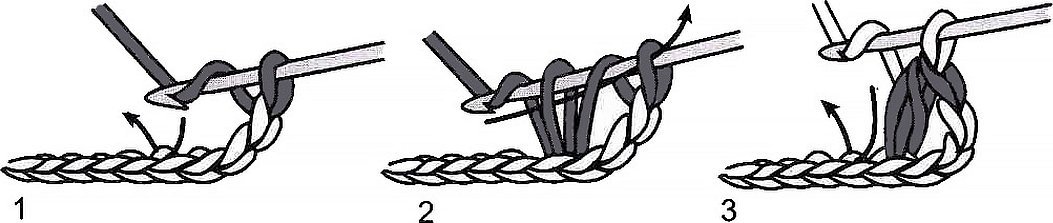
- SN – with a yarn over;
- PP – increase loop;
- UP – decreasing st.
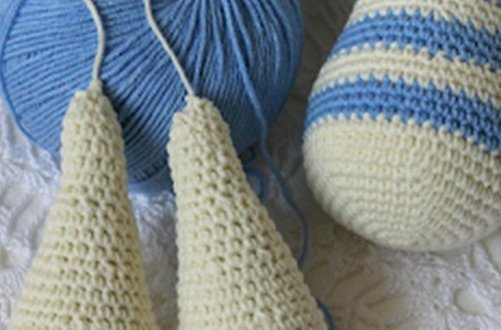
Head and muzzle
This section consists of 36 rows (r.), which are knitted continuously in a circle. A new row is a new circle, which begins with a chain stitch (CH) and ends with a slip stitch. The stitches should not be too small – the hook should easily pass through them to avoid deformation of the threads.
11 air loops are made as a zero chain. The first loop is skipped, and from the second one, knitting of the initial three rows with BN loops begins. In total, there should be 40 loops.
Row 4: 1 PB, increase loop (PL), 18 PB, PL, 19 without yarn over. Total: 42 pieces.
Row 5: the entire chain is now knitted with BN (total number of loops – 42).
6 rows: 6 BN, PP.
Rows 7-12: 48 BN are made for each row.
13th row: 6 BN, 1 UP (42).
14 p.: 42 BN.
15 p.: 5 BN, 1 UP (36).
16 p.: 36 BN.
17 rubles: 4 BN, 1 UP (30 single crochet).
18 rubles: 3 BN, (24 single crochet).
19-21 p.: 24 BN.
22 rubles: 3 BN, 1 PP (30 BN).
23 rubles: 4 BN, 1 PP (36 BN).
24 rubles: 5 BN, 1 PP (42 BN).
26-30 p.: 42 BN.
31 rubles: 5 BN, 1 UP (36 BN).
32 rubles: 4 BN, 1 UP (30 BN).
33 rubles: 3 BN, 1 UP (24 BN).
34 rubles: 2 BN, 1 UP (18 BN).
35 rubles: 1 BN, 1 UP (12 BN).
Row 36: decrease until hole is closed.
The head is ready.
Attention! The very first air loop is zero, work never starts with it. In some cases, two loops are skipped if a large item is being knitted.
Torso
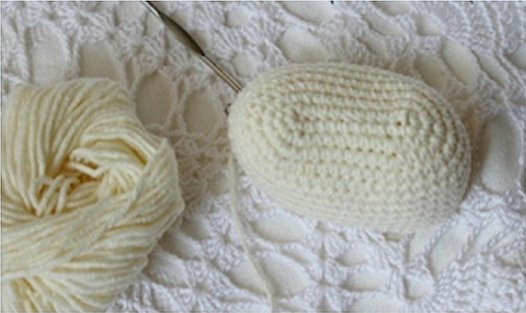
A crochet hippo, or rather its individual parts, can be made in different shades: the body can differ in color and, if desired, be cream-colored, for example.
Row 1: 6 BN are connected into a ring to give it an elongated shape.
2 rows: 6 PP (total 12 BN).
Row 3: 1 BN, increase loop (AL). Result: 11 BN.
4 rubles: 2 BN, PP. Total - 24 p.
5 rows: 3 BN, PP (30 sts).
6 row: 4 BN, PP (36 sts).
7 row: 5 BN, PP (42 sts).
8 rows: 6 BN, PP (48 sts).
Rows 9-11: 48 single crochet stitches.
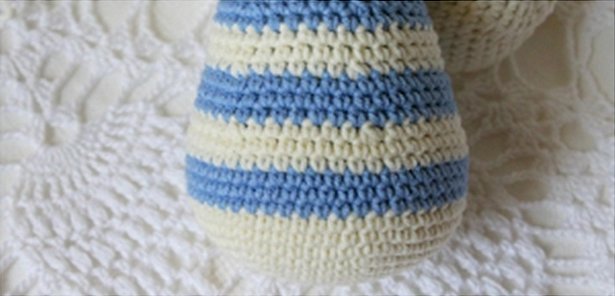
At this stage, it is permissible to change the color of the thread to a darker or lighter shade. Such a replacement will create the effect of additional volume.
12-14 r.: 48 single crochet (BN).
Rows 15-16: the entire row consists of 48 BN.
17 p.: 6 BN, UP (total – 42).
18-20 p.: 42 BN.
21 p.: 5 BN, UP (36).
22-23 p.: 36 BN.
24 p.: 36 BN.
25 rubles: 4 BN, UP (30 BN).
26 p.: 30 BN.
27-28 p.: 30 BN.
29 p.: 3 BN, UP (24).
Attention! When sewing the toy at the final stage, it is important to leave a long end of yarn at this part. It is better to cut off the excess later, so it is not worth saving.
Handles
If the previous stage involved a change of shade, now you can either alternate (do one row in a light color, the other in a dark color), or change the threads completely.
1 row: 6 BN are knitted into the ring, as in the previous step.
2 rows: 6 PP (12 BN).
3 rows: 1 BN, PP (18).
4 rows: 2 BN, PP (24).
Row 5: From the side of the back half loop, you need to make 24 single crochet stitches.
6-7 p.: 24 BN.
8 p.: 24 BN.
9 rubles: 2 BN, UP (18 BN).
10 p.: 18 BN.
11-12 p.: 18 BN.
13 rubles: 1 BN, UP (12 BN).
14-16 p.: 12 BN.
17-19 p.: 12 BN.
Row 20: This is the final row, so the handles are knitted to the end by decreasing or knitting two loops into one until the ring closes.
Legs
The work called "crocheted hippo" continues. Legs or hind legs can also be called pants. This is due to the fact that experienced craftswomen can experiment with texture and create clothes for small animals.
1 row: 6 BN again tie into the ring.
2 rows: 6 PP (12 BN).
3 rows: 1 BN, PP (18).
4 rows: 2 BN, PP (24).
5 rows: 3 BN, PP (30).
Row 6: The hook moves behind the back half loop and 30 single crochets are made.
7-9 p.: 30 BN.
10 rubles: 3 BN, UP (24 BN).
11-13 p.: 24 BN.
14 p.: 2 BN, UP (18).
Rows 15-17: 18 single crochets.
18 p.: 1 BN, UP (12).
19-24 p.: 12 BN.
Row 25: as in the previous stage, knitting ends by reducing the number of loops.
Please note! A long thread is also left, which will be needed at the stage of assembling the toy.
Ears
A crocheted hippopotamus will become more attractive if you make ears that slightly resemble cat ears.
Row 1: 6 single crochet stitches are worked into a ring.
2 rows: 6 PP (total – 12 BN).
3 rows: 12 BN.
4 rubles: 1 BN, PP (18 BN).
Rows 5-6: 18 sts without yarn over.
To create volume and shape, you can knit 4 ears and then join them into two by knitting the edges with yarn using a regular or double crochet.
The plush yarn crochet hippo is almost ready! Now you can prepare the stuffing for such a cool hippo.
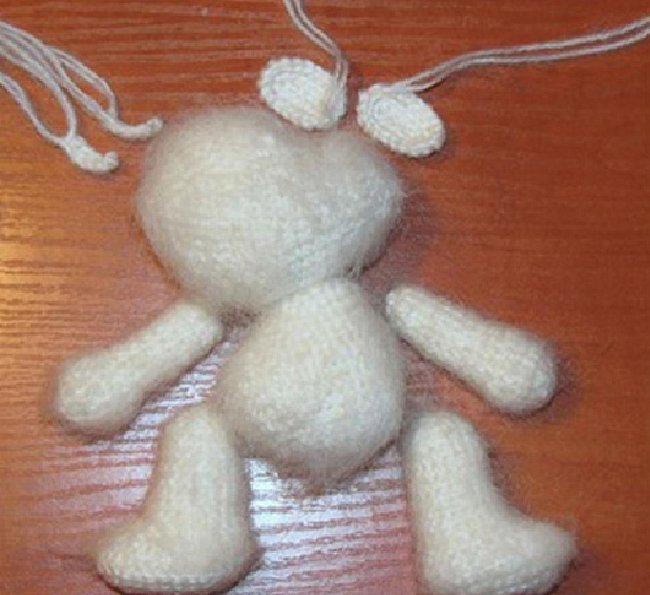
Assembling the toy
The MK is coming to an end, and now it's time to assemble the hippo. This is done in several stages:
- Carefully connect the hippo's head to the body using the remaining thread and a needle.
- The arms and legs are sewn into place.
- Ears are attached to the head, folded into a small tube.
- The toy is complemented with eyes and a nose. Here everything is individual: you can glue a ready-made base or use a black thread in two layers to sew eyes and even eyelashes. Some craftswomen knit nostrils in a circle in 2 rows and also sew them to the muzzle.
The crocheted hippo is completely ready!
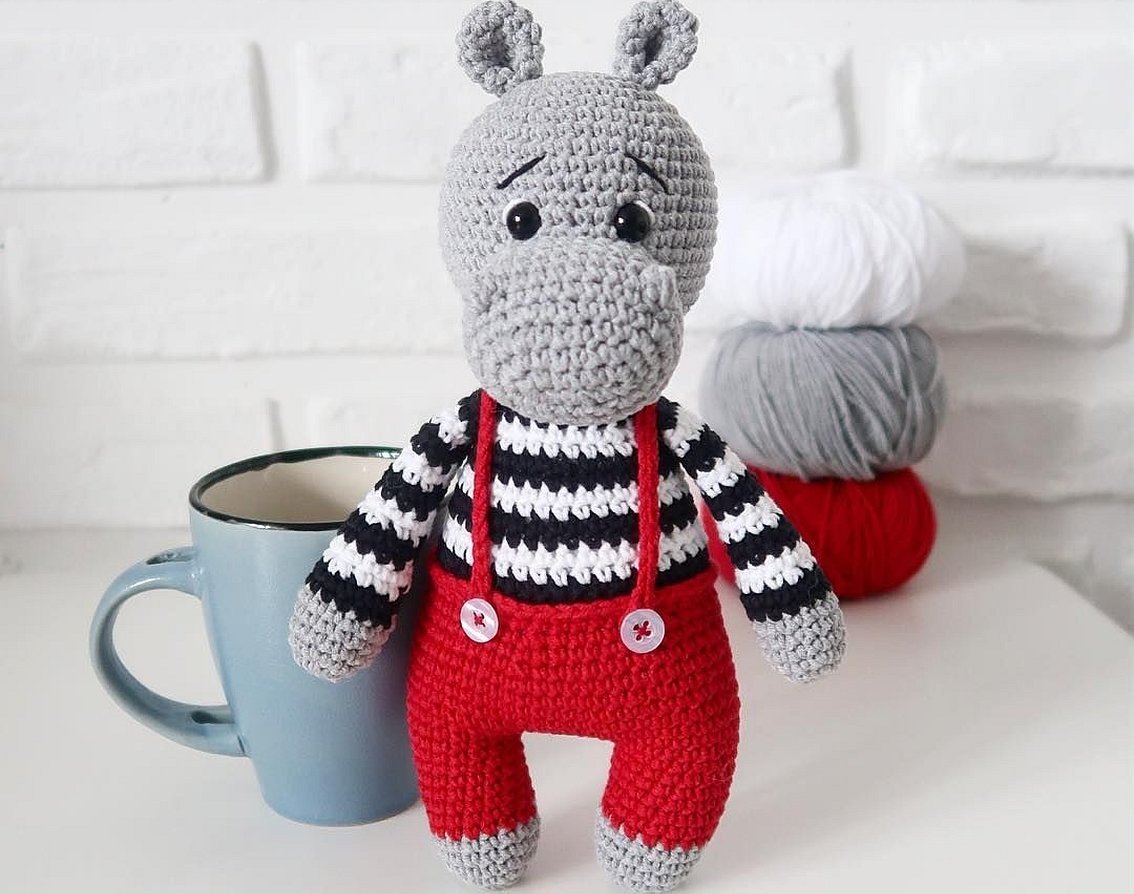
The step-by-step scheme offers a simple and surprising result at the same time – a crocheted hippopotamus. Experimenting with the color scheme and frequent knitting practice will help to make new, memorable works!


