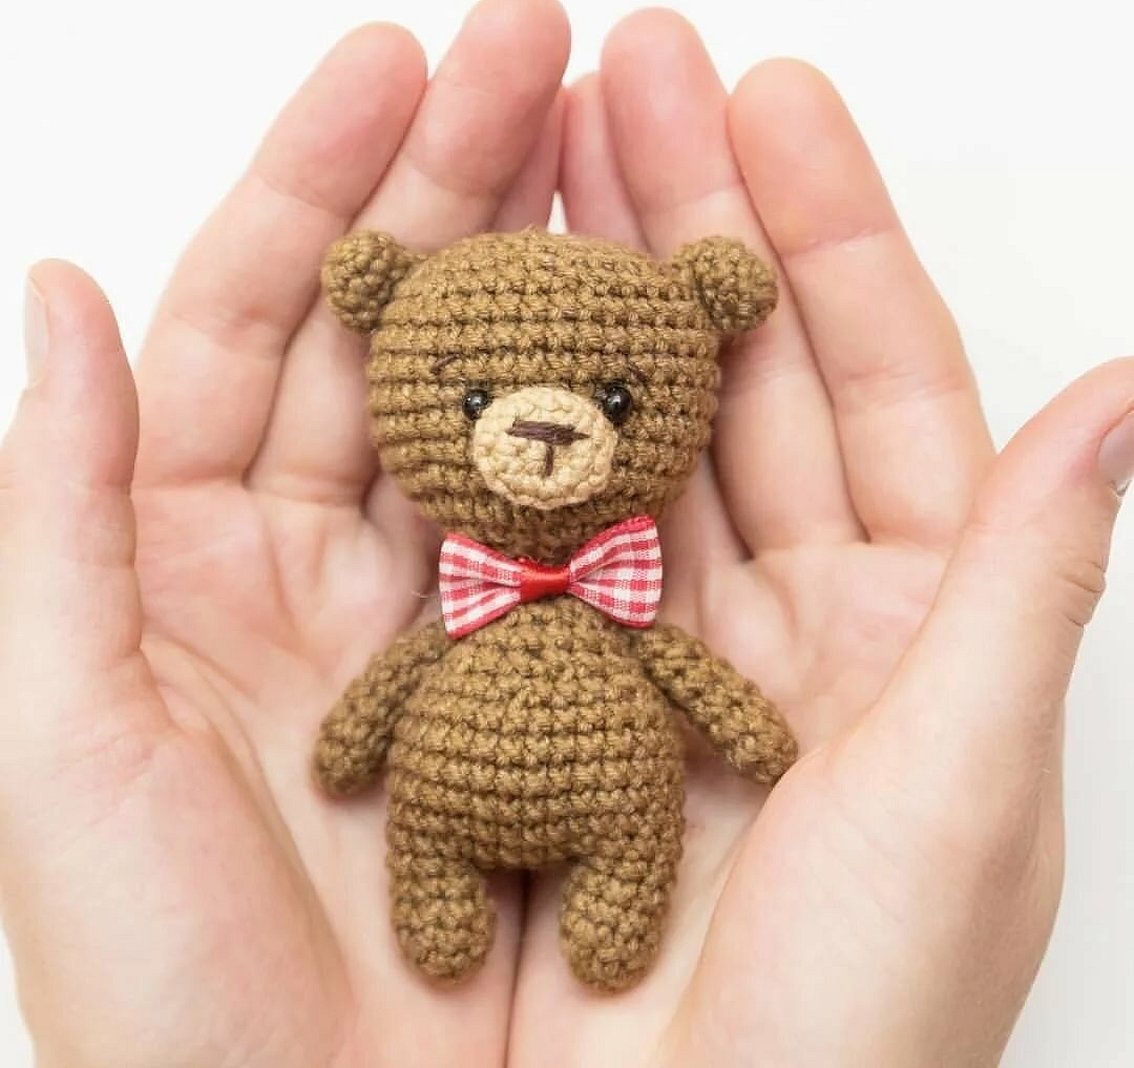
Not only children are delighted with knitted toys. Adults are also very happy when they receive such an unusual and original gift. A soft cozy teddy bear is a symbol of children's affection, tenderness and love. The designer accessory will fit well into any interior. However, in order to knit the intended character, it is important to have certain skills. Therefore, those who wish can study the technology of making a teddy bear with a crochet hook, presented in the article.
What color is best to knit a teddy bear?
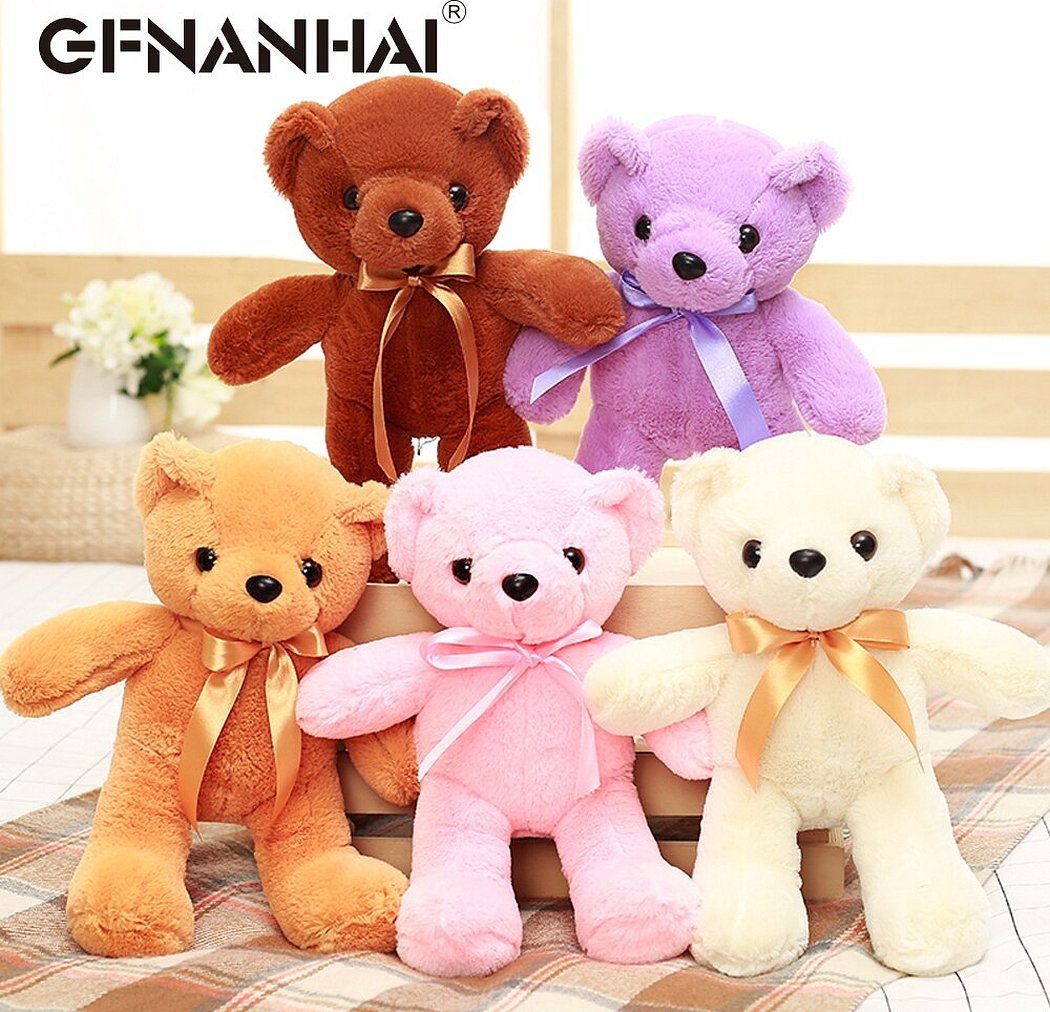
To knit a soft and cozy accessory, you will need faux fur. It is dyed in various colors. The choice of color for a Teddy bear depends on individual preferences, depending on who the gift is intended for (a girl or a boy). The most interesting gift for a girl will be a teddy bear in pink tones combined with white. For a boy, you can knit in blue, yellow, brown shades.
Description of the toy and materials for work
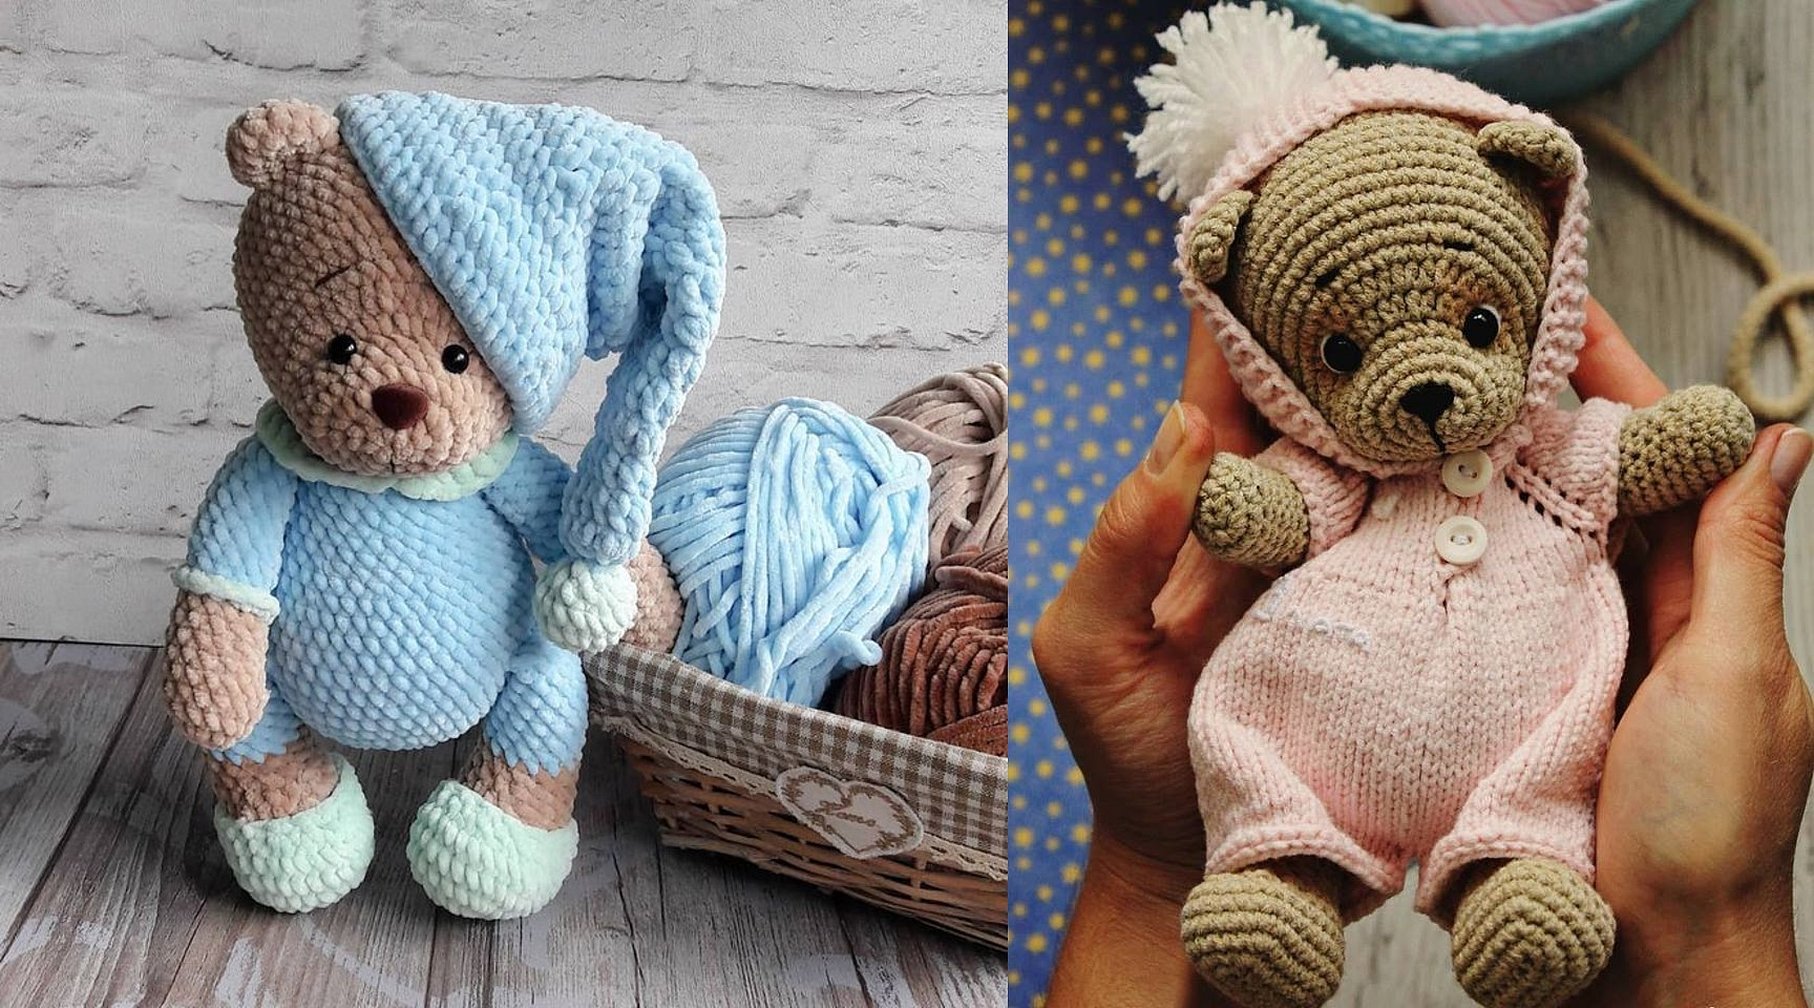
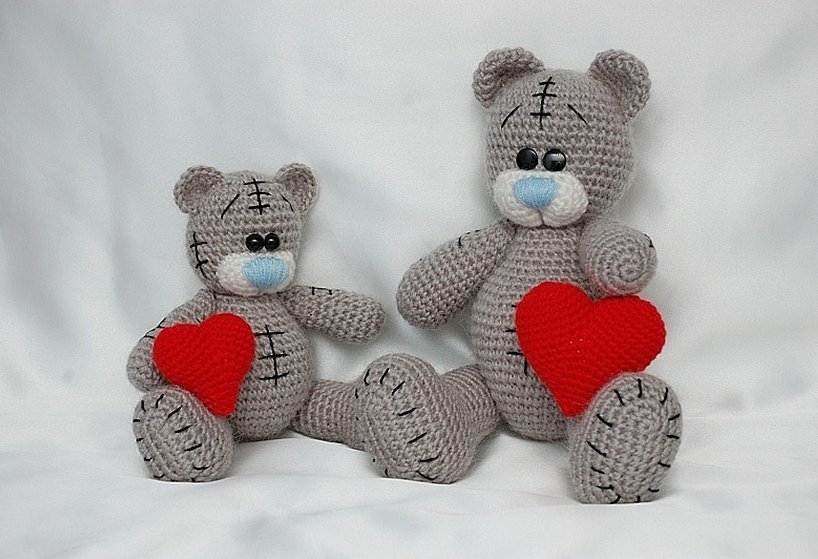
The toy is knitted quickly and easily. Teddy bears, crocheted, can be large or tiny, fluffy or smooth, plush or velour, but always with expressive eyebrows.
The features of this knitted toy are a movable head and movable limbs. To create movements, there are special cotter pins that can be bought in a store or made by yourself. Perhaps working with details will seem difficult for beginners, then it is better to knit a simpler bear. It will not lose its attractiveness and charm. Subsequently, you can come up with new clothes for it, which will also make the bear fashionable.
Important! It is most convenient to do the work with a crochet hook so that the texture of the parts is dense and retains its shape for a long time. In addition, knitting small parts of the bear with a crochet hook is much easier than with knitting needles.
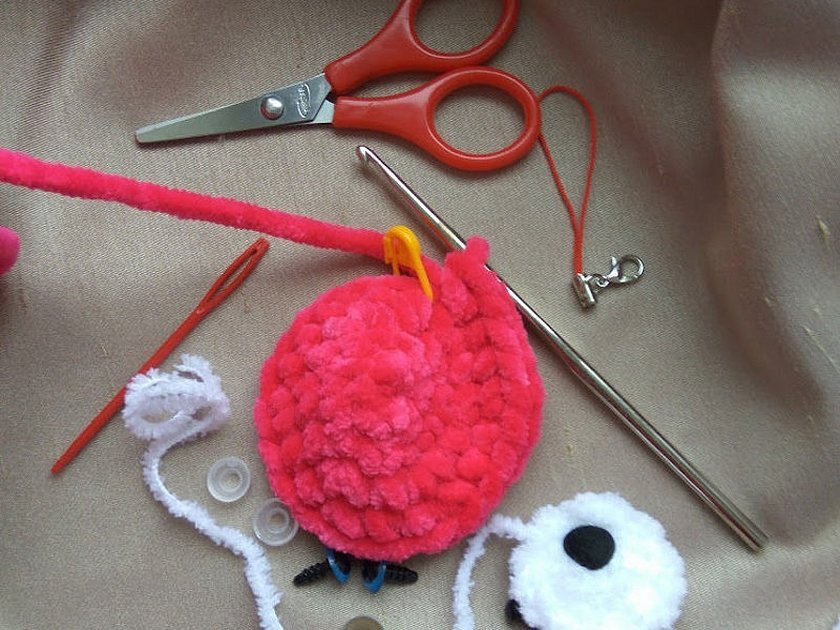
To create an original teddy bear you will need to prepare:
- yarn and hooks;
- holofiber or filler;
- beads or seed beads;
- floss and a needle;
- scissors and pieces of fabric for patches.
Master class with a detailed description of the knitting pattern
Experienced craftsmen are convinced that acrylic yarn is best suited for making the craft in question. If the product is being prepared as a gift for a child, it is wiser to consider children's yarn. To create the details, you need gray as the main color, white for the muzzle, blue for the nose, and black. In this case, it is better to choose skeins from the same company. But multi-layer or fluffy yarn (mohair) should not be used, since it is extremely inconvenient to work with.
Please note! The knitted fabric should be as dense as possible so that the filler is not visible. Otherwise, the product will look sloppy and, accordingly, unattractive.
When creating parts for a teddy bear, you should use a crochet hook equal to the thickness of the thread. However, the amigurumi technique has its own characteristics and the size of the hook refers to them. Craftswomen who make toys professionally say that a crochet Teddy bear, the knitting pattern of which starts with the body, will turn out very touching and cute if the knitting is as dense as possible.
Torso
Knitting should begin with 2 air loops connected in a ring. Then in a circle you need to knit 6 single crochets. Having knitted to the 12-13th row, the bottom of the body should be filled with holofiber or filler and knitted to the last row. After this, tightly fill the body and tighten the loops to the end.
Ears
You can make the eyelet using the following pattern:
- Work begins with knitting an amigurumi ring.
- The number of loops is divided by three.
- 2/3 of the ear is knitted with increases through two columns.
- The remaining third is knitted with slip stitches.
- The last two steps are repeated one more time.
- Next, 2/3 of the ear is knitted as follows: three rows without changes with simple columns, and 1/3 with connecting columns.
- According to the instructions described, you need to make two parts.
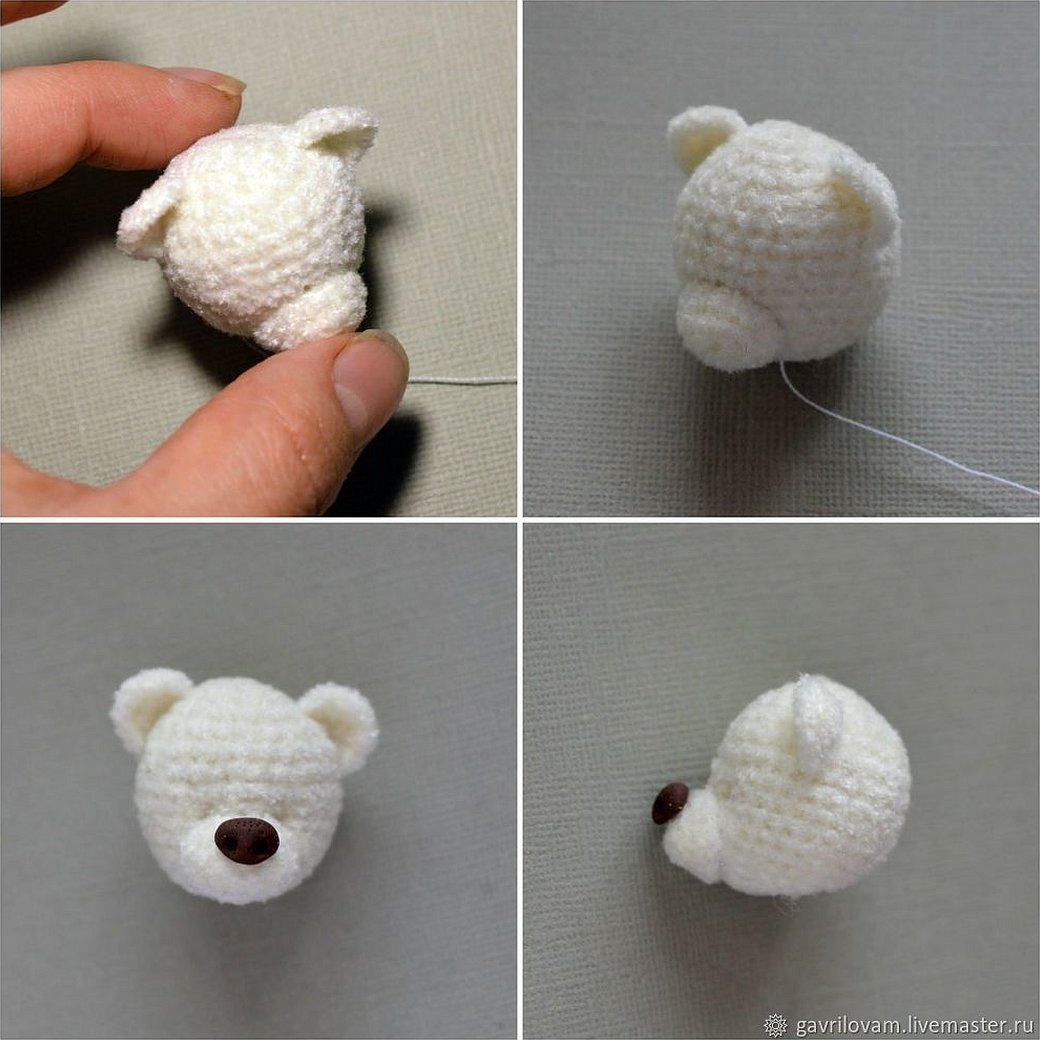
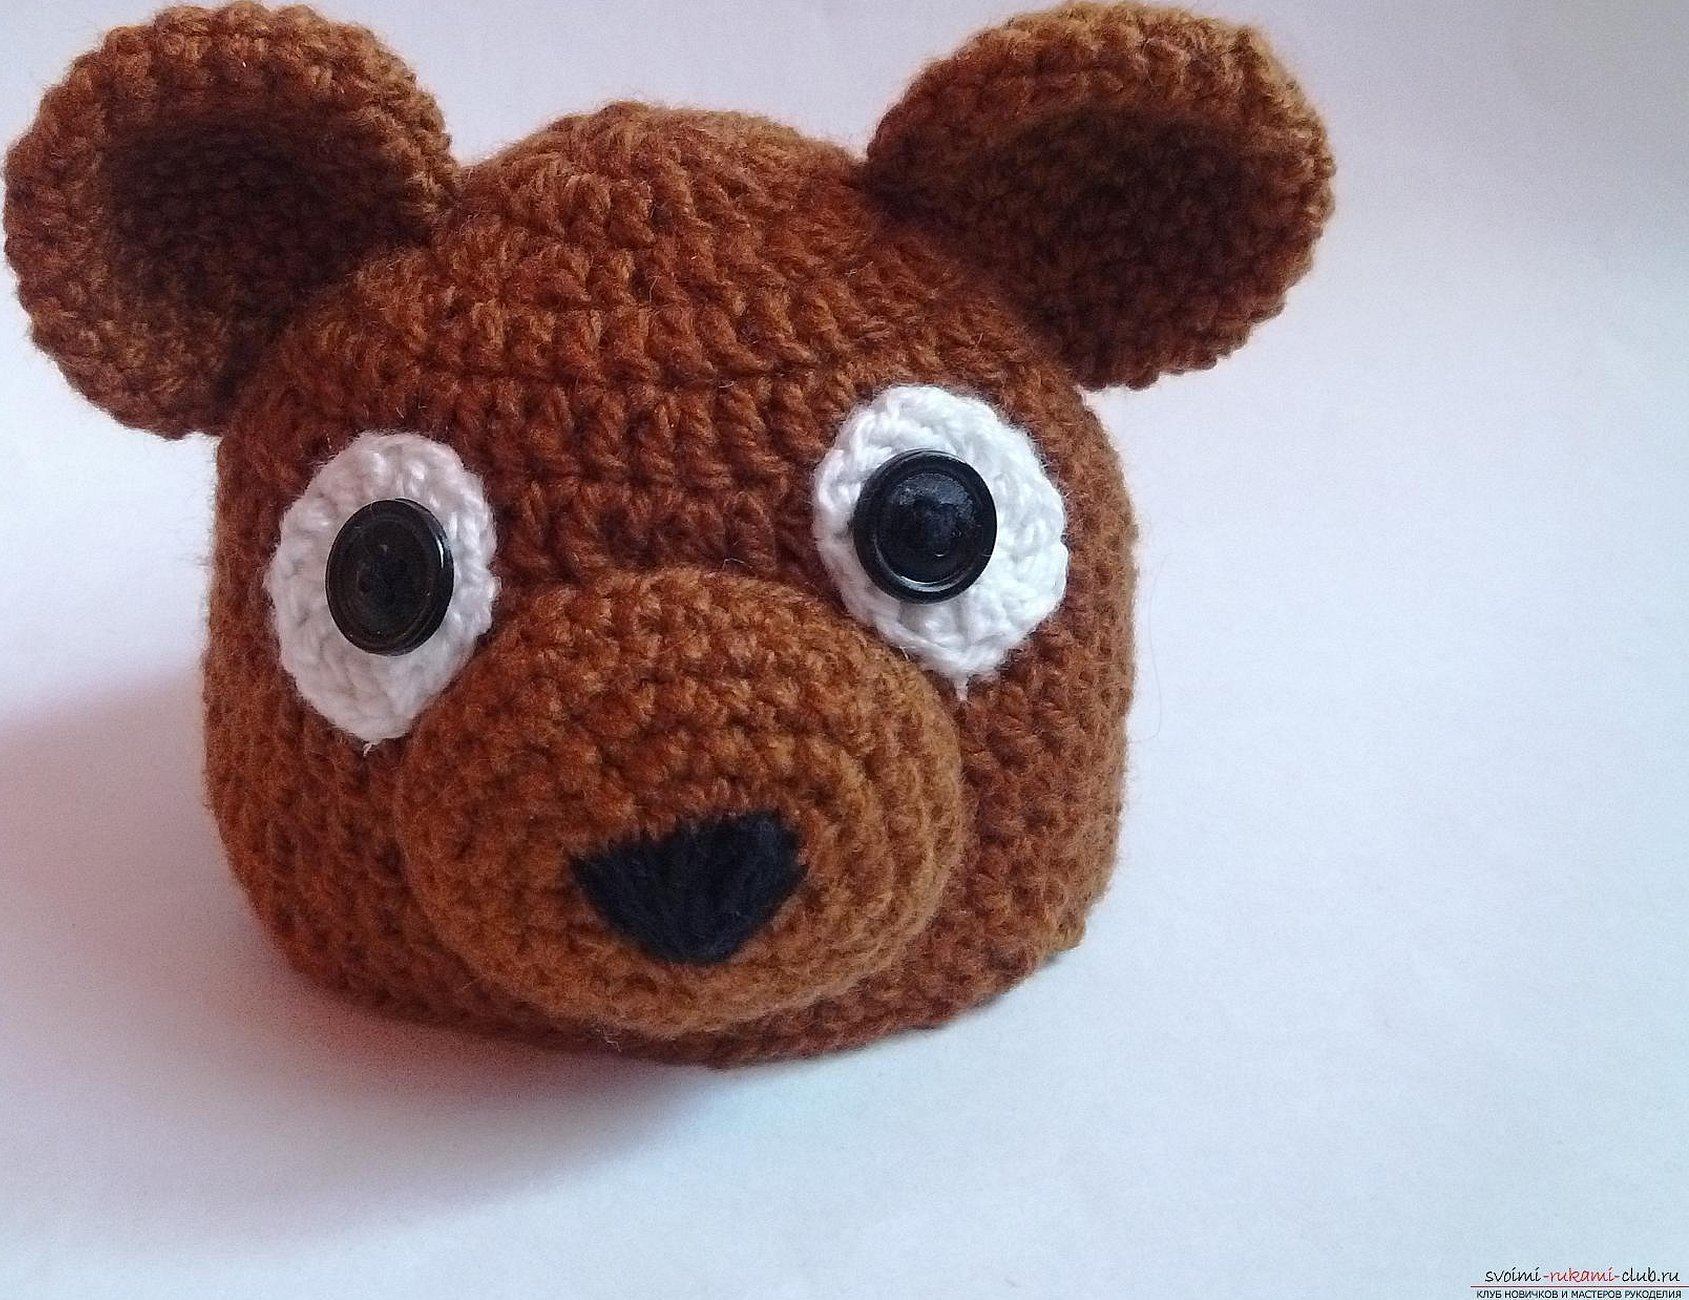
Muzzle
Step-by-step instructions will simplify the knitting process:
- The first step is to form an amigurumi ring.
- In the second row, an increase is made every three columns.
- The third and fourth rows are knitted in a circle without changes.
- Next, you need to switch to gray yarn.
- In the fifth and eighth rows, the number of loops doubles, and two new columns are knitted from each loop of the previous row.
- In the sixth, an increase is made through one column, and in the seventh - through two columns.
- The next four rows are knitted without changes.
- Then you will have to decrease the loops. In the thirteenth row, decrease through three columns.
- The fourteenth and fifteenth rows are simply knitted.
- In the sixteenth row, a decrease is made through two columns, and in the seventeenth row, through one column.
- The next row is knitted without changes.
- In the nineteenth, half of the loops are decreased.
- The twentieth is knitted without changes.
- The thread is broken and passed through the remaining loops.
Paws
If you look closely at the crocheted bears, you will notice that the upper and lower paws are different in size. Therefore, you should knit two parts, and not all four identical ones. First, you need to study the technology of making the upper paws or arms:
- An amigurumi ring is formed.
- An increase is made through two columns, and in the next row – through three.
- After completing four rows, knitting continues without changes.
- In the seventh row, a decrease is made through two columns.
- From the eighth to the eleventh row, decreases are made at intervals of three columns.
- The twelfth and thirteenth rows are knitted without changes.
- In the fourteenth, half of the loops are reduced.
- The thread is broken and passed through the remaining loops.
Technology for making teddy bear legs:
- The first step is to form an amigurumi ring.
- An increase is made through one column, and in the next row – through two.
- After six rows the fabric is knitted without changes.
- In the seventh row, a decrease is made through two columns.
- From the eighth to the eleventh row, decreases are made at intervals of three columns.
- The next three rows are knitted without changes.
- In the fifteenth row, a decrease is made through three columns.
- Then two rows are knitted without changes.
- In the eighteenth row, half of the loops are reduced.
- The thread is broken and passed through the remaining loops.
In conclusion, it should be noted that the level of complexity of the master class is simple, that is, even a beginner knitter can easily cope with it. To knit a toy according to this description, you need to know how to increase/decrease loops in an amigurumi ring.


