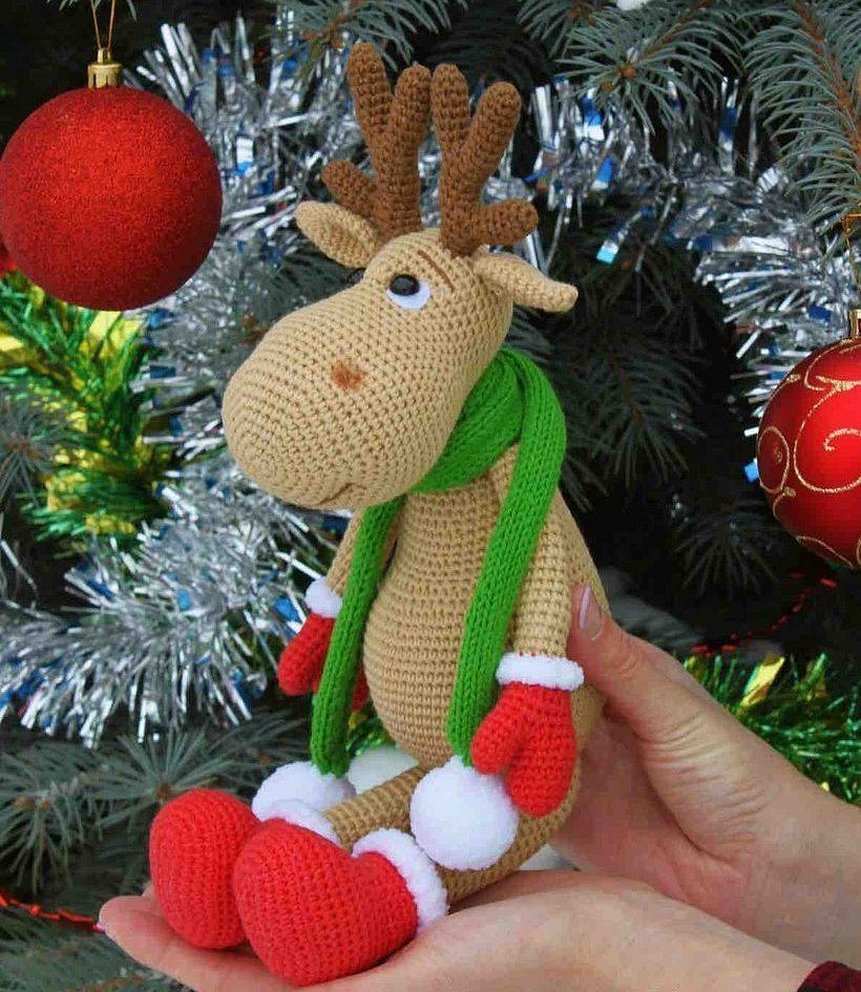
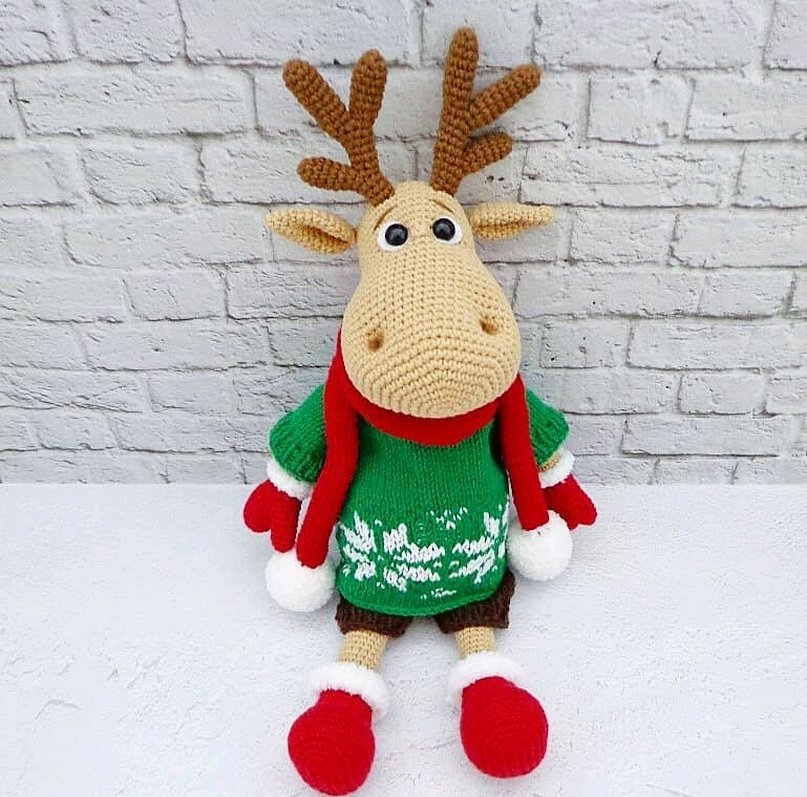
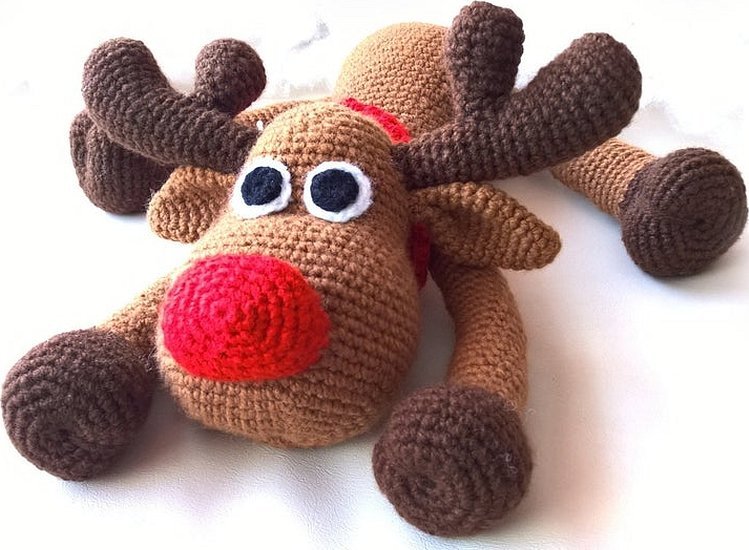
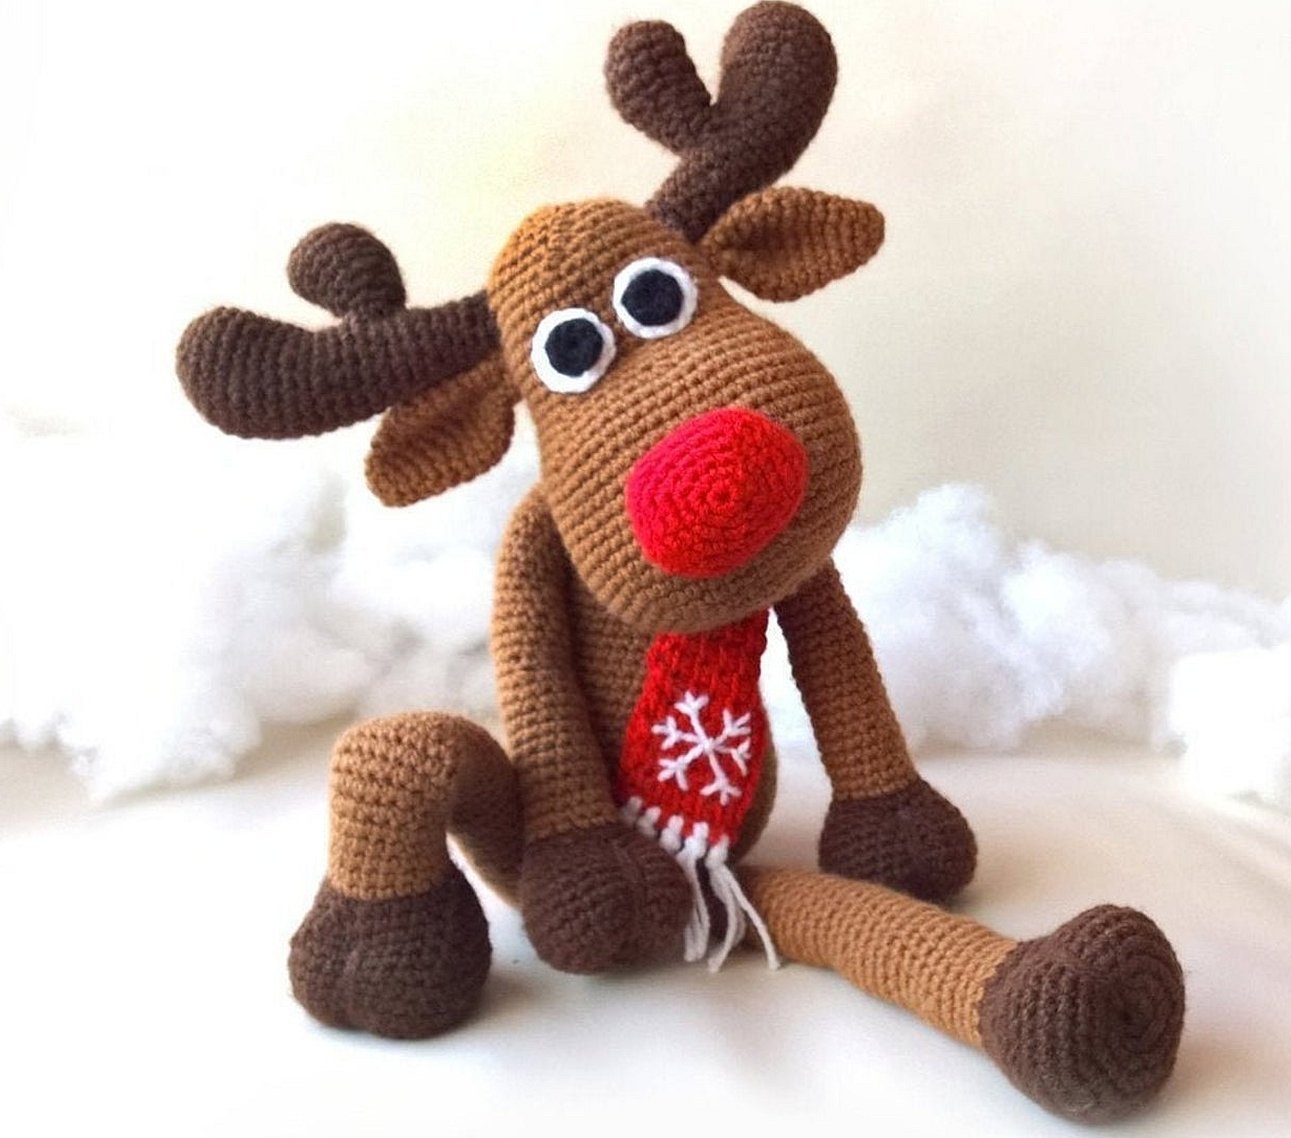
Crocheting is a fascinating activity. You can crochet not only clothes, but also various accessories and toys. The Japanese art of amigurumi, which involves creating various toys with a crochet hook, is becoming especially popular. Patterns of various animals, including deer, are popular. Before the New Year holidays, the number of requests for how to crochet a deer increases significantly.
Deer - a symbol of Christmas and New Year
The deer is a symbol of the New Year and Christmas. Of course, it is not exactly a Russian hero. American and European legends tell about it.
According to history, Santa Claus's team is pulled by nine reindeer. That's why for quite a long time now, you can see various reindeer figurines in American homes before Christmas.
However, there is a place for deer in Russian culture. This animal is often depicted on postcards, mittens, sweaters, and Christmas tree decorations.
For reference! In ancient times, the Slavs considered deer to be the personification of ancestors, a creature that could perform miracles, so they always gave them love and honor.
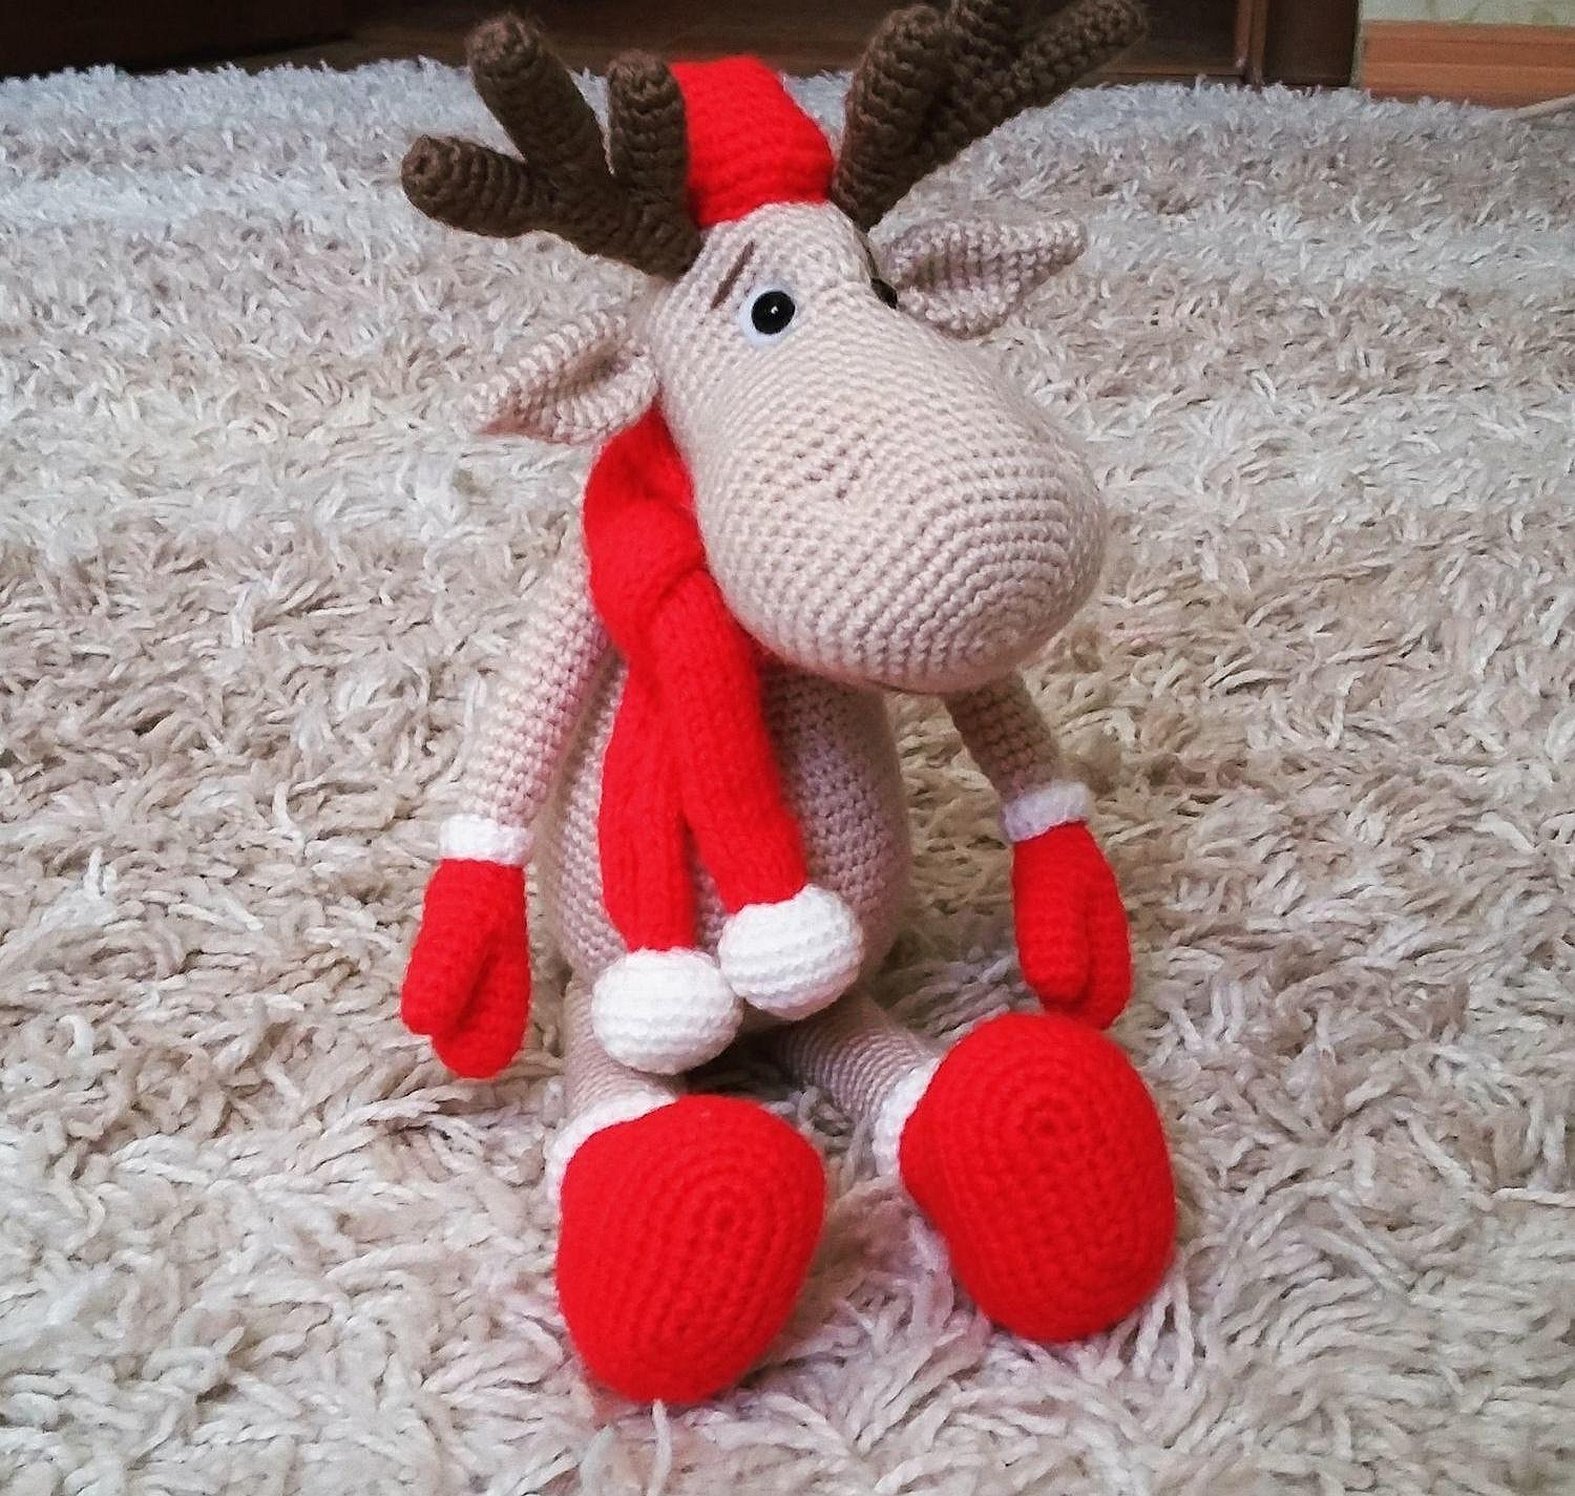
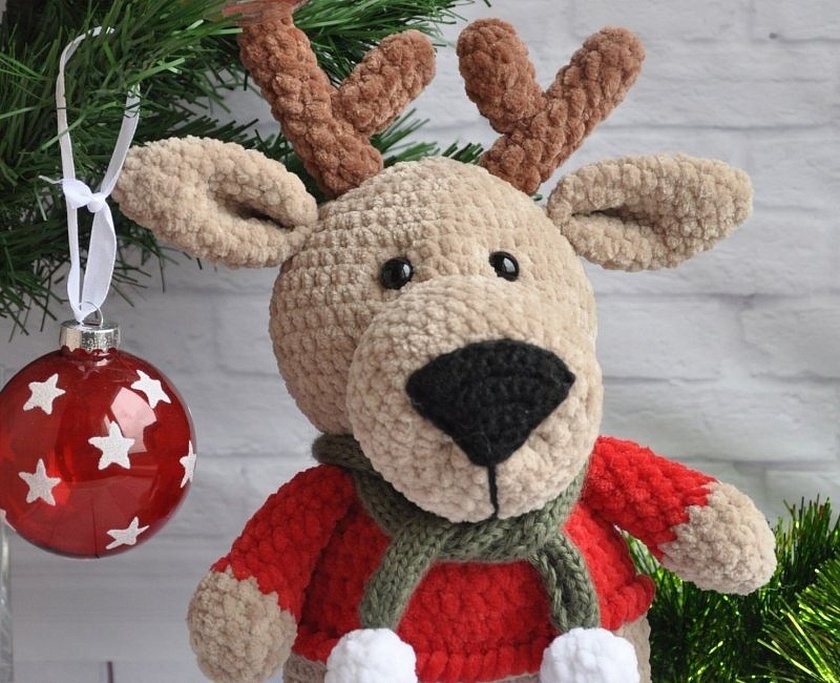
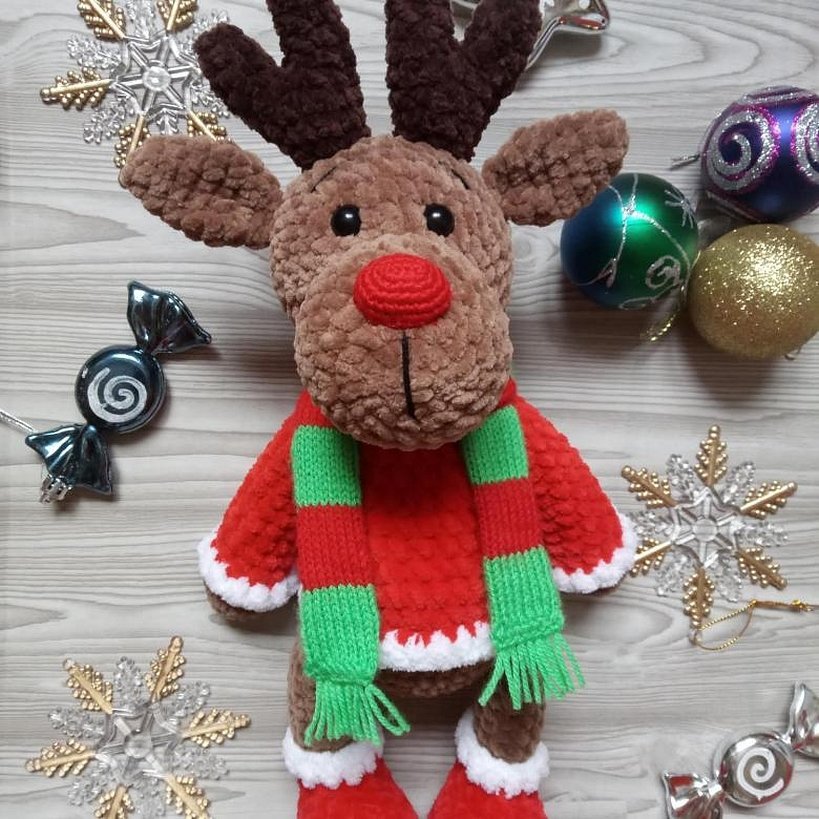
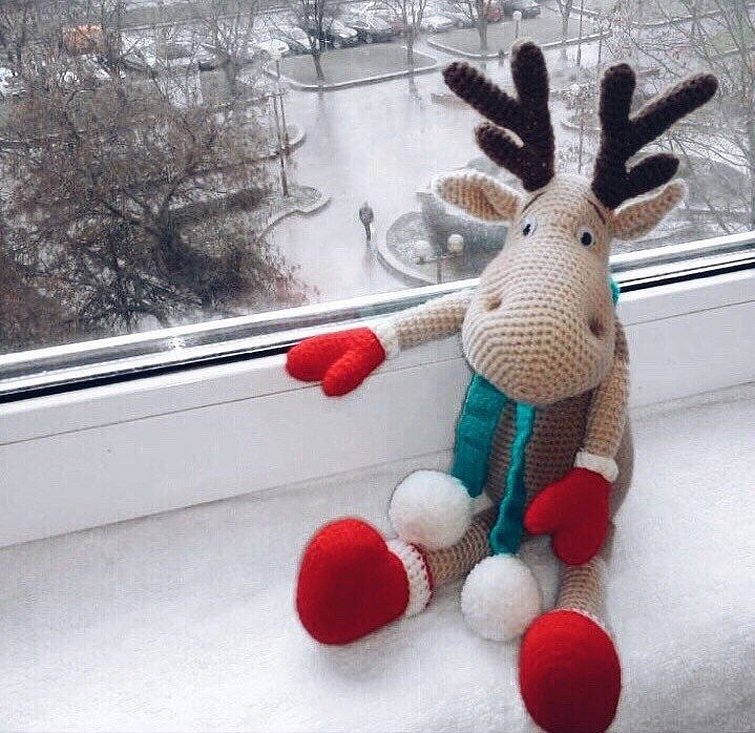
Nowadays, before the New Year and Christmas holidays, many people decorate their homes with images and figures of deer. You can buy such a thing in a store, but it is quite possible to create it yourself using a hook and thread.
A homemade deer will be the most expensive gift and interior decoration.
What you need to make the toy
To fully create a cute figurine, you will need some materials. It is best to prepare everything in advance, so that you do not have to look for the necessary things later. For production you will need:
- Hook No. 2.
- Yarn. You can choose absolutely any threads, the color and composition can also be different. However, it is better if all the yarn is of the same brand or at least similar in composition and thickness, so that the parts turn out identical.
- You can also choose the eyes that you like best.
- Filler. The filler can be synthetic padding, holofiber.
- A needle for sewing together pieces.
- White felt.
- Moment glue.
- Brown paint (pastel is better, but if you don’t have it, you can do without it).
When using such materials, the size of the finished toy is approximately 39 centimeters.
Crochet Deer - diagram and description
Knitting such a toy is quite simple if you have the most basic skills. Experienced craftswomen give several tips that will help you cope with the task faster:
- All the pieces are knitted in a circle, but lifting loops are not needed. The work also does not need to be turned.
- To make it easier, it is better to place a marker in the first loop of each new row or mark it in any convenient way.
- It is worth understanding that the size of the toy depends on the thickness of the yarn.
- To make the product more stable, it is recommended to stuff it more tightly.
Attention! It is important to strictly follow the diagram so that the parts are even and match the dimensions.
The whole scheme is quite simple and includes several types of loops:
- air loop - ch,
- row - p,
- single crochet - sc,
- addition - pr,
- decrease - ub,
- half double crochet - hsc,
- slip stitch — s/c.
If you don’t understand some loops, you can look on the Internet to see how to knit them correctly.
Head
Knitting the head is done according to the following pattern:
- 6 ch connect into a ring.
- Make pr * 6 times, you will get 12 loops.
- Then in each subsequent row, increases are made in the following way - in the 3rd row, you need to knit 1 sc, then make 1 inc, repeat 6 times, resulting in 18 loops. In the next row, knit 2 sc and 1 inc, also repeat 6 times, the total is 24 loops. Thus, loops are added in each row until there are 54 loops in total. A total of 9 rows will be knitted.
- From rows 10 to 17 you need to knit without changes - 54 loops each.
- After this, start making decreases as follows: 18 rows - dec, 25 sc, repeat twice, total 52 loops. 19 rows - dec, 24 sc, all twice, total 50 loops. Decreases are made in this way until 42 remain.
- In row 24, knit 5 sc and 1 dec, you need to knit 6 times, 36 will remain.
- Next: 7 sc, 7 inc using hdc, 13 sc, dec, 7 sc – the result is 42 loops.
- You can stuff the head with filler.
- From 26 to 33 rows should be knitted the same way without increases or decreases.
- In the middle you need to insert the eyes, put pieces of felt under them (to make the pupil), they are placed between the 25th and 26th rows.
- Continue decreasing - 5 sc, 1 dec - 6 times, in the next - 4 sc, 1 dec - 6 times, and so on until there are 6 loops left. On 12 loops you need to finally stuff the head.
After finishing knitting, the ring is tightened and the thread is removed inside.
Ears
The ears are also knitted from a ring, which consists of 6 air loops. The first row is knitted in the same way, in the second you need to make 1 single crochet, then 1 inc, then repeat three times. You will get 9 loops.
Another row without changes. Then continue making increases - in the next row up to 12 loops, in the next up to 15. Seventh row - without changes.
Increase again, resulting in 18 sts. Then do a couple of rows without changes and start decreasing. First to 15, then to 12 sts. Fold the resulting piece in half and connect 5 sc. Leave a thread to sew the piece on later.
At the base you need to sew so that the ear is slightly folded. Sew to the head.
Horns
Deer antlers are knitted from three parts:
- First. A ring of six air loops, make increases in the manner described above, you should get 9 loops, you need to knit only 6 rows.
- The second part is knitted similarly, but not 6 rows, but 7.
- Third. This part consists of 9 rows.
After this, you need to connect all the parts and continue knitting. Attach the third part to the second and knit three times (1 single crochet and 1 dec), repeat the same with the third part. As a result, you will get a total of 12 loops. Next, you need to knit a row without changes, in the next one, make a decrease (2 single crochet, 1 dec) *three times, 9 sts will remain.
Knit rows 13, 14, 15 without changes. After this, attach 1 piece by knitting 1 sc, 1 dec three times, then along the common part - 1 single crochet three times, 1 dec - you will get 12 sts.
The next row is unchanged, in row 18 2 sc, 1 dec - three times, 9 sts will remain. Then 2 rows of 9 sts. The horns are ready, all that remains is to sew them on.
How to tighten the muzzle and sew on the eyes, make nostrils, mouth
It is not difficult to sew the eyes. You need to alternately pull the needle and thread first from top to bottom near one eye, then repeat the same with the other. You need to do this by moving the needle between the eyes. After that, the eyes are glued more tightly using glue.
The nostrils on the nose need to be marked with pins. How to do this is shown in the picture.
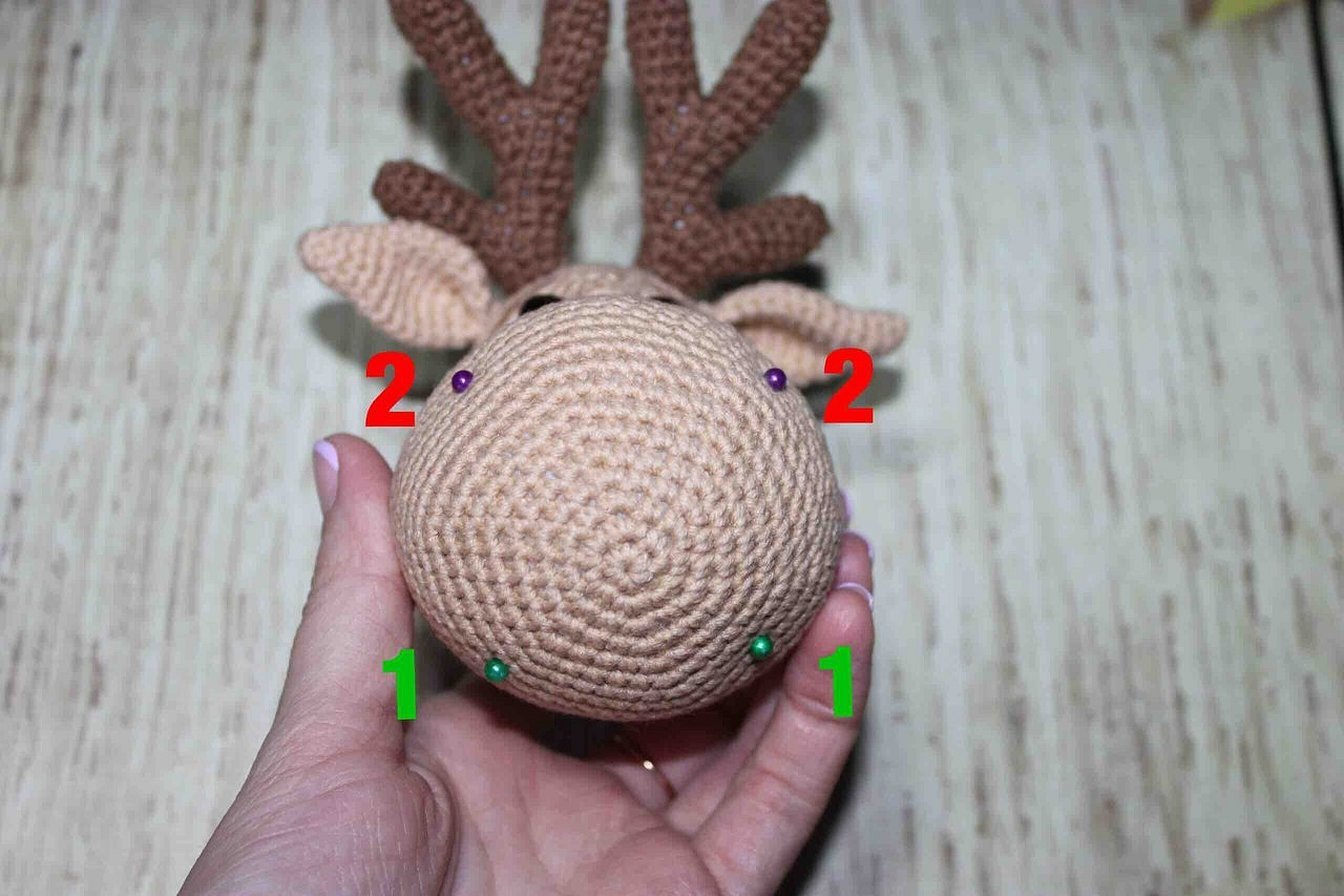
You need to alternately pull the thread from point 1 to point 2. Grab the column, make the way back, but bring the needle out one row below point 1. The resulting two tails need to be tied with a knot. The nostril is formed on top. Repeat the same on the other side.
For reference! The mouth can simply be carefully embroidered with contrasting thread.
Torso
The body is knitted in the same way as all the parts. The process begins with a ring of 6 ch, after which increases are made using the method described above until there are 66 loops in the circle, this will be row 11. From 12 to 22 rows must be knitted evenly, without any changes.
Then the decreases begin:
- Row 23 - up to 60 stitches.
- 24 - 60 loops.
- 25 - 18 sc, (2 sc, 1 dec)* 6 times, 18 sc - 54 sts.
- 26 - 54 sts. Gradually add filling.
- 27 - 18 sc, (1 sc, 1 dec) - 6 times, 18 sc.
- 28, 29 rows - 48 sts.
- In row 30, repeat 6 times - 6 sc, 1 dec.
- 31, 32 rows - 42 sts.
- 33 - repeat decreases, total - 36 sts.
- 34, 35 rows - 36 sts.
- Row 36 - decrease 30 sts.
- 37, 38 - 30 p.
- 39 - decrease to 24 sts.
- 40, 41, 42 - 24 p.
Add stuffing to the top, then knit the neck:
- 10 single crochet, sl st, 1 ch, turn,
- 11 single crochet, sl st, 1 ch, turn,
- 12 single crochet, sl st, 1 ch, turn,
- 13 single crochet, sl st, 1 ch, turn,
- 24 single crochet, sl st.
The body is ready.
Handles
The handles are knitted as follows:
- Ring of 6 ch, make increases to get 9 loops, knit only five rows.
- Ring of 6 ch, repeat increases to get 12 sts, then increase to 15 loops. Knit to row 7.
- Connect the two parts - knit 5 sc on 2 parts, then 9 pcs on the first part, 10 pcs on the second, a total of 24 sts. In the next row, decrease until you get 18 sts. Rows 10-11 with 18 sc, in 12 decrease - 12 sts. Up to row 14, 12 single crochets. Then change the yarn and knit from row 15 to 34 without changes. Stuff the handle so that it turns out with a mitten.
Legs
The Christmas deer's feet are in boots. Therefore, knitting begins with colored thread:
- 7 ch + 1 lifting loop.
- In the second st from the hook - inc, 5 sc, 6 sc in one loop, 5 sc, 1 inc - 20 sts.
- 2 inc, 5 sc, 6 inc, 5 sc, 2 inc.
- (1 sc, 1 inc) - twice, 22 sc, (inc, 1 sc) twice.
- 11 sc, (1 sc, 1 inc)*6, 11 sc.
- 2 inc, 38 sc - 42 sts.
- 42 sts from rows 6 to 9.
- 13 sc, (1 sc, 1 dec)*6, 11 sc.
- 36 p.
- 10 sc (1 sc, 1 dec)*6, 8 sc.
- 10 sc, 6 dec, 8 sc.
- Change the thread to the main one, knit (2 sc, 1 dec) * 6 - 18 sts.
- (4 sc, dec)*3.
- From 16 to 24 to 15 p.m.
The boot is knitted from rows 14 to 20 (seen in the picture), then tied with white thread. The leg is knitted with the main color from rows 25 to 41 with 15 sc.
Assembling the toy
The knitted deer is easy to assemble. You need to check that all the parts are well stuffed. Try them on, see what you get and sew them carefully.
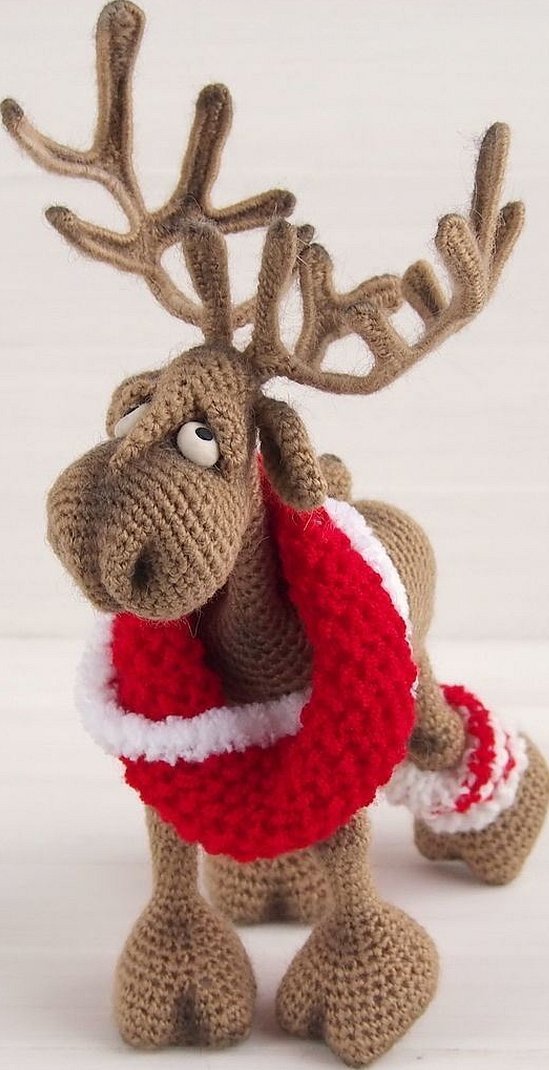
An important detail is the scarf with pompoms
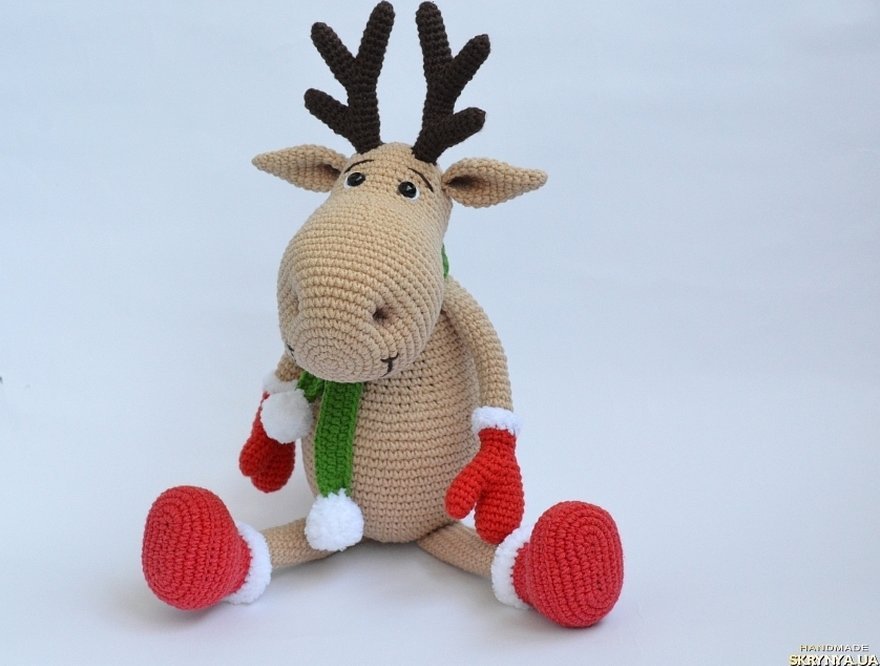
A scarf with pompoms is a rather important detail, which is also easy to knit. For this purpose, you can use knitting needles or the same hook. On the Internet, you can find many master classes and channels on making simple scarves.
Pom-poms are also easy to make in a variety of ways. The easiest way is to wind a large amount of plush threads onto a piece of cardboard, tie them in the middle and carefully cut them on the other side. The result is a small fluffy pom-pom.
A crochet deer, the diagram and description of which are quite simple, will become a wonderful symbol of the New Year. The manufacturing process is not complicated, the main thing is to follow all the diagrams, then the pattern will not shift, and the result will please. A deer is a symbol of the holiday, but even on weekdays, a thing created with your own hands will give warmth and pleasant impressions.


