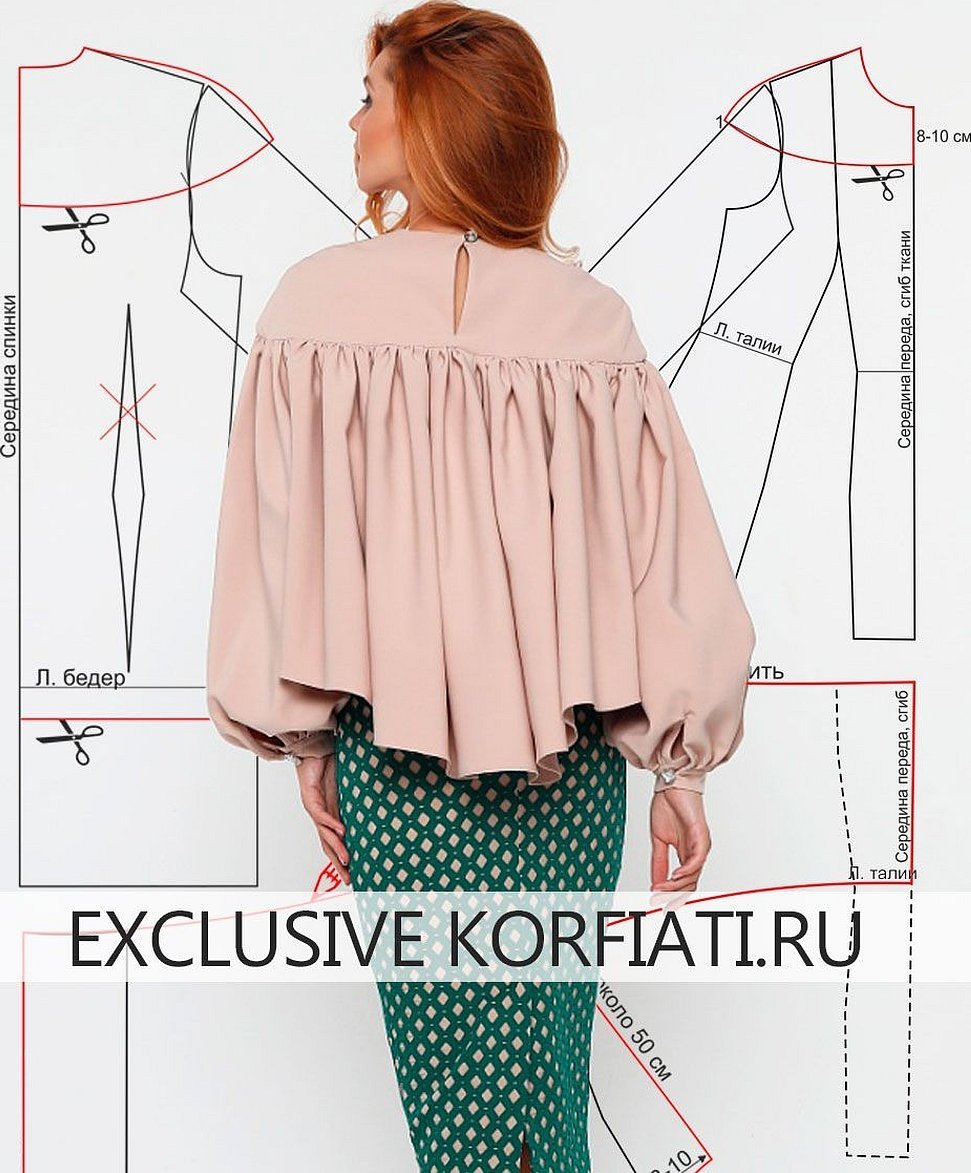
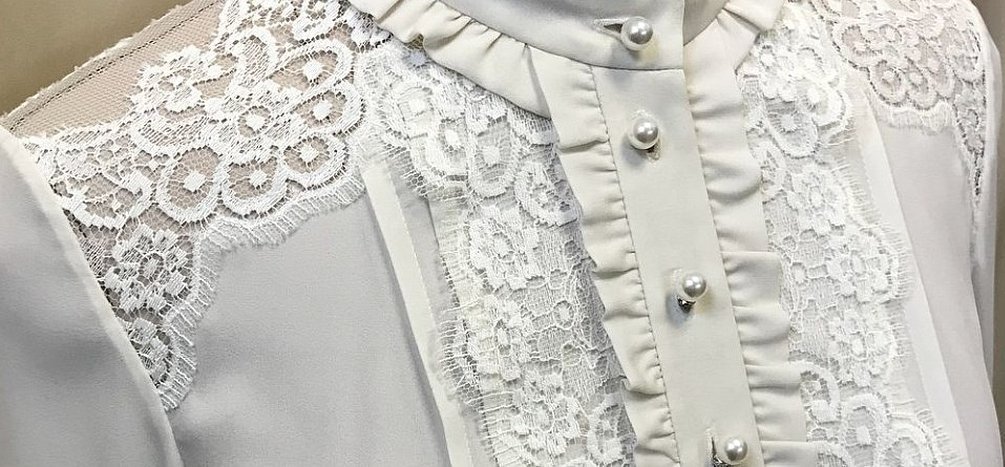
If you want light clothes for everyday wear, a blouse pattern with a one-piece sleeve looks good. The items are suitable for any occasion. There are summer options and a simple business style. When considering a blouse, the material and sewing technology are assessed.
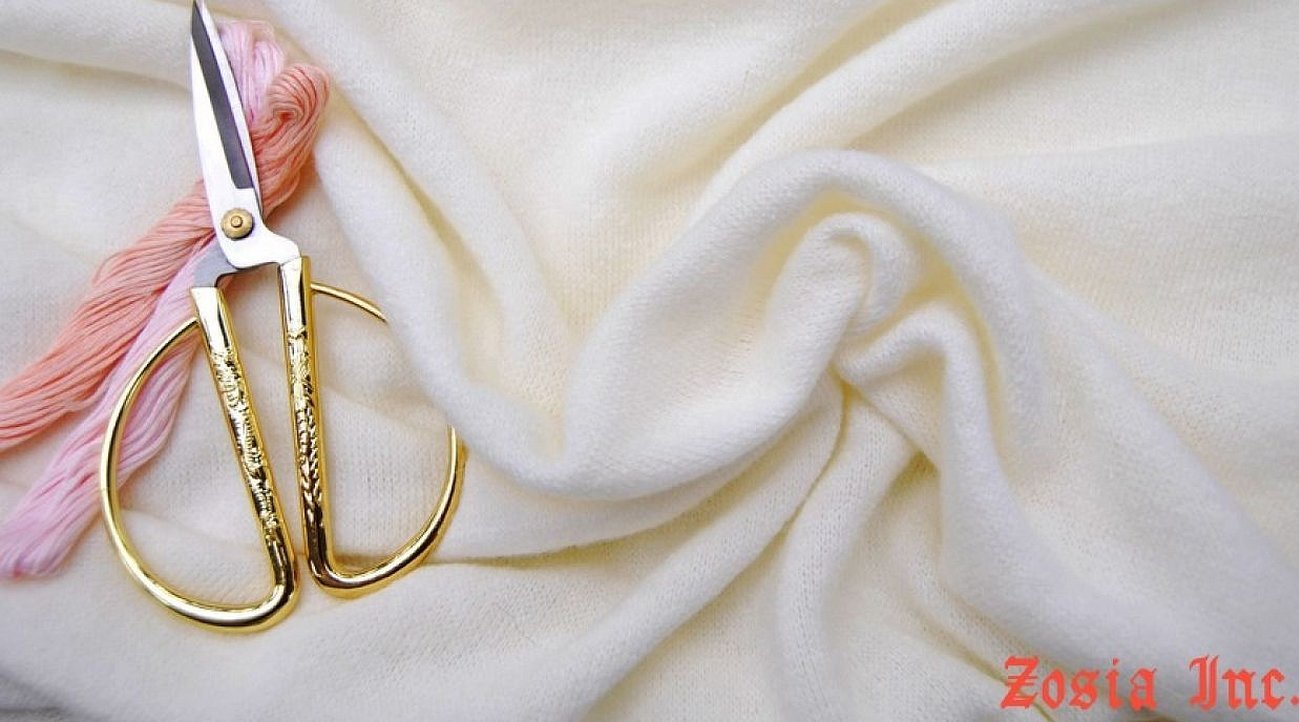
Choice of fabric
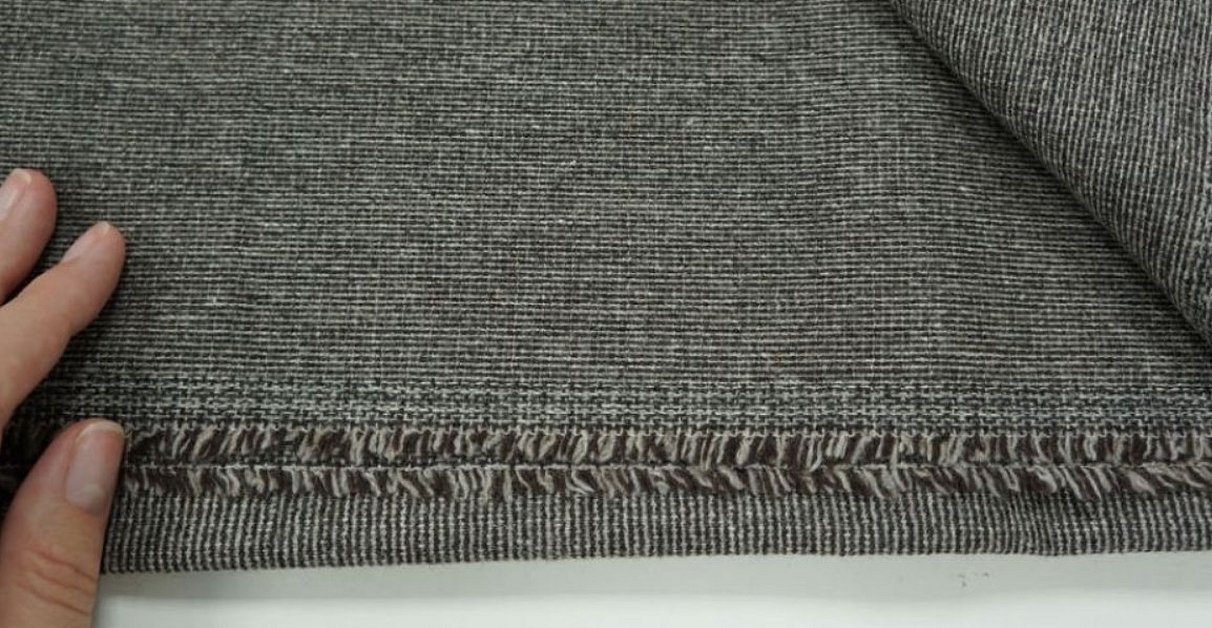
Common fabric options include silk, polyester, chiffon. Jersey will also look good. If you evaluate crepe de chine, it is a little stiff, but will also find fans.
Taking measurements and pattern
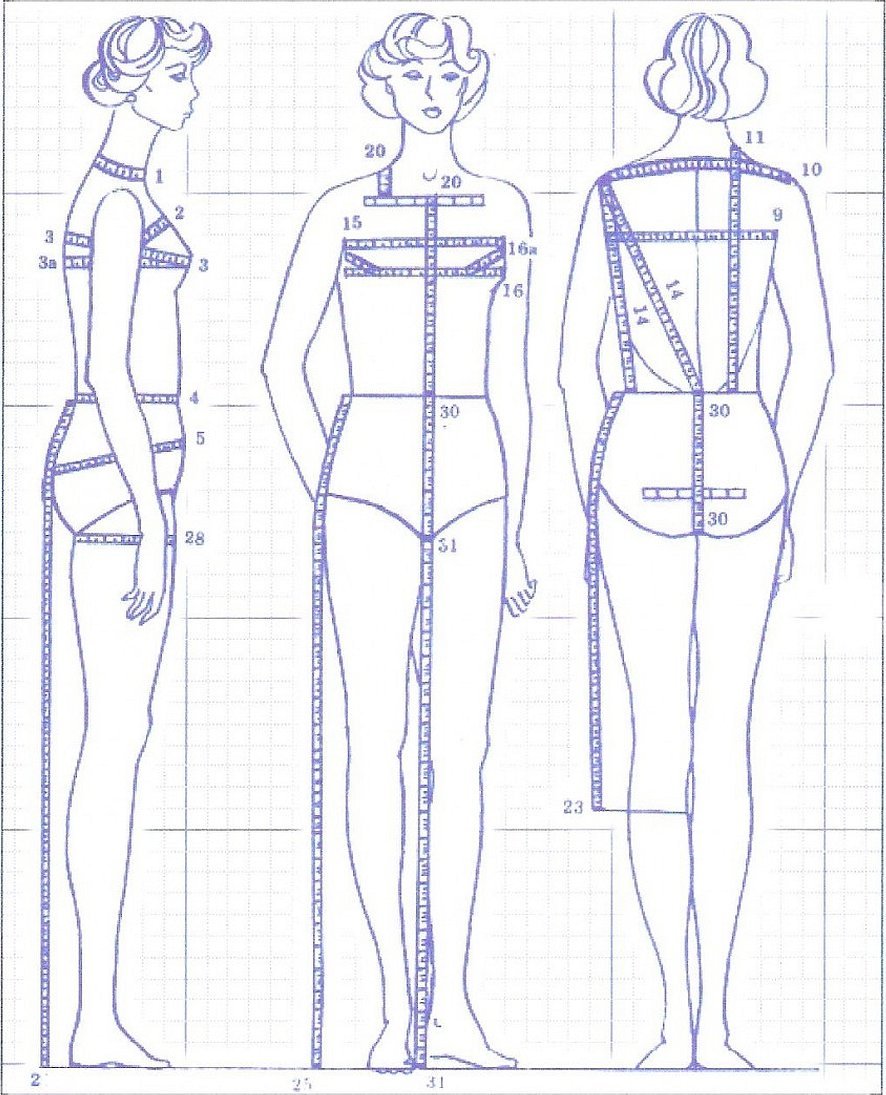
If you are considering a pattern for a blouse with dropped sleeves, then the following factors are taken into account when taking measurements:
- breast size,
- length from neck,
- sleeves.
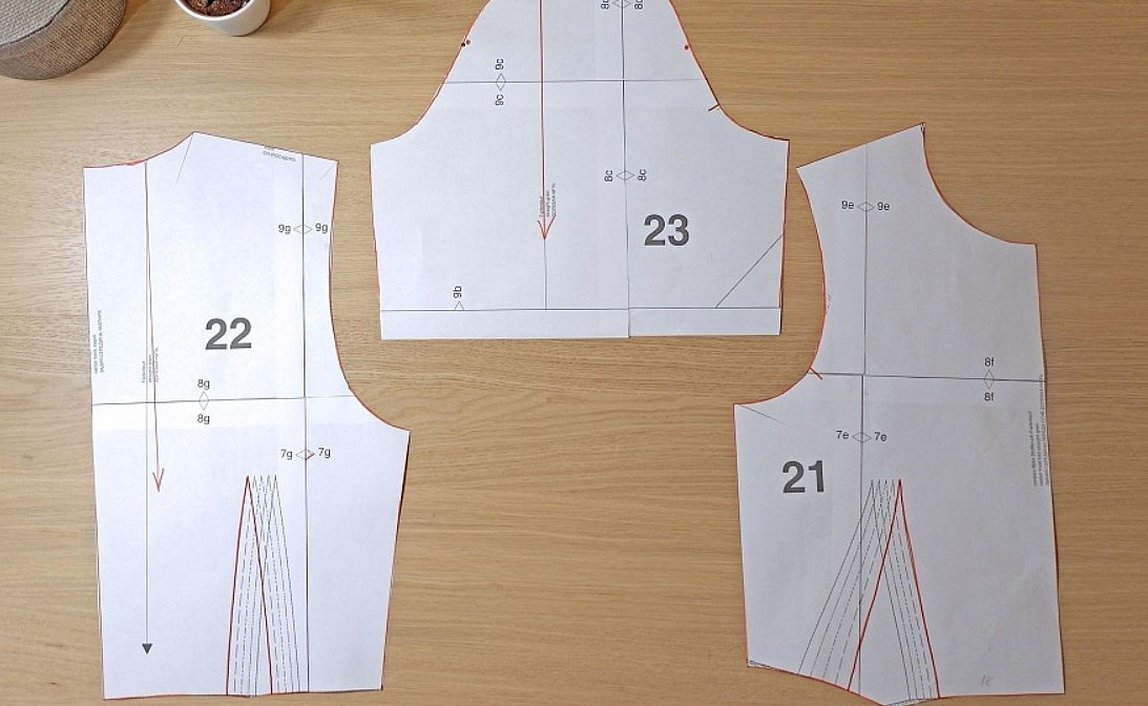
There are basic patterns of women's blouses that you can play with. It is recommended to immediately transfer the original images onto a piece of paper using high-quality tracing paper. Then you need to start building. Hip circumference measurements and adjustments are made.
Important! The secret is to provide allowances. The seams are on the neck and bottom of the garment. A thin strip is a guarantee of successful work.
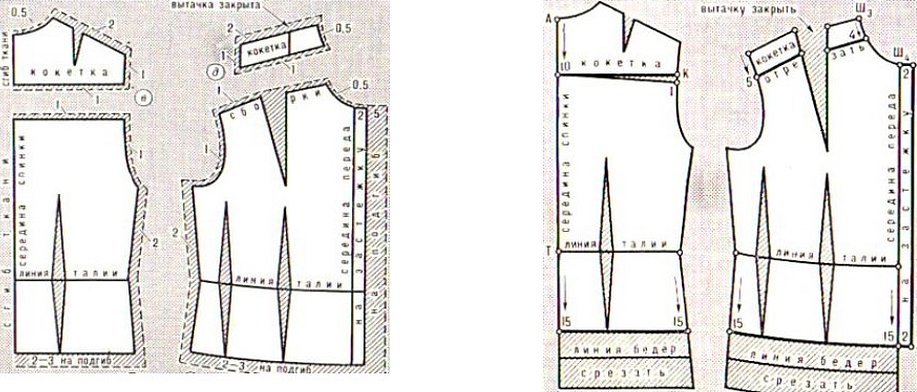
Modeling a blouse with a yoke
The pattern of a sweater or blouse with a one-piece sleeve (size 50 and up) includes six elements. The most common options are those with gathering. The depth of the chest dart depends on the customer's wishes. The style is considered more suitable for work.
Models for constant wear are also being looked at. Blouses with patch pockets look elegant. They are stitched in the chest area and fit harmoniously into the pattern. There are options with a yoke along the chest line.
Step by step master class:
- modeling is being carried out,
- blouse pattern,
- bust dart,
- translation under the yoke,
- back work,
- front neckline of the blouse,
- coquette mark,
- armhole line connection,
- blouse layout,
- seam allowance,
- edge stitching.

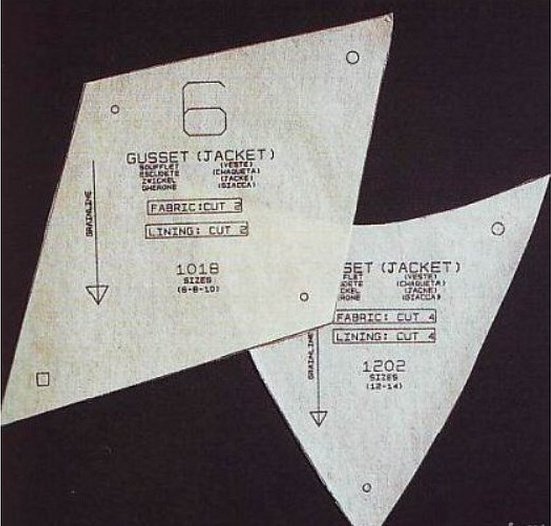
Gusset for a perfect fit
If you want to sew a blouse with a one-piece sleeve (summer), it is recommended to consider a model with a gusset (this is the TOP level). This diamond-shaped element can be folded from two forms. Reinforcement is often used, so a cut is made along the workpiece. To fix the edges, it is recommended to hold the product against the table.
Advice! For a blouse, a 5 x 5 cm square is ideal.
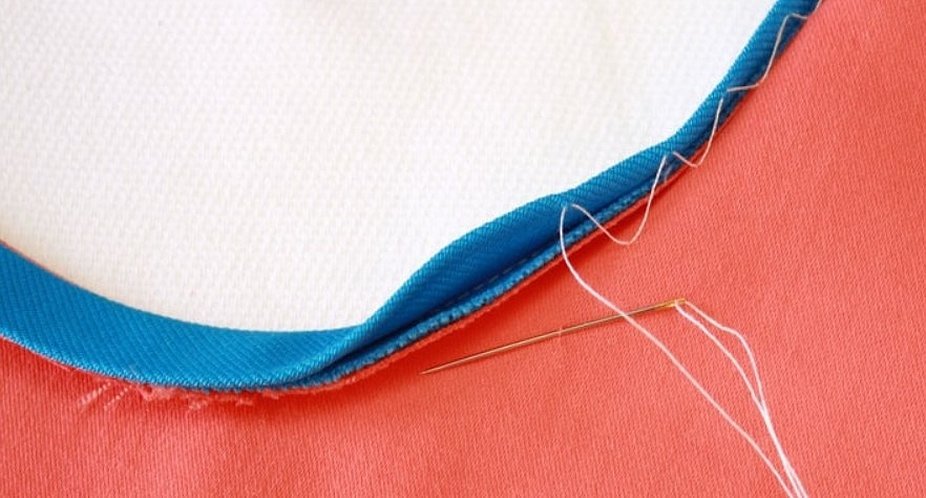
The facing is sewn to the front side. It is necessary to mark the seam line in advance. Pins are used to fix the shapes. Regarding the neckline, much depends on the type of fabric. Cuts are made along the lines.
The optimal length for a 5 x 5 cm piece is 1 cm. You shouldn't sew all the shapes at once, it makes sense to make a short stitch. Then you need to move along the cut line. If the material starts to ripple, you need to use an iron. The facing is made towards the cut. The allowances should remain free.
The next step is to sew the gusset. The side seams are hidden and you can move on to the sleeves. You need to iron the lines. To prevent the gusset from slipping to the side, use pins. The first time you may not be able to connect the shapes, it is important to follow the seam line. It is recommended to go over the bias facing with stitches.
To make it easier to work, you need to turn the gusset over. The processing takes place in several stages:
- end extension,
- formation of a free edge,
- trimming excess material,
- stitching,
- a basque is planned,
- checking allowances,
- final iron pass,
- the seams are brought to the edge.
Sewing a blouse
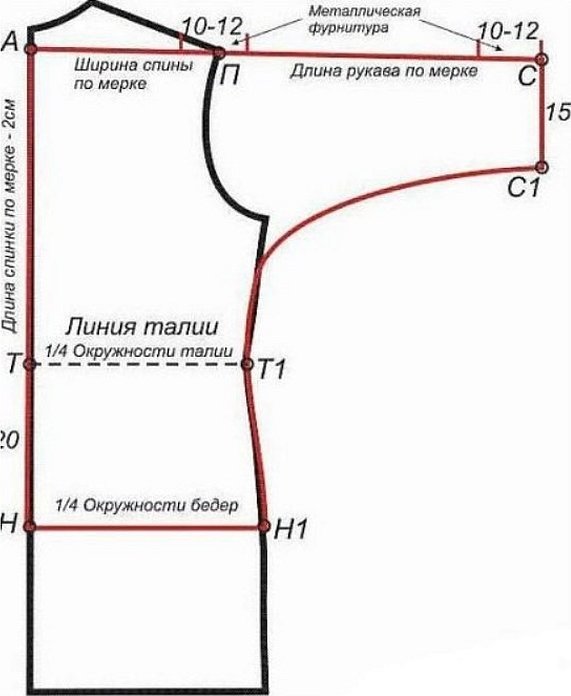
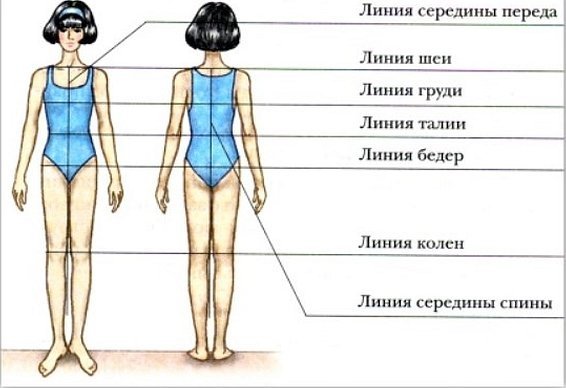
Basic alignment will allow you to move on to more complex models. At the preparatory stage, a grid is drawn. The waist, hips, and neck lines are marked. Next, a regular rectangle of 51*55 cm is drawn on the sheet.
Interesting! It is recommended to consider the option with a back line of 18 cm. It is marked to the waist.
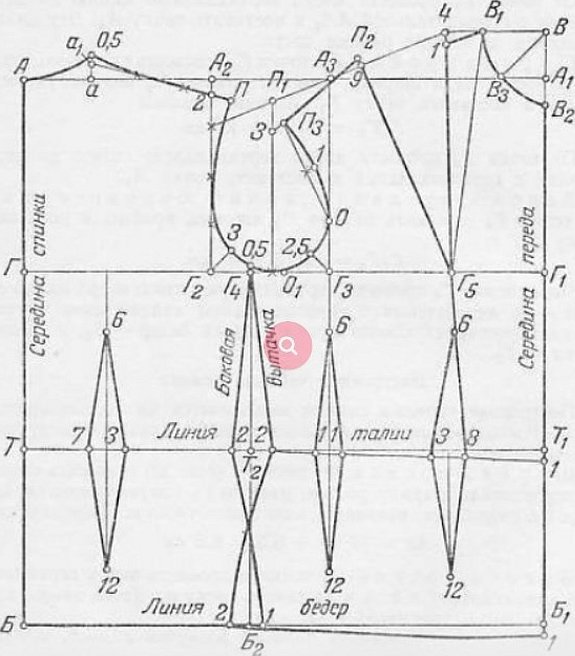
The next step is to form the armhole size. Ideally, a third of the chest line is taken. Straight lines are drawn on the drawing and the intersection point should be calculated. After that, you need to move on to the waist. The length of the back and the location of the intersection point are taken into account.
Work plan:
- blouse pattern on the back,
- drawing up a diagram,
- hip line,
- cutting out shapes,
- fitting by back width,
- armhole formation,
- connect the dots,
- forming the blouse shelf.
The middle of the segment is marked and a mark is made between them. The right and left sides must match. If the width and height are the same, the segments must be divided. A line is marked on the arms to the shoulder girdle. To lower the armhole, you will have to take a segment with a margin.
The neckline from the back is first marked on one segment. It is necessary to draw a semicircle - the maximum radius is 6.5 cm. It is better to provide a smooth bend, so that it is convenient to sew. It is recommended to start from the line of the back. During the fitting, the location of the shoulders is taken into account. There are options with a slope of the straight line or without it. When the points are marked, it remains to draw a circle. The front for the blouse is made according to the instructions:
- measurement of a segment,
- comparison by length,
- forming the neck (cut according to the pattern),
- bend mark,
- neckline,
- neckline,
- making a bust dart,
- marking - central point,
- formation of the chest line, shoulders,
- bust dart,
- blouse armhole (needs to be cut out),
- hiding the side seam,
- waist line shaping,
- construction of the neck.
Decating of fabric
Decating wool fabrics can be done at home. This is a wet-heat treatment. As a result, the fabric will shrink and will be considered suitable for wearing. Such items can be washed, and after shrinkage, the blouse will not stick out. Most often, processing is done if the blouse is made of viscose, jacquard or tweed.
Important! First, the material must be moistened and then an iron is used, but without fanaticism.
Of course, factories use equipment - powerful steam generators. The main rules for decatizing - the treatment is carried out from the outside. The iron moves along the thread, do not move it along the entire form. For colored items, a solution is prepared that includes vinegar.
Above is described how to make a blouse with a one-piece sleeve. Everything starts with the selection of material, it is necessary to consider the pattern. People prefer blouses with a yoke or gusset.


