A tie is a basic item in the wardrobe of every self-respecting person, regardless of his occupation. What types of ties are there, what are they made of, and how to sew a tie yourself, using a simple diagram? More on that below.
- Types of ties
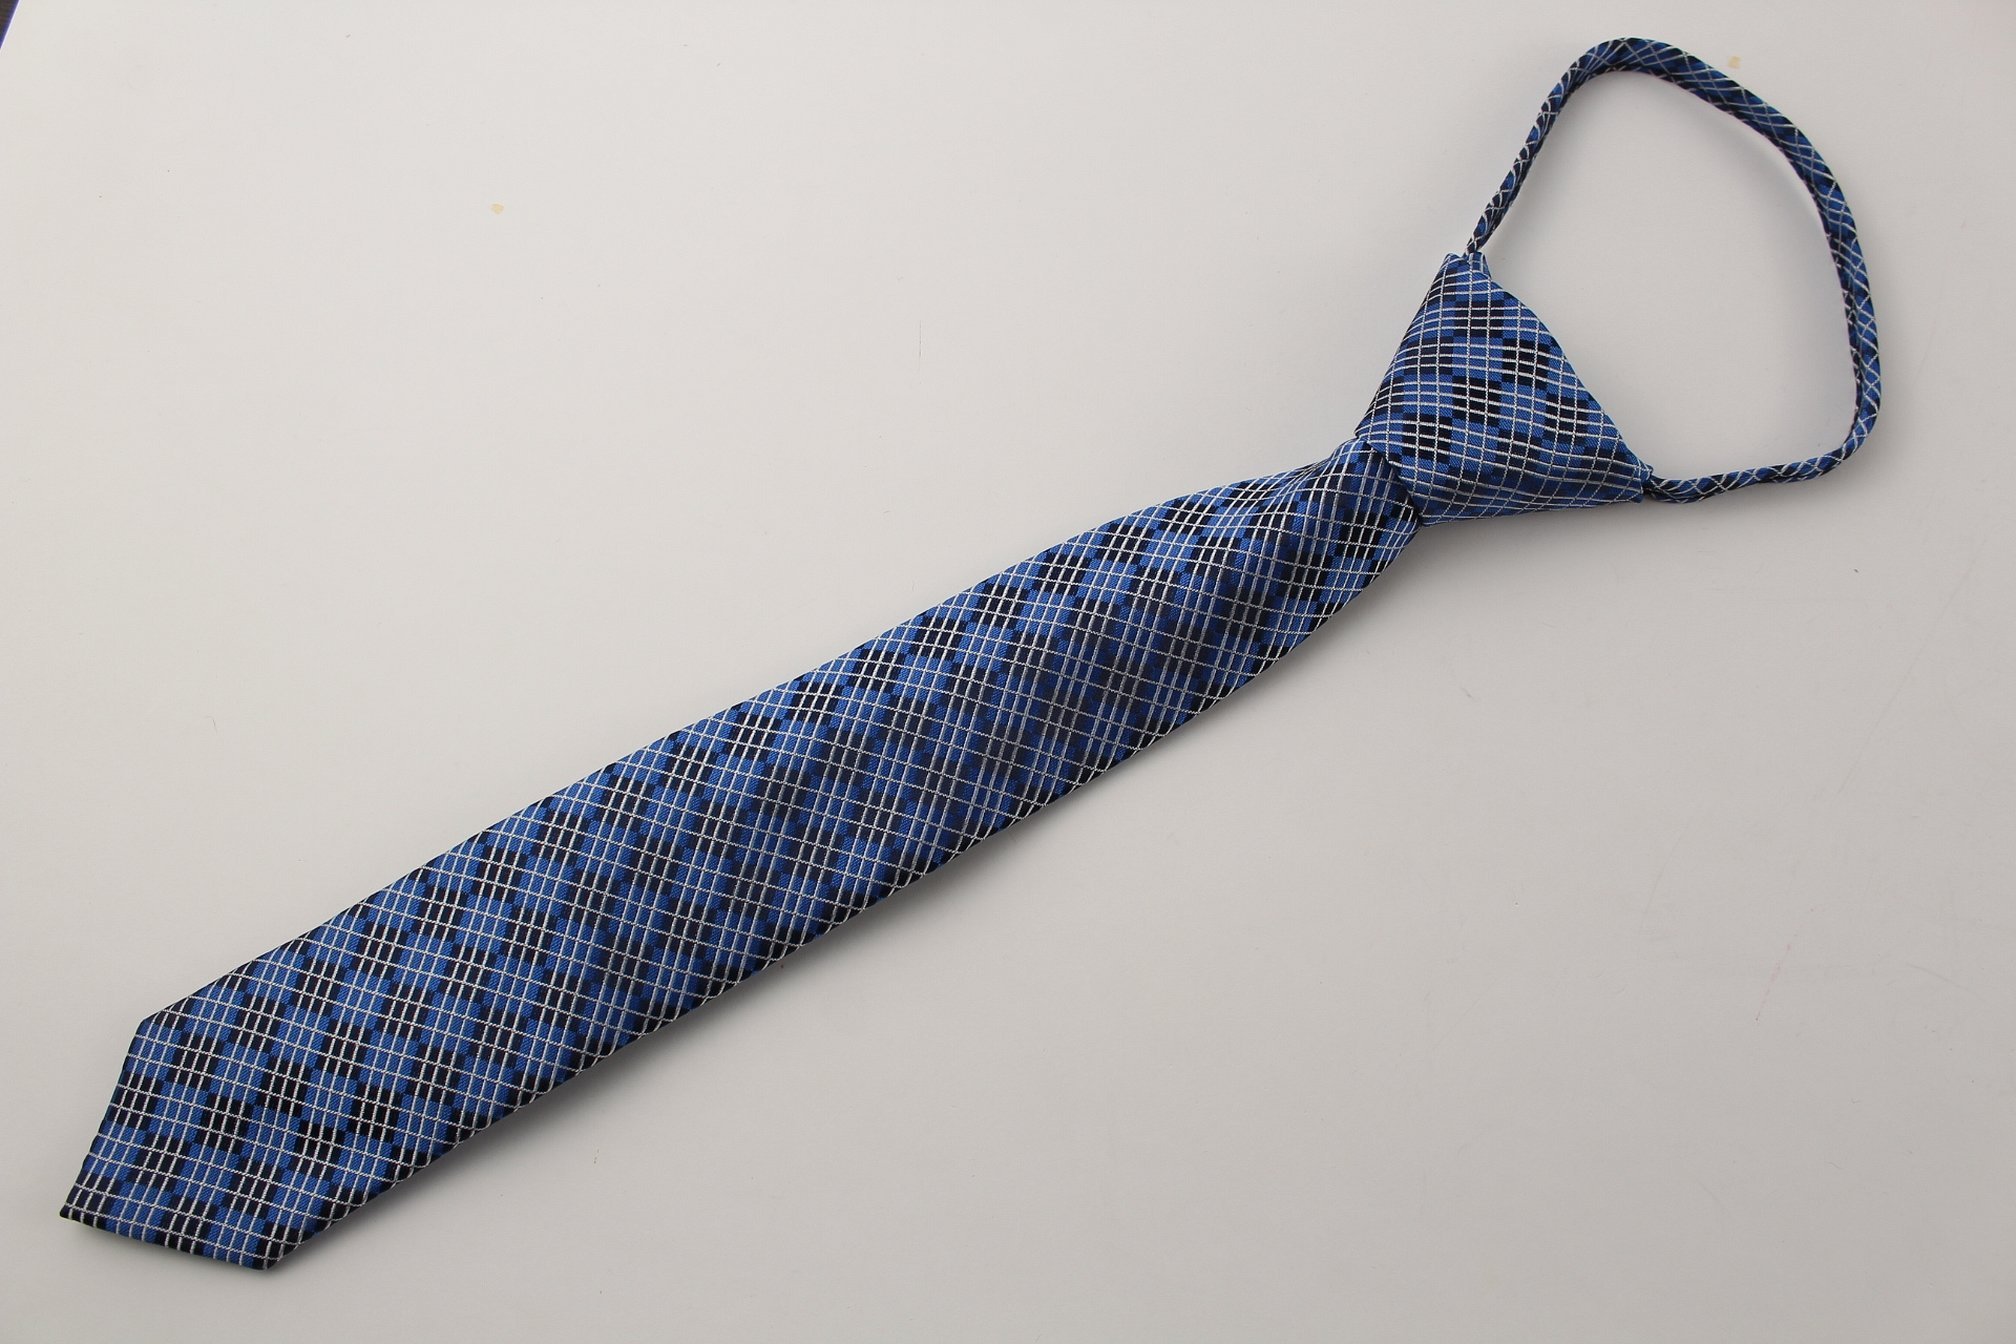
- Children's with elastic
- Men's classic
- Herring
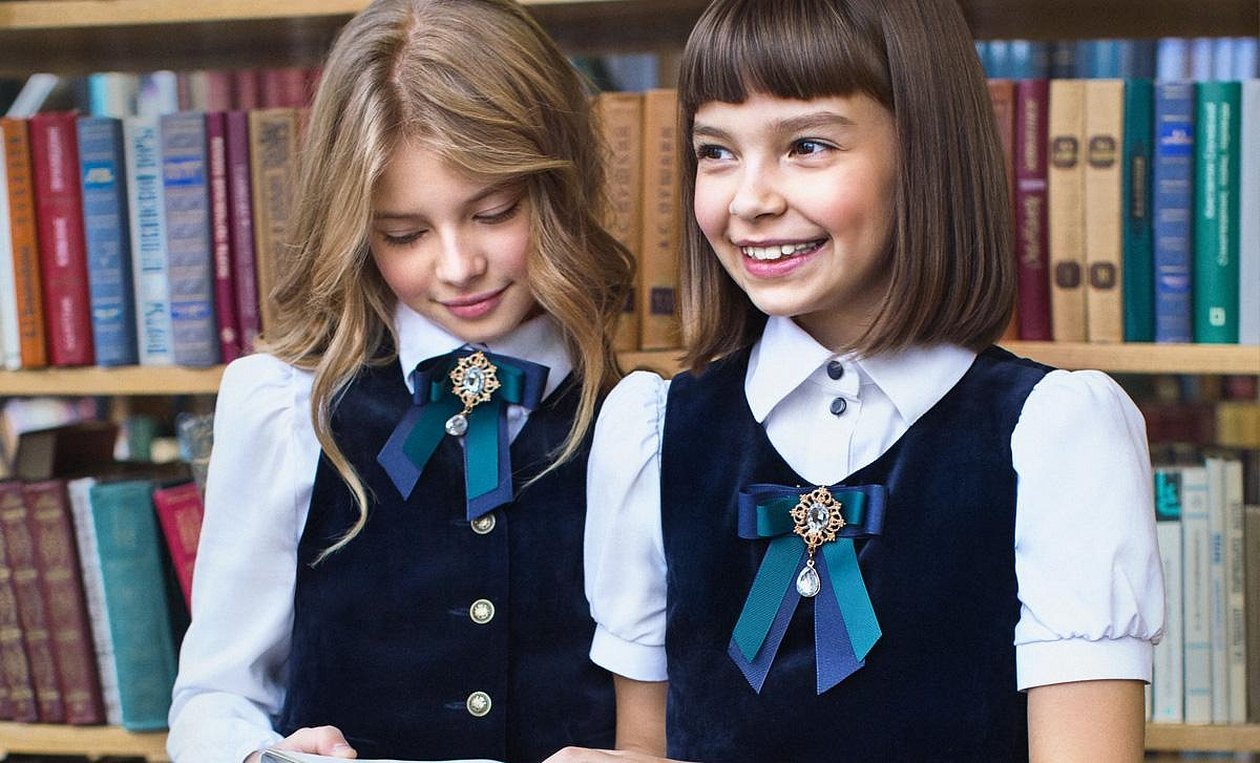
- School for a girl
- Female
- Materials and tools
- Step by step instructions
- Making a template
- Cut out the main part of the tie
- Transfer the seam lines for attaching the facings
- Cut out additional parts
- Processing the top and bottom edges of the tie
- Turn inside out and iron
- Lay the gasket
- Fold the long sides to the middle
- Sew on the fastening
- Start sewing the middle fold from the bottom
- Finish the seam in the middle inside the tie
- Own label - proof of handcraft
- Iron and try on
Types of ties
At this point, when describing the types of ties, it is worth mentioning that these things are divided into three large subgroups. They are children's, men's and women's. There are also other more extensive classifications. According to one of them, a tie can be classic (150 centimeters), regatta with an elastic band, Windsor, plastron, bow tie, bolo, lavaliere, sewing handkerchief and herring.
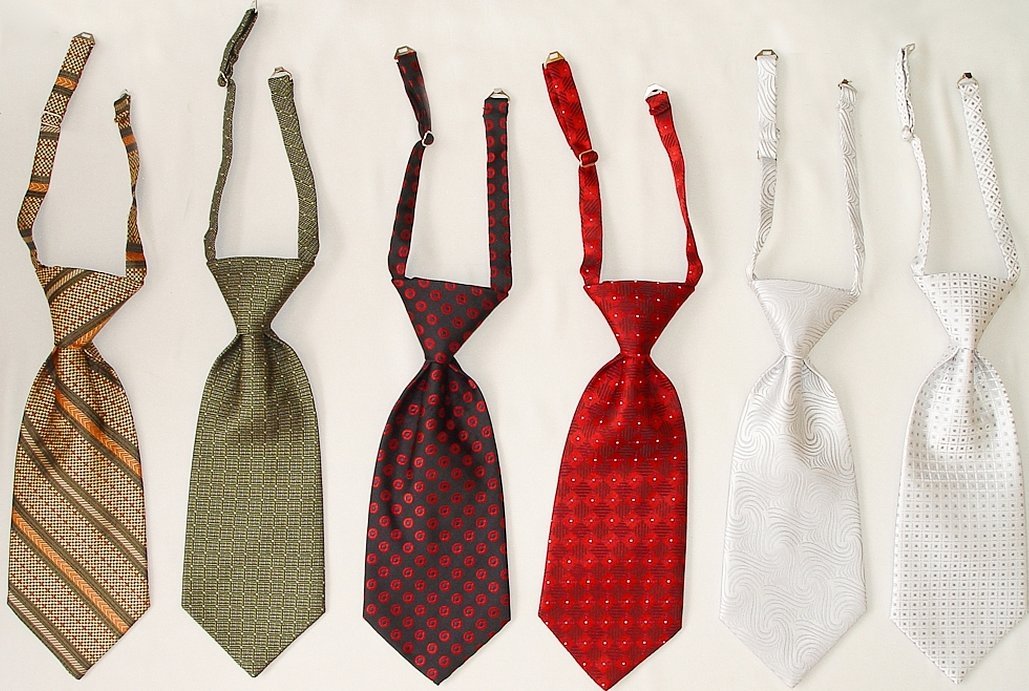
Children's with elastic
An embroidered tie with an elastic band is a children's model for a girl and a boy, thanks to which a little gentleman or lady looks elegant. This is a practical and universal pioneer thing, which can be both everyday and formal, depending on the type of natural fabric and color. It can be made from paired cotton, as well as from satin, silk and jacquard. This model for a child is tied to a shirt as simply as possible. All you need is to put the elastic band on the neck and adjust the edges of the hipster shirt.
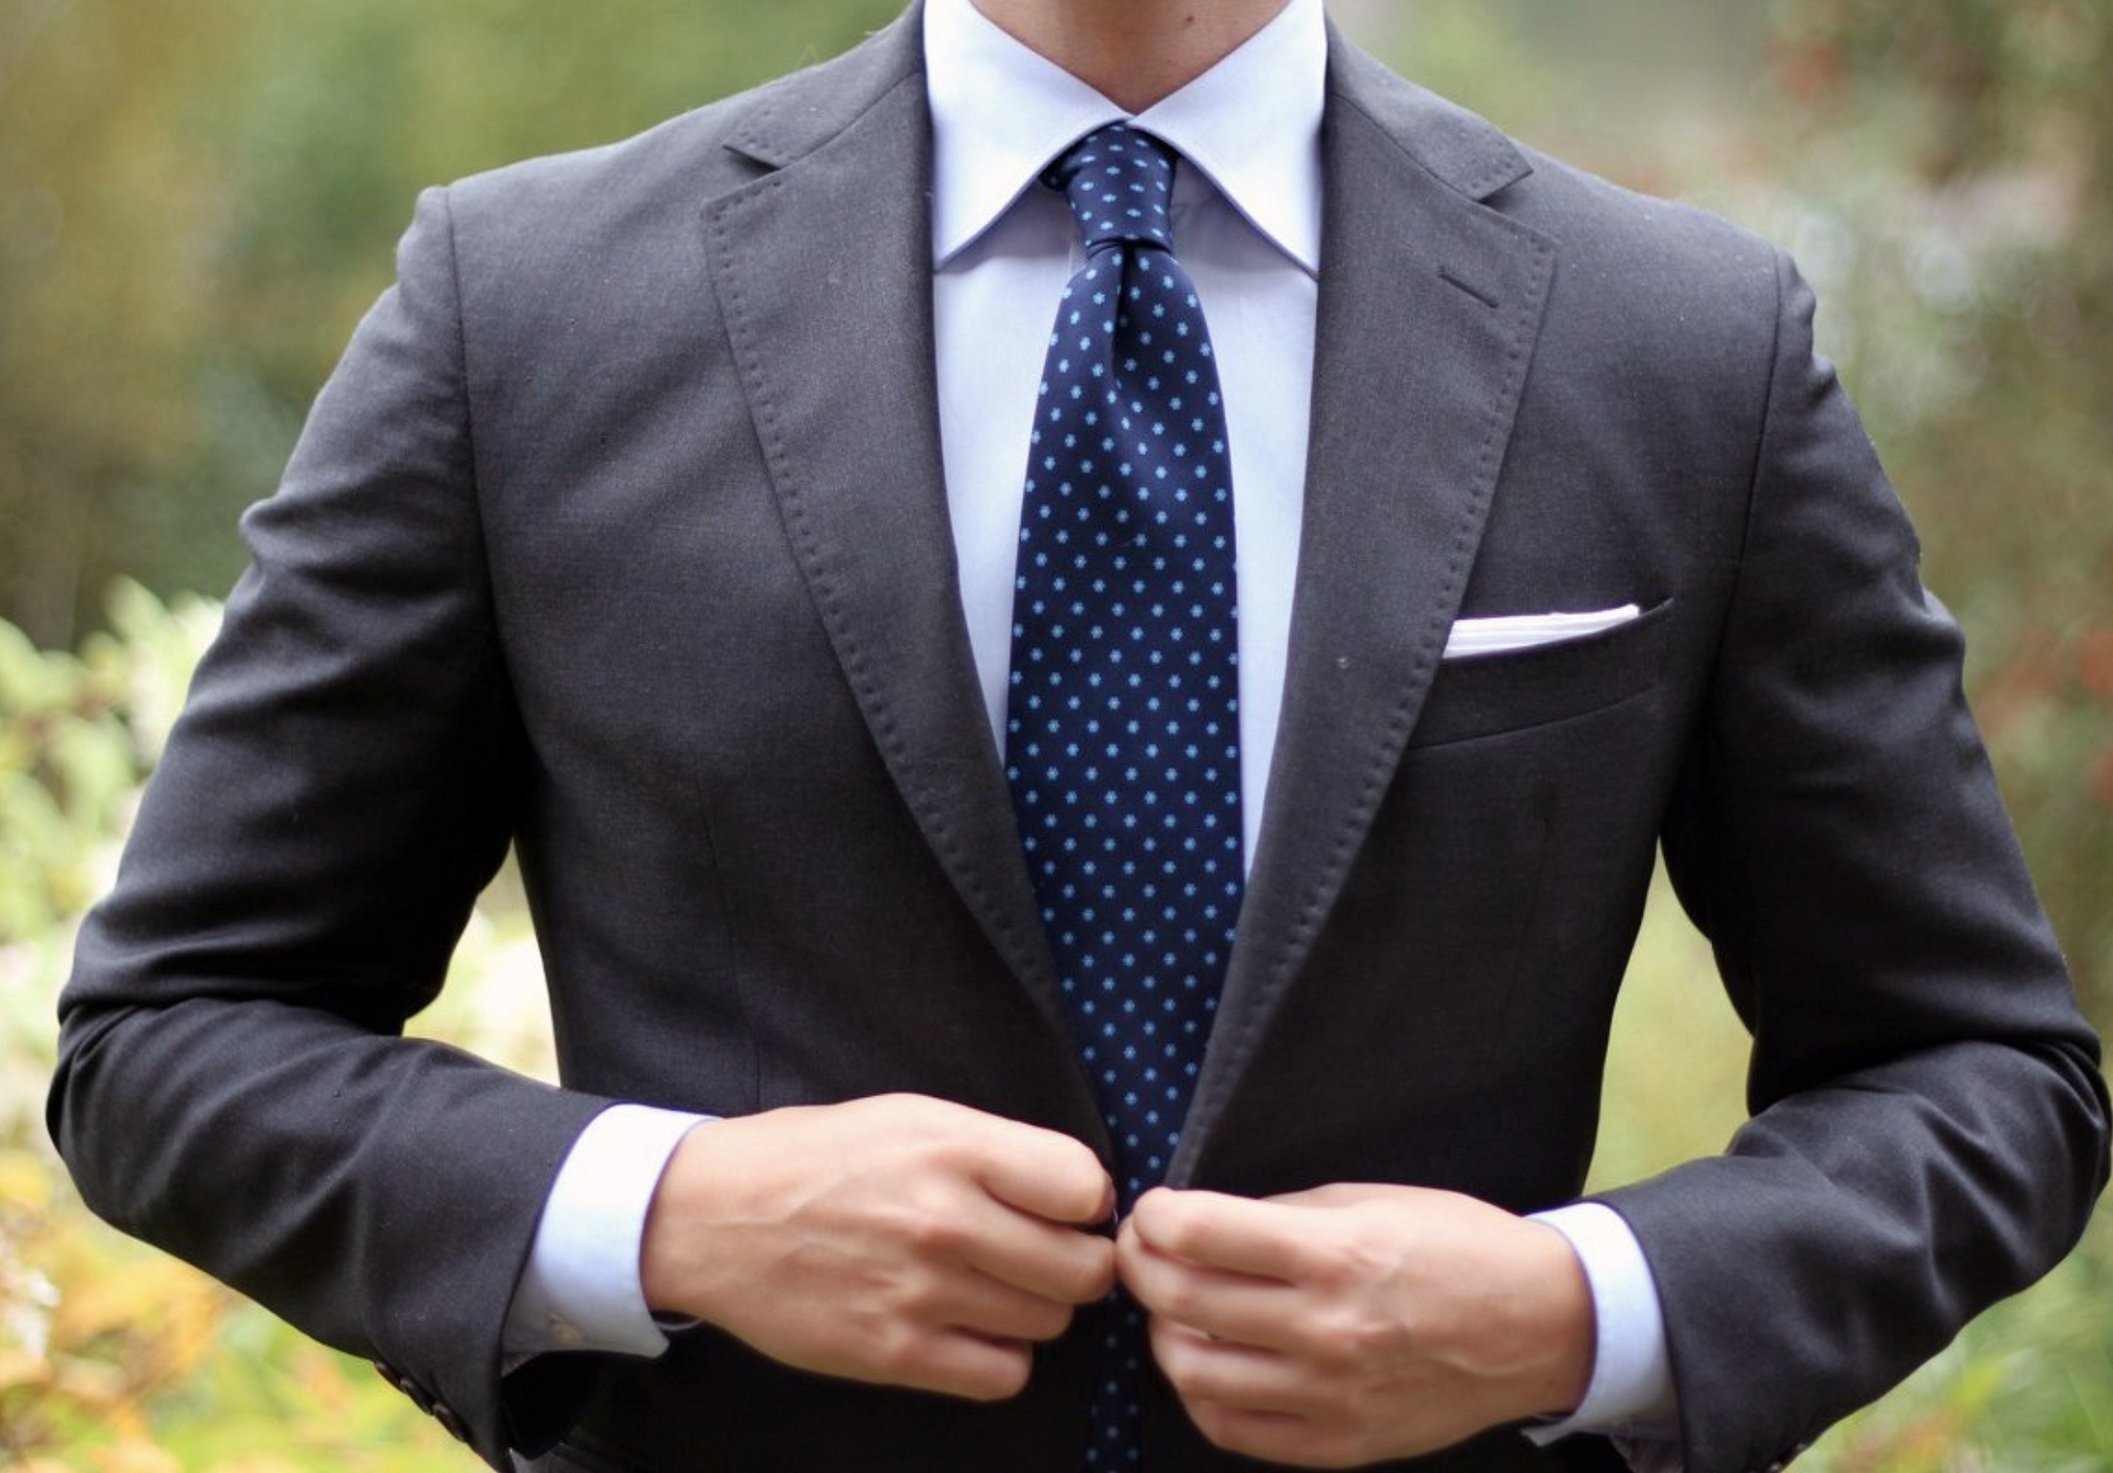
Men's classic
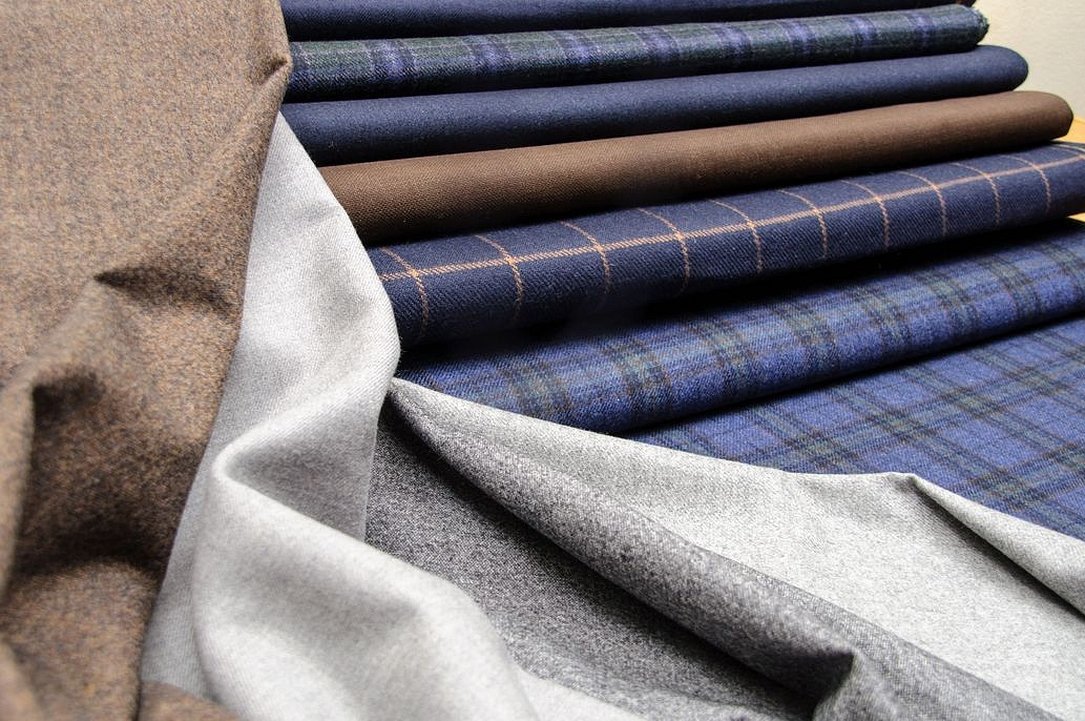
A classic men's tie is a thing made in a single or discreet color from silk, wool, satin, cashmere, linen. One hundred percent wool is used for the lining. The model reaches 11 centimeters in width.
Please note! Classic models include polka dots, checks, grosgrain ribbons, paisley and various geometric, discreet shapes.
Herring
A long narrow model, produced in classic and non-classic styles. Worn in different designs. Easily transformed into a Windsor with a half-Windsor, Granchester, Elridge and quadruple knot. Like a classic tie, it is suitable for both festive events and going to work in the office. It is made from the same materials.
School for a girl
A school tie for a girl can be made in different shapes and colors. Its main detail is the strictness of the coloring. It can be released in the form of a classic, a bow or even a scarf. It can resemble a jabot. Most often, satin and jacquard in a single-color or checkered style are used to create it.
Female
The women's tie is no different in model from the men's or children's. It is made of the same festive and, at the same time, practical fabric. It can have a classic and non-traditional shape. Unlike the men's model, it can be complemented with various fittings and brooches.
Please note! It can be in the form of a jabot or be part of clothing. Today, tulle products are also popular. You can sew from this material.
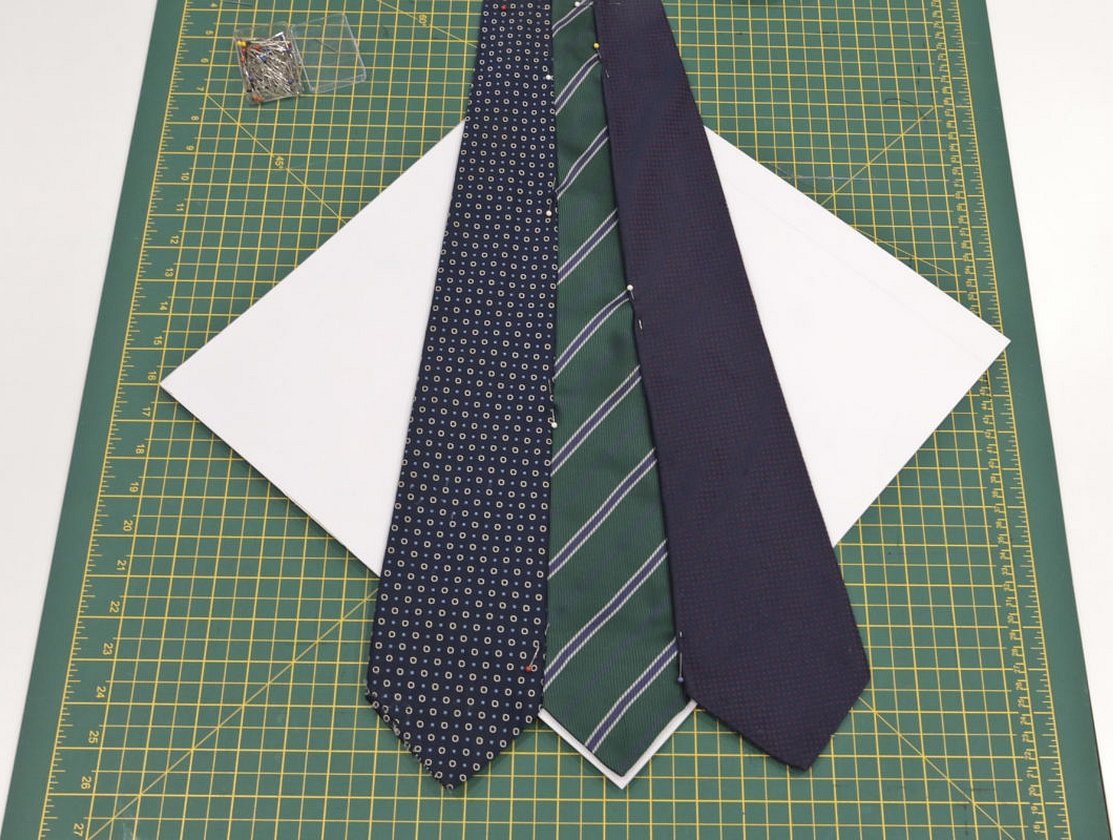
Materials and tools
It is not difficult at all to sew a tie if you have all the necessary elements and tools for the job. The exact list of materials and tools depends on the model being created. For the job, you may need the main and lining fabric, a tie pattern or a template for cutting with sharp scissors, a pad with a pin, a ruler with a pencil and marker, needles with threads and a measuring tape. Additionally, you may need fittings and a sewing machine if the product is not planned to be created manually.
Step by step instructions
As a rule, any step-by-step instruction for creating a tie includes the formation of a template, and then the main and additional parts, processing the edges with ironing and fitting. Therefore, the product can be formed only by fully following the master class on the topic of how to sew a tie with your own hands pattern.
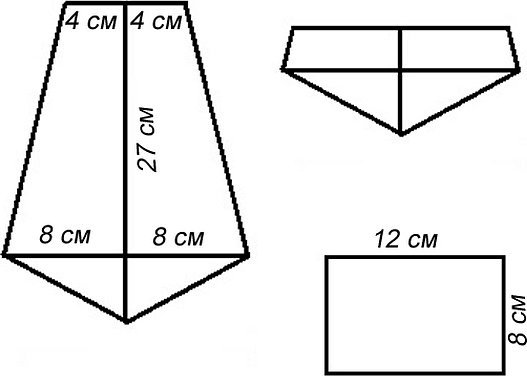
Making a template
You can use a ready-made step-by-step scheme from the Internet or from a popular blogger as a template. As a rule, ties differ from each other only in length, material and color, and these parameters do not affect the basic design. Of course, you can always make your own unique design, but you need to base it on a classic scheme. It is best to use a cut old tie for a template. It will help a novice craftsman to quickly create his first product and not make a mistake in the calculations.
As for the length, the minimum pattern of a tie for a man should be 30 centimeters in size. In width - 7 centimeters.
Important! When creating such an element as a pattern for a men's tie, you need to understand that the width of the pattern should be 3 times larger than the width of the finished product, since the product will be turned to the middle 3 times.

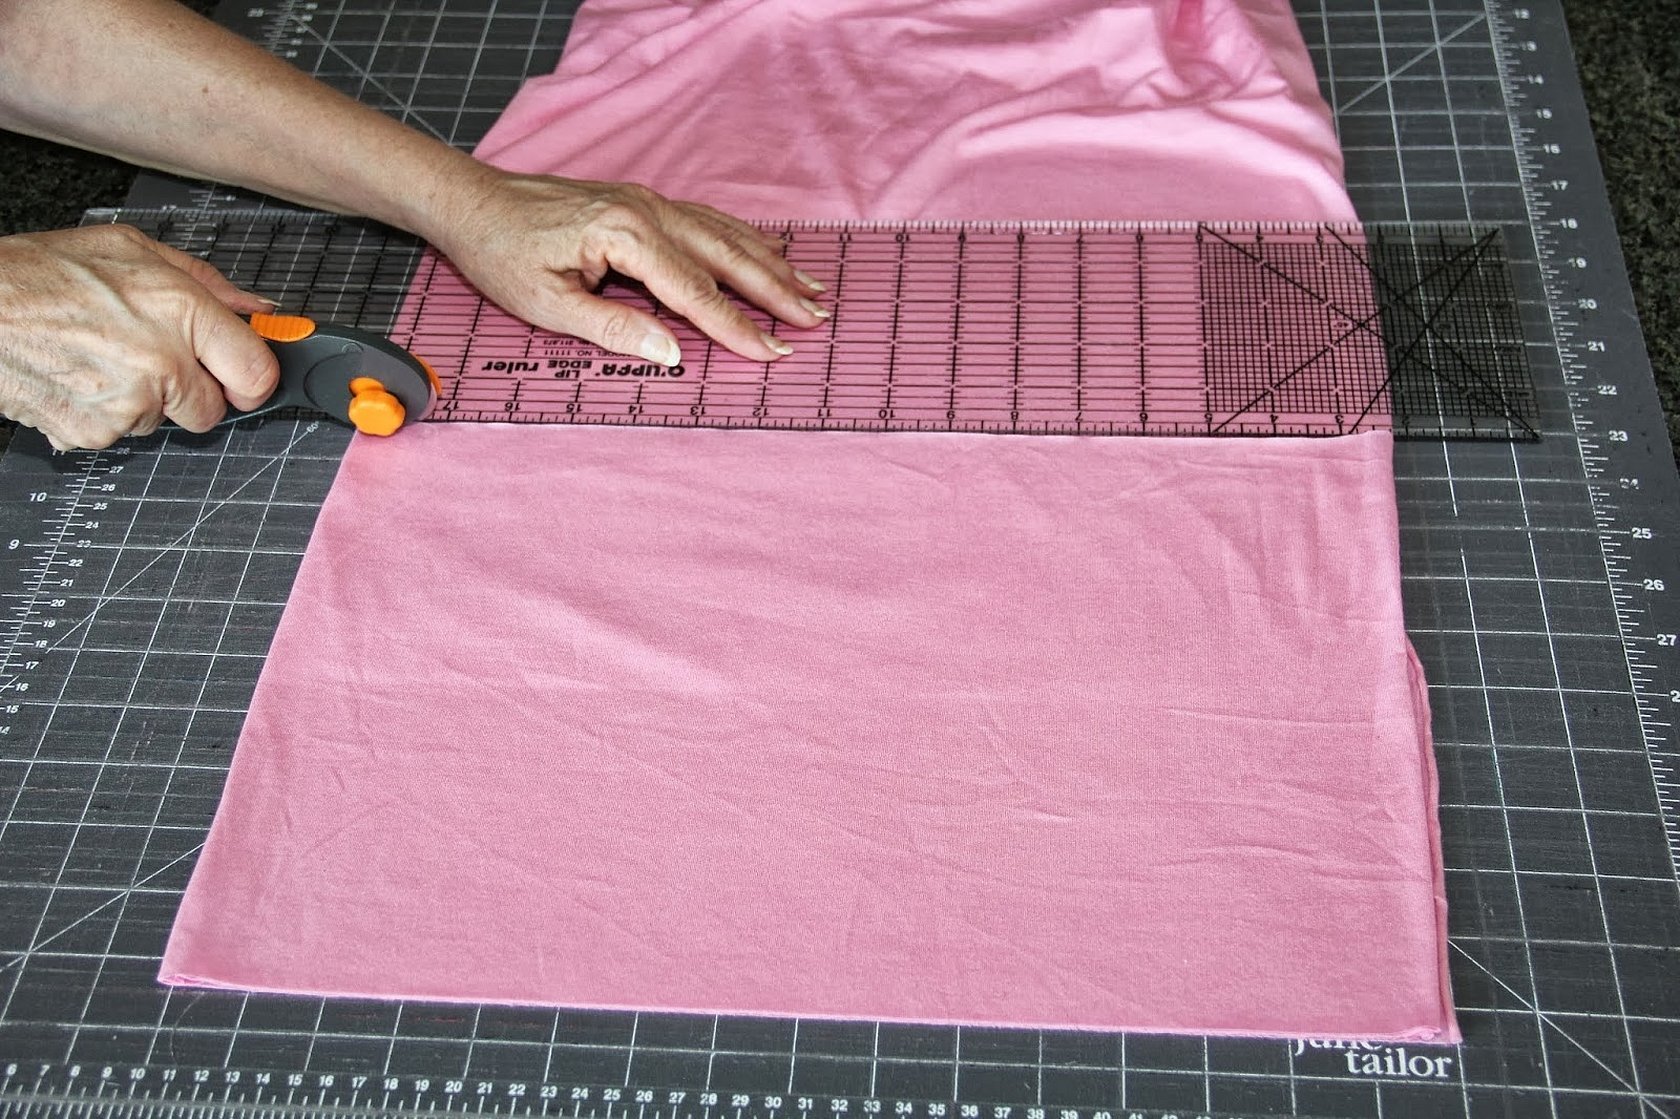
Cut out the main part of the tie
The pattern of the main part is made carefully according to the existing template or lesson on sewing ties. It should be placed at an angle of 45 degrees. The sharp corner of the fabric should be at the intersection of the thread along and across. Then you need to run a knife along the contour and cut out the part.
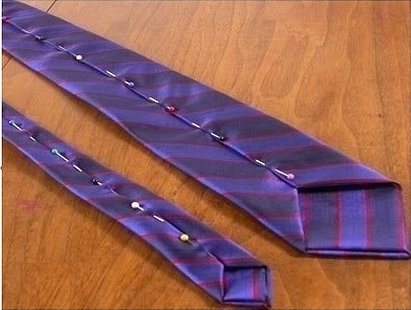
Transfer the seam lines for attaching the facings
On the back of the silk, draw seam lines for attaching the facing to the bottom edge. Then repeat the same procedure with the top end of the garment.
Cut out additional parts
In addition to the main fabric part, you will need several more facings. One will go to the bottom edge, the other to the top. This is the bottom corner with a part of the tie, at least thirty centimeters. For the lining, you should cut out several woolen parts and baste them with long stitches, without adhesive lining. Then do the processing in the image of a single-layer part. You can use interlining for this. A strip should be made of silk along the width of the product minus a few centimeters. In finished form, it should have a width of 3 centimeters. Then all the patterns need to be ironed.
Rhinestones, clips, clasps, chains, end caps, sequins, beads, glitter, bugles and other accessories can be used as additional details for a tie. It can be decorated with smooth or machine embroidery, ribbons, knitted inserts. It can also be made in the patchwork style with the addition of different materials, and can have an unusual shape. For example, a women's model can be decorated with a brooch or formed in the form of a flower, have a zigzag shape and be more suitable for a high fashion item, become an adornment of an unusual and non-casual look.
Processing the top and bottom edges of the tie
Processing the edges is the most important moment. You need to process the edges well with a sewing machine. Do it as carefully as possible. Please note! There is no need to overcast the edges of the tie.
To process, place the facing on the bottom of the product face up, matching the corners. Then stitch from the top to the first corner, then from the bottom corner to the other.
Please note! Make a parallel seam in the same way. Finally, stitch the sharp corner of the finished model.
Turn inside out and iron
Turning the finished product inside out and ironing it is an important part of creating a classic and unusual designer model. This way you can understand whether there were any errors in the work and how quickly they can be corrected.
Lay the gasket
Laying the interlining is practically the most important stage in the development of a creative product, because it will determine how the tie will lie on the shirt or other clothes, how it will look, ultimately. Therefore, it is best to make it from practical and flexible materials.
Fold the long sides to the middle
You need to fold the long sides to the middle so that they meet in the middle of the product inside. One half should overlap the other by three millimeters.
Sew on the fastening
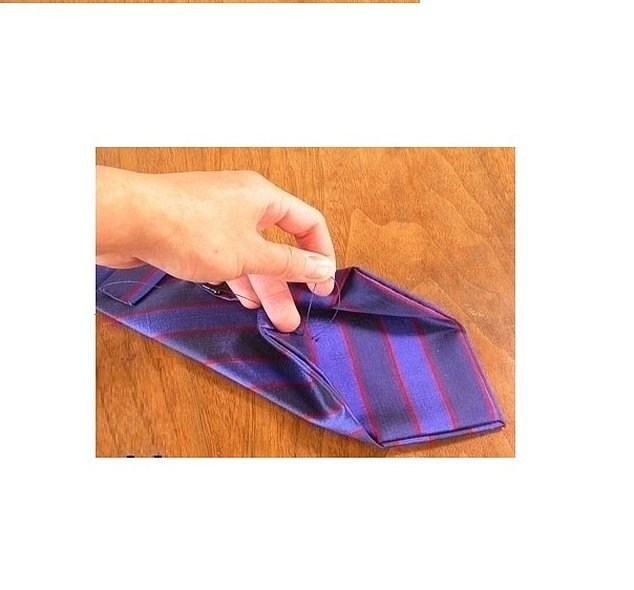
The tack under the fold is sewn on by hand. It will help the tie to hold its shape better. The needle should not be pierced on the front side.
Start sewing the middle fold from the bottom
The seam of the middle fold from the bottom should be made using a blind stitch or goat stitch. Both folds of the fold should be sewn in the middle of the tie inside.
Finish the seam in the middle inside the tie
The seam ends in the middle, in the inner part of the created product. This is important to get a practical and multifunctional designer canvas. How it ends, you can see from a special diagram presented on the Internet.
Own label - proof of handcraft
If the product is sewn to make up a batch for sale, then creating a label is a must to confirm the handiwork. The label can be made of regular paper, cardboard, plastic or special metal with a name engraving or emblem.
Please note!It can be attached to the formed tie using a ribbon, pin, paper clip or other elements.
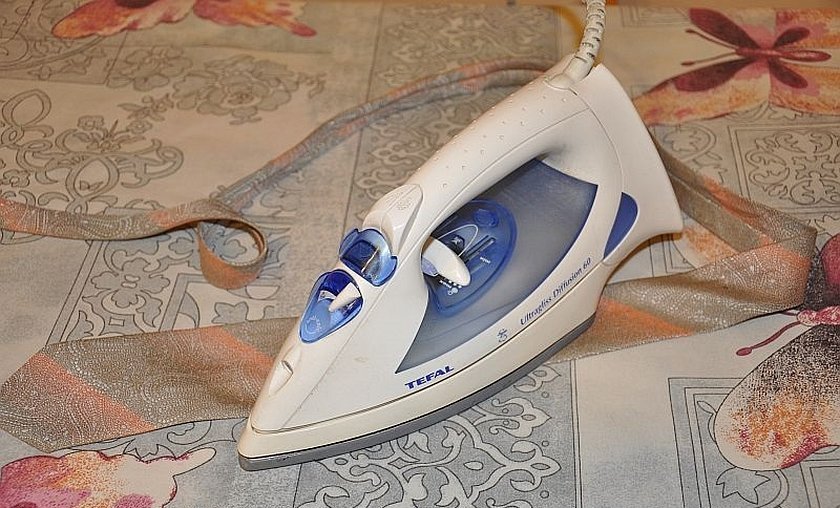
Iron and try on
After finishing work with a decorative element for suits or casual wear, you need to iron the fabric carefully on a low setting or use a steam generator. Then you should try on the product and visually assess the quality of the work done. You should get a thing with even, sharpened corners without unnecessary threads.
In general, a tie comes in various types and shapes. There is a male and female model. Anyone can make one, following the simple technology of working with material presented above.


