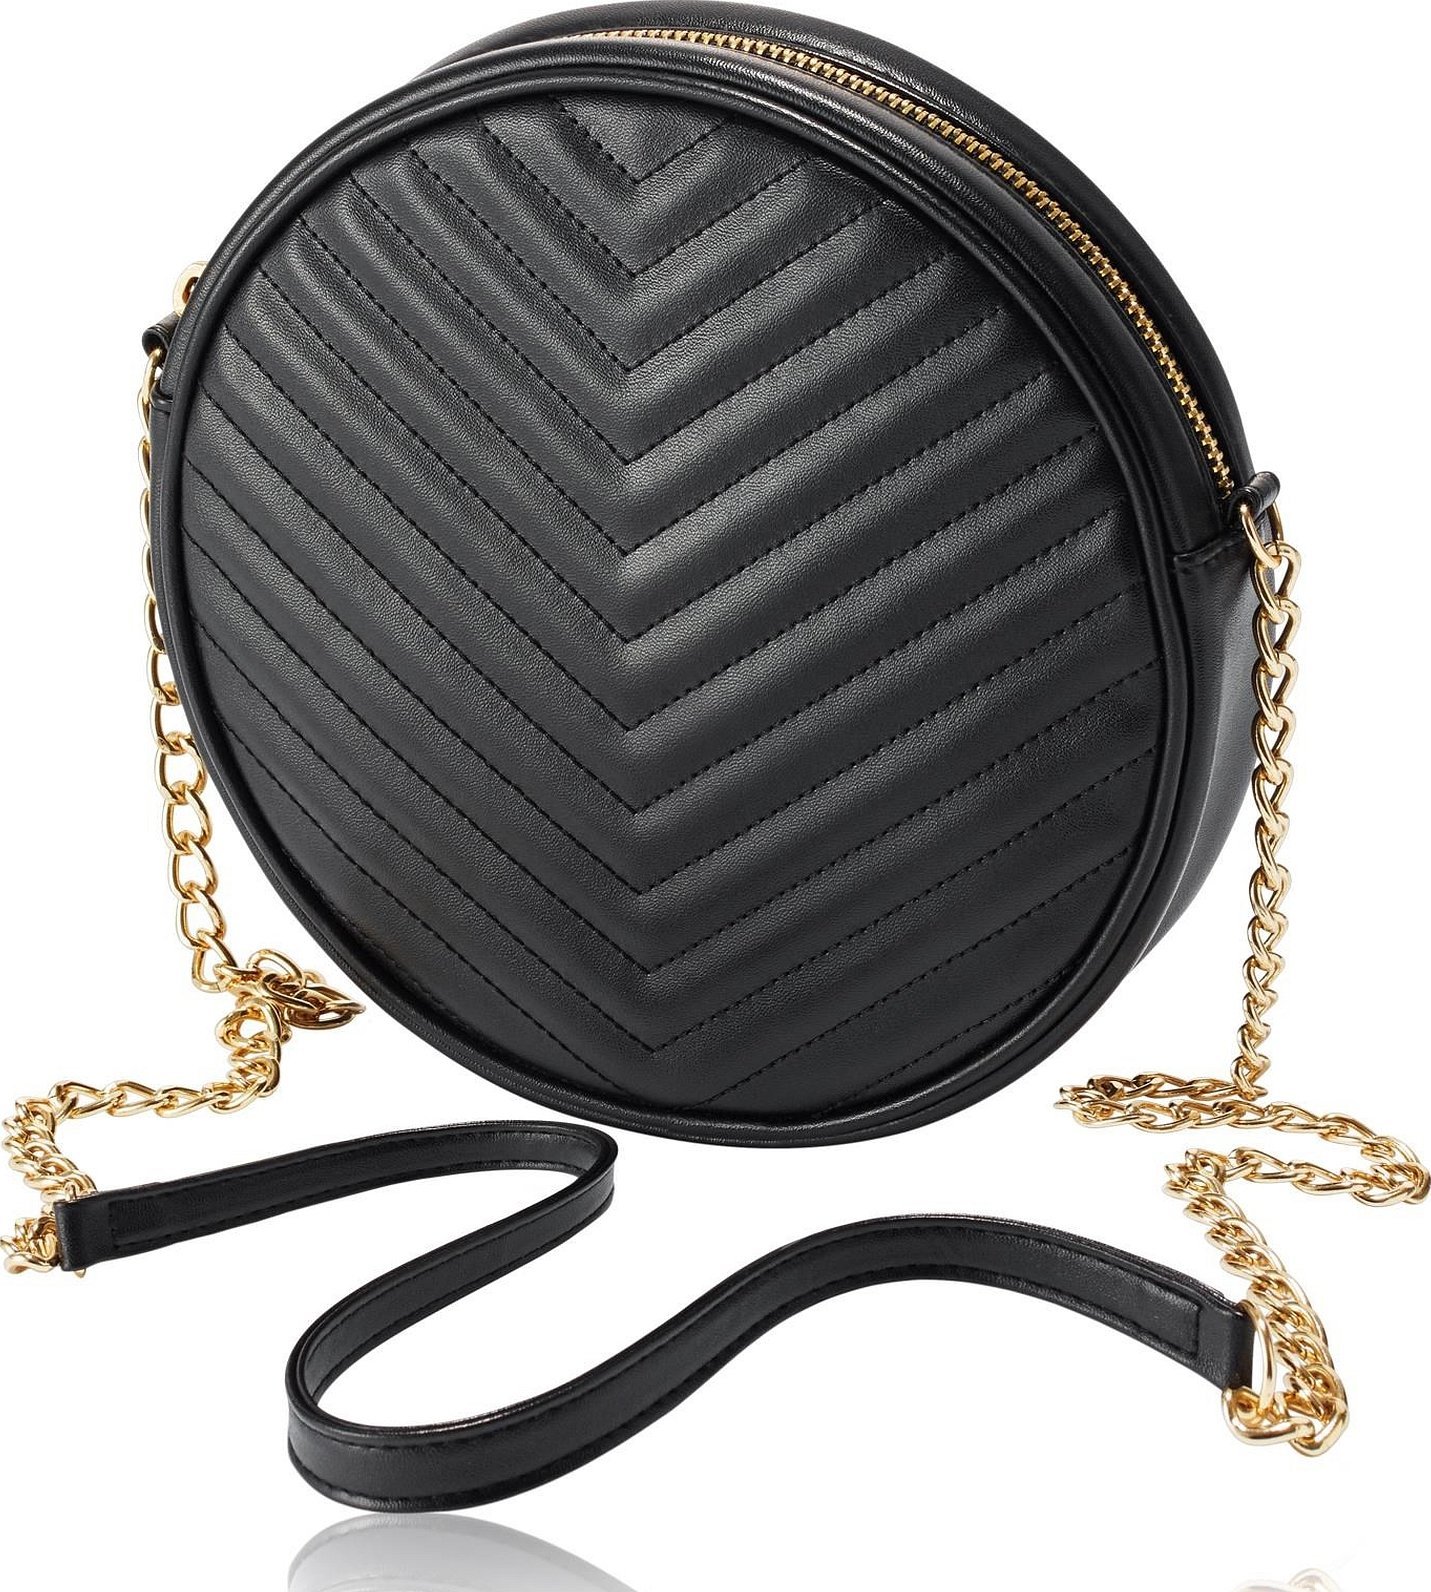
A handbag sewn with your own hands looks elegant and original, despite the use of a standard pattern. Many do not want or cannot add one very important attribute to it - a zipper. The thing is that someone simply does not know how to sew it, and for someone it is simply not needed. But absolutely everyone knows that any handbag looks more beautiful and neat if it has a zipper. It is also practical: the contents will never fall out, and the edges of the product will not move apart. Zippers have many advantages. That is why craftswomen sew them into their products themselves. Today we will consider how to sew a zipper to a knitted bag and how to sew a lock into a bag made of any fabric.
Materials and tools
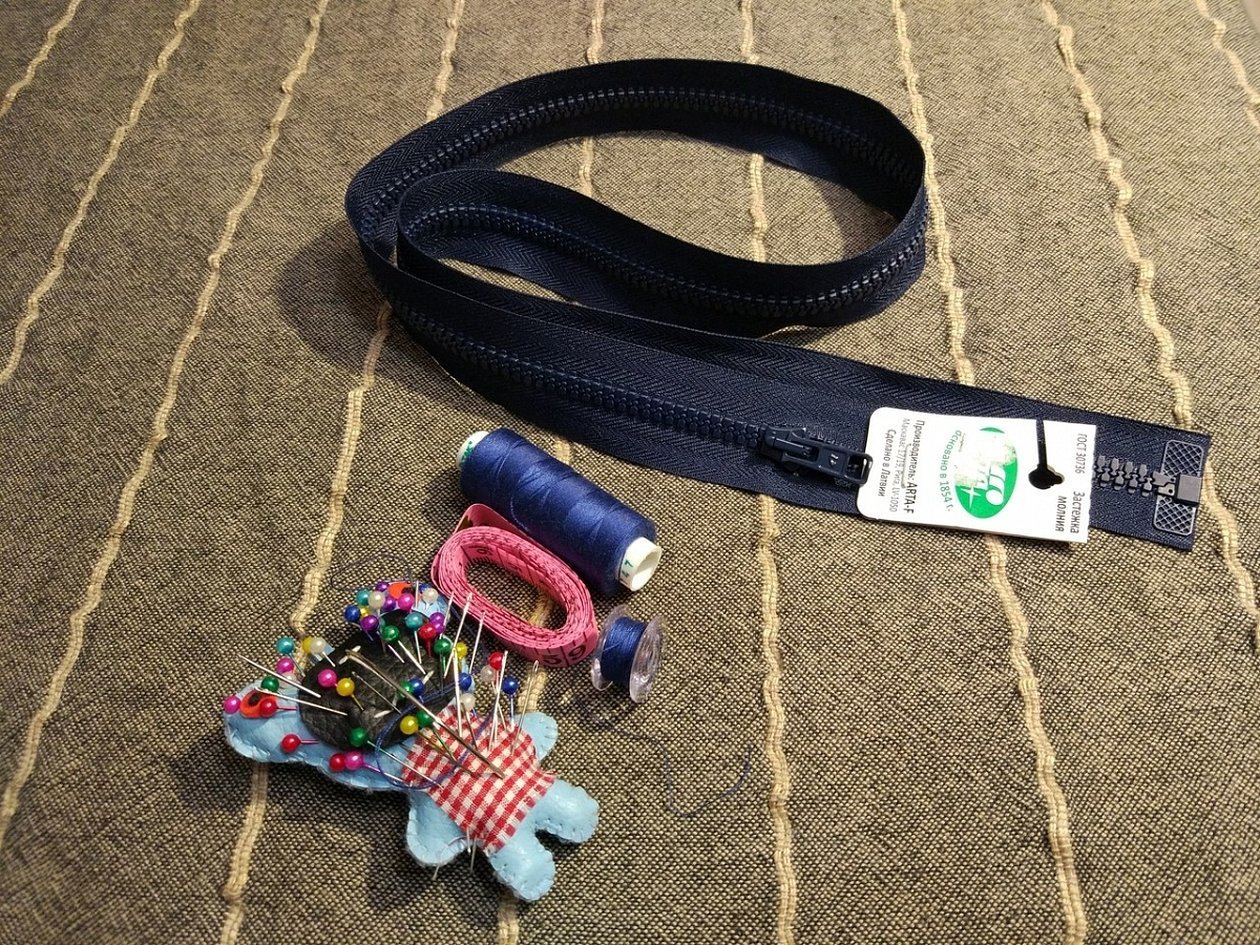
To begin the sewing process, you should first prepare all the necessary tools, materials and, of course, the zipper itself. The fastener should be chosen slightly longer than the bag's opening. This will help to make fewer adjustments to the bag, since you can always shorten the zipper.
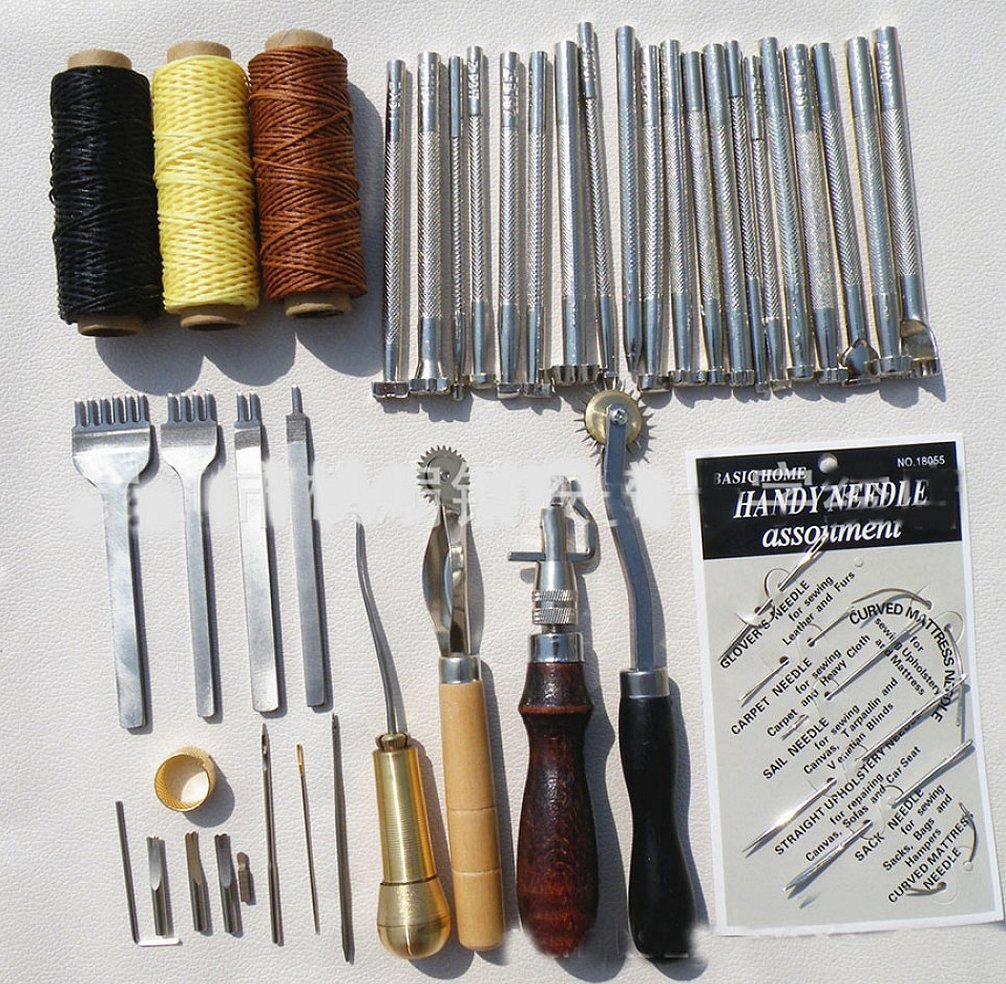
Materials and tools that you will need for work:
- A sewing machine that will help you produce even and neat stitches on thick fabric;
- Sharp tailor's scissors, which will be indispensable for such work;
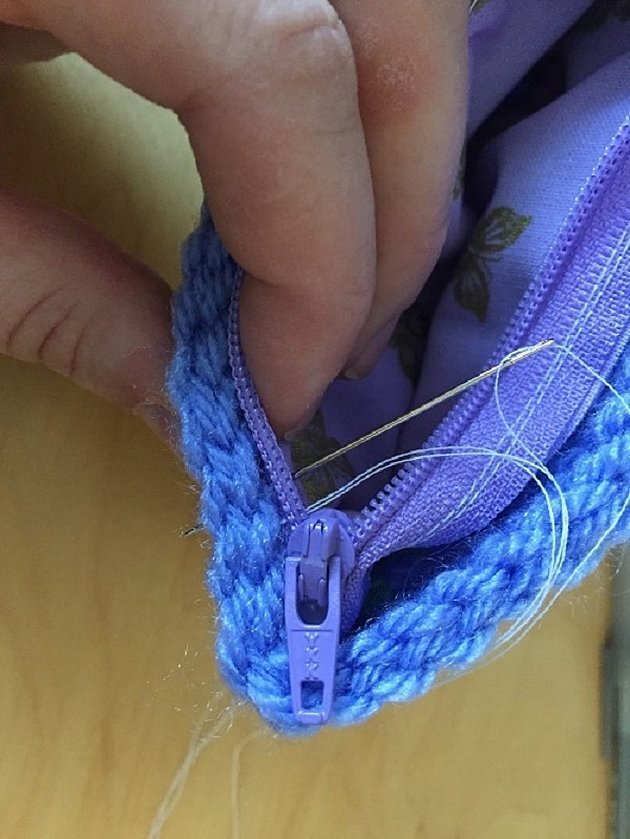
- Strong and elastic threads of a suitable color and a needle. This is necessary to make a couple of preliminary stitches before the main work on the sewing machine;
- Pieces of fabric. They will be useful for better fastening of the zipper. The fact is that after adjusting the length of the attribute, it can come apart when fastening and unfastening.
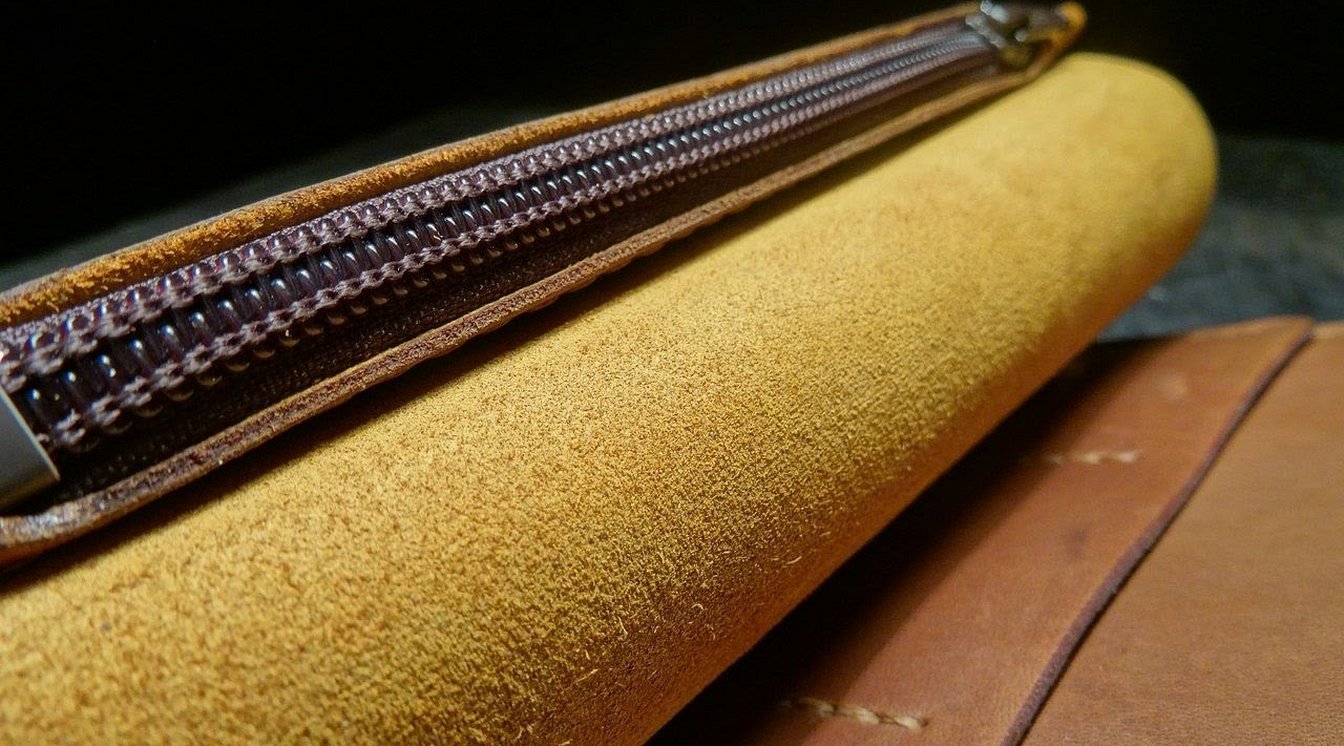
Important! Depending on the material and fabric of the bag, other tools may be required. For example, for leather, a hole punch or an awl will come in handy.
How to sew in a zipper correctly
This section will look at several sewing options, which are divided by bag types: with or without lining. The difference is not very significant, but it exists and requires clarification.
In a bag with lining
Many women have bags with lining. Based on this, the question arises: how to sew a zipper into a bag with lining. There are several options.
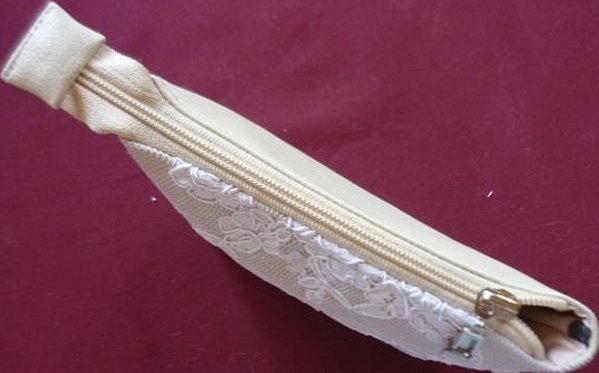
The first involves preparing a lock along the length of the cut. After that, a certain length is cut off and, using a piece of fabric, is instantly fixed to one end of the bag. This is done so that the zipper does not unzip;
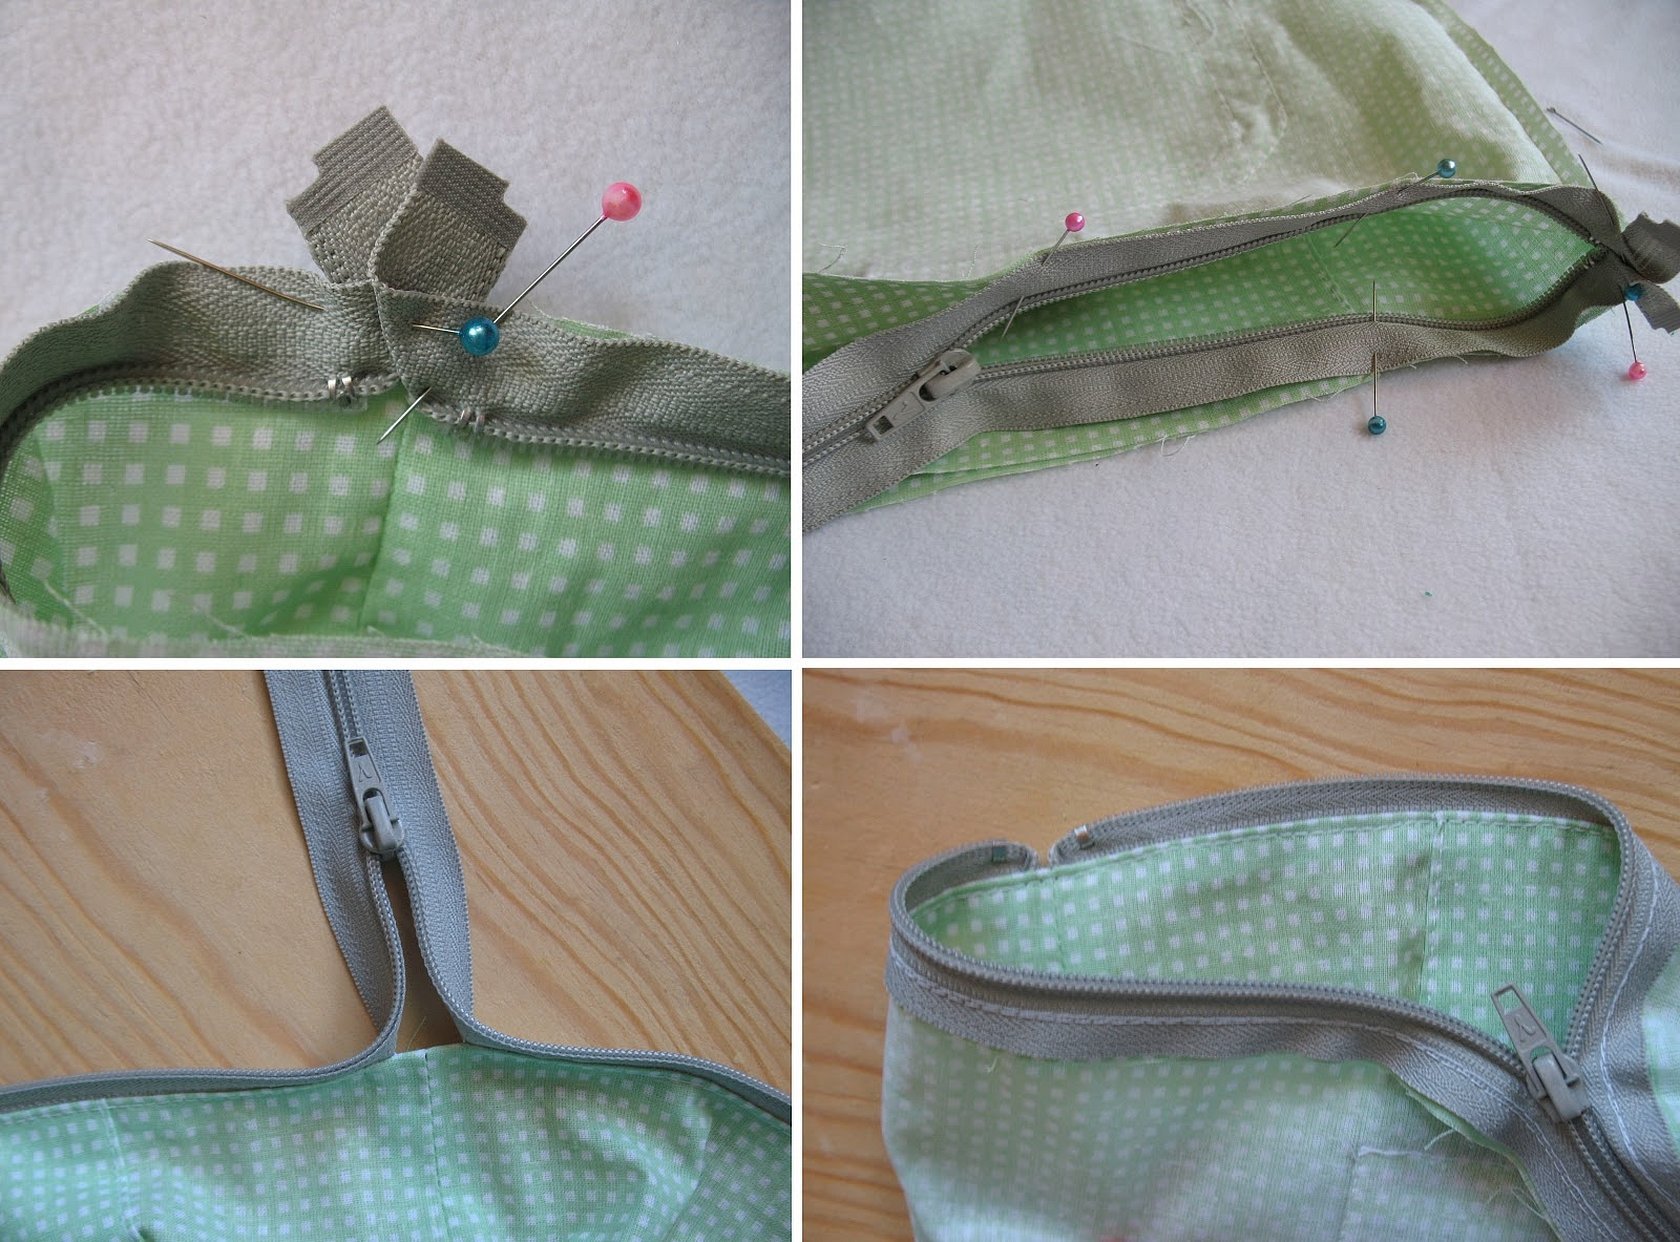
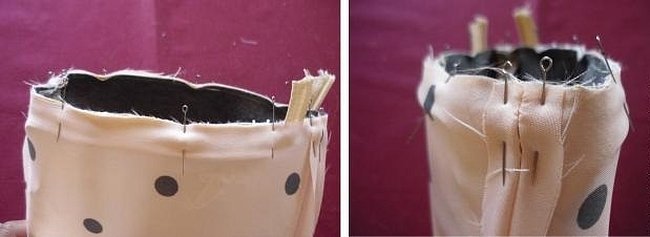
The second is based on the fact that the zipper is initially taken longer than the bag's opening, by several centimeters. For this method, you should:
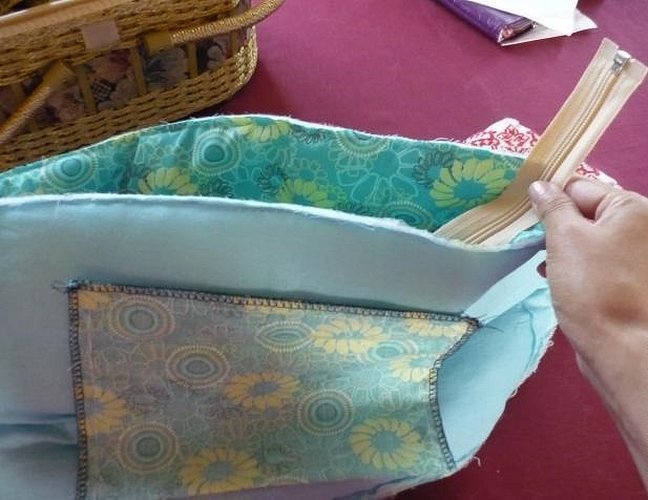
- Unfasten the clasp and place it between the main and lining fabrics. If the edges of the lining are not processed, this should be done in advance;
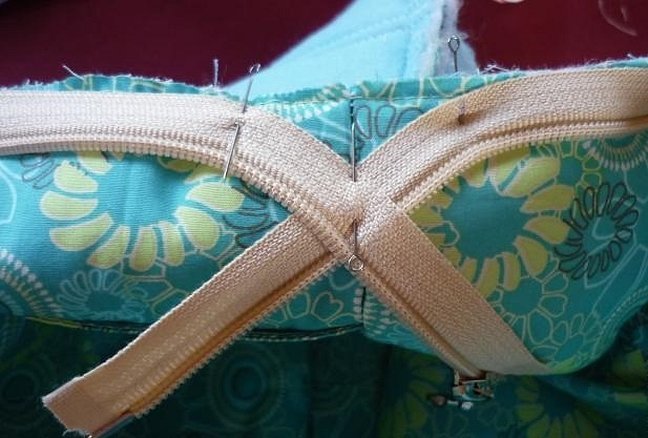
- Fasten the fastener to the base and lining with needles, and then hand stitch. To make it easy to find and remove the threads in case of failure, it is recommended to use contrasting colors;
- Iron the basting seams to smooth out the texture;
- Check the degree of fixation of the zipper, whether anything interferes with it;
- Sew the zipper on a sewing machine with a neat stitch;
- Remove the threads that were made for hand stitching.
Important! In the first method, you need to sew the fabric with the fastener closed. For the second option, a decorative zipper will do, since if it is longer, it may stick out of the bag.
In a bag without lining
For unlined products, sewing in is even easier. To do this:
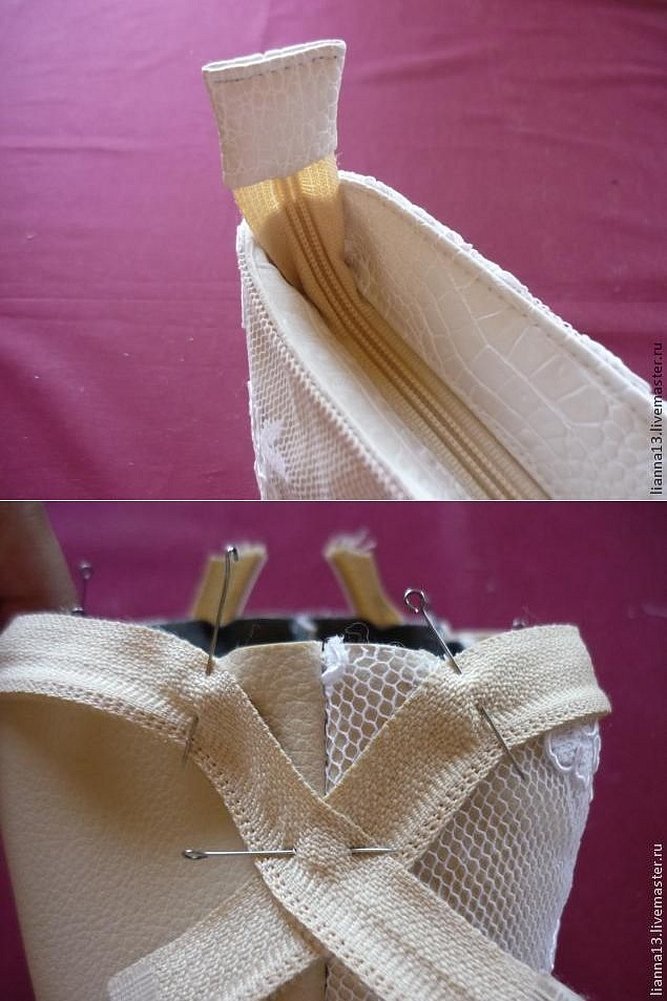
- Adjust the length of the zipper and sew a small piece of fabric to its end. This is done so that it cannot unzip completely. To adjust everything, it is recommended to use a tape measure;
- Measure the length and make the necessary allowances;
- Unzip the zipper and connect its edges to the sides of the bag. The fabric base of the zipper should be inside;
- The fastener is tacked to the main fabric of the product;
- The element is stitched on a sewing machine for neat, even and reliable seams;
- Remove excess threads from hand stitching.
Zipper in the placket
Simple methods are clear. You can also disassemble the sewing of the lock in the bar. To do this, you need to cut 4 strips of fabric: two for the front and back sides. The size of the strips depends on the size of the bars that you want to get in the end.
The total width of the pattern will look like this: the width of the strip divided by two + one and a half centimeters for the fold + 2 centimeters for allowances. It is recommended to always make it a little wider, since it is easier to cut off the unnecessary than to re-sew it again.
The process looks like this:
- The strips are applied from both sides at once, facing the fastener, and sewn together with the edges aligned. It is worth retreating a couple of millimeters from the zipper teeth;
- The strips are folded back and ironed;
- An additional line is laid next to the fold - the bottom side that “looks” into the bag;

- The top of the product is processed by applying the shelves near the zipper teeth and securing them with pins;
- Using the zipper foot on the sewing machine, stitching is performed;
- The fixing elements are removed and the product is ironed.
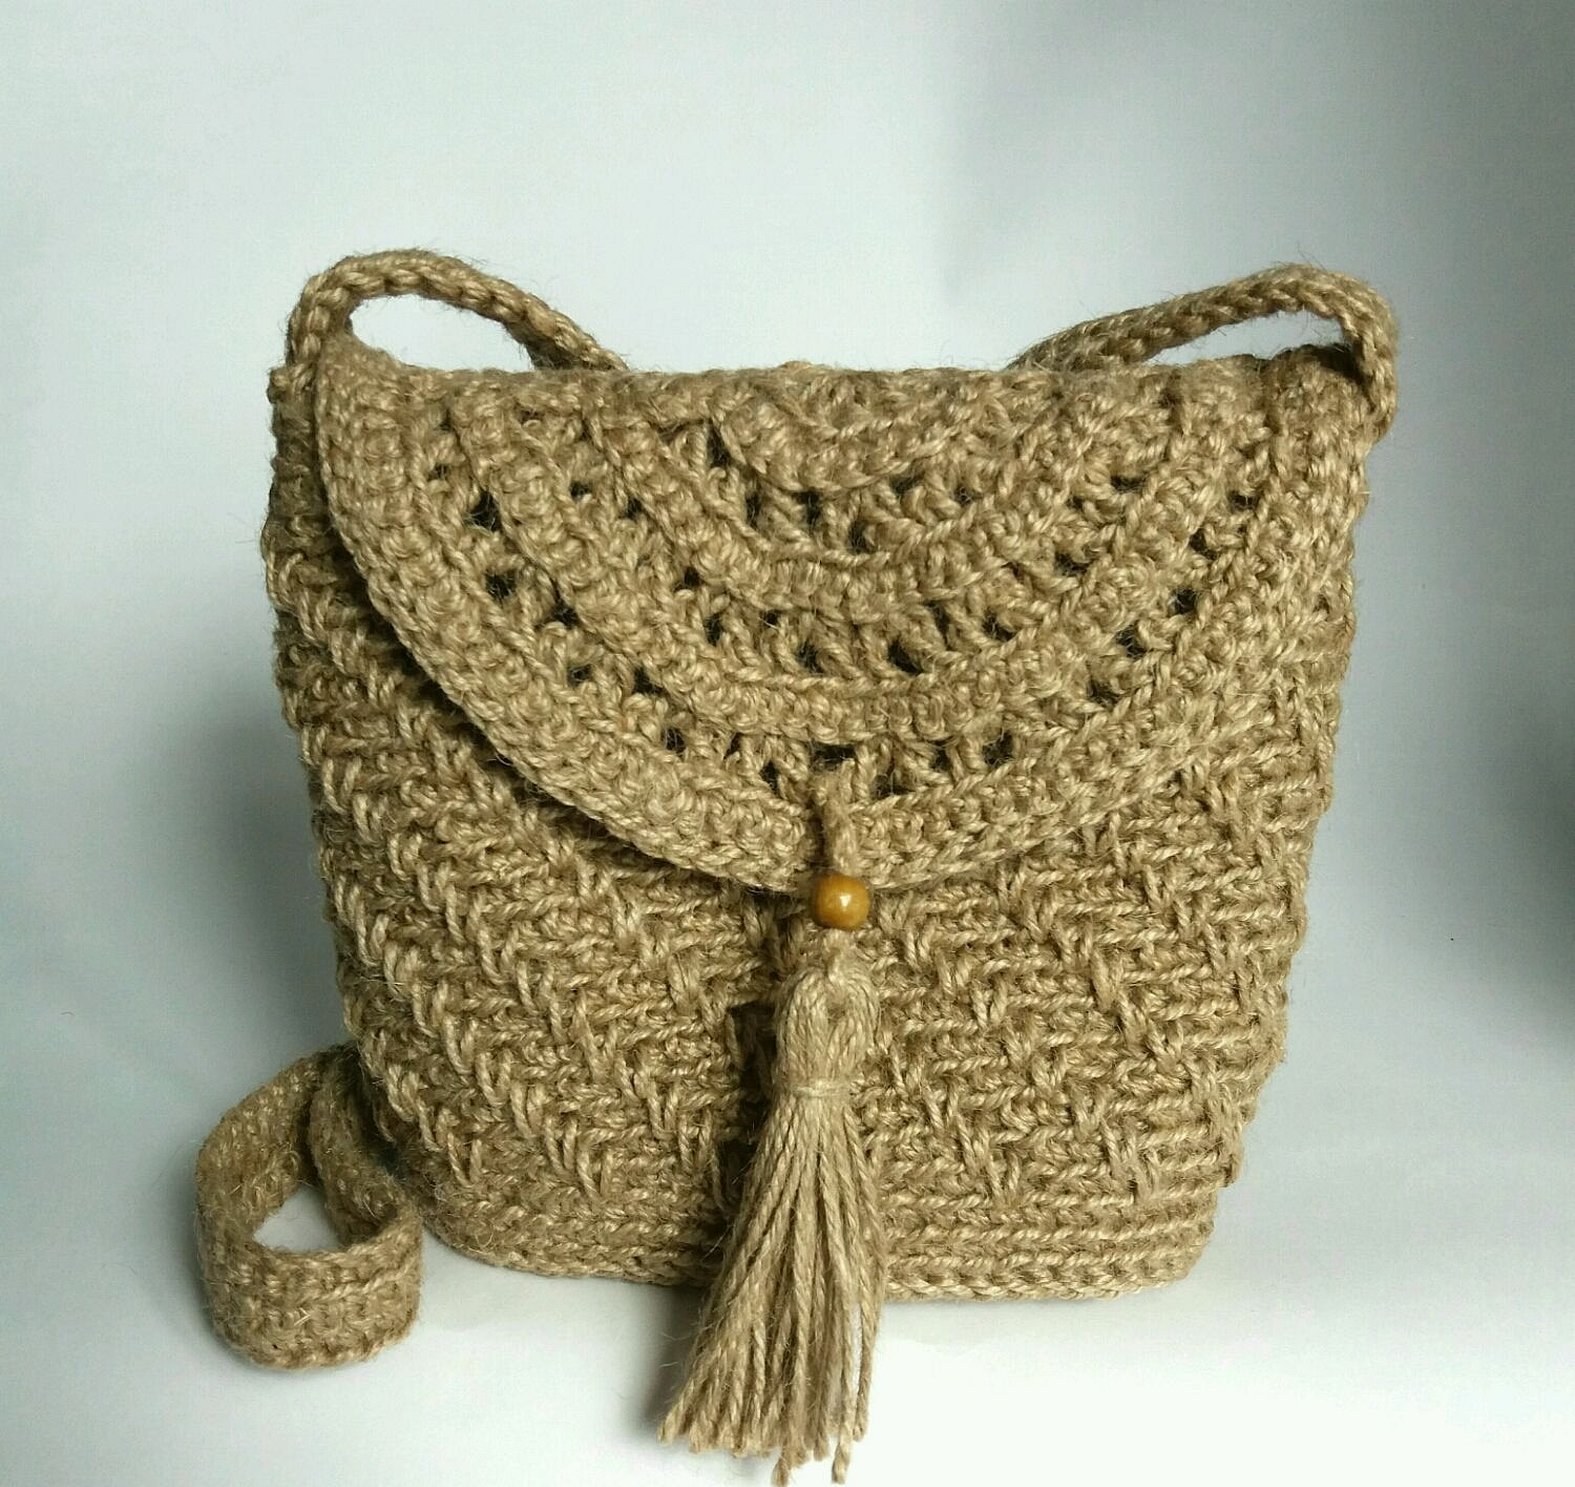
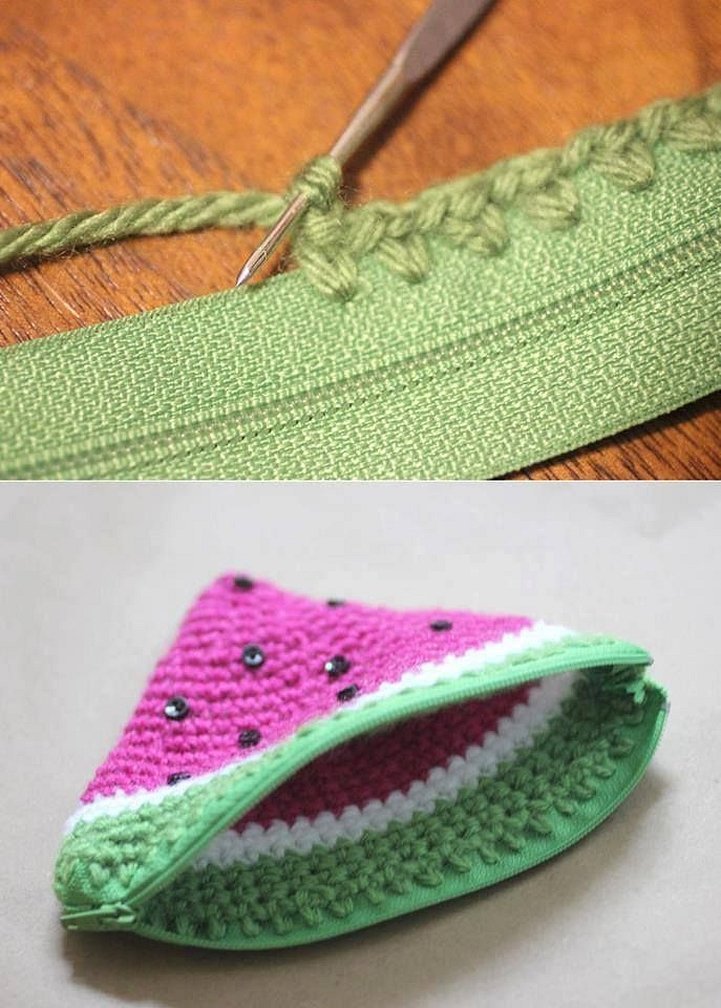
Working with knitwear
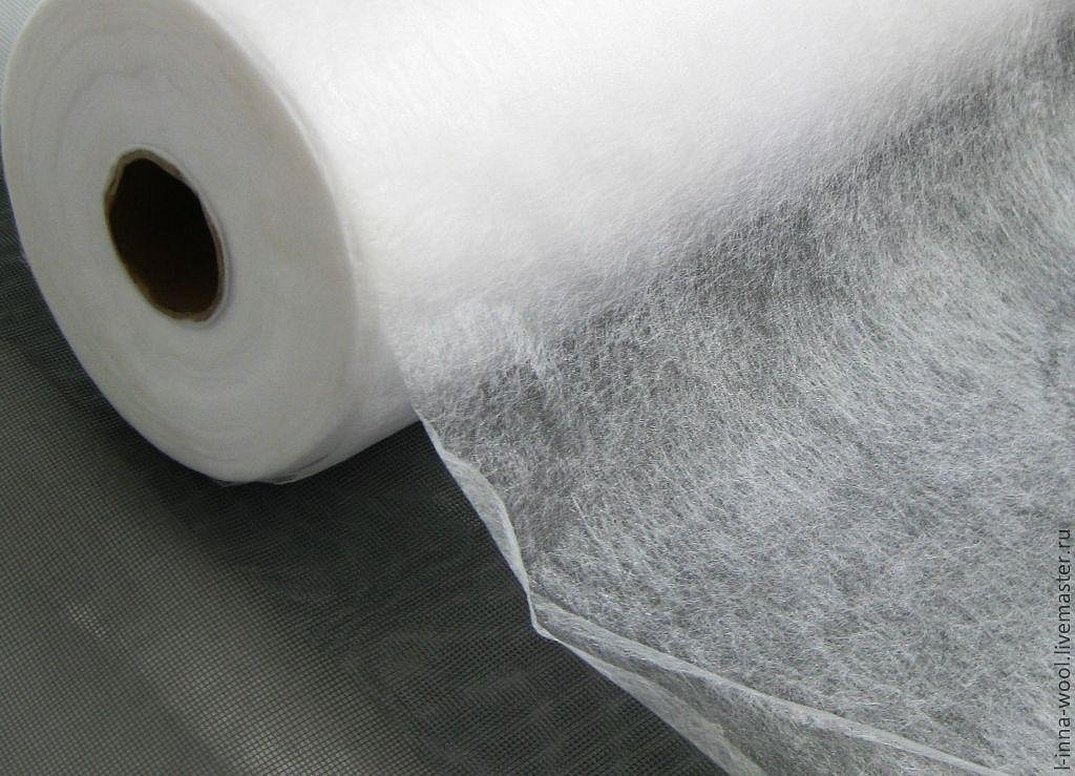
As many people know, various problems often arise with knitted fabric. This is due to the "capriciousness" of the material. Plain knitwear stretches well and when sewing a zipper into it, it forms creases and waves. To prevent their appearance, it is recommended to glue the inside of the knitted bag with interlining or dolevik. Dublerin and thermal fabric will also work. In extreme cases, any other dense material can be used.
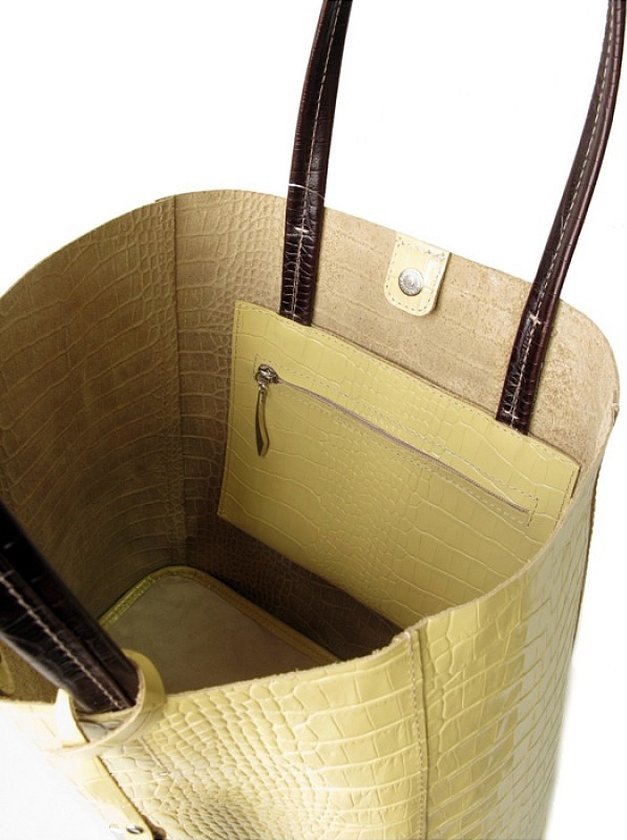
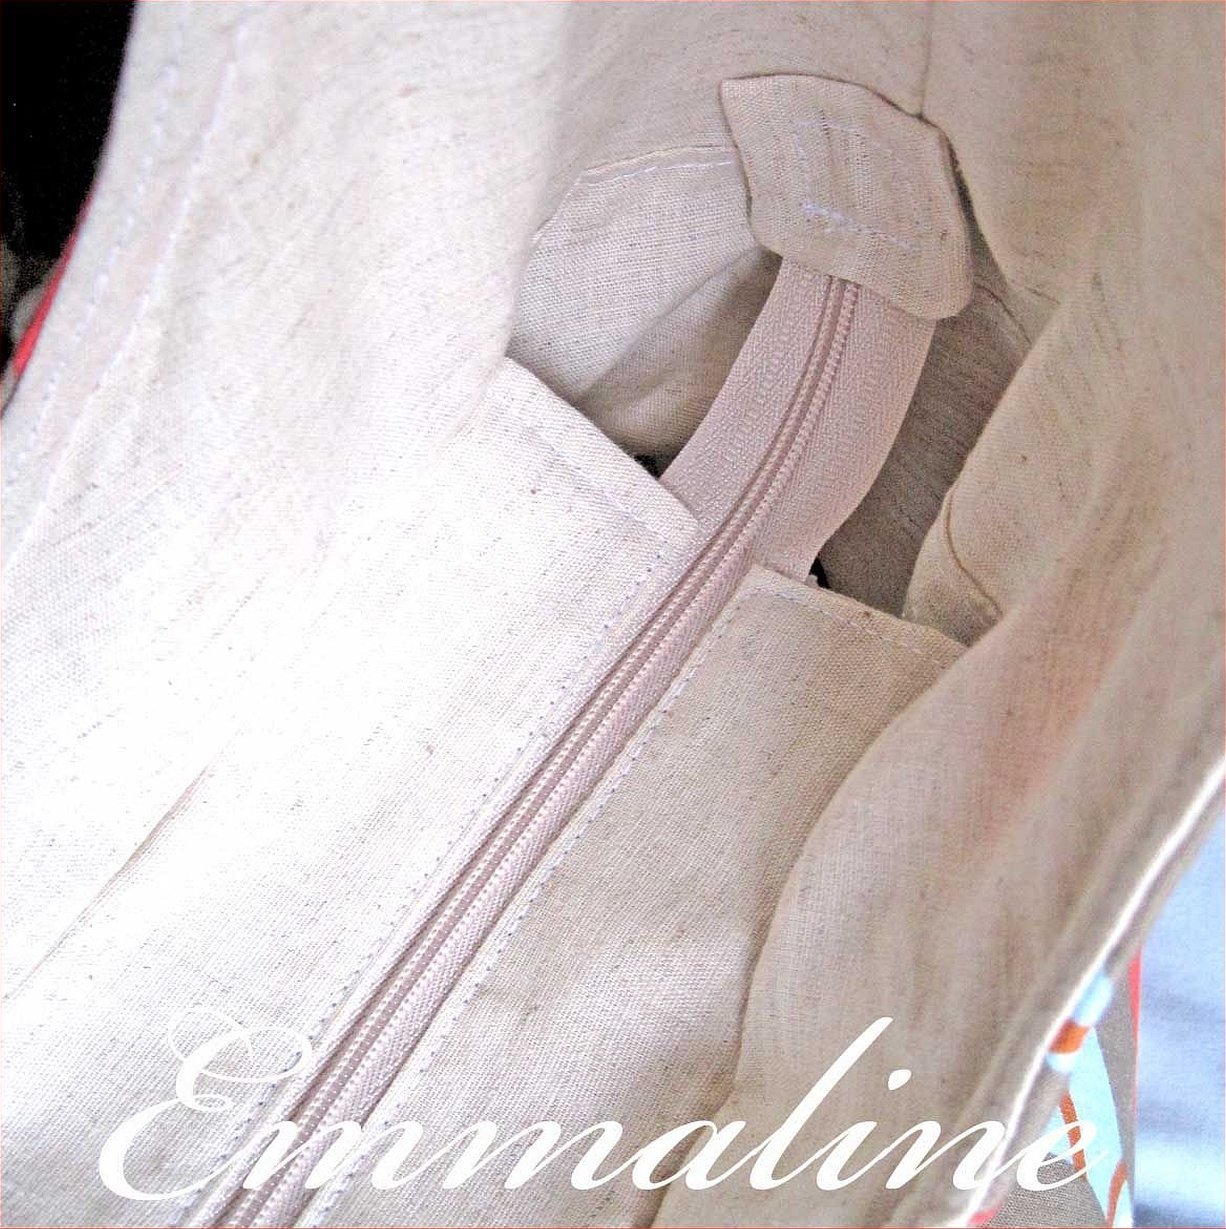
Zipper for inside pocket
If the inside pocket has a zipper, it is not only convenient, but also practical. To start the process, you need to first glue the inside pockets with interlining or interlining. On the inside, draw a small frame that will be the width of the zipper. If there are already pockets, then this is good. If they are not there, then you should mark the place of their future location and sew them on using a machine. Pockets can be made from the same lining fabric.
Important! After the pocket has been sewn in, it must be trimmed and turned inside out. After ironing, you can safely sew on the zipper using the methods described above.
Replacing the lock
Sometimes zippers break and need to be replaced with new ones. In this case, the procedure is as follows:
- Pry open the broken lock and record its location;
- Choose a clasp that matches the color and shape;
- Select strong threads and needles if sewing will be done by hand;
- Using hand stitches, sew the new lock in place of the old one;
- Check the opening and closing of the zipper using the pull tab;
- Sew the lock into the bag, stitching the seams on the machine and removing the hand stitches.
Important! The thicker and coarser the fabric of the bag, the larger the needle should be and the stronger and more elastic the threads should be.
The article discussed in detail how to sew a zipper to a bag and its pockets. This is not the most difficult element of a bag, but many are afraid of it and do not want to mess with it, relying on an open bag. After viewing a couple of MK on other sites or in this article, the question of how to sew a tape zipper to your favorite bag will no longer arise.


