Patchwork is the creation of items from various pieces of fabric. Various patchwork techniques are discussed here, as well as a short course for beginners and newbies in this business. Any child can do it. You can use any old unnecessary bedspread, which is cut into small pieces. An experienced craftsman can make a beautiful pattern for a pillowcase or a potholder for a teapot. Any magazine for housewives has a section describing various crafts, embroidery ideas and much more.
In fact, patchwork sewing is a very exciting activity. From old unnecessary strips you can organize patchwork sewing.
- The concept of "patchwork"
- Story
- Tools
- Fabrics
- Types of equipment
- "Well"
- "Boro"
- "Pizza"
- "Russian square"
- "Honeycombs"
- "Patchwork Corner"
- "Stripe to stripe"
- "Chessboard"
- "Watercolor"
- "Lyapochikha"
- Free technique
- "Log Cabin"
- "Grandma's Garden"
- "Quick Squares"
- "Jacob's Ladder"
- "Triangles"
- "Bargello"
- Japanese patchwork.
- Patchwork - patterns, templates and patterns for beginners
The concept of "patchwork"
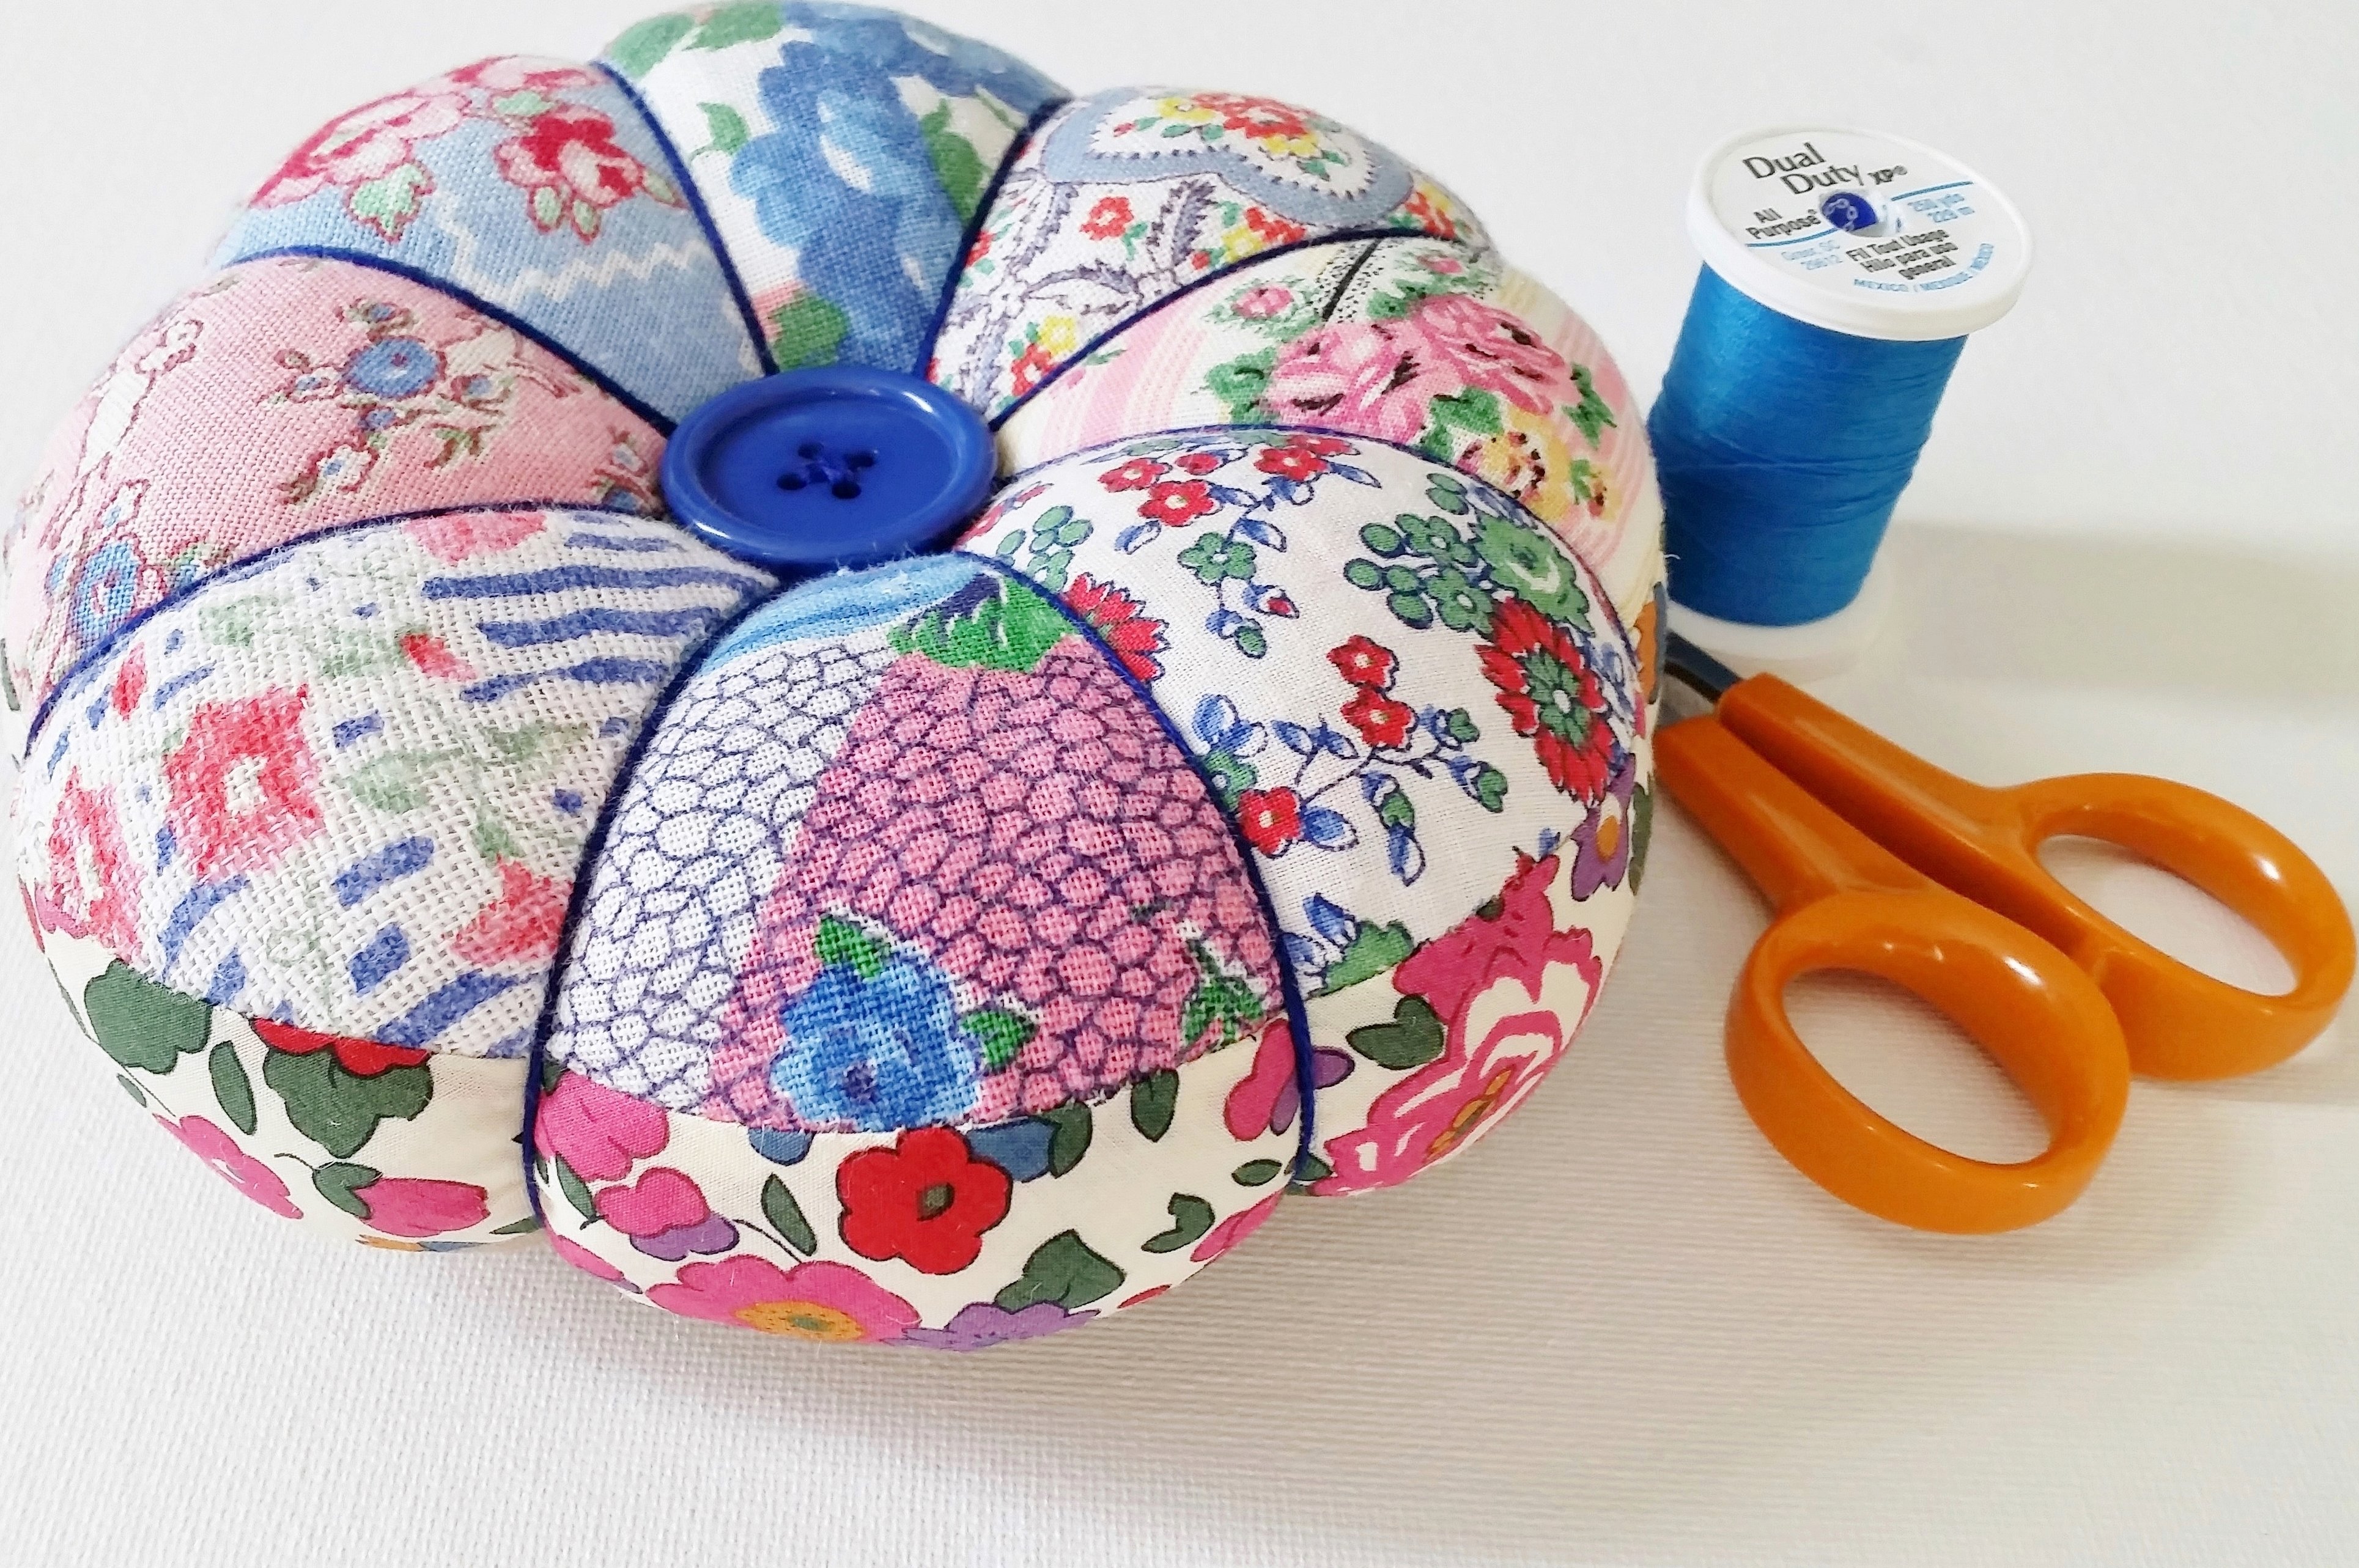
And yet, what is patchwork in sewing? Patchwork is patchwork sewing. That is, a strip of fabric is connected into small blocks, and the block forms a kind of geometric figure. What can you sew from scraps of fabric with your own hands? This is the creation of pillows, capes, pincushions, potholders and much, much more. This allows you to give a second life to clothes that were planned to be thrown away.
Story
Making things from small scraps of fabric has existed for a long time among many peoples of the world. This became possible due to the fact that when working with fabric, pieces and scraps of materials remain. In Egypt, an ornament was created from pieces of gazelle skin. This was about 980 years BC. And in 1920, a patchwork blanket was found in a cave.
Patchwork sewing appeared due to a shortage of material. And in England in 1712 they began to preserve domestic production using patchwork sewing. The blanket came to North America with settlers in 1620. Also, due to the shortage, the patchwork technique became popular. At the World's Fair in 1876 in Philadelphia, a work with a pattern made of silk fabric was exhibited, it was complemented by a sign. And it immediately gained enormous popularity. In Rus', this has always been quite common. In the 17th century, patchwork rugs appeared. This sewing became popular in the 19th century, when foreign chintz appeared. Russian sewing is characterized by hand assembly, without any devices.
Tools
First of all, if you decide to do this constantly and professionally, you need to take good tools right away and not spare money. For beginners, you can take inexpensive accessories.
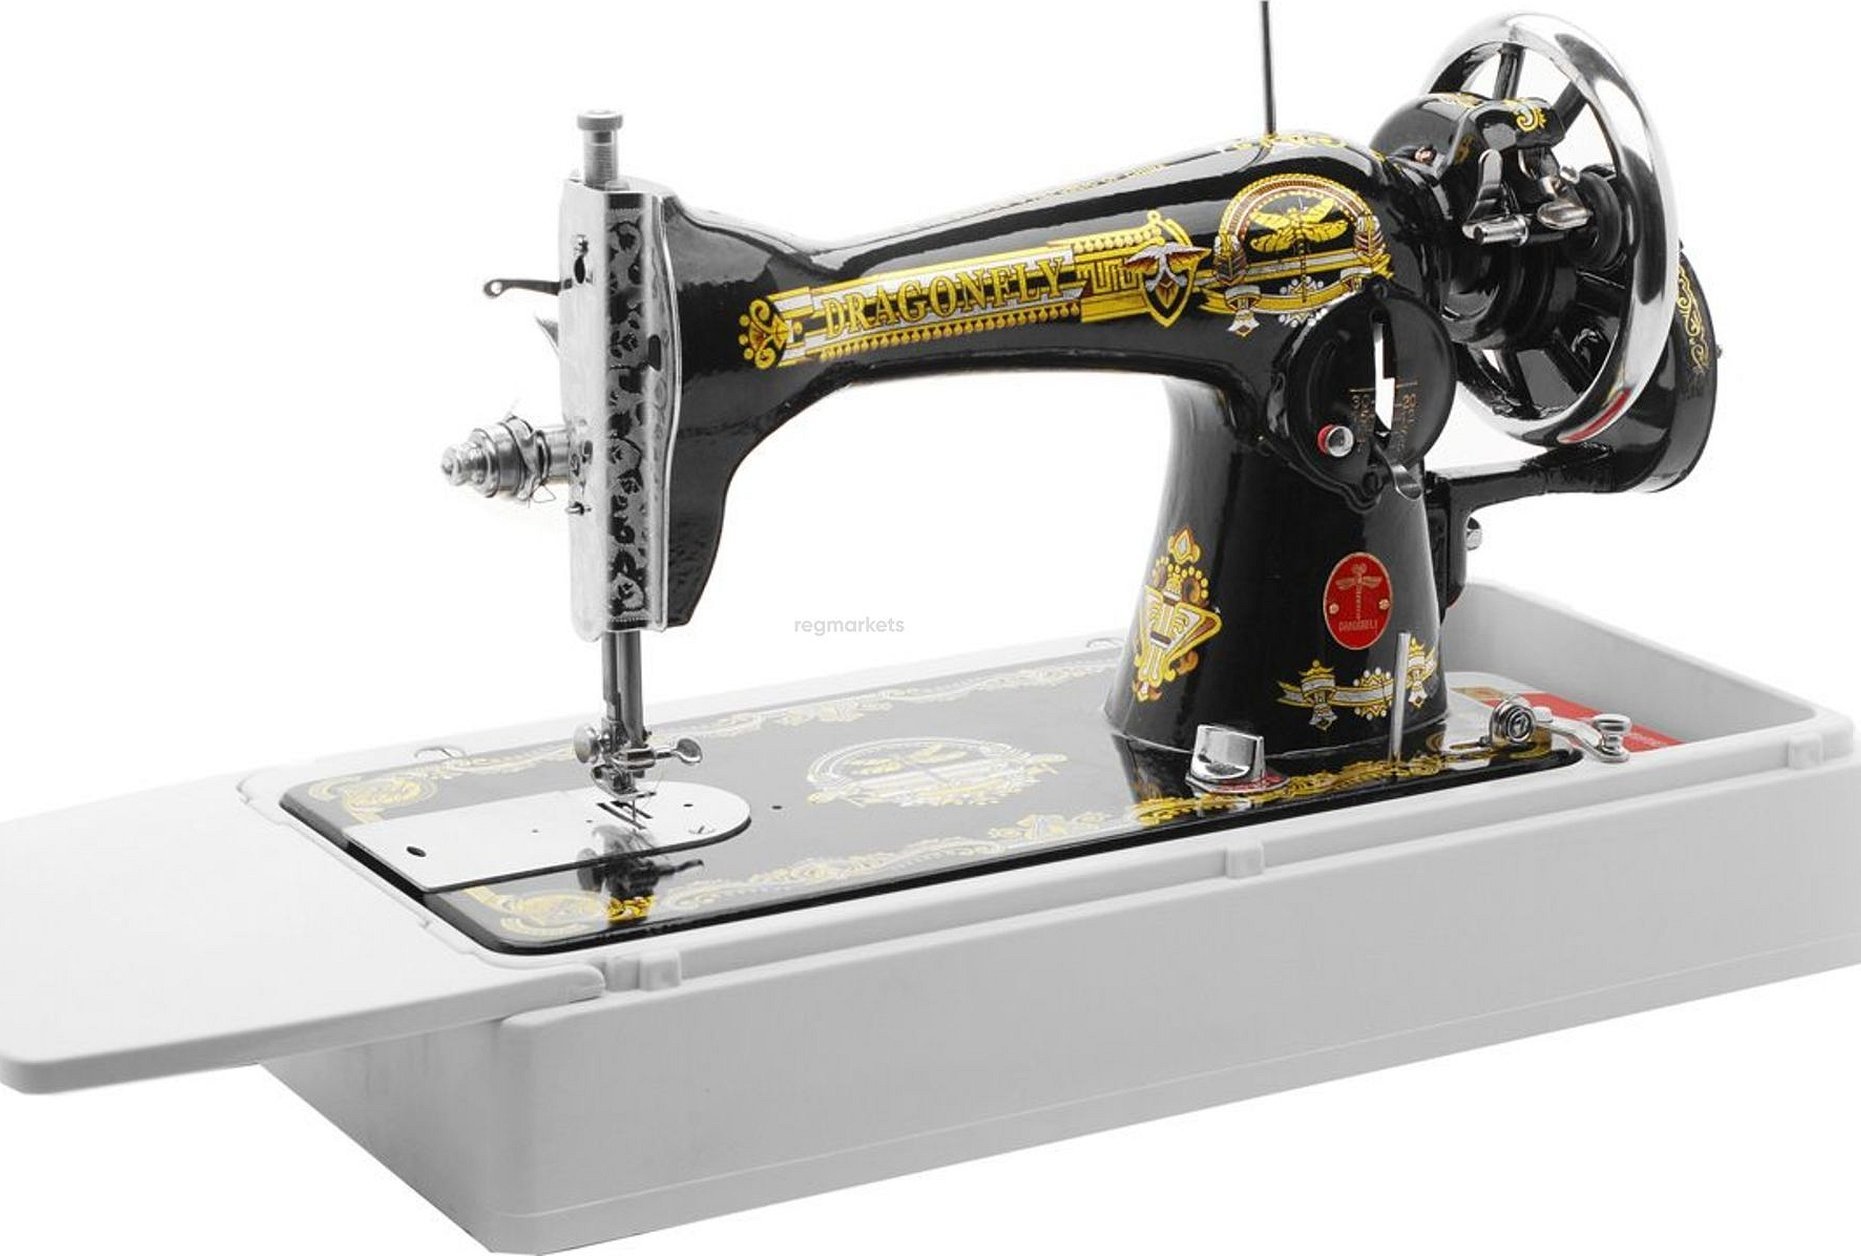
Of course, you should start with the basics. This is a sewing machine. Next, you need to buy special feet for patchwork. They are necessary for work. This foot should be with a spring. You will also need a BSR stitch foot.
For patchwork you can use regular universal sewing needles.
A patchwork mat is an indispensable assistant. You will also need a rotary cutter for cutting fabric.
Important! The disc knife is available in several basic diameters.
It is worth buying a ruler for sewing from scraps. Also scissors, needles for hand sewing, a pincushion, safety pins and basting pins. That's basically all you need for work.
Fabrics
A lot depends on the material in any work. And the variety of fabrics is impressive. But which one to choose? What is better?
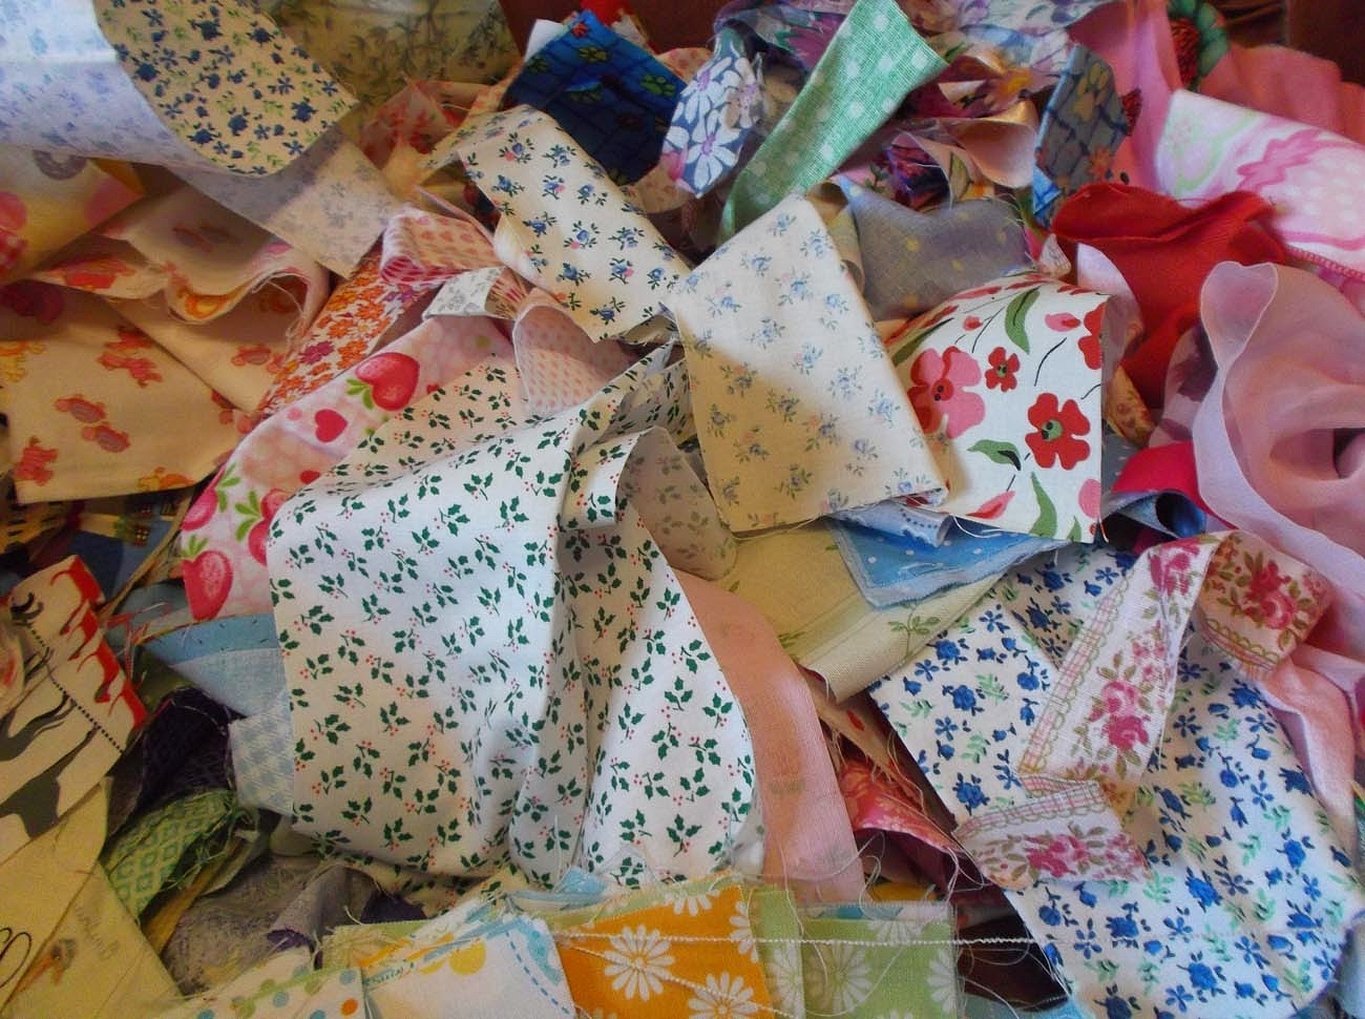
You can buy the material, or you can collect the remains of old, unnecessary material.
If you are using used materials, to give them a second life, you need to rip them, wash them and iron them. After that, you can separate them into pieces of suitable size.
Some fabrics need to be glued with interlining to keep their shape.
Please note! To make sure everything fits together, you need to cut and place everything carefully.
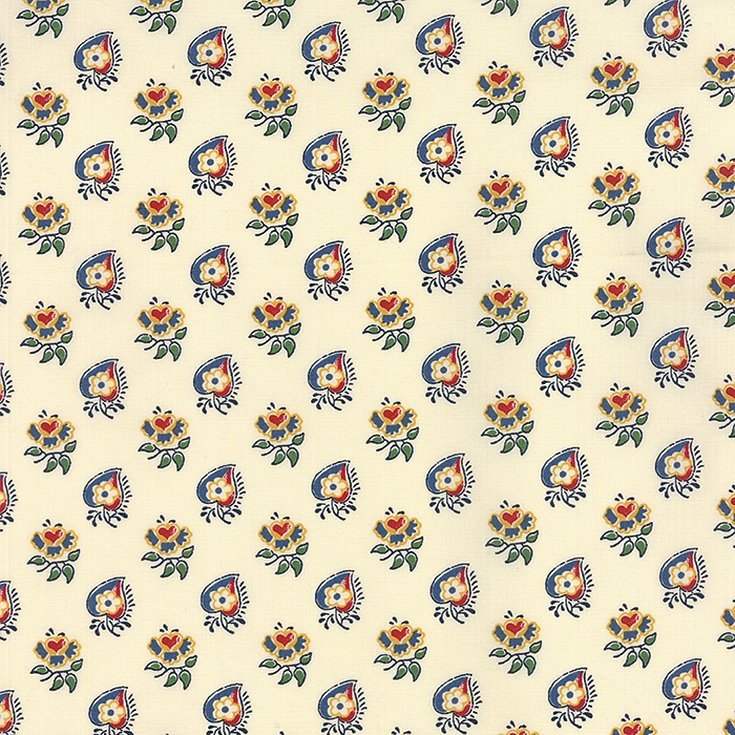
Chintz is best suited for this type of work. It holds its shape well, is easy to work with, and does not crumble. These are chintz, satin, and other cotton materials. Denim is also great for patchwork. There are an incredible number of different colors and shades of blue that you can use to create something interesting. Linen does not cause allergic reactions, and the colors are very diverse. Silk is incredibly beautiful, so products made from this material look rich and expensive. Wool items are very practical. The blanket will be elastic and cozy.
There are materials that are not suitable. These are those that are highly dyed and shrink, such as pleated fabric, hard synthetics, natural fur, or fabric with metallic threads.
Types of equipment
There are a huge number of patchwork techniques, thanks to which everyone will find their favorite one.
"Well"
This is the simplest technique. So, you don't need paper for this sewing, no patterns either. Cut out a 50 x 60 mm square.
In this technique, the block is made strictly in a spiral.
- Sew the block clockwise.
- Cut out rectangles of other colors.
- Attach the next one to the left.
- Align and measure the long side.
- The next rectangle is 100 by 60 mm.
- Sew it on and iron it.
- The seams are usually ironed on one side. The result is a rectangle 100 by 120 mm. On the right, apply a 60 mm strip, pin and stitch.
- Then iron it. Then proceed in the same way.
"Boro"
This technique is very similar to darning. Various patches are used roughly. They are sewn on by hand with coarse threads. The patches are sewn on one another in a chaotic manner with large stitches.
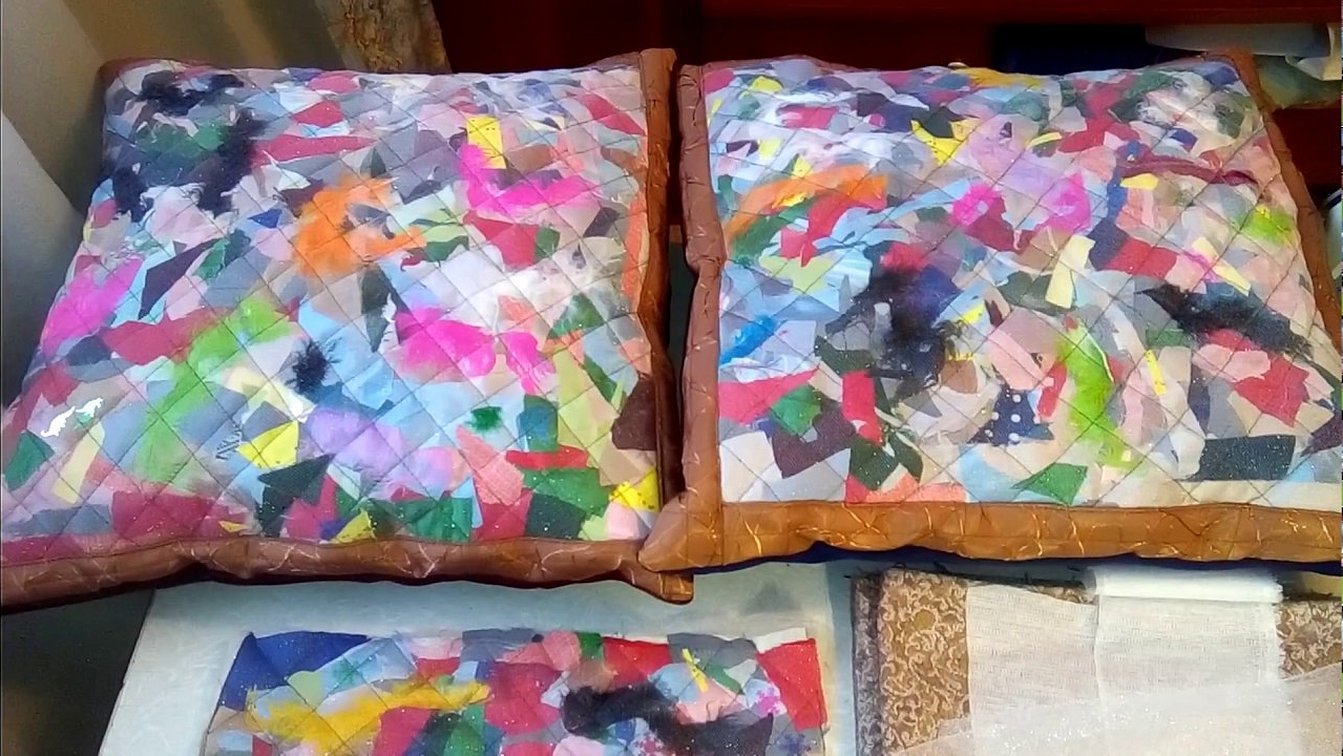
"Pizza"
This is an ideal patchwork sewing option for beginners. Sprinkle the base with hot melt fabric glue powder. And start laying out the patches, starting with the larger ones. Fill in all the gaps, iron through non-stick paper. The glue melts, and you're done.
"Russian square"
It looks quite impressive, although there is nothing complicated:
- Lay the 20 mm strips in rows to form a square.
- Next, connect the resulting logs through the tops.
- Sew a diamond in the center.
"Honeycombs"
This technique came from England.
- Create pentagons.
- They need to be sewn on so that their edges touch, leaving no gaps. There is nothing complicated here, but it is very beautiful.
"Patchwork Corner"
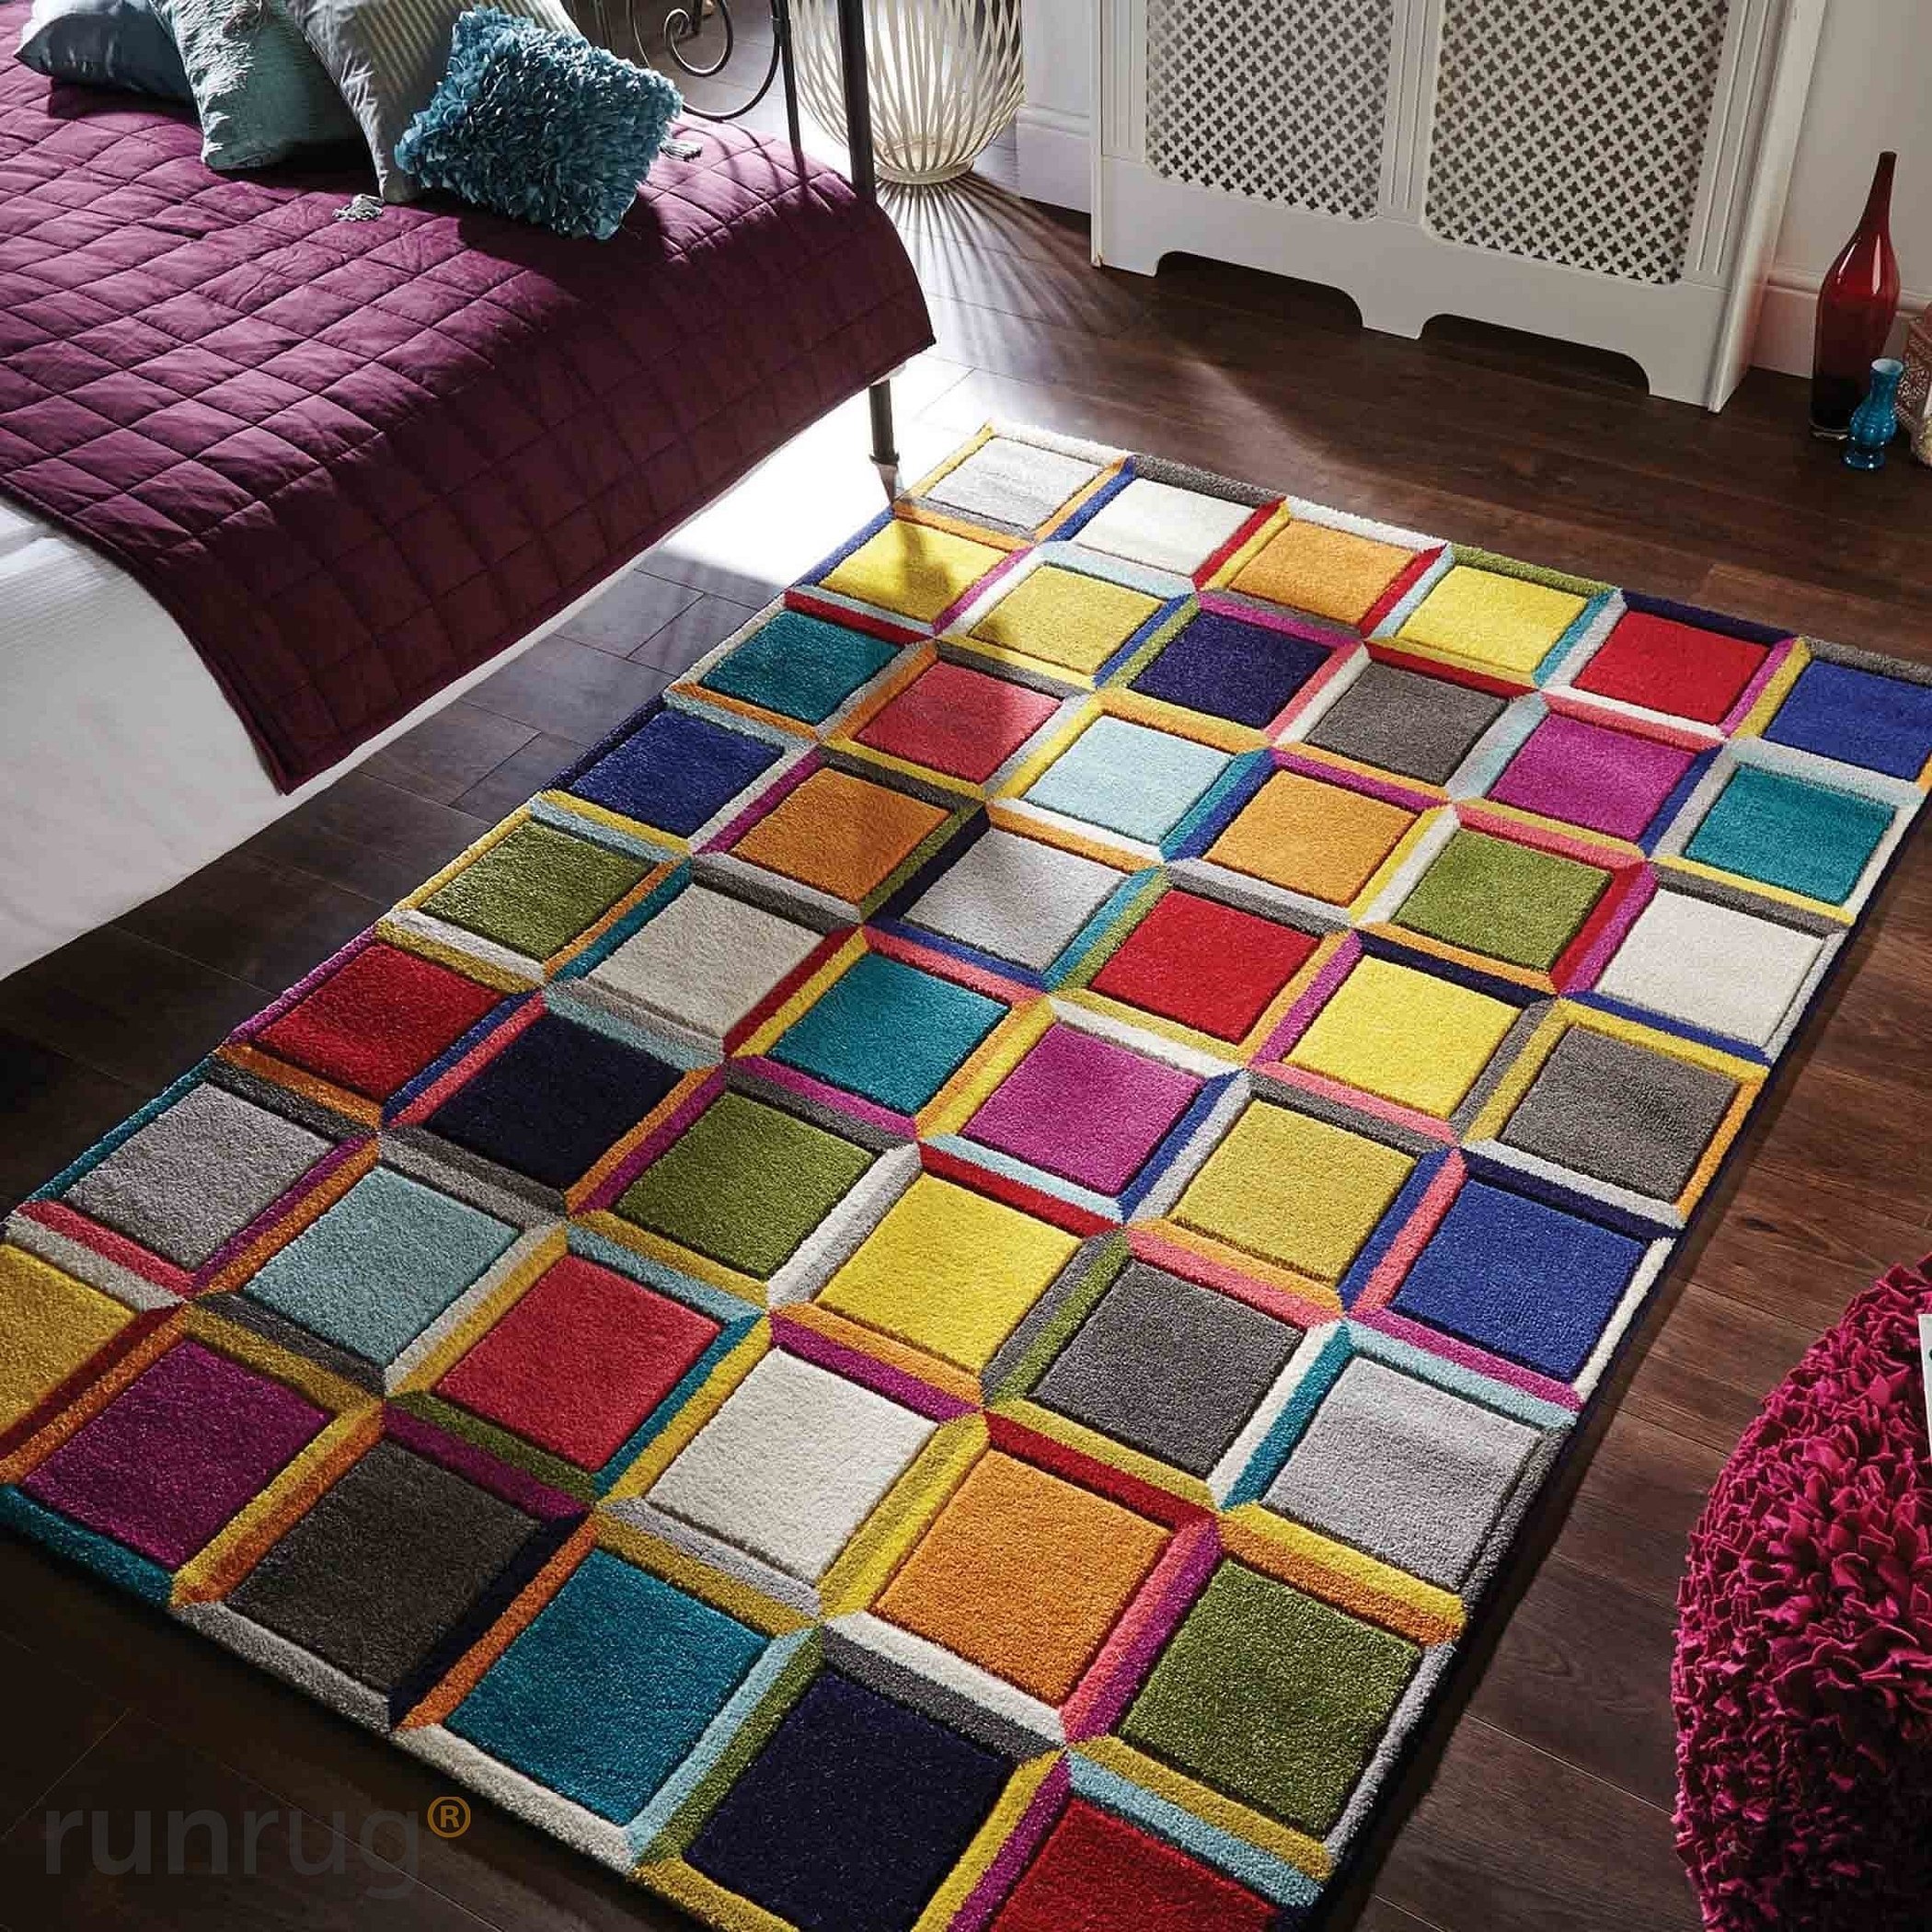
This technique is used to create beautiful rugs:
- Cut the fabric into squares.
- Fold them into a triangle, connect them with another one and put them under the sewing machine foot.
- Continue adding in a spiral.
"Stripe to stripe"
Everything is simple here: connect the patches with strips into blocks, and the blocks into a canvas.
"Chessboard"
Place a short strip on the left, then another on the right, new ones on the left, turning 180 degrees, then again on the right. Sew in the same order.
"Watercolor"
Here two types of fabric are selected, one bright and the other neutral. The bright one is sewn on as a pattern, and the plain one as a background.
"Lyapochikha"
The strips of fabric are sewn in rows. Preferably colored stripes. The edges remain, creating volume. That's the whole secret.
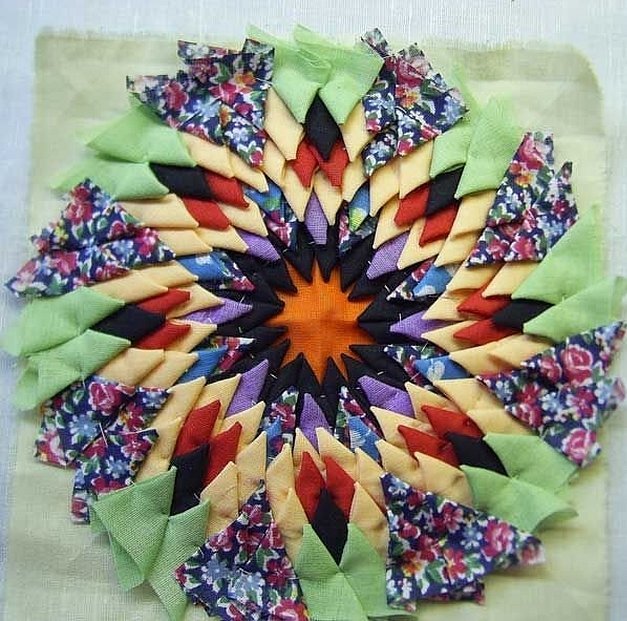
Free technique
Here you can create roses or a crazy quilt. A small square is placed in the middle and a triangle starts from it, then in a circle, so that there is no free space.
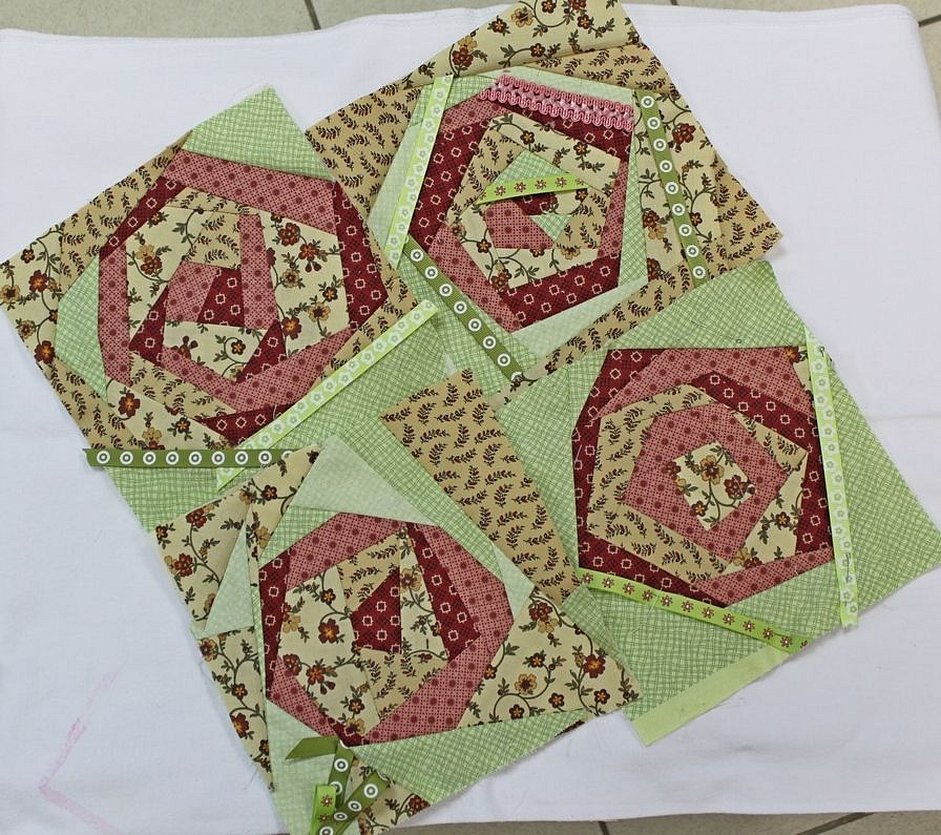
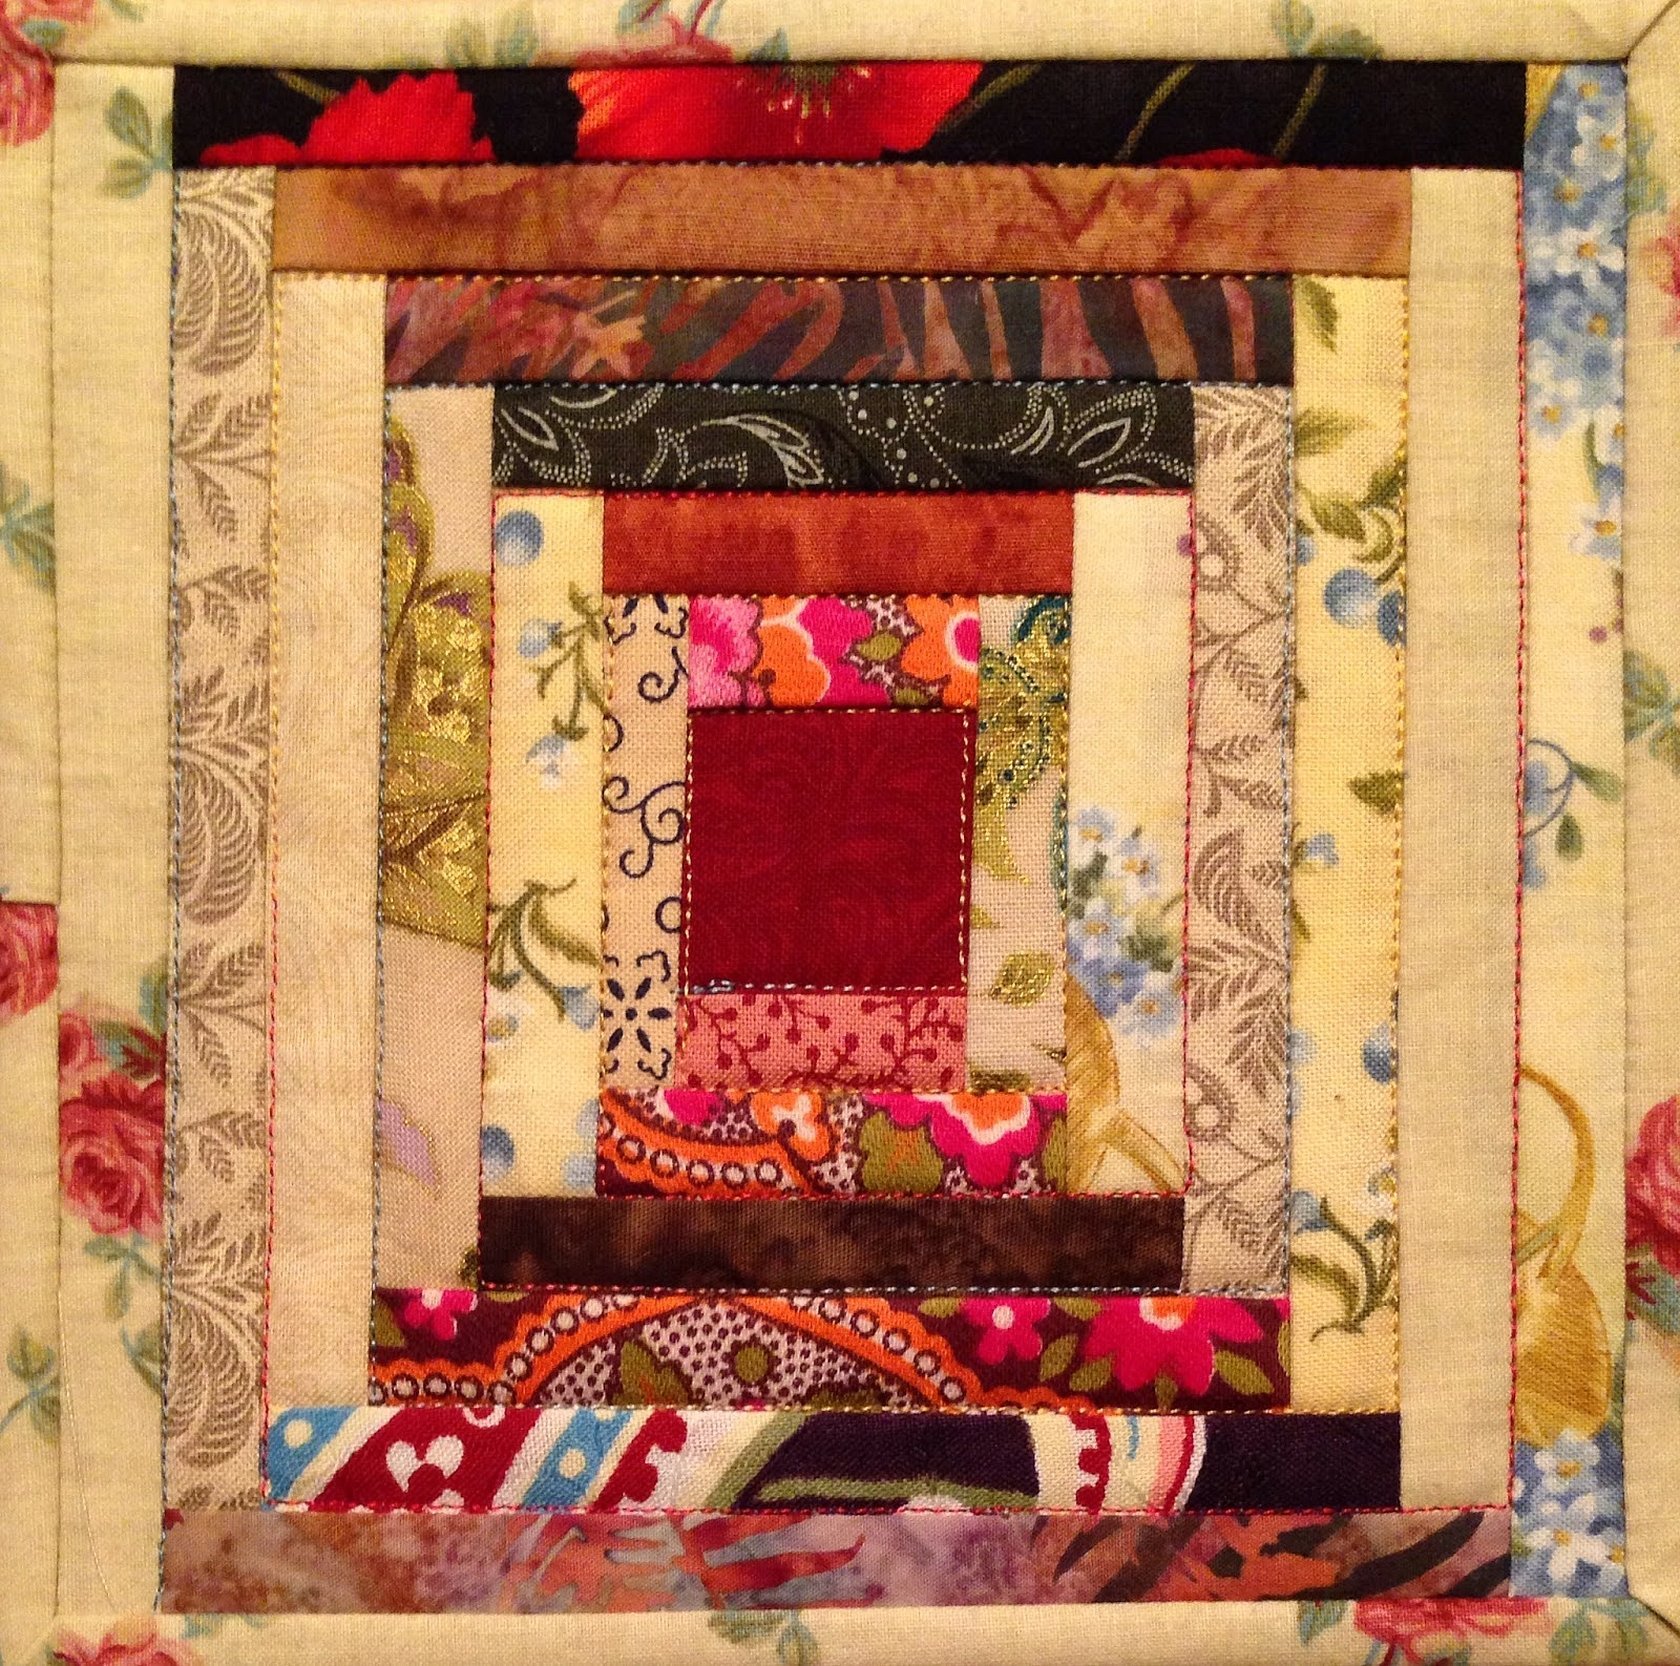
"Log Cabin"
Here it is similar to the previous technique. Only the basis is not triangles, but stripes, which can be narrow or wide. Start sewing them in a circle.
"Grandma's Garden"
This technique is based on the "Honeycomb". Only here an important role is given to color. The core is one, then a circle of one color, then a circle of one color, from such circles and create a canvas.
"Quick Squares"
Squares are created from triangles, and blocks are created from the resulting squares, which are then connected into a canvas.
"Jacob's Ladder"
Here, everything is created from triangles that form identical stripes diagonally, and then are sewn together to form a single piece.
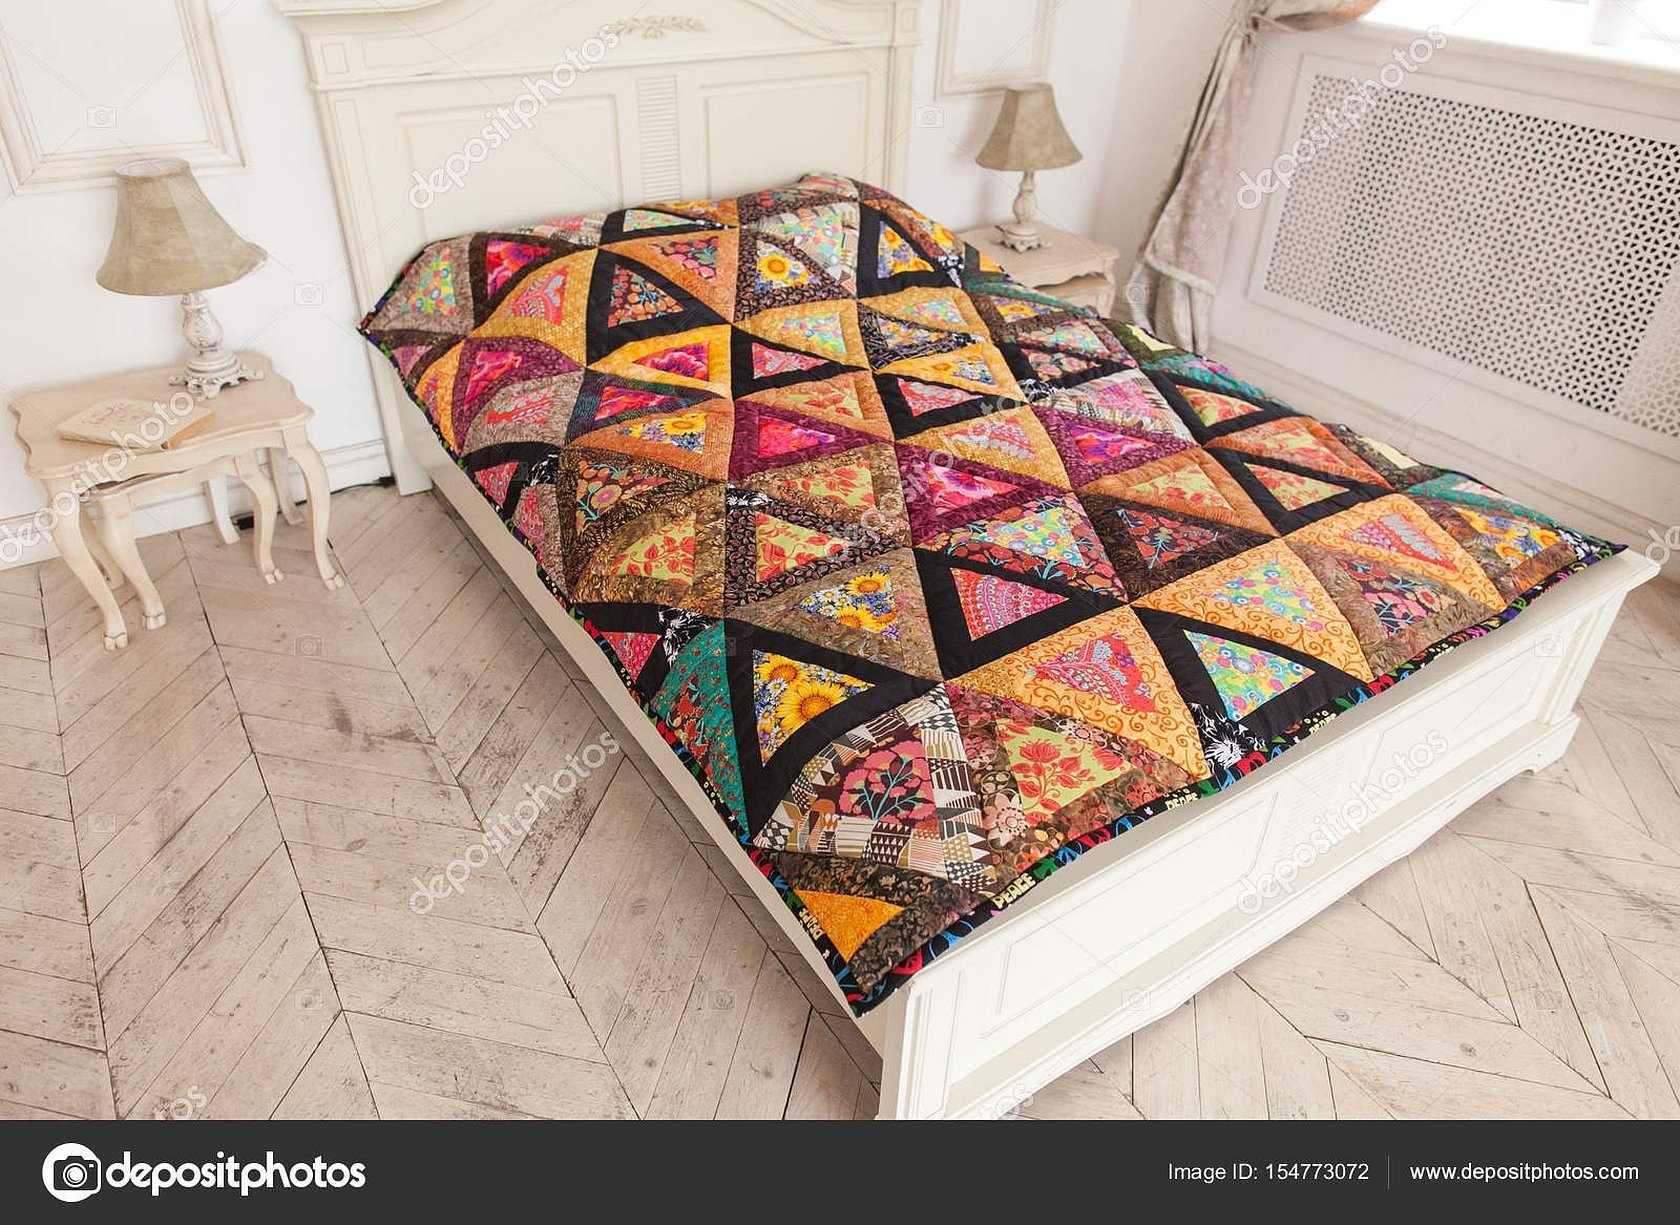
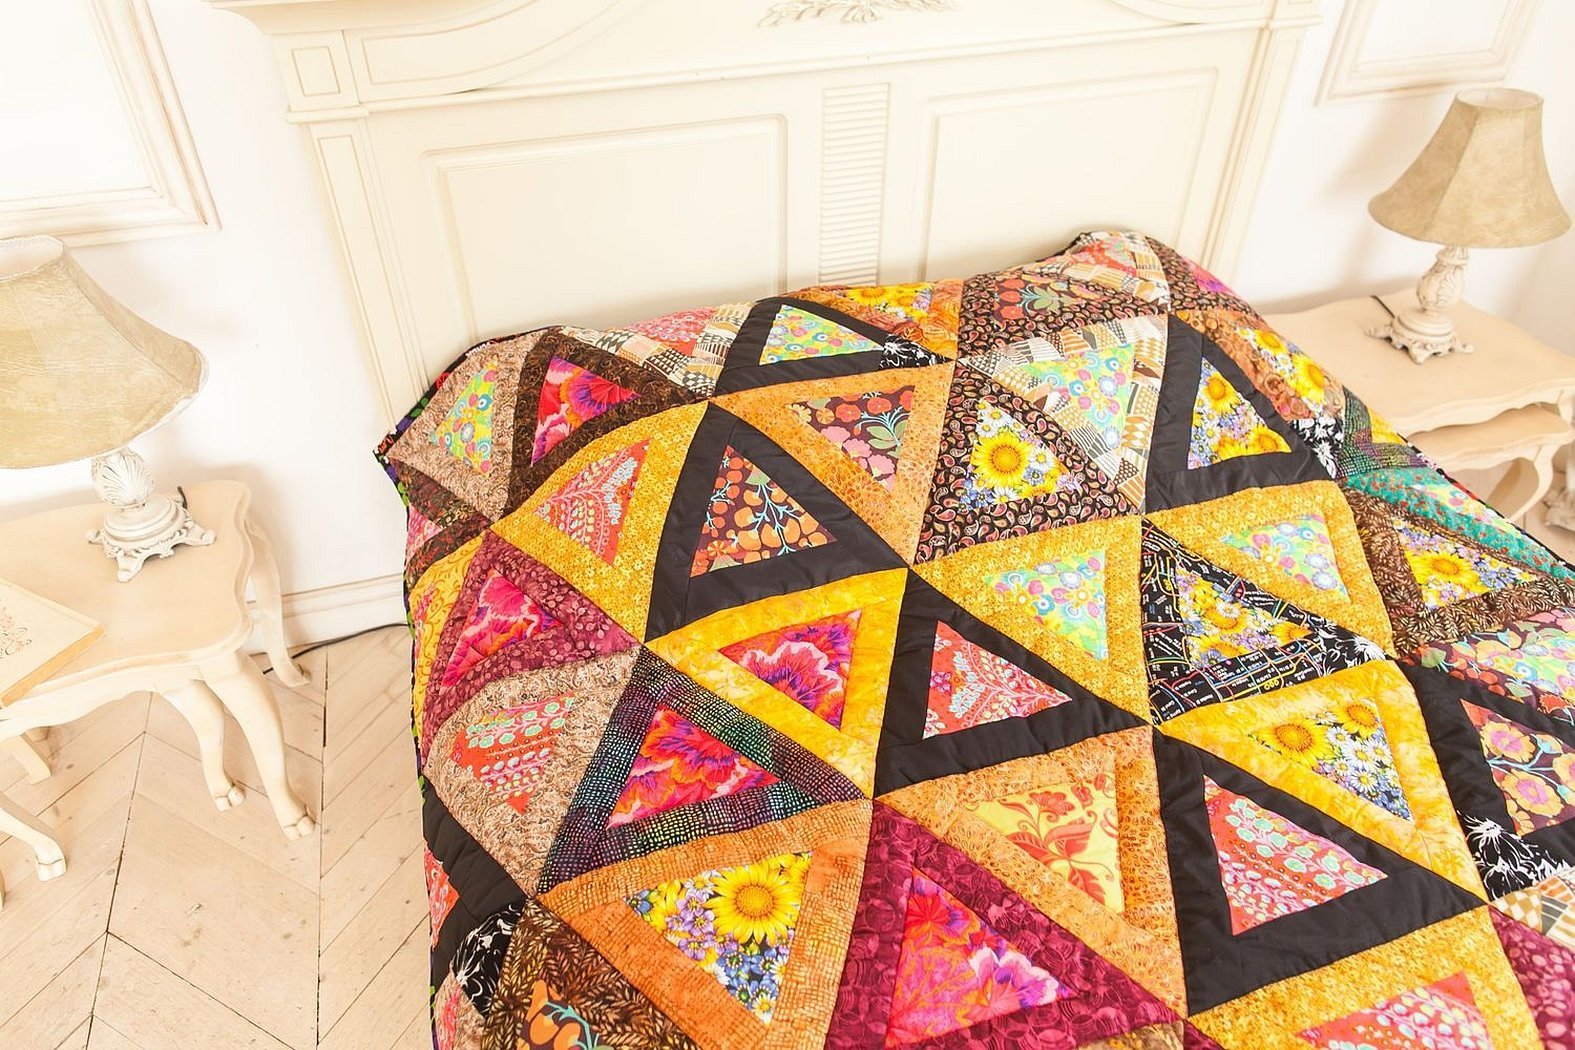
"Triangles"
It's elementary. Sew together different triangles in any order and you'll get what you get.
"Bargello"
This is more difficult. You have to suffer a little here. Sew strip to strip all the flaps. A tube should form. Now cut the whole "tube" into transverse strips. The thickness is about 50 millimeters. You should get a stepped pattern. Sew the resulting. Align the edges.
Japanese patchwork.
This is a complex form of art. Real paintings are created with its help. This is a patch based on some sketch.
Patchwork - patterns, templates and patterns for beginners
It is worth considering patchwork sewing beautiful things and easy step-by-step instructions for beginners. You can make a wonderful potholder or blanket.
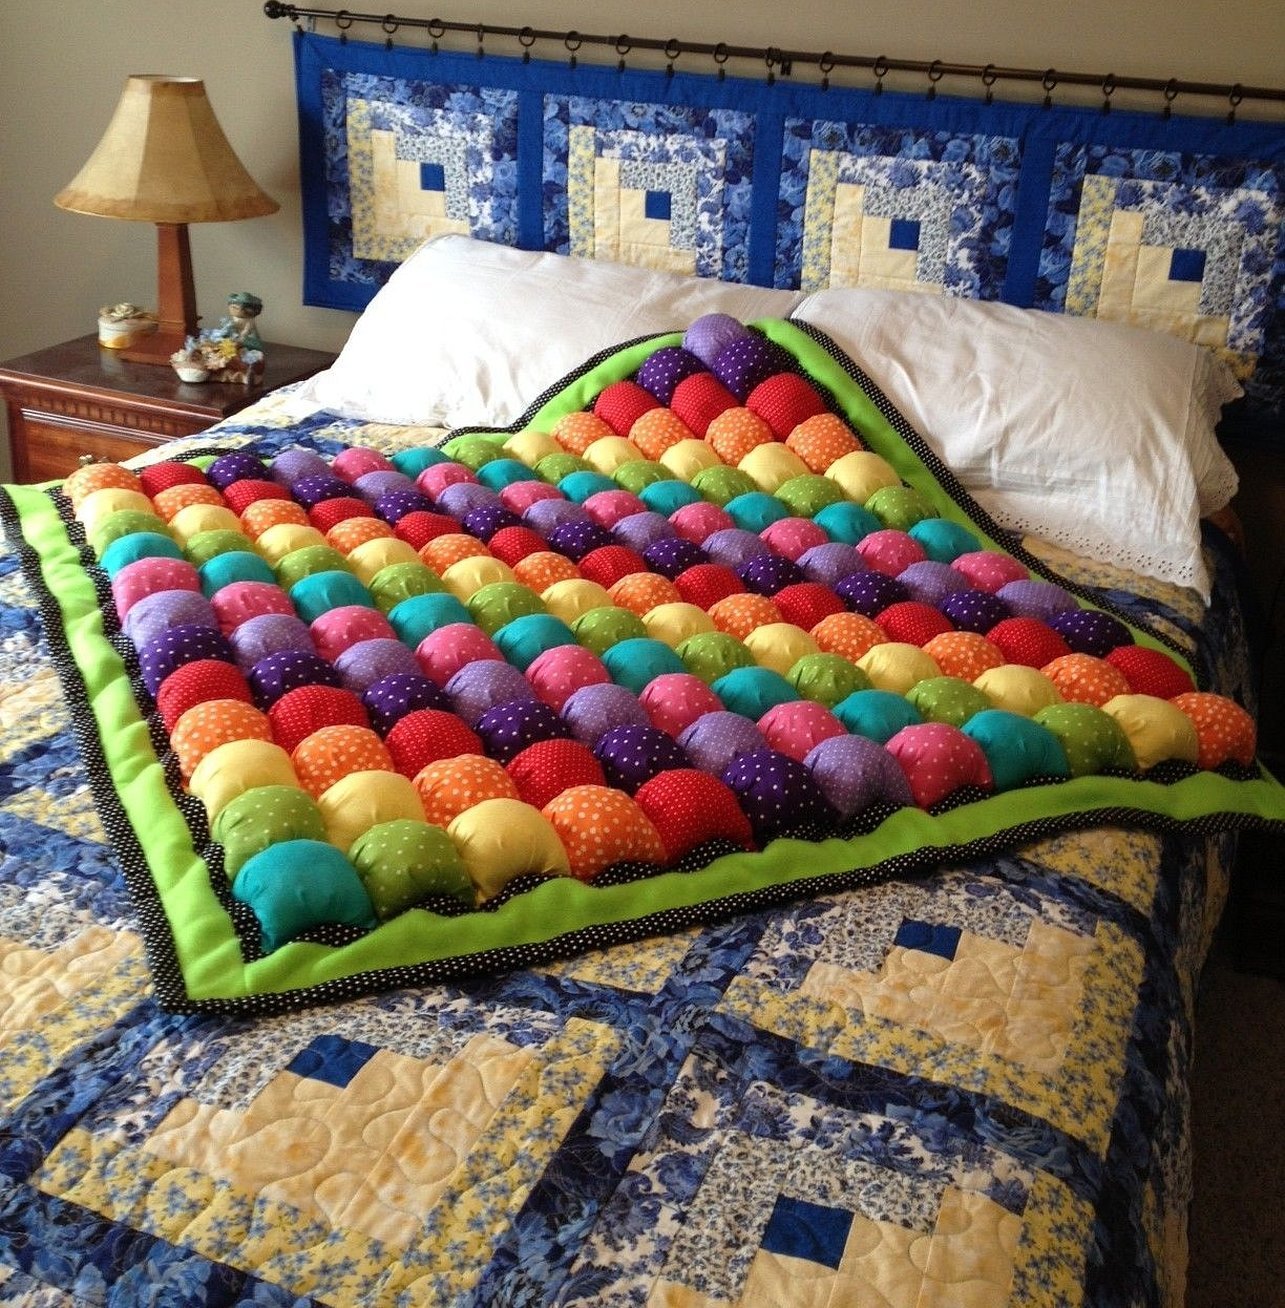
It is very easy to make a blanket. First, choose a technique that you like. Create a canvas of the required dimensions, then sew the second side from the inside. Do not sew the top, fill it with a blanket composition, which must be purchased in advance. It already depends on the desire, what to fill the blanket with. All that remains is to stitch it. Beautiful and simple. And a blanket made with your own hands will warm you twice as much.
The rug is best made using one of the techniques based on a circle. A thick base is needed for the rug. An ornament of the required dimensions is created. The edges are processed and sewn with stripes of a different color. All that remains is to attach it to the base using glue. The rug is ready.
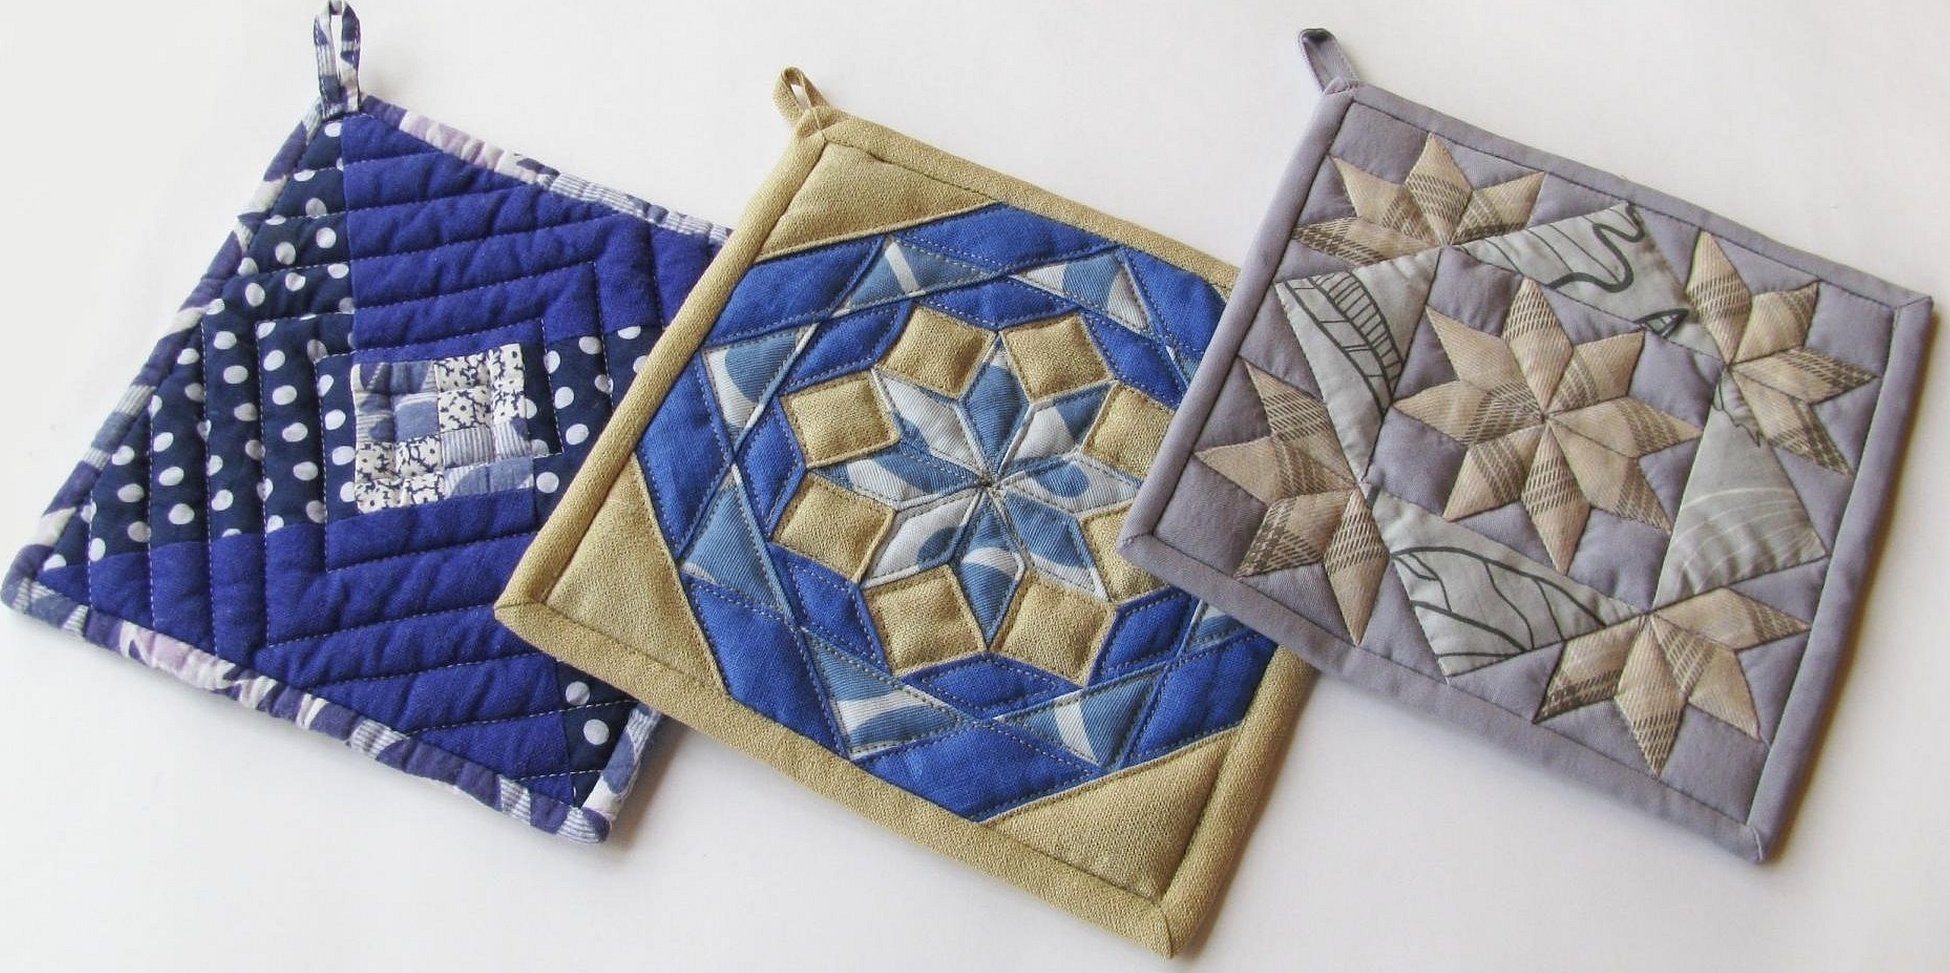
You will have to tinker with the potholder. Two bases are created using the chosen technique, a lining is sewn on so that this product does not rub against the skin. Now the potholders cut to size are connected from the wrong side. Turn inside out and it is ready.
Attention! A thick material is suitable for a potholder. A potholder made from a light material will not be of any use.
The article covers a large number of techniques, but that's not all. There's plenty of room to roam, so choose what you like and create to your heart's content! The incredible variety of techniques, the ability to create stunning patterns and designs make you look at patchwork in a new way, give new life to old things. And after practice, you can afford to buy some fabric and please your loved ones with new gifts or attributes for everyday use.


