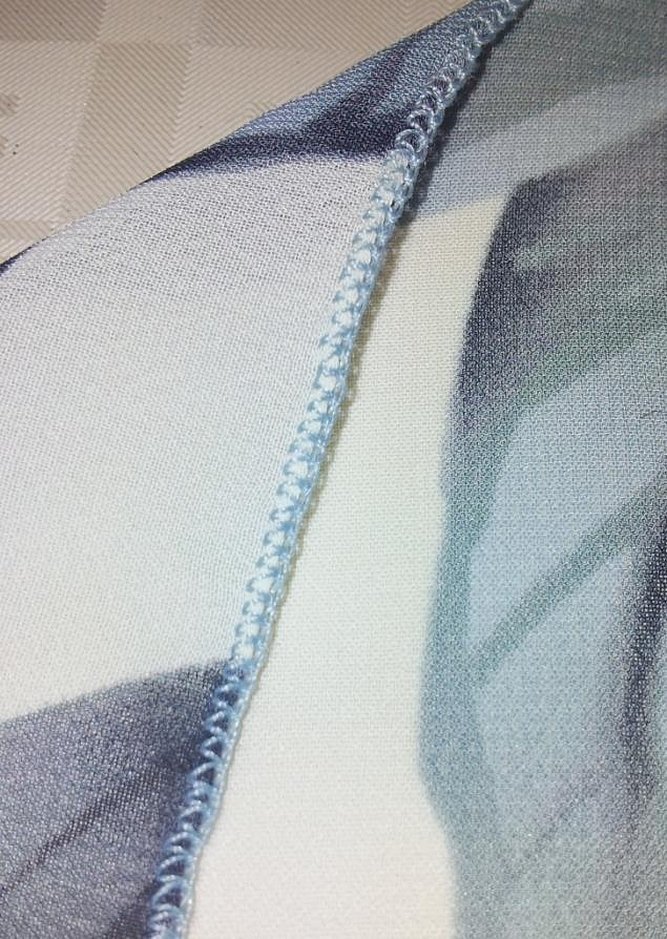
The narrow seam looks quite beautiful and elegant. This article tells how to make a Moscow seam on thin fabrics and what is needed for this.
Tips for working with delicate fabrics
Before starting work, it is recommended to iron the fabric. For basting, it is better to use thin yarn. When stitching, it is advisable to use a thin overlock needle, the main thing is that the tip is not deformed. Stitching should be done only with small stitches.
The lines of the parts and all the marks on the paper sketch must be transferred to the canvas using copy stitches, not carbon paper (otherwise all the lines may show through). To do this, place the parts of the paper template on the fabric laid out in several layers and, with the needle forward, make the contours of the parts of the paper template.
Attention! Straight contours should be made with larger stitches; in places of rounding and at corners the stitches should be shorter.
When all the stitches are ready, you need to cut each loop 3 cm high in the center and remove the paper template. Then move the layers of material apart and carefully cut the threads between them.
To cut thin fabrics, it is recommended to place cotton on the table, otherwise the fabric will slide.
The scissors should be special for thin materials, or simply sharpened. You can put something heavy on top of the pattern so that it does not move.
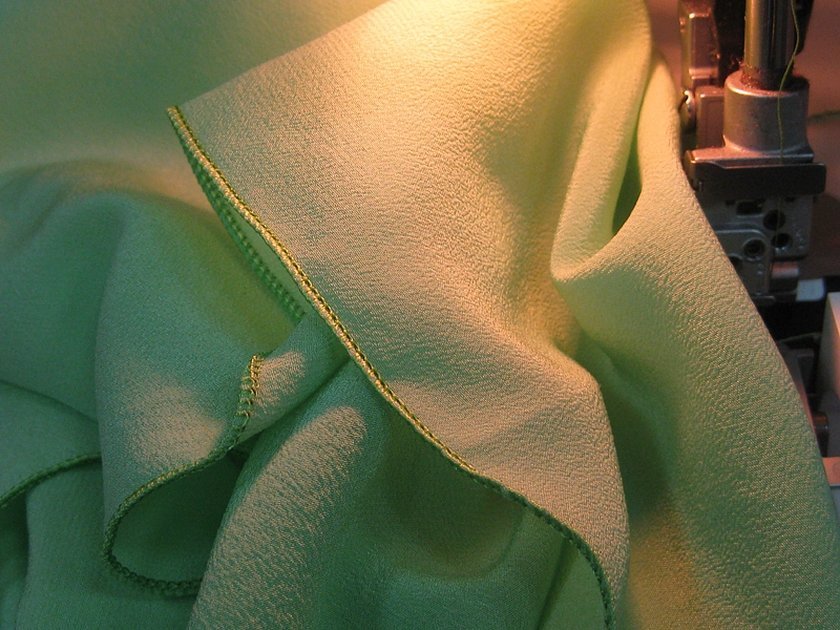
Properties of chiffon material:
- Beautiful, slightly embossed structure with various visual effects: shine, shimmer or matte surface;
- Rare drapery - there are airy folds on the fabric;
- Softness and comfort - this is the most pleasant to the touch material;
- Hygienic features - chiffon allows air to circulate well and is also hypoallergenic.

Usually, it is used to make summer T-shirts, sundresses and dresses, evening and formal suits, as well as stoles and beautiful scarves. It is used to make decorations for things. The material requires good care because it is very capricious. Before starting to work with chiffon, it is necessary to wash your hands or wipe them with wet wipes. Because it is easy to leave a greasy stain on the fabric. It is also advisable to remember to use stabilizers.
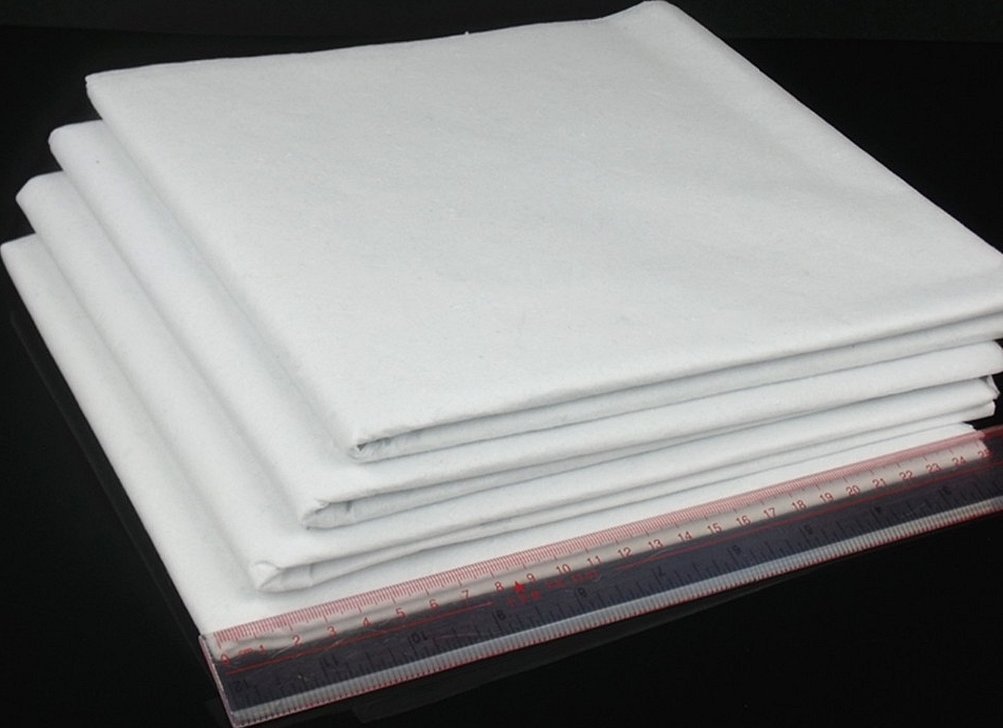
Stabilizers are fabrics that are used to stabilize the product during the process. They prevent the fabric from wrinkling and clogging under the machine foot. Stabilizers are used mainly when working with thin transparent materials or with embroidery. You can buy them at any textile store.
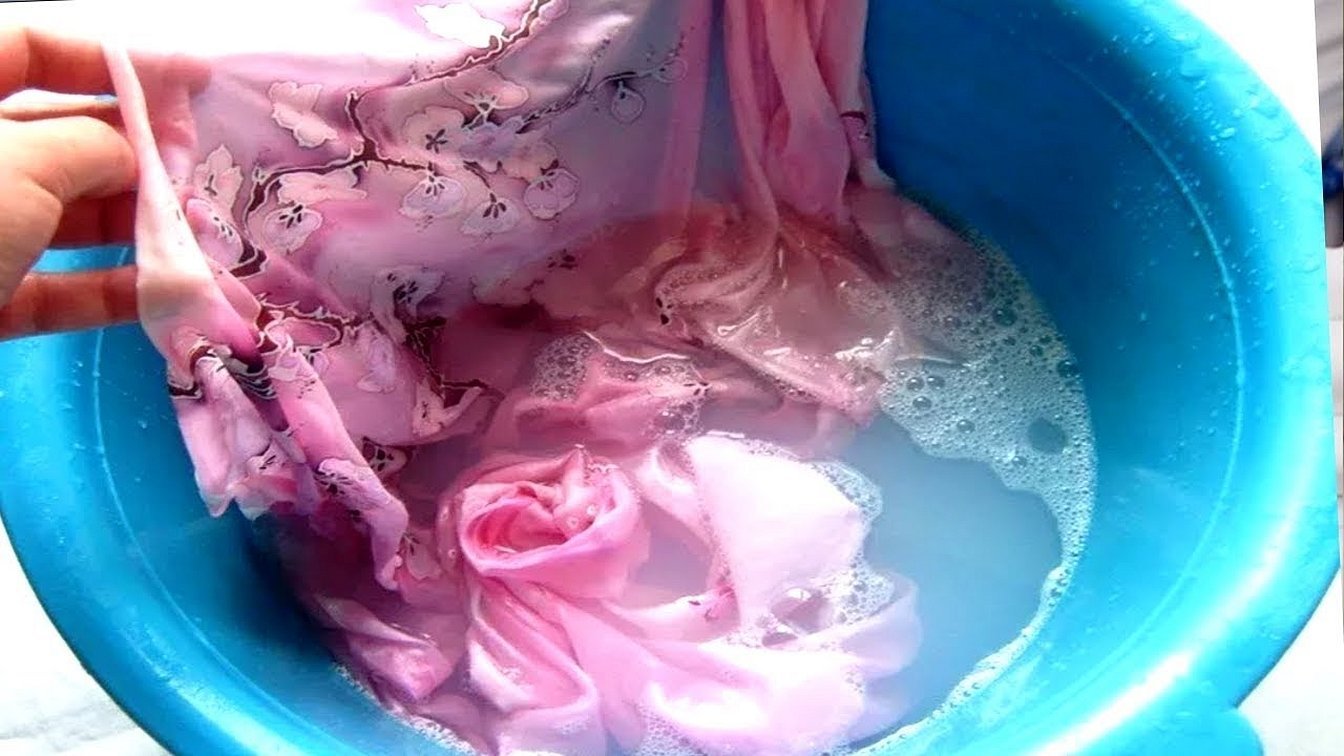
It is recommended to wash chiffon products carefully. Give preference to hand washing only, at a temperature not exceeding 30 degrees. Use only liquid detergents for washing. Try not to apply friction during the process, as many creases or folds may form. After finishing, do not squeeze or twist the fabric too much. You need to place it in a dry terry towel and let it dry like that. When the product dries a little, it is advisable to straighten it on the surface and let it dry completely. Ironing is necessary at a temperature not exceeding 100 degrees and only using gauze.
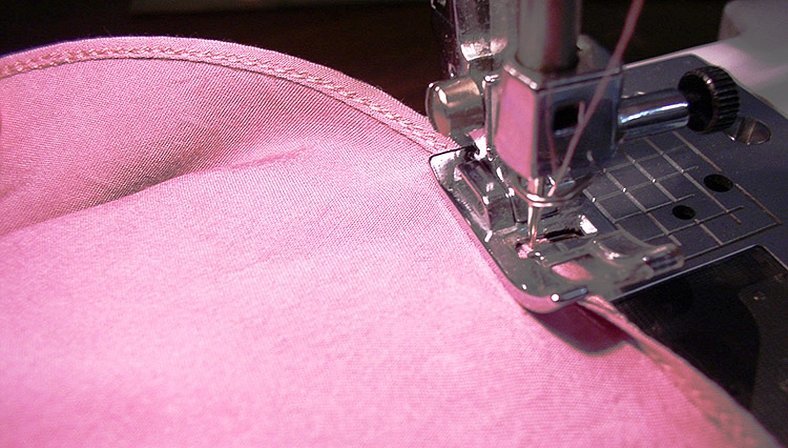
Step one: fold and topstitch
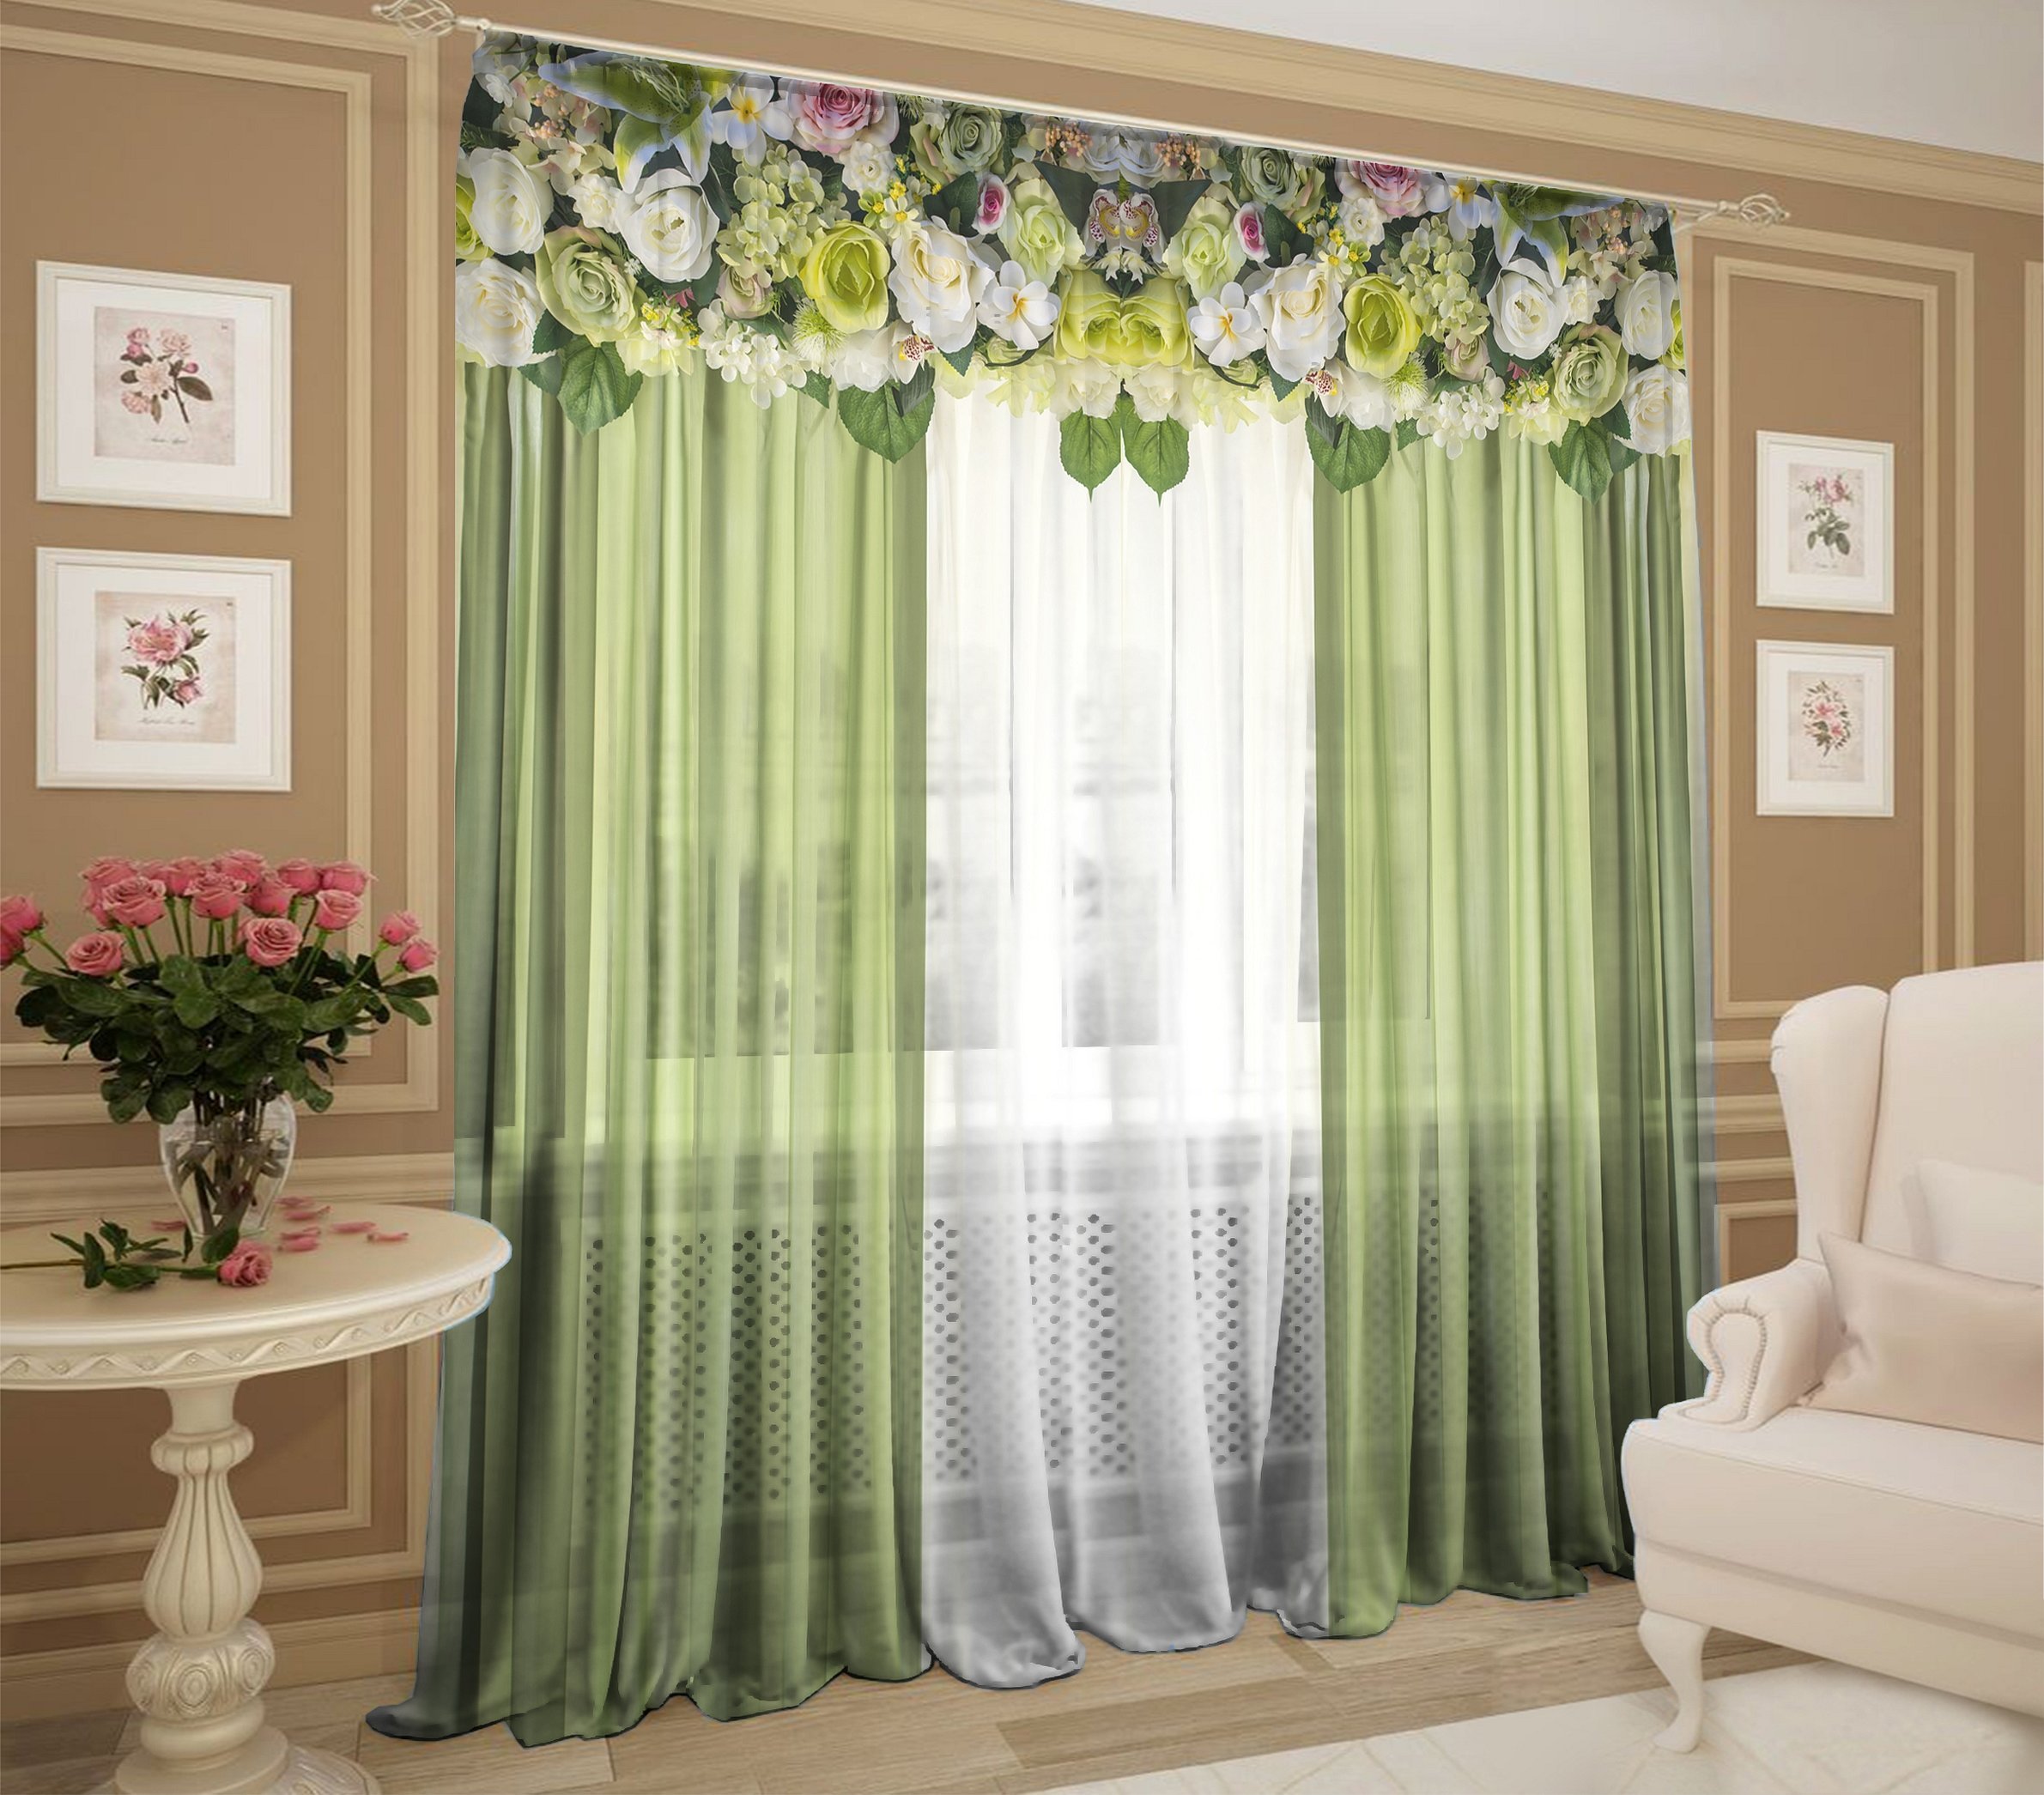
First, you need to iron the product well. Cut off excess threads and fabric edges. Place the fabric with the outer part down. Turn it up by 9-10 mm. Stitch tightly to the edge. The distance to it is about 2 mm. The stitch size is classic. You need to work carefully so that the fabric does not shrink. This method is used to make a Moscow seam on light and soft materials, such as curtains (tulle, organza). The hem of a skirt can be trimmed using the same method.
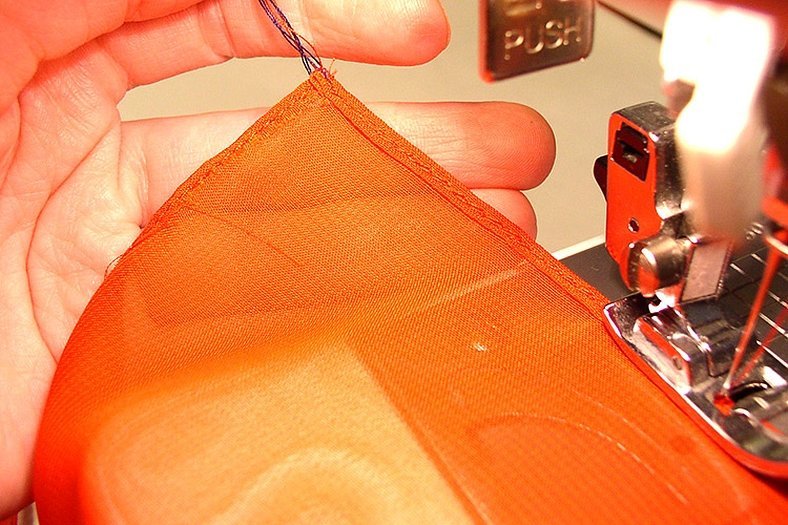
Step two: cutting the fabric
Now it is necessary to do the internal processing of the fabric. Using scissors, cut off the gap of material from the edge to the stitching from the outside, right up to the seam.
Make a small gap, about 1 mm. The finished result will be more beautiful if the stitched edge is wound in a semicircle on the working finger of the left hand, and the fabric is cut with the right hand. The main thing here is not to overdo it, because you can spoil the seam line. It is quite difficult to perform the Moscow seam, you need to get a good hand and an eye.
Step three: second stitching
The edge should be folded over by about 3 mm, so that the first line is in the center. Make a “needle to needle” stitch on the machine, making an indentation to the left by 2 mm. The material should not be stretched or skewed. The width of the finished scar will depend on how the first seam is located to the edge of the product.
For a good result, there must be a quality workpiece. With these seams, you can beautifully finish the products without having a professional tool.
Processing chiffon with Moscow seam and zig zag seam
The American seam for chiffon is made in three variations. Below is a detailed description of the processing methods.
First method
Here, before starting work, you need to make an allowance of 2 cm.
The line must be made retreating 1 mm from the fold. It is important to lay it very evenly. Iron the product well and trim the allowance. Then, on the inside, again make an allowance of 2 mm and stitch along the first seam.
For the Moscow seam to be beautiful, the line must be even. After that, it is necessary to go over the fabric well with an iron with steam. This type of seam is used in clothes sewn on the bias, for example, a flared skirt. But the cut itself will be wavy, because the material is elastic. This cut looks beautiful on light fabrics. There are other methods of processing chiffon.
Second method
It is mainly used for processing the edges of clothing sewn on the bias, but when wavy edges are not needed. For work, an adhesive share is required, and the allowances should be about 2 cm.
The classic width of the share is 2 cm, so you need to cut the share to a size of 8 mm.
From the inside of the product, make a share allowance of the processed cut, this is done so that the fabric does not begin to stretch. Now make an allowance of 2 mm on the same side and stitch, making an indent from the folds of a couple of mm. Then everything is ironed well and the allowance is cut closer to the line.
Now make a 2 mm allowance and stitch along the first seam.
This method has one drawback - because of the hem, the hem will be very dense, so it cannot be used for light fabrics. It will look very rough.
The third method
This type of work is the most difficult and is used to process the edges of clothes sewn on the bias from light but dense materials. It is necessary to make an allowance of 1 cm.
An auxiliary line is required on the allowance of the cut that will be processed, the distance from the edge should be about 3 mm. Thanks to such a line, there will be no stretching of the fabric.
Attention! For stitching, threads are used exclusively in the same tone as the product.
On the inside, you need to make an allowance along the auxiliary seam and make the first line at a distance of 2 mm from the fold. This is very difficult to do, so you can't rush at this stage. Everything is ironed and the allowance is cut off, leaving 2 mm. Next, an allowance of 2 mm is made on the wrong side and a seam is made along the first line. The Moscow seam on chiffon is ready.
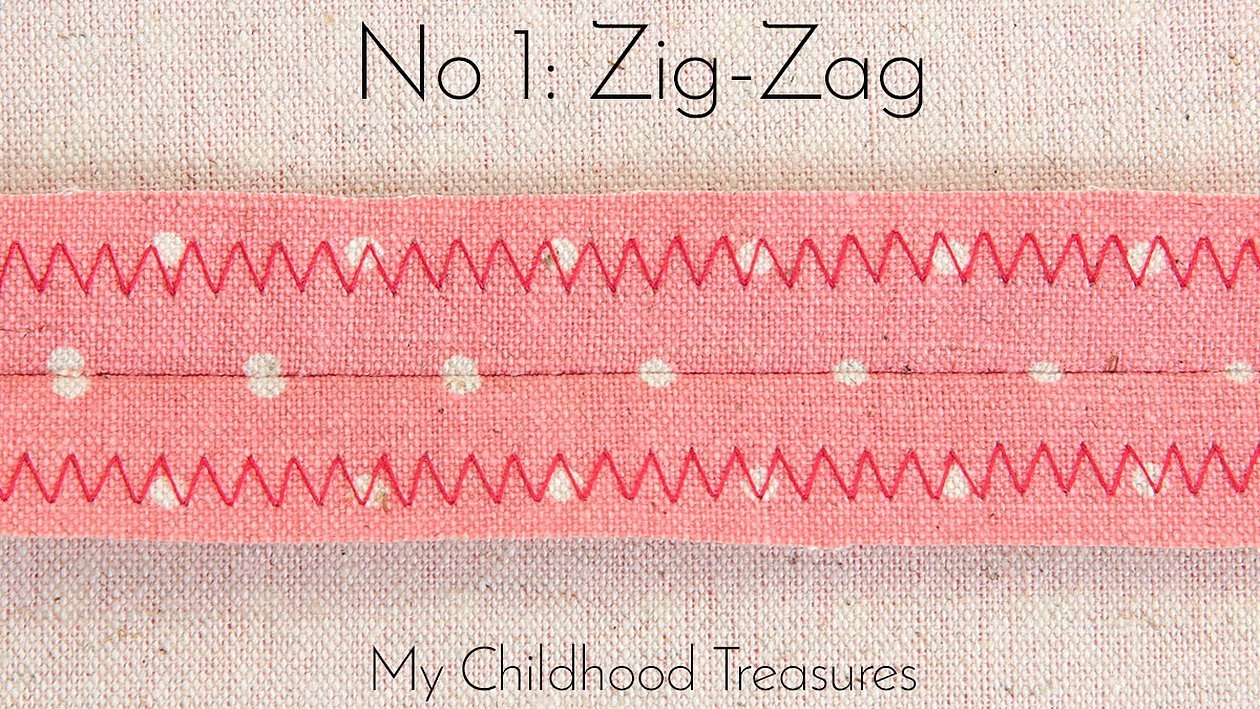
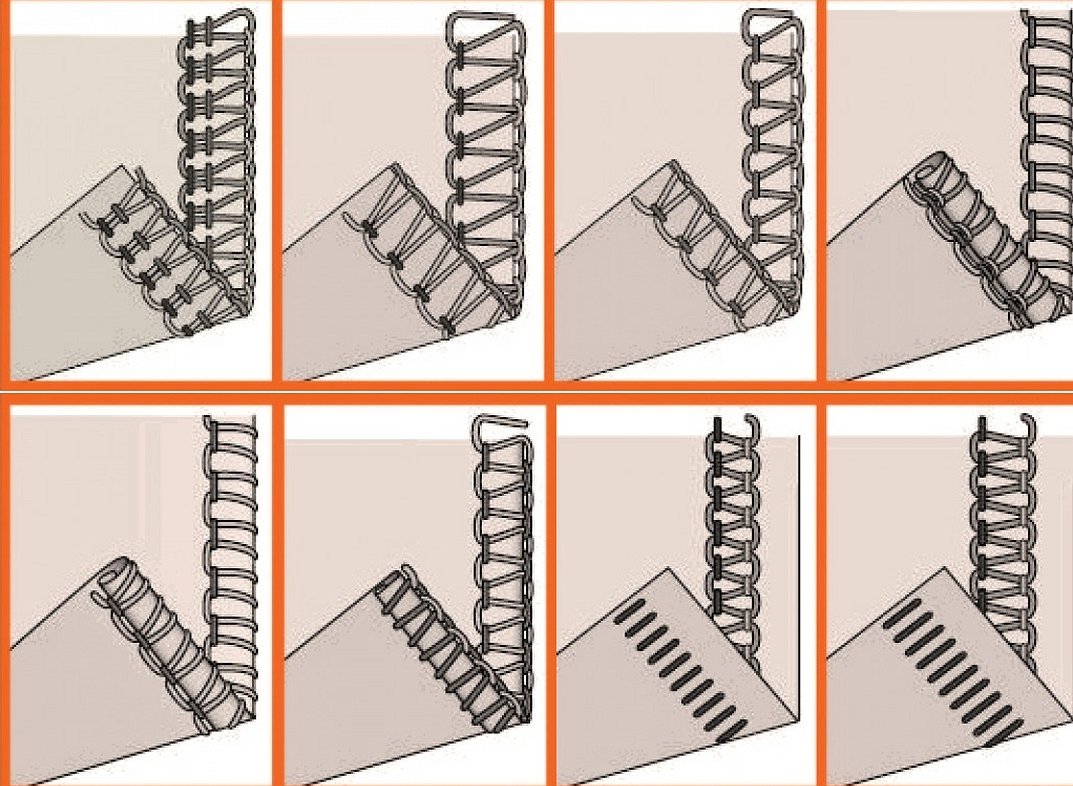
ZigZag stitch
In the mid-50s, scientists created a mechanism for deflecting the needle from its axis, thanks to which the zigzag stitch appeared. This was a major breakthrough in tailoring, because such a stitch not only made it easier to process products, but also accelerated this process. It became possible to create a loop using a machine. The zigzag stitch made products more durable and high-quality, unlike hand sewing.
Zigzag edge finishing is the most popular method of finishing edges with your own hands. It should be emphasized that such a line is quite dense. For example, on drape or felt it looks beautiful. But in elastic materials - on a bias thread or on knitwear - zigzag pulls the fabric. Therefore, the stitch length is increased. Zigzag for thin materials provides additional rigidity. But such a line will not tear or burst.
To reduce the rigidity, new models of machines have an overlock stitch. This is not like an overlock machine. Its difference and advantage over a zigzag is that the deviation of the needle will be one to three, in other words, two stitches are even and one is at an angle, this reduces the rigidity of the line. But some believe that this worsens the appearance of the material.
But, unfortunately, to perform such a line, you will have to purchase machines from 2017.
Here you need to carefully process the chiffon material, and then it will turn out quite elegant.
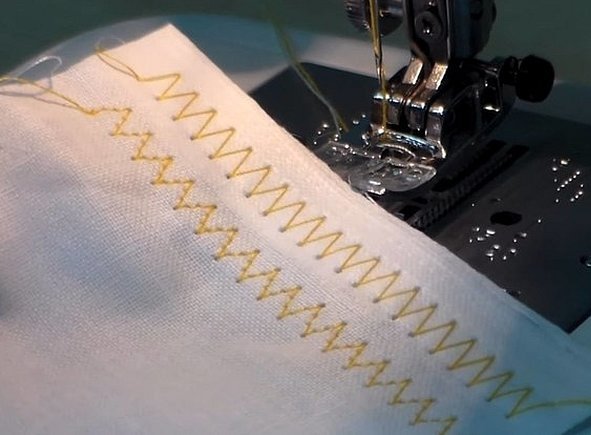
The allowance must be made on the wrong side. Along it, make a line with a frequent small zigzag across the edge. The first puncture of the needle is brought out to the edge, the second - to the fold, without piercing the fabric.
When setting up the machine, make the seam width 2 mm. Stitch frequency - 1. Trim the allowance before the line.
To trim the seam allowance as tightly as possible in the stitching, you need to work with scissors parallel to the fabric.
As a result, the edges will be wavy and elastic. To ensure that the shape holds well, you can add fishing line to the allowance. This trick is often used for ball gowns.
In conclusion, it is necessary to sum up. The Moscow seam is quite difficult to perform for a novice tailor. For it, you need to have a good eye and get your hand in, but as a result, you get beautiful and neat products. It is necessary to remember that the products need proper care. To more accurately understand the definition of a narrow seam, you need to watch several master classes before starting work.


