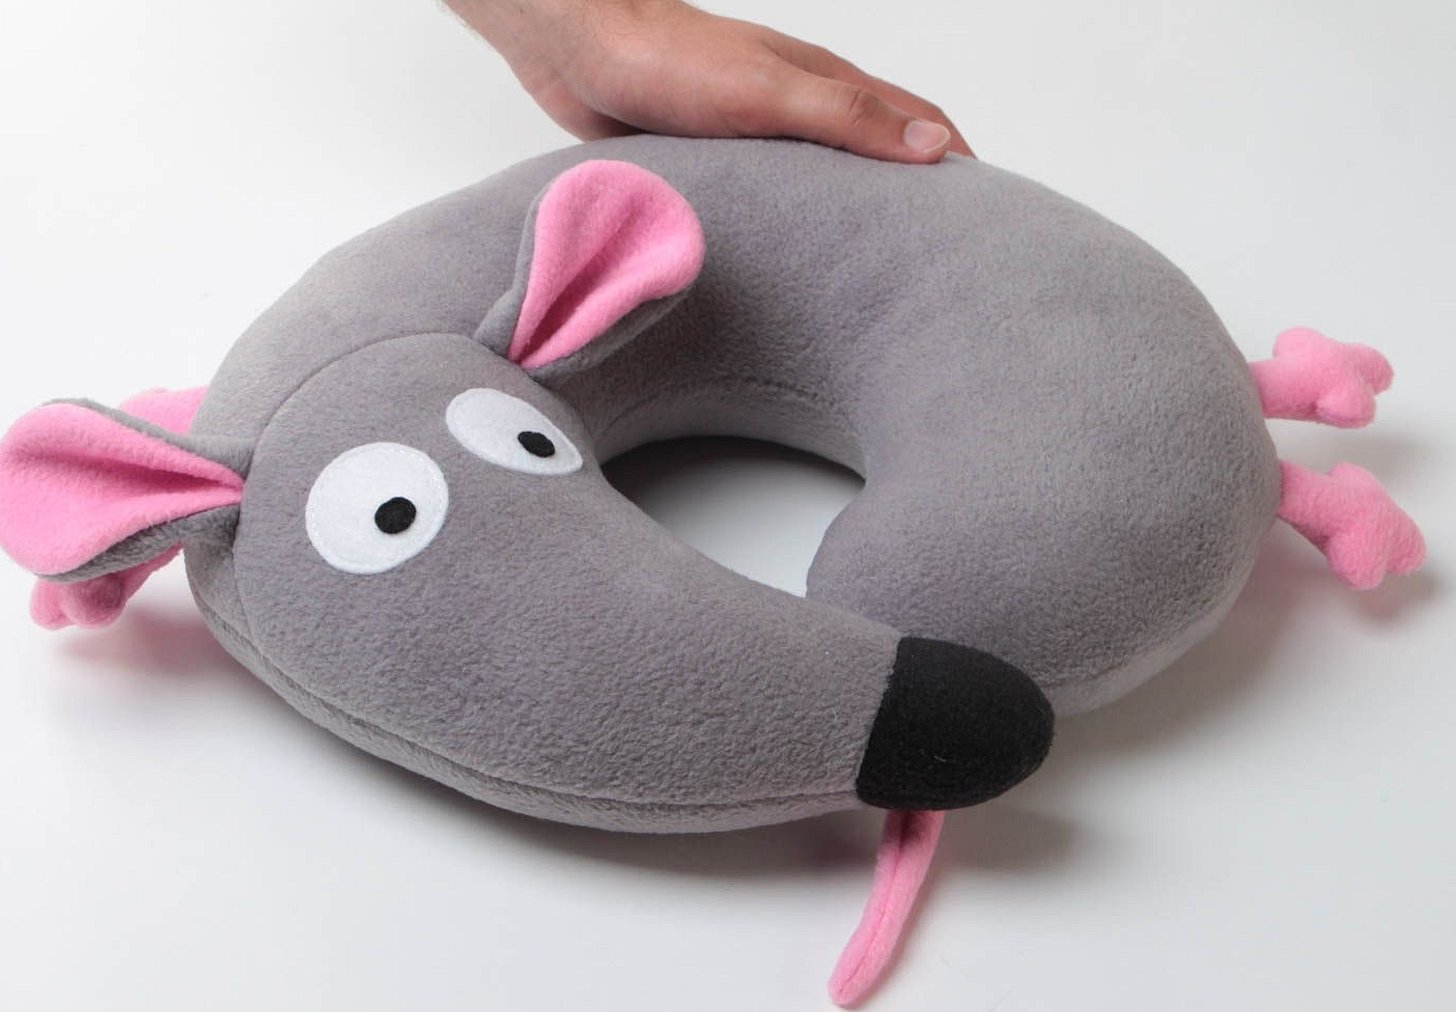
All mothers want the best for their children, toys are no exception. Sometimes the prices for such items are "biting", so many parents prefer handicrafts. Children have a positive attitude towards toys in the form of animals. This article presents a pattern for a rat, and also shows several master classes for beginners.
- What you need to know to make a mouse
- Patterns and sewing
- DIY Mouse
- Old Woman Shapoklyak and Little Rat Lariska – cut
- Mouse-pillow made of fur
- Glove toy - felt rat doll
- Toy Mouse with a Bead
- Three-headed rat king from the Nutcracker fairy tale – pattern
- Tilda Mouse - Pattern
- Filling parts with filler
- Completing the toy
What you need to know to make a mouse
To make a mouse image yourself, you need to think through each element of the toy. First, you need to decide what kind of toy to make, it can be a Ratatouille mouse or a burrow. The ears and tail are made using the same technology. These toys have their differences. For example, Ratatouille is made in black shades, and the burrow in gray.
It is necessary to choose not only the fabric for the toy, but also small details, decorations, beads. For the mink, you need to sew shoes or a bow.

The ears and tail of the mouse are made separately from the body of the toy. To do this, you need to choose a material to match the product, cut out two symmetrical strips and baste them together. The tail needs to be filled with filler, such as synthetic fluff, and sewn to the product.
Attention! Some toys can be used as New Year's decorations, so a ribbon is sewn onto them, by which the mouse is hung on the tree.
Below you can find out how to sew a mouse with your own hands.
Patterns and sewing
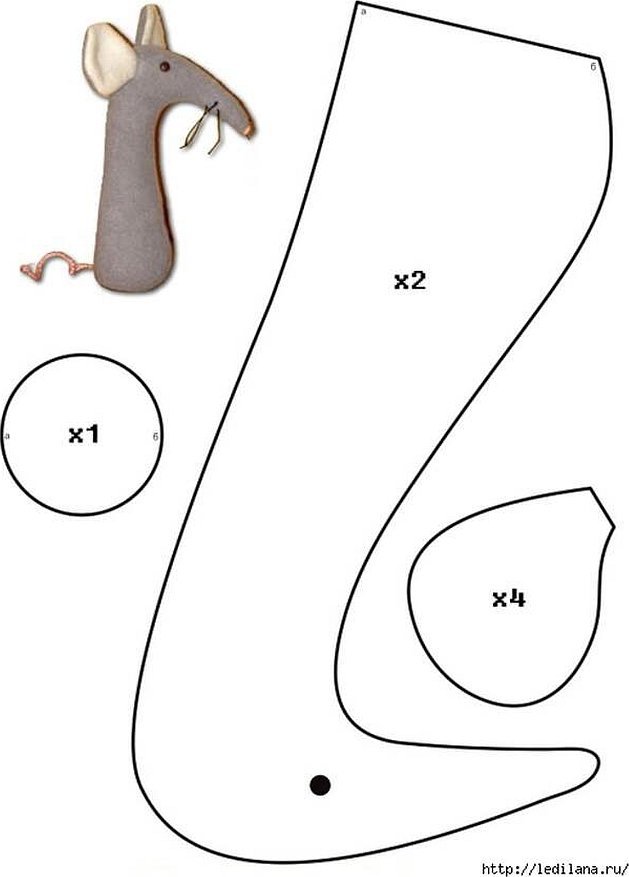
The mouse pattern can be found on the Internet and printed out. If you have a certain artistic skill and imagination, you can make the pattern yourself. Basically, the product consists of a body, paws, ears and a tail. Below in the article are presented do-it-yourself felt mice with patterns.
DIY Mouse
You can sew a mouse with your own hands in several stages. First, make a pattern, then cut out the details from the fabric and sew them on the machine.
Basic tools and materials for creating a simple mouse:
- fleece fabric in white and red colors;
- a piece of red felt;
- threads in the same tone as the material;
- needles, pins;
- filler (cotton wool, synthetic padding);
- thick thread for the tail.
The first thing you need to do is find a pattern and cut it out of paper. Now you can transfer the drawing to the canvas and cut out the elements of the product.
Next, you need to sew the body together with the paws, preferably using a sewing machine so that the seams are stronger, and turn the toy inside out. Make the paws out of red felt. Next, you need to sew the head with the mouse ears and leave a small hole. Add filler to this hole and sew it up.

Twist a tail from thick white thread and sew it to the toy. Fill the body of the product with padding polyester and sew it up. Make a circle nose from red felt and sew it in a circle with a regular stitch, add a little cotton wool and tighten. Sew on the nose and add button eyes.
Old Woman Shapoklyak and Little Rat Lariska – cut
In figures 4 and 5 the pattern of the toy of the old woman Shapoklyak and the rat Lariska is presented. The colors of the fabric can be chosen at will, it is not necessary to do as in the cartoon. The rat's nose should be slightly upturned, as in the cartoon.
Mouse-pillow made of fur
The main tools that will be used in the work:
- light-colored fur – 30 × 30 centimeters;
- grey fur – 30 x 70 centimeters;
- zipper or rivets for fastening;
- filler of your choice;
- eyes and nose made of buttons;
- red satin braid;
- textile roller;
- marker;
- needles and threads;
- black wire for whiskers;
- sewing machine or overlock.
This will be the easiest pattern to construct. You need to redraw all the lines from the sketch and put them on paper.
First, you need to transfer the drawing to the material. To do this, apply the cut out parts to the back of the fur fabric and trace them with a textile marker. Cut out the mouse elements along these contours.
The back of the product will be one piece. Fold the fur of two colors with the right side inward. The pile should be smoothed to one side.
Now make the ears, secure them with pins, turn them inside out and stitch, leaving an opening for the padding polyester.
Now you need to sew the muzzle elements - gray and white. Sew the ear parts to the front part of the upper cut of the strip of white fur. Attach a piece of gray fur on top - the body of the toy and stitch on the machine.
Next, you need to sew a zipper or rivets to the edge of the top and bottom of the decorative pillow. Cut out a tail piece from gray fur, fold it in half with the fur side inside and stitch along.
At the end, you need to fold the top and bottom of the decorative pillow with the outer sides inward, add a tail.
Using PVA glue, add eyes and a nose. Insert black wire as antennae. The last step is to fill the pillow with cotton wool or padding polyester.
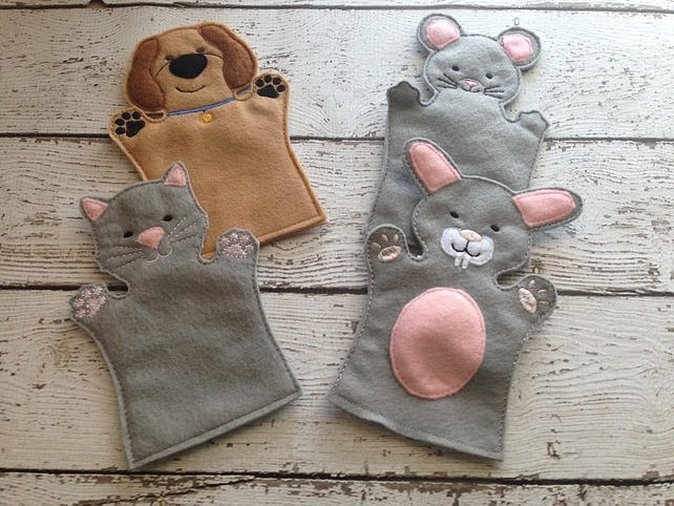
Glove toy - felt rat doll
What you need to use for sewing:
- yellow (gray), black and pink felt;
- sewing threads to match the fabric;
- needle;
- pins;
- textile roller;
- fabric marker;
- PVA glue;
- Whatman paper or tracing paper;
- holofiber or any other filler;
- eyes or beads.
Pin the paper sketches to the fabric. Cut out the toy parts. One base element, two for the ears from red fabric, two more for the rat's nose. Sew the toy ears to the base.
First, pin the ears in the middle, then fold them to the center by two-thirds, make two more stitches, then fold the ends of the ears to the middle and make more stitches.
Sew the doll's body with loop stitches. Make a cut on both sides of the body. Two fingers should fit into the cut. Glue the doll's nose to the muzzle on both sides.
For the eyes, you can take black beads or buttons and also glue them with PVA. Also, for the volume of the nose, insert cotton wool filler. The tail of the toy is made of fabric with synthetic padding.
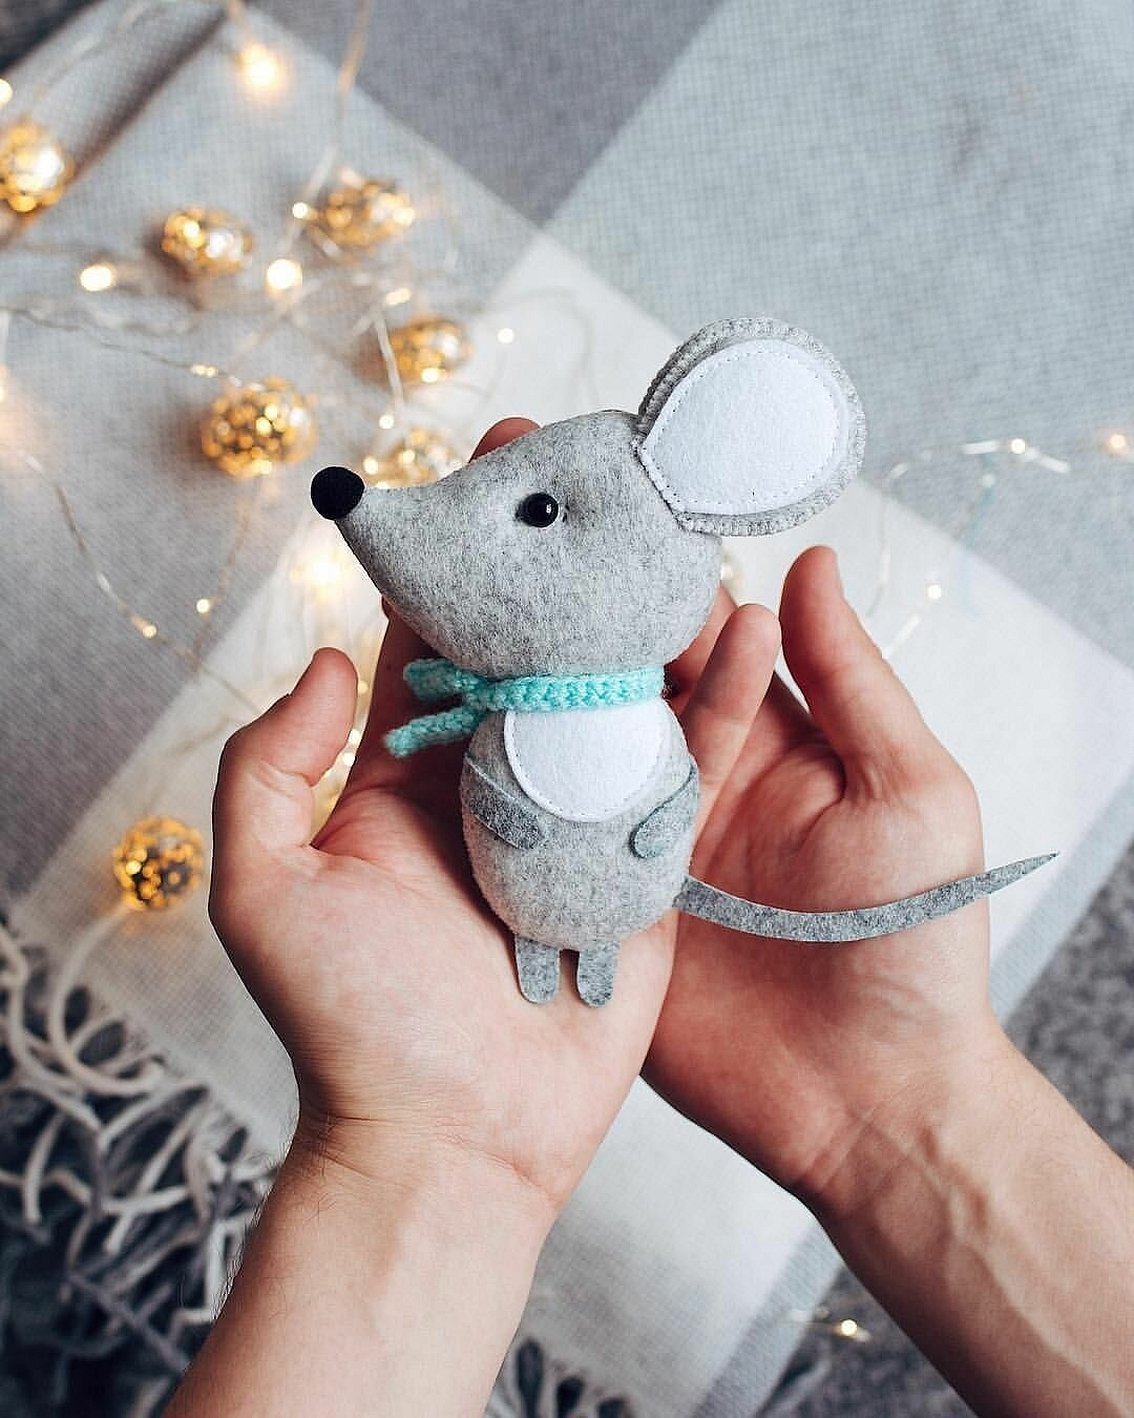
Toy Mouse with a Bead
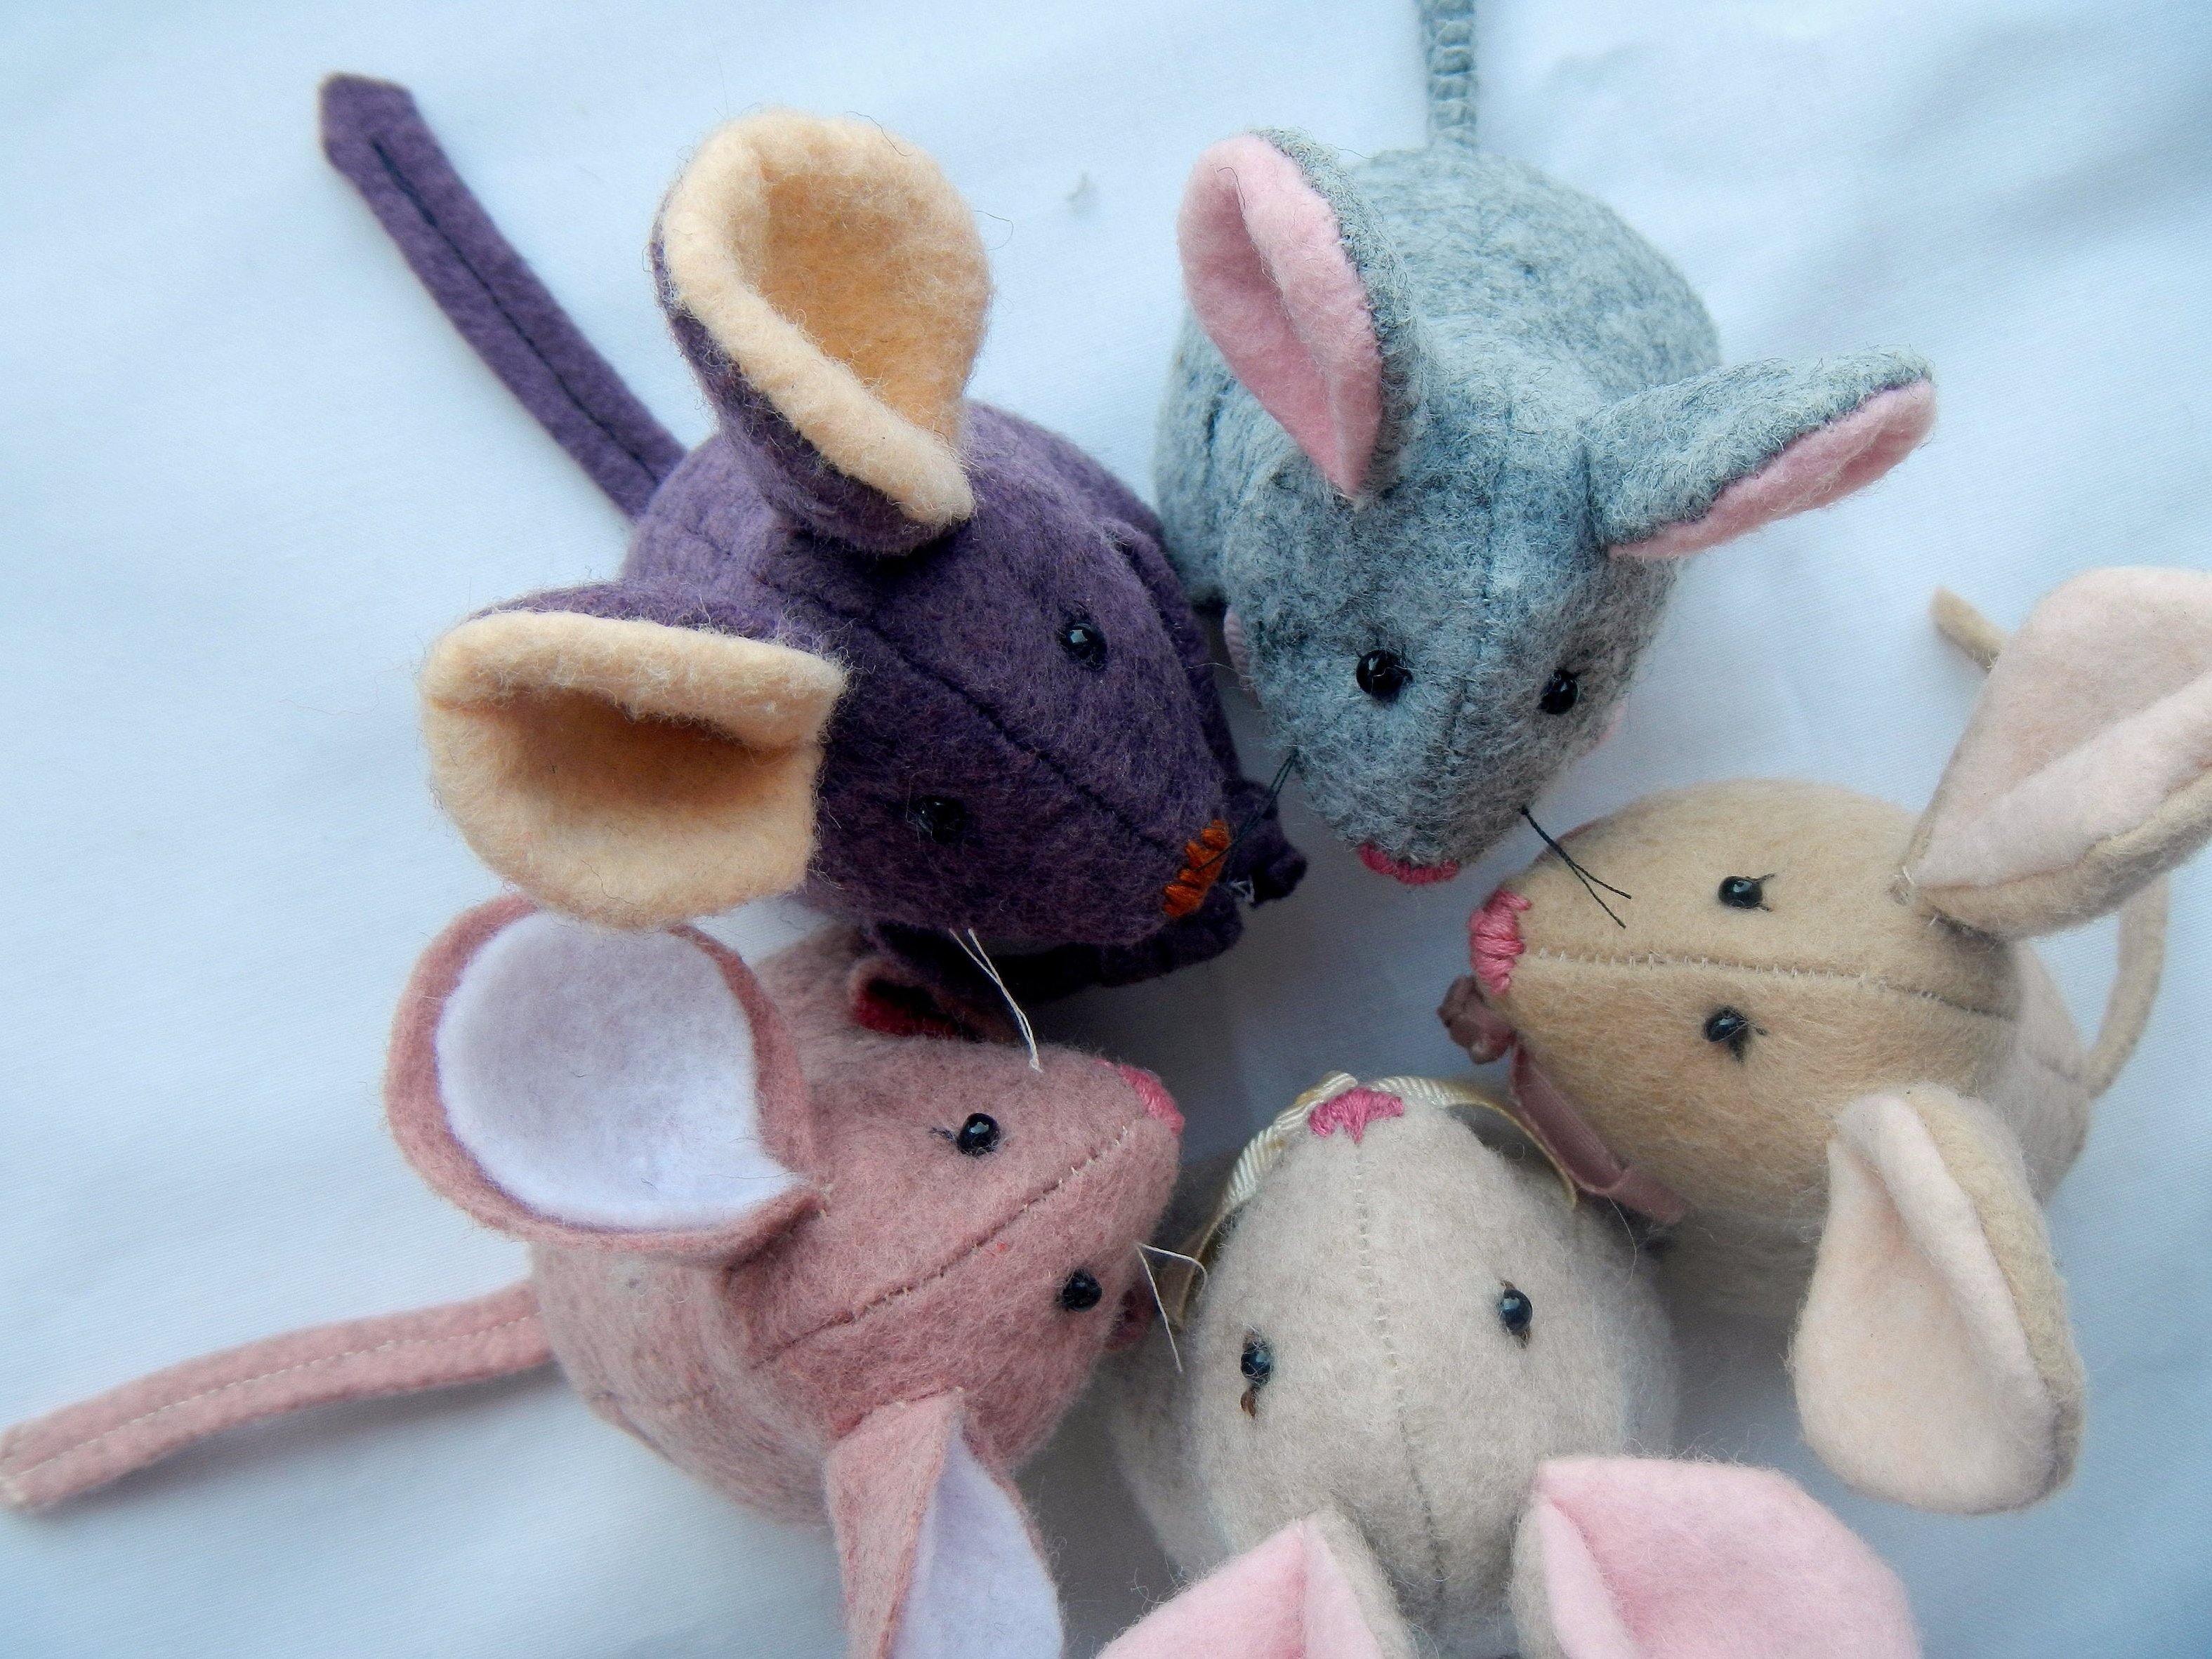
A mouse with a bead is made very easily in just a few steps. It is necessary to prepare the details of the product, namely the body, paws and tail with ears. It is preferable to use felt or knitwear. The toy is made of gray and pink flowers, the tail can be made of yarn, braided or braided.
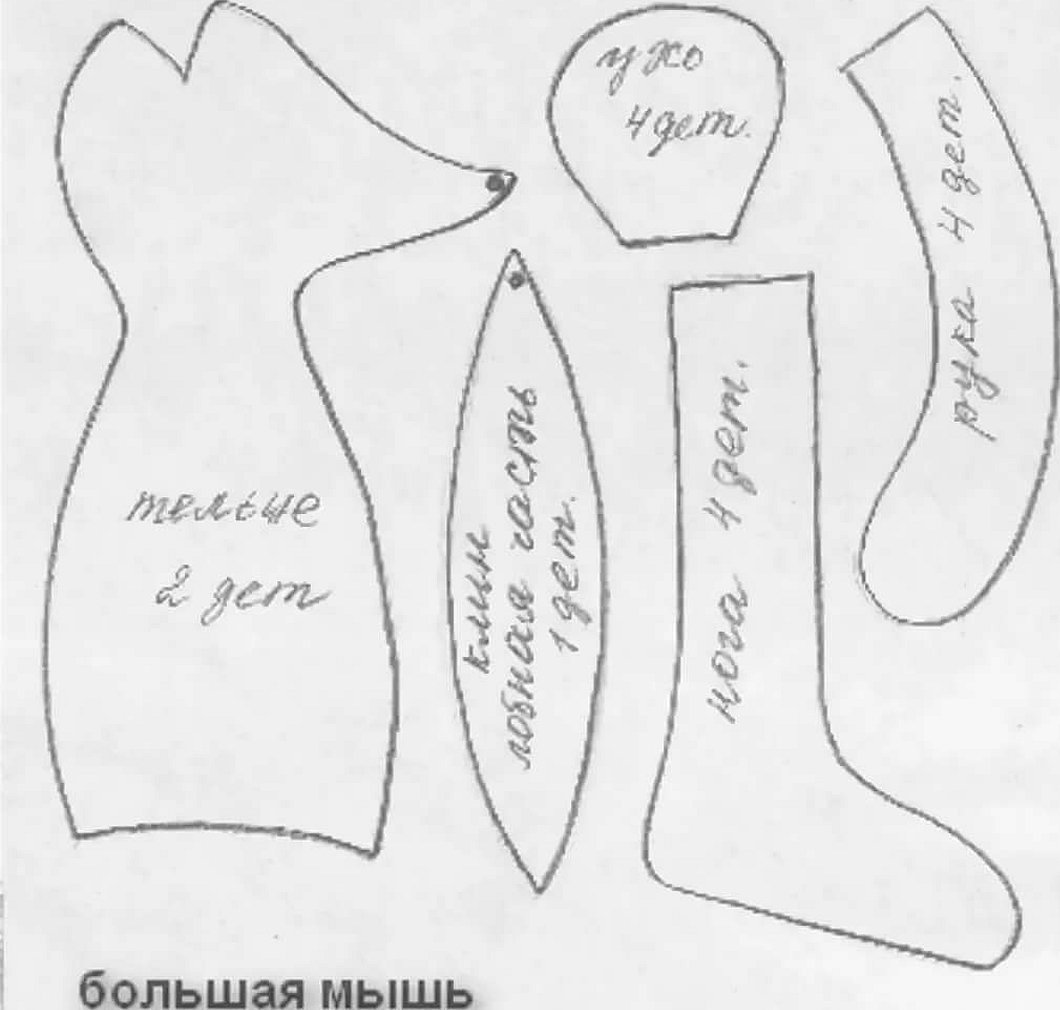
Three-headed rat king from the Nutcracker fairy tale – pattern
In Figure 8 you can see a pattern of a rat made of fabric. This product is quite difficult for a beginner craftswoman to make, because it has many details. The toy also needs to be dressed in lace and chintz.
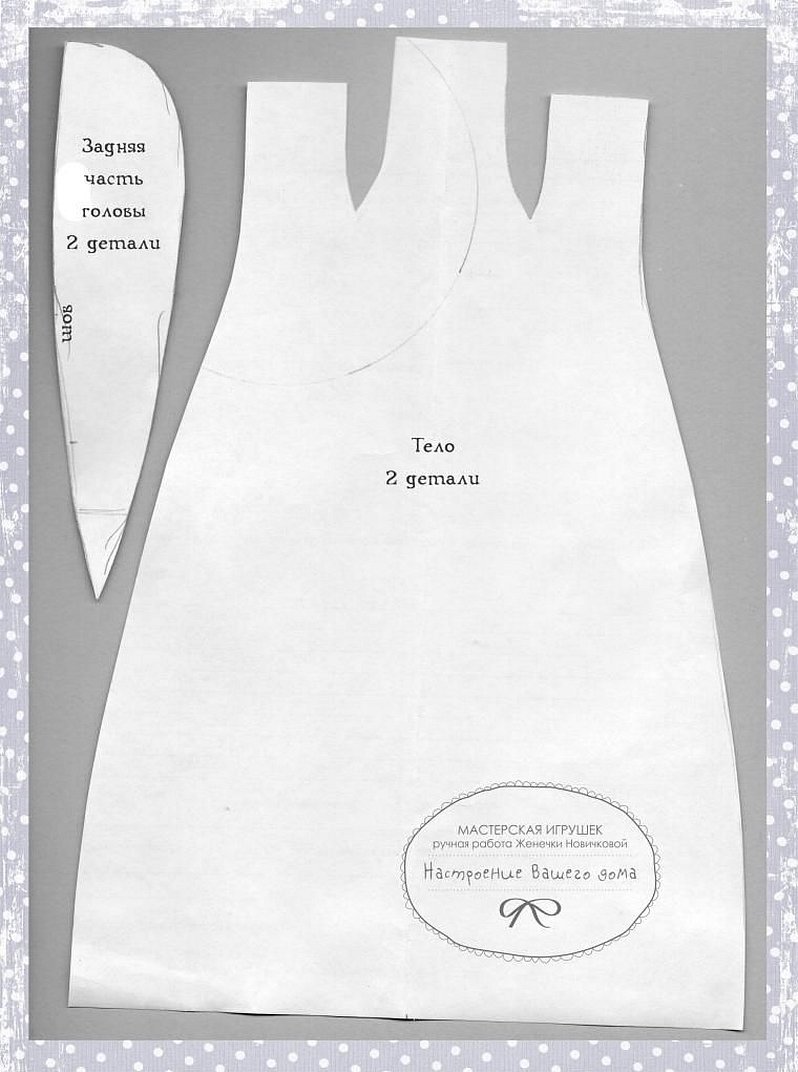
Tilda Mouse - Pattern
Tilda - a life-size mouse pattern - is made on a large piece of Whatman paper. The Tilda mouse is a fairly popular toy not only among small children, but also among adults. Many collect them. For such a product, it is necessary to sew different clothes so that it can be changed. The difference from a regular toy is that Tilda has blush applied to the cheeks. Although the toy looks very heavy overall, working with it takes literally an hour. Figure 9 shows the pattern for this craft.

Filling parts with filler
Attention! The filling for toys can be different. Most often, synthetic fluff, holofiber or cotton wool are used.
The latter is softer, but does not hold its shape for very long. Toys with such filler should never be washed in a washing machine, as it will clump together and the product can be thrown away. Foam rubber is very rarely used, it is quite cheap, but if used correctly, it will last more than a year. The filler can be purchased in furniture stores or at a factory, as it is used in the manufacture of mattresses. If you need a very soft toy, you can fill it with scraps of knitted fabric.
Completing the toy
Once the toy is ready, you can decorate it to your taste. This can be beads, rhinestones, feathers or fringe. Many sew additional dresses and overalls so that children can change their rag dolls. If you have artistic skills, you can paint the faces of the toys with acrylic paints. For Tilda dolls, you also need to make shoes that can be removed.
Such items can be made not only for a child, but also used as decoration for the home or New Year tree. Sometimes potholders for the kitchen are made in this style. Beautiful small keychains are made from felt. Some even use mice to decorate bags or cars. The only downside is that washing the items is not allowed.
Since the new year 2020 is the year of the rat, these animals are already gaining popularity among people as a souvenir. For people born under this symbol, the year will definitely bring success in career and love.
In conclusion, it should be noted that making a mouse pattern from fabric with your own hands is not as difficult as it seems at first glance. It is necessary to choose the right color scheme of fabrics. Beginner needlewomen should watch several master classes before starting work. There are many sites that present not only patterns, but also step-by-step execution. Mice will be an excellent toy for a child of any age and gender.


