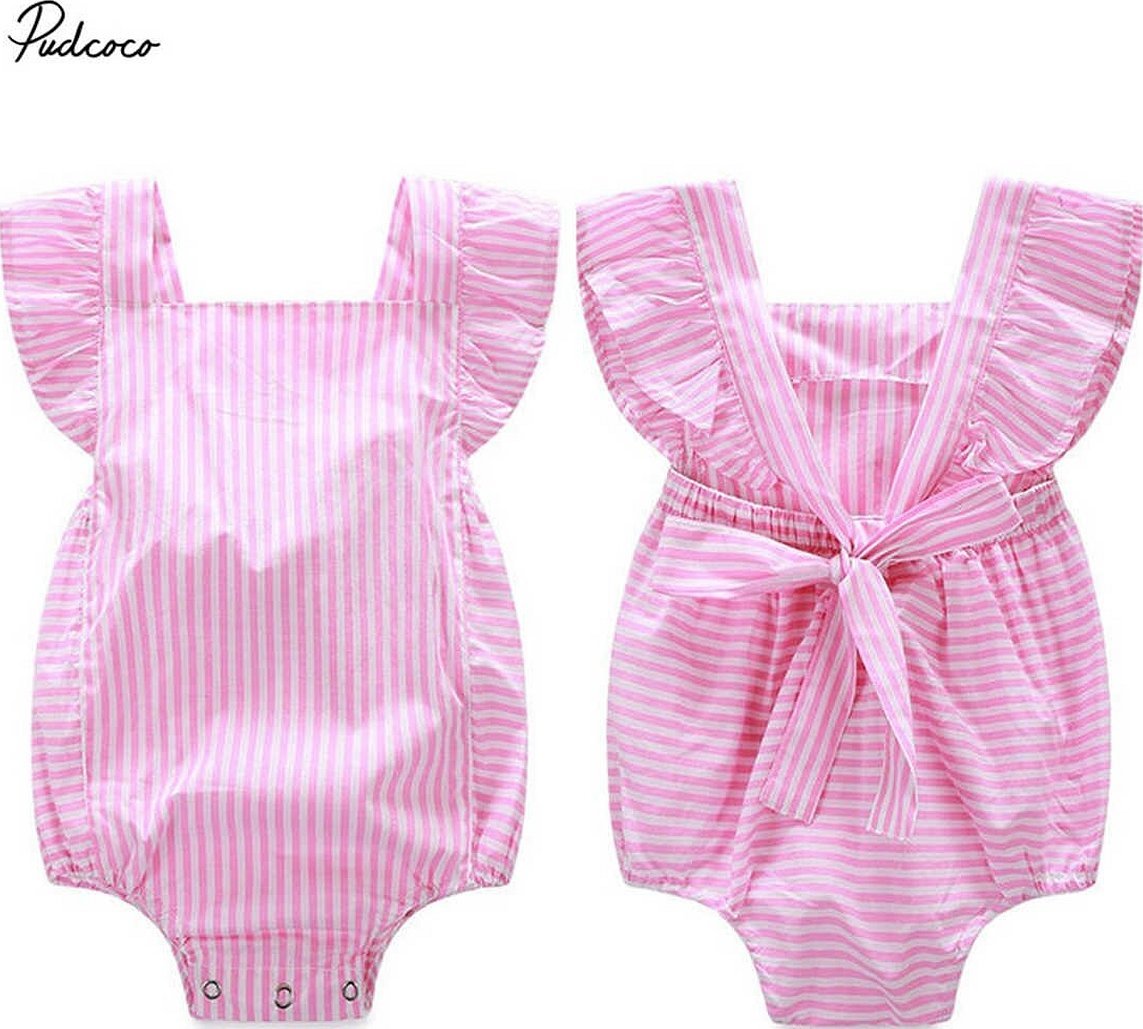
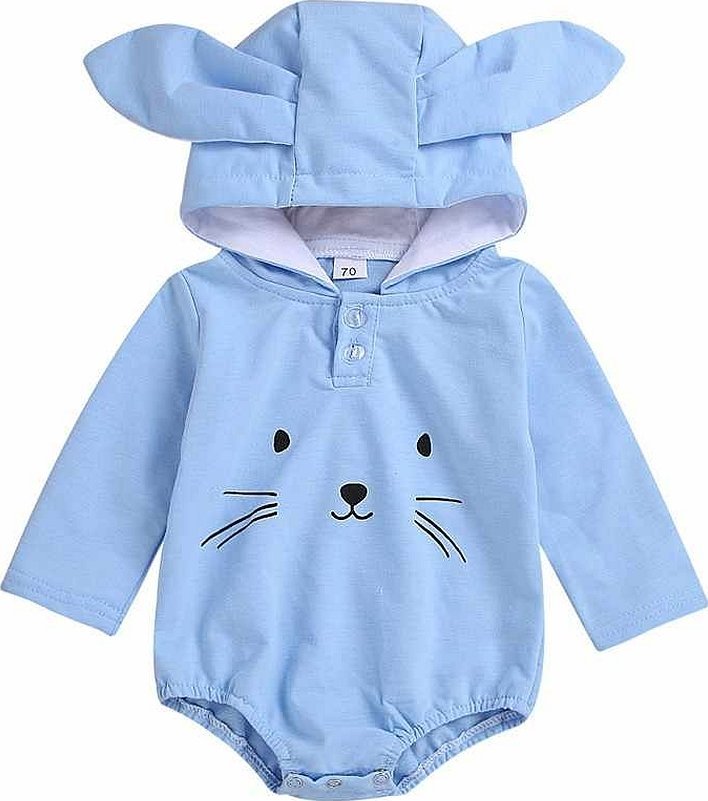
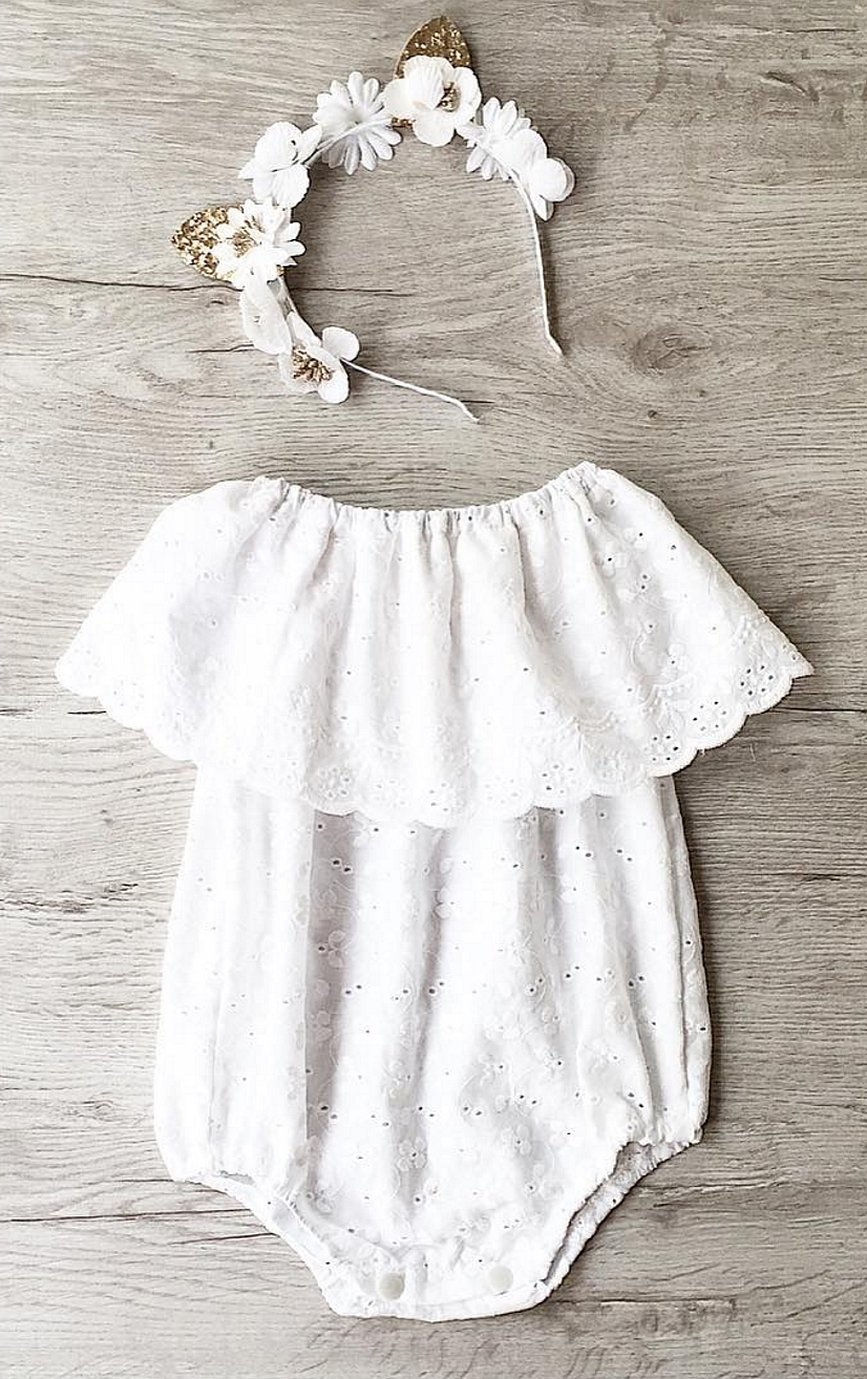
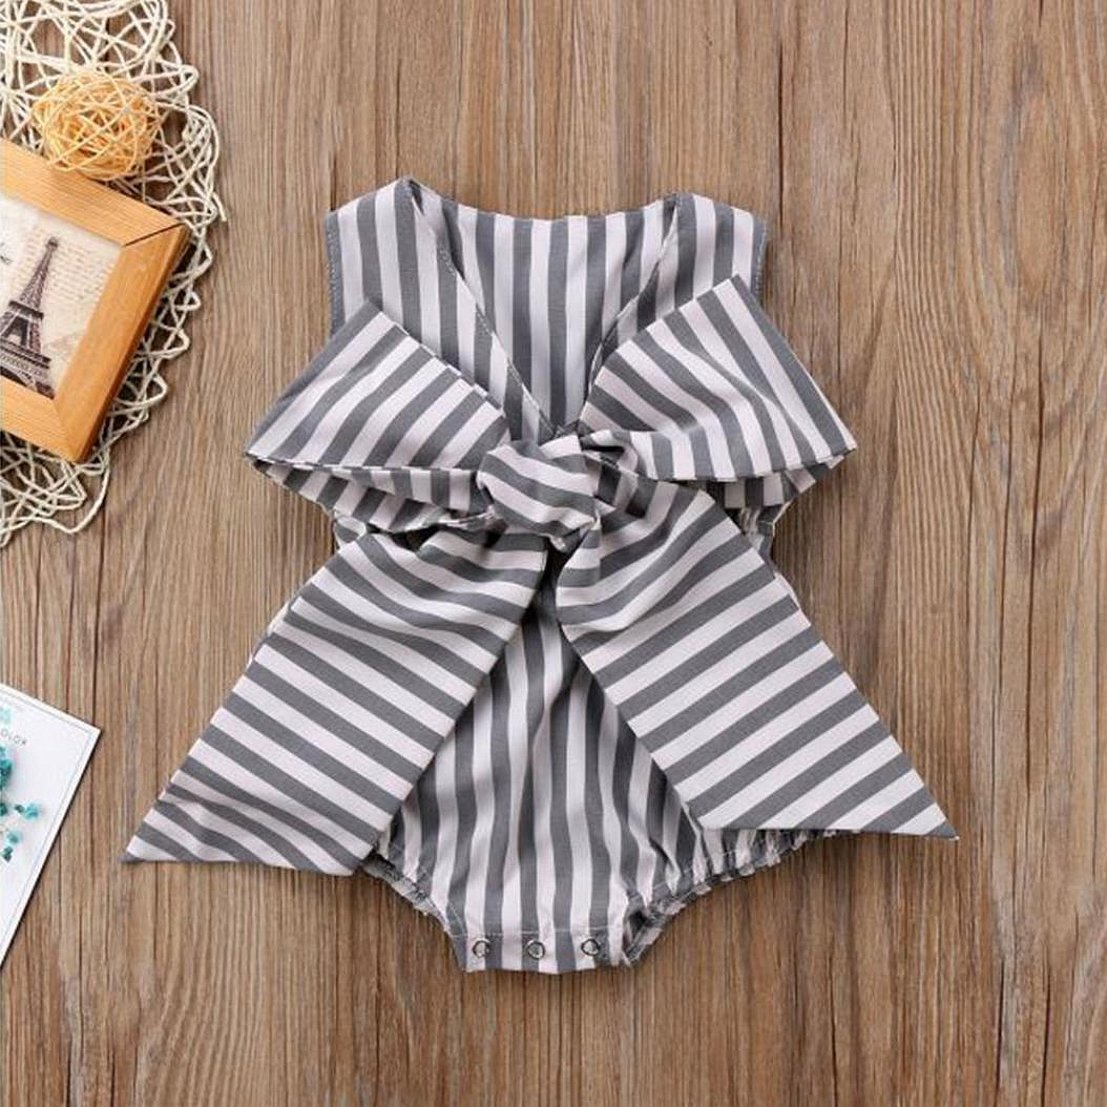
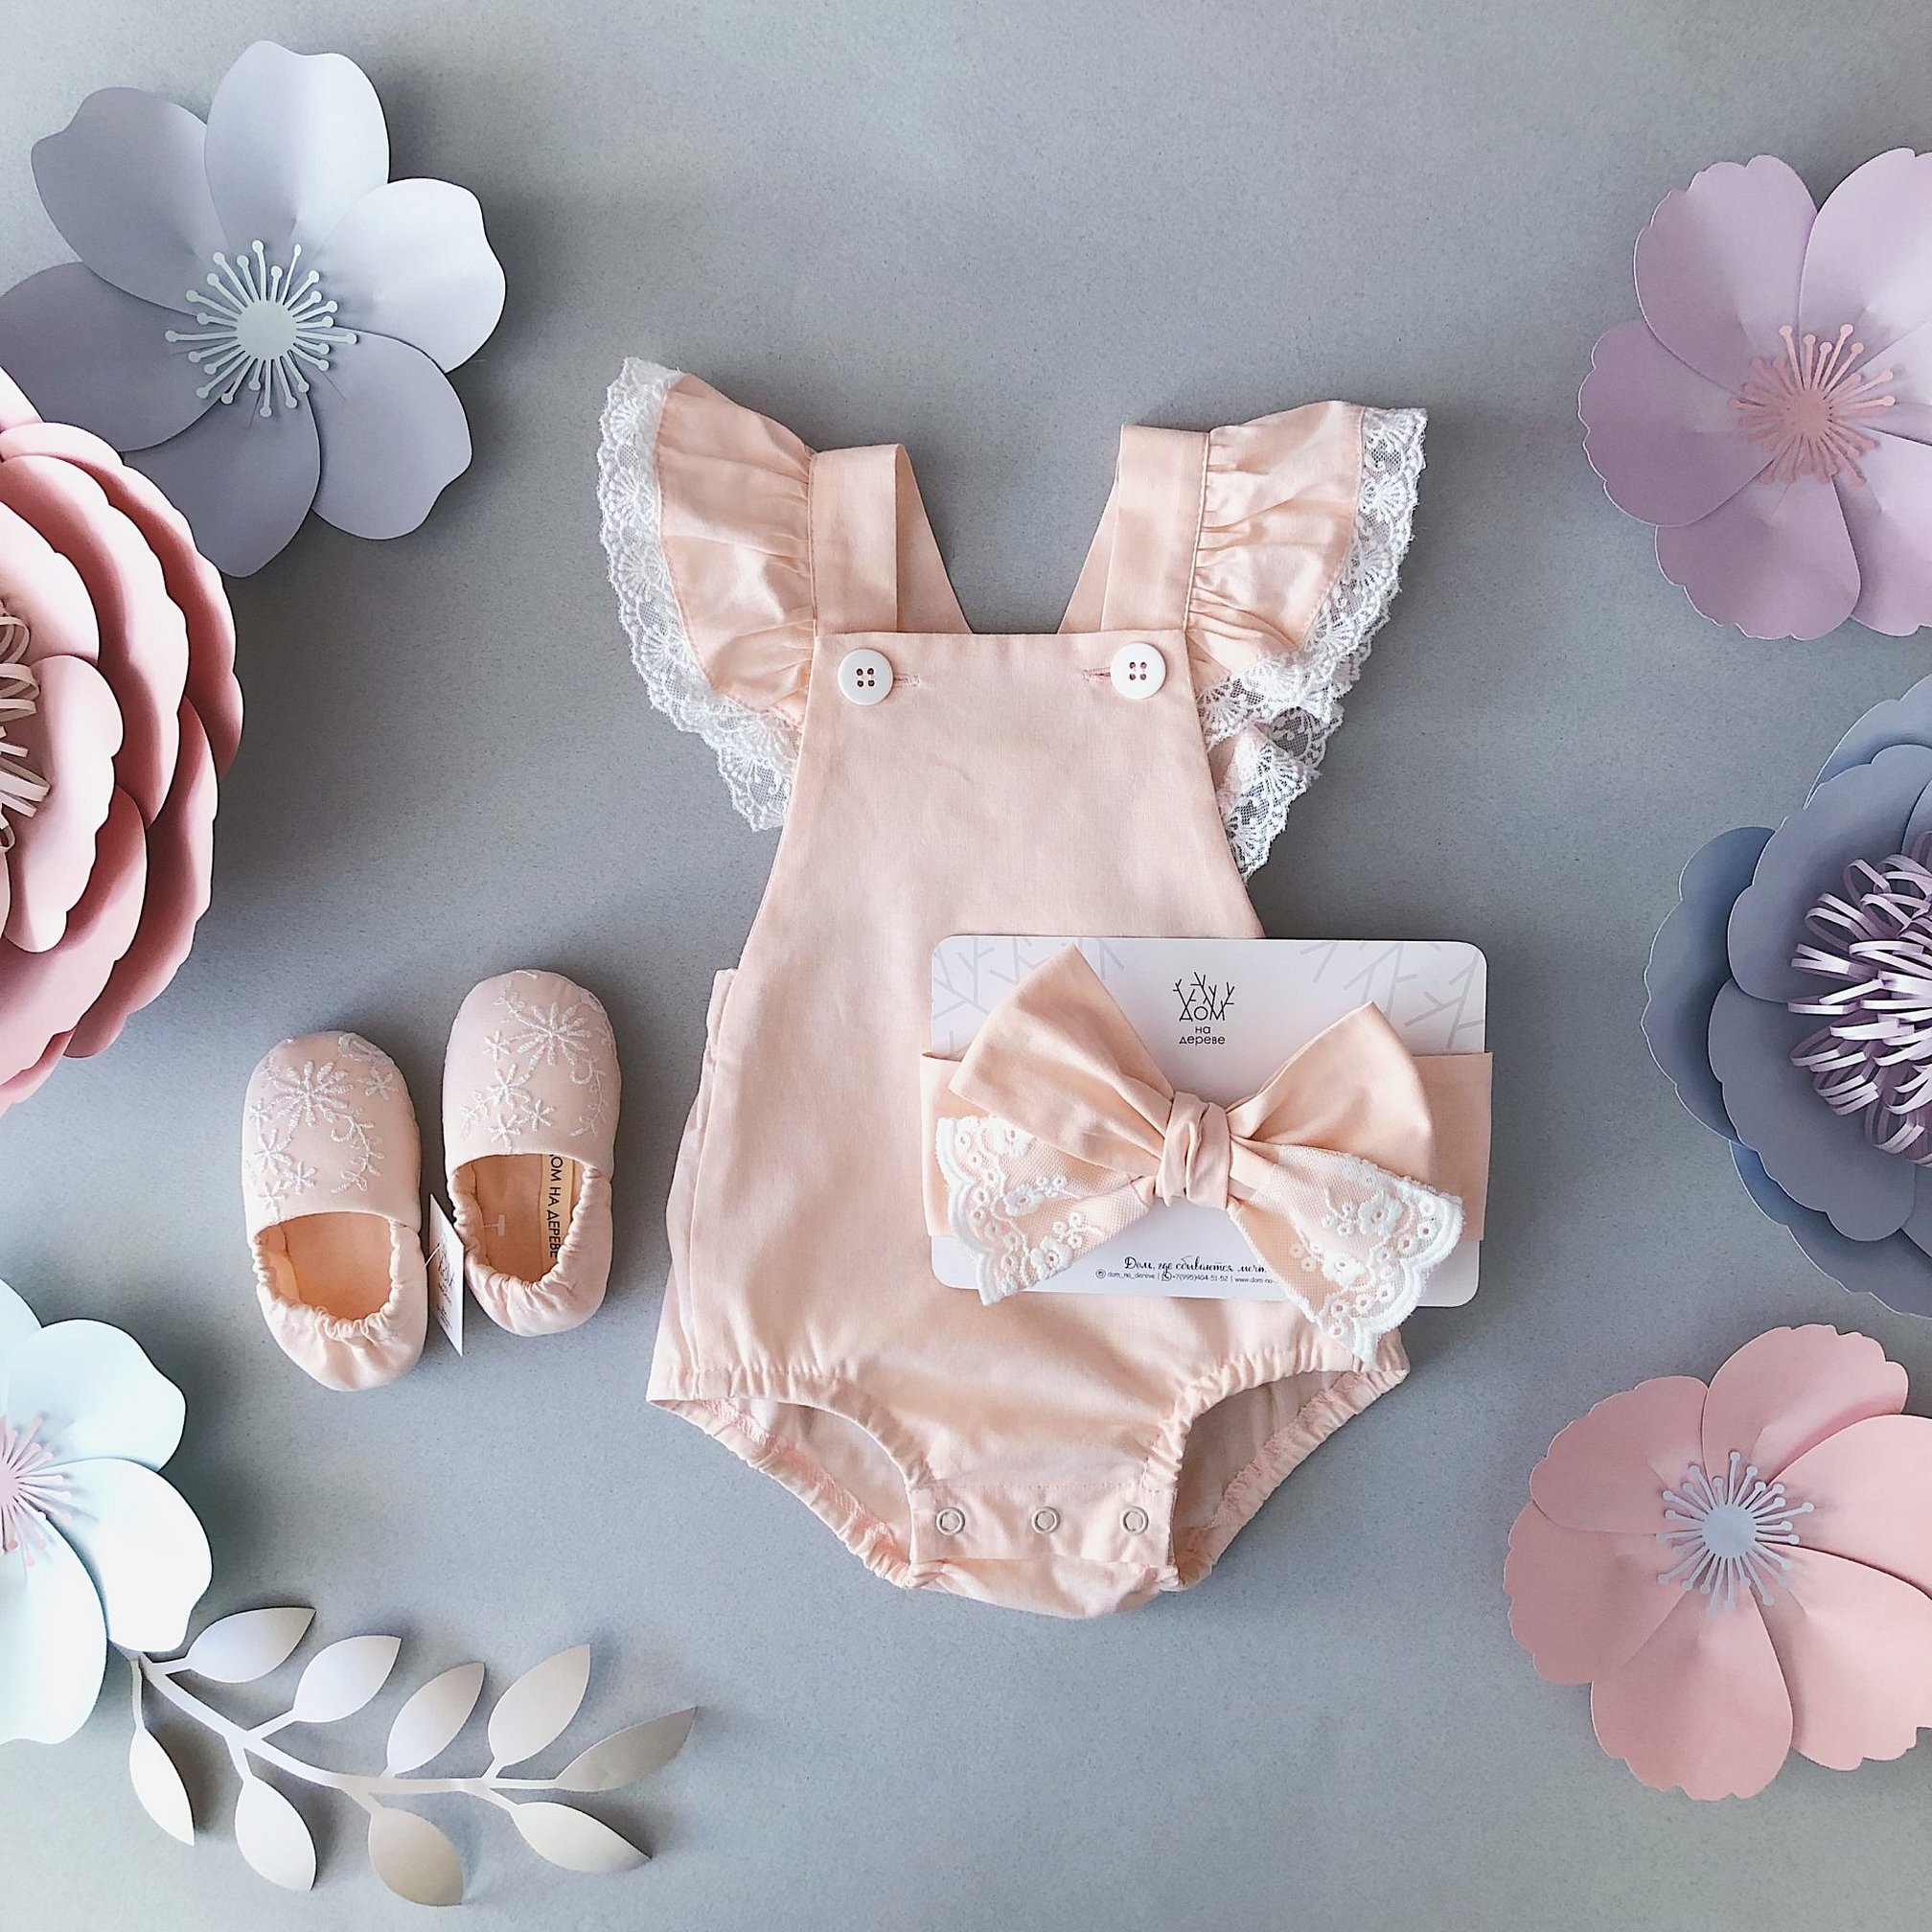
Often mothers do not fully know the range of clothes for their children. Romper - helps parents dress their child without problems in the warm season. This is one of the most comfortable children's clothes on the market. The bodysuit has elongated shorts, covering the butt and hips. The version for girls includes a skirt, pleating. The product is suitable for children from several months to 4 years. Suitable for both walks and as a home suit. Some items have a particularly attractive appearance and are suitable for a special event.
Choosing fabric for a romper
How to sew a romper for a girl? Romper pattern. When sewing a product, it is important to choose the right material.
Selection criteria:
- For a child's item, for example, a summer one, close to the body, it is better to choose a fabric that has a natural composition. This type of fabric includes 100% cotton. At the same time, it is not necessary to choose a material with synthetics in the composition, since the item has elastic bands.
- The main thing is to choose a soft, pleasant to the touch fabric. It is enough to run your hand over it to feel the quality of the future product.
- It is better to use fabric for bed linen, bumpers for babies. Recommendation: choose fabric called "cotton", "cotton gabardine", "cotton satin".
- When sewing, the front part of the product consists of 2 layers of fabric - this will provide shape and hide the seams.
Please note! If you have very translucent fabric, it is recommended to use white cotton fabric as a lining.
Care instructions:
- The product can be washed at 40 degrees.
- Iron the item carefully, preferably steam it.
- Dry on a flat surface.
Additional information! If you don't have any fabric at home, you can take your husband's shirt. Rip it, wash it, dry it, and iron it.
How to sew a romper for a girl? The pattern for a romper for a girl is presented in the article below.
Necessary tools and materials
List of tools for sewing the product:
- For the pattern, sewing 0.6 meters of fabric will do. This is for a big baby with a reserve of 10 cm.
- Scissors.
- Sewing machine.
- Threads 100% polyester, thickness 40-50.
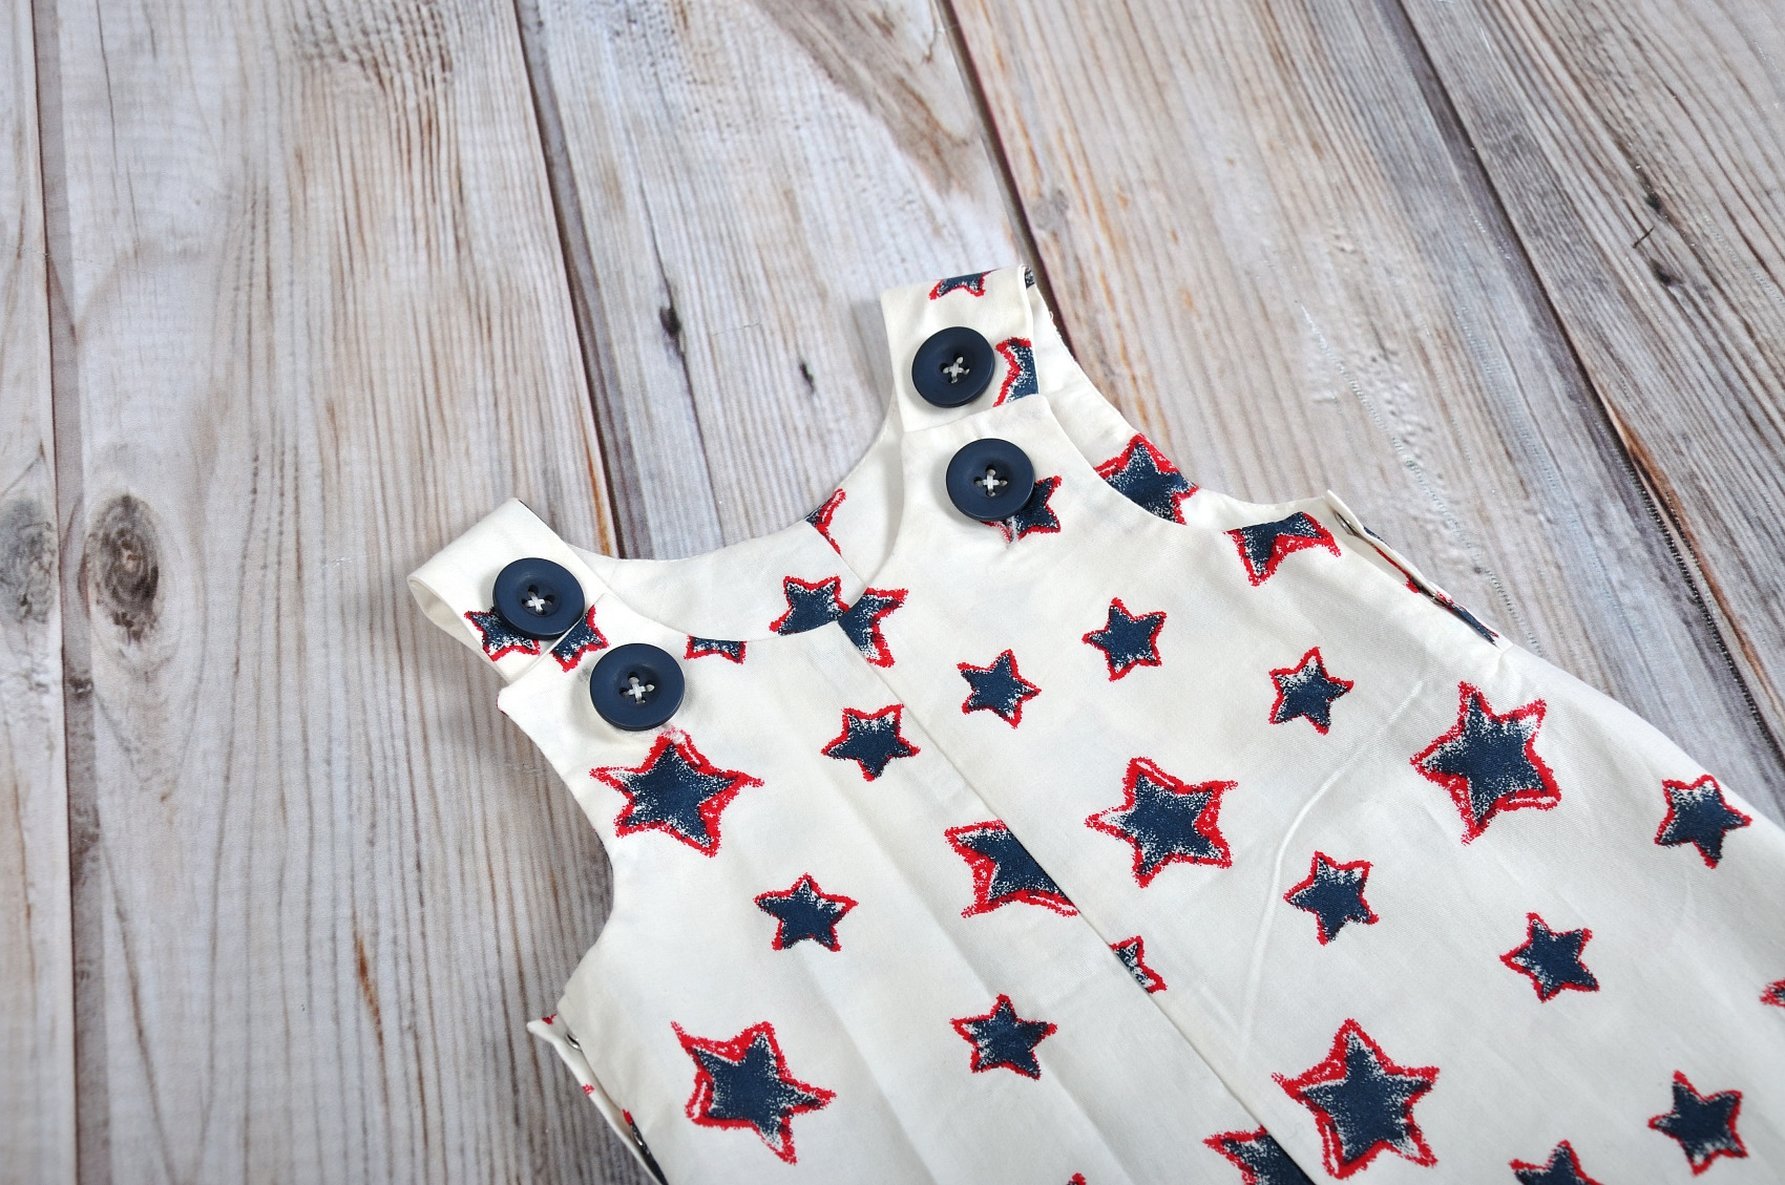
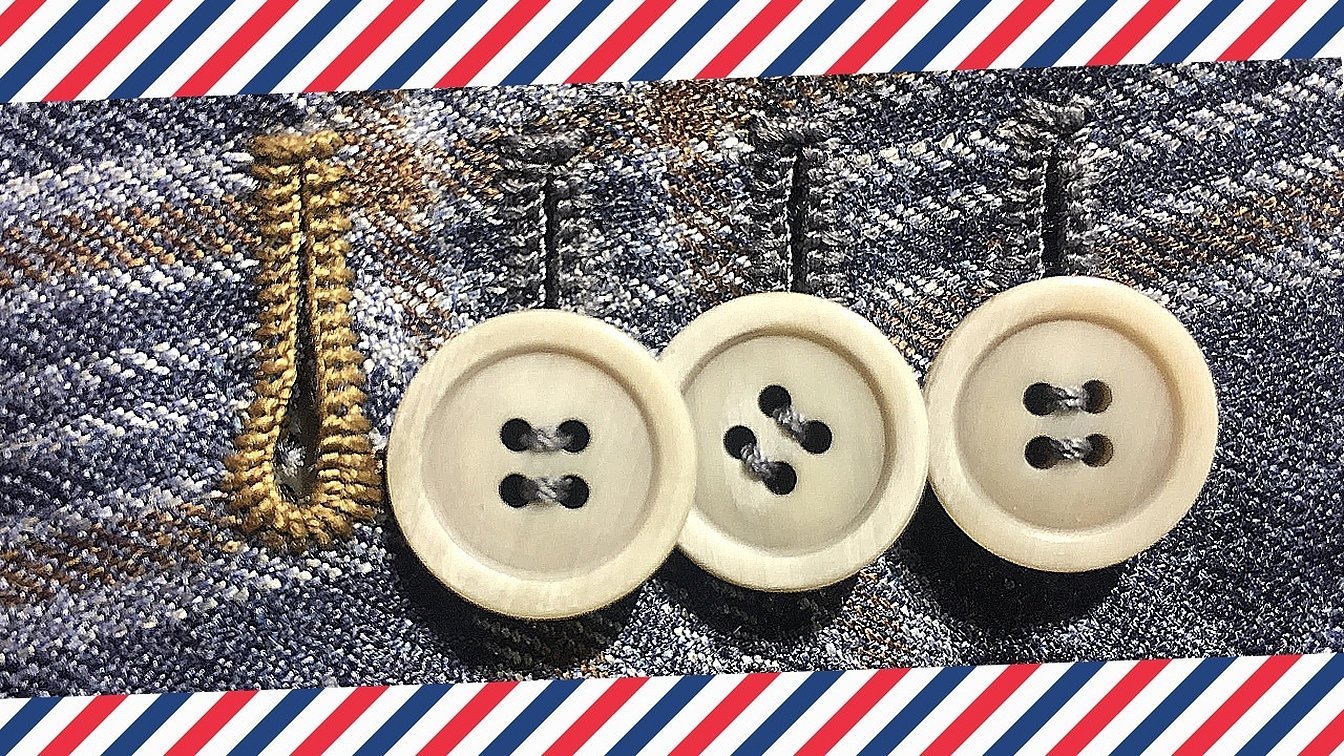
- 2 buttons for straps.
- 0.5 meters of elastic band about 2 cm wide for the waist and 0.5 cm for the legs.
- Needles.
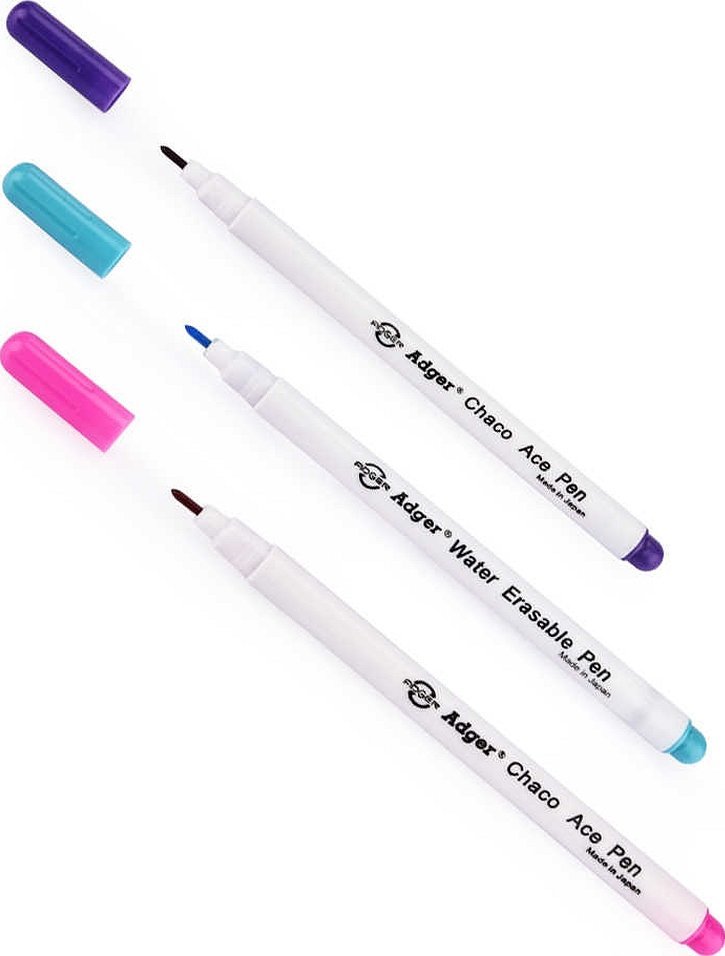
- Soap or marker to transfer the pattern.
- Pins.
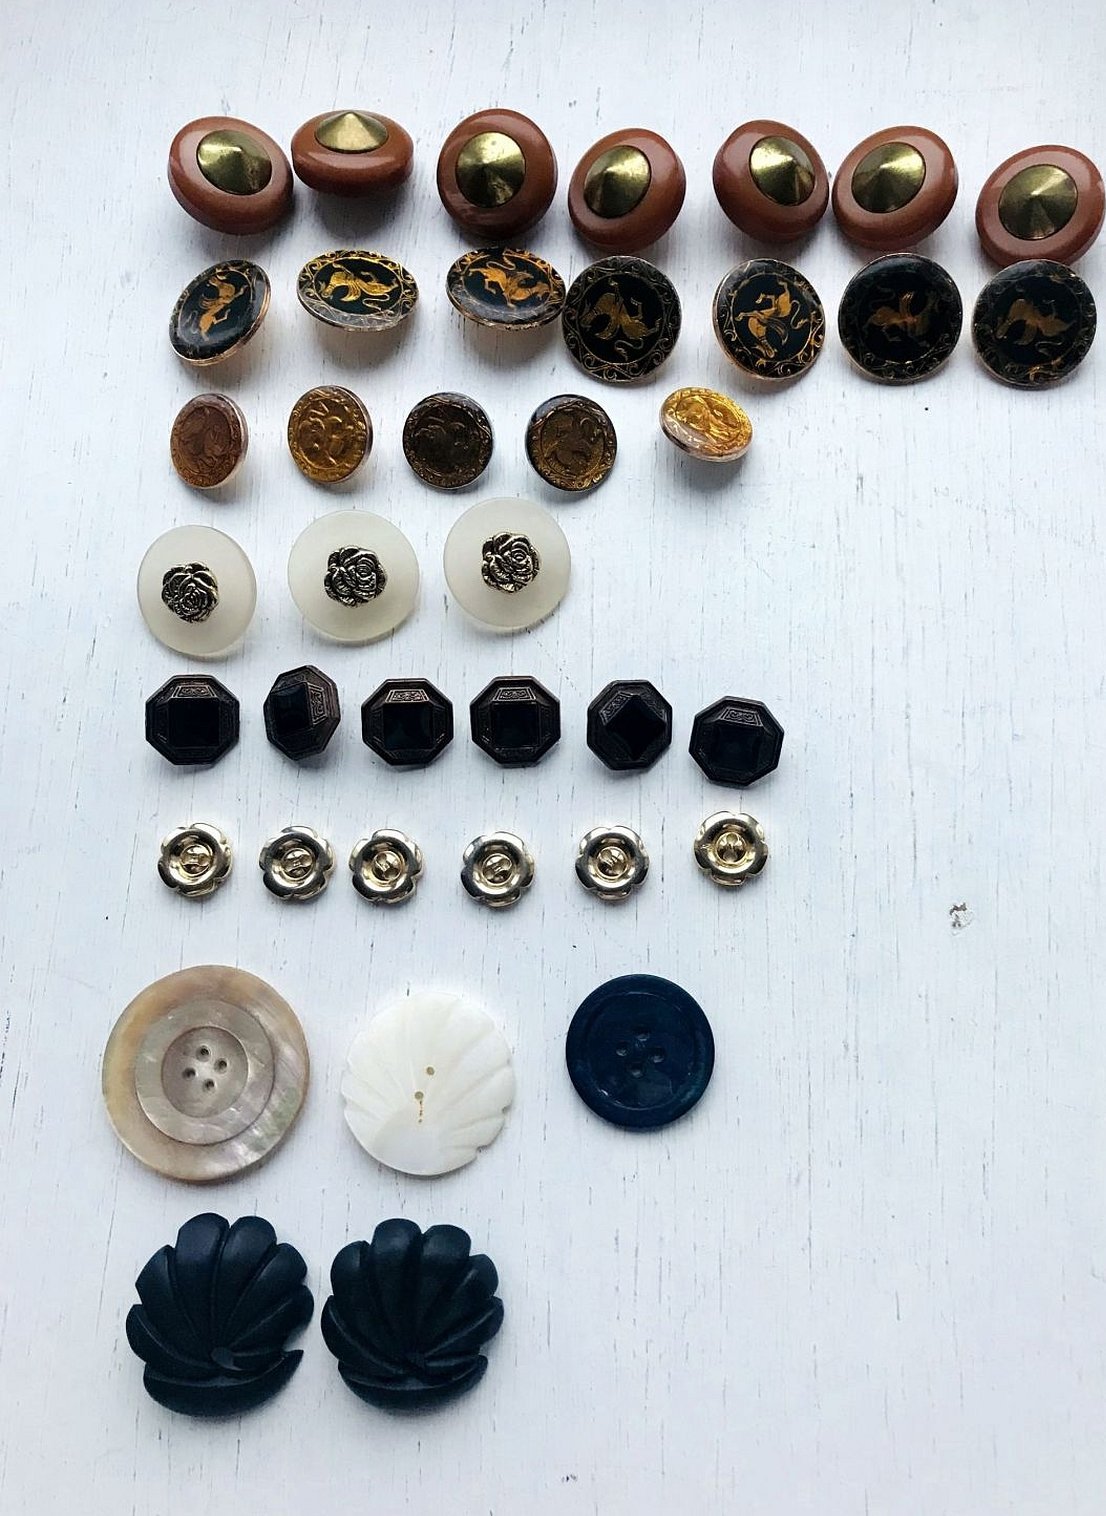
Decorative ornaments are also used. In this case, the simplest models become more interesting and attractive. For example, bows, unusual buttons, appliques.
Important! When choosing fittings for things, pay attention to the safety and practicality of the details.
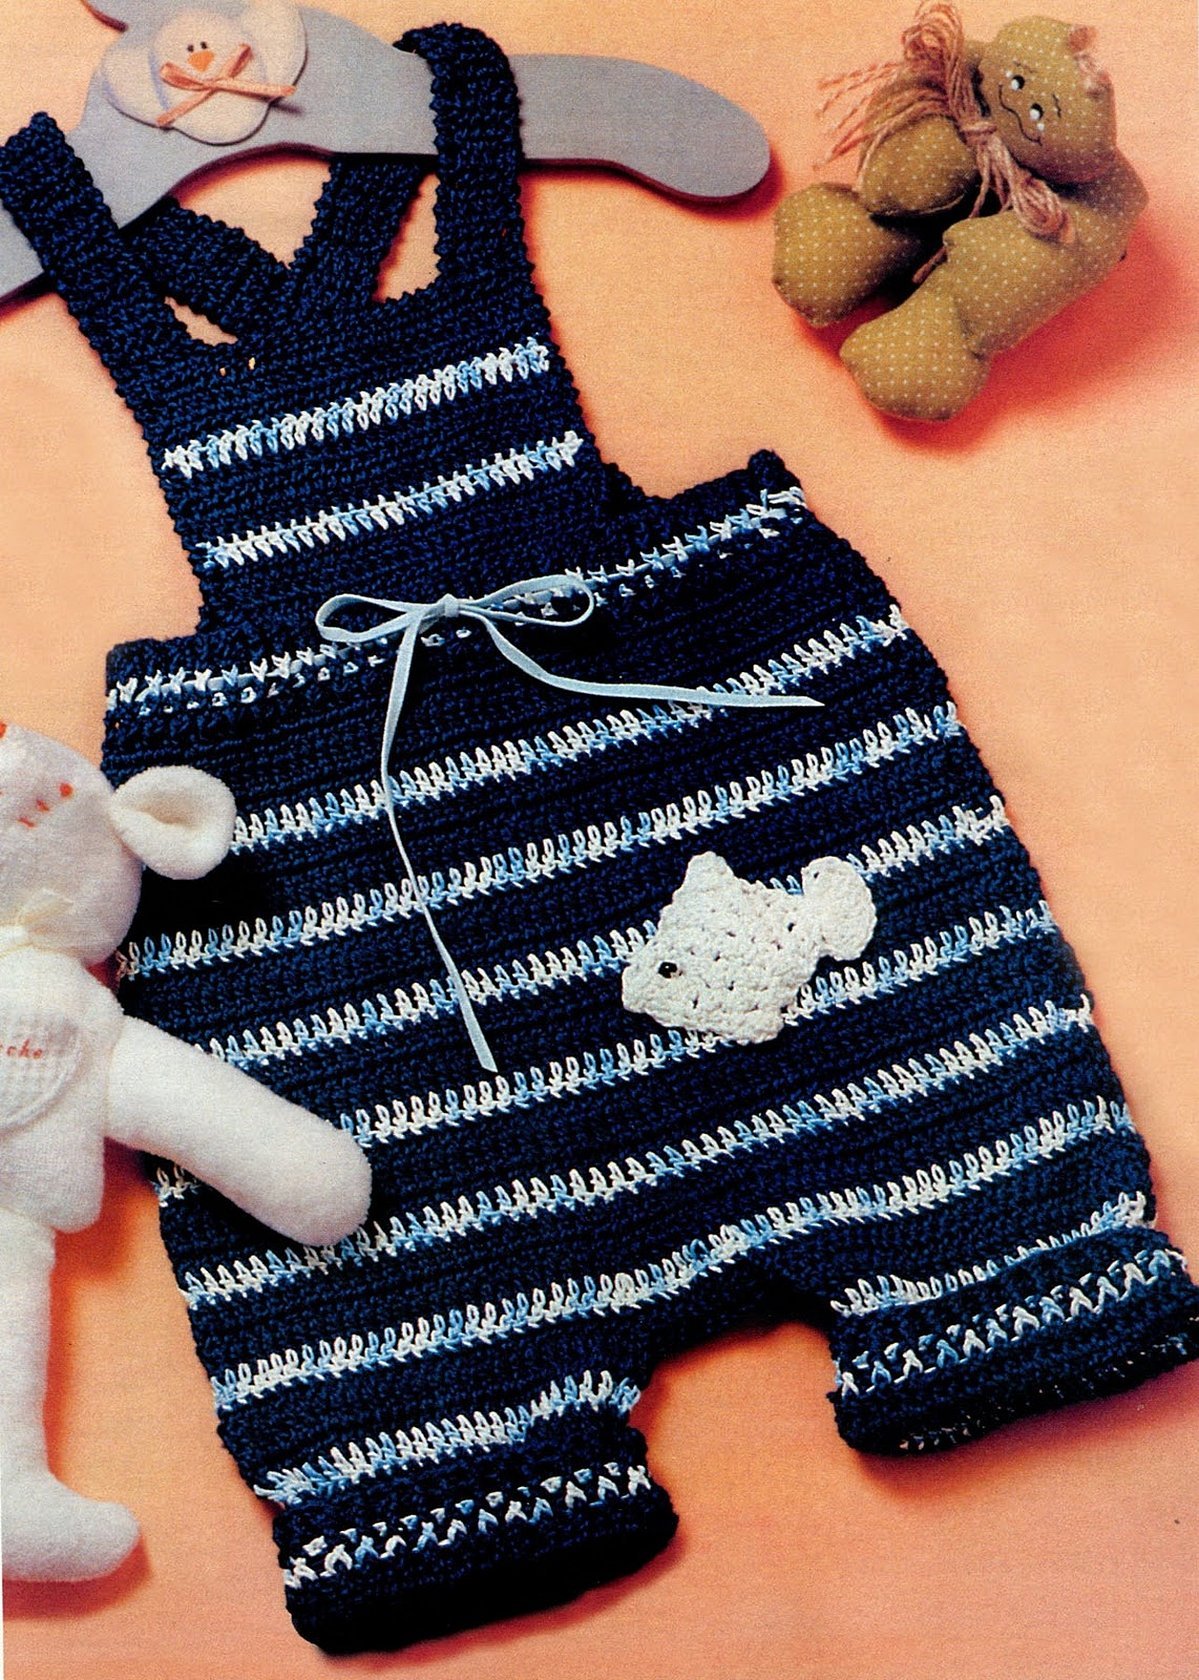
The romper will fit the height: 62, 68, 74, 80, 80-90, 86, 98, 104 cm. The girl can also make a romper using knitting. For example, according to the magazine "Burda".
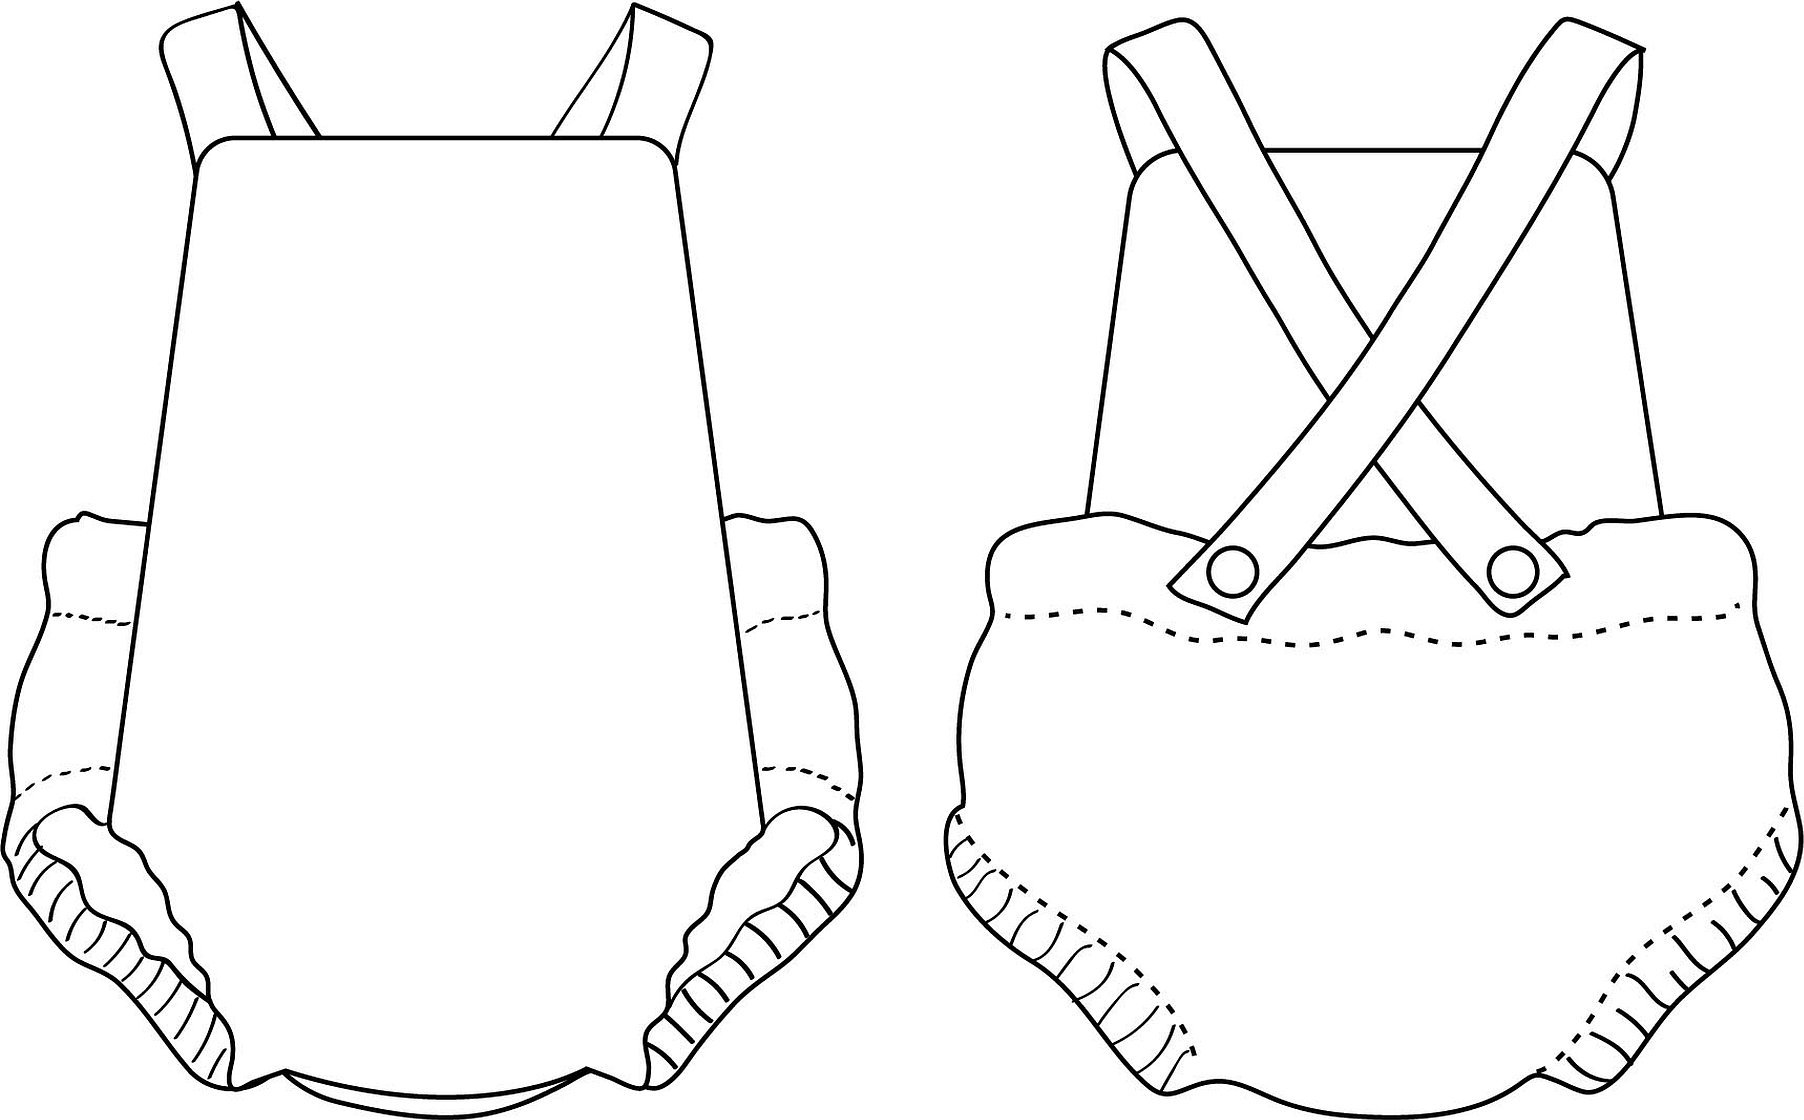
Pattern of a romper
Step-by-step instructions for the pattern:
- The easiest way to print out a children's romper is to take the pattern from the Internet.
- Transfer the diagram onto paper according to the baby’s dimensions.
- Add seam allowances.
- Cut out the pattern from paper.
The easiest way to sew a romper is from a pattern.
How to determine the grain line
After transferring the pattern to the fabric, you need to cut the fabric. However, before doing this, it is important to consider the direction of the grain line.
Additional information! The grain line is the basis of the material, so when cutting it is especially important to determine its direction.
Methods of determination:
- The thread runs along the edge line of the material.
- When creating a garment from a shirt, the grain line is in the direction from top to bottom, parallel to the button placket.
- Pull the product from both sides, the grain line will stretch less.
Then you can lay the pattern out on the fabric, transfer the diagram using a special marker and cut out the pattern.
Important! It is necessary to strictly adhere to this rule - the direction of the product must match the grain line.
Opening the sandbox
After the pieces have been distributed on the fabric, one of the most difficult stages begins – cutting.
Important! When cutting, you need to take into account the direction and features of the pattern on the fabric.
Recommendations:
- It is better to cut cotton from the inside out. Knitwear - the opposite.
- Check again that the direction of the pattern, product and grain line match.
- When cutting out the pattern, fold the fabric along the grain line and apply the pattern, then trace around it.
- For the front you need 2 pieces. If the material is translucent, it is better to use white cotton.
- For the straps, you need 4 parts. It is recommended to fold the material in half, trace and cut out the parts. This way, the seamstress will get 2 parts that are mirror images. Repeat the procedure one more time. The beveled edge refers to the edge of the back.
- Seam allowances are 7-8 millimetres.
- You can also pin the pattern to the fabric with needles.
The result is:
- front parts - 2 pieces;
- back piece - 1 piece;
- strap parts - 4 pieces.
Romper Sewing Instructions
When sewing the product, it is better to strictly follow the sequence presented below.
If all the rules and recommendations are followed, the craftswoman will receive a practical, comfortable suit at an affordable price.
Sewing the straps of the romper
Instructions:
- Lay out the strap pieces on the surface.
- Place the pieces on top of each other, matching the diagonal cuts.
- Using pins, pin the pieces to each other.
- Sew the pieces together using a straight stitch.
- Place seams along straight and beveled sides.
- Trim excess fabric from the corners.
- Turn the strap inside out, straighten the corners and seams.
- Repeat the steps with the other strap.
- Iron the details.
We sew elastic on the back
Instructions:
- Place the back side down.
- Mark the elastic band along the top edge, distance 1 and 5.5 cm.
- Using a steam iron, iron the piece, focusing first on the first and then on the second stroke.
- Stitch along the edge, leaving 1 mm. The result is an excellent drawstring for elastic.
- Place the front on the table and the back on top of it.
- Match the side seams.
- Mark the places where the back ends.
- Measure the distance, subtract allowances.
- Measure the child’s abdominal volume and subtract the figure obtained in point 8.
- Cut off the elastic.
- Using a pin, attach the edge and pull it through the drawstring.
- Place seams at the entry and exit points to secure the elastic.
Assembling the sandbox
This stage is considered the most interesting, since the seamstress sees the approximate result of her work.
Instructions:
- Place in front with the outer side facing up.
- Place the straps on top. Leave 2 cm on both sides.
- Place the back with the wrong side up.
- Match the side seams.
- Place an additional piece for the front on top.
- Carefully secure the product with pins.
- Sweep the pieces by hand.
- Turn the product inside out and try it on your child. This will help determine the correct length of the straps.
- Mark the location of the buttons.
- Sew a line using a sewing machine.
- Turn right side out.
- Iron the seams and the product itself.
- Cut off the corners of the front piece.
Please note! No need to finish the edge. Do not stitch the leg area.
Leg drawstring
At this stage, the seamstress can smooth out any uneven seams by trimming them with scissors.
Instructions:
- Mark the leg opening with 1 and 2.5 cm strokes.
- Fold the edge 2 times to create a drawstring.
- Sew the seam by hand.
- Iron the seam.
- Sew a seam using a sewing machine.
- Remove basting stitches.
- Measure the circumference of the baby's leg and cut off 2 elastic bands.
- Sew up the holes.
Casting out loops
To sew out buttonholes, you need to use special feet and select the mode.
Important! Before sewing, it is better to practice on a piece of fabric.
Adviсe:
- The length of the loop is equal to the length of the button plus its thickness.
- When sewing, it is recommended to pin the top and bottom areas.
- It is better to cut the loop starting from the middle.
Hole for straps
The procedure involves creating a large buttonhole.
Instructions:
- Mark the place where the straps cross.
- Outline the location of the future hole.
- Draw a "rectangle".
- Choose a stitch - thick, fine zigzag.
- Draw a rectangle of similar dimensions on another material.
- Sew a line around the perimeter.
Thus, the article examines in detail the method of creating a romper, the pattern is presented for women and for a child. Patterns for babies up to a year in real size are freely available on the Internet. If all points are consistently followed, the result will please the hostess and the baby with convenience and attractiveness.


