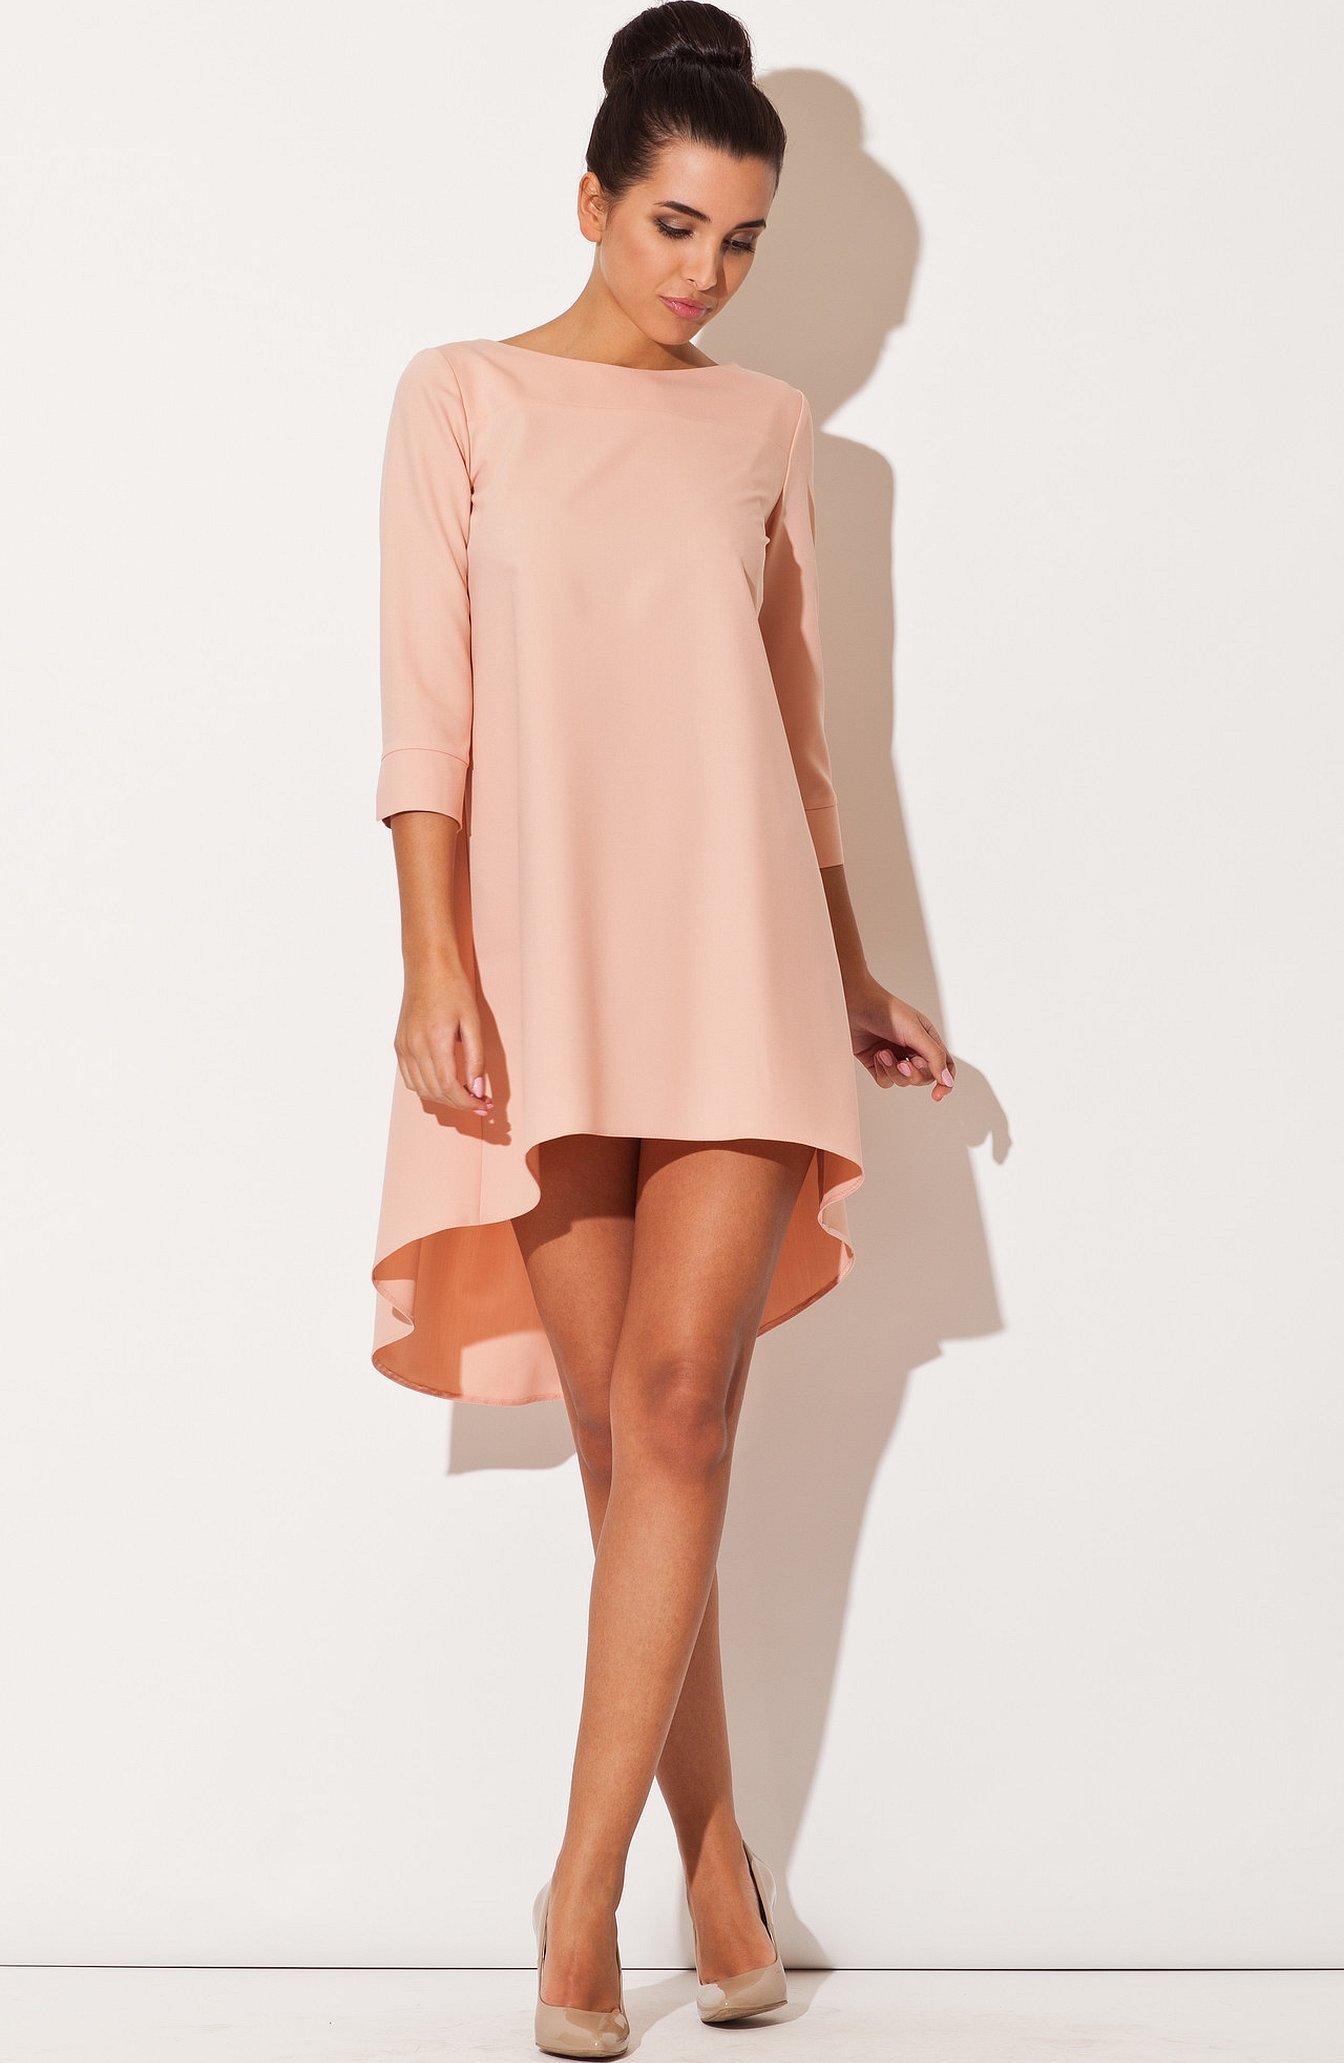
Sometimes you want to wear a loose, flowing dress that emphasizes the beauty of the body and the softness of movements. In this case, it makes sense to pay attention to a bias dress, the pattern of which does not create any fundamental difficulties. By carefully doing the work, you can sew clothes that will combine beauty and practicality.
General rules for this type of dress
Each fabric has longitudinal and transverse lines. Usually, when cutting, their direction is taken into account when cutting out a particular detail for sewing. A bias dress is distinguished by the fact that its direction from top to bottom is at an angle of 45 degrees to the straight and transverse threads. This is not the only feature. Dresses made this way usually sag to a greater extent compared to other styles of dresses. Usually, the shape of this model is looser. For sewing clothes, choose lightweight fabrics that do not contain elastic threads in their composition.
If you compare similar dresses, but cut differently, the following becomes clear:
- If the grain threads go from top to bottom, then the dress is not stretched, and the folds are located on the sides.
- The bias dress, the pattern of which is made in a similar way, looks different: the folds are gathered in the front part of the dress, they start almost from the chest.
Another important feature is the instability of the various cuts. Due to their special cut, they can easily stretch and deform.
Interesting patterns
If you use a bias cut, you get dresses, skirts or sarafans that lie on a woman especially beautifully. They fall softly, favorably emphasizing the features of the body.
Recently, Olga Nikishicheva's descriptions of making dresses without patterns have become increasingly popular.
If you intend to use any interesting patterns with bias fabric, to apply them you just need to do it not in the direction of the grain, but at an angle of 45 degrees to them.
Transformer sleeves can be used.
Important! This type of sewing has its own peculiarities and requires more experience than in most other cases. In such work, fitting and adjustment of the created products play a major role.
Dress cutting and sewing
Before cutting on the bias, it is necessary to process the fabric. This can be done by washing, drying and ironing it. For some varieties, it is enough to simply iron it using steam. Only after this is it recommended to start cutting.
Usually, the fabric shrinks after the first wash. In order not to worry about this in the future, the first wash or treatment is done by the master before cutting. Now she can be sure that the cut and sewn dress will not change its size in the future. This circumstance is especially important due to the fact that when a dress is sewn on the bias, it is capable of stretching and deforming to a greater extent than one sewn in the usual way.
You can take the pattern from the Burda magazine or make it yourself.
Here we will talk about cutting the most popular type of such dresses.
Dress cut on the bias
Before you start cutting, you need to lay out the fabric correctly. If the cut strip is 150 cm wide, you need to measure the same length along the side and fold the fabric in the resulting square at an angle relative to the diagonal.
After this, you will get a triangle that appeared after folding the square cell diagonally.
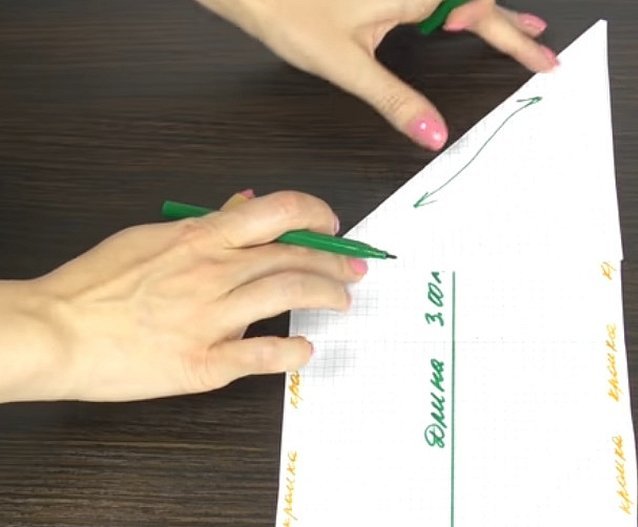
You can conduct a cutting master class based on a previously prepared drawing on paper or make markings directly on the fabric.
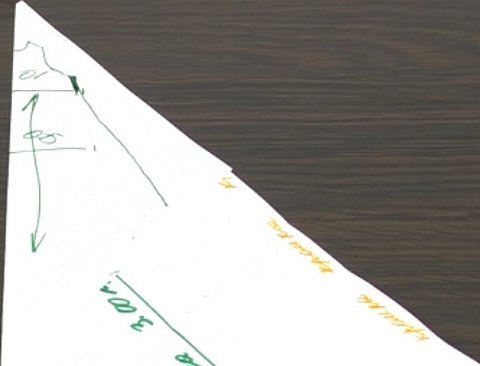
The fold line is actually the center line of the female figure. Since the actual cutting takes place inside the resulting triangle. You need to step back from the corners to have enough space for the width of the pattern. This dress resembles a trapezoid.
There are three main measurements used to create a dress:
- chest volume at its widest point;
- hip volume;
- dress length.
Important! It is customary to sew a dress on the bias so that the fabric lies freely. Therefore, when cutting, approximately 10 cm should be added to the half-girth of the hips and chest to ensure freedom of fit. Marks are placed in these places.
On the pattern, these values must be set aside perpendicular to the fold line where the width of the triangle is sufficient for this.
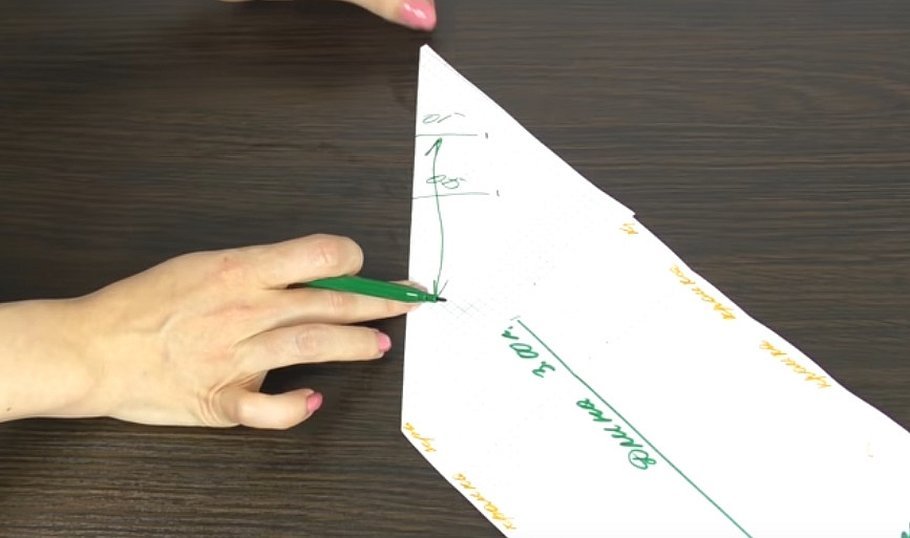
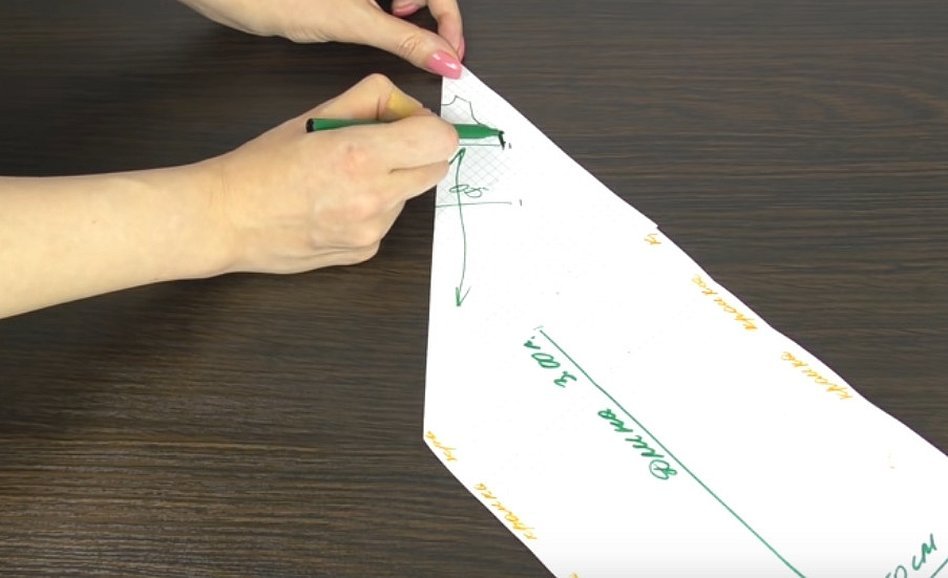
The neck and armhole are drawn according to the marks made. A straight segment is drawn from the lower edge of the armhole to the chest mark. From it, a flare is made to the bottom of the dress.
If you make a fashionable flare right from the armpits, you will get baggy clothes.
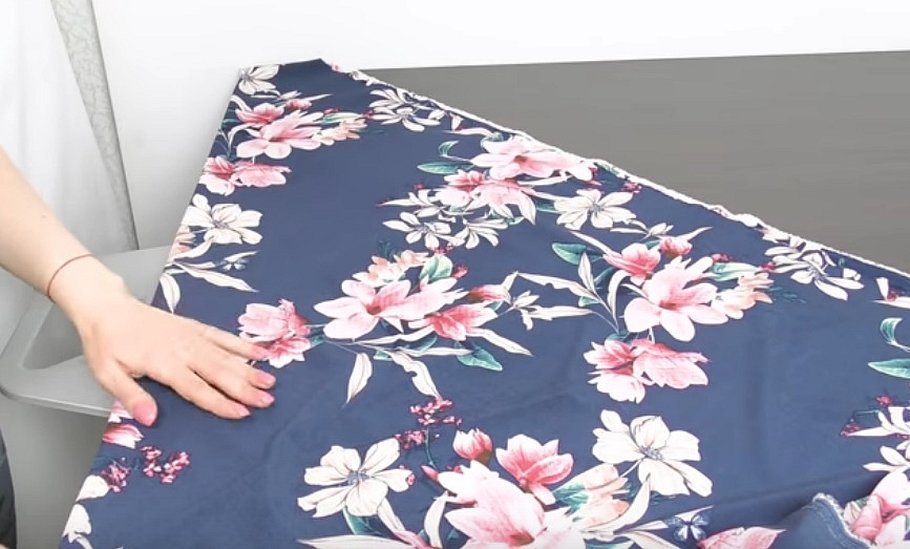
Now it is necessary to start working with the fabric directly. To do this, place it on the table and fold it in the manner described. Before this, it must be carefully ironed.
Since there are two layers of fabric, the top one can slide over the bottom one. To prevent this from happening, small weights are placed on the fabric (for example, magazines, books, a bag of peas, or something similar).
First, you need to set aside the shoulder line and mark the end point with chalk. From there, set aside the armhole length according to the calculation. Since the fabric will stretch and sag, the armhole needs to be measured tightly.
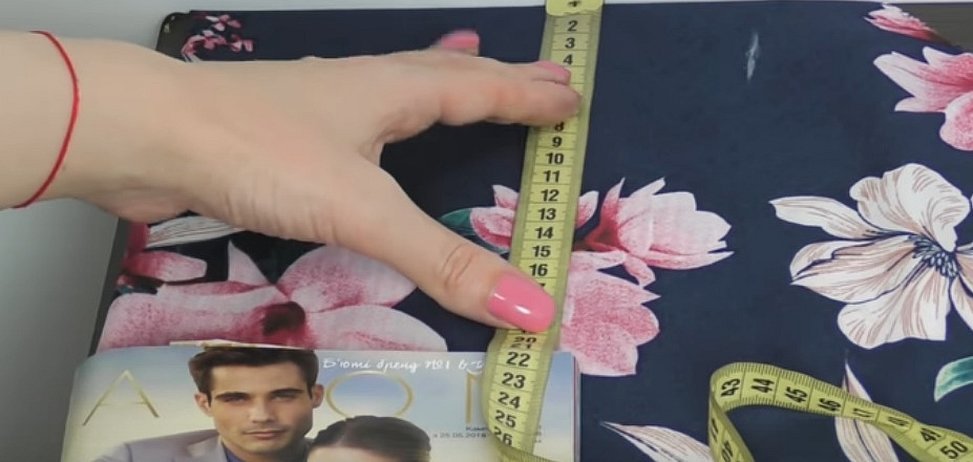
At the level of the bottom of the armhole, from the fold line located along the left edge of the table in the figure, draw a perpendicular line. Measure a quarter of the chest circumference from the edge. This will be the end point of the armhole. It is drawn from the end of the shoulder to the indicated place.
Then measure 5 centimeters down. After that, draw the flare of the dress to the bottom.

When making a bust dart, it should be positioned two centimeters higher than usual. This is due to the fabric's ability to stretch on the figure. With this position, the dart will fit exactly in place.
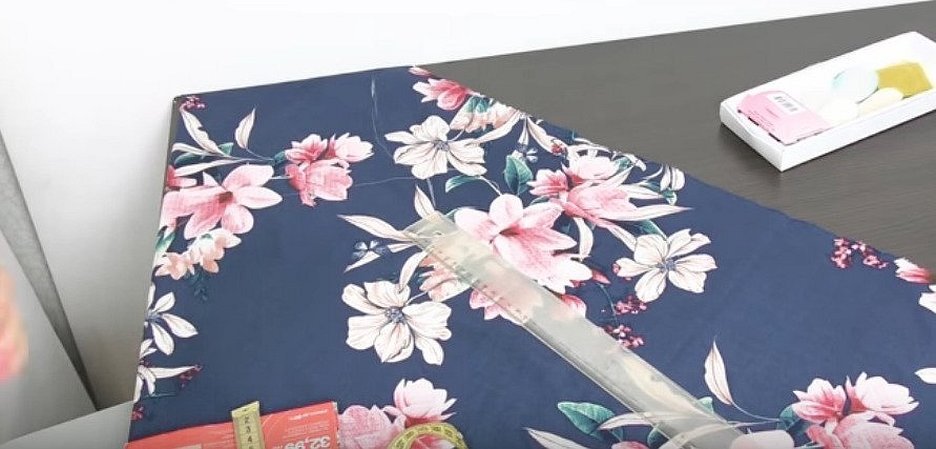
When cutting on the bias, you need to pay attention to the drawing and cutting of the lower part of the dress. If, for example, the length of the dress is 110 cm, then when drawing the flare, you need to measure this length. It is measured by making the bottom in the form of a semicircle. However, it is not recommended to immediately cut the fabric in this place.
Due to the sagging of the fabric, the cut bottom edge may distort its shape. Therefore, it should be aligned after the side and shoulder seams have been sewn.
When using transparent fabric, a lining can be used.
The shoulder slope is taken no more than two centimeters. The neckline can be measured 4 cm down and 8 cm to the side (this is half the neckline).
The diagram above is for the back pattern. The front should be cut out in much the same way, except for the following:
- The neck should be 4 cm deeper.
- The bend in the armhole (at the bottom) is made 2 cm deeper.
Stabilizing stitches are made in the armhole and neck. They are a regular seam. If the armhole and neck openings stretch, the threads will need to be pulled a little to strengthen the edges.
Now all that remains is to make the sleeves the desired length and the bias cut of the dress will be complete.
Bias dress for plus size women
Dresses of this type allow you to reveal the features of your figure. If they are worn by plump women, they can choose a pattern with a high waist, a batwing sleeve, or a floor-length dress. In this case, the style of the dress will conceal the plumpness and emphasize the grace of movement.
Important! A bias-cut dress pattern for plump women that has stripes will suit overweight women. If they are at an angle to the vertical, then such a dress will hide the fullness of the figure.
Cutting and sewing with armhole edging
If you are sewing a sleeveless dress with a bias cut, then you need to process the armholes. To do this, you need to make a facing.
This is done as follows:
- It is necessary to cut out the facing.
- You need to overcast the edges of the armhole and facing separately.
- The facing is placed on the outside with the wrong side facing up.
- Make a seam at a distance of 2-3 mm from the edge.
- Then the facing is turned over to the inside. In this case, the outer edge of the seam moves inward.
- Now make another seam at a distance of 6-8 mm.
Now the armhole facing is ready. All that's left is to carefully iron the seam. It will not only give a beautiful look, but also strengthen the edge of the fabric.
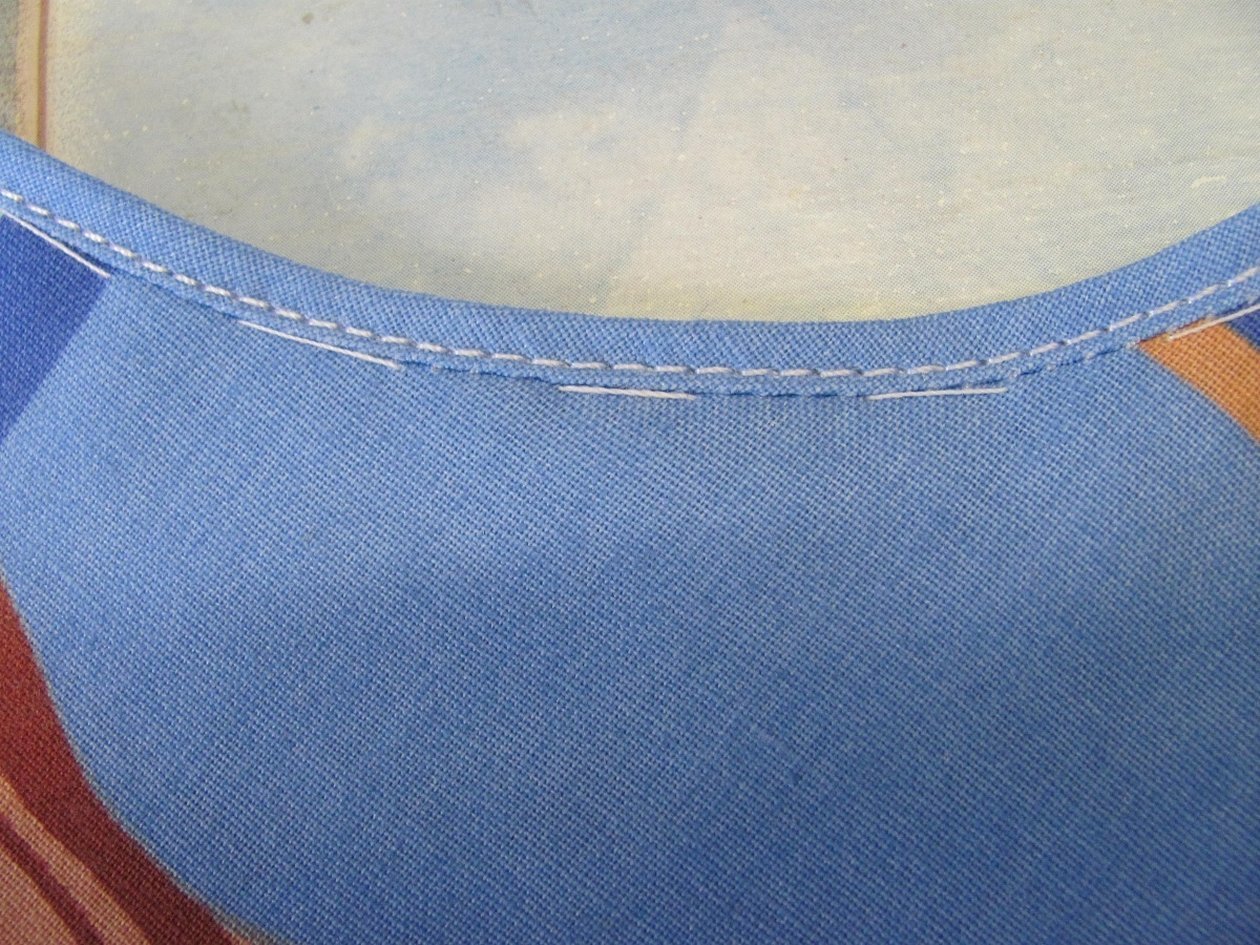
Connecting the edges of a dress with a linen seam
The name of this seam comes from the fact that it is used for bed linen. It is used in conditions where sheets or pillowcases will be subject to mechanical or chemical stress. An example of the latter would be the use of strong cleaning agents. Below we will tell you how to sew a dress with bias seams.
This general name unites several types of seams that make the joining line more durable and at the same time give it a beautiful appearance. When sewing a dress on the bias, using a combination of such joining methods is important due to the fact that the fabric in such cases is easily deformed and stretched, which reduces the strength of the fabric connection.
Below we will discuss in more detail the types of linen stitches used in practice.
Double turn seam
To do this, you need to prepare two pieces of material that will need to be attached.
They need to be folded with the wrong sides facing out. A seam is made along the edge at a distance of 4 mm.
Now both pieces need to be folded in half so that the edge of the seam you just made is on the inside. Now you need to make the seam again.
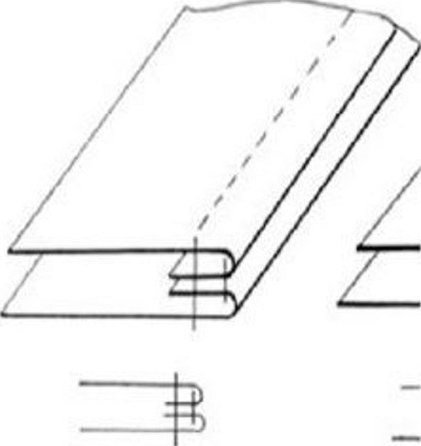
The second seam should be located at a distance of 8 mm from the edge.
Lap seam
In this case, pieces of chiffon or other fabric are applied to each other with the wrong sides together. The lower one protrudes by about a centimeter. This edge is folded relative to the upper piece. On top of the type there is a strip a centimeter wide. It is stitched on a machine at a distance of 1 mm from the edge of the folded strip (9 mm from the fold).
After this, both pieces of fabric are placed so that their back side is facing down. The stitched strip will be facing up. It must be placed on one side so that the stitches from the seam just made are facing down.
This strip is sewn on a machine at a distance of 1 mm from the edge. Thus, the connection of two pieces of fabric will look like a strip 1 cm wide. At the same time, both seams just made will be visible on one side, and only one on the other. This seam can be used to connect transparent pieces of fabric.
A bias-cut dress is not much more difficult to make than a regular one. At the same time, it will have both advantages and features that need to be taken into account. A beautiful, light, wavy dress or skirt will help a woman make her image beautiful and stylish.


