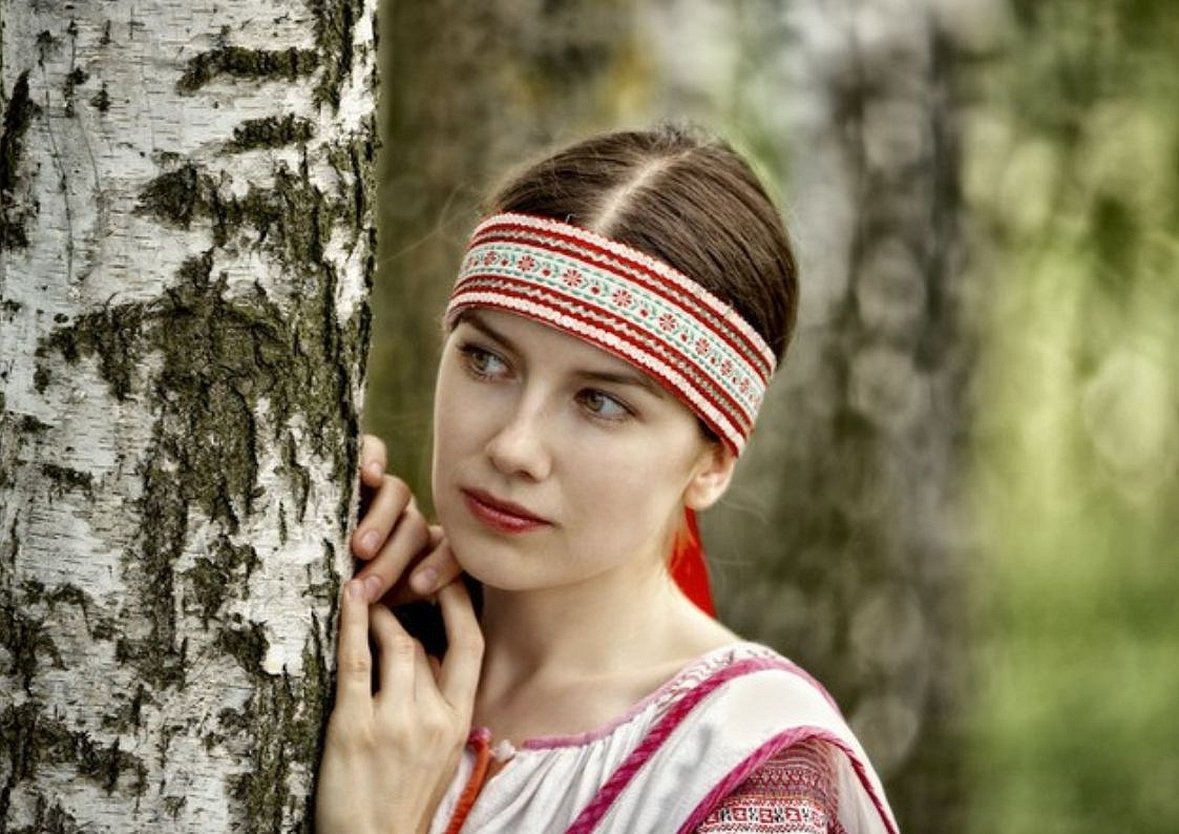
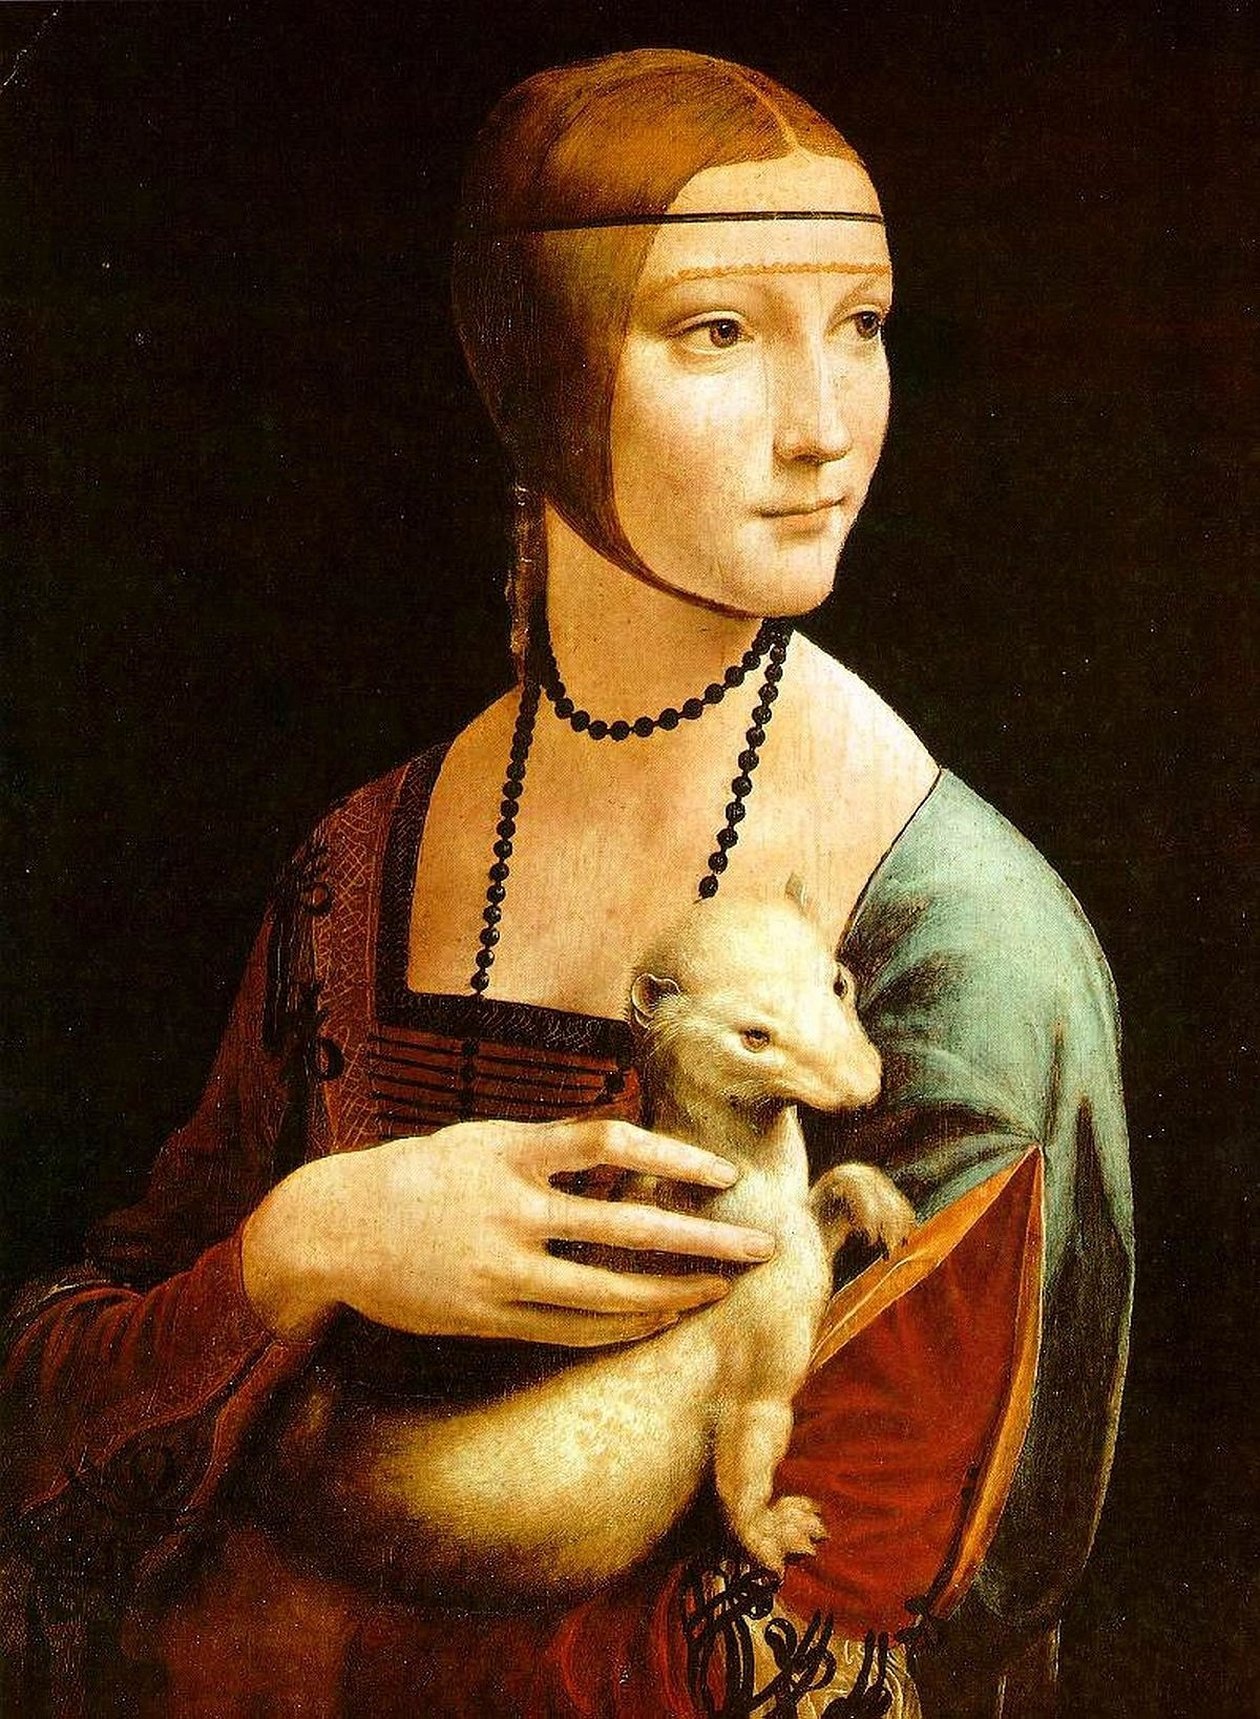
At all times, people loved to decorate their heads with wreaths and headbands of various shapes. If we look at history, we can see that such head decorations were worn by the ancient Aztecs, Mayans, ancient Egyptians, and Greeks. No Roman emperor could do without laurel wreaths. In Rus', such an accessory, as they say now, appeared in the 10th century, and was intended not only for women, but also for men. Headbands had their own special purpose: they served as a talisman against the evil eye and evil spirits. That is why they were called "nachelniki", from the word "chelo" (forehead).
Benefits of Headband
The sacred meaning of the head amulet has long been lost, but headbands are still the favorites of many representatives of the fair sex. This is not only a beautiful accessory that adds zest to every girl, but also very practical. You can create it without spending money in literally 1 hour, using improvised means.
Suitable for almost every look: casual, home, sporty, work style.
What are the benefits of a homemade headband?
- Saves time for creating hairstyles;
- A universal and all-season accessory;
- Gives any look a finished look;
- Worn over loose hair;
- Perfect for bangs, ponytails, buns, curls.
What to make from
If it is a light summer or home look, then it is better to choose a headband from a "breathable" fabric, knitwear, cotton, chiffon, cambric. A winter headband is an excellent option for those ladies who do not like to wear hats, but care about their health. For knitted models, it is recommended to choose wool, linen, acrylic threads, yarn. They retain heat well.
Scarves, bandanas, shawls, kerchiefs, ribbons, even denim and lace are also used.
Important! You can choose any material, the main thing is that it holds well, does not slip off the hair, but does not press. The scalp should breathe, and blood circulation should not be disturbed.
How to sew a headscarf for a girl
A headscarf for a girl is a necessary thing in the summer. The baby's skin is quite tender and thin, prone to rapid overheating. The mother must make sure that the girl's head is protected from the sun's influence.
Important! Before sewing a children's kerchief, you need to choose the right material. It is better to give preference to such fabrics as cotton, linen, calico, chintz.
This tutorial provides a step-by-step plan on how to make a scarf with an elastic band.
You will need the following: fabric, elastic, measuring tape, sewing machine.
Before starting work, you need to measure the distance from the child’s ear to the ear + 2 cm.
- Select the length of the fabric based on the head measurement described above.
- Prepare a separate piece of fabric in the shape of a small rectangle to decorate the elastic band.
- The length of the elastic band should be half the length of the selected rectangle.
- Fold the small rectangle in half with the wrong side facing up and stitch along the length.
- Turn the resulting strip inside out and insert the elastic band, securing it at one end. Do not remove the other end of the elastic band completely.
- Stitch one edge together with the elastic.
- Pull the fabric over the entire elastic (it should look like an accordion) and stitch the second edge. The elastic for the scarf is ready.
- The edges of the large rectangle are beautifully decorated along the perimeter: folded on both sides and stitched.
- Place the resulting “accordion” for the scarf on the piece.
- Fold the edge of the fabric layer by layer and stitch. All seams should remain inside.
- Do the same on the other side of the fabric, attaching the second side of the elastic.
The scarf is ready!
You can learn more about how to sew a scarf in this video tutorial http://youtu.be/1MuO40PNuGw .
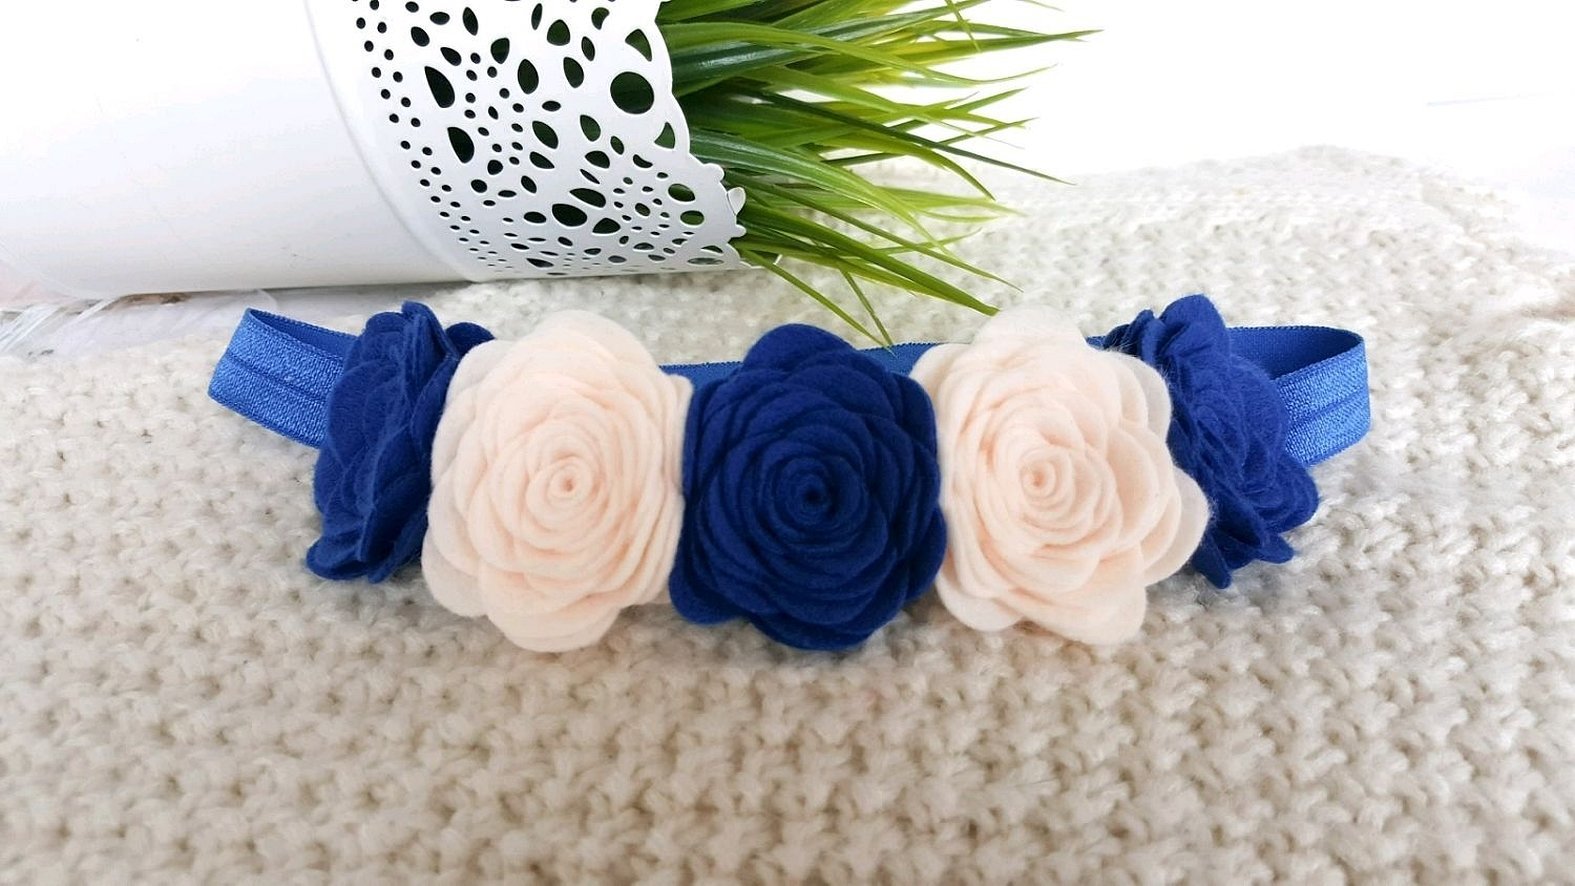
How to Make a Felt Rose Headband
Decorative elements in the form of flowers and bows always look advantageous, adding tenderness and romance to the image.
As a basis for the decoration, you can use an elastic band, selected in combination with the color of the future rose.
It is not difficult to create a felt rose yourself, because the material is very pliable. The work will take literally 15-20 minutes.
You will need the following: 1 mm thick felt, scissors, elastic band, glue gun.
- The main principle to understand is that the petals are cut in a spiral. Like peeling an apple in a circle without interruptions. The same spiral stretch should be obtained from felt.
- Prepare 10x10 cm felt squares in advance, in a quantity equal to the number of roses on the headband. It is convenient to make a 1 cm wide spiral from such a shape. It is cut out with scissors in the shape of rose petals, wavy.
- Start tightly twisting the rose from the center part, step by step fixing it with glue. The last section of the spiral "wave" must be bent, making the base of the rose, which will be attached to the elastic band.
- The rose is ready. If necessary, the flower can be additionally decorated with beads, rhinestones and other appliques.
Attach the roses to the ribbon with glue so as to hide the elastic seam.
This headband can be made for both girls and girls. A detailed master class on how to make felt roses can be seen at the link http://youtu.be/4PweiwQfD9U .
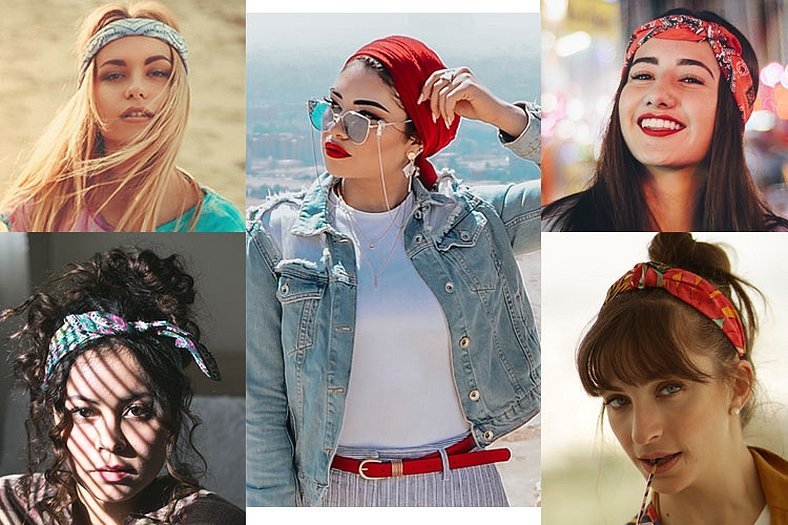
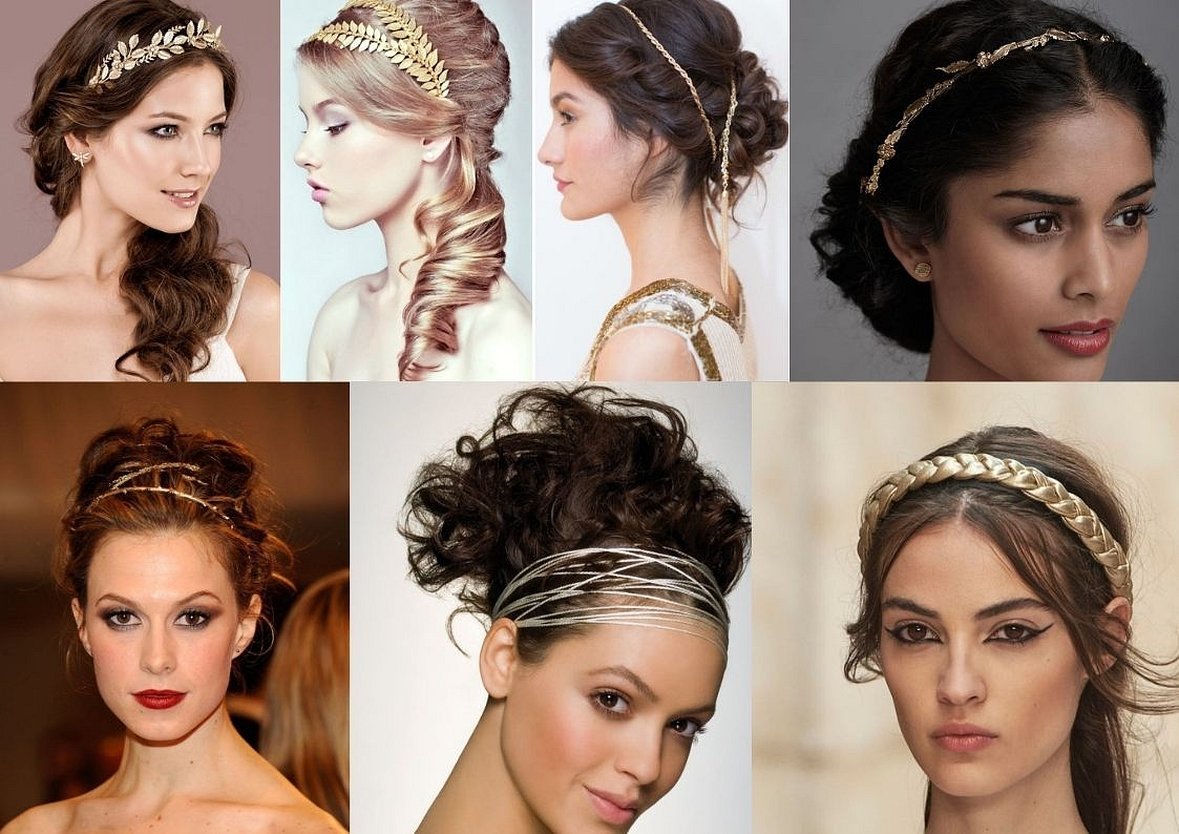
Narrow ribbon headbands are amazing!
Narrow ribbons are an accessory that amazes with its centuries-old history. Times go by, fashion changes, and bandages made of narrow ribbons always appear on its front pages.
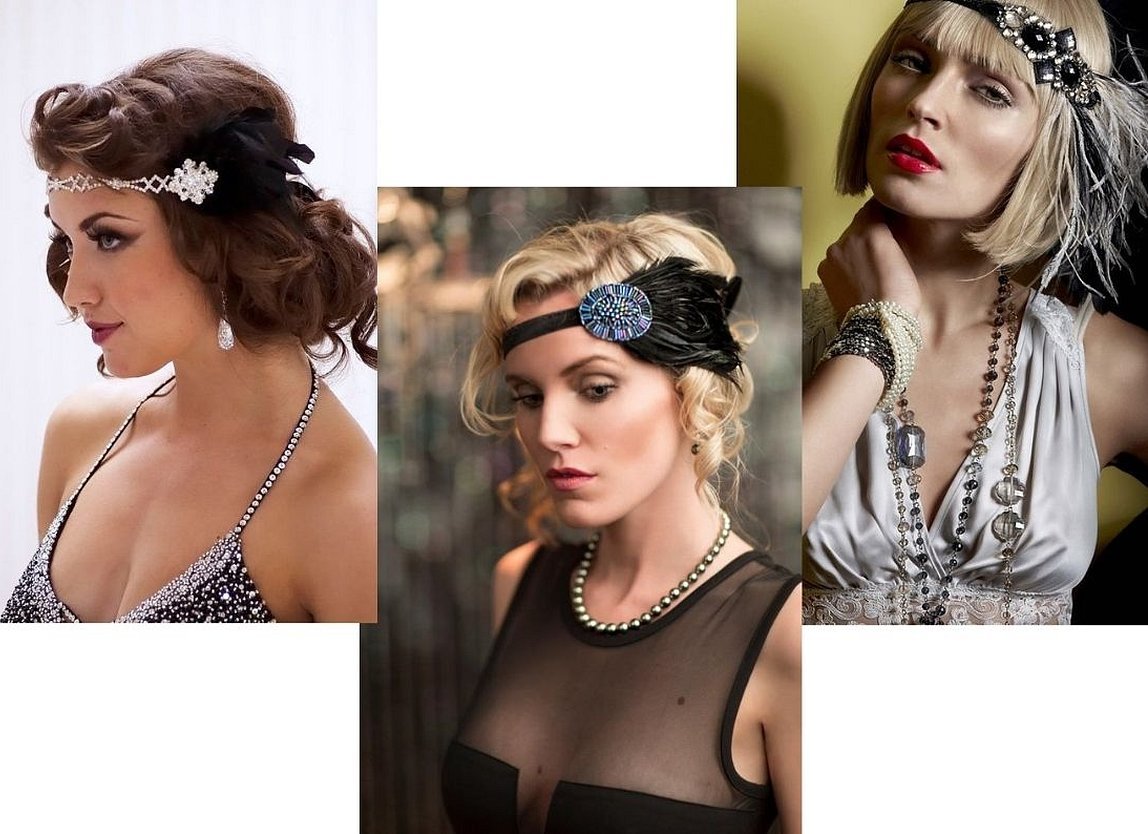
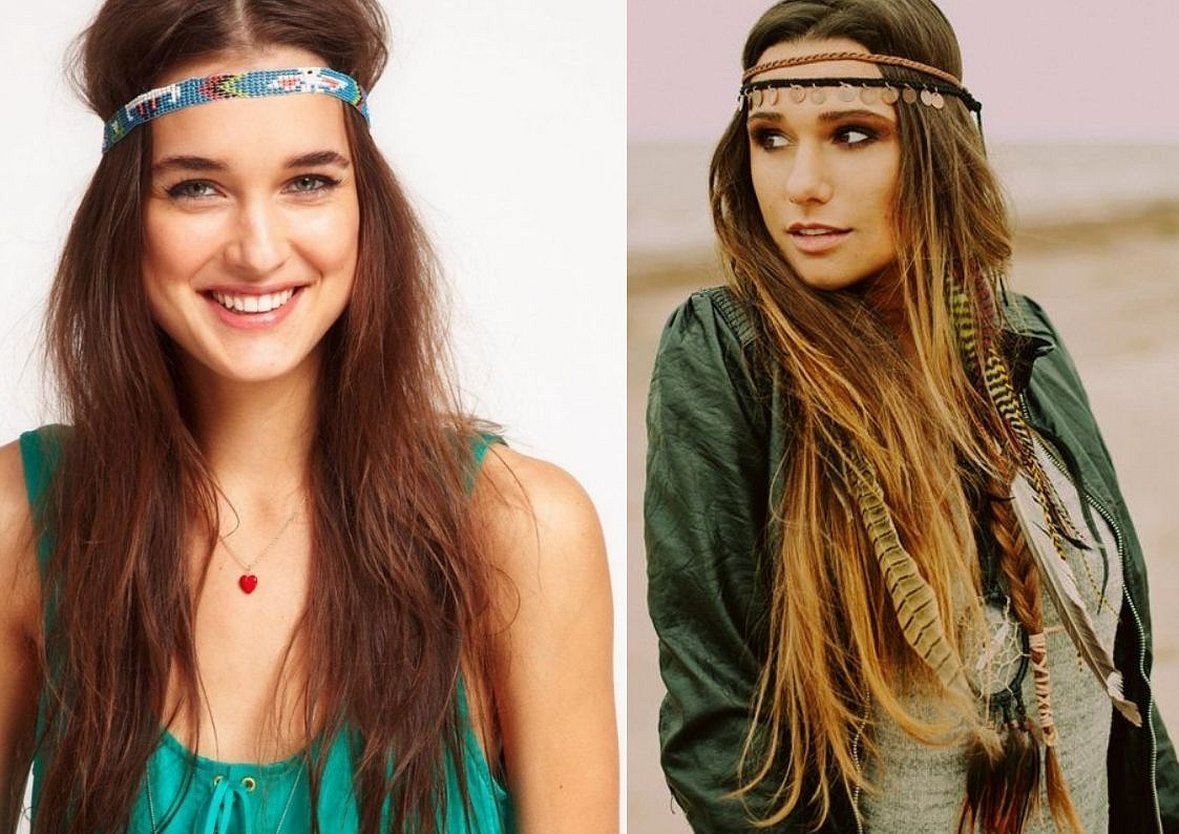
They were relevant in the times of deep antiquity, in the Renaissance, in the 20s (Gatsby-style images), were an indispensable attribute of hippies in the 60-70s of the twentieth century, and are relevant today.
You can create a Greek-style decoration using narrow ribbons of any length, decorating them with inserts of stones, gilded laurel leaves, and intertwining them into a braid. You can gather the entire length of your hair into ribbons, weave them in, or secure them over your locks. Such Greek hairstyles look incredibly feminine and sophisticated.
The beginning of the Renaissance was characterized by a fashion for everything antique. Women's hairstyles were quite complex, with a combination of braids and curls, decorated with woven nets, veils, leather ribbons and fabric braids.
Gatsby or Chicago chic headbands were popular in the 20s. The characteristic feature of this style of jewelry is accentuating details in the form of flowers, feathers, beads in combination with a short haircut.
Making a headband is easy: you can buy ready-made appliques, flowers, pearls, feathers and use a glue gun to firmly attach them to the appropriate ribbon. Add evening makeup, and the look is ready!
To create hippie-style headbands, you can use absolutely any material. Narrow ribbons are tied over the hair, giving the image freedom and brightness. Most often, beads, fabric or leather ribbons are used as materials.
Interesting fact! The hippie-style headband has its own name - hairatnik, from the word hair.
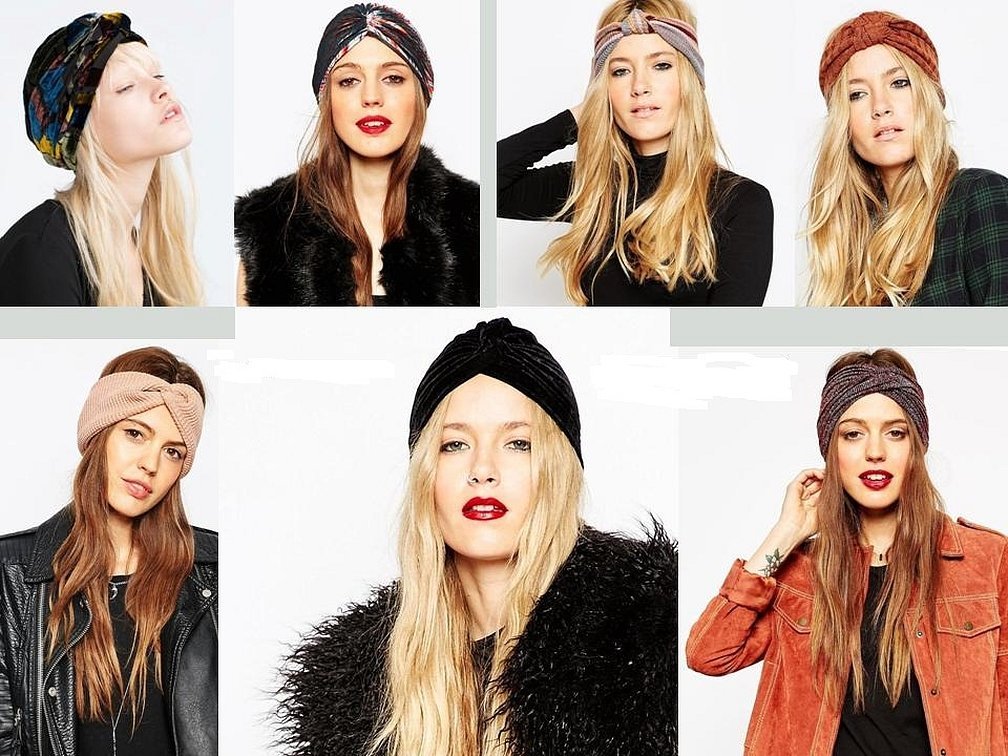
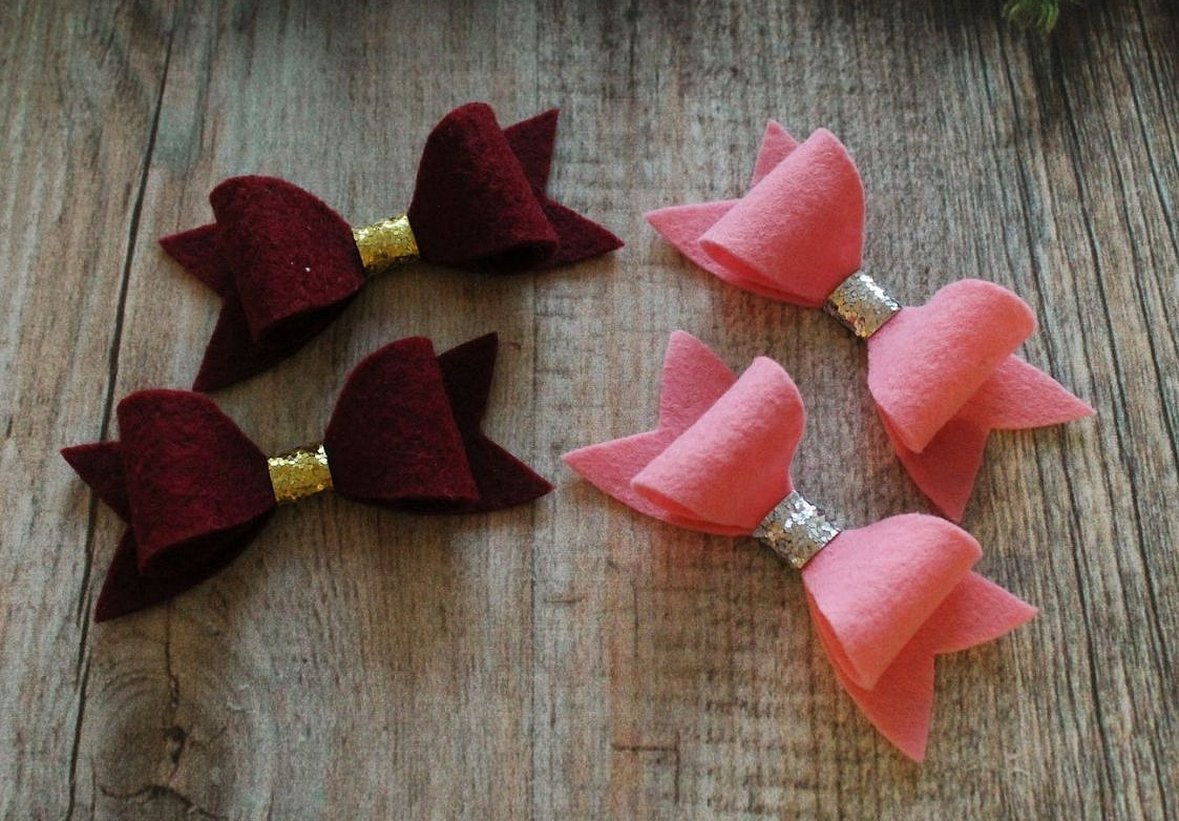
Felt headband
Another option for making an accessory from felt is a headband with a bow. To make a bow, as in the photo, you need to take two small pieces of felt. Glue the first wide piece into a ring and make a clip in the middle. Cut the ends of the second ribbon beautifully. Place the pieces on top of each other, secure the middle with glue or thread. Decorate with a beautiful ribbon on top.
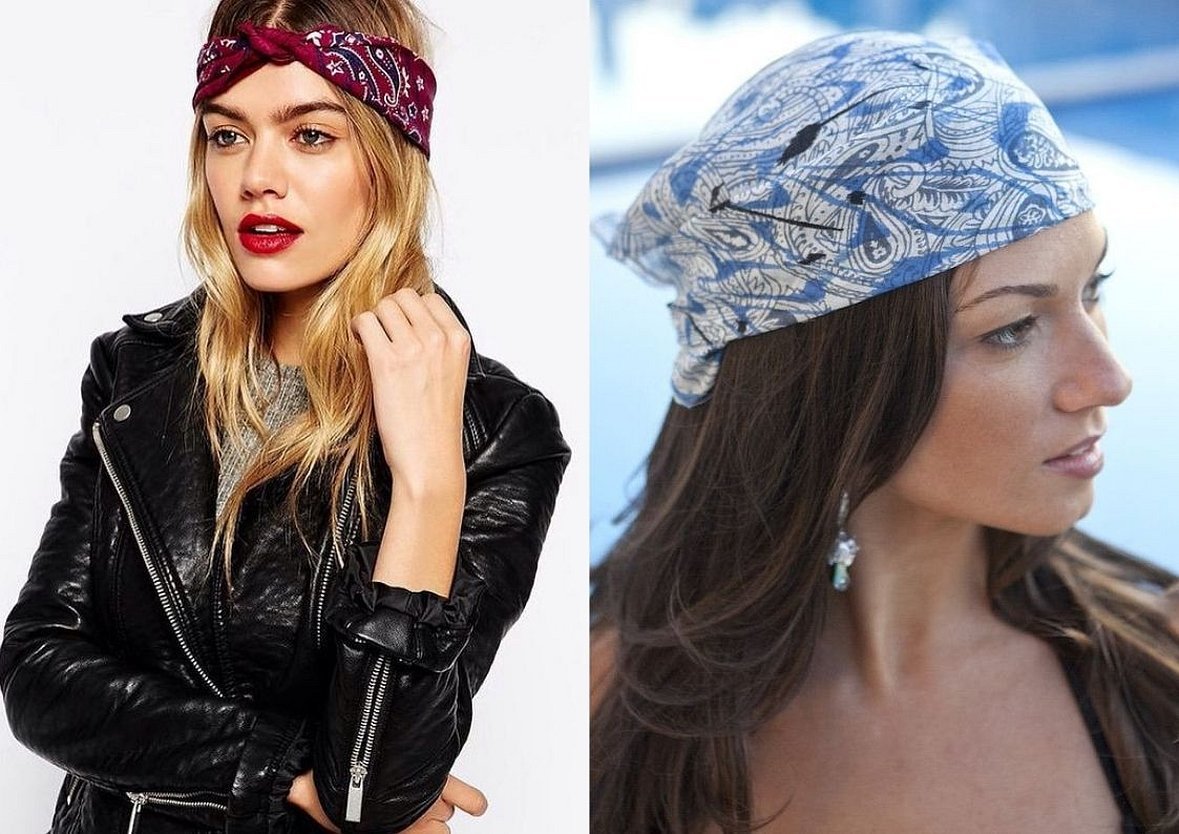
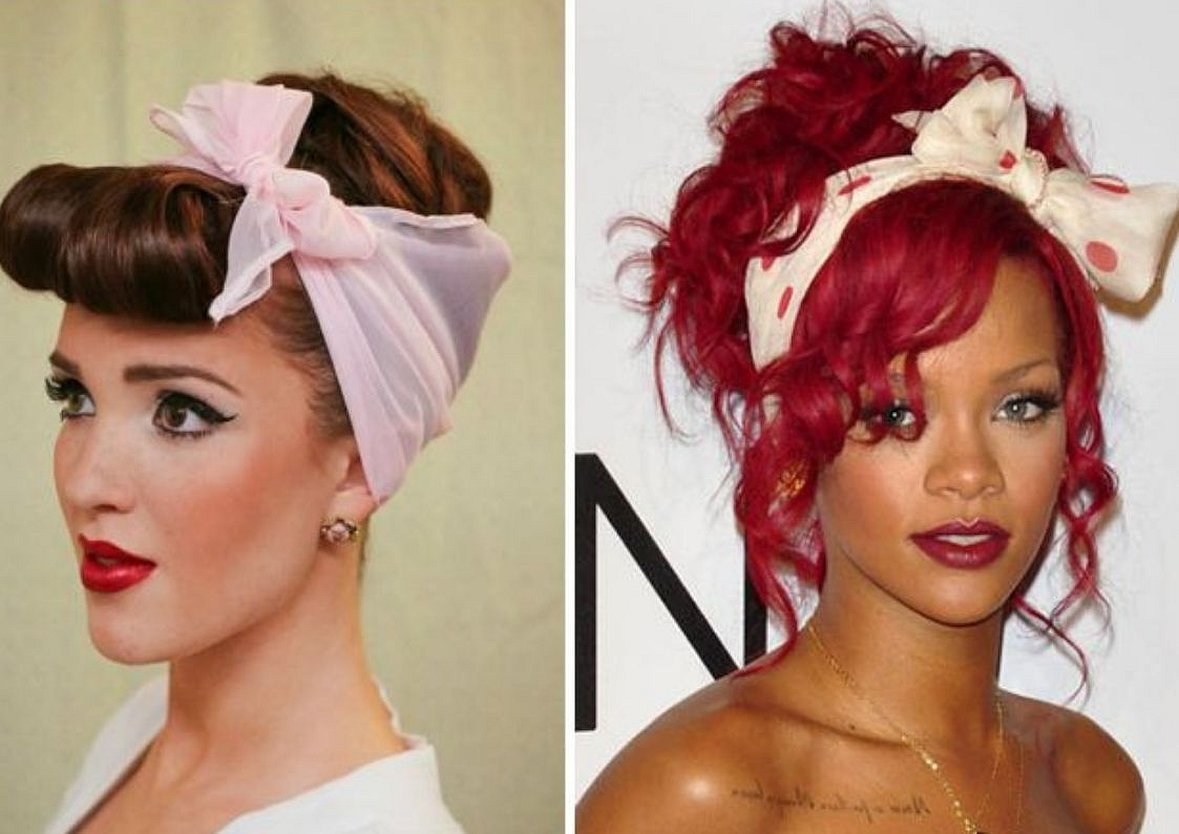
Bandana Headband
To make a bandana, take a square scarf, fold it in half diagonally.
The classic way of tying: the scarf covers the entire head.
In the form of a bow: a kerchief folded in several layers encircles the head, tied in a bow in the front. The ends can be beautifully laid out or hidden.
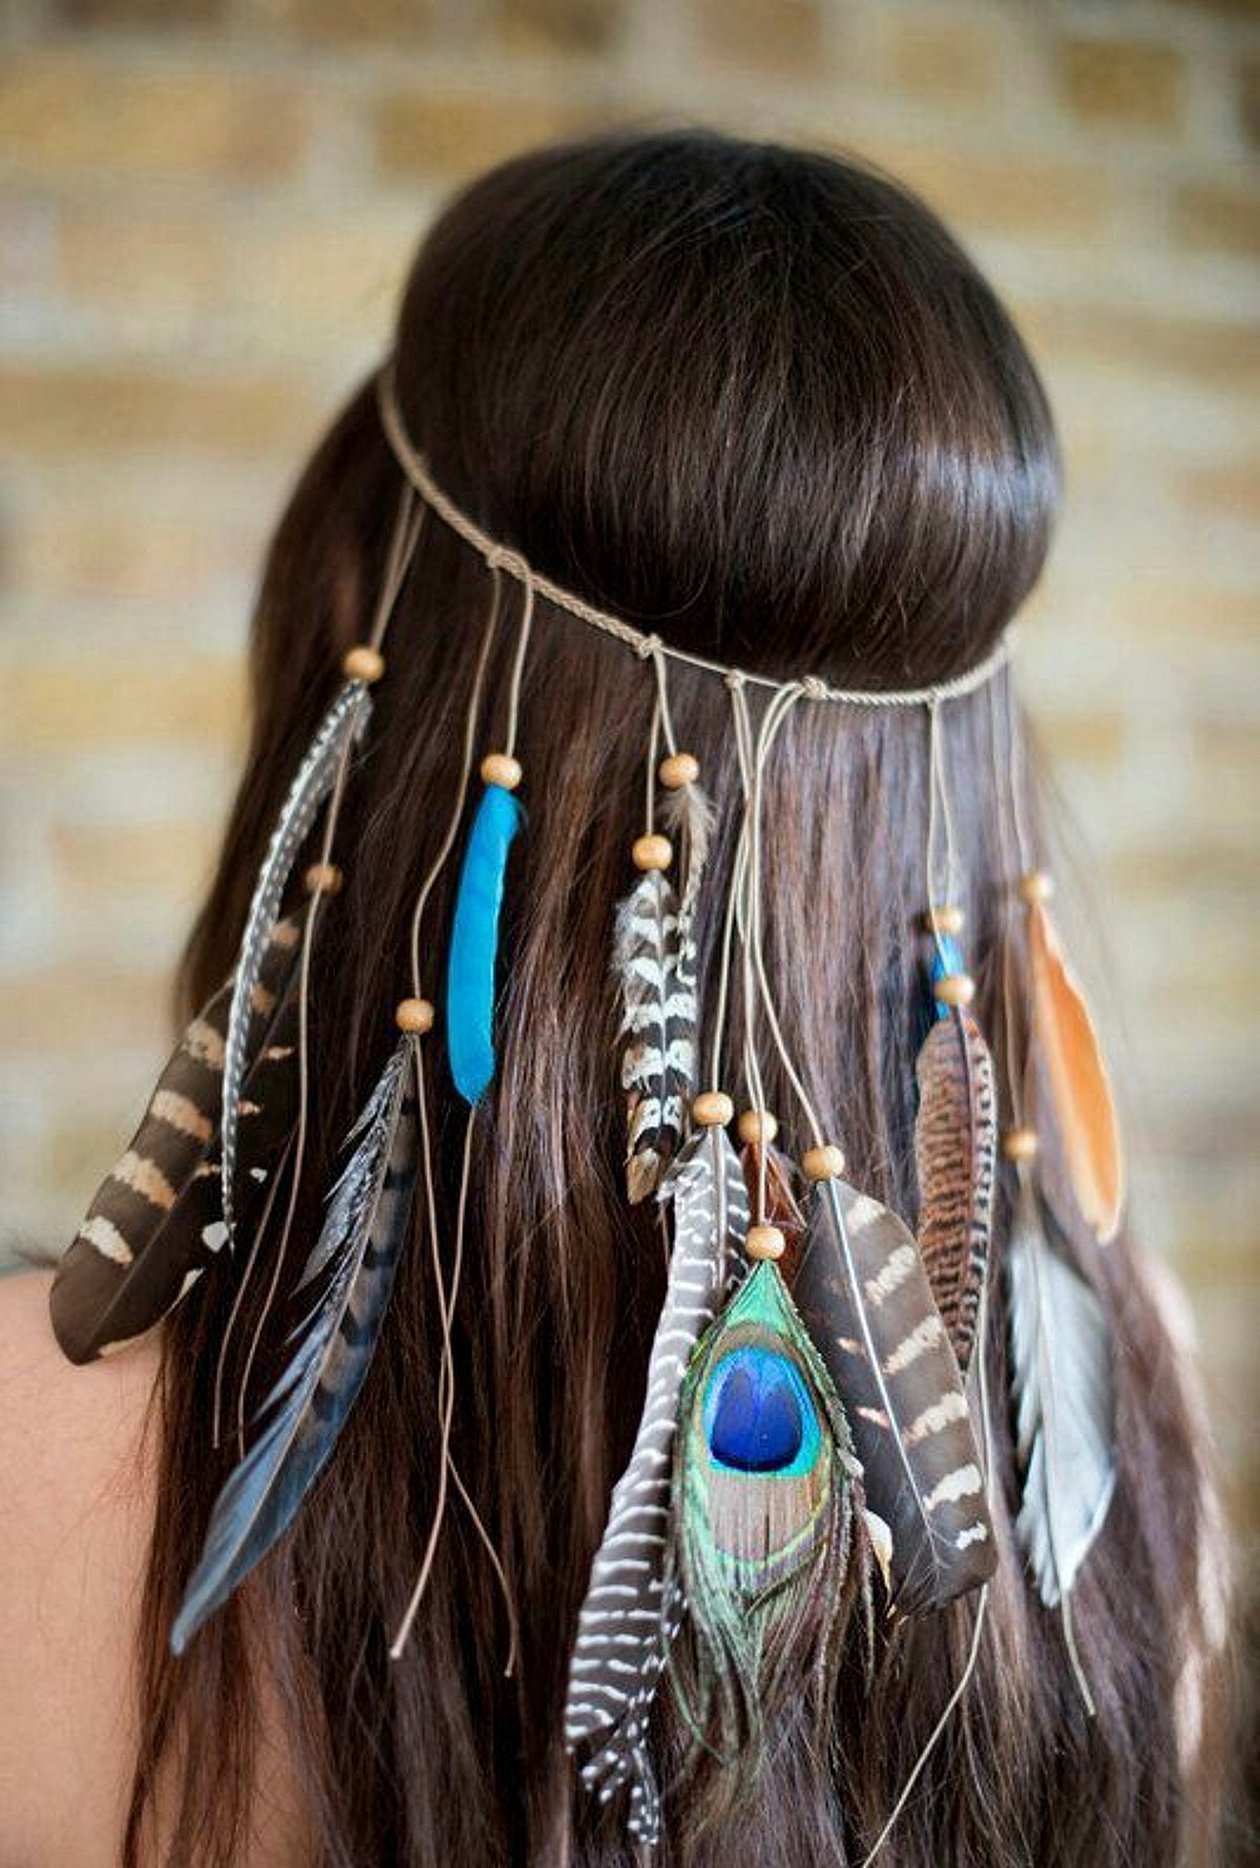
Indian Headband Style
This accessory is suitable for fans of the boho style. Usually a narrow ribbon of leather or fabric is taken with the addition of feathers and beads along the entire length of the hair.
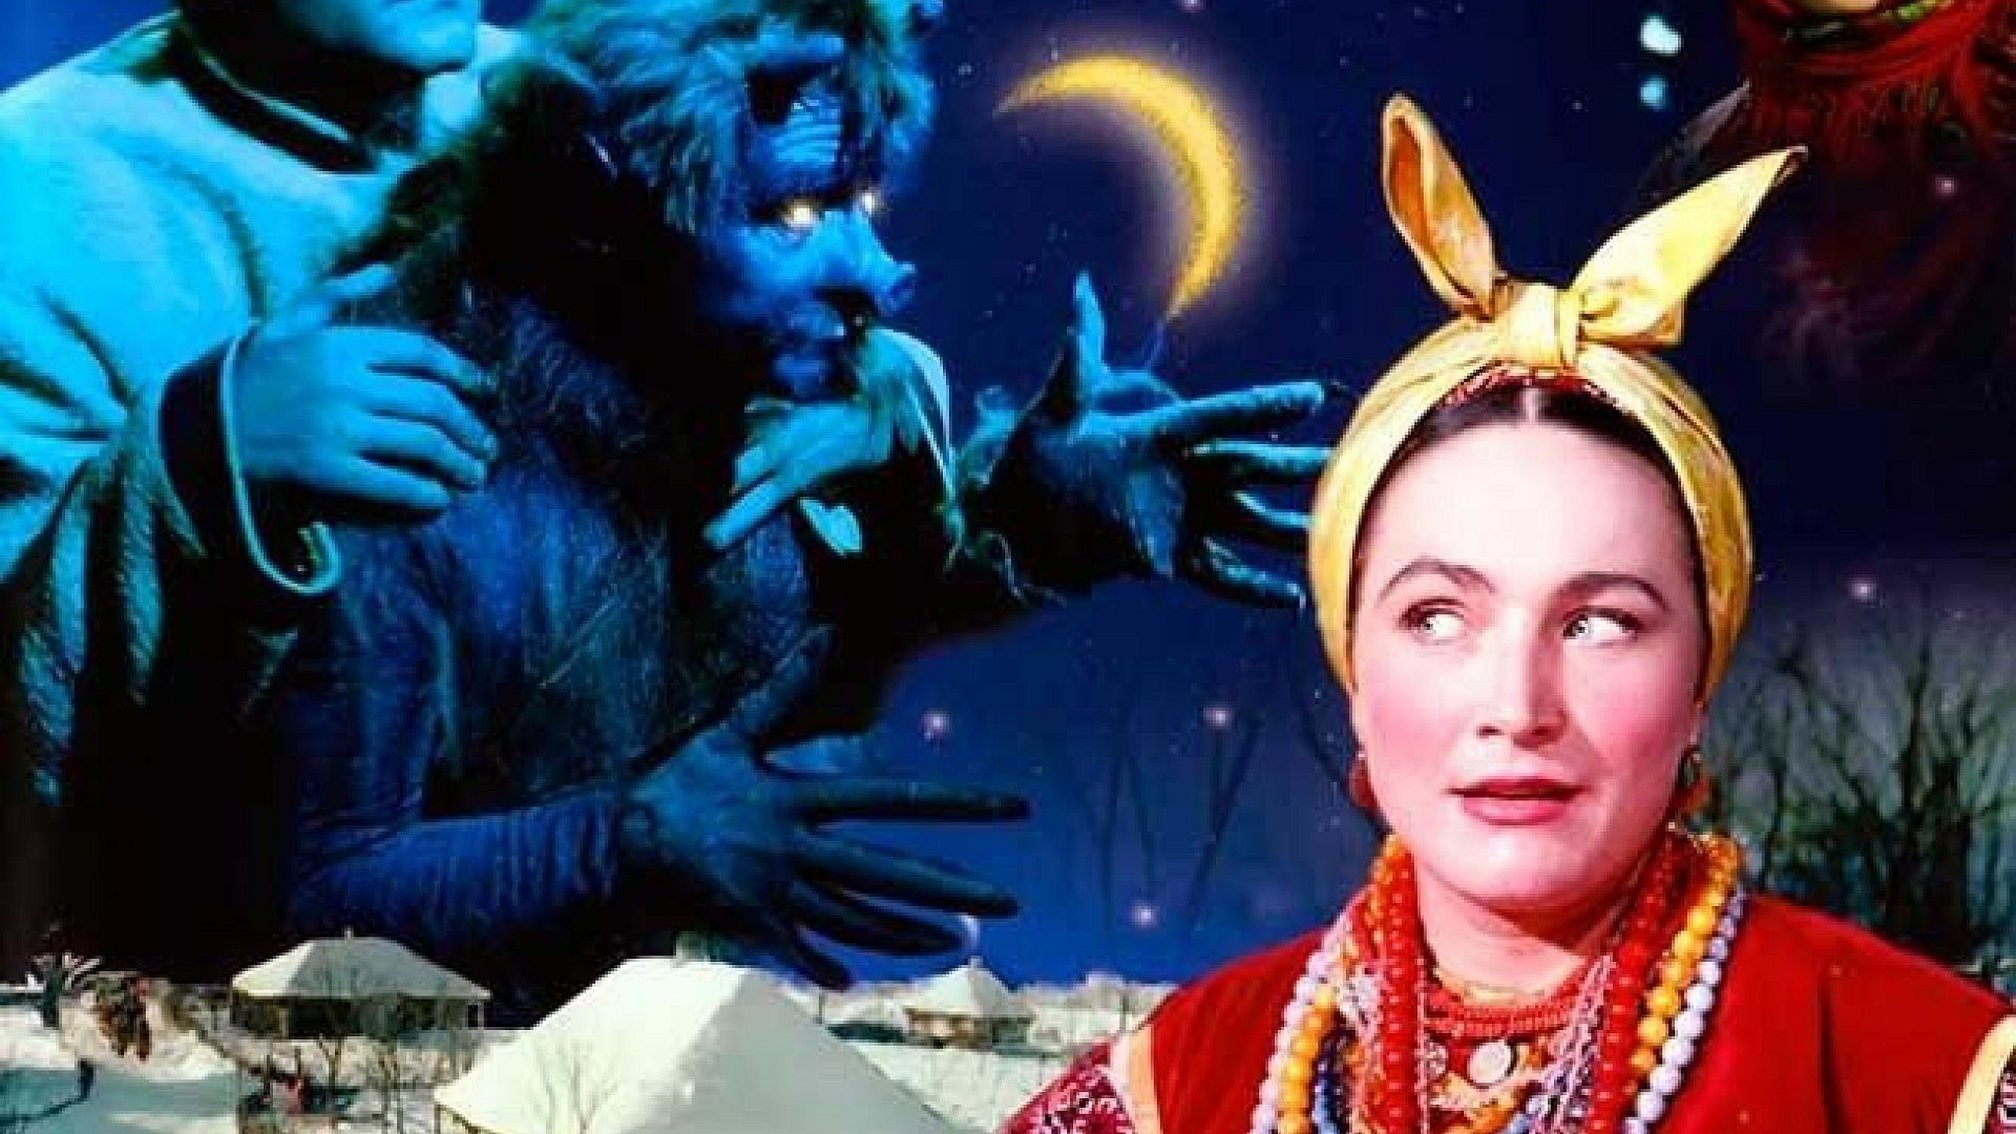
Pattern of the Solokha headband
The Solokha headband got its name from the character of the same name in the film “Evenings on a Farm Near Dikanka”.
Option for making a solokha pattern yourself:
- Fold the fabric in half to stitch or glue.
- Finish with a blind stitch.
- Cut the second piece of fabric for the bow itself so that the ends are “pointed”.
- Shape the resulting small piece into a bow on the main bandage.
Detailed instructions for the headband pattern can be found here http://youtu.be/3nQaZiGGD9c .
A DIY fabric headband is a secret feminine weapon for creating a bright, attractive look.
With the help of the tips presented in the article, any girl can easily choose the right accessory for herself.


