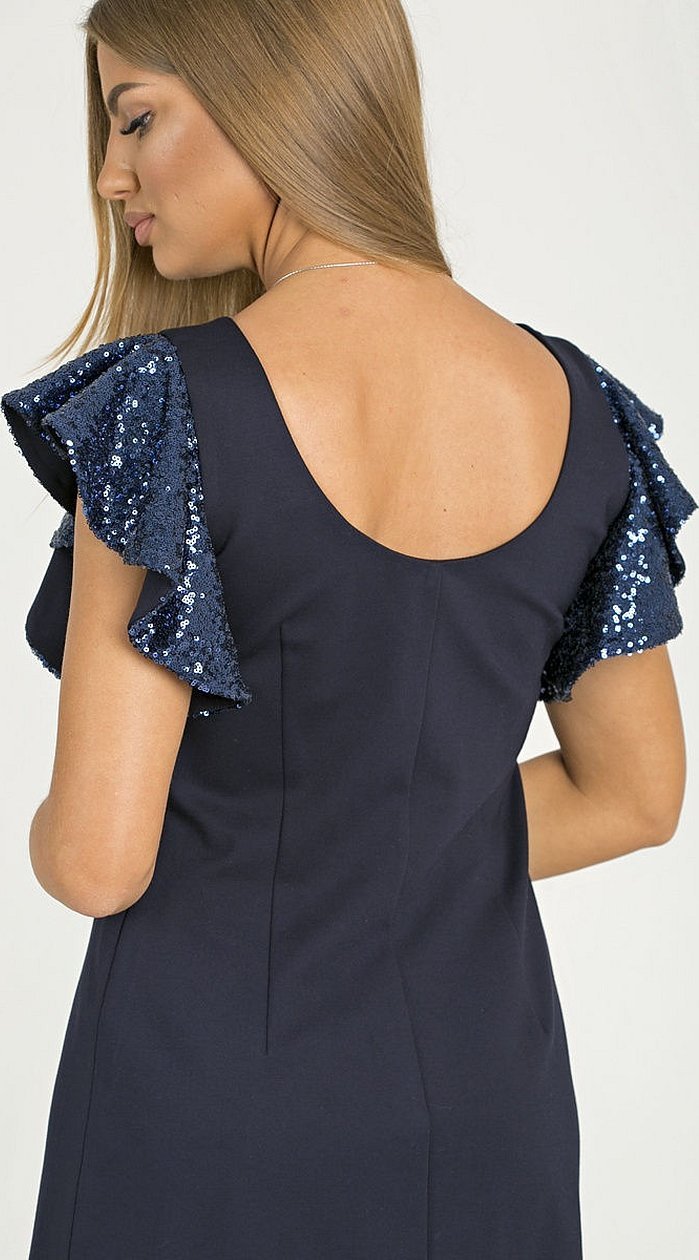
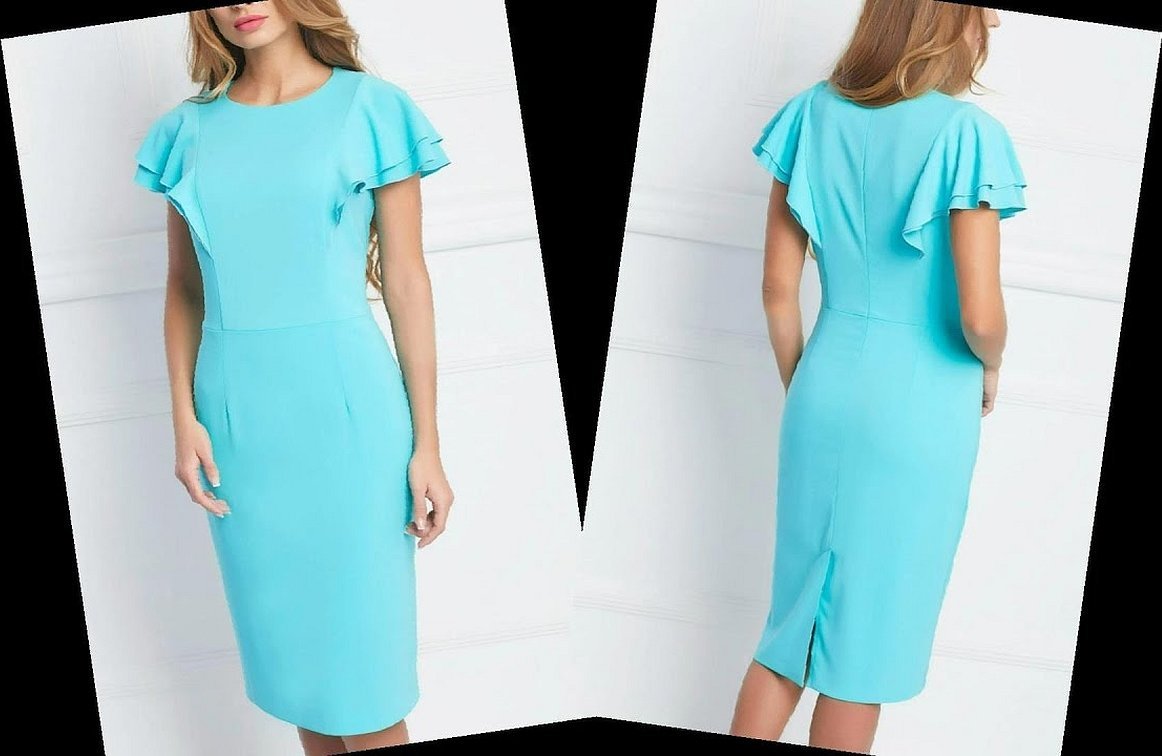
The wing is one of the most beautiful sleeves on a dress. The finished product is easy to make with your own hands. Read on to find out how to choose the fabric, prepare for work, create a pattern and sew the product.
Selecting fabric and preparing for work
The wing sleeve can be sewn from any fabric. Beginners should choose cotton or other thick fabric that does not create unnecessary folds when sewing and will not come apart at the threads.
If you need to create a free type of falling folds of wings, you should take tulle with soft stretch, chiffon, organza and other material. To make an elongated vest or long clothes, you need to take artificial or natural leather with velveteen and suede. Dense fabric remnants will stick out the sleeves and give them the shape of real wings.
To work, you need to take a one-piece fabric with a pattern, thread and sewing angle, pencil, paper, compass and scissors. Prepare accessories for decoration. Also, if necessary, take a photo of the sample, the silhouette of which the master is going to make.
Please note! To prepare the fabric for sewing, you need to cut and process the edges by sweeping the details or removing the threads with fire. This way, you can achieve the most accurate wing effect and professional work.
Create a pattern
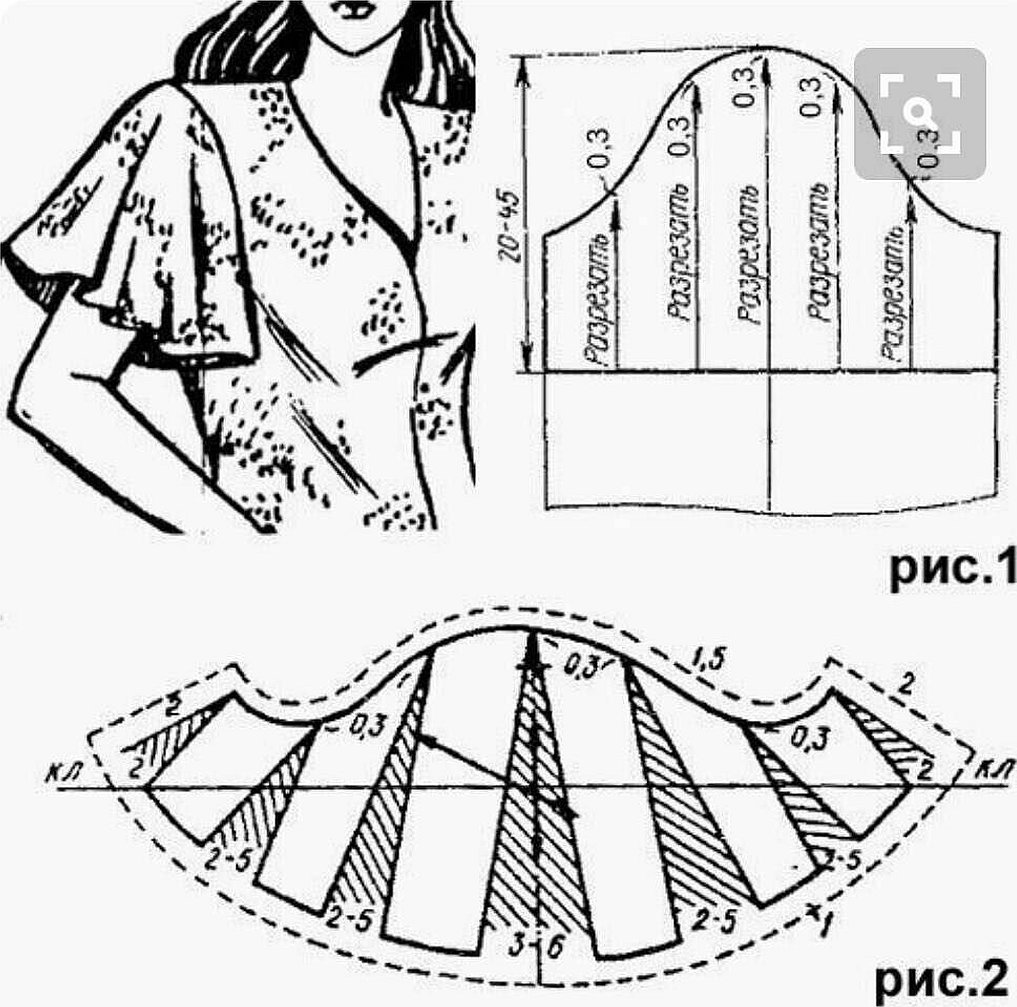
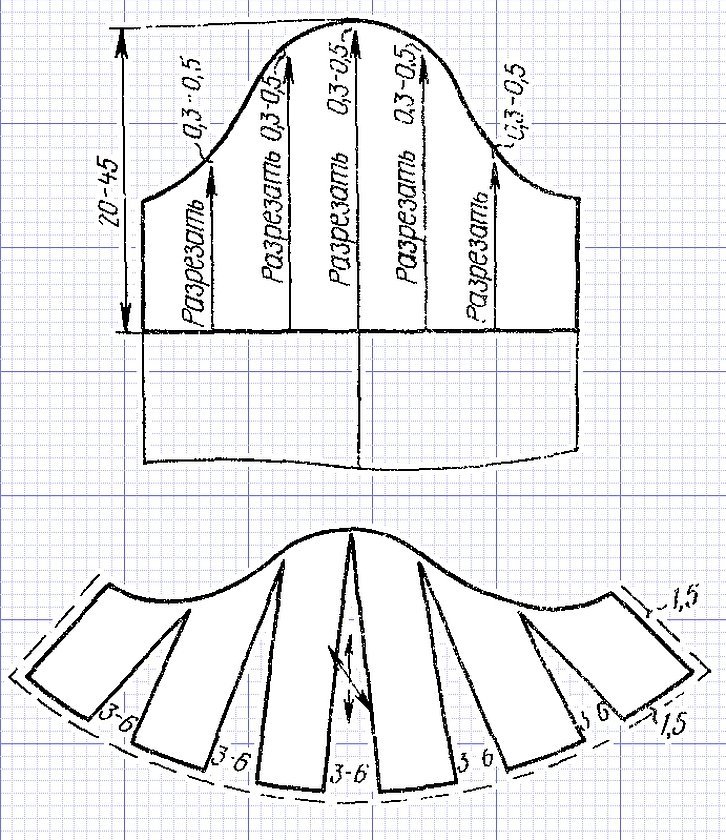
To sew beautiful sleeves according to the master class on a summer or autumn-winter dress or blouse, you need to make a pattern. You need to model them carefully, since the success of the entire work will depend on the pattern. To create a wing pattern, you need to outline the created pattern, outline the middle line with a set aside segment that is equal to the length of the arms. Next, you need to draw a horizontal line and draw a curve that will be parallel to the sleeve edge of the main pattern. Cut off the sample and make the armhole lines.
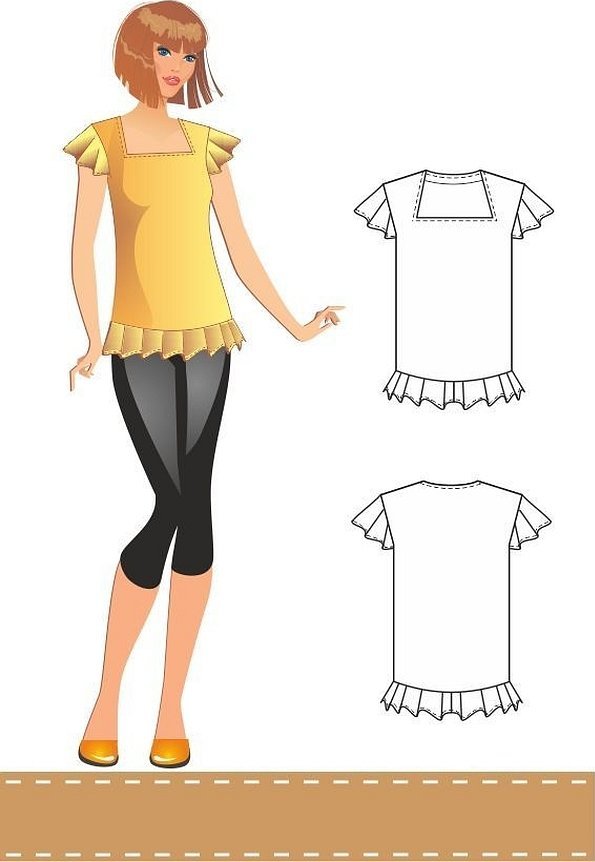
To construct a three-tiered model for a girl or woman, you need to take the previous pattern, make another one based on it and increase it by two centimeters. Then make another detail, increased by 2 centimeters. Assemble the model and sew along the rolled line.
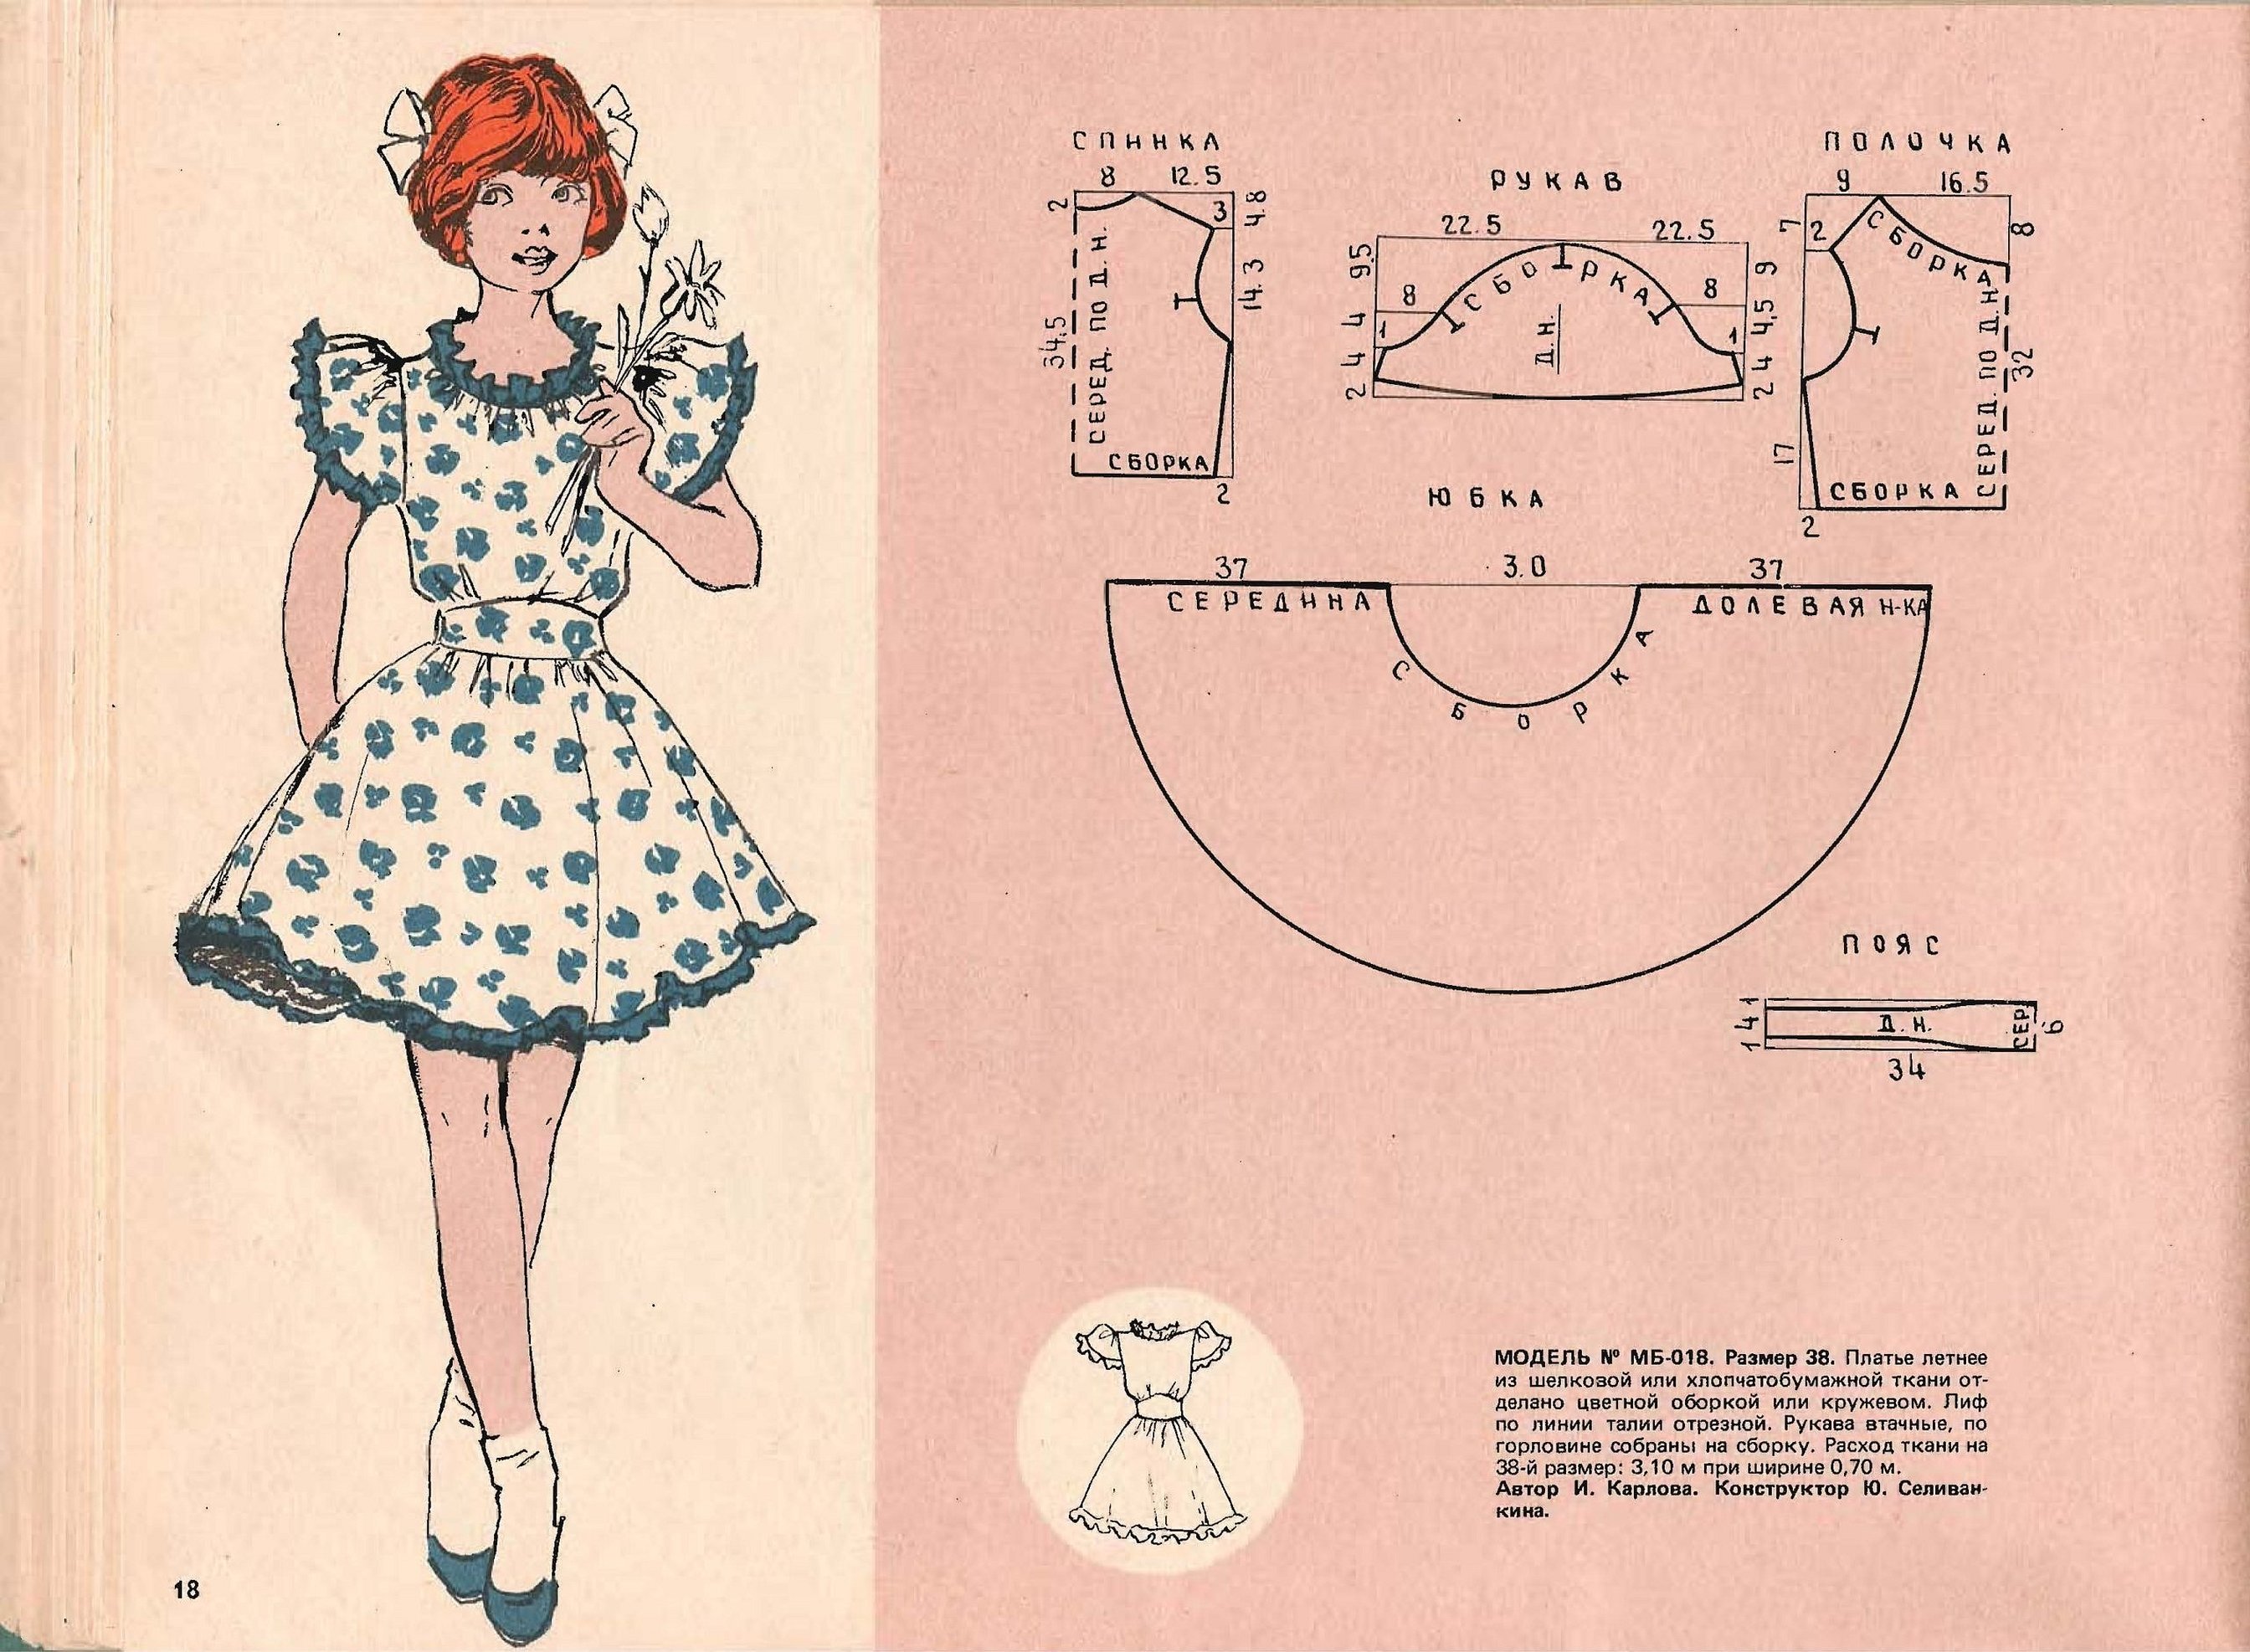
To make a wing sleeve, the pattern of which is in the picture below, you need to take the base for the front and back of the dress, measure the length of the model along the seam and shoulder line, measure the armhole of the front and back, draw a semicircle with a radius equal to the sum of the values divided by 6.28. Attach the shoulder line and the sleeve bottom seam to the resulting measurement. Draw a smooth arc and cut out several parts with a fold and allowances of 1.5 centimeters.
It is worth noting that you can sew wing sleeves without a pattern. The absence of a template or the ability to build a pattern is not a reason to give up on your dream. If you have an old blouse with winged sleeves or a dress, then this product can become the basis for a future evening dress. All you need is to cut out the old product, iron it and put it on the fabric. Next, mark the contour and cut out the details, taking into account the allowances. Then stitch the blanks, add decorative elements, if desired.
For adult dress
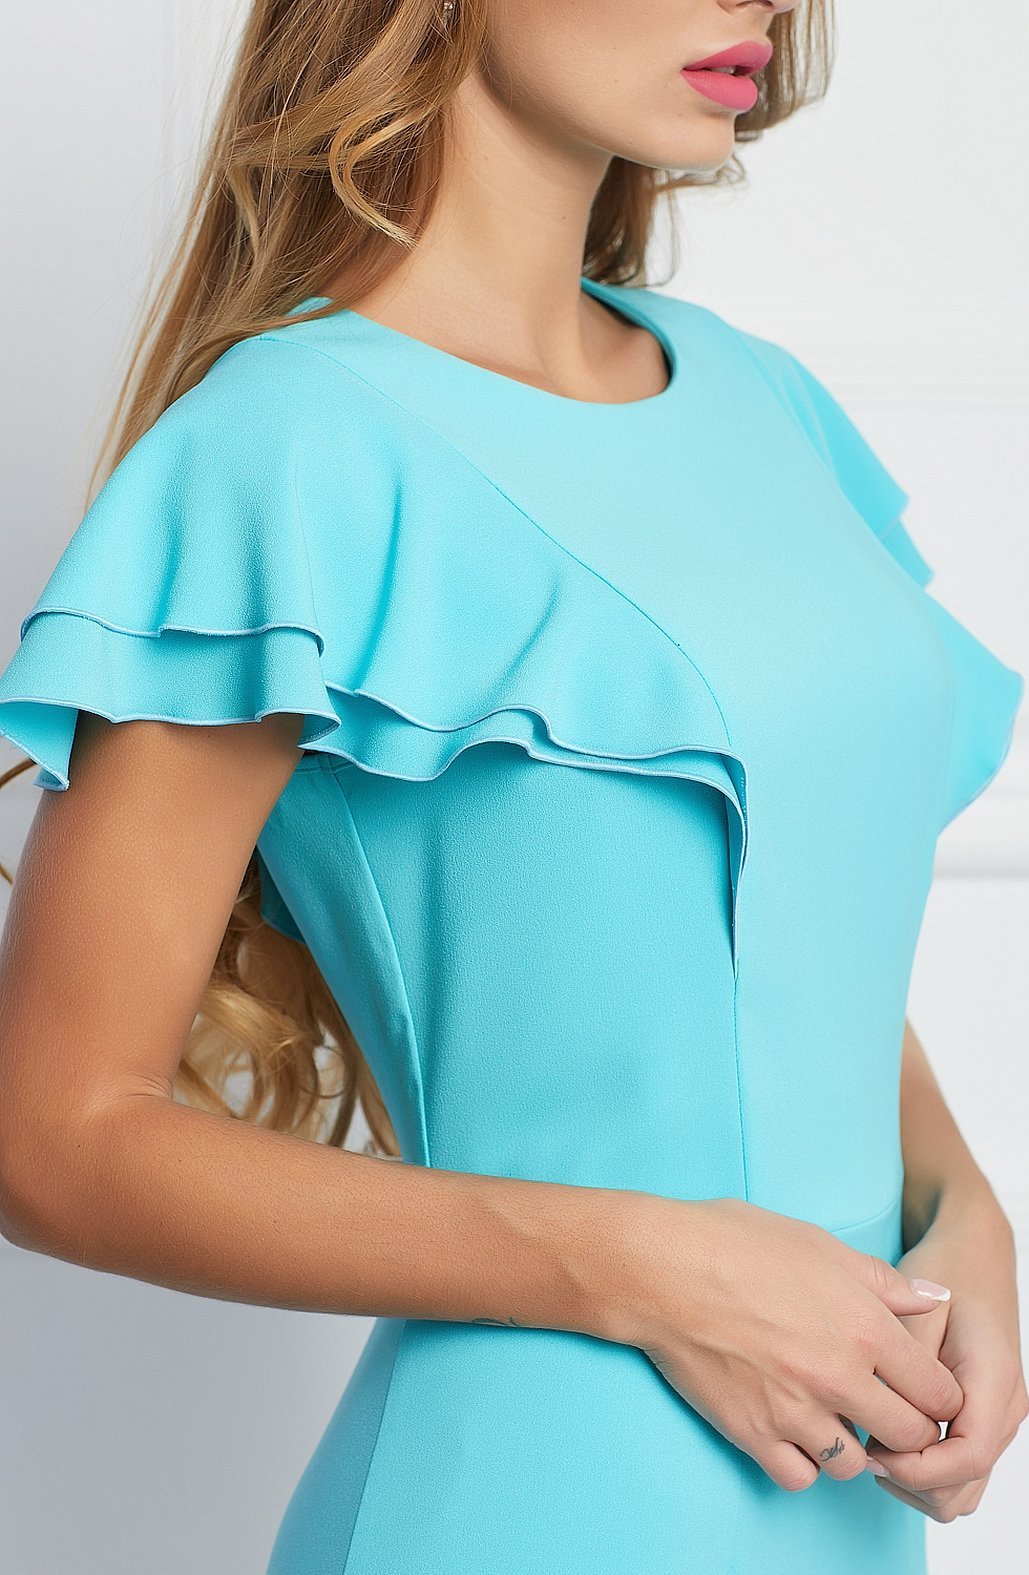
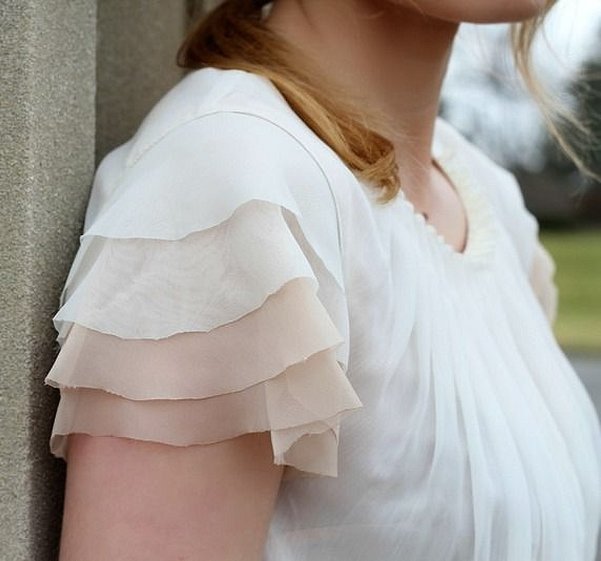
Making wing sleeves for an adult dress is not difficult. The complexity of the work will depend on the type of parts being created. The easiest way is to make short standing parts and sew a piping to them. The most interesting thing is to create gradient blanks for an evening and casual dress. It is best suited for an outfit made of chiffon and satin.
First, take four types of chiffon to create a gradient effect on both pieces. For example, you can take white, light pink, pink, dark pink and raspberry shades. Next, cut out eight pieces, starting with the bottom tier. Make each subsequent tier two and a half centimeters larger. Process the edges with bias tape. This will give the pieces a lush effect. Singe the sleeve cuts with a glue gun. Fold the pieces lengthwise with the right side inward, pin them together and sew the seams. Iron the allowances and insert the finished fabric into the armhole.
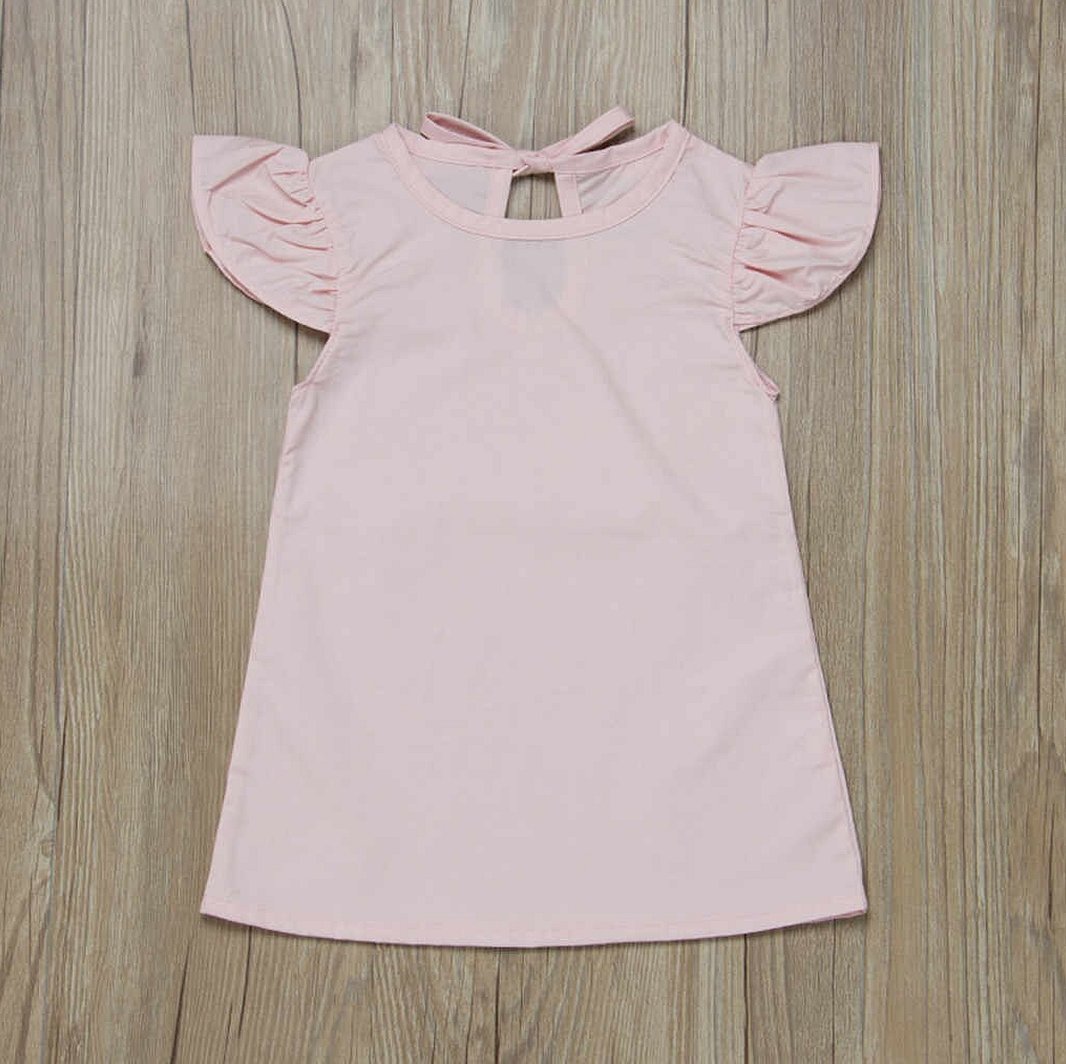
For children's dress
To make wing sleeves and decorate a children's dress with them, you should construct patterns of single-layer parts according to the instructions above. Then iron the edges 5 millimeters inside out and process them with a small dense zigzag. Trim off the excess. Stitch the opposite edges, setting the maximum stitch length. Pull the loose thread ends together and get the effect of wings. Then stitch the blanks to the dress from the inside, remove the tightening stitch and enjoy the result.
To decorate the finished product, you can use ready-made ideas from the Internet. For example, you can decorate the blanks with lace ribbon, beads, sequins. Sleeves decorated with machine embroidery at the top or ends of the product look beautiful. Blanks with stripes, fabric or knitted inserts look unusual. You can make things in the patchwork style or try knitting sleeves. You can decorate them with fabric paints, drawing an image of an animal or a flower.
Sewing instructions
To make wings on a dress, sundress, blouse or T-shirt, following the fifteenth century trend, transform the image and make it more feminine, you must first decide on the size and type of models. You also need to think about how they will be sewn on and decorated. Choose the right fabric. The most interesting models are long models that serve as a continuation of the dress and reach its very end.
Please note! Before cutting out the details, it is necessary to fold the fabric in half and mark the finished paper pattern. If seam allowances were not taken into account, it is necessary to add one or one and a half centimeters at this stage for the bottom hem. Then cut out several blanks with a fold and sew the details.
To sew the parts, you need to process the outer rounded edges using an overlock or a small zigzag stitch on a sewing machine. Iron the seam allowance. Run a narrow, dense line along the zigzag fold on the front side. Carefully trim the seam allowance close to the line from the back. Iron the seam allowances along the edge. Pin the edges to the straps, mark their ends on the sleeves. Sweep the strap ends and trim the seam allowances between the marked parts, leaving up to 5 millimeters. Overcast the seam allowances, sew the protruding edges using a dense zigzag stitch and place the sleeves on the straps again and stitch to the edge.
Finished products can be decorated. An interesting decoration option at the moment is decorating with beads, sequins, glitter and lace. The latter idea will be interestingly and beautifully implemented on multi-layer sleeves or on a turtleneck, emphasized by wings.
In general, creating wing sleeves is not difficult, you just need to choose the right fabric, prepare for work, create the right pattern and follow the instructions provided for sewing the product.


