To sew products, a seamstress must have skills in this area, as well as have an idea of the device she works with. There are malfunctions in which the owner needs the help of a master. However, often the search for, payment for a professional requires a lot of effort and time. In this case, it is recommended to have an idea of the features of the device with which the seamstress works.
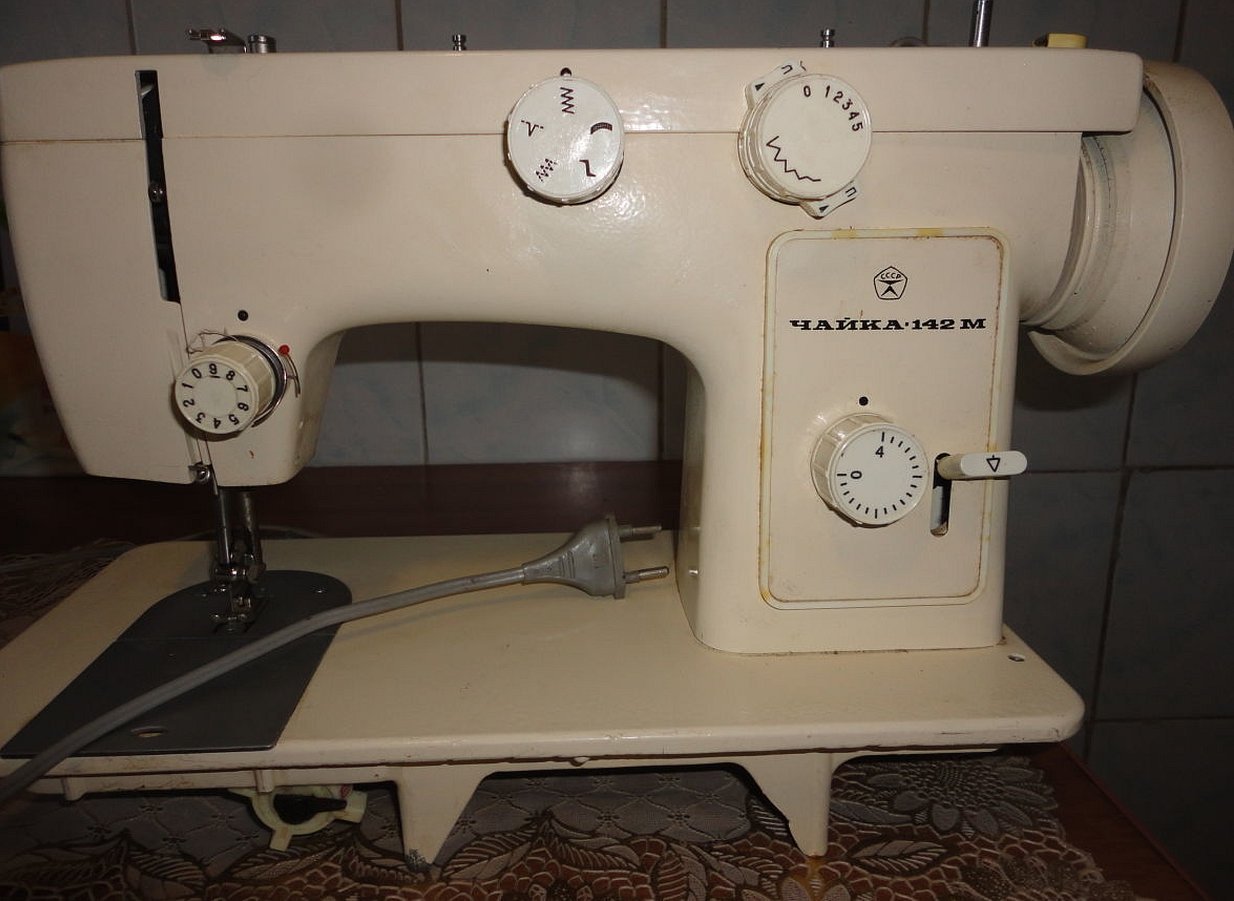
The structure and characteristics of the model Chaika 142 M
An analogue of this type of device is the Podolsk sewing machine. For this reason, all the information in the article can be used for both devices.
There are 4 types of machine control on the market: mechanical, electromechanical, electronic and computer. The device has an electromechanical control type. The model is also equipped with an additional reverse button, which allows you to perform the procedure in the opposite direction. The power consumed by the machine is 70 W. The device also has a lighting option during the sewing procedure, performs 19 sewing operations. Loops are made in the "semi-automatic" mode.
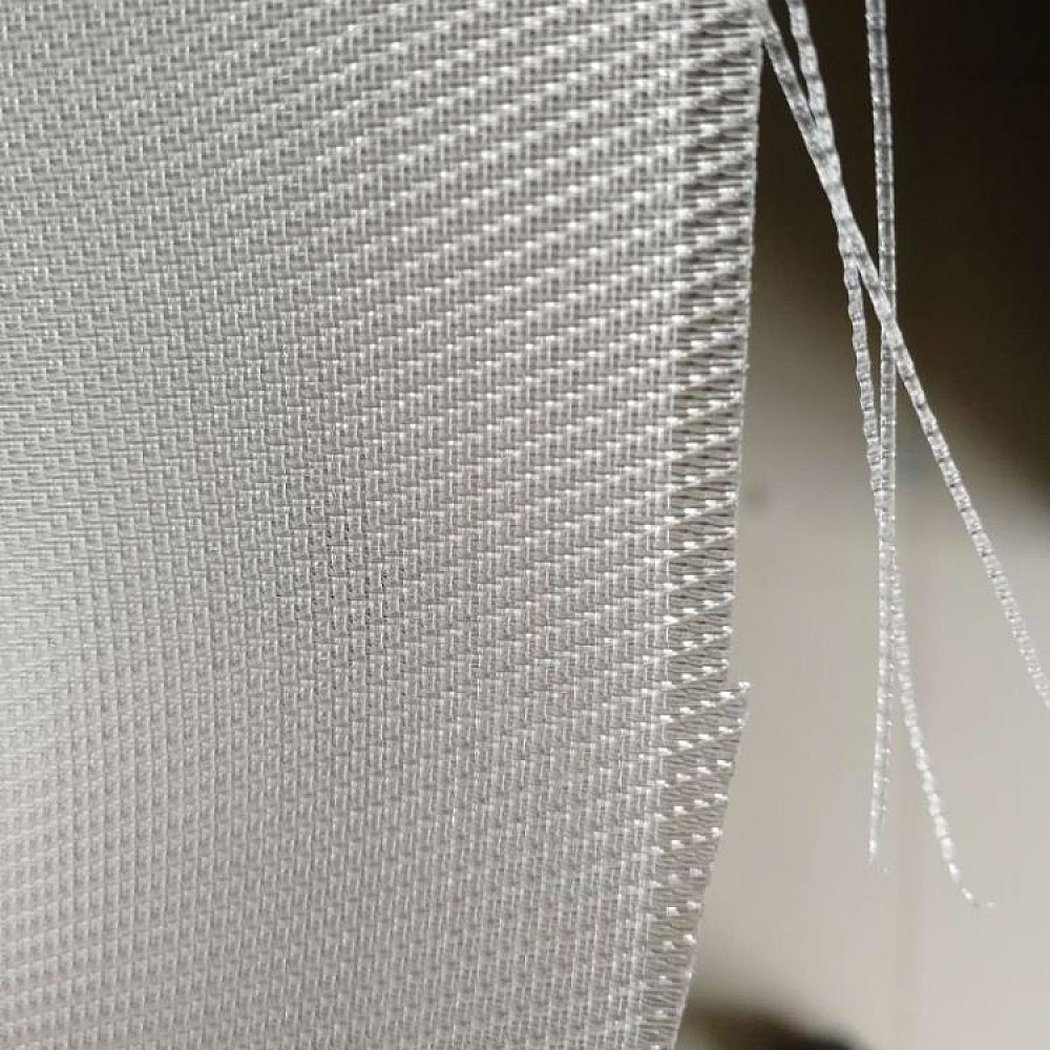
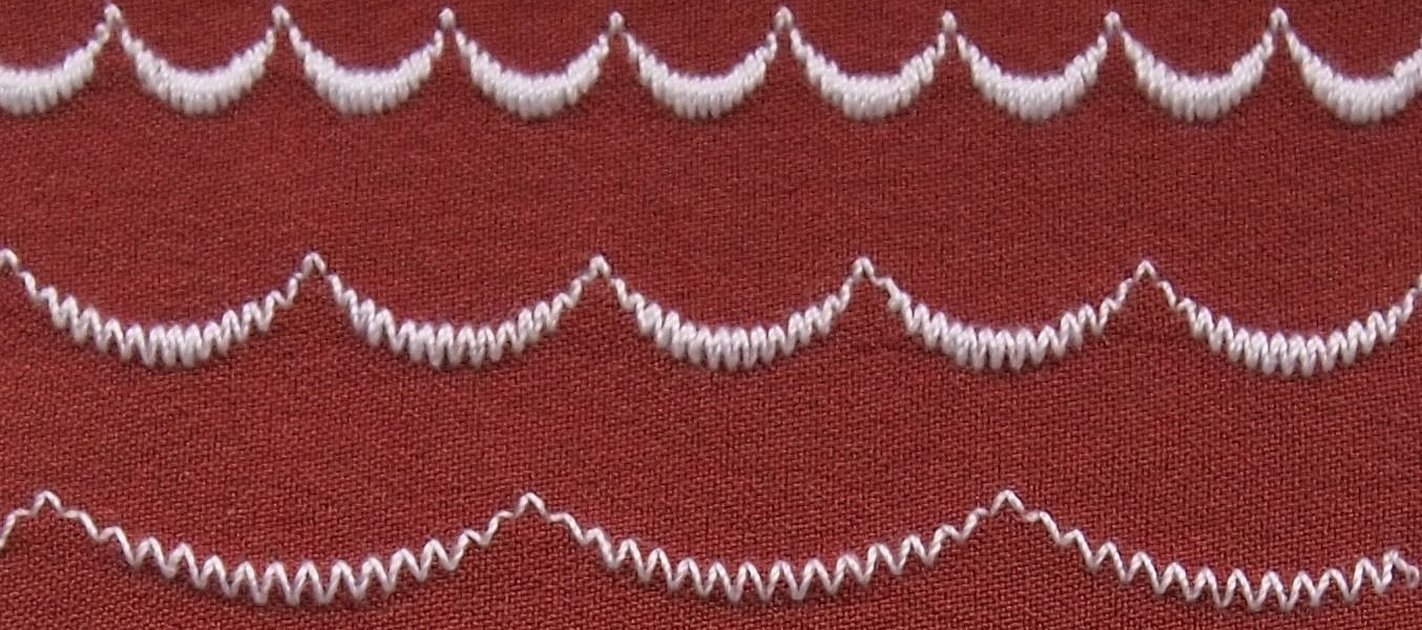
Stitch types:
- overcast;
- secret;
- elastic;
- elastic hidden.
The maximum stitch length is 4 mm, the width is 5 mm. The kit includes feet that allow you to sew in a zipper and also sew on a button.
The sewing machine Chaika 142 m consists of a sleeve platform, a compartment for accessories, a soft cover. The weight is 5.7 kg.
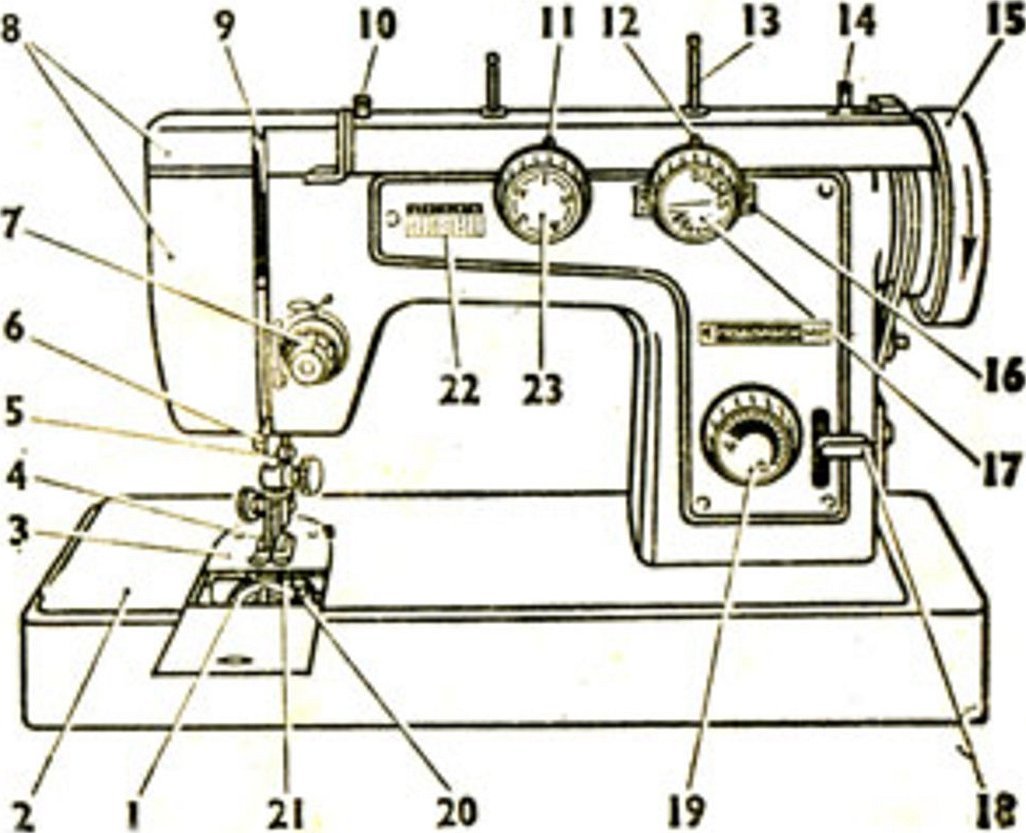
The cabinet has a rather complex design, so you should refer to the visual diagram presented above.
The device consists of the following parts:
- shuttle mechanism;
- sewing machine platforms;
- needle plate;
- presser foot;
- needle driver;
- lever that lifts the foot;
- upper thread tension adjustment mechanism;
- top cover, front view;
- thread pulling lever;
- a washer that tightens the upper part of the thread;
- stitch type indicator;
- zigzag width indicator;
- reel holding rod;
- winder;
- flywheel;
- needle shifting lever;
- zigzag pen;
- a lever that will help feed the fabric back;
- handle for adjusting stitch length;
- handle that regulates the comb lift;
- material engine - rack;
- panel with pictures;
- Handle for switching the copy unit.
Fabrics, threads and needles
For this sewing machine model, needle No. 70, thread No. 65 are especially suitable for a thin layer of silk. Also, bed sheets, calico, chintz, satin, types of underwear fabrics, needle No. 80, thread No. 65 are subject to its influence.
Please note! For fabrics made of cotton, flannel, wool, it is recommended to use a needle No. 90, thread No. 50.
For example, wool suits have a needle limit of #100. Also, for thick wool fabrics, use a cloth thread and a #110 needle.
To work, the needle is installed in the holder, which has an upper position, then the mechanism moves up to the stop, after which it is fixed with a screw. In this case, the flat side is facing away from the owner.
Operating instructions
Only after a detailed study of the operating instructions will the user be able to understand what to do if a problem occurs.
Important! It is recommended to read the instructions before using the device.
Since the machine is made in Russia, in the city of Podolsk, the entire instruction is written in Russian, which is very convenient for a detailed study of the machine's features. After studying, the seamstress will be able to lubricate the parts and replace the broken mechanism on her own.
Technology of threading the upper and lower threads
To thread the upper thread, you need to follow the steps below:
- The reel rod is pulled upwards from the sleeve until it stops.
- Return the thread attraction eye to its original position by turning the fly ring.
- Then the seamstress needs to raise the presser foot.
- The spool of thread is placed on the rod.
- Pass the thread through the hole in the plastic guide through the washers to adjust the tension.
- Thread through the spring eye.
- The thread is inserted under the hook upwards, using the hole for attracting the thread.
- Release the thread down.
- Thread into the thread guide on the needle.
- Pass through the eye of the needle from right to left.
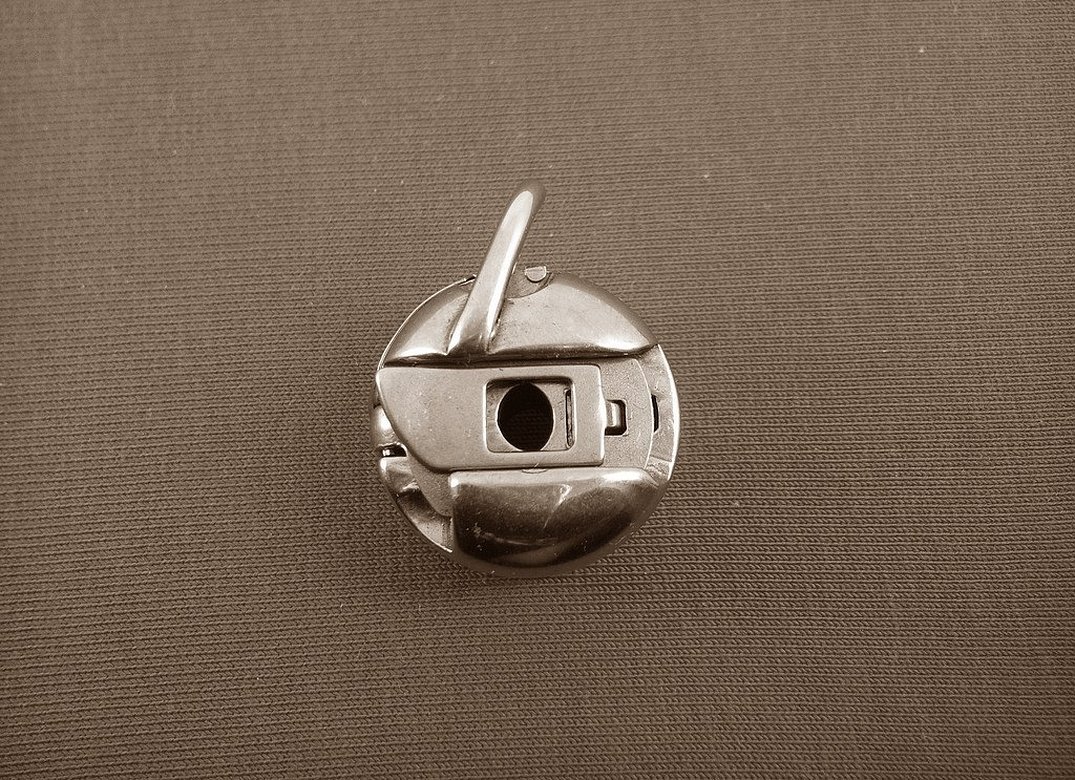
Setting for threading the lower thread:
- Remove the bobbin case by turning the handwheel to set the needle in the up position.
- Move the separating plate aside.
- Remove the mechanism.
- Insert the thread.
- Return the device to its place.
- By turning the flywheel, bring the lower thread up.
Winding thread onto a bobbin
The device provides for mandatory winding of threads onto a bobbin using a sewing machine and a special mechanism.
Please note! When winding manually, various defects appear on the line.
When performing the procedure, the flywheel must be set to the idle position.
Instructions:
- Loosen the operating screw.
- Place the bobbin on the winder, the spring will enter the slot.
- Place the reel on the rod.
- Thread the thread through the tension washers.
- Manually wind 3-4 turns onto the bobbin.
- The winder is pressed against the flywheel.
- Wind the thread by rotating the drive.
After the procedure is completed, the rubber ring will not touch the winder.
Important! Before removing the bobbin, the mechanism is moved to the left.
- Place the bobbin into the cap.
- The thread is placed under the spring.
- Then leave 10-15 centimeters of thread in a free position.
- Insert the mechanism under the plate.
Method of control of the sewing machine "Chaika"
When sewing with a straight line, it is recommended to connect the number 0 with 17, located on the handle, the indicator, respectively, the mechanism is in any convenient location. The stitch length is set by turning the handle, aligning the desired numbers with the panel indicators.
By pressing the lever down, the fabric will be fixed and directed back. The height is formed by the regulator. It is correct to use the regulator after removing the latch.
For thick material it is recommended to set it to "H", for thin material - "Ш". When darning, select the "B" mark. In this case, the letters are visible from above.
The transition from zigzag, decorative, target stitch is achieved by lightly pressing, turning, and aligning the desired numbers.
A small step is used for finishing the product. You can also set the option of shifting the line for adding zippers, sewing out loops.
If you turn the handle all the way to the right or left, the needle will move to the corresponding position.
Important! Before sewing, you need to make several test stitches on the remains of the desired fabric, while adjusting the pitch and needle offset.
When sewing a product from thin material, you need to pull the material by the foot - this will help to avoid the appearance of tightened seams.
Having finished sewing, the seamstress should raise the foot, pull the material away from herself, cut the thread, leaving a tail of 9-10 cm.

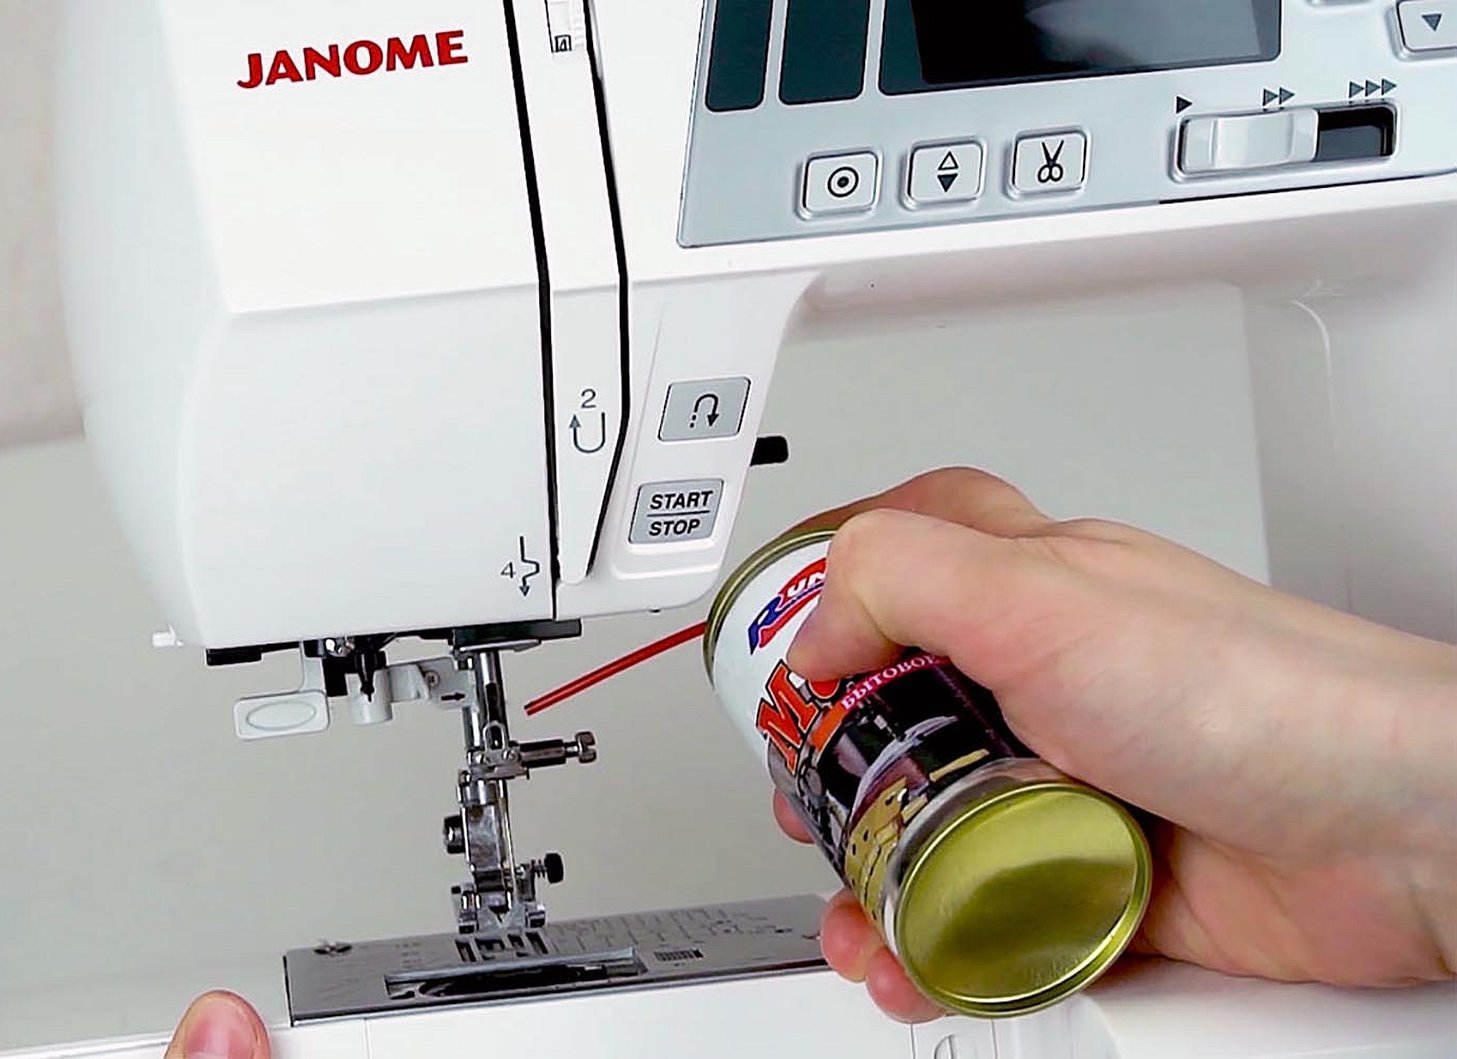
Maintenance and lubrication during operation
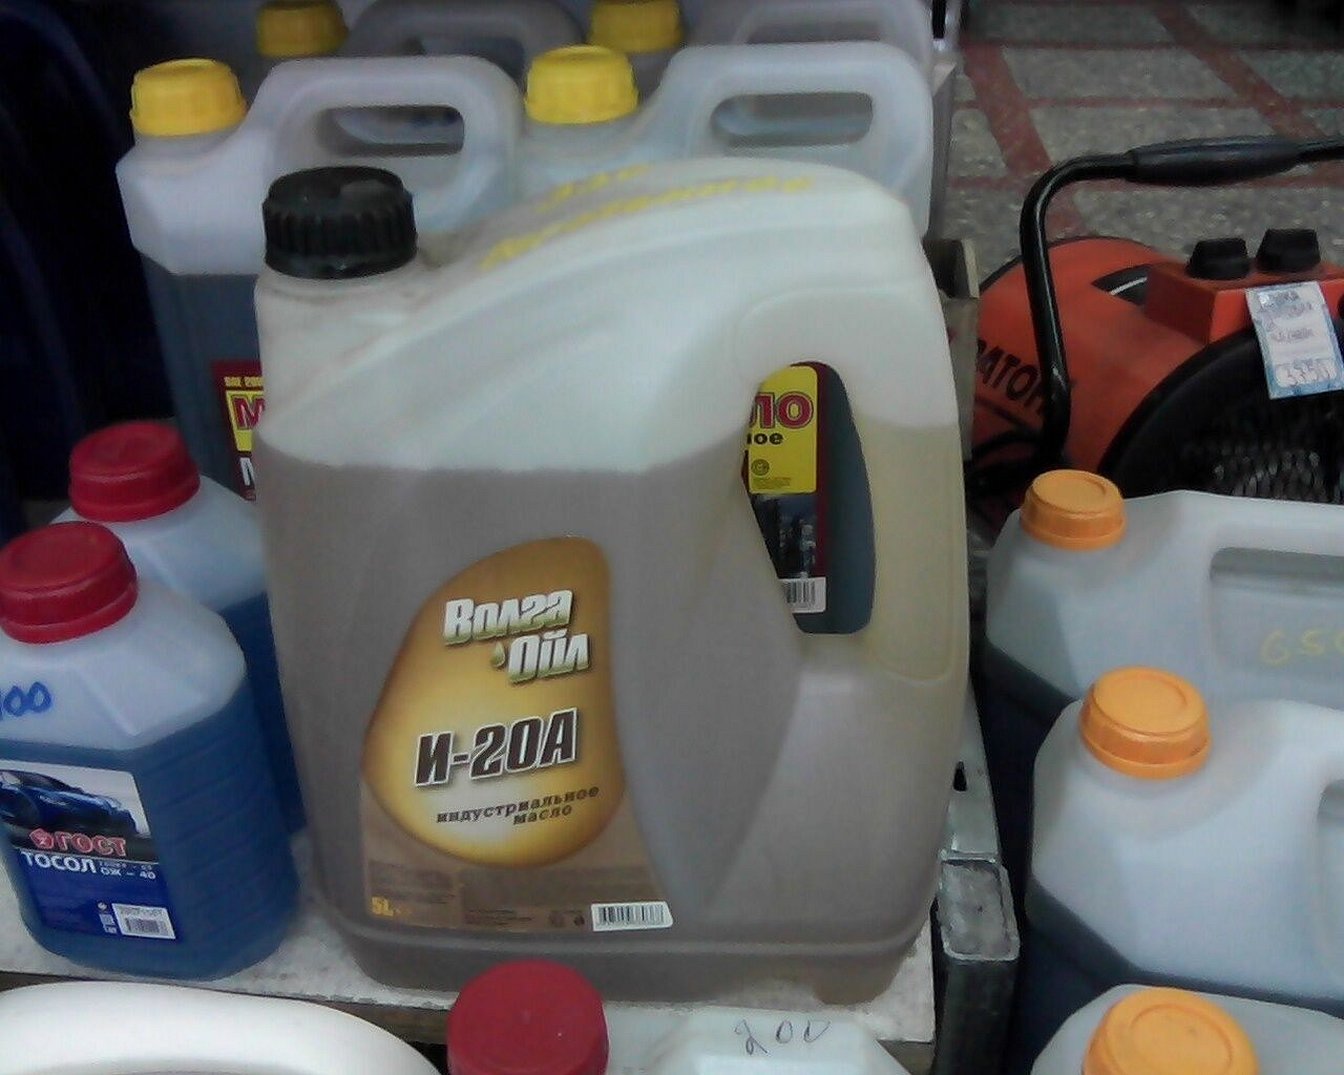
In order for the machine to serve for several years without problems, it is recommended to properly and timely care for it. Lubricating oil — I-20A GOST 20799-75.
The machine may move with difficulty, break down - this happens due to the presence of dirt on the shuttle. The path may be clogged with a piece of thread, fabric fluff, dust.
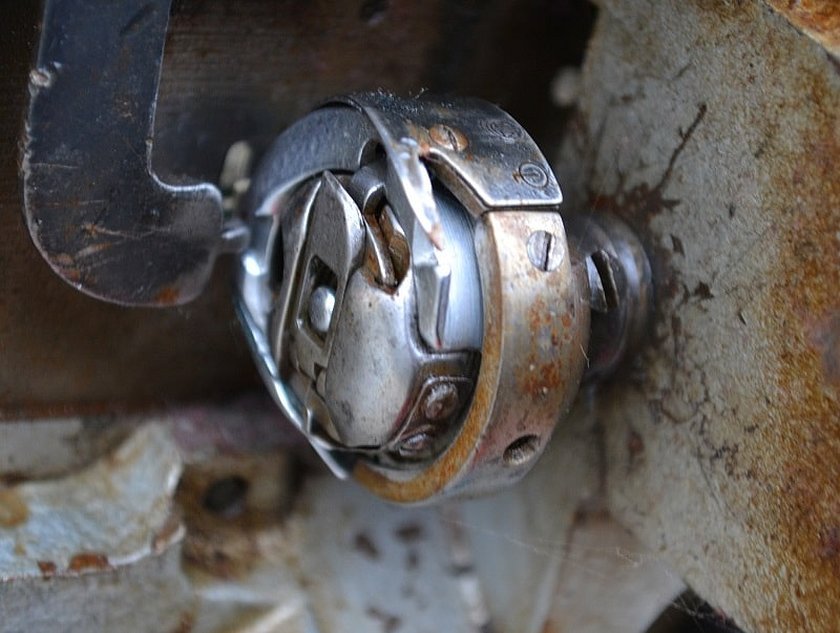
It is recommended to clean the shuttle after inserting the needle at the top. Then pull out the bobbin with the cap, remove the shuttle. The nest part is cleaned from dust with a special brush. Do not use an object with a metal coating to clean the mechanism. You can also lubricate the winders with a couple of drops of oil.
Thus, the article examines in detail the sewing machine Chaika 142m basic information related to the functioning, operation of the device. With constant care, adjustment of parameters, the buyer will not need to contact the support service, the company's management for repairs.


