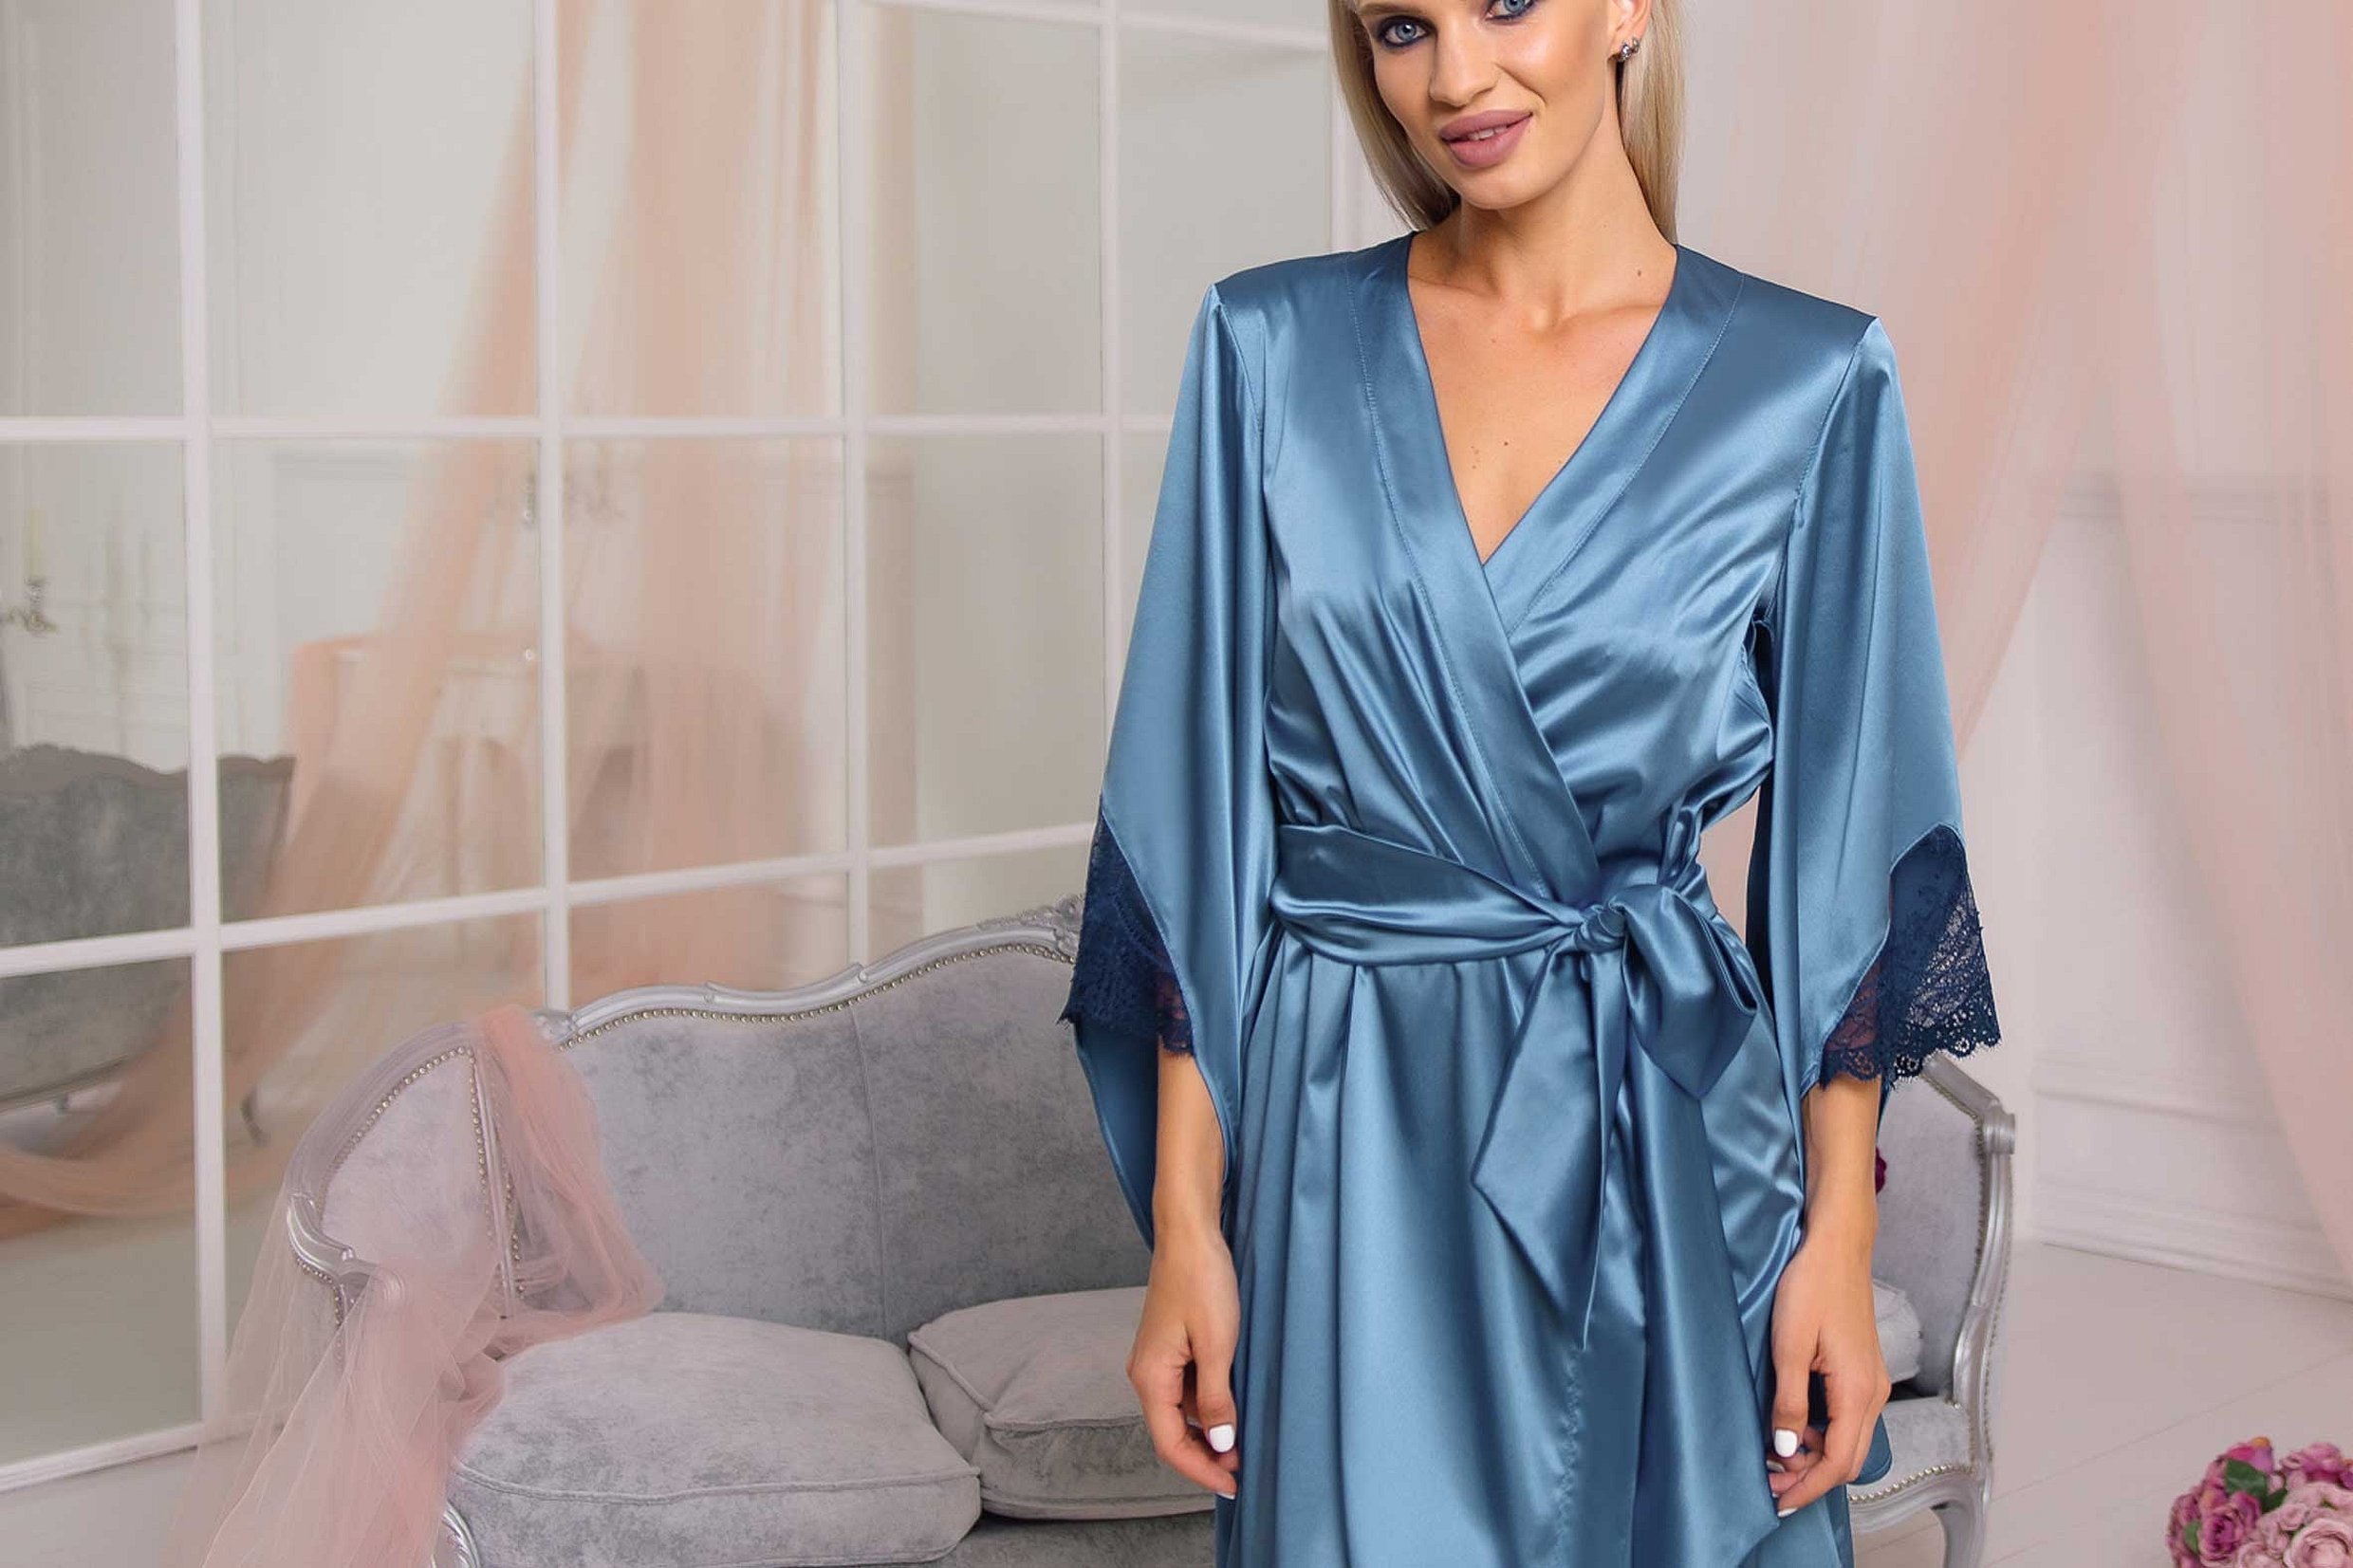
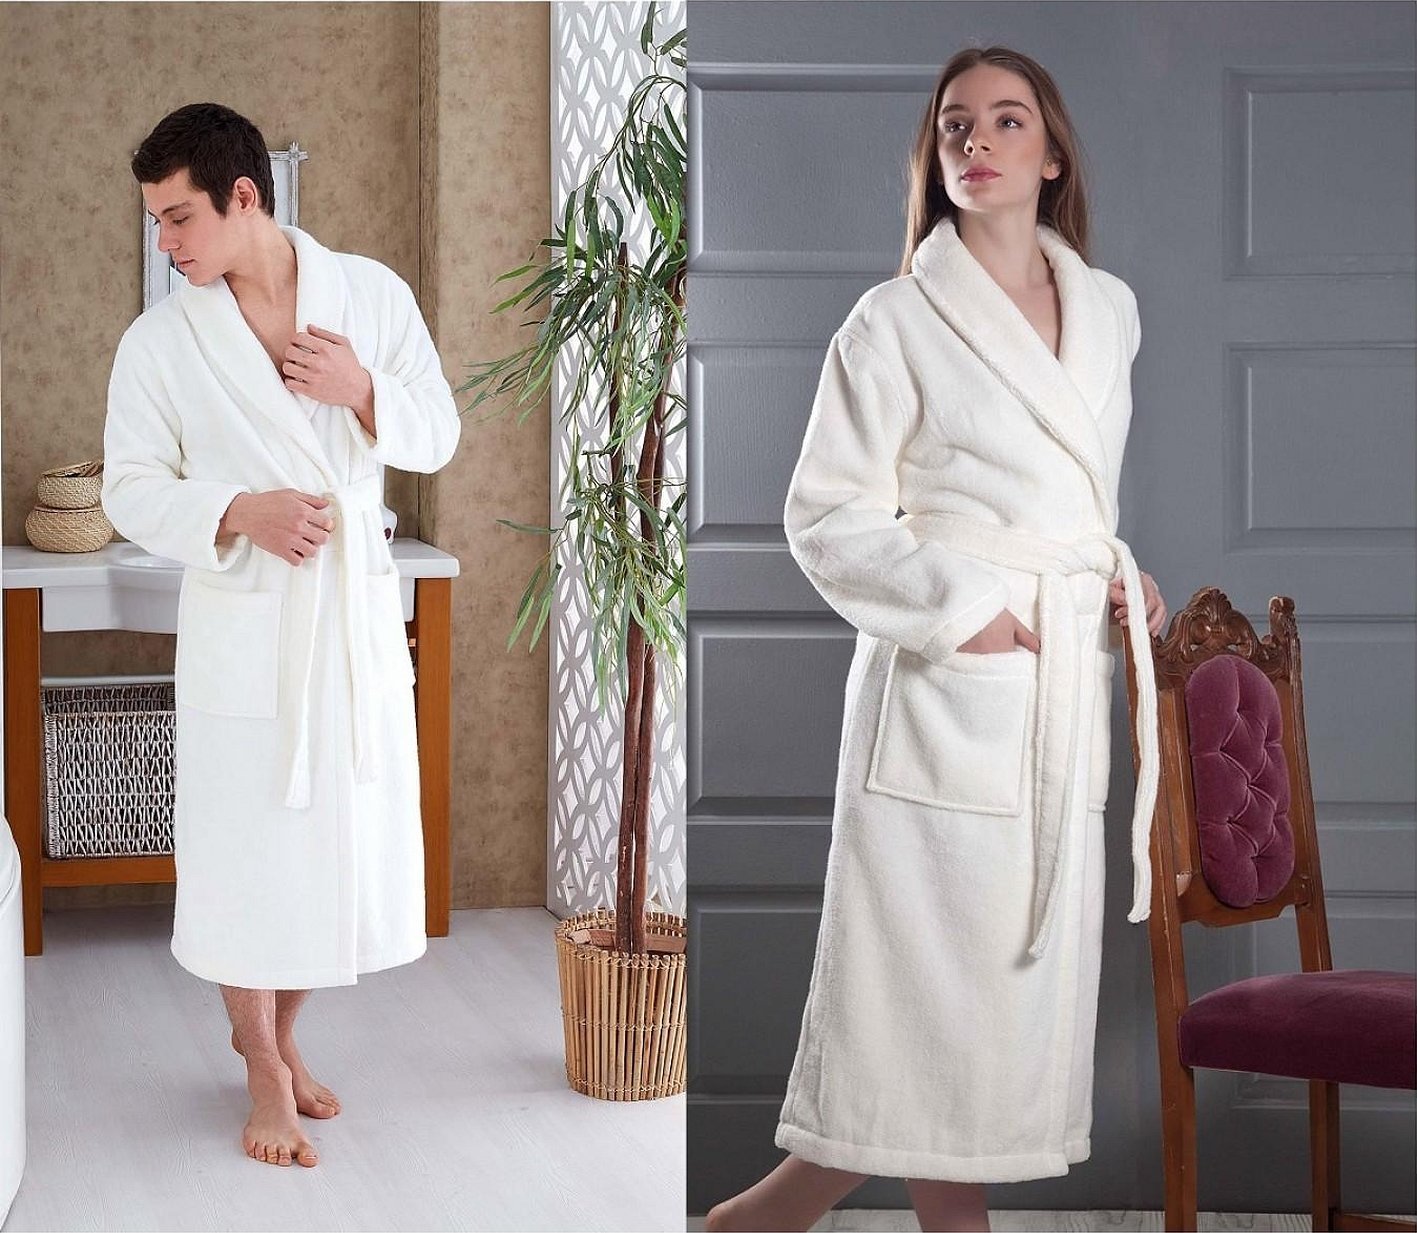
Good house robes are very expensive, many needlewomen want to save money by sewing them themselves. This article tells how to sew a wrap robe, and also presents several patterns.
- Principles of pattern construction
- Back
- Sleeve
- Before
- Collar
- Taking measurements for a robe
- Fabric calculation
- We apply measurements to the fabric
- Enlargement of the pattern
- How to sew a robe
- Sewing on a pocket
- Robe without a pattern from a terry sheet
- Building the back
- Pattern of the front part of the robe
- Sweeping
Principles of pattern construction
Any work begins with the choice of fabric. For dressing gowns in the summer-spring season, it is advisable to take materials that are very light and do not stick to the body. Silk is perfect, but if a person has no experience in sewing products, it is better not to work with it. The easiest option is cotton fabrics. For the winter season, it is better to choose warm, terry materials. They are much more difficult to sew, you will definitely need a sewing machine and a little experience in needlework.
The hardest thing is to find patterns for large sizes of robes. It is important to sew loose products for any figure, as robes should not restrict movement and fit tightly to the body.
Please note! A good solution for plump ladies would be to create a basic drawing, which will be used to sew almost any item.

By changing the length of the element and moving the dart to the neck line, you can get any product.
Back
It is necessary to put the top A, measure from it the calculated value of 1⁄2 (OB + 6 cm). Then put point B. Measure the line down from point A and put point C and D, thereby completing the rectangle.
For rolling out, make AB = 4 cm and AC = 1/4 OS.
From point B draw 4 cm down. Make shoulder line НК. The back pattern is complete, it goes through points АВСДК.
Sleeve
From the top B, measure the line VD horizontally to the right. Its sum can be equal to AB, 2/3 AB or 3⁄2 AB. It depends on the person's preferences.
From point D, put down 1/2 AB and mark Y. Finish the rectangle and mark O. Increase the shoulder segment to the intersection with point DU. Put segment G. The shoulder pattern is ready.
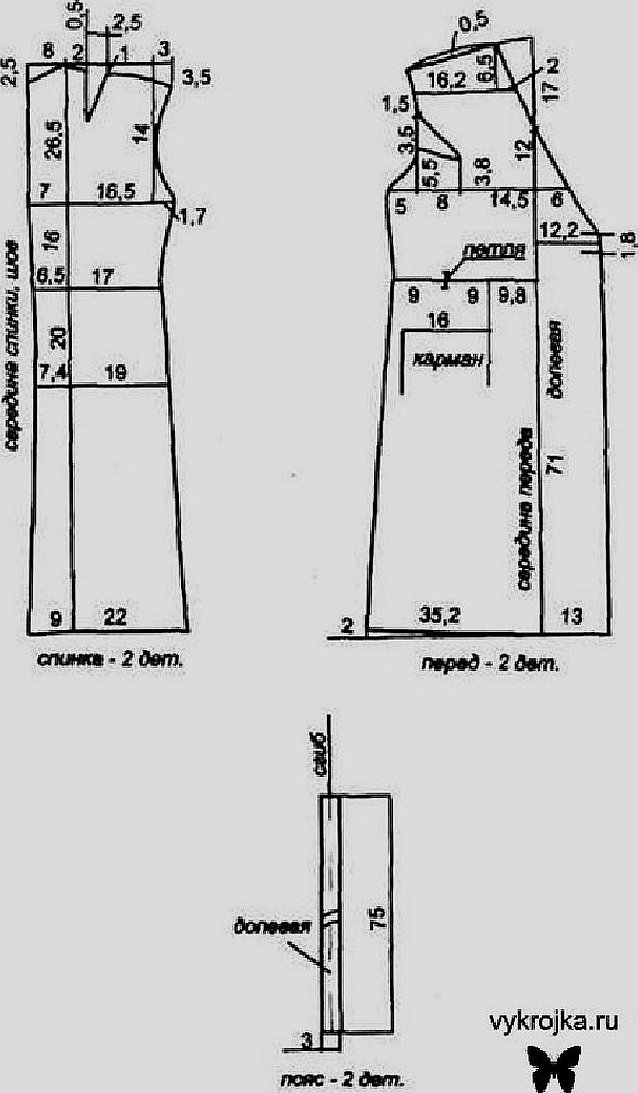
Before
From the top A draw a segment DB down and mark a point P. From it make a horizontal line to the left. On it put off a value equal to the length of the segment AB and put the value Ж.
From it, drop 8 cm down and mark point M. Draw a pattern line for the front rollout. From M, draw a line to P. And measure 4 cm from it. The front of the robe is ready.
Collar
To sew a shawl-style collar, it is necessary to measure the total length of segments IV and SI.
Measure the resulting length horizontally and put A and B.
Then draw AB = 15 cm; BG = 20 cm; GD = 9 cm.
You can choose any collars, for example, a shawl or a placket. Here the choice depends on the person's preferences, you can refuse it altogether.
The drawings of the main elements of the robe are ready.

Taking measurements for a robe
To make the correct pattern, you need to take all the necessary measurements, namely:
- Neck circumference;
- Chest circumference;
- Hip circumference;
- Waist circumference;
- Shoulder girth;
- Sleeve size;
- Length of robe;
- Back width;
To measure, you need to use an elastic thread or a tape measure. You can't stretch it completely, you need to remember about the allowance of 5-8 cm.
Fabric calculation
When calculating the fabric, you need to remember that wrap-around robes are made with stitched or one-piece hems.
Therefore, the material consumption will be greater than for a sundress with a front seam made according to the same pattern.
We apply measurements to the fabric
Step-by-step process of applying measurements to the material:
- Fold the material in half and make a fold, this will be the center of the back;
- Set aside ½ of the largest volume that is from the fold and make allowances of 8 cm. Draw a segment parallel to the fold, you get the center of the shelf;
- Draw a shoulder line from the top edge. Make a neckline for the back. Depth 5 cm, width 8 cm;
- From this cutout make a shoulder measuring 10 cm and with a bevel of 2 cm;
- Draw a measurement down from the back to the waist and mark it;
- Increase the waist line by 10 cm and divide the entire width of the drawing in half.
Enlargement of the pattern
To enlarge a simple wrap robe pattern, you need to follow the rules:
- Make horizontal lines along the front and back, sleeves, and vertical lines along the chest;
- Cut along the lines;
- Add 1 cm to each piece;
- Add 0.5 cm to the side elements;
- Trace new pattern lines;
- Trim.
As a result, we got 3 cm extra to the product, you can do more, it depends on the size of the person.
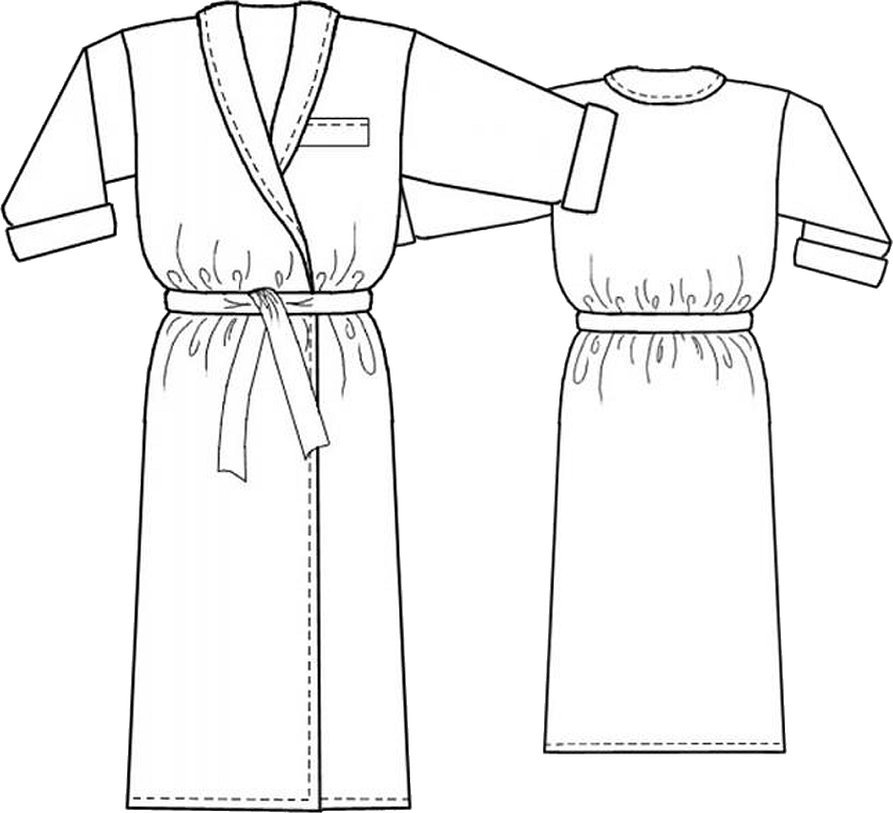
How to sew a robe
The pattern of a robe with wrap-over sleeves is made in several stages. Make snares along the contours of the product drawing, along the center of the hip, control marks and contours of the pocket entrance, make lining snares in the center of the back.
Next, you need to start basting the upper and lower side elements of the front along the contours of the pocket entrance. With the outer sides inward, sew the side and central parts of the front of the product along the relief contour so that their points coincide.
Sew the shoulder and waist darts on the back, and then the various collar cuts. Sew the side cuts and try on the robe.
During the fitting process, you need to check the collar of the garment, trim it if necessary, and hem the facings.
Sewing on a pocket
The upper and lower elements are marked along the contour of the pocket entrance. To process the lower edge, the facing should be placed with the outer sides facing each other. Sew the edge to the edge and make a seam measuring 1 cm.
Fold the facing to the inside, make a seam to form a border from the bottom element measuring 0.5 cm and iron well.
Next, you need to lay a finishing line at a distance of 2 cm from the fold of the element.
Sew the upper and lower side elements of the product along the contours of the pocket entrance.
Grind the middle element of the drawing from the side along the contours of the relief, make an overcast of the cut and iron towards the center of the shelf. Make a finishing seam along the relief.
Sew and overcast all edges of the product. Next, you need to process the collar and sides of the product. Use facing to make sleeves and sew them into the armholes.
Now you can try on the robe for testing.
The hem of the garment should be hemmed as desired and buttons should be sewn on.
The robe can be with ties or a zipper, it is more convenient to use ties. They can be made of the same fabric or a contrasting color.
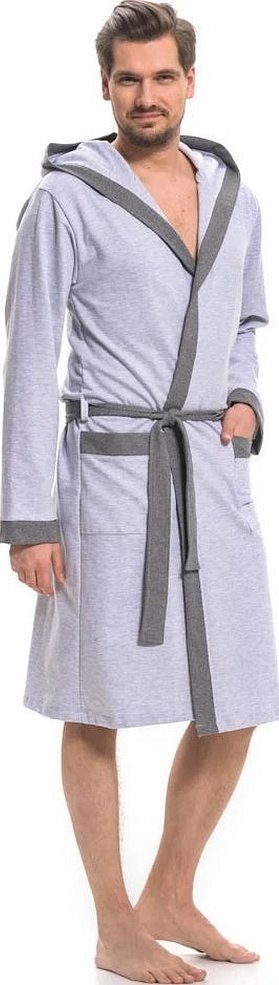
Robe without a pattern from a terry sheet
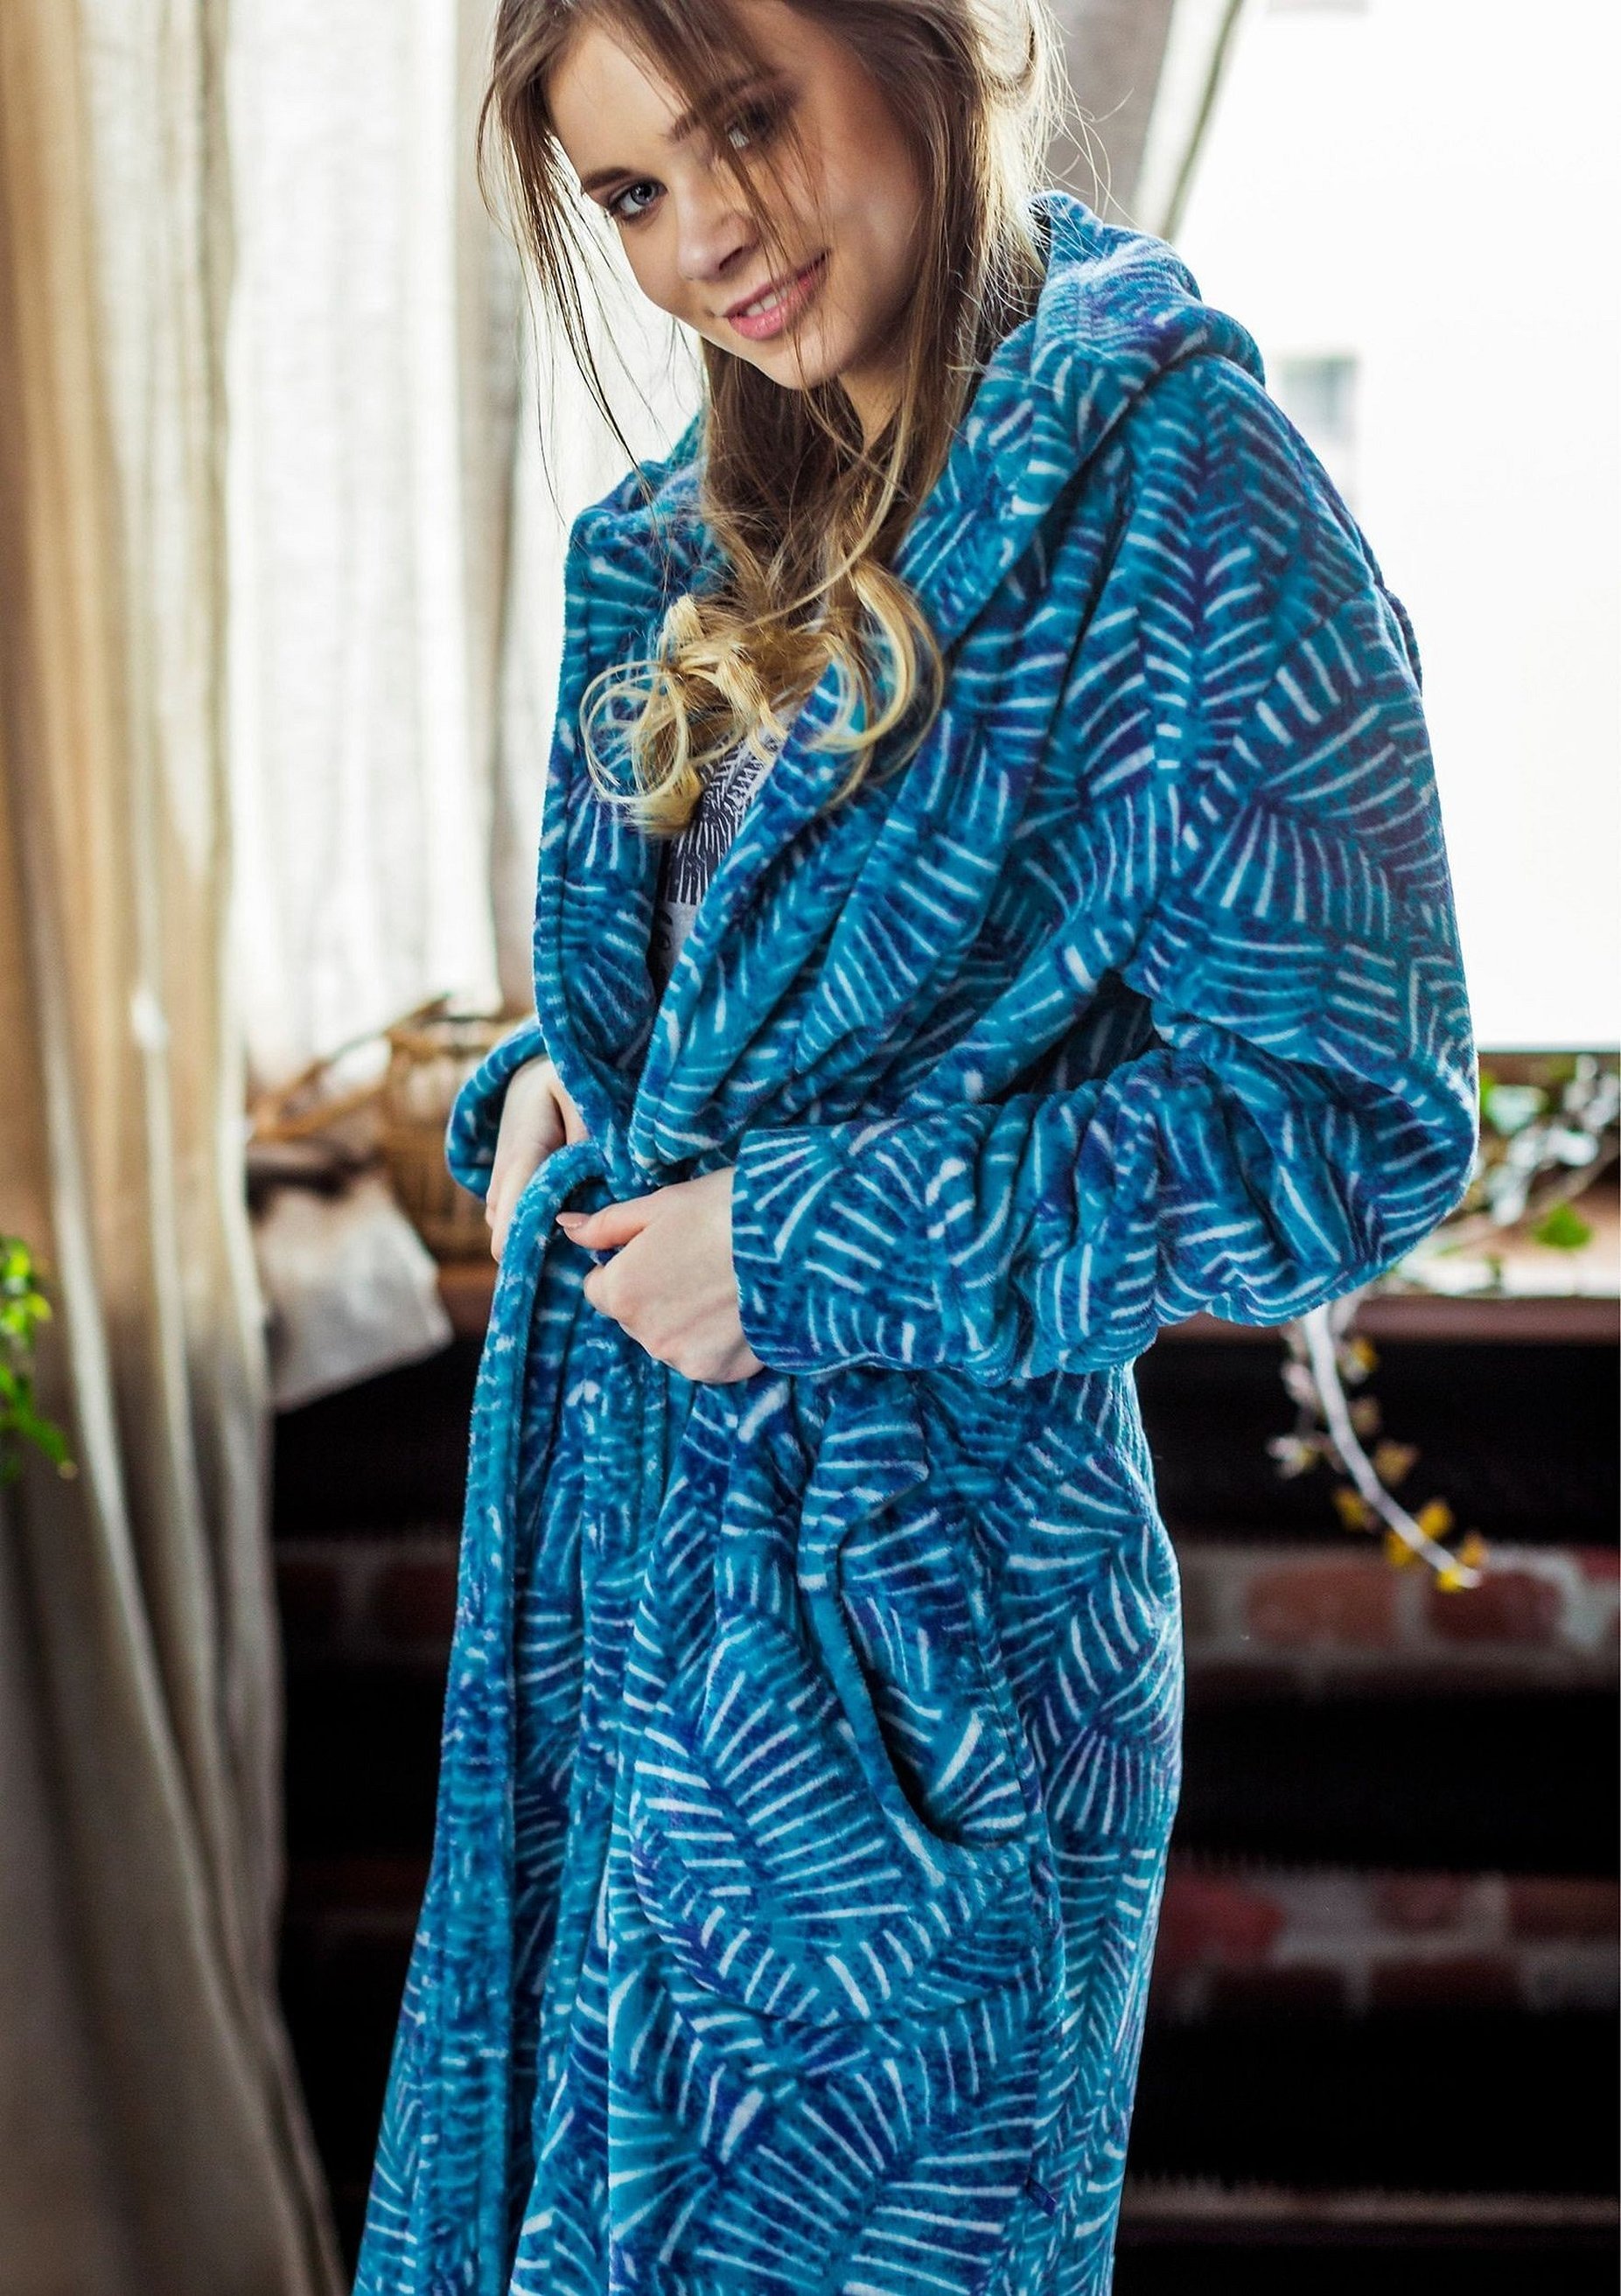
A classic terry sheet can be used to sew a short bathrobe with a hood. There is no excess fabric left when sewing. The sizes will be limited by the size of a person's hips.
Building the back
The construction of the back in this product is one of the easiest. Below on the pattern are the places of the back marks.
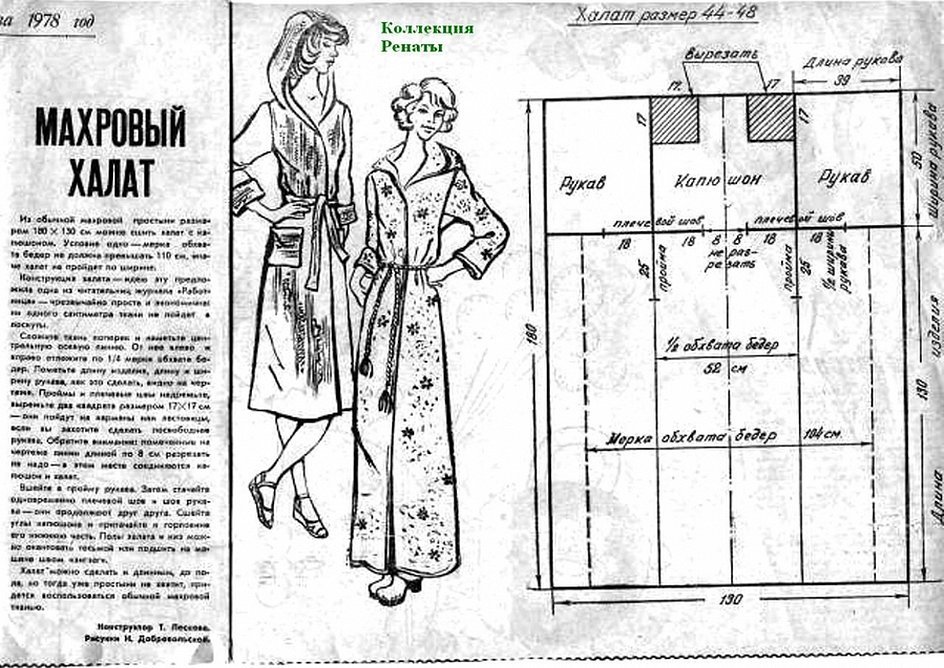
Pattern of the front part of the robe
Fold the material in half and measure the center line. From it, on both sides, put aside ½ of the hip measurements. Measure the length of the robe, the length and width of the sleeves, the sketch shows how to do this correctly.
Attention! The armholes and shoulder cuts need to be cut and made into two 16×16 squares - these will be the pockets on the front, you can make more of them, it all depends on personal preference.
Sweeping
Step-by-step sewing of the product:
- Make markings on the sheet as on the pattern;
- A long robe requires additional material;
- The grey colour in the drawing is the pockets of the product;
- The line that connects the hood to the main element does not need to be cut;
- Cut off the areas that will be the sleeves;
- Sew them into the armholes;
- Process the shoulder and side cuts;
- Sew the sides of the hood, sew the front side element to the neck;
- Decorate the corners with bias binding;
- Iron well and try on.
It is important to remember that terry dressing gowns are quite capricious in care. They are voluminous and have a large pile, so it is advisable to wash them in a large amount of water. It is forbidden to put it in the machine together with other things, terry fabrics should be washed separately. The material absorbs a lot of liquids, so it is better to use liquid powders for washing, which will then be easy to wash out of the pile.
If hand washing is performed, rings and bracelets should be removed from hands, as the fabric is very delicate under the influence of water, so catching it with a ring will create a hole. Rinse three to four times until the water becomes clear.
Spinning in a washing machine is prohibited, as it can damage the pile of the product. The optimal water temperature is 50 degrees. The use of conditioners is allowed, but only for silk.
The drying process is also very difficult. Avoid direct sunlight, do not hang the robe on a rope, as it will deform greatly under the weight of the water. It is better to simply wring it out with your hands and lay it out on a surface.
In conclusion, it should be noted that sewing a dressing gown is not always an easy task. If you take measurements correctly, follow all the instructions on the drawings, then it is quite possible to independently and quickly make a beautiful product, even for a novice tailor. It is important to watch several master classes or lessons on sewing wrap dressing gowns before work. According to the drawings presented above, you can also sew different clothes, for example, dresses or sundresses.


