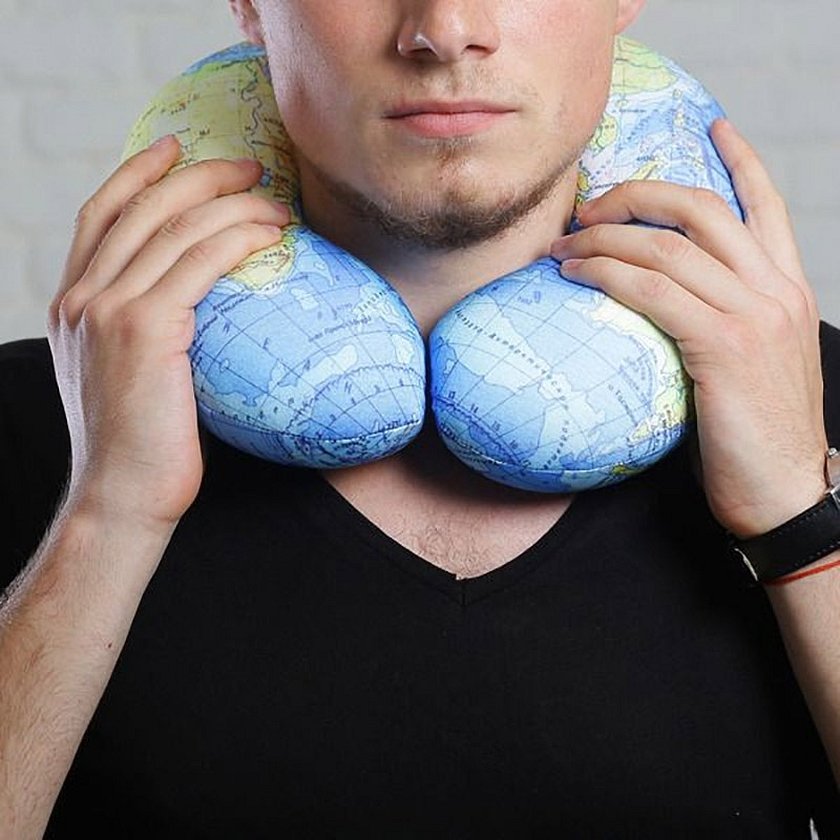
To make car travel more comfortable and interesting for children, you can make special pillows. A unique device can be made independently, using completely different design options of shapes and sizes. It is very easy to make a travel neck pillow with your own hands, the patterns of which can represent diverse options. If everything is done correctly, the car will become a cozy device for traveling.
Necessary materials and tools
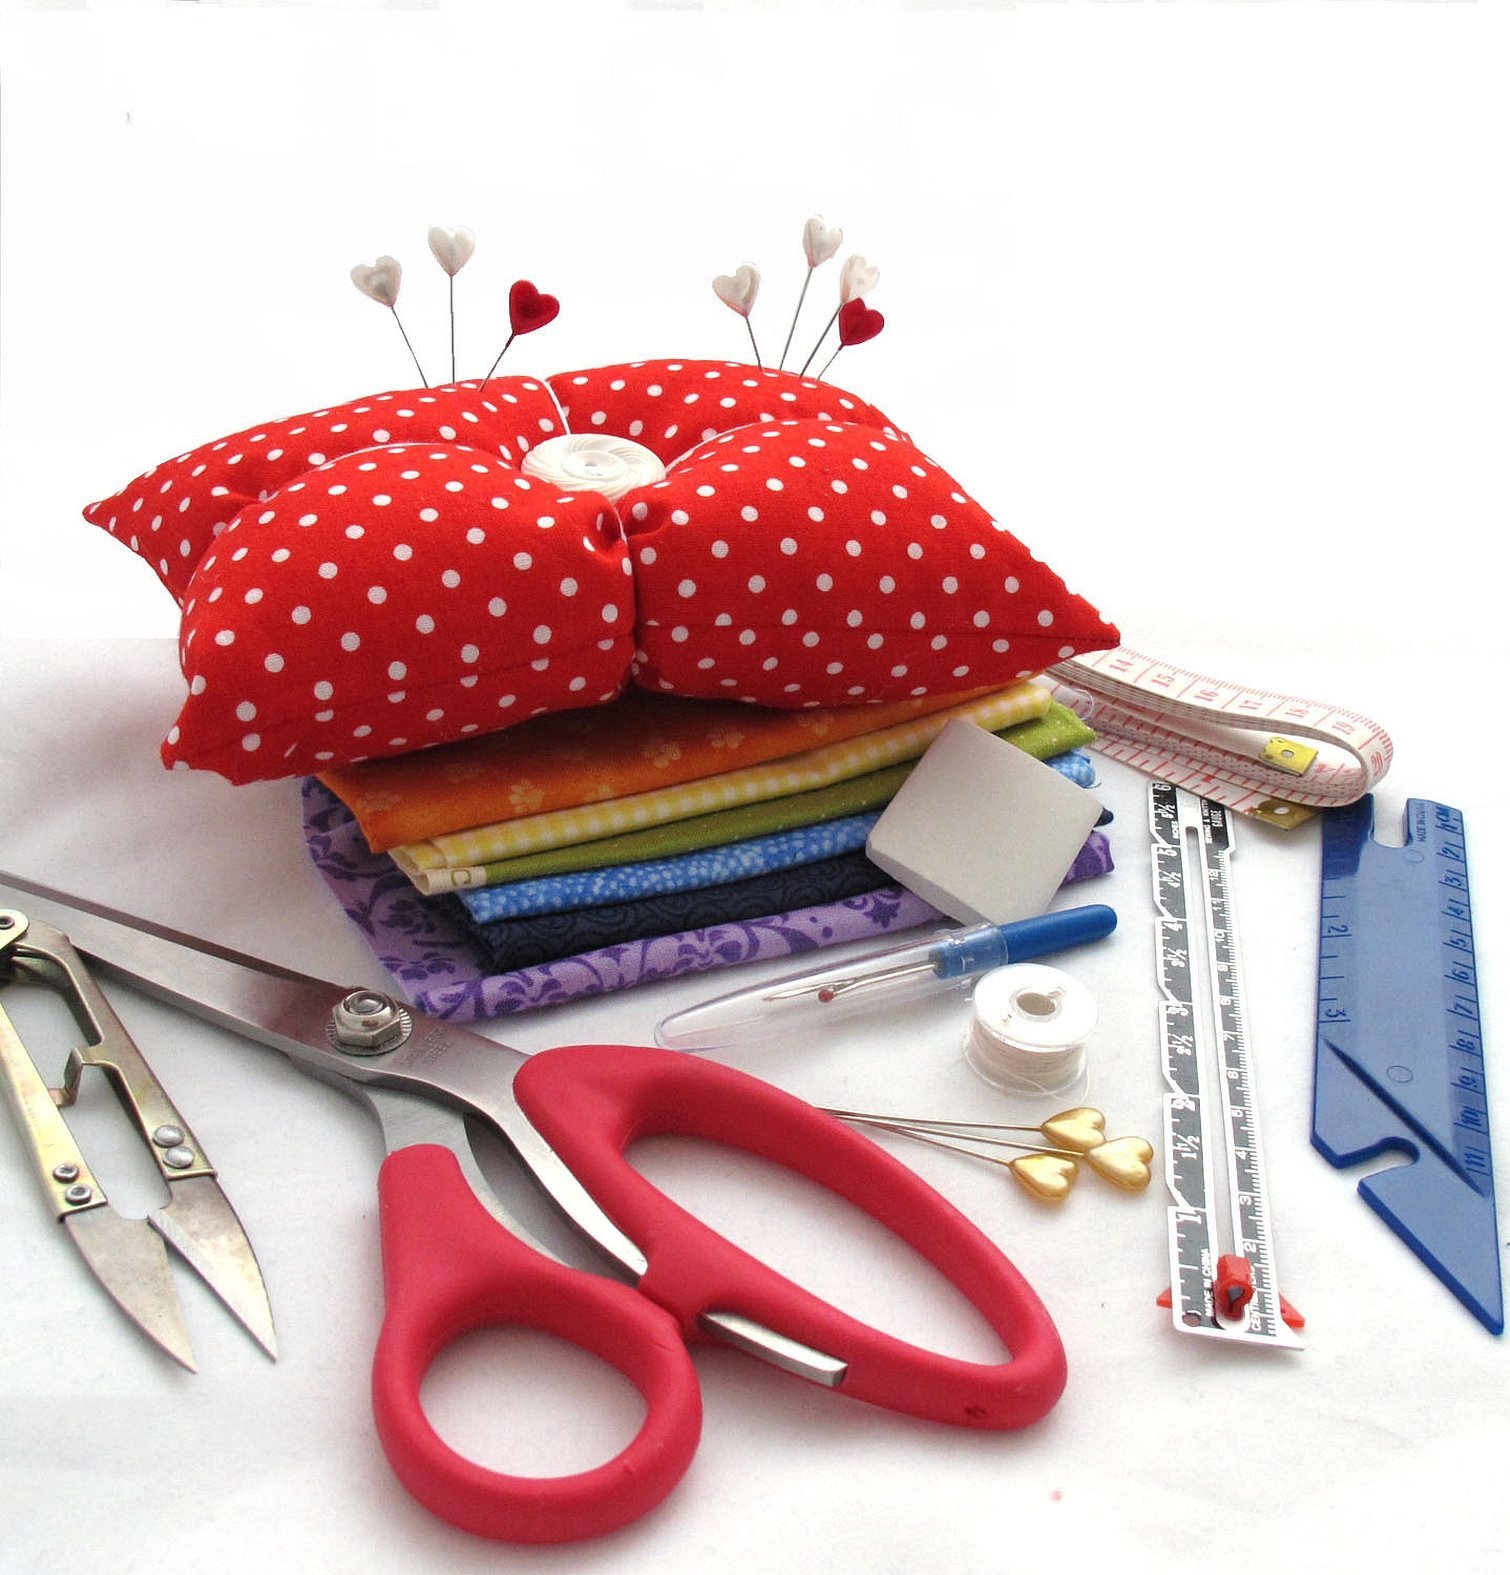
A travel pillow, the pattern of which is simple or complex, is made according to the same principle. Therefore, the approximate set of tools and materials is basic:
- 2 types of fabric. The main cover for the filler will be made from a simpler material. A removable cover is formed from decorative textiles, which can be washed or replaced with another.
- Filler. It can be synthetic padding, holofiber, foam rubber, helium balloons or buckwheat husk. It is strictly forbidden to use cotton wool, fluff, feathers.
- Additionally, you will need a template or sketch. For this, you will need paper, chalk, pencil, safety pins and a ruler. Tools are needed for the pattern.
- Additionally, you may need fittings for fasteners and decorations - zippers, buttons, ribbons, lace and other material options.
- Scissors, a needle, and threads are required for basting the finished parts. To ensure that the seams are even and neat, it is advisable to do the finishing stitching on a machine.
Please note! It is better to choose natural fabrics and materials for filling. This will help to avoid allergic reactions and irritations.
If you have all these tools and materials at hand, you can sew a product of any complexity and configuration.
Choosing the shape and size of the pillow
In order for the product to be comfortable to use and help relax the neck, rather than strain it, it is worth taking a very responsible approach to choosing the shape of the pillow. An important component is the correct size. In order not to make a mistake in choosing the parameters, you need to consider the following factors:
- First, you need to decide who the pillow is intended for – a child, a driver, or an adult passenger.
- The dimensions and shape of the seat where the user will mostly sit are taken into account. It is necessary to determine the width and height of the required part of the back.
- Then a more specific version of the shape is produced: a bone, a bolster, a moon, a three-dimensional rectangle.
- If the product will only support the neck, then you need to determine the size, which will determine the volume of the neck, its length.
Additional information! The size of the product is also determined by anatomical needs.
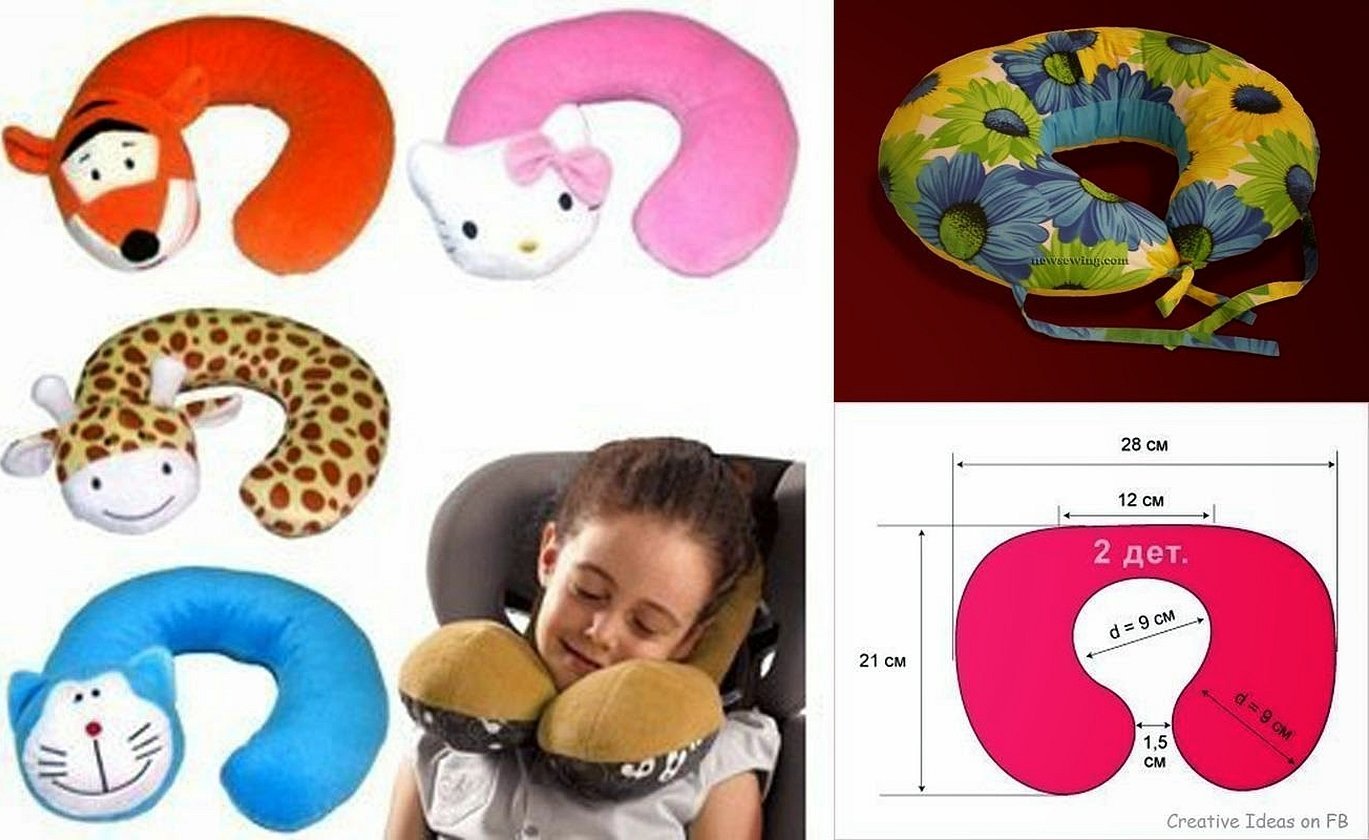
To get inspired regarding the choice of decorative finish, you can look at ready-made sketches that are offered by specialized stores. If this is a children's option, then various animals will be relevant.
Pattern of a miracle pillow
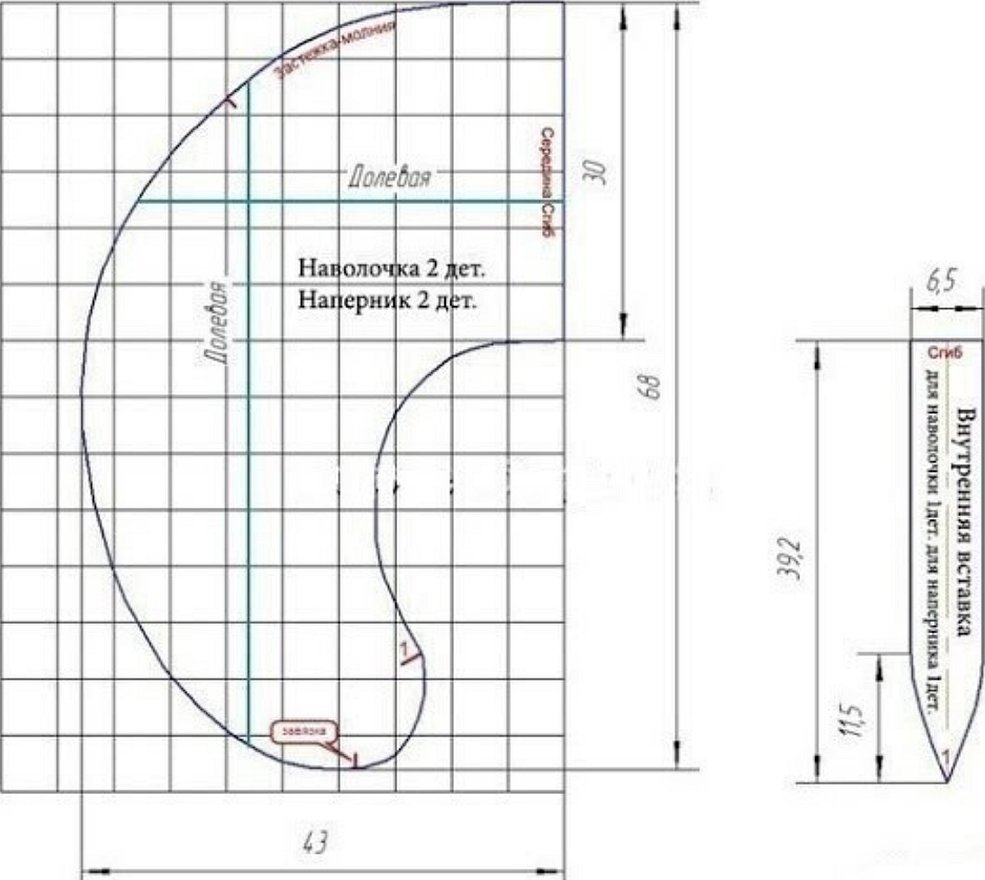
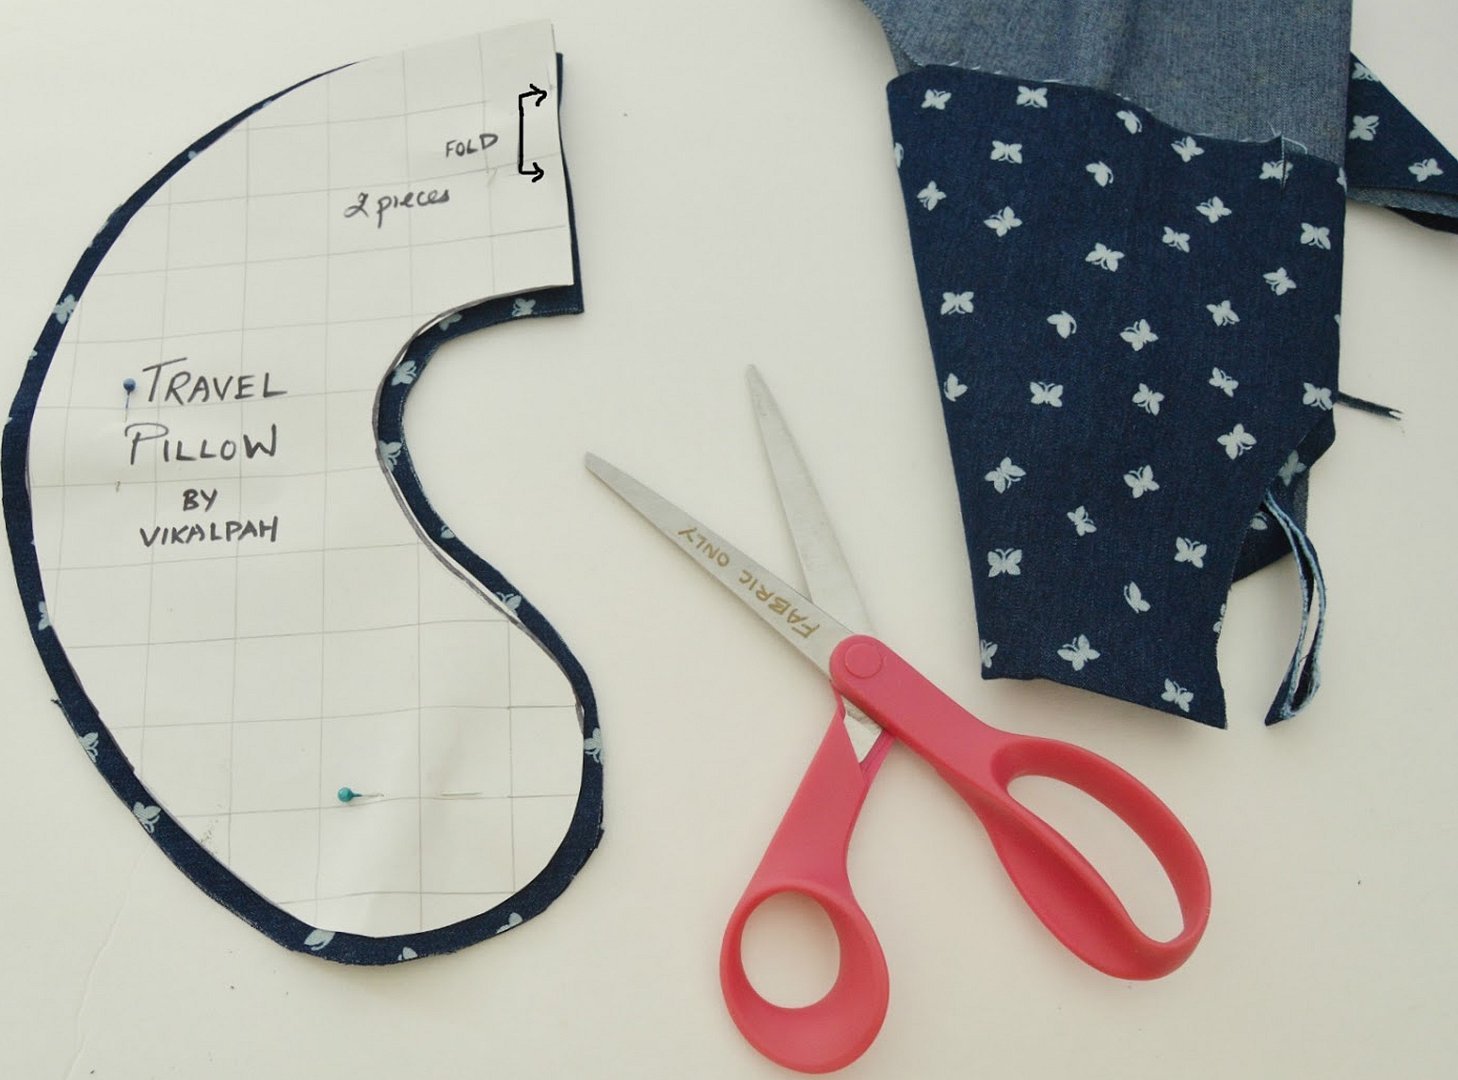
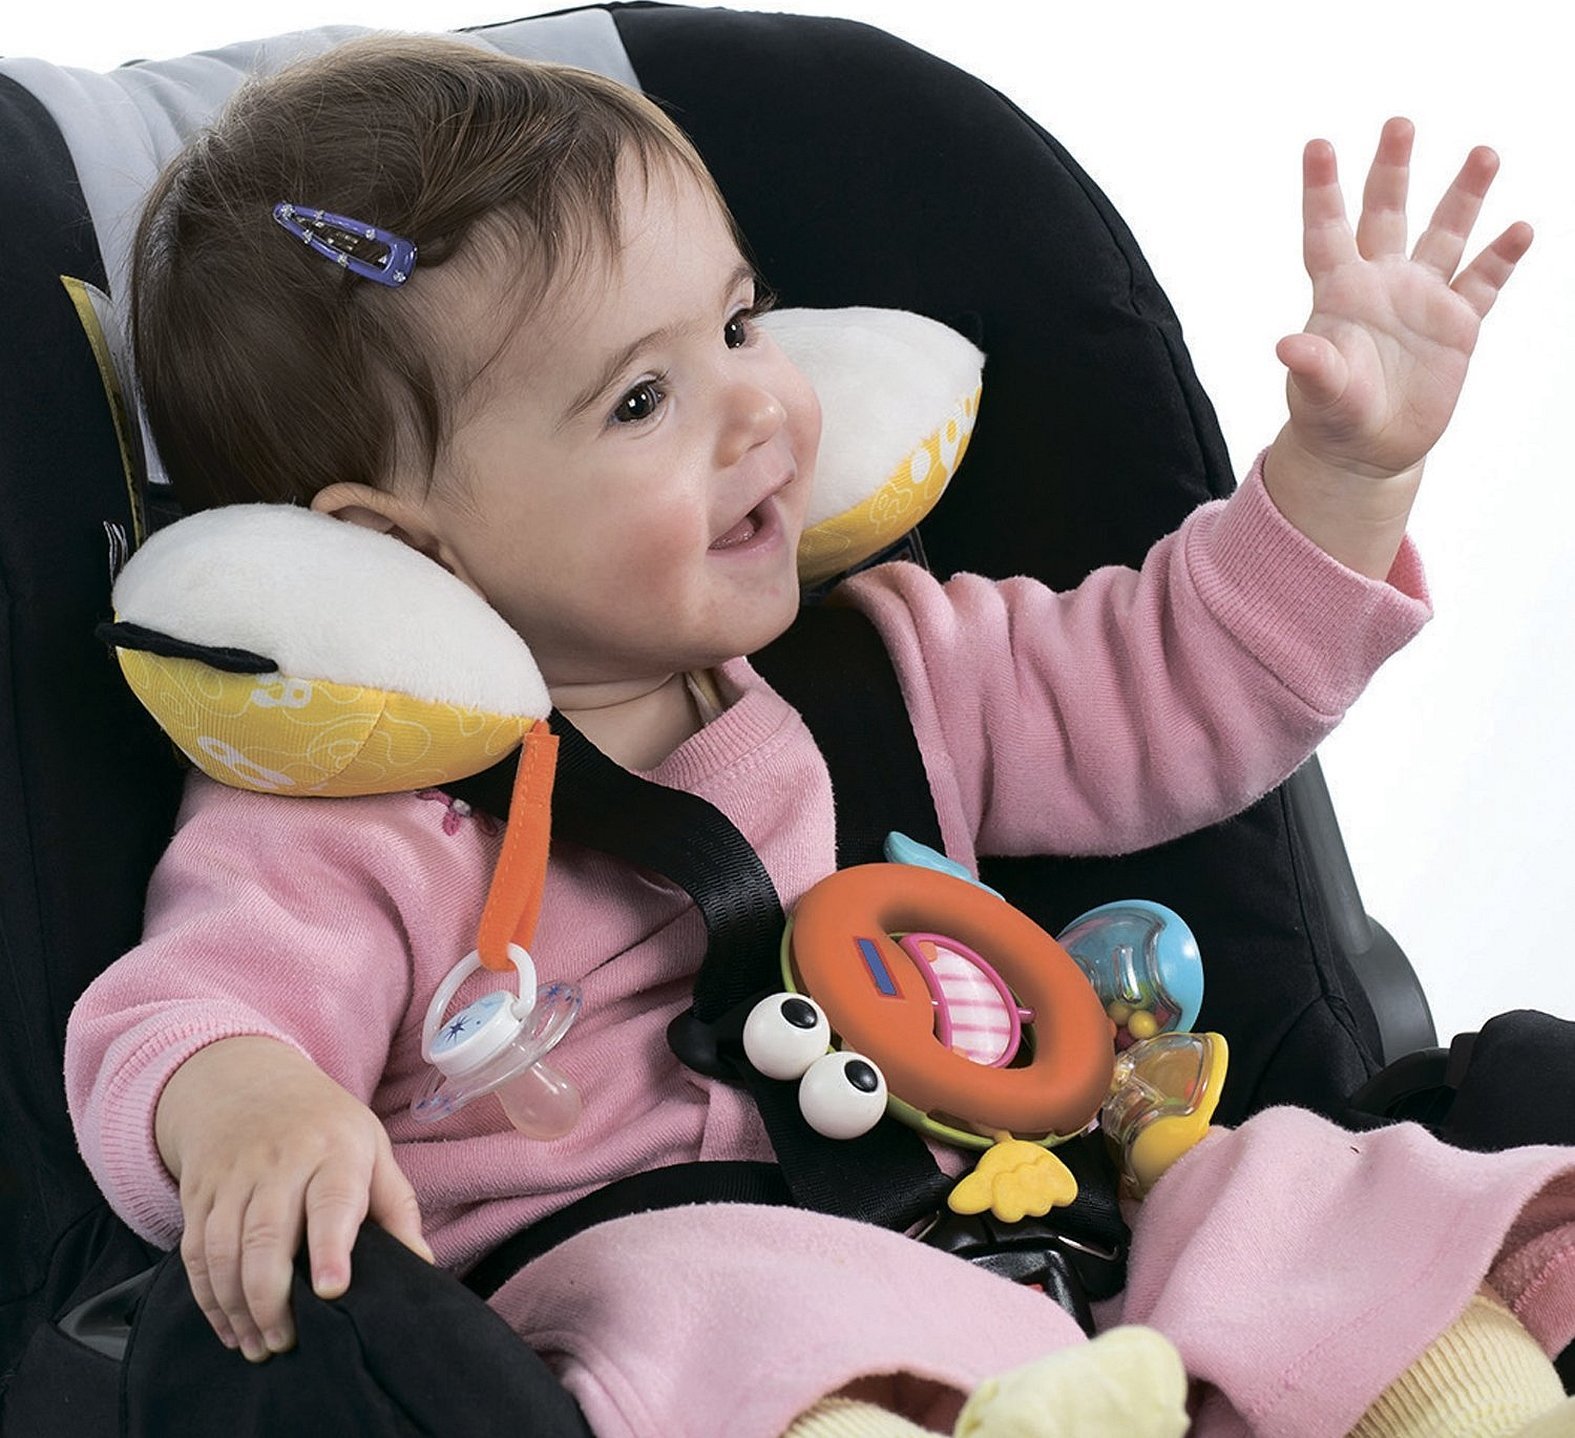
The car version of the miracle pillow is usually a horseshoe-shaped product. This can be the base. To diversify the design, such a "horseshoe" is equipped with additional elements and details: pockets, animal faces, hoods. This is especially relevant for children's car seats. The pattern of a neck pillow for a car with your own hands is carried out in accordance with the sequence:
- Spread out the Whatman paper and transfer all the dimensions onto the paper. Prepare a horseshoe-shaped sketch with the specified parameters.
- You can make only half of the part, and the other half will be symmetrical. This technique will help make the parts more similar to each other.
- Cut out a paper blank and attach it to a simpler pattern of fabric. Secure the element to the fabric using safety pins.
- Trace the detail with chalk and cut it out. Then attach the finished fabric part to the textile canvas, which will later be a removable cover. It is advisable to step back 2-4 cm so that the product turns out voluminous + allowance for seams.
- Baste the blanks for the cover and then sew them together on a sewing machine. Leave a 3 cm opening through which the filling will be placed.
- Then sew the half for the cover using the same principle. Leave an unsewn seam where the zipper will be sewn in or the ribbon ties will be attached.
To make the idea more vivid, you can do some additional decoration. Sew eyes and a nose to one end of the "horseshoe" and embroider the muzzle, sew on the ears. Additionally, attach a tail, mane, paws and other "identification" marks for a certain type of animal.
DIY Travel Head Pillow
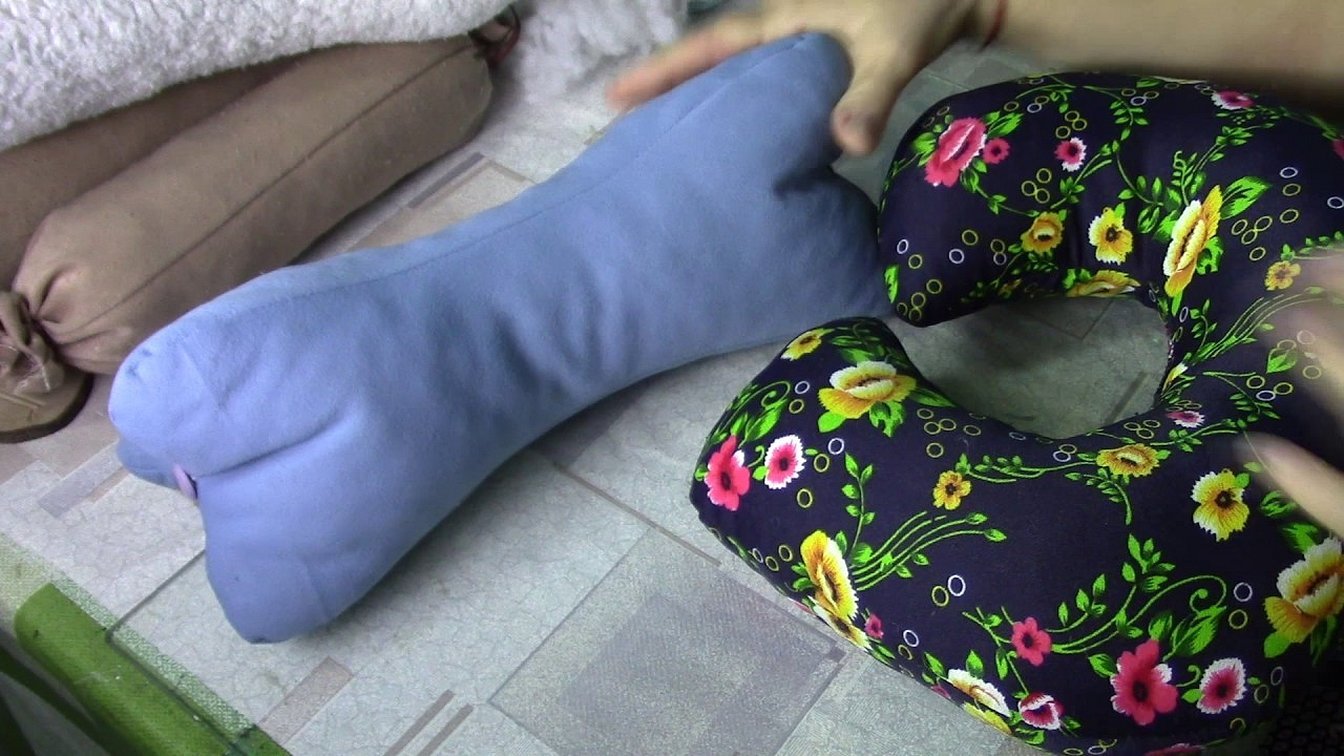
For the driver or passenger, you can make a simpler version of the product, which is simply placed on the top of the seat. A do-it-yourself travel pillow, the pattern of which is distinguished by its simple execution, can have a rectangular shape or outwardly resemble a bolster, a bone, or the outline of a geometric figure.
Master class on creating a functional head pillow for the driver:
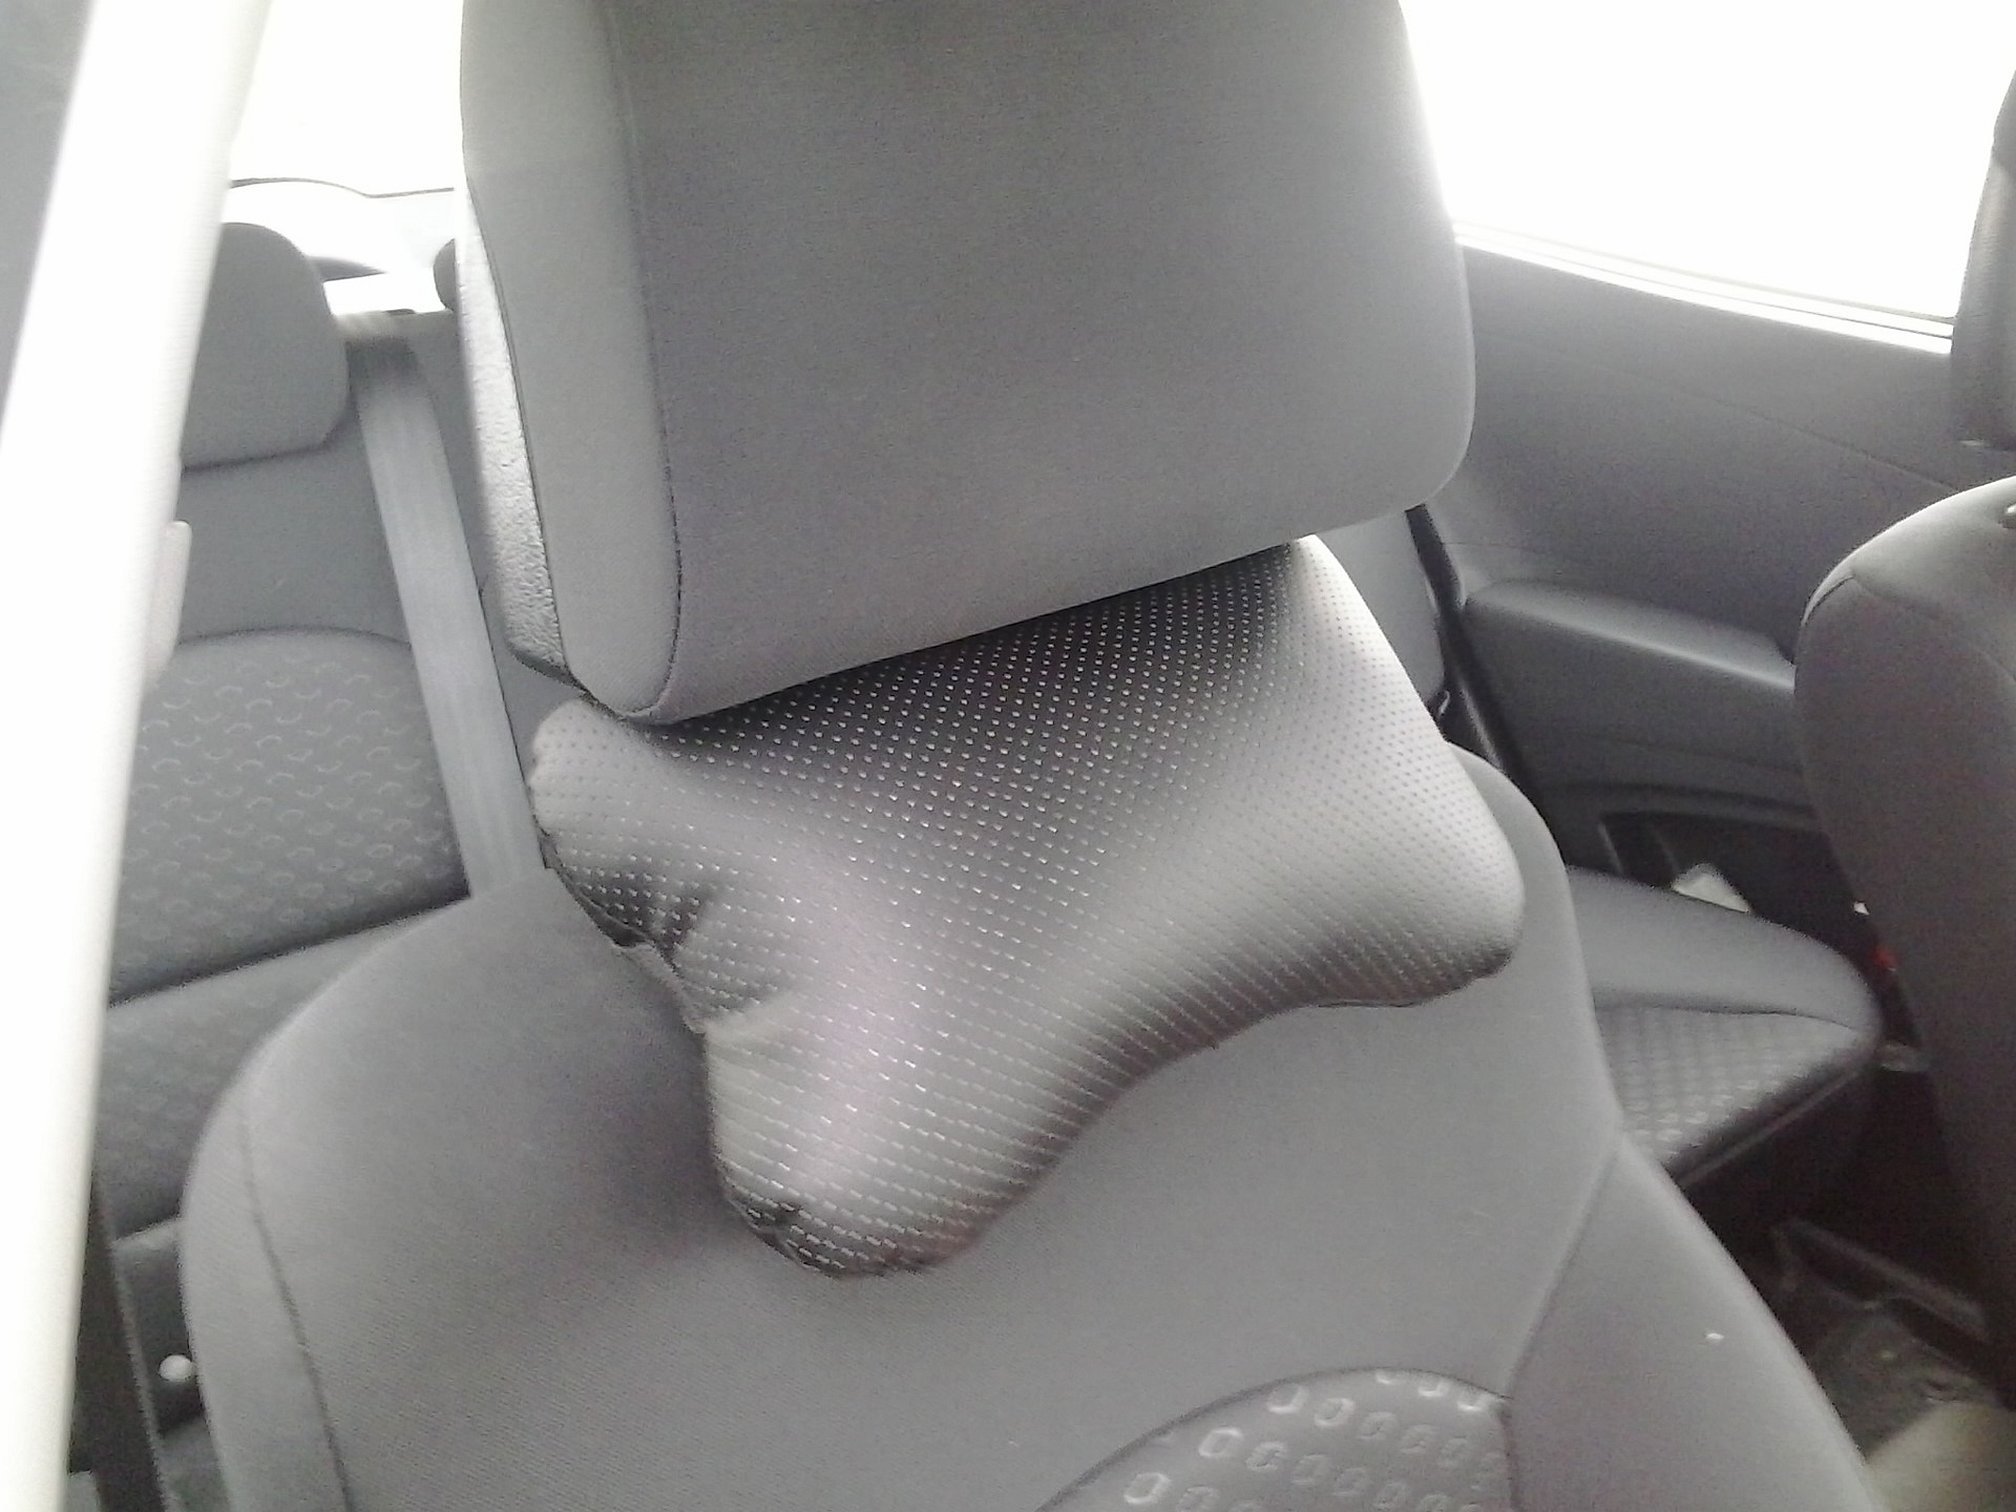
- Take measurements from the top of the seat. The cushion should completely cover the area of this part. Additionally, you can immediately develop the principle of fastening the cushion, taking into account the design features.
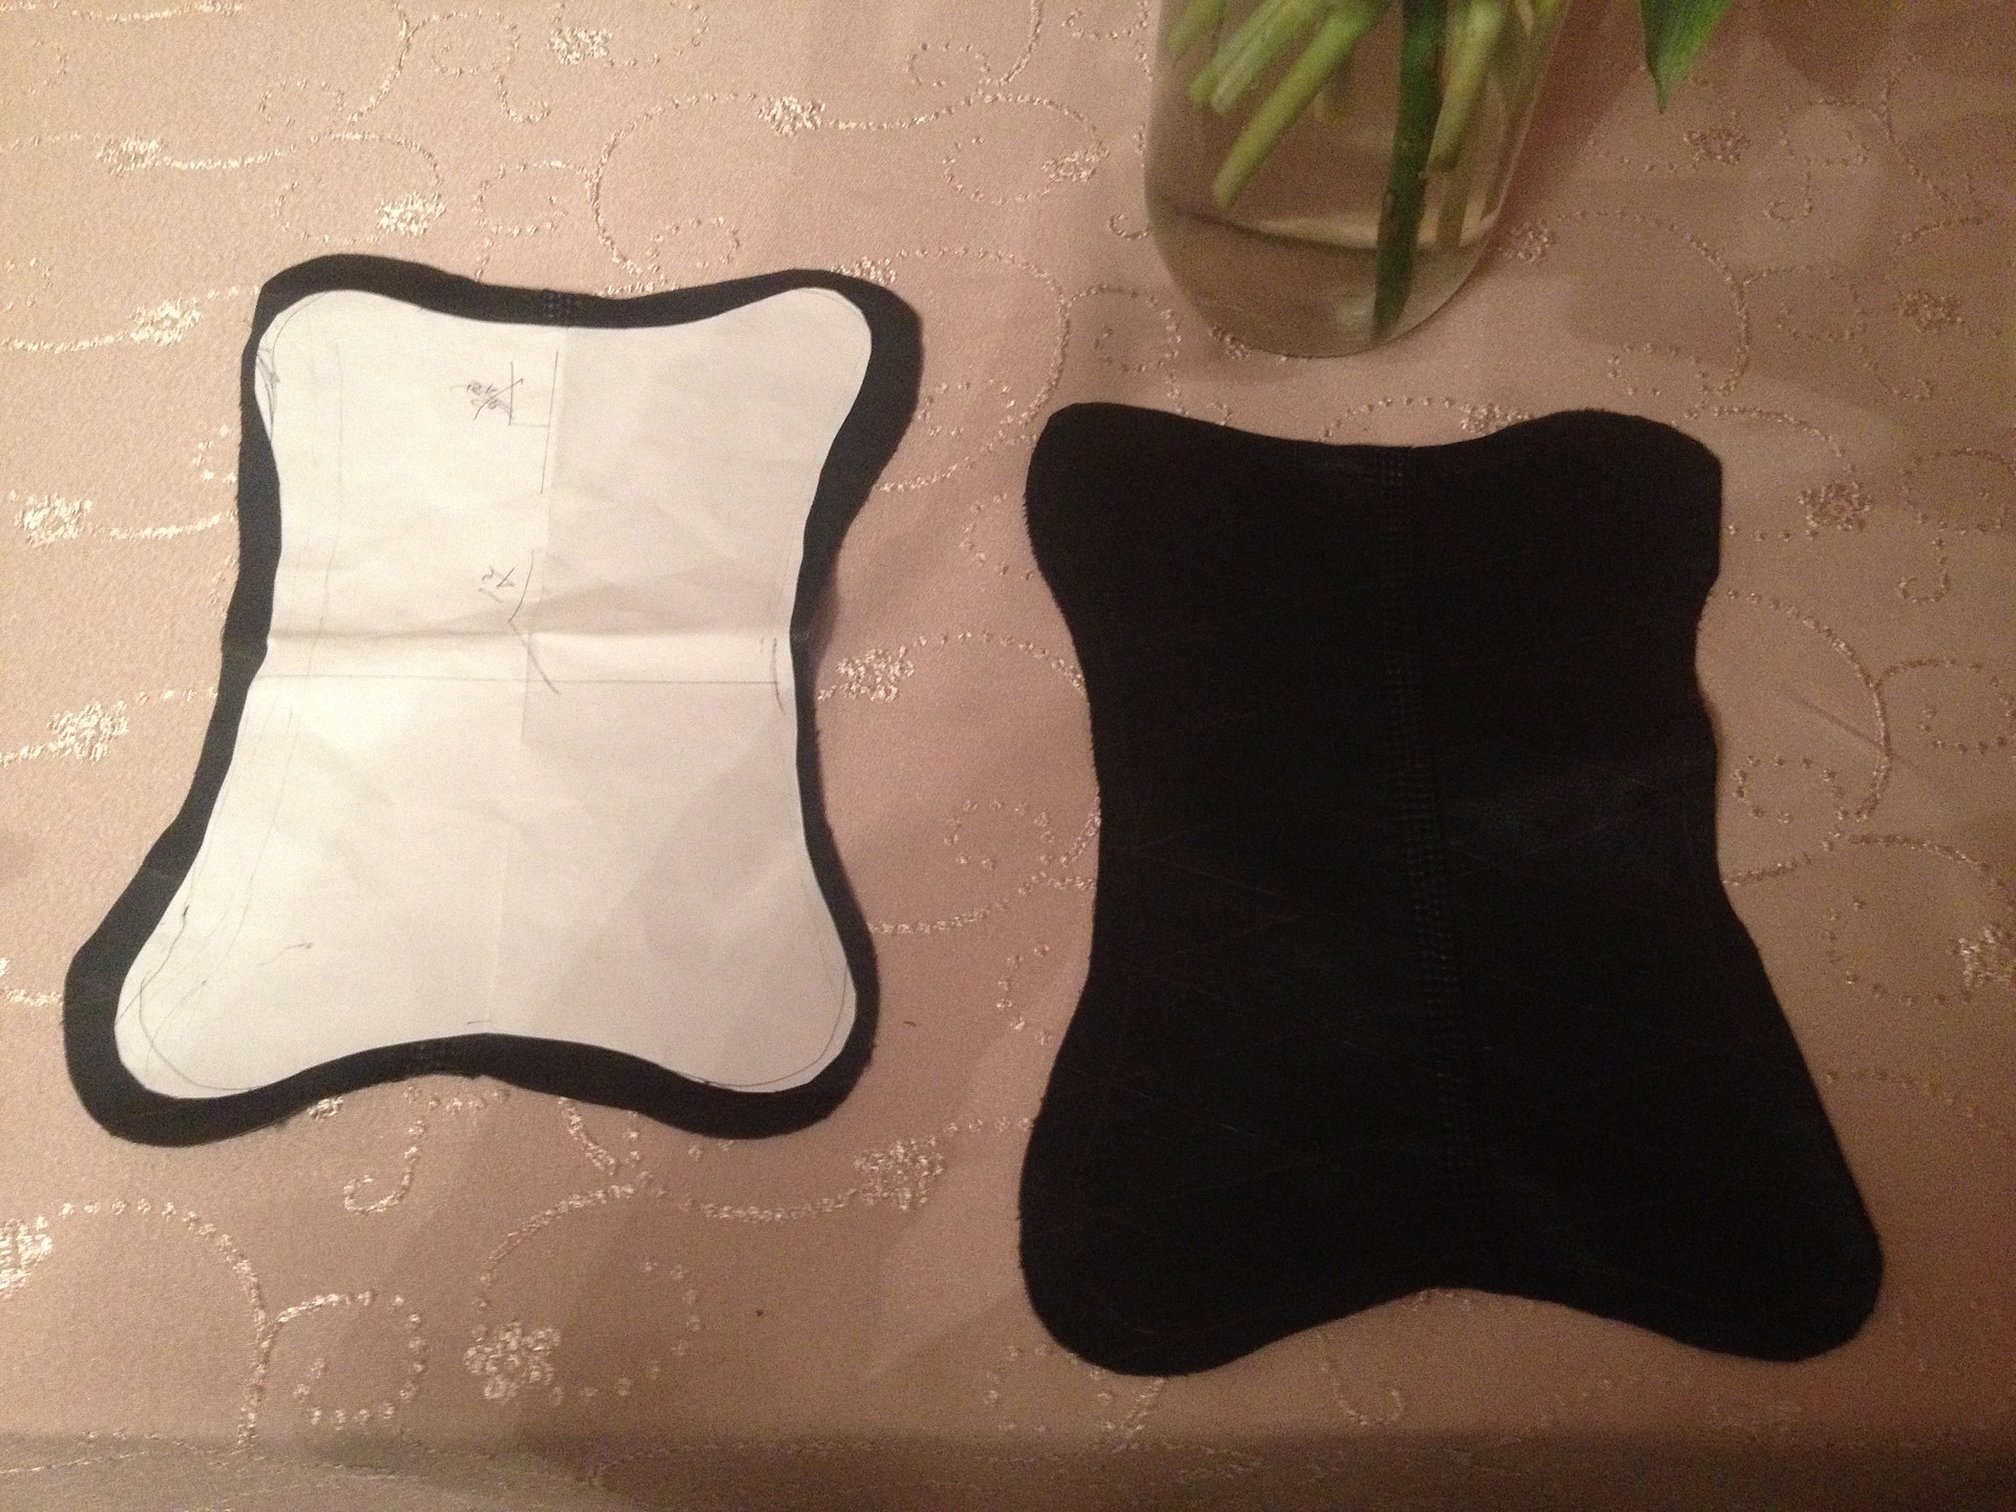
- Prepare a pattern. Make a sketch on a piece of Whatman paper using a pencil. The shape will resemble a cartoon bone, but with a wider middle part.
- Cut out the blank and attach the paper element to the fabric that will hold the filling. Attach the part with pins.
- Baste the outline, then sew on the machine using any suitable seam option. Do not forget to leave a gap for filling. Sew the hole by hand.
- The same principle is used to create a case with a well-thought-out fastener so that the main part can be removed at the first need.

- You also need to come up with a principle for fixing the pillow on the back. This could be a system of ties that are fixed on the other side. Velcro is more practical, but you will have to sew a bag-cover on the back, to which one of the halves of the Velcro will be attached. You can even sew the pillow itself to such a cover.
Usually, for the top cover, they choose a fabric that is not only dense, but also easy to clean from dirt, will let air through without problems and will definitely be pleasant to the touch. A child can use this option without any problems.
A car can become comfortable for long trips if you properly arrange the driver and passenger seats. The simplest option is to make pillows for your head and neck, which you can make yourself. In addition, unique decoration will become a certain "highlight" of the functional device, making it not only practical, but also beautiful.


