How to sew moxas for children and what it is is increasingly of interest to young mothers. Moxas are the baby's first shoes, soft and comfortable. The elastic band ensures reliability and the moxas do not slip off the foot.
Every home has scraps of fabric that can be used to sew the first cozy shoes, warmed by mom's warmth.
What is moxa
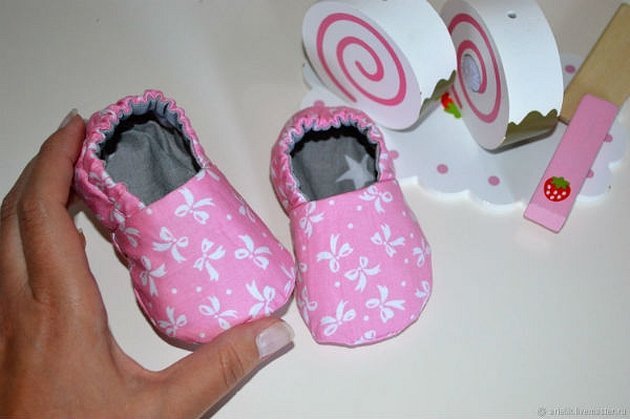
Hand-made soft children's shoes are called moxa. Natural fabrics used in sewing do not allow children's feet to freeze or sweat. Such shoes do not slip on glossy surfaces.
Why do it yourself?
Even a beginner who has never sewn before can cope with sewing. The pattern of children's moxes is simple, sewing is elementary. You can sew them in one evening.
Unlike socks, which often get lost and slip off little children's feet, these fit well and are held in place by the elastic band inserted along the top edge.
For your information! Double-sided moxas can be worn in two ways, providing added convenience.
Such funny slippers are sewn for small children. Finding house shoes of such sizes can be problematic. Therefore, the first shoes sewn with your own hands with love are always pleasant to put on tiny feet.
Necessary tools for sewing moxas
For sewing you will need the following tools and accessories:
- scissors;
- measuring tape;
- pins and needles;
- threads;
- sewing machine;
- iron.
If you don't have a sewing machine, you can sew the pieces together by hand. In addition to all of the above, you'll need a life-size pattern of moxes on paper.
Which fabric to choose
There are always scraps of fabric at home. Natural materials are suitable for a baby: flannel, baize, wool or cotton jersey, denim, thick warm cotton. For sewing, you can take fleece, but it is worth considering that not every sewing machine can handle it.
You will also need a regular textile elastic band. If you want to make warm moxes or boots for children based on the same pattern, you will need thin padding polyester. The details are cut out of it in the same way as from fabric.
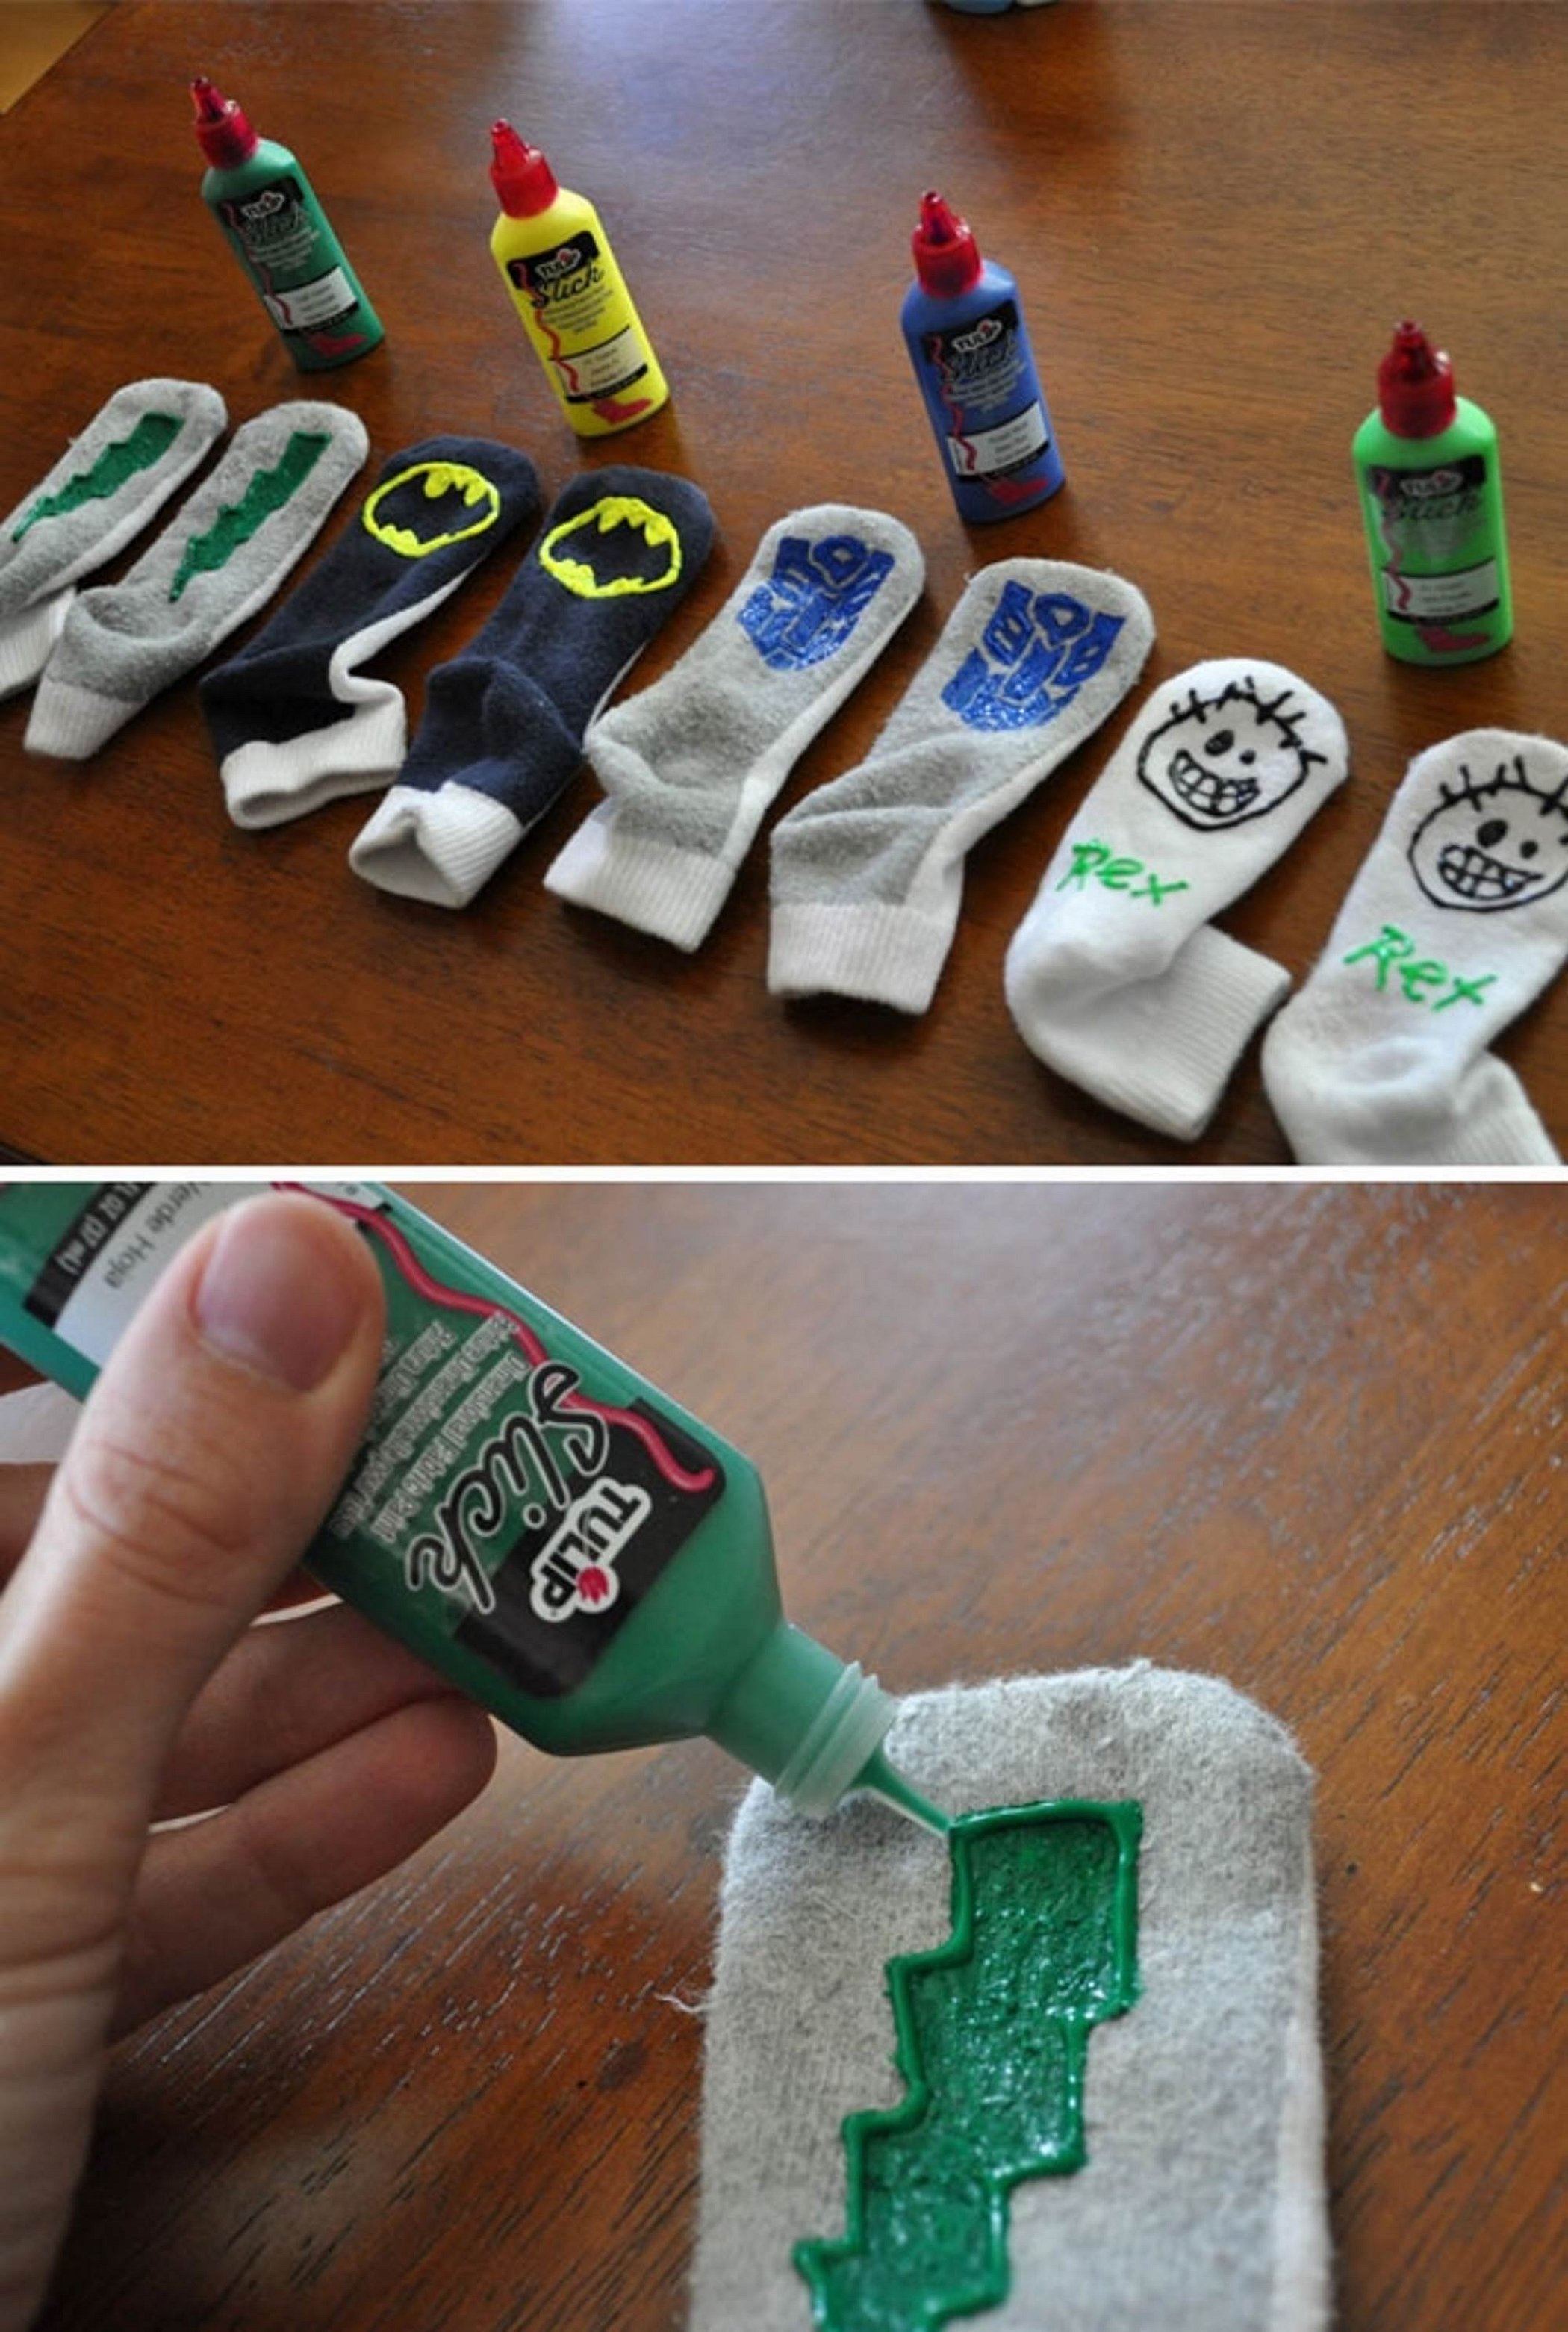
Please note! It is better to choose a structured (not smooth) fabric for the sole so that it slips less. If there is no suitable non-slip one, you will have to apply silicone glue from a tube to the soles.
Ready-made moxa patterns with sizes
Moxa pattern with dimensions is given below.
Important! You can tailor the product yourself according to your individual measurements.
The table shows standard foot sizes according to the age of the baby. Using them, you can easily make a pattern and sew moski for children of any age:
| Age of the baby | Foot length, cm |
| 0 – 3 months | 9.5 |
| 3 – 6 months. | 10.5 |
| 6–12 months | 11.7 |
| 12–18 months | 12.5 |
| 18–24 months | 13.4 |
| 2 years | 14.3 |
| 2–2.5 years | 14.7 |
| 2.5–3 years | 15.2 |
Considering that a newborn baby grows in height every month, you can use standard sizes, adding 1–1.5 cm to the foot length.
For your information! For the pattern, you can use the size range data provided in the table.
You can also use ready-made patterns of moxes for small children, which are easy to download in full size. Then just cut them out, not forgetting to leave allowances for the seams. For allowances, 0.6 cm 0 of the standard width of the sewing machine foot is enough.
Working with a pattern
For those who have no idea how to sew moxas for a baby and make a pattern, it is worth carefully reading the proposed step-by-step instructions.
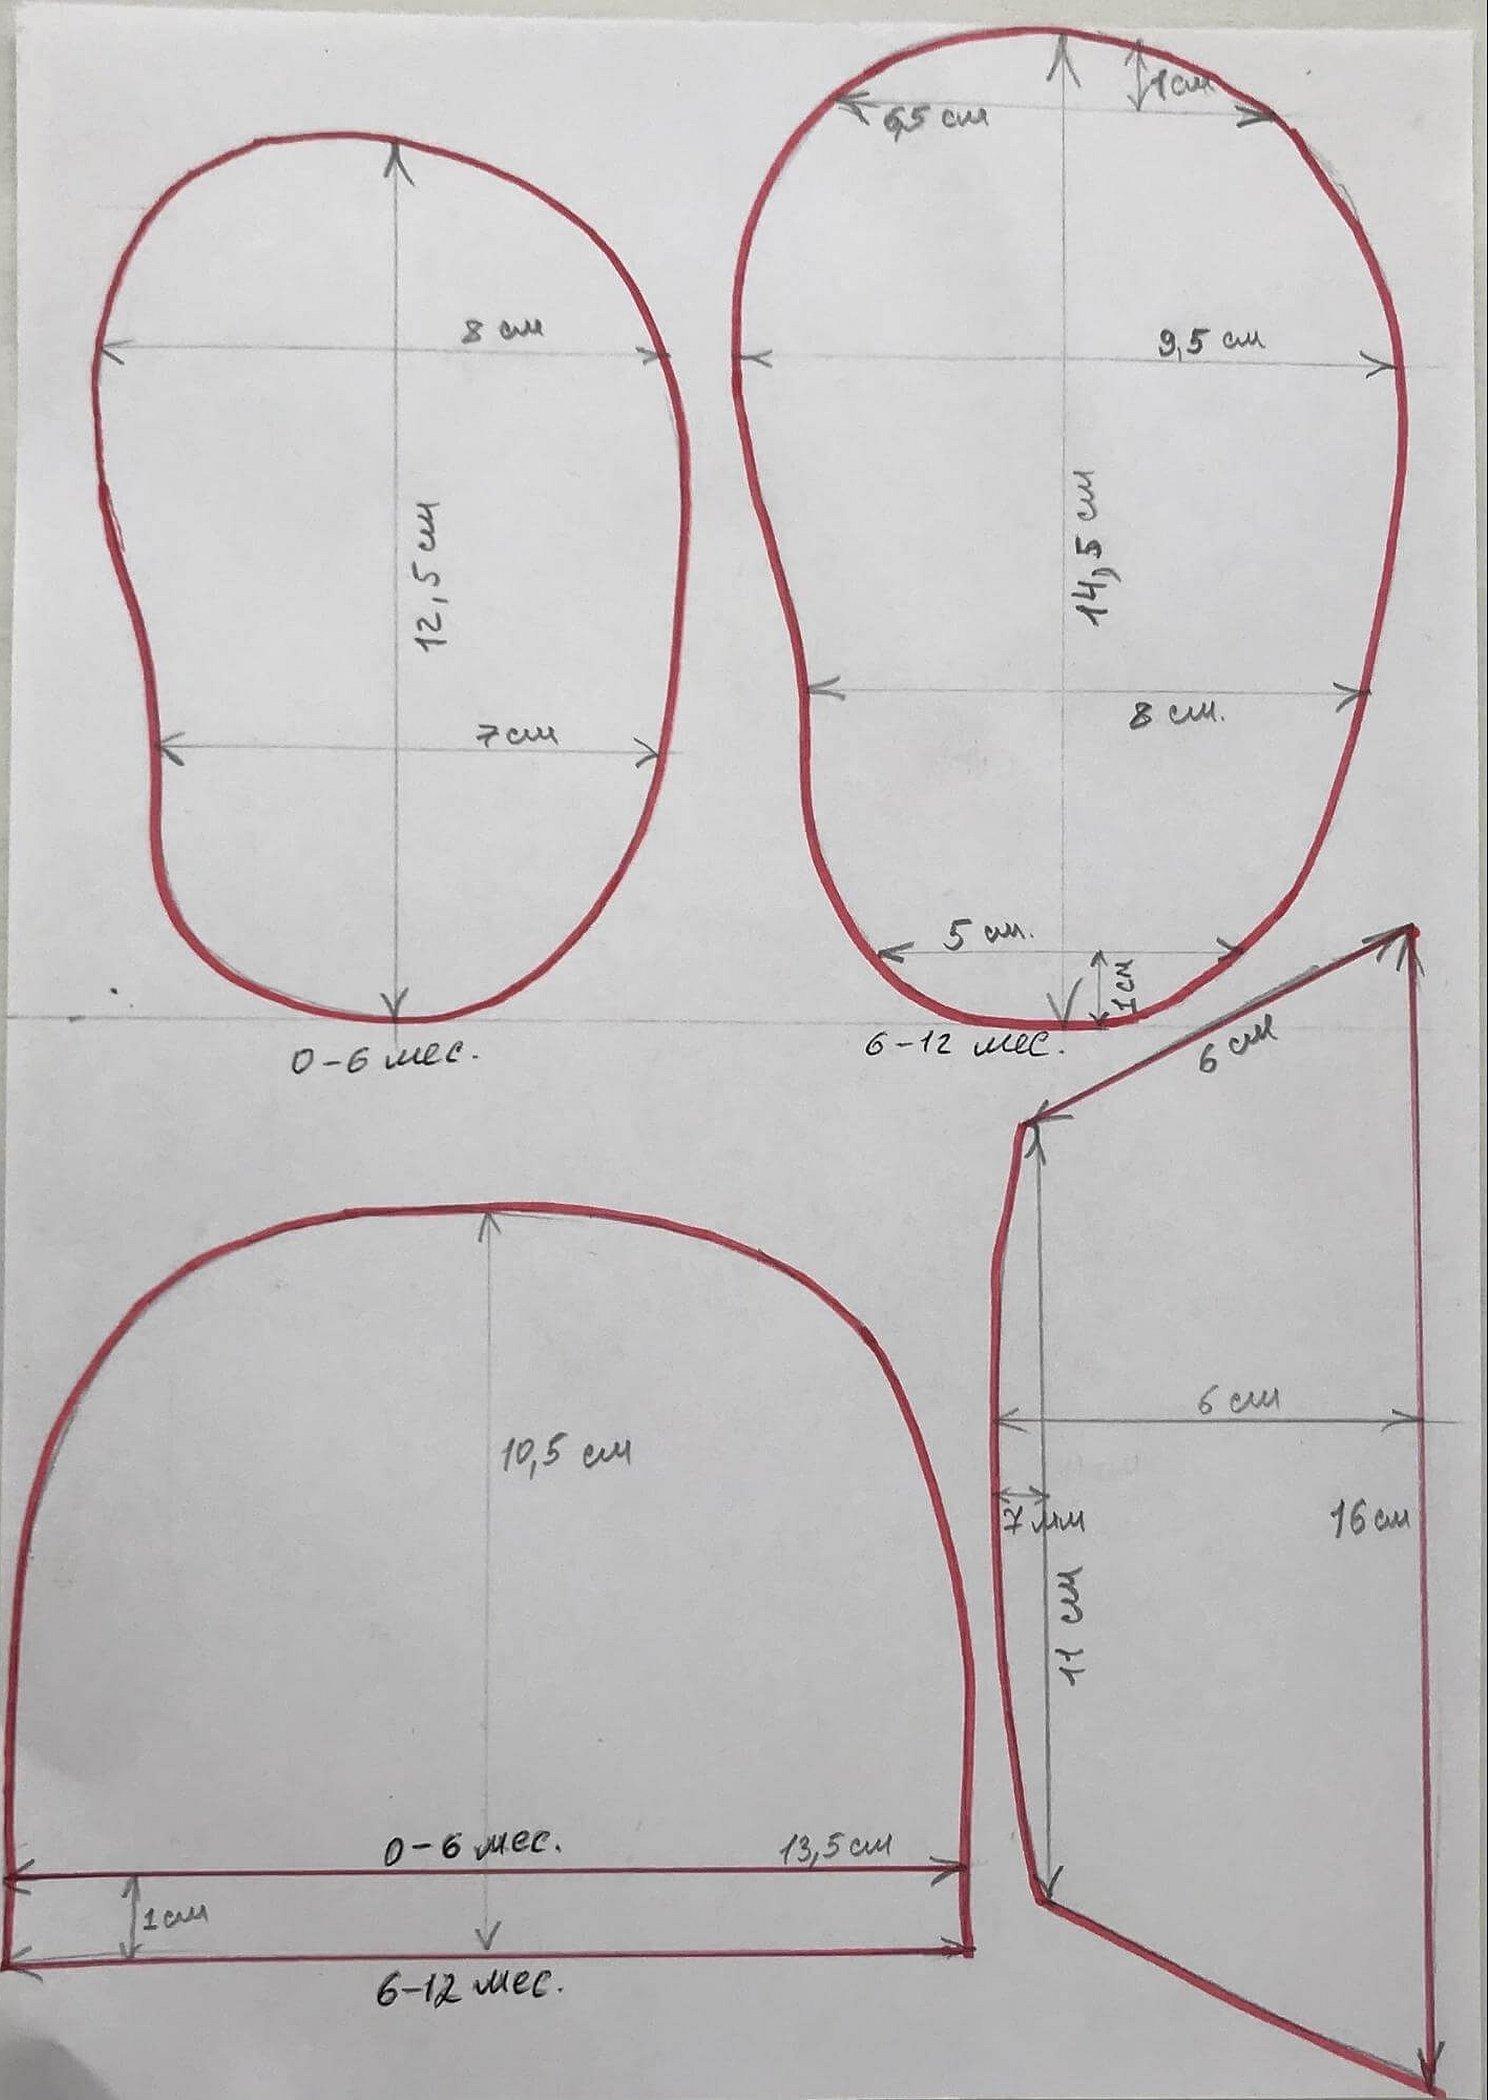
First, you need to take a sheet of paper and draw a pattern of moxas on it, measuring the child's foot. The picture shows a sample pattern for babies 6 months and up to a year.
It is easier to work with a ready-made scheme; to download and print it, you will need a printer.
Important! Moxes for children - the pattern is given without seam allowances. Paper parts are cut out so that seam allowances remain along the edges of the lines. The seam allowances will be 0.6-1 cm.
There is no need to leave large allowances so that the seams do not turn out rough and thick. It is better to cut off the excess fabric after joining the parts to 0.3–0.4 cm.
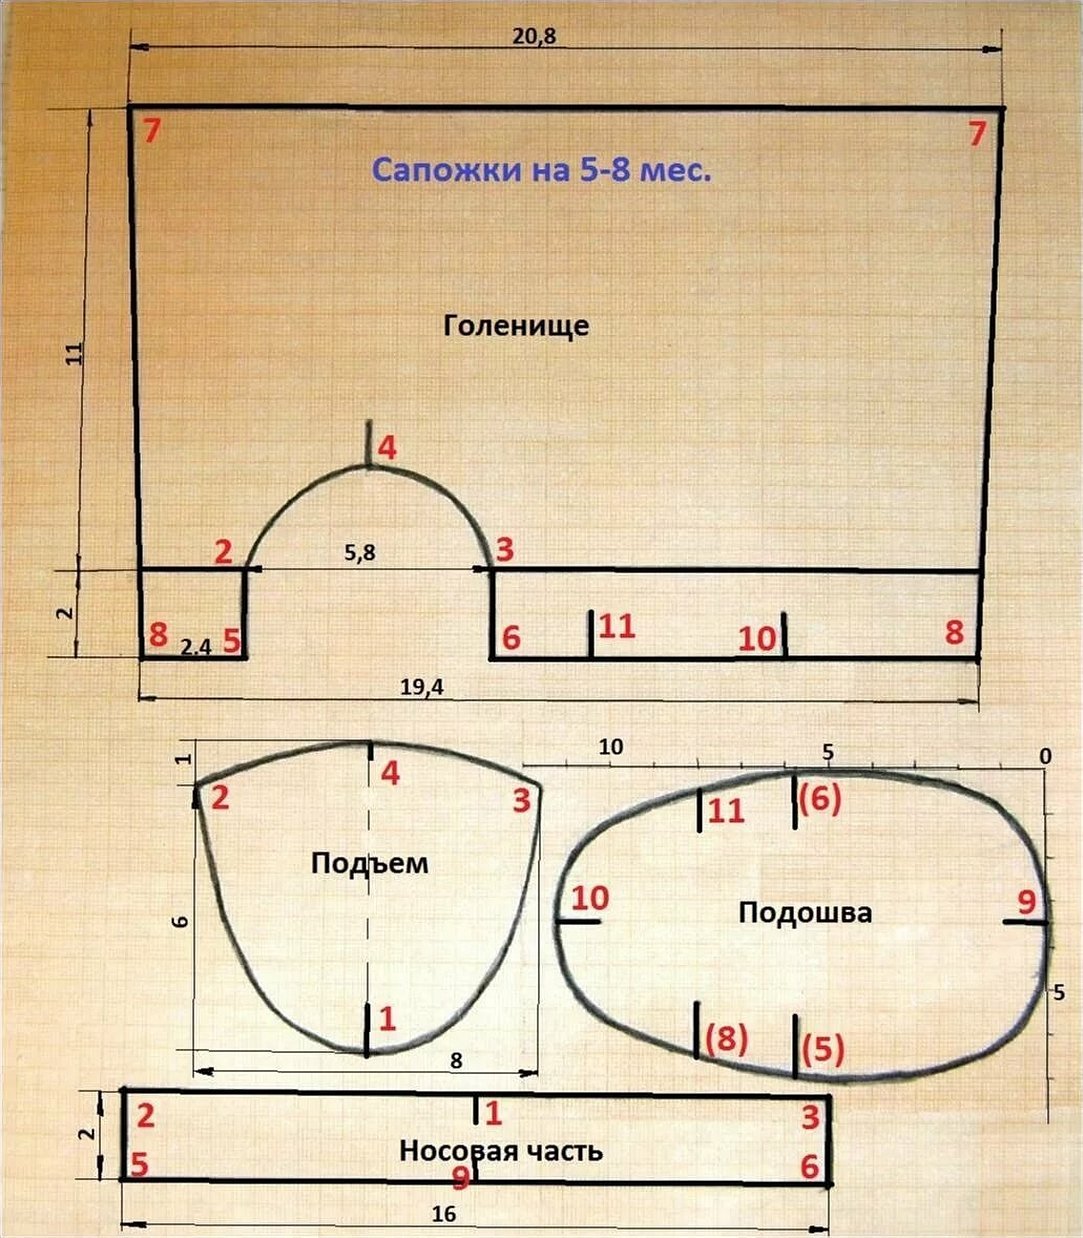
Below is a pattern - moxa boots for children from 6 to 8 months. All parts are cut from 2 fabrics and a layer of padding polyester is placed between them. For ease of stitching, you need to match the points marked with numbers. For example, point 4 on the shaft part needs to be matched with point 4 on the instep part.
Opening of moxas
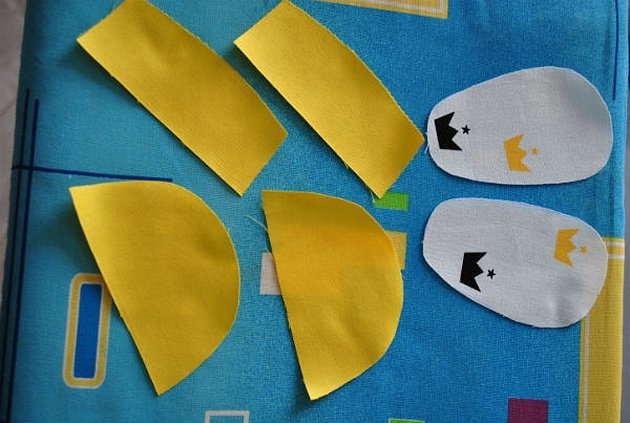
Product details: sole, back and upper. Each of the details must be cut out of the material for the inner part. Some mothers duplicate the details with adhesive non-woven materials (doublerin, interlining) to give rigidity to the fabrics.
The fabric must be laid out on a flat surface with the wrong side up, and the paper pieces must be placed on it.
Please note! When cutting out garments, the fabric is laid out, folding it in half with the wrong side up. In this case, when cutting out moxes, pieces of fabric are used. Therefore, it is necessary to ensure that they are all cut out in the right quantity.
Trace the contours of the paper pattern with tailor's chalk or pencil. Cut out the pieces from the fabric. Do the same with the other fabric. If you are using padding polyester, place the cut out pieces on a piece of padding polyester and cut out the inner layer of moxa from it.
It should turn out: all parts 2 pcs. from two types of fabric. You can easily sew moxas for a newborn, following all the sewing stages of the proposed master class (mk) below.
Connecting parts
If adhesive non-woven material is used, it should be glued to the back side using an iron. After the gluing procedure, the parts should lie in a straightened form for at least 20 minutes. Reinforcement with interlining (fleece) is sufficient only for parts made of one material, which will be external in the product.
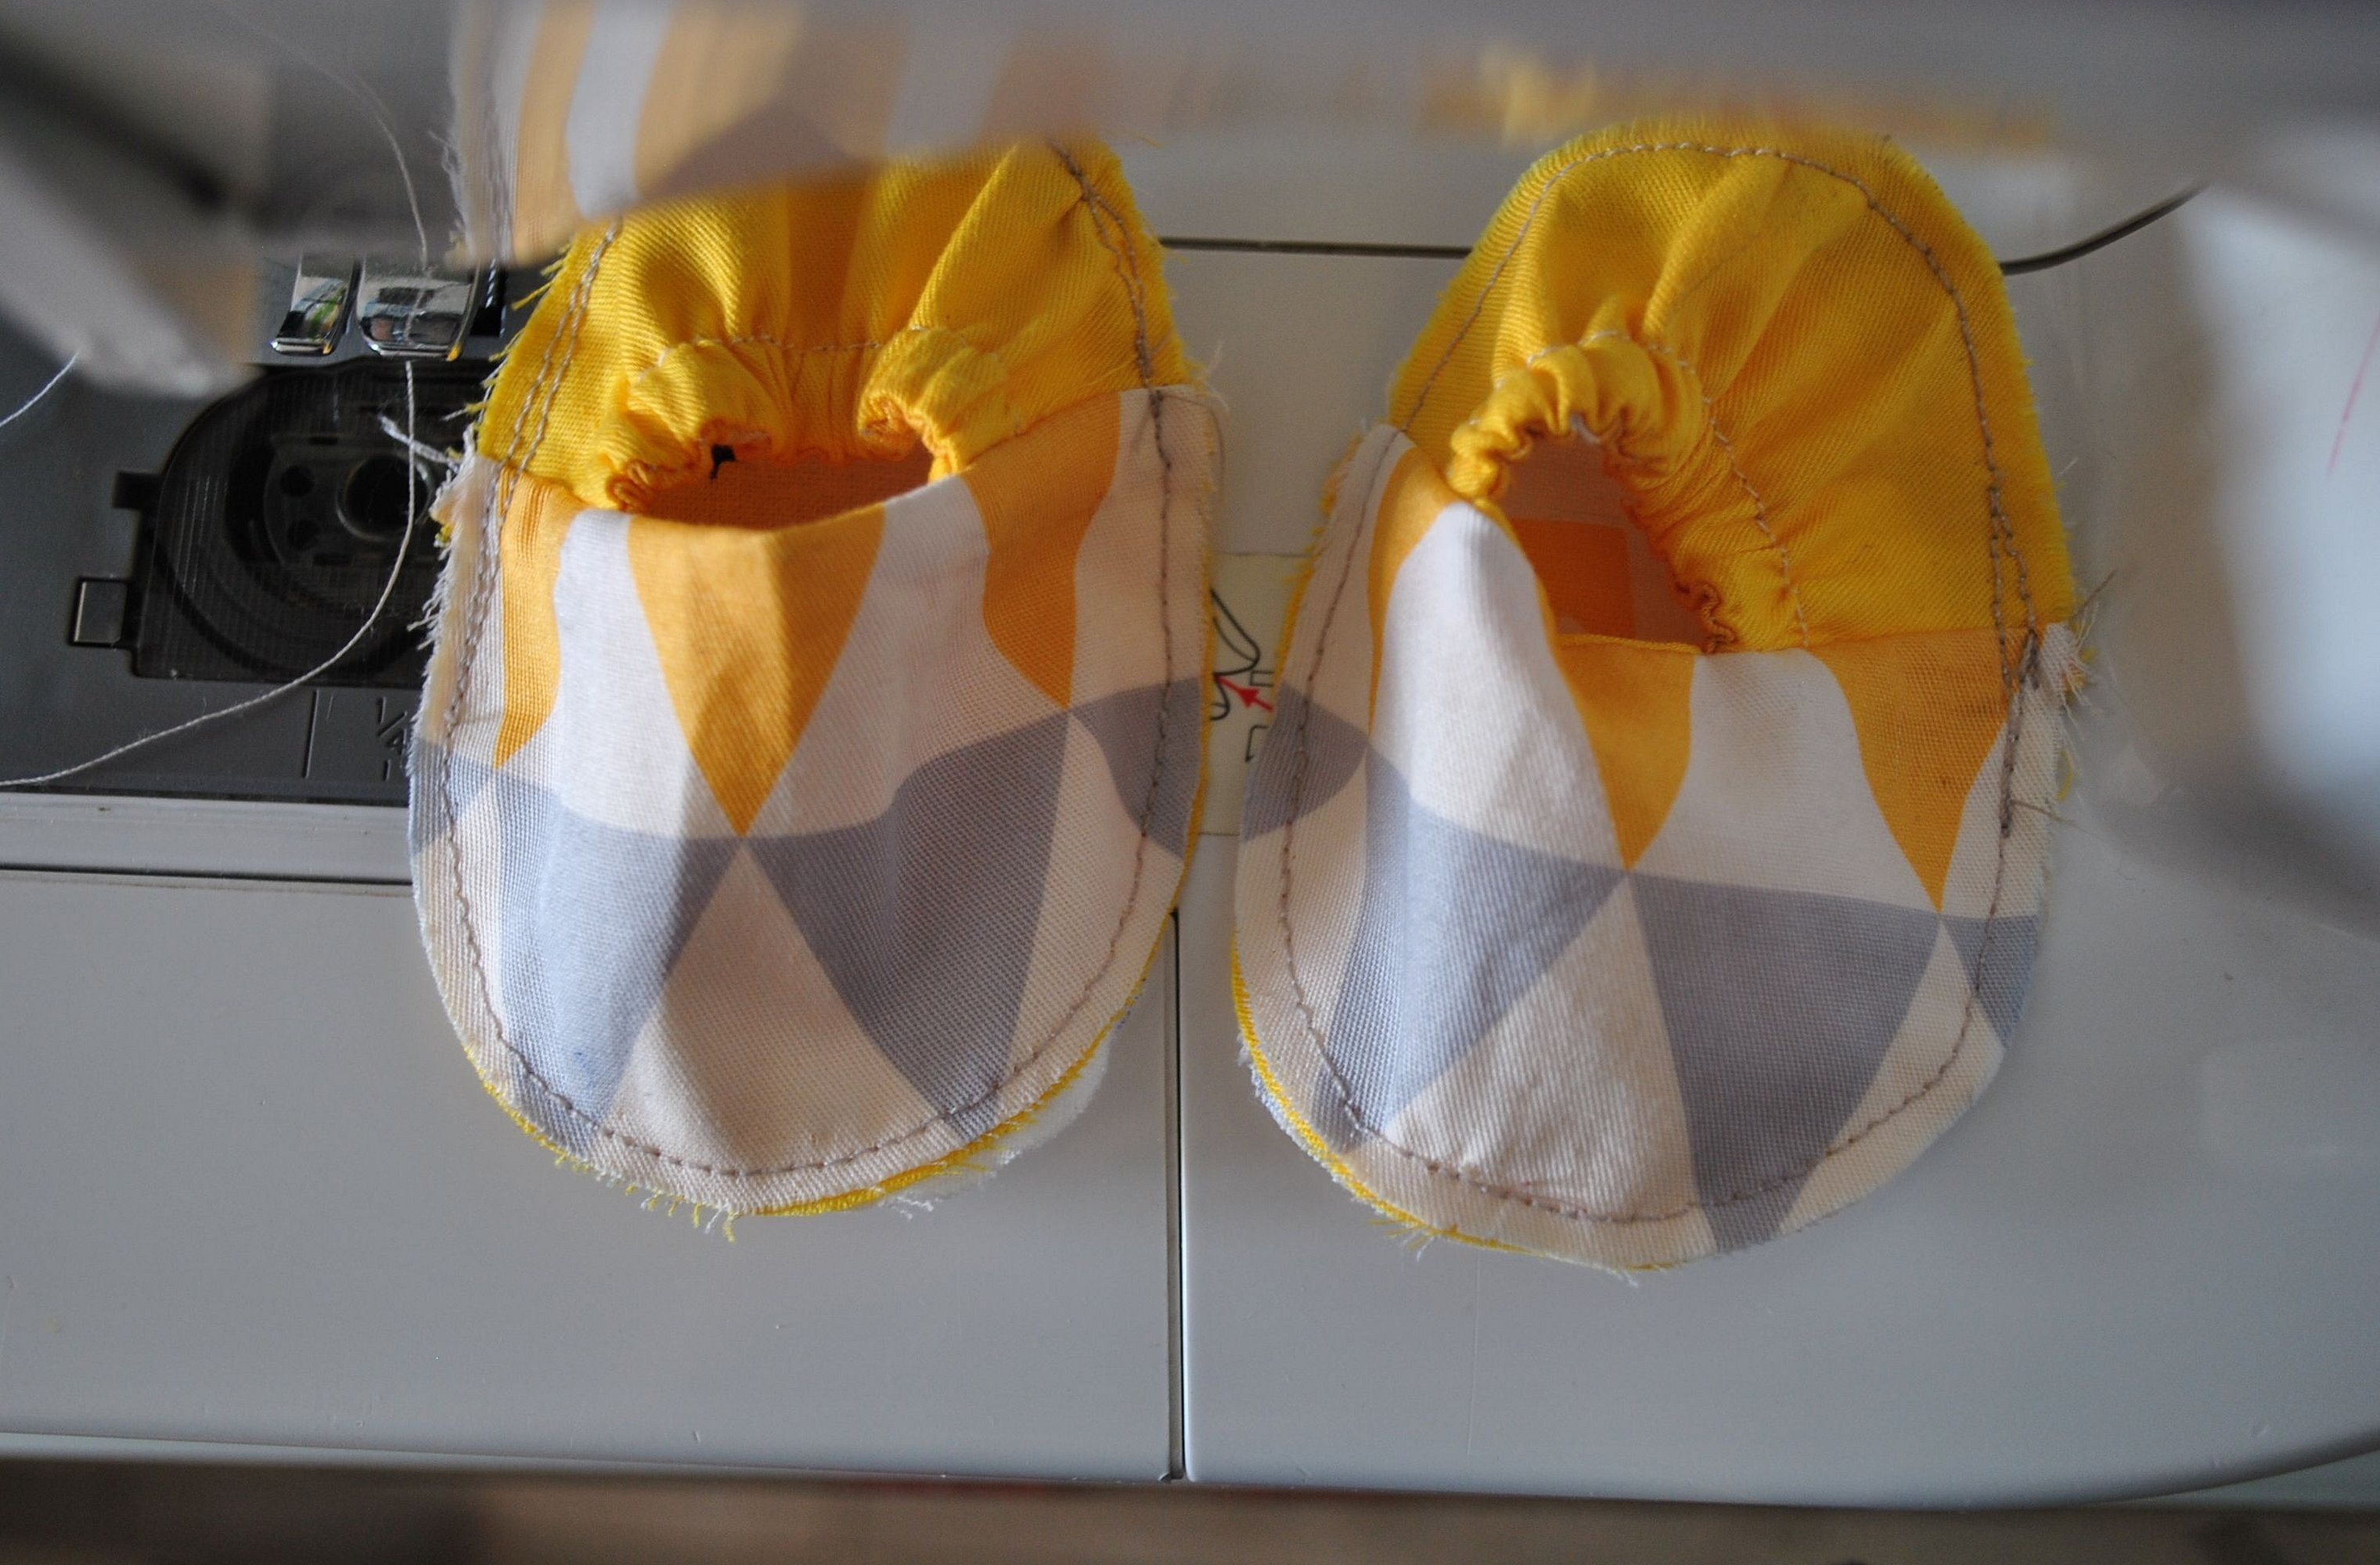
Sewing begins with stitching the back pieces together. Two fabric pieces are folded face to face and machine stitched along the long side, leaving 0.6 cm from the edge (the size of the sewing machine foot).
The part is turned inside out. The seam is ironed. At a distance of 1–1.2 cm from the edge, a topstitch is made. It is necessary in order to insert the elastic.
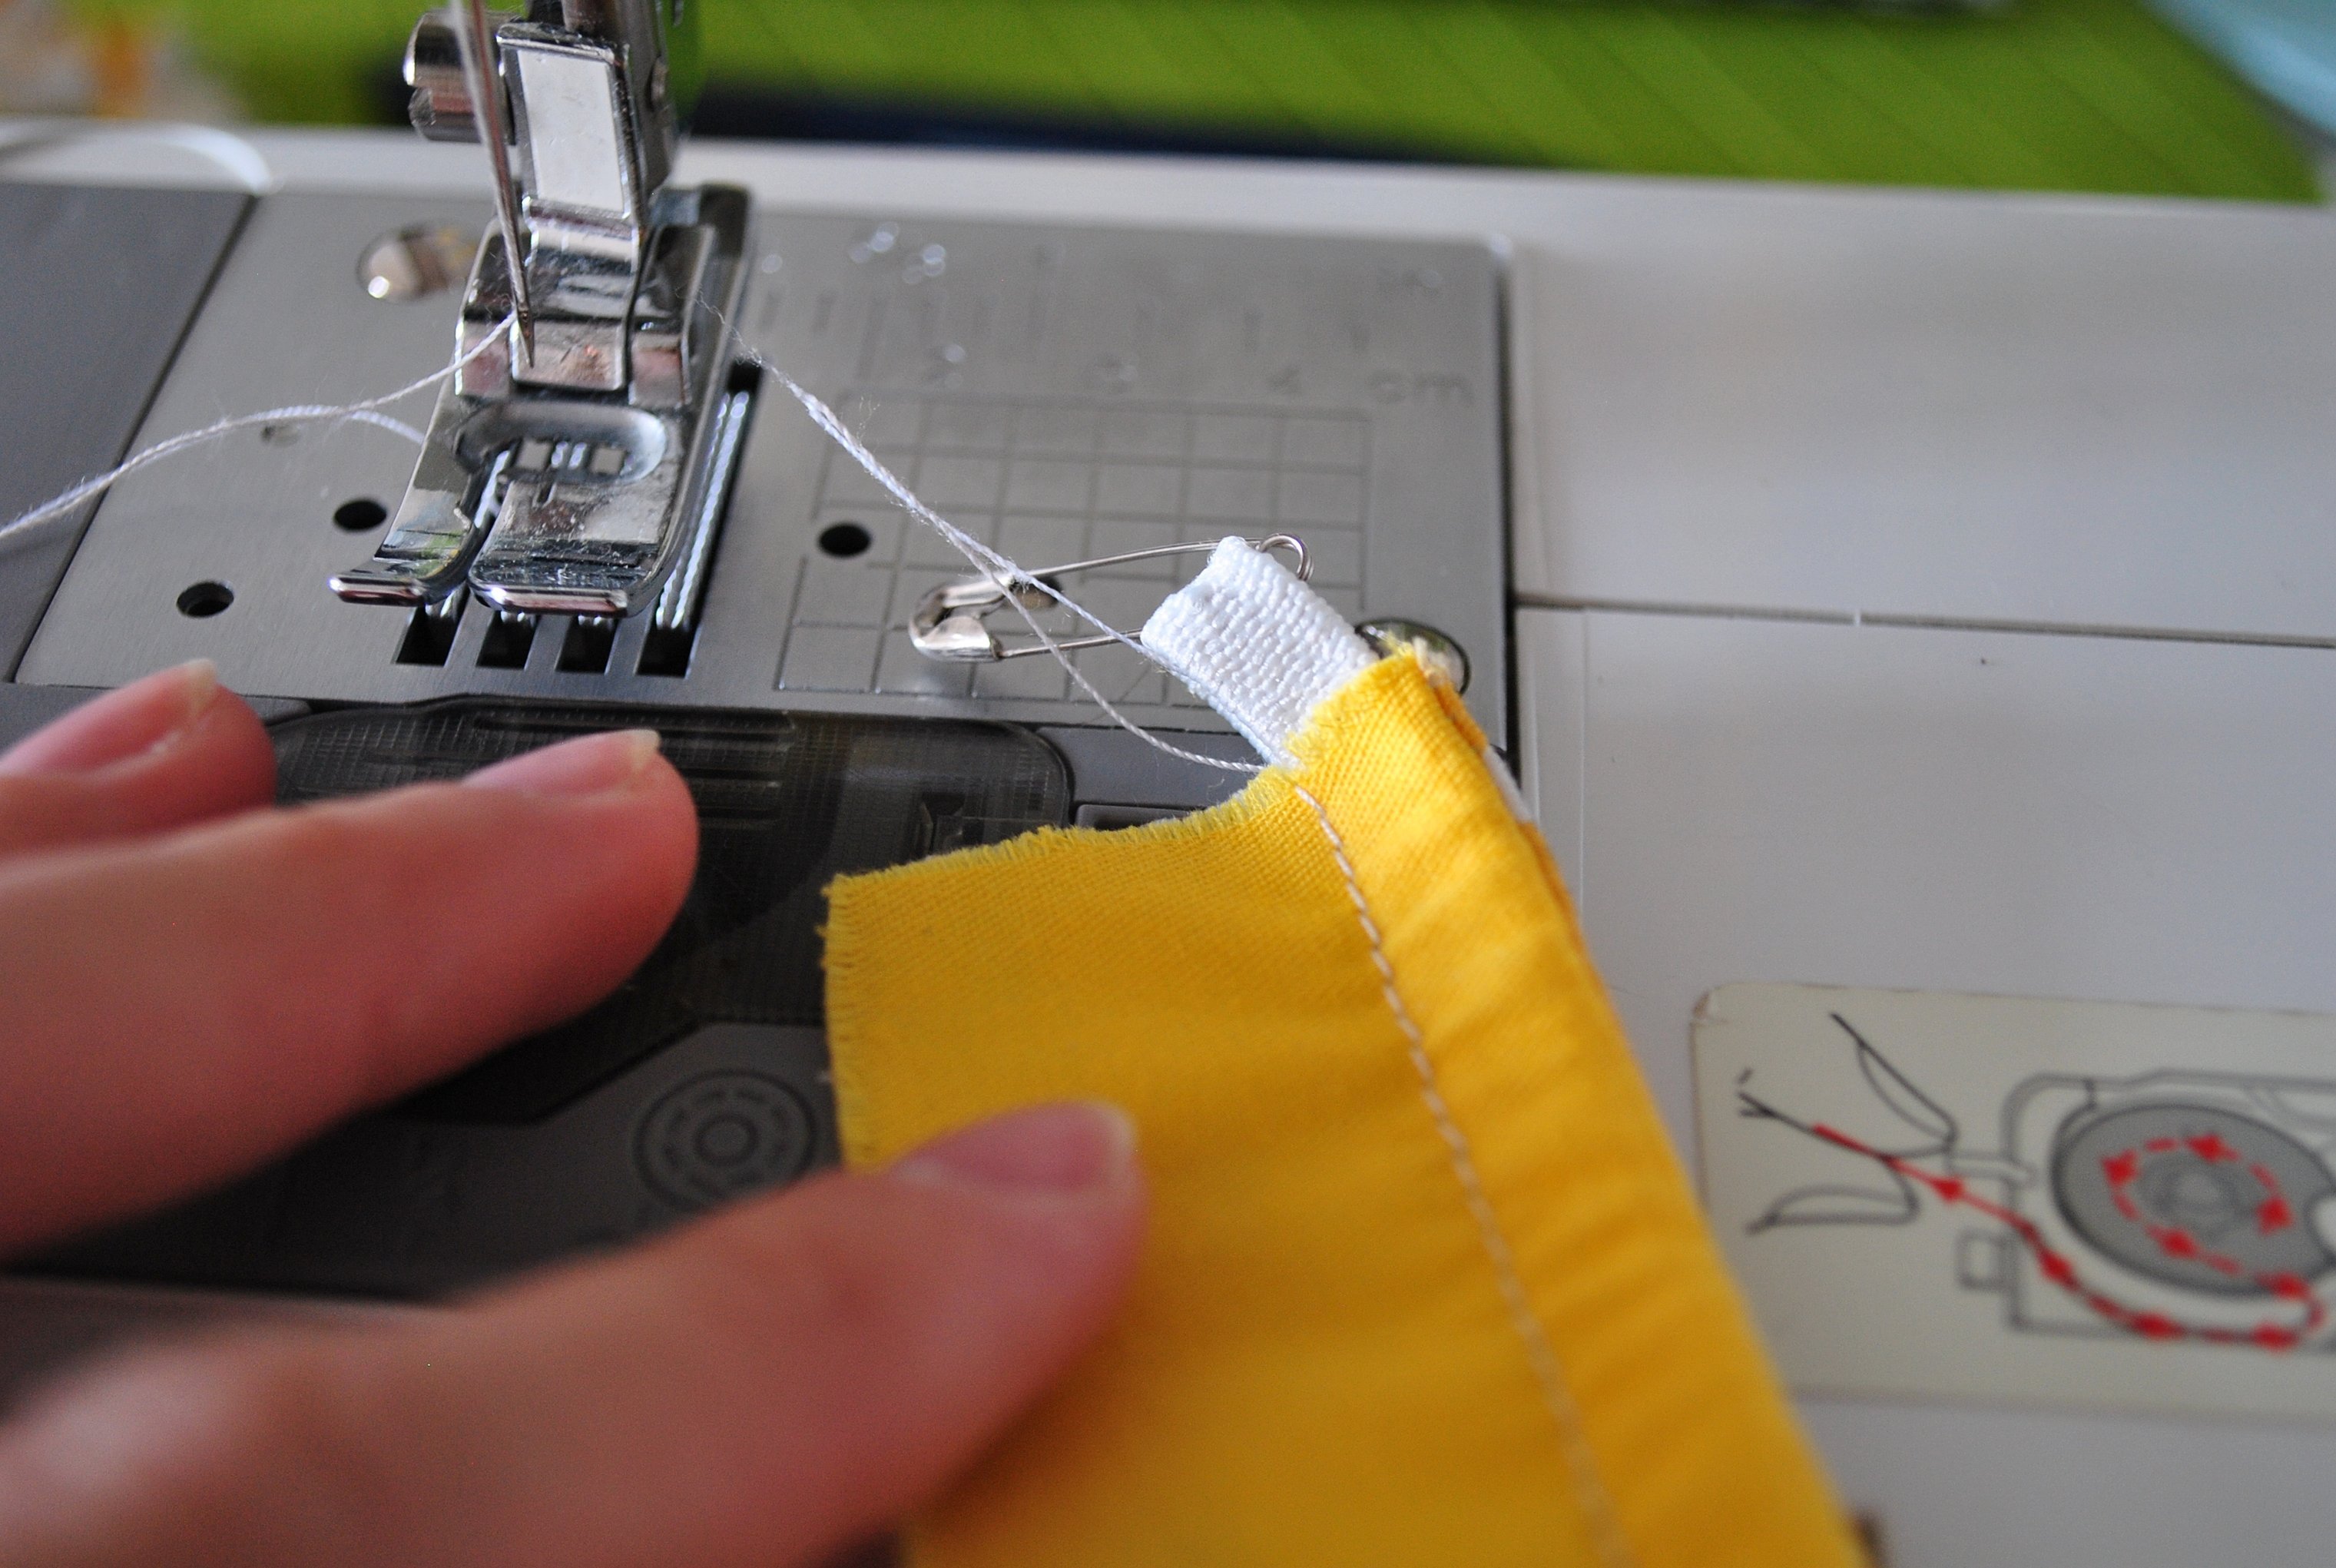
The same is done with the back details for the second moxa. Two 12 cm long pieces are cut from the elastic band. The elastic band is inserted into the back and its edges are sewn to the fabric by hand or by machine. This gives you a double-sided back.
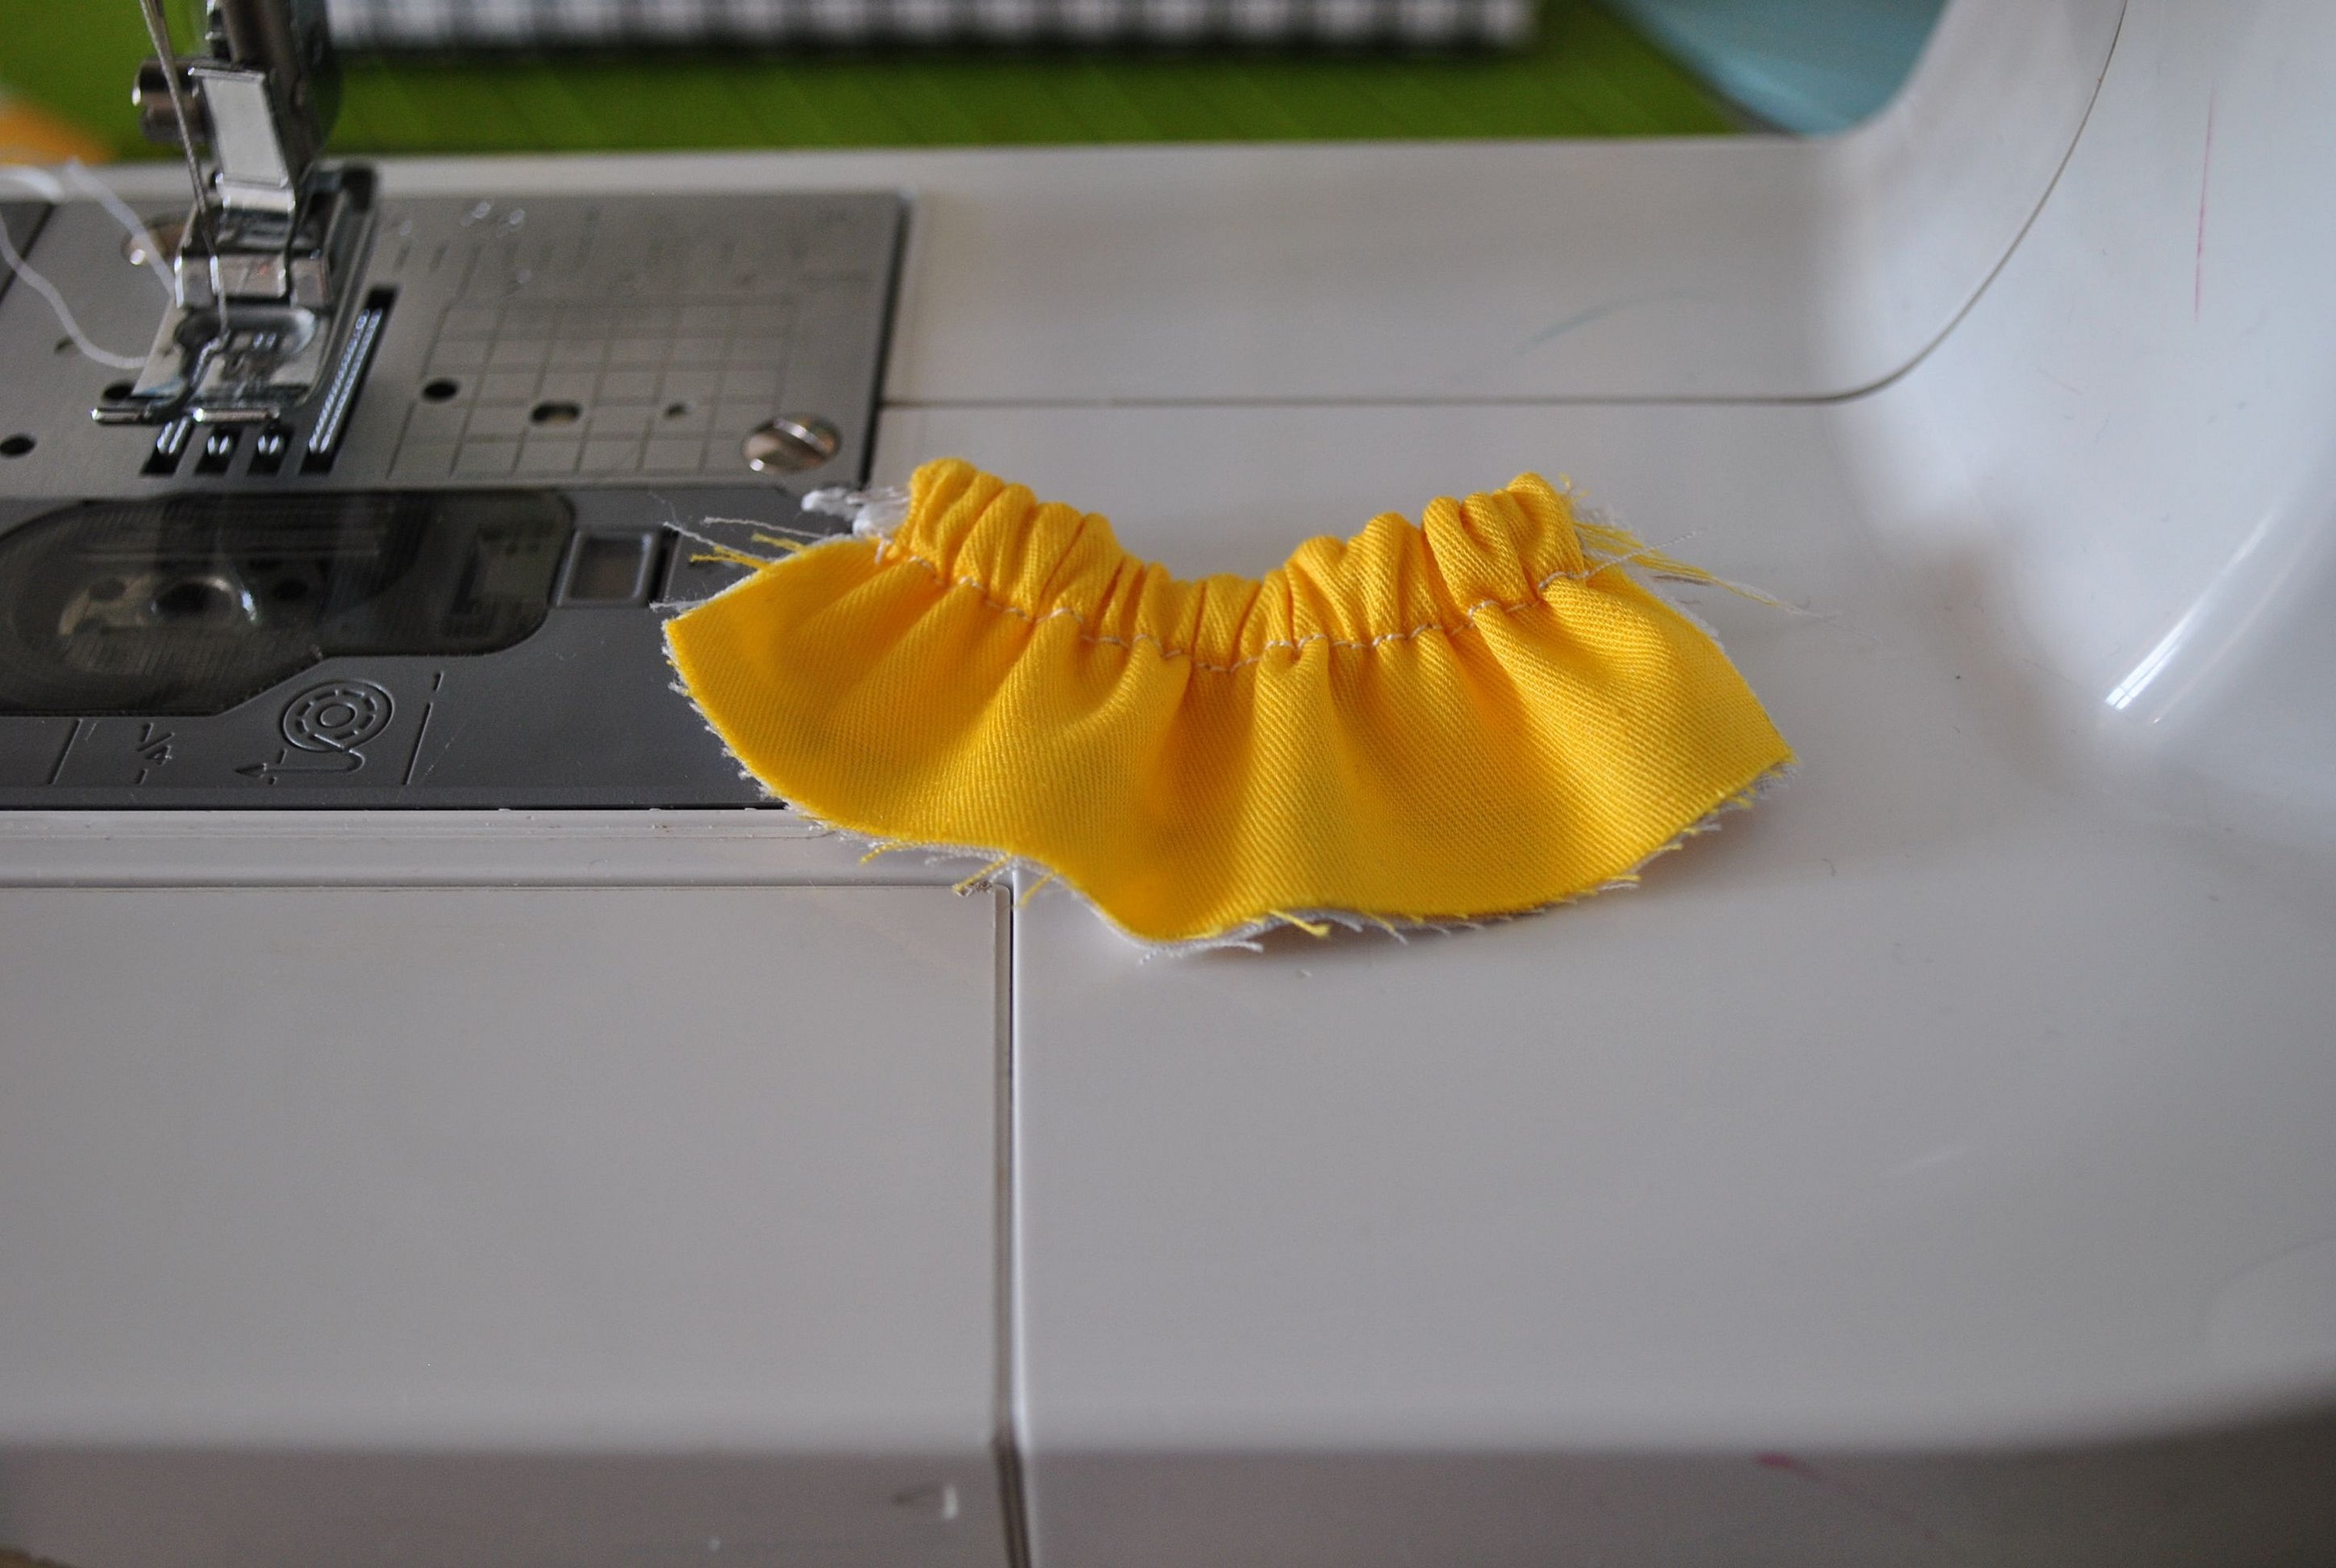
To ensure that the product is even and fits well on the child's foot, you will need to do the following: measure the size of the straight cut of the upper part, divide it by 3 and make marks. They will serve as the connection points of the upper with the back.
At the marked points, the back piece is stitched to the two-layer top piece. But first, you will need to pin the pieces together using tailor's pins. You need to pin them together so that the short cuts of the back piece lie on the marked third of the straight cut of the top.

In this case, the elastic looks inside the product, and the short cuts are located between the top parts, folded with the front sides. The top made of synthetic padding is applied to the parts pinned in this way, and all these layers are sewn together on a machine along a straight line.
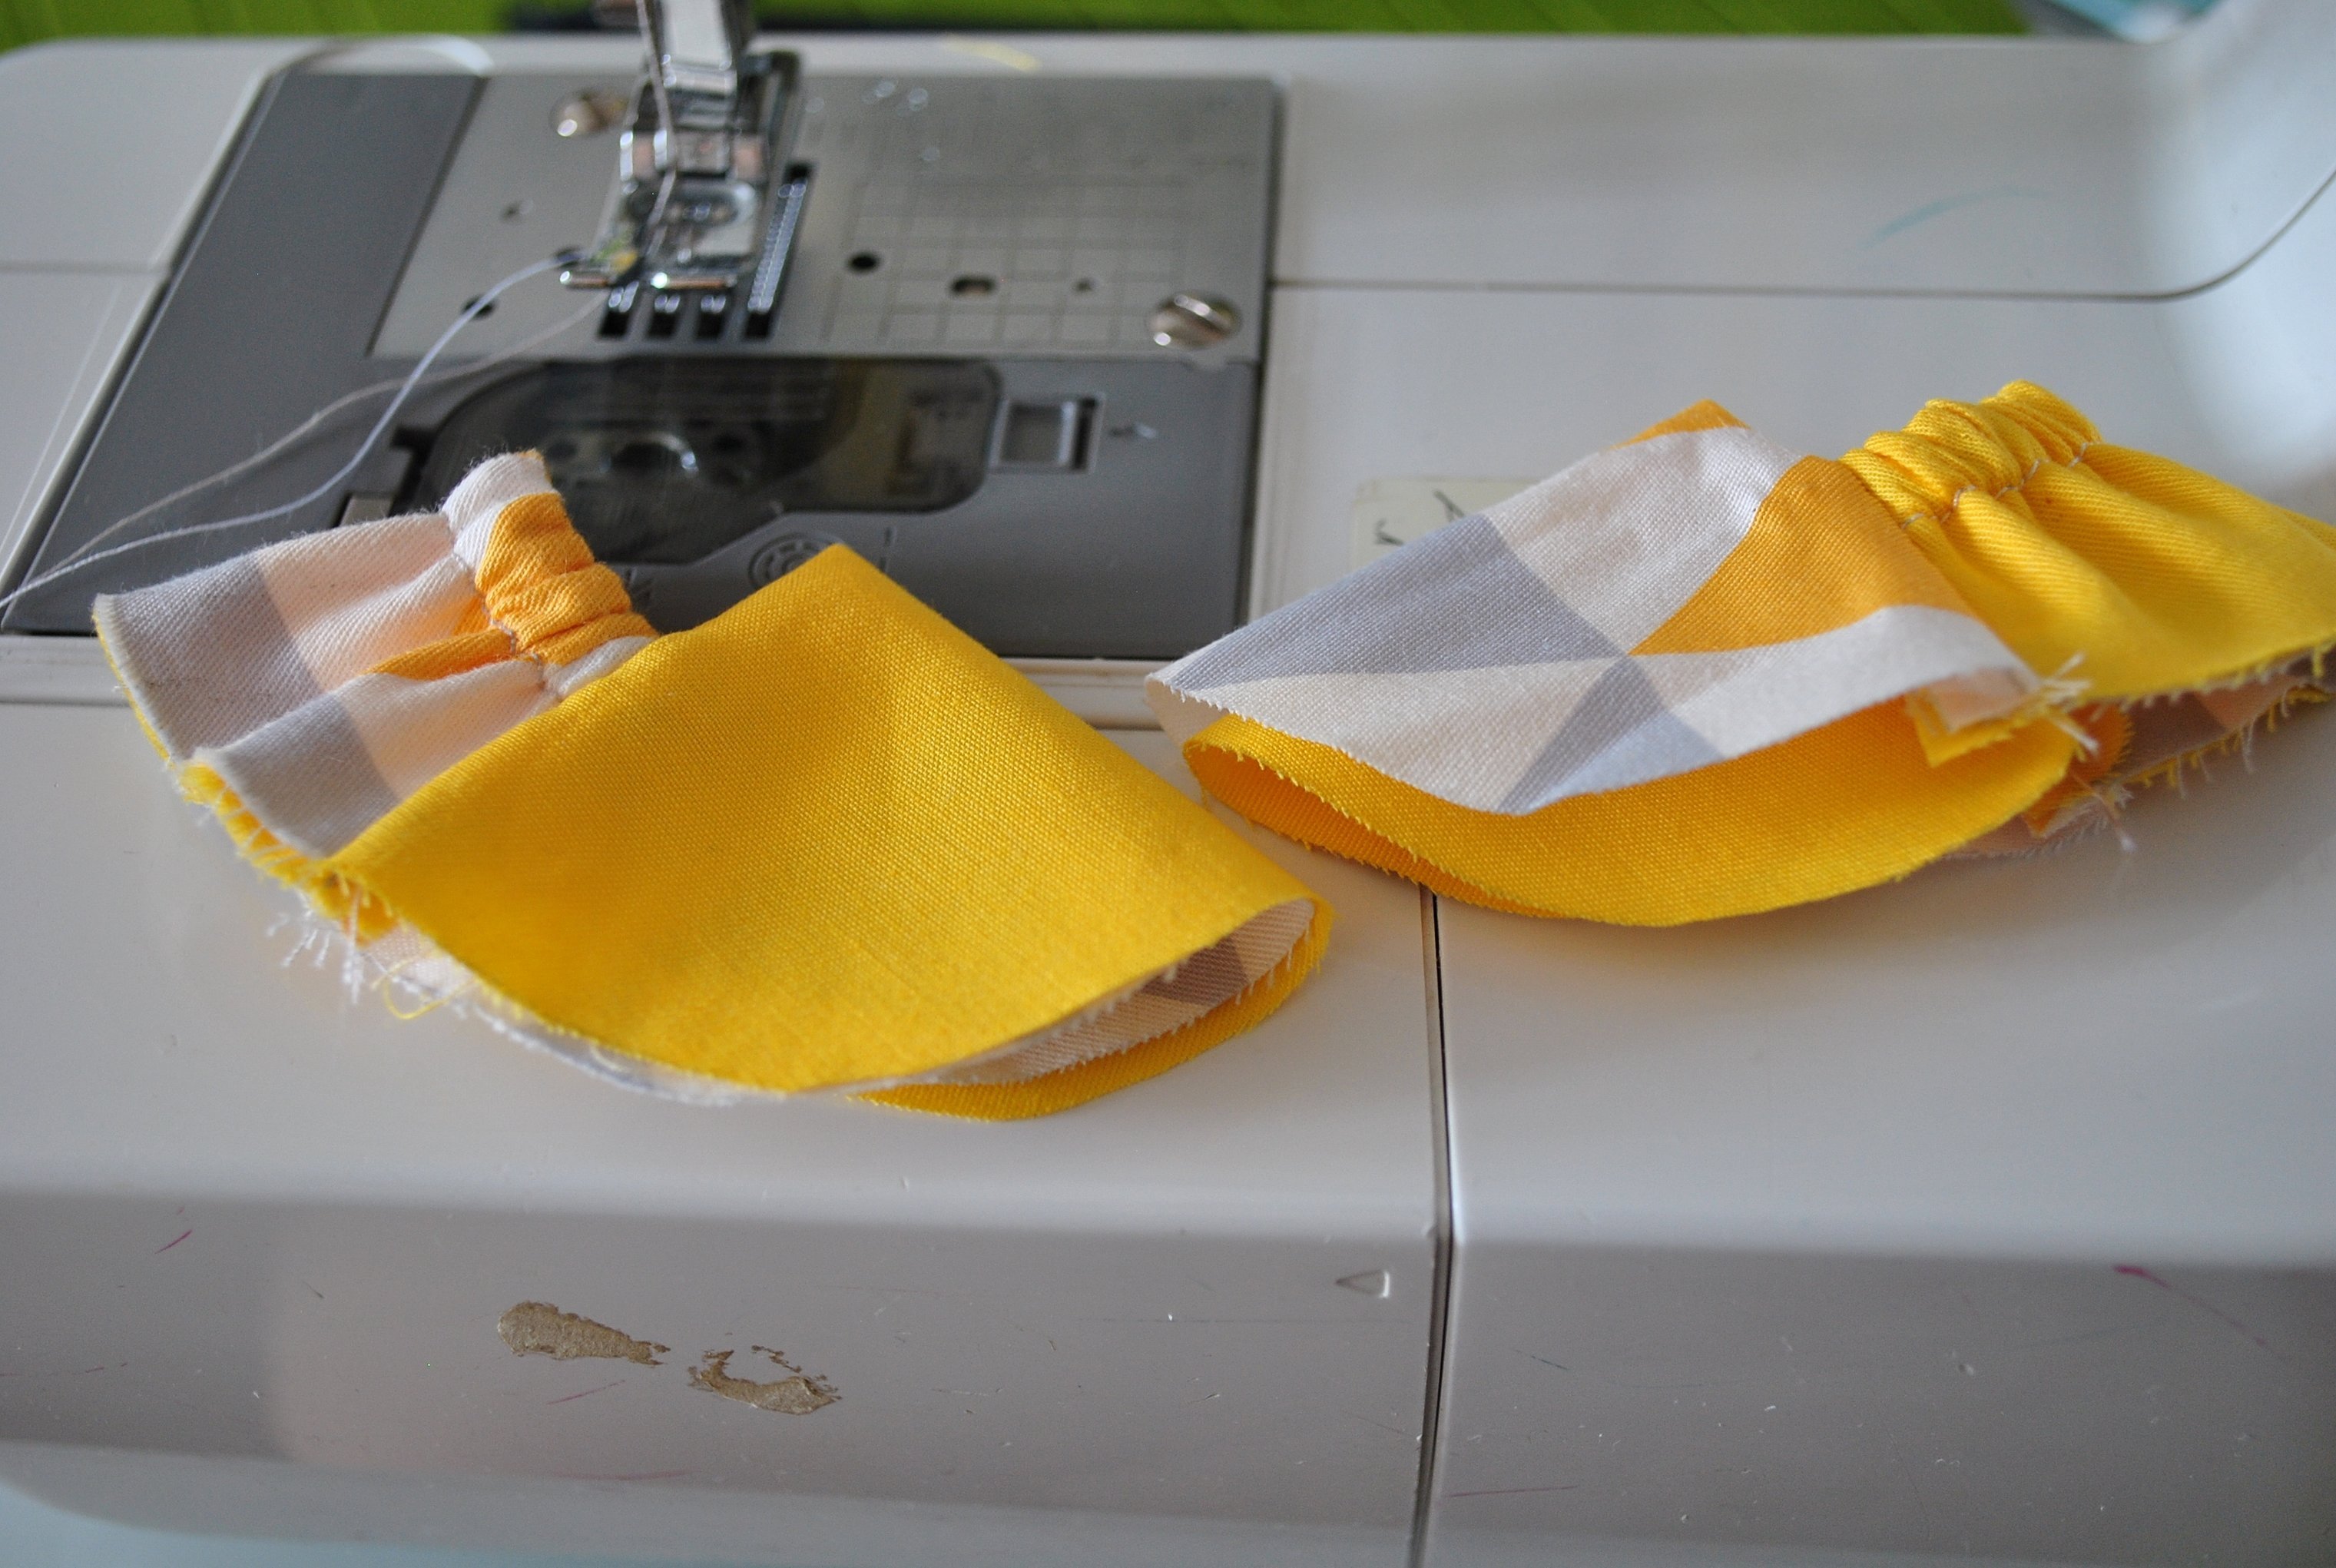
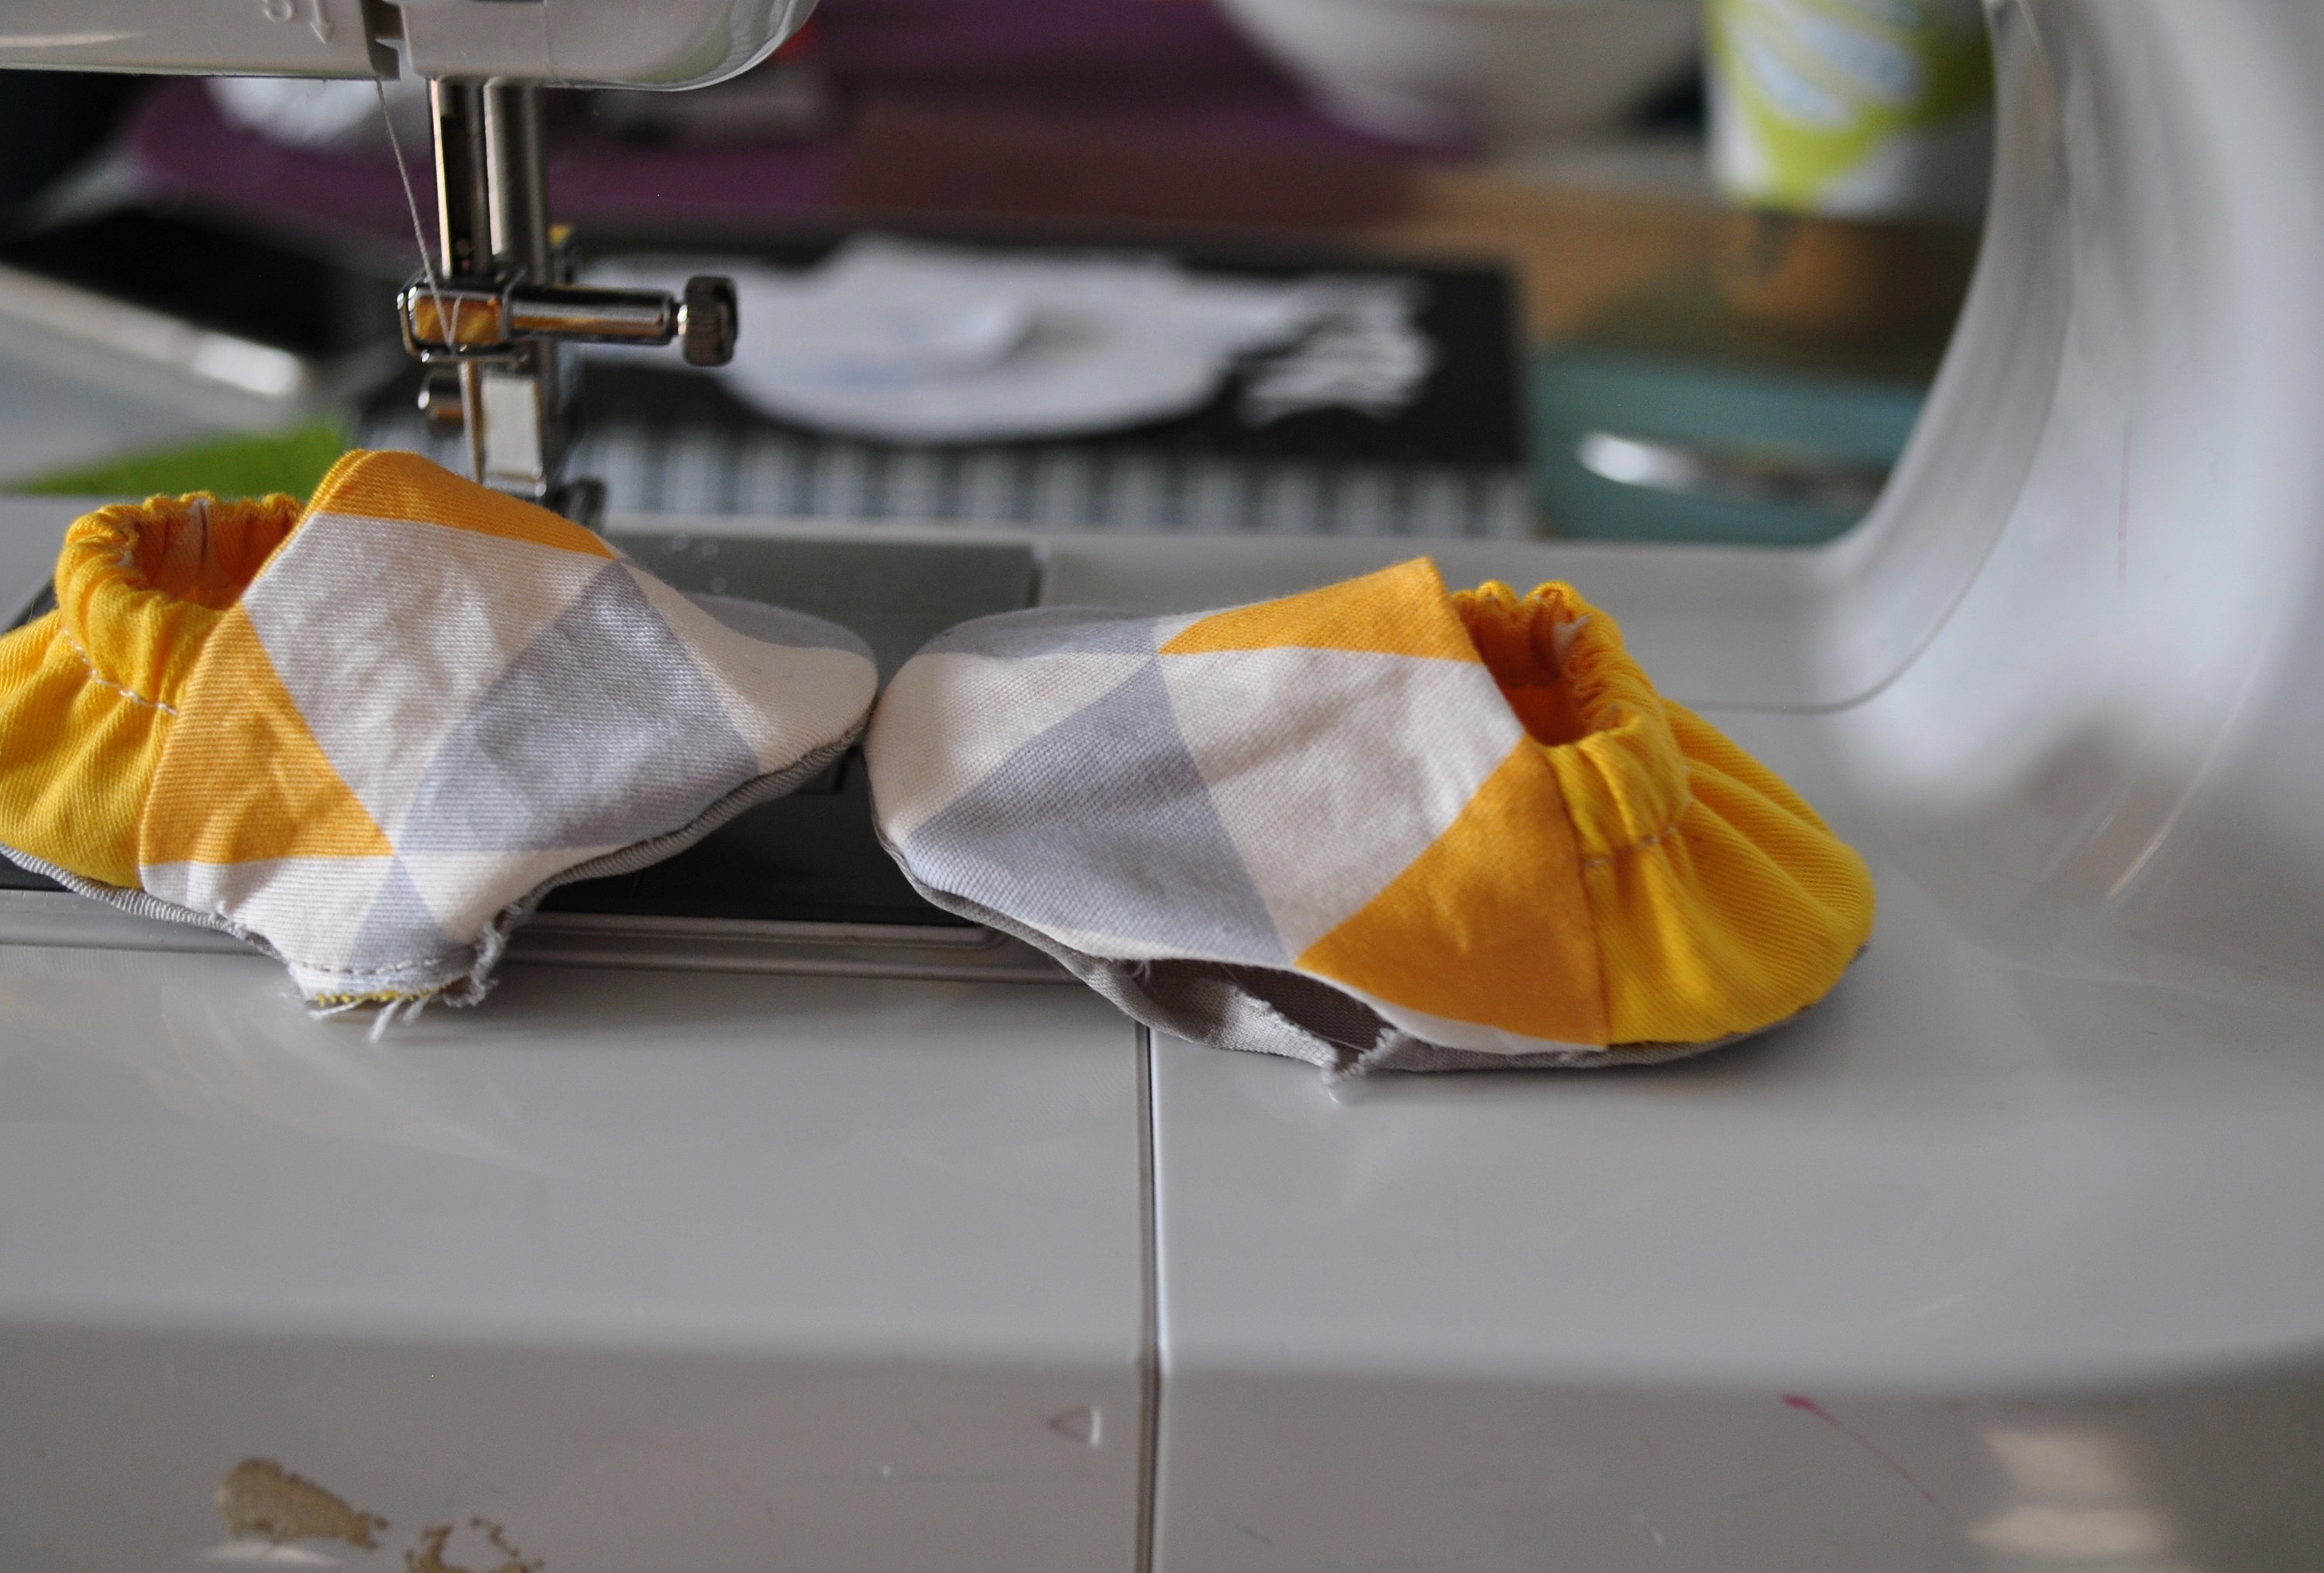
The top of the baby slippers is ready. All that's left is to sew the sole. To avoid distortions, mark the centers of the top and insole (exactly in the middle) and shift them on both parts. Pin them like this: one insole part to the top parts. In this case, the inner part will be sewn.
For convenience, you can make a basting stitch and then sew it on a machine.
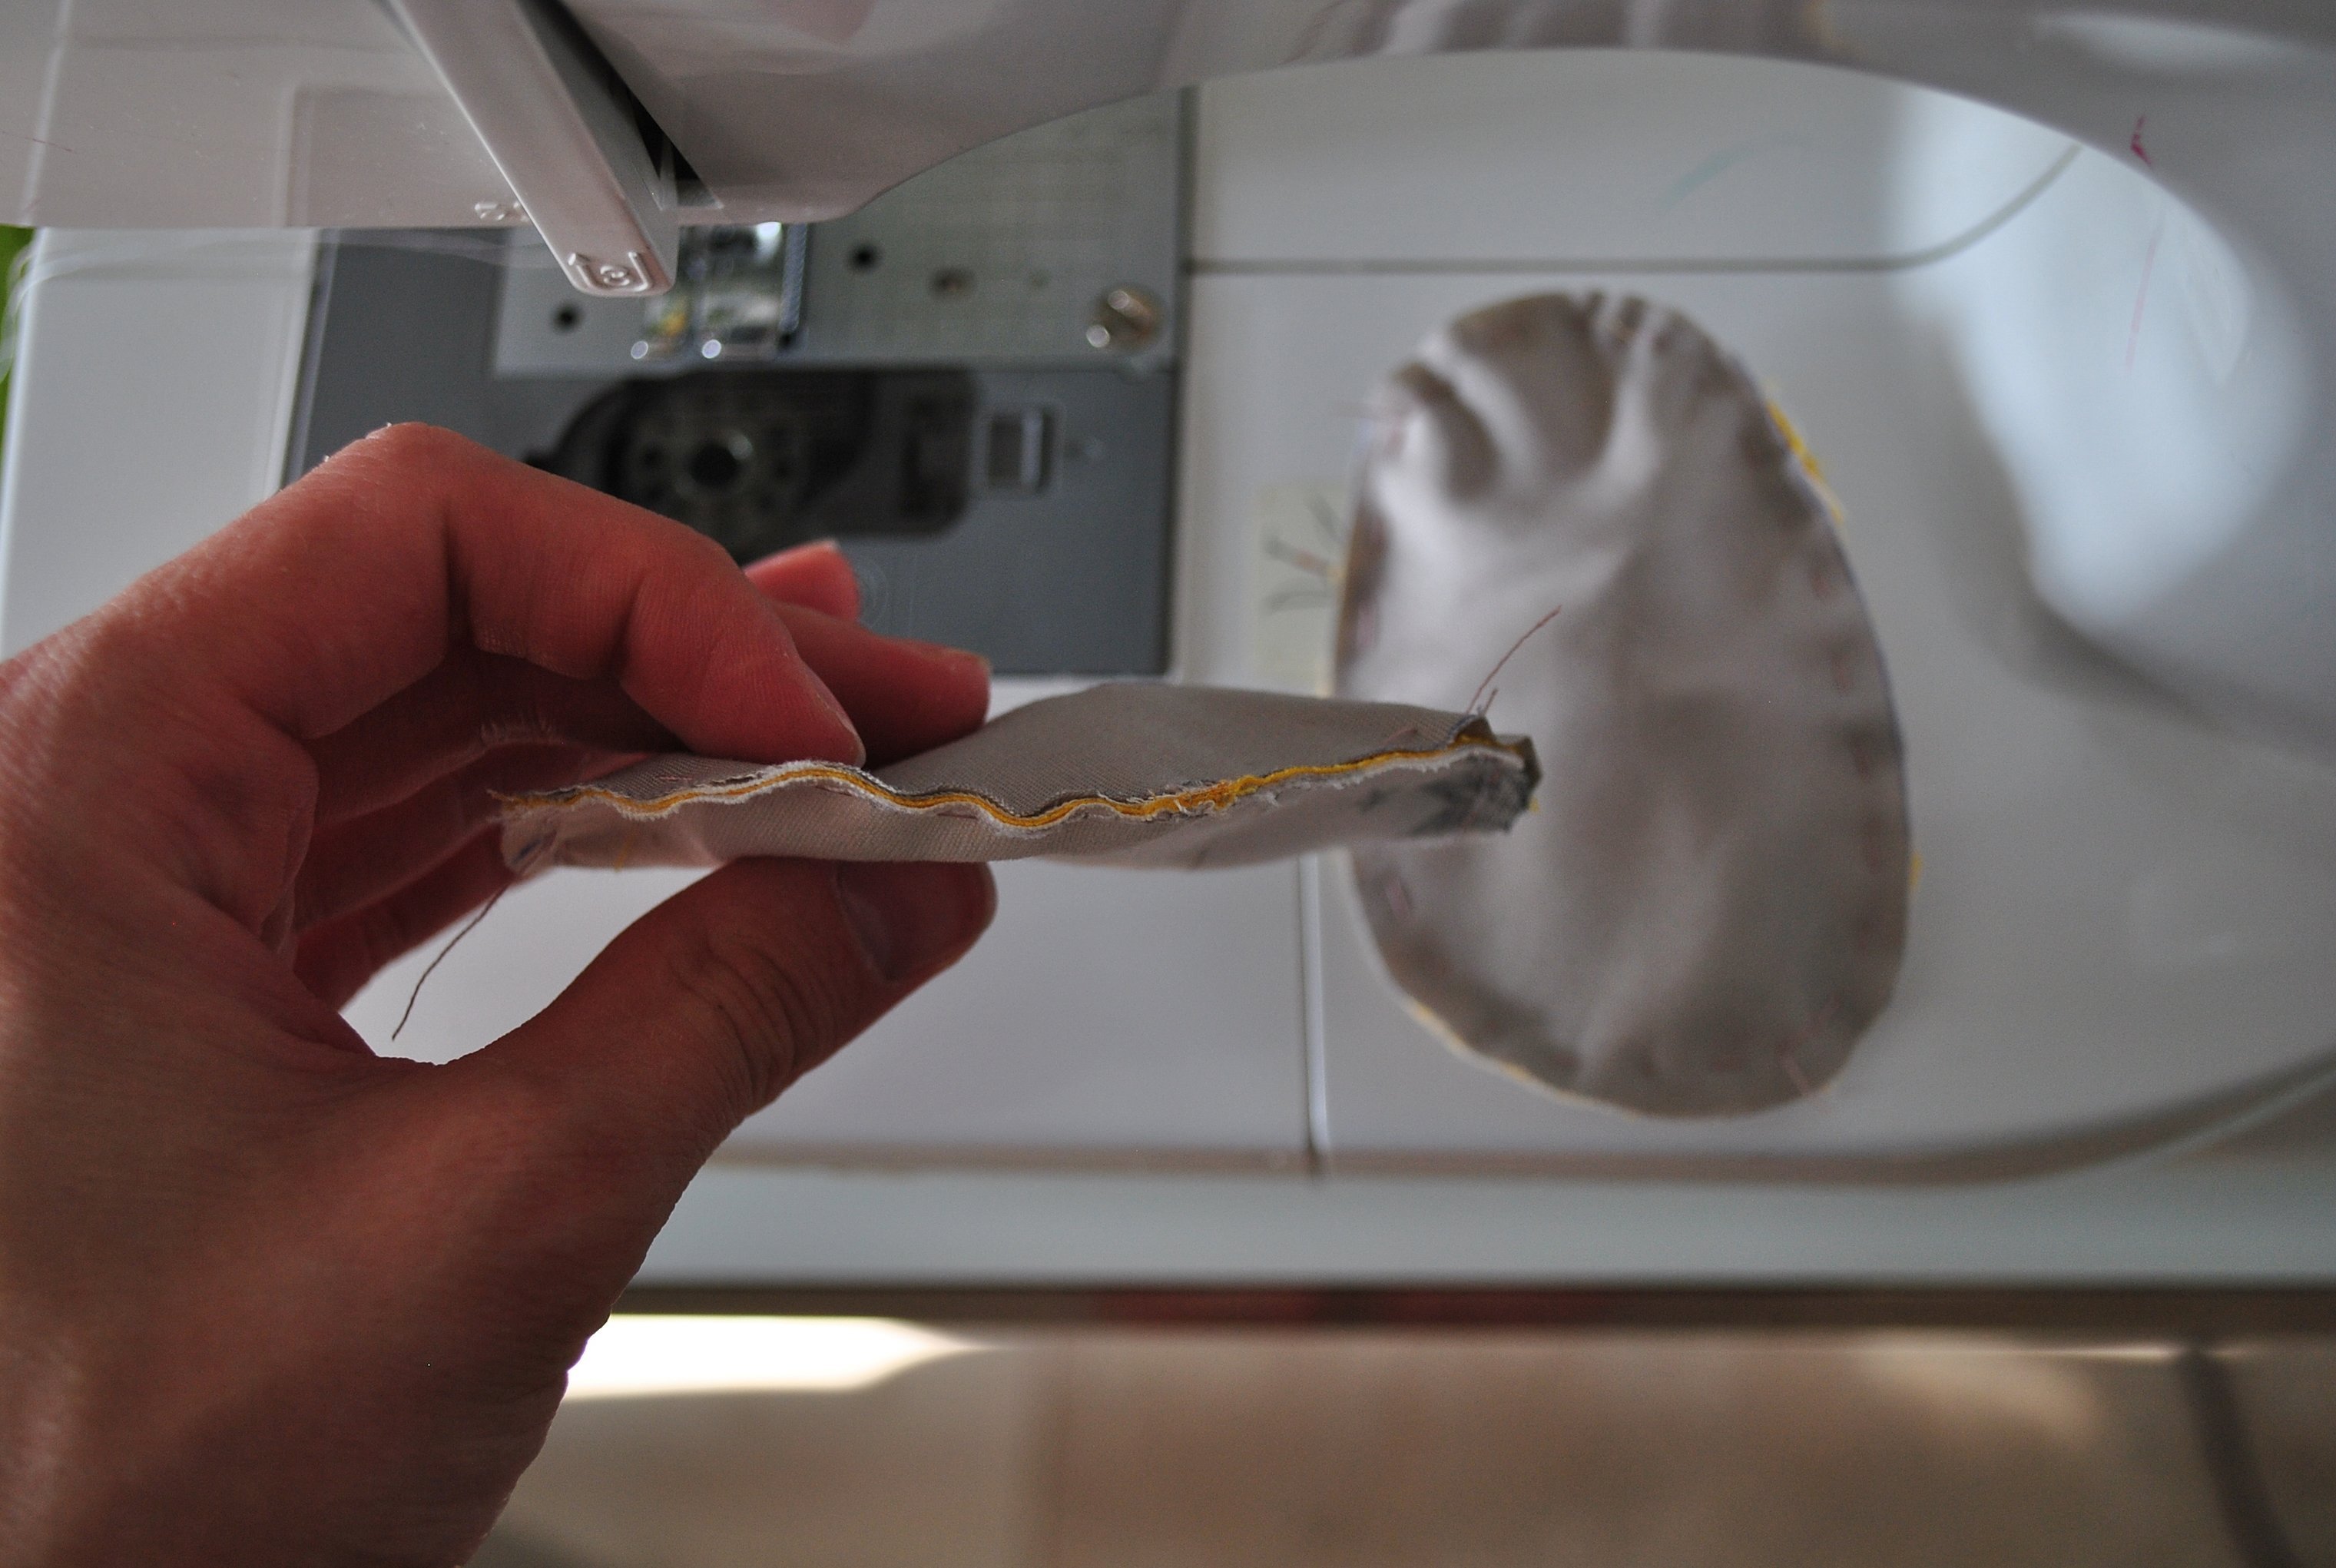
Now you need to sew the outer part of the insole. First, you need to mark the place on it that will remain unstitched. Through this hole, turn the moxas inside out.
Place the part face down on the assembled slipper so that there are sole parts on both sides. Machine stitch, leaving 3–4 cm unsewn.
Turn the moxas inside out through the opening and join the pieces along the unsewn edge with a blind stitch.
Please note! If thick material (such as leather or felt) is used for the outer sole, it will have to be sewn on manually using a backstitch. An awl, used to make holes in the leather or felt for the stitches, will make the task easier.
Moxa Decoration Options
Any mother who has sewn a new thing herself will want to decorate it. And it doesn't matter that the newborn princess won't appreciate it yet. A sense of style and beauty is instilled from the cradle.
Little knights are not far behind the girls. In addition, the decoration will make the slippers for home exclusive. After all, so many needlewomen - so many ideas.
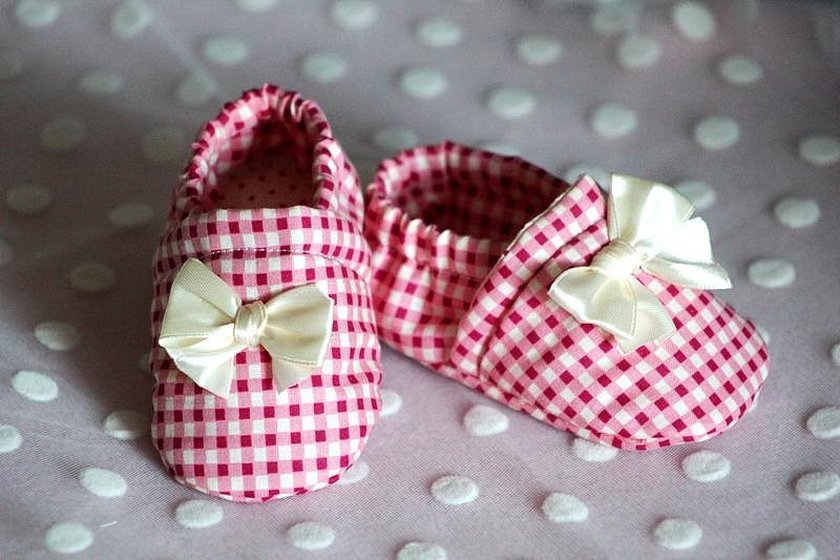
As a decoration option, you can use soft lace braid, pompoms, fabric frills. The main thing is that it is comfortable and does not cause discomfort to the baby.
If there are enough pieces of fabric left over from sewing, you can sew other wardrobe items for your baby (a cap, a bib, etc.).

Having tried to sew it on her own once, a mother-craftswoman will be able to explain to her friends how to sew moxas for children. This activity is simple and exciting.


