Fashion changes, but classic models remain in trend. A bell skirt is simple and universal in its execution. How to build a bell skirt and a pattern will be described in this thematic material.
- What is this?
- Choice of fabric
- Materials and tools
- Taking measurements
- Construction of the pattern
- How much fabric will be needed?
- How to sew
- How to cut?
- Sewing in 2 seams
- Skirt with pleats
- Skirt cut with one inverted pleat at the front
- Pattern of a skirt with several pleats
- Bodice and hem finishing
- How to sew a belt
- How to wear
- By color scheme
- Shoes
What is this?
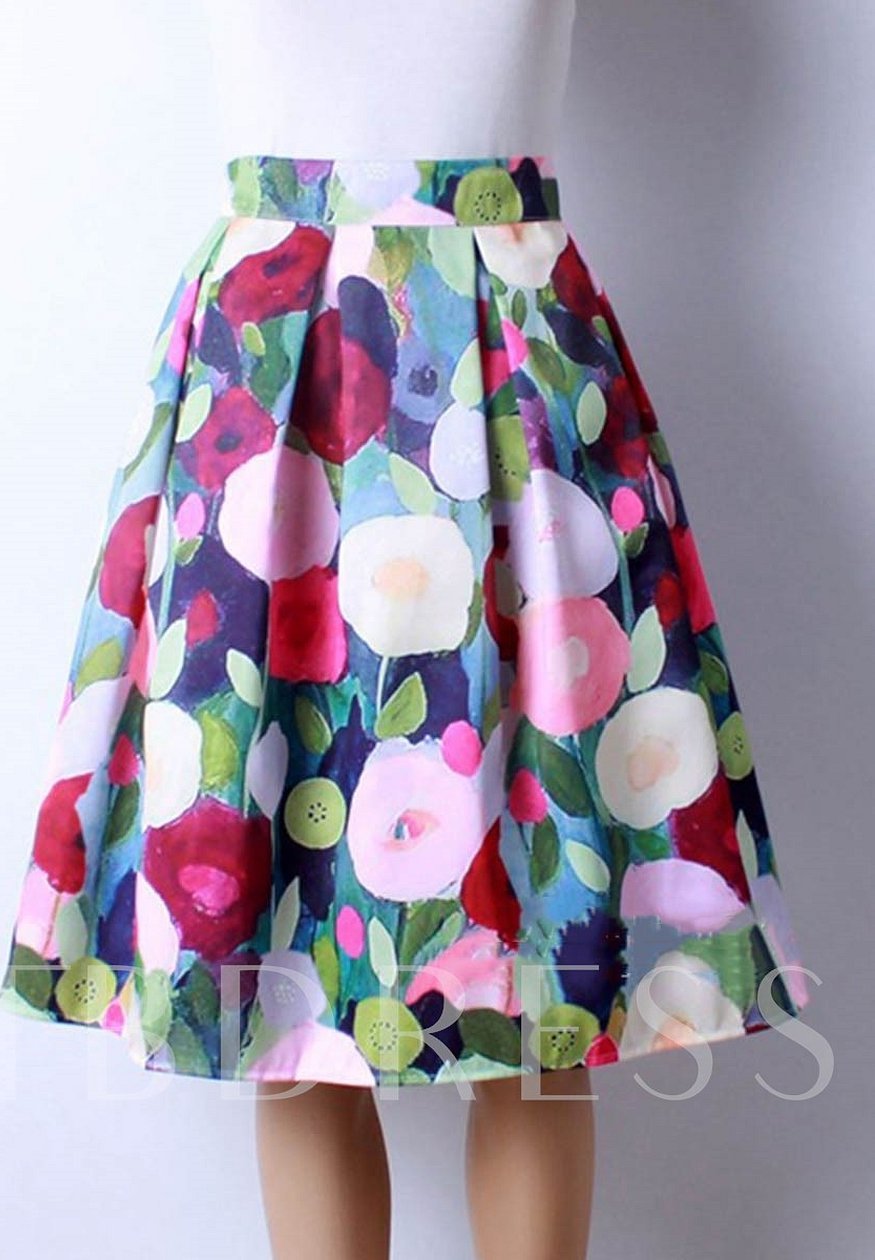
The name “bell” was given to the product because of its conical shape: the skirt slightly flares from the waist to the hemline.
Sometimes, the style is confused with the "half sun". The styles are similar only in appearance, but differ in width. The bell skirt is slightly narrower - it takes up 1/5-1/7 of the circumference, while the "half sun" takes up 0.5 of the circumference. The first variety lies flat, and the second - loosely.
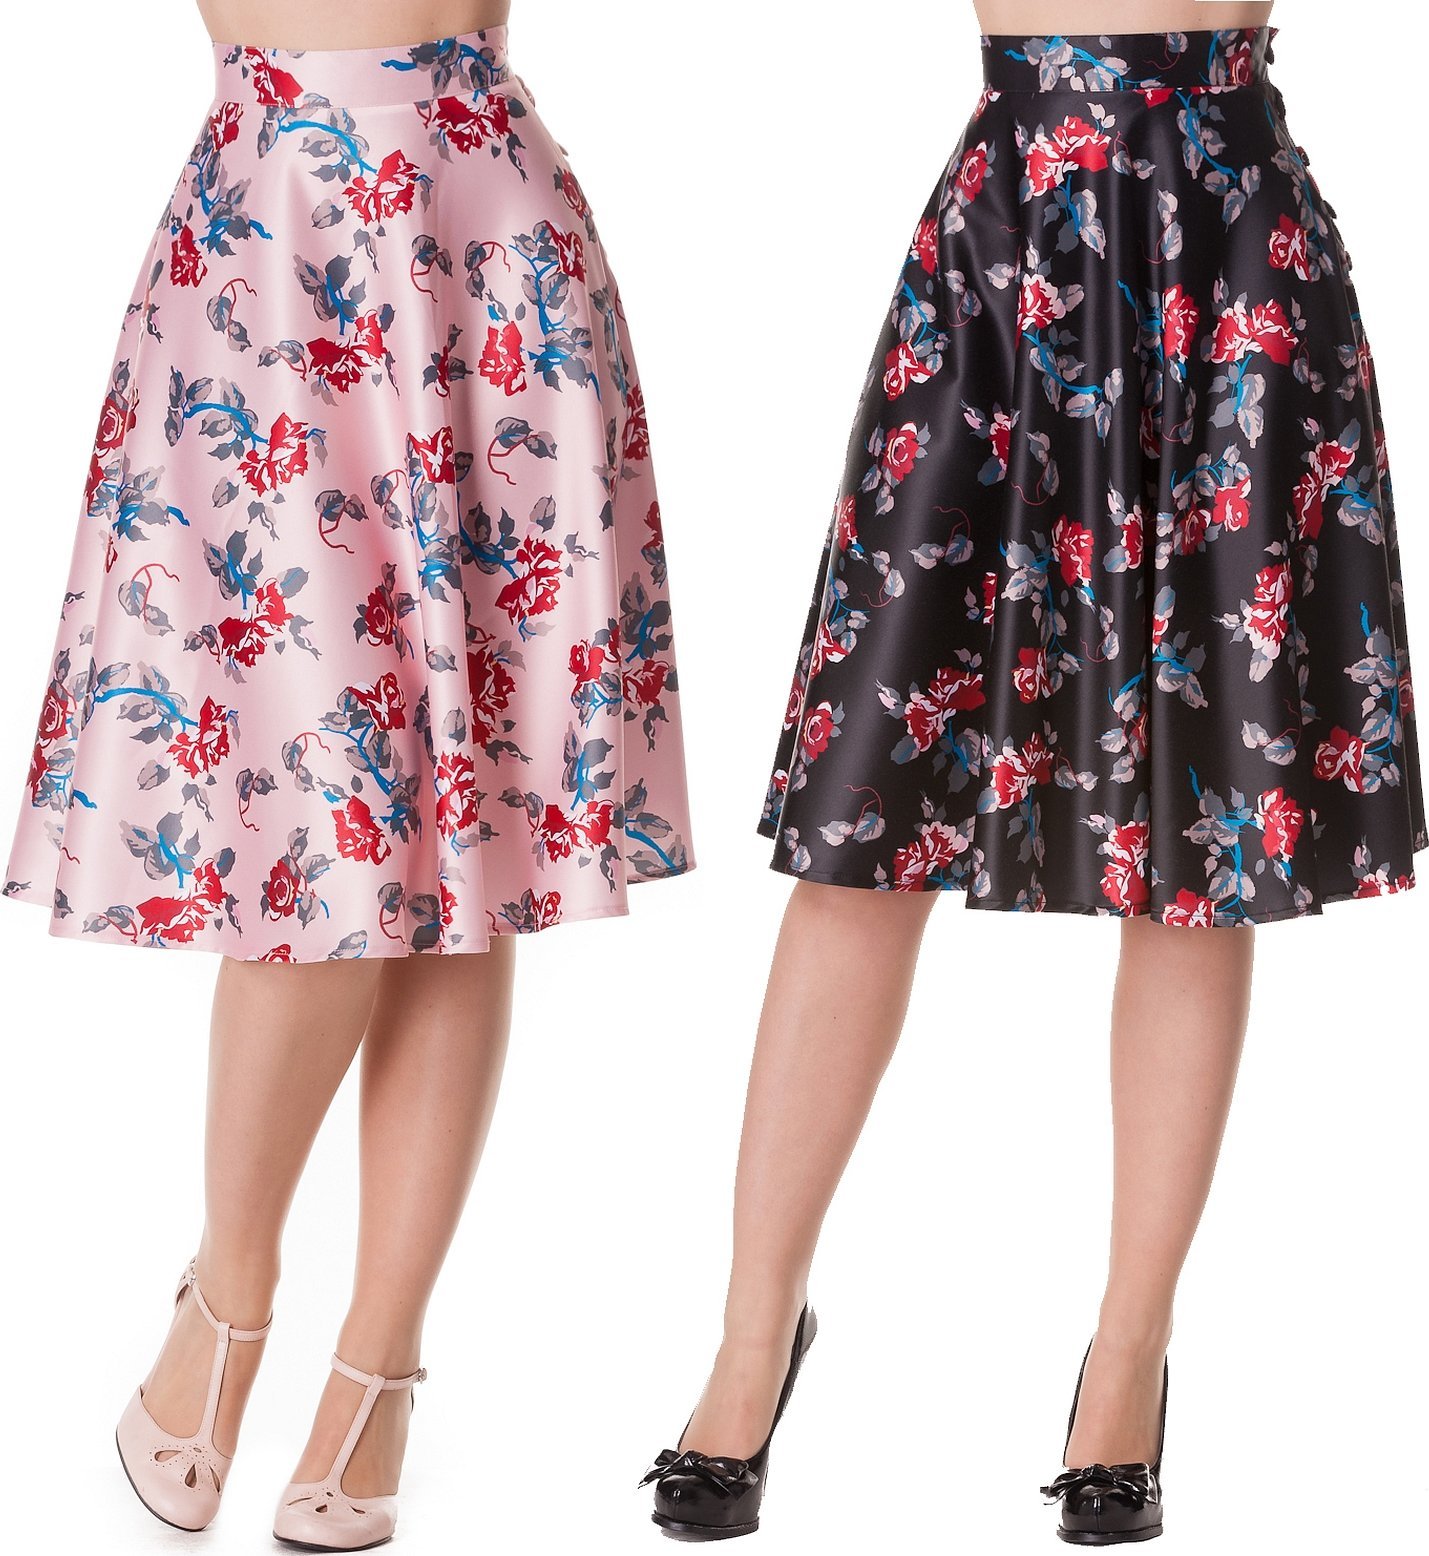
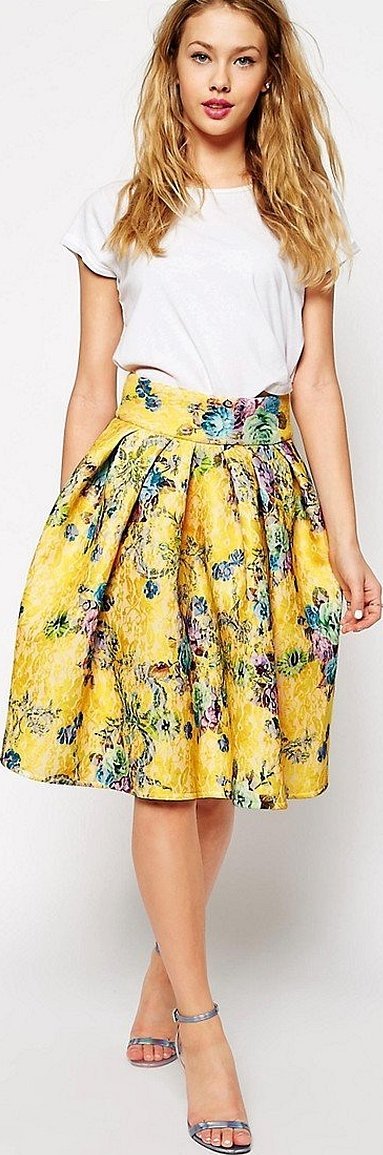
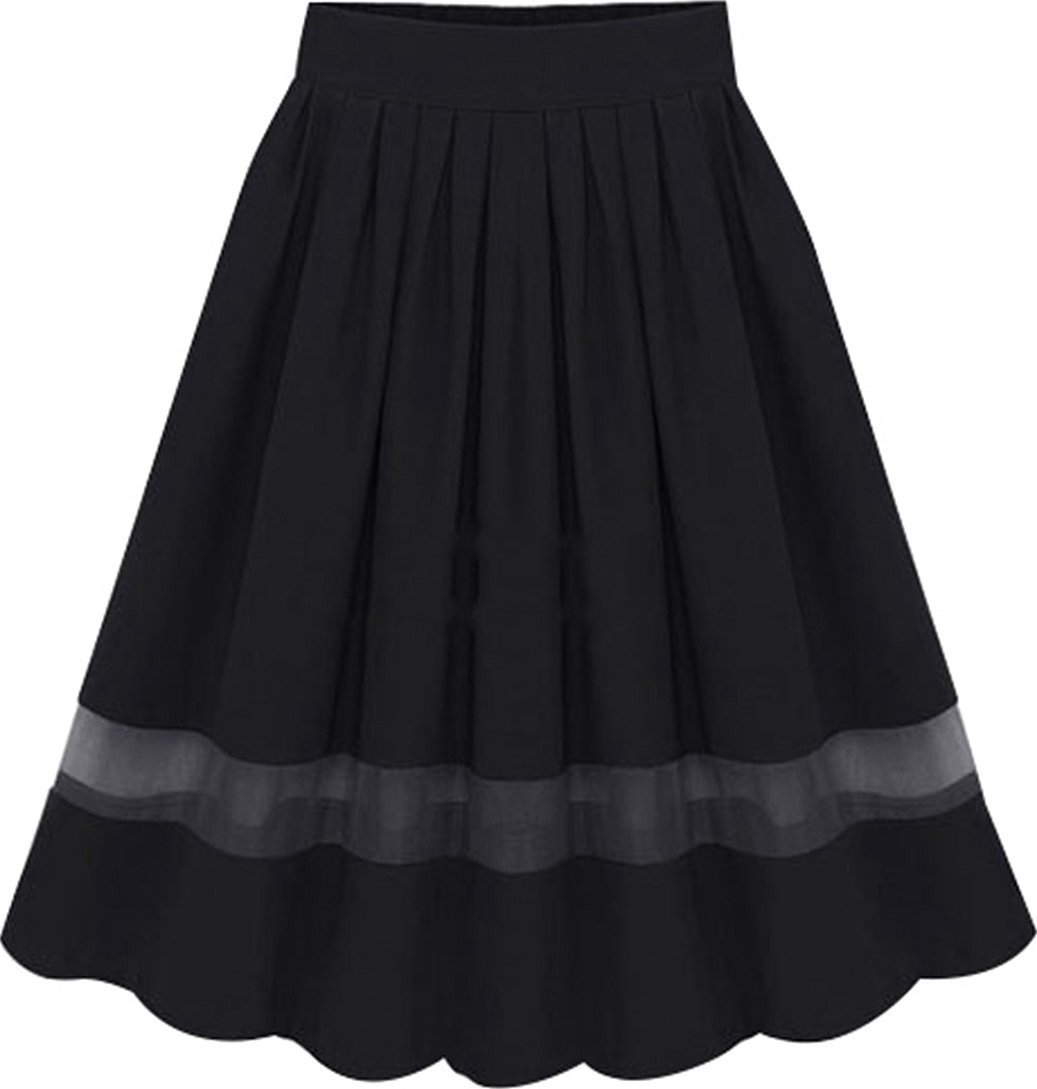
The length of the model is arbitrary: mini, midi, maxi - it all depends on the preferences of the owner of the product, and the parameters of the thickness of the bottom are based on the features of the body structure.
It is not difficult to sew the product. The sewing process will not take much time. In the patterns published online, DI is not taken into account, since it is not difficult to draw a line to the desired mark, the main thing is to make the correct calculations along the waist and hip line.
The skirt looks good on a figure of ideal proportion, without flaws. When cutting a bell skirt and a pattern with your own hands step by step, the emphasis is on the hips and waist. Such a skirt is made in different variations: mini, midi, maxi. In any case, the product will look perfect on a proportional female figure. A skirt on the bias, a pattern with your own hands step by step, is not difficult to make, such a product can be cut by a novice seamstress. The most important thing is to make an accurate calculation of the fabric, take measurements, and determine the width of the future product in advance. By width, such products are:
- Slight odor;
- Average;
- Wide.
To ensure that the product looks perfect on your figure, you should match the length of your waist to your hips:
- If the difference between the waist and hips is insignificant, it is preferable to choose a narrow option;
- For a large one - on a wide bell.
To help those who want to sew the product, here are some instructions.
Choice of fabric
For beginner seamstresses, the best choice is a single-color material. The fabric should not be loose - satin, linen, denim, leather.
Please note! Experienced needlewomen prefer silk or chiffon, knitwear. If you want the skirt to be warm, you can choose a soft semi-woolen material, sew a thin lining fabric to it.
For sewing the product, it is better to choose plain fabrics, although the presence of a checkered pattern and a small pattern will not affect the appearance of the product.
When choosing a material, do not forget that cotton shrinks when washed; before sewing, you need to wet, dry and iron the material.
Materials and tools
To work on the pattern you will need:
- Centimeter;
- Paper for patterns;
- Ruler;
- Felt-tip pen/pencil.

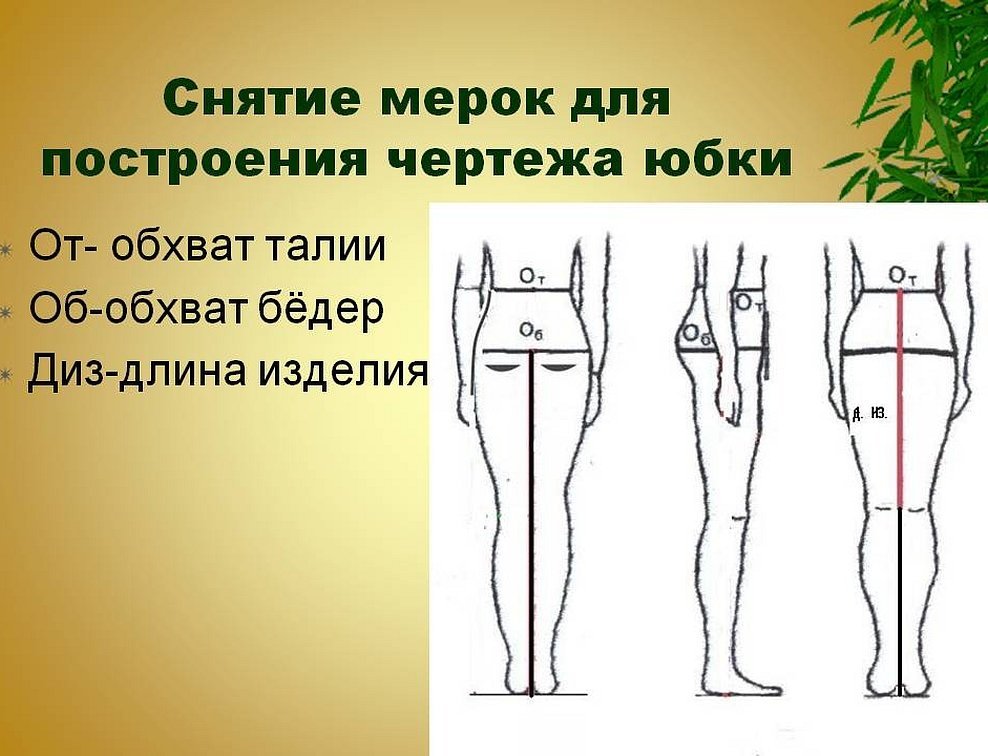
Taking measurements
- OT (waist circumference). Measurement is taken along the narrow waist line;
- OB (hip circumference). Measurement around the widest part of the thigh;
- DI (product length).
For example, OT - 78 cm, OB - 104 cm, CI - 70 cm.
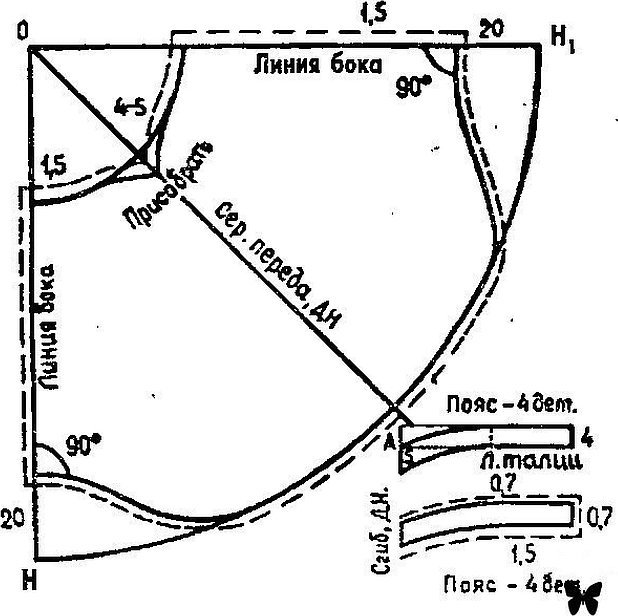
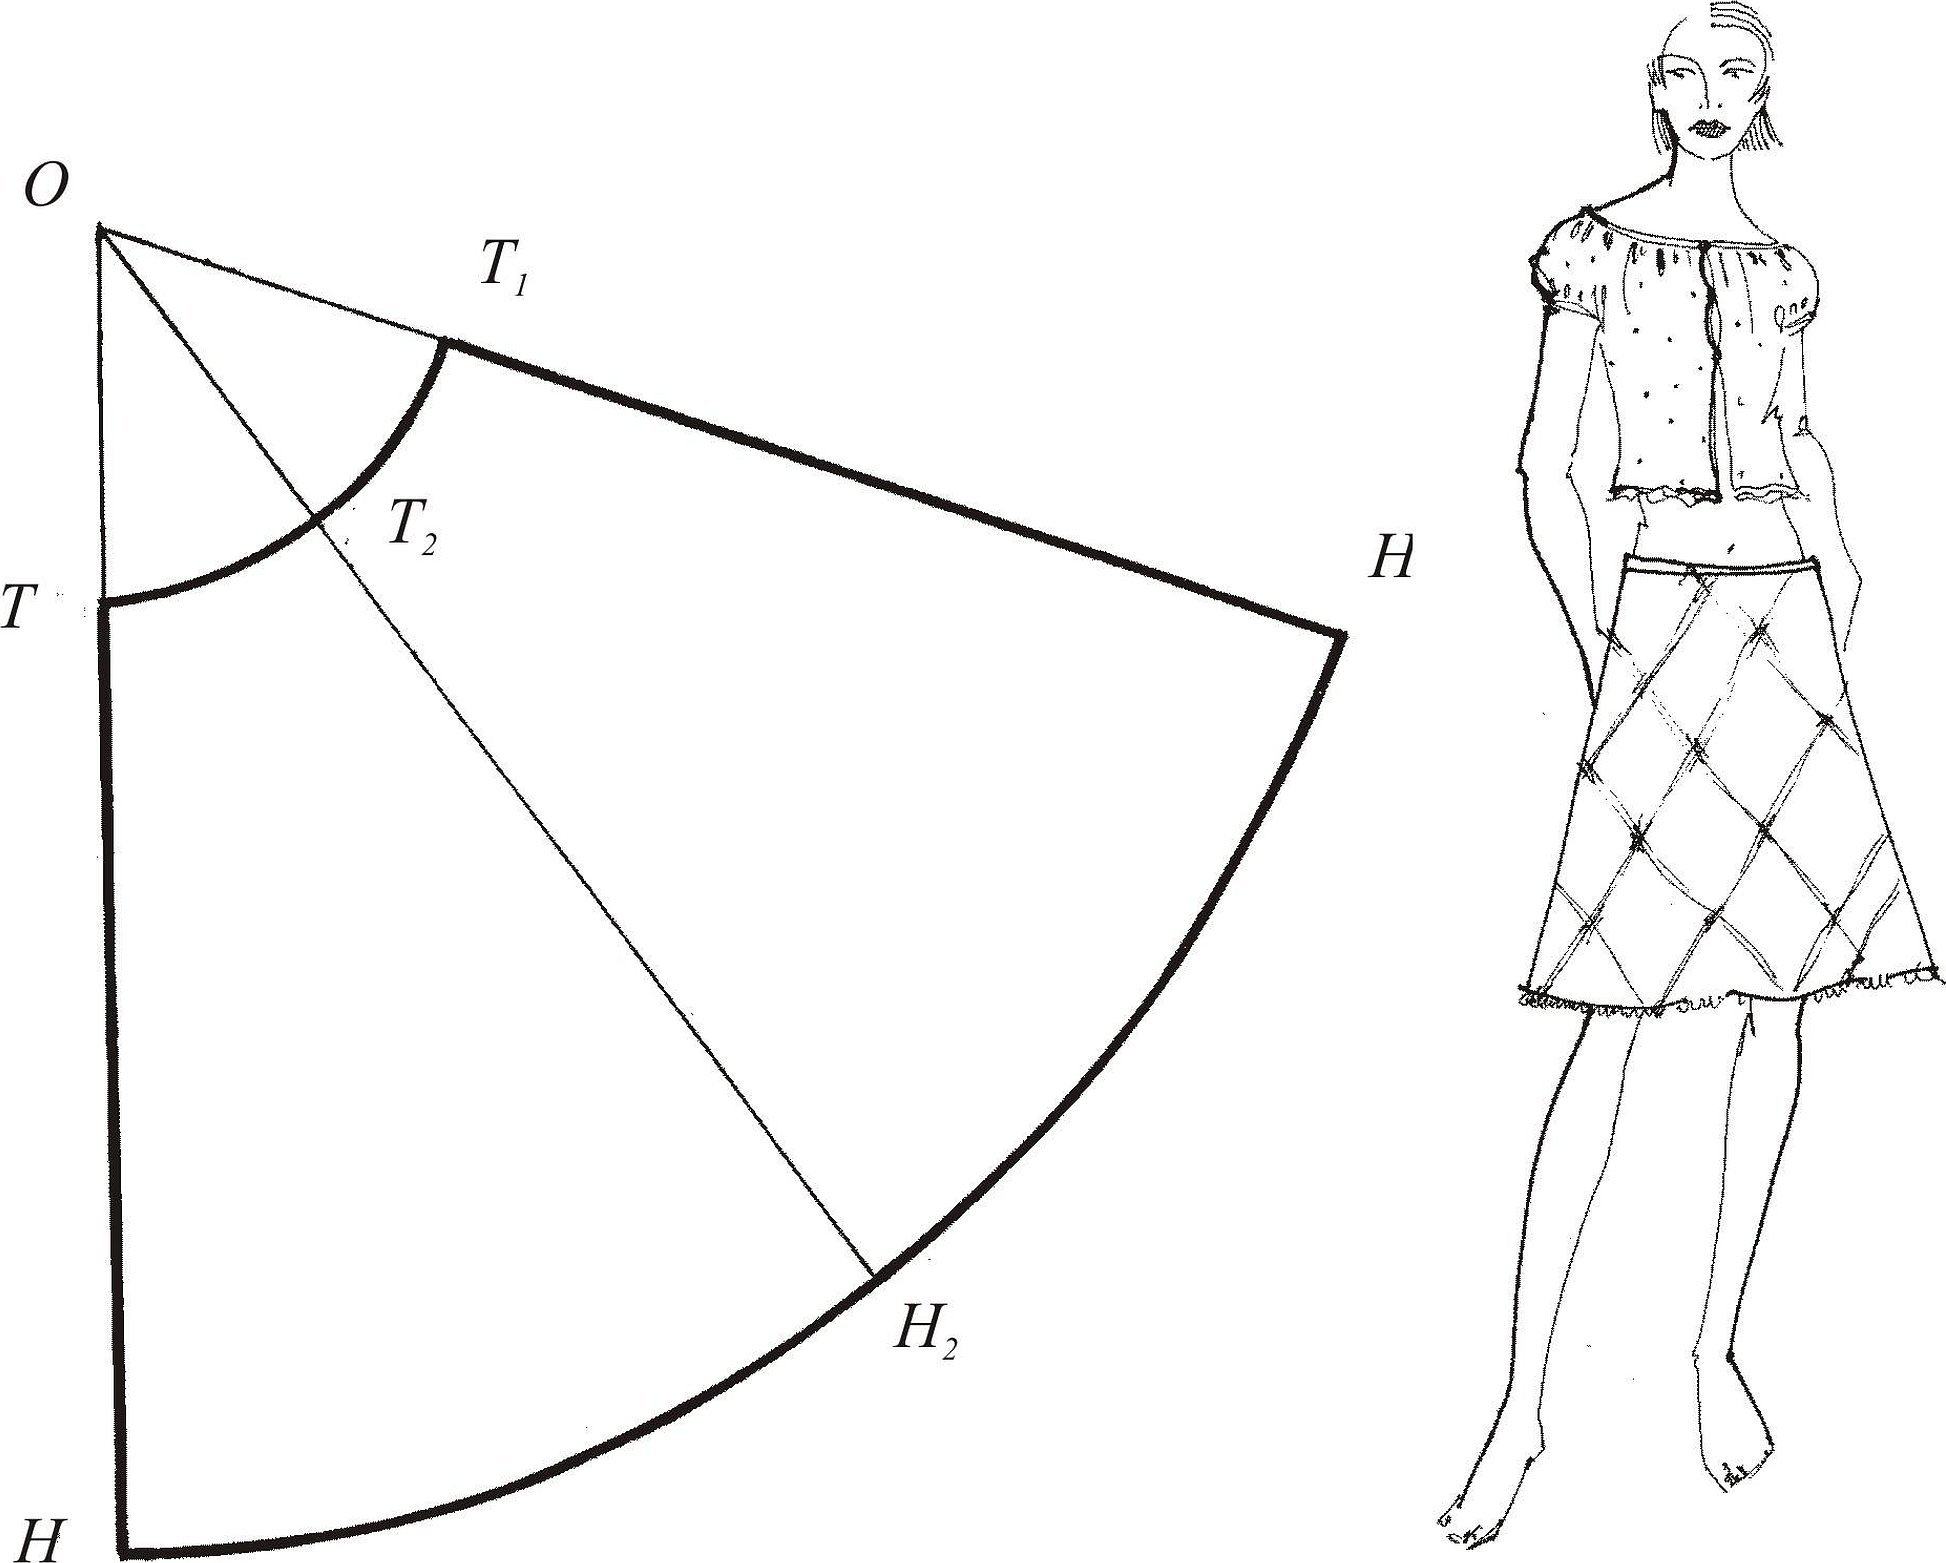
Construction of the pattern
They construct a 90 degree angle on paper with point A at the vertex. They find the value of K.
K — characterizes the curvature of the upper edge of the skirt at the waist. Depending on the expansion of the product along the lower border, K can be:
- 0.8 - large bell;
- 0.9 - average;
- 1 - small.
The bell is chosen to be medium. The value of K is 0.9.
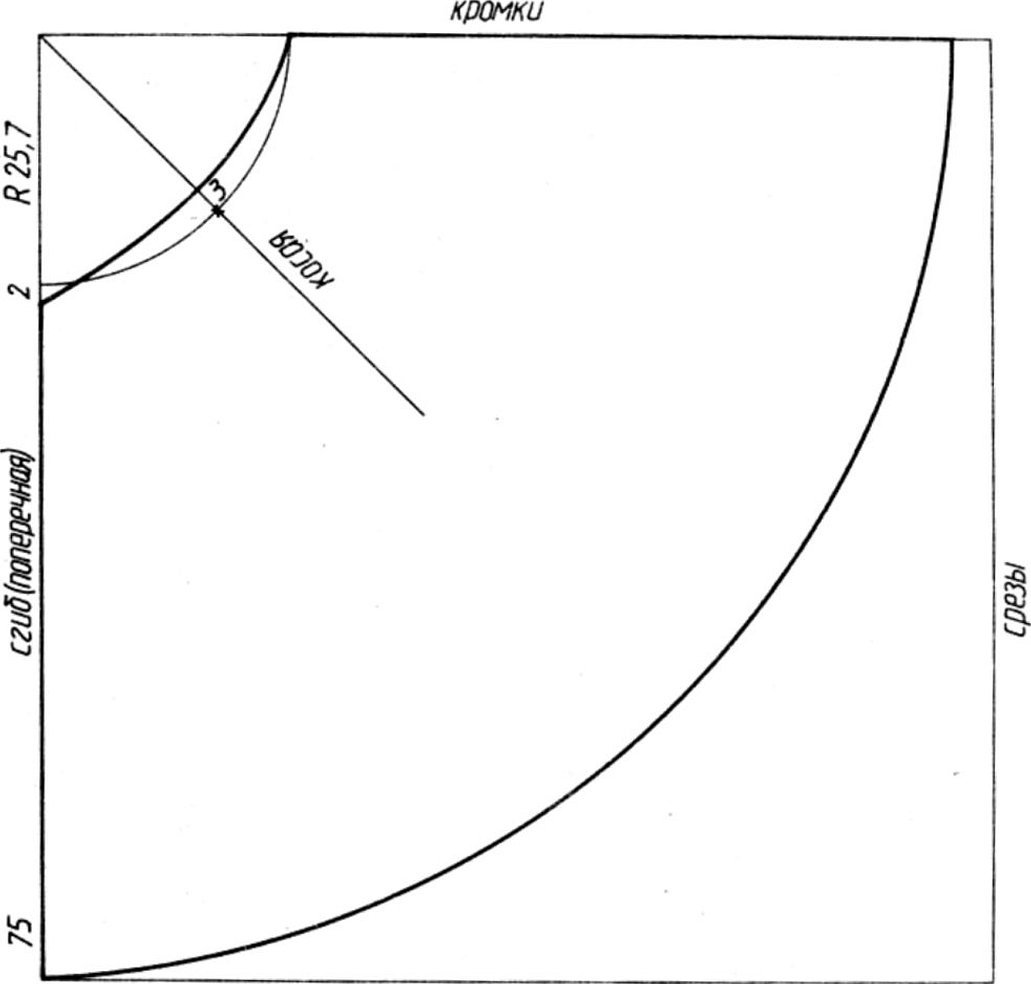
How much fabric will be needed?
- The construction radius is calculated using the formula: K x (OT/2 + 1 cm). For example: 0.9 x (78/2 + 1) = 0.9 x (39 + 1) = 0.9×40 = 36 cm.
- Put A to the right, the resulting value and put the designation T. From T, draw a rounded line down. Along the line, put the value OT/2+ cm for the fit. For a specific example - 78 cm/2 + 1 cm = 39 + 1 = 40 cm.
- Point T1 is put. From point A through T1 a line is drawn downwards. DI is measured from T and T1. In this case - 70 cm.
- They display the designations H and H1.
- Check the hip line. For p. T and T1, put aside 18 cm down the skirt, put out the B and B1 marks, draw the main line, measure it. The length of the line is no more than 52 cm in this particular case.
- Draw a bottom line from st. H to st. H1.
- Raises the waist and bottom.
Draw the central line of the pattern, setting aside a distance upwards, depending on the type of bell:
- Large - waist - 1.5 cm, bottom - 3 cm;
- Average - 1.25 and 2.5 cm;
- Small - 1 and 2 cm respectively.
When cutting, you should pay attention to cutting the product on the bias.
How to sew
The product can be sewn with one seam - if the size chart allows, 2, 4 seams. The product will hold up perfectly on a belt with a zipper, on an elastic band.
What do you need for sewing?
- Material;
- Lightning;
- Button;
- Threads to match the fabric;
- Scissors;
- Special machine needles.
Progress of work:
- Sew the side seam and sew in a zipper;
- Sew in a belt;
- Process the bottom of the product. An overlock is required to process the seam.
ImportantTo avoid damaging the fabric, you need to make sure that the pattern is laid out correctly - the piece is folded along the grain line (the weft thread is located along the edge).
How to cut?
- The pattern is placed on the piece folded in half so that one side coincides with the fold of the material;
- Trace the pattern with chalk;
- Allowances for seams are made - cm;
- Cut out the canvas;
Sewing in 2 seams
The sewing differs slightly: instead of a fold line, there is a cut line on the fabric, to which a small seam allowance is made when cutting out the product. Work order:
- Cut out the product;
- Cut out the panels: front and back.
- Markings are made on the left edge for the zipper;
- Stitching the seam to the markings;
- Ironing, overcasting;
- Marking and sewing on the zipper, the topstitching is done neatly.
Important! Before sewing in the belt, the product is tried on - if it is loose at the waist, the fabric is pulled together using large stitching.
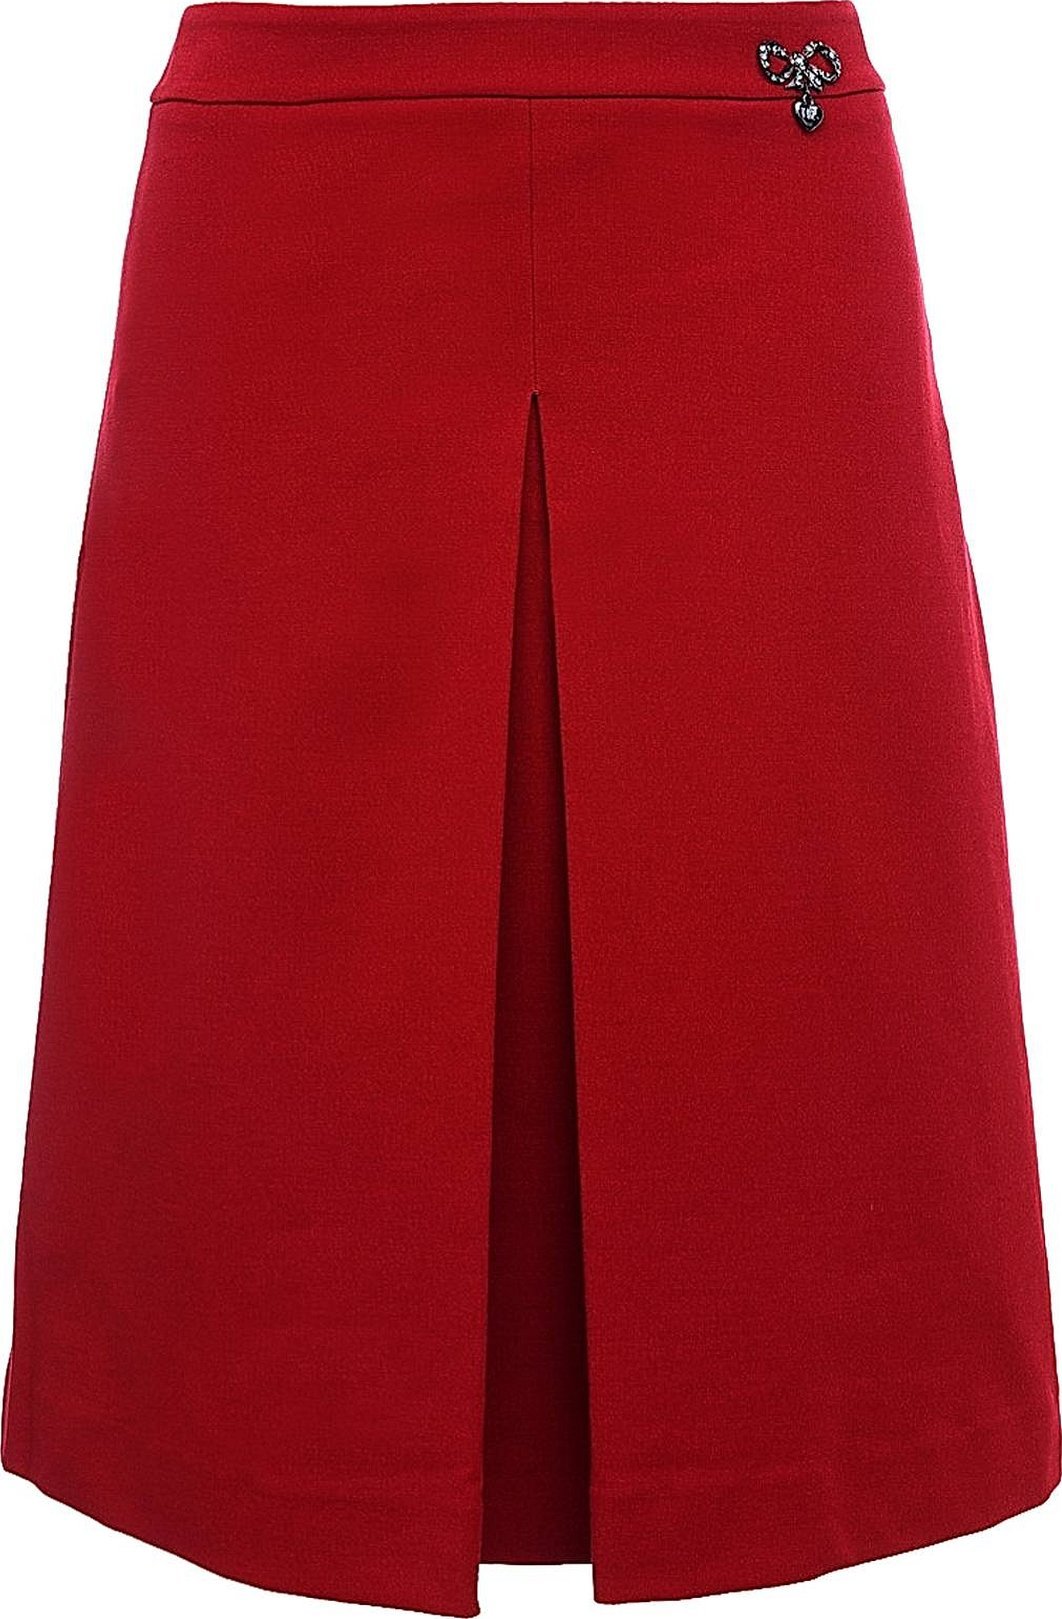
Skirt with pleats
In order for others to appreciate the beauty of the figure - waist and hips, you can sew a product with folds. The folds can diverge from the waist, or from the hips, most often, they make counter folds.
If there are several folds, you need to sew carefully so that their quantitative ratio at the front and back is the same.
The basis for creating a pattern for a product with pleats is the classic version of a pattern, but it should be taken into account that more fabric will be needed to sew a skirt with pleats.
Skirt cut with one inverted pleat at the front
The basting is removed from the fold and ironed.
Model with several folds, cut similarly. The basis of the cut is a basic pattern.
Pattern of a skirt with several pleats
The finished pattern is cut into pieces according to the number of folds. At equal distances along the line of the waist arc, the bottom, mark the points where they connect.
- Cut along the formed lines.
- The wedges are laid out on the material in such a way that the distance between them is the same, identical in fold depth, and the cut lines are parallel to each other.
- Trace with chalk, leave allowances.
- Cut and baste the folds;
- Stitching the side seams, inserting the zipper, sewing on the belt, finishing the bottom.
- The final touch is ironing the folds and removing the basting.
Bodice and hem finishing
If the calculations are done correctly, the bottom line needs to be rechecked, the garment tried on and trimmed if necessary. This is not done all at once: the skirt is soaked, dried, ironed, the bottom is leveled, and protruding fabric is cut off.
The hem can be finished with an overlock (when sewing from knitwear), or machine stitched manually with a "blind" stitch (hem parameters - 5 mm). If desired, the hem can be topstitched, edged with a cord, or a frill or lace can be sewn on.
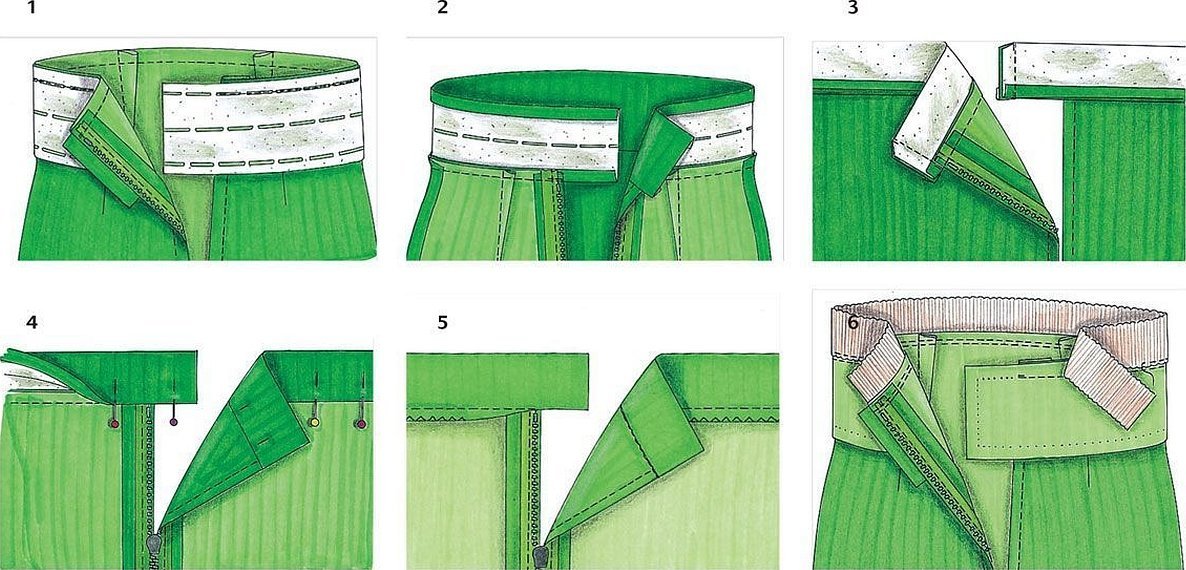
How to sew a belt
To prepare the belt, a rectangle with the corresponding parameters is drawn (the belt part takes up 0.5 of the product). The patterns are placed on it, secured with pins, outlined with chalk and cut out.
The resulting piece (strip) is folded along the wrong side outward, in half, and the short sides are sewn together.
ImportantTo make the corners neat, some of the allowances are cut off from the piece.
The piece is turned inside out, ironed, and the seam allowances are pressed inward along the long side.
Insert the skirt into the belt along the waistline and baste it.
Stitching the waistband using an edge stitch.
Cut and overcast a buttonhole.
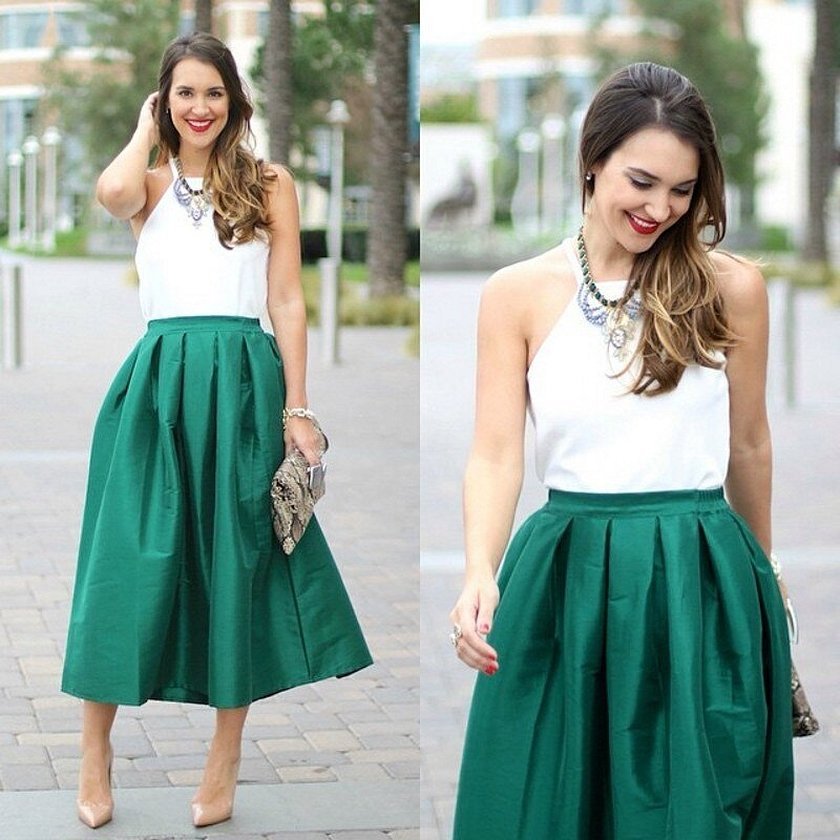
How to wear
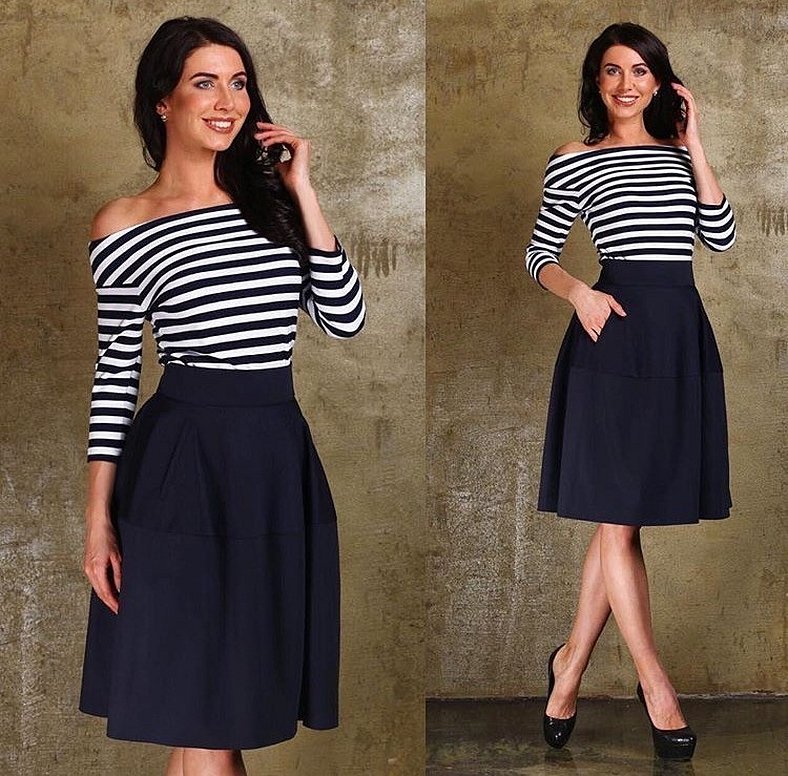
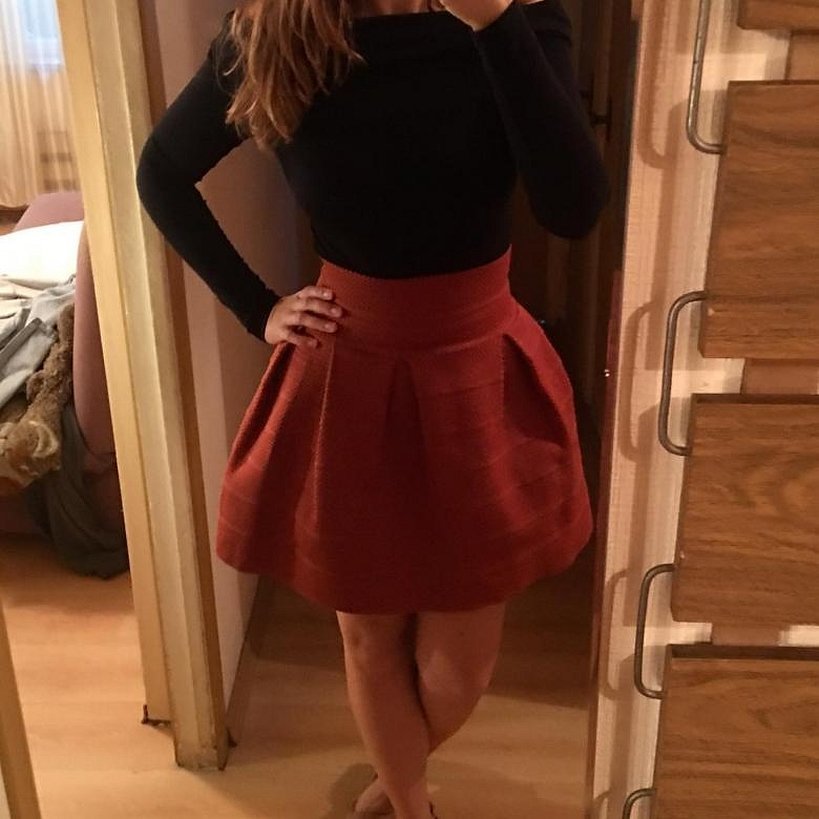
This item is a real find for a fashionista. The skirt is perfect for creating different looks: frivolous, elegant, for going to work - it all depends on the material chosen for sewing the item.
Advantages: highlighting the advantages of the figure, hiding the disadvantages with the right cut length. For example, knee-length models lengthen the legs, hide the width of the hips. Pleated skirts emphasize the waist, give the missing volume to thin hips.
Top options:
- Blouses;
- T-shirts;
- Jumpers;
- Classic cut turtleneck.
Please note! To make the piece look perfect, the top of the composition should be devoid of volume, as the skirt flares out at the bottom.
It is for this reason that the top should be simple.
By color scheme
Colored items go well with plain ones, and a white blouse and plain skirt are a great option for the office.
Shoes
When choosing shoes, remember that anything goes (except sneakers).
It is important to understand that not everyone likes such work as self-tailoring. You can make a truly beautiful skirt only with the right attitude, so before starting work you need to solve all current problems so that nothing distracts you.


