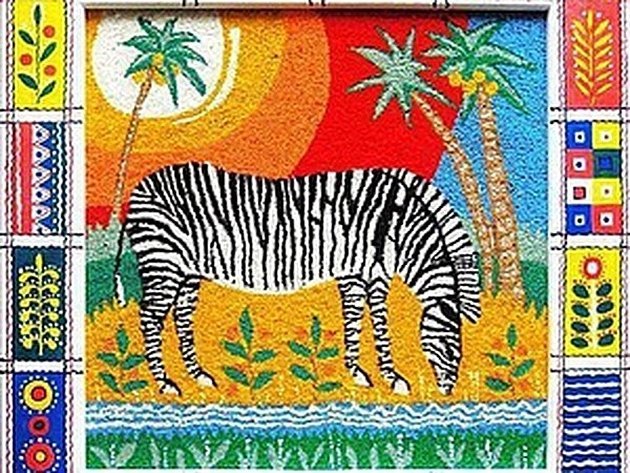
The creation of artistic images on fabric using cross stitching with threads originated in Europe. The resulting drawings on canvas amaze with their concept, color transitions and complexity of execution. How did the art of tapestry originate in Russia? How are stitches laid? What is the difference between the technique for creating textured paintings? How can beginner craftswomen start creating a tapestry with their own hands? All this can be found in the article presented here.
When tapestries appeared in Russia
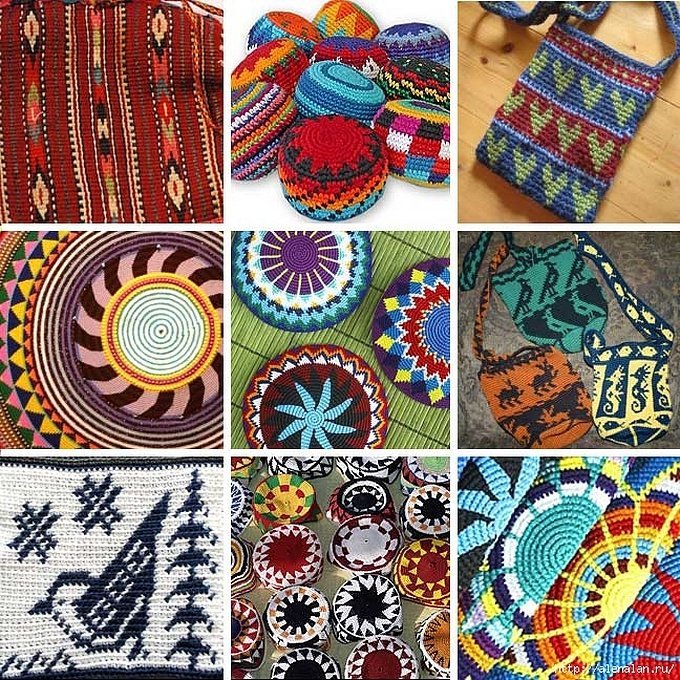
In the 17th century, tapestry carpets with an image woven on them appeared in Central Europe. Using a method of interlacing threads crosswise, they made a pattern. The founders were the Gobelins brothers, which is where the name "tapestry" comes from. Mainly manual labor was used. Weaving machines, which appeared during the heyday of manufactories, mechanized hard work. Do-it-yourself tapestry is an art that requires the experience of an artist and painter, multiplied by patience. Paints on canvas were replaced here by multi-colored threads interlaced in a cross.
In Russia, beautiful tapestries were first discovered only in the 18th century under Peter the Great. He was given a tapestry by the French nobility. It was practically a carpet with a pattern or skillful embroidery on canvas. At first, such works were used to decorate the apartments of Peterhof and other similar buildings. The tapestries featured portraits of courtiers and royal persons.
Masters of weaving from France helped open the first manufactory in Russia. The tapestries produced there were striking in their design and complexity of execution. In the museums of St. Petersburg and Moscow, anyone can admire Russian woven carpets.
A characteristic feature of tapestry technique
Tapestry embroidery is popular among needlewomen. They use the term "stuffing", "loop embroidery" for the embroidery technique. They use a special type of stitch - "tapestry", where threads of different shades are used. Embroiderers use linen or small canvas. Depending on the artistic concept, they use:
- woolen threads of different colors and compositions;
- cotton fibers;
- silk threads.
Important! Threads from one to several colors are threaded into the needles, achieving a transition of shades. The eye size should be sufficient to thread several threads. The stitches are made in one direction, provided that there are no exceptions in the pattern.
What types of tapestries are there?
Tapestries are divided by the type of pattern applied using stitches. The following types are common:
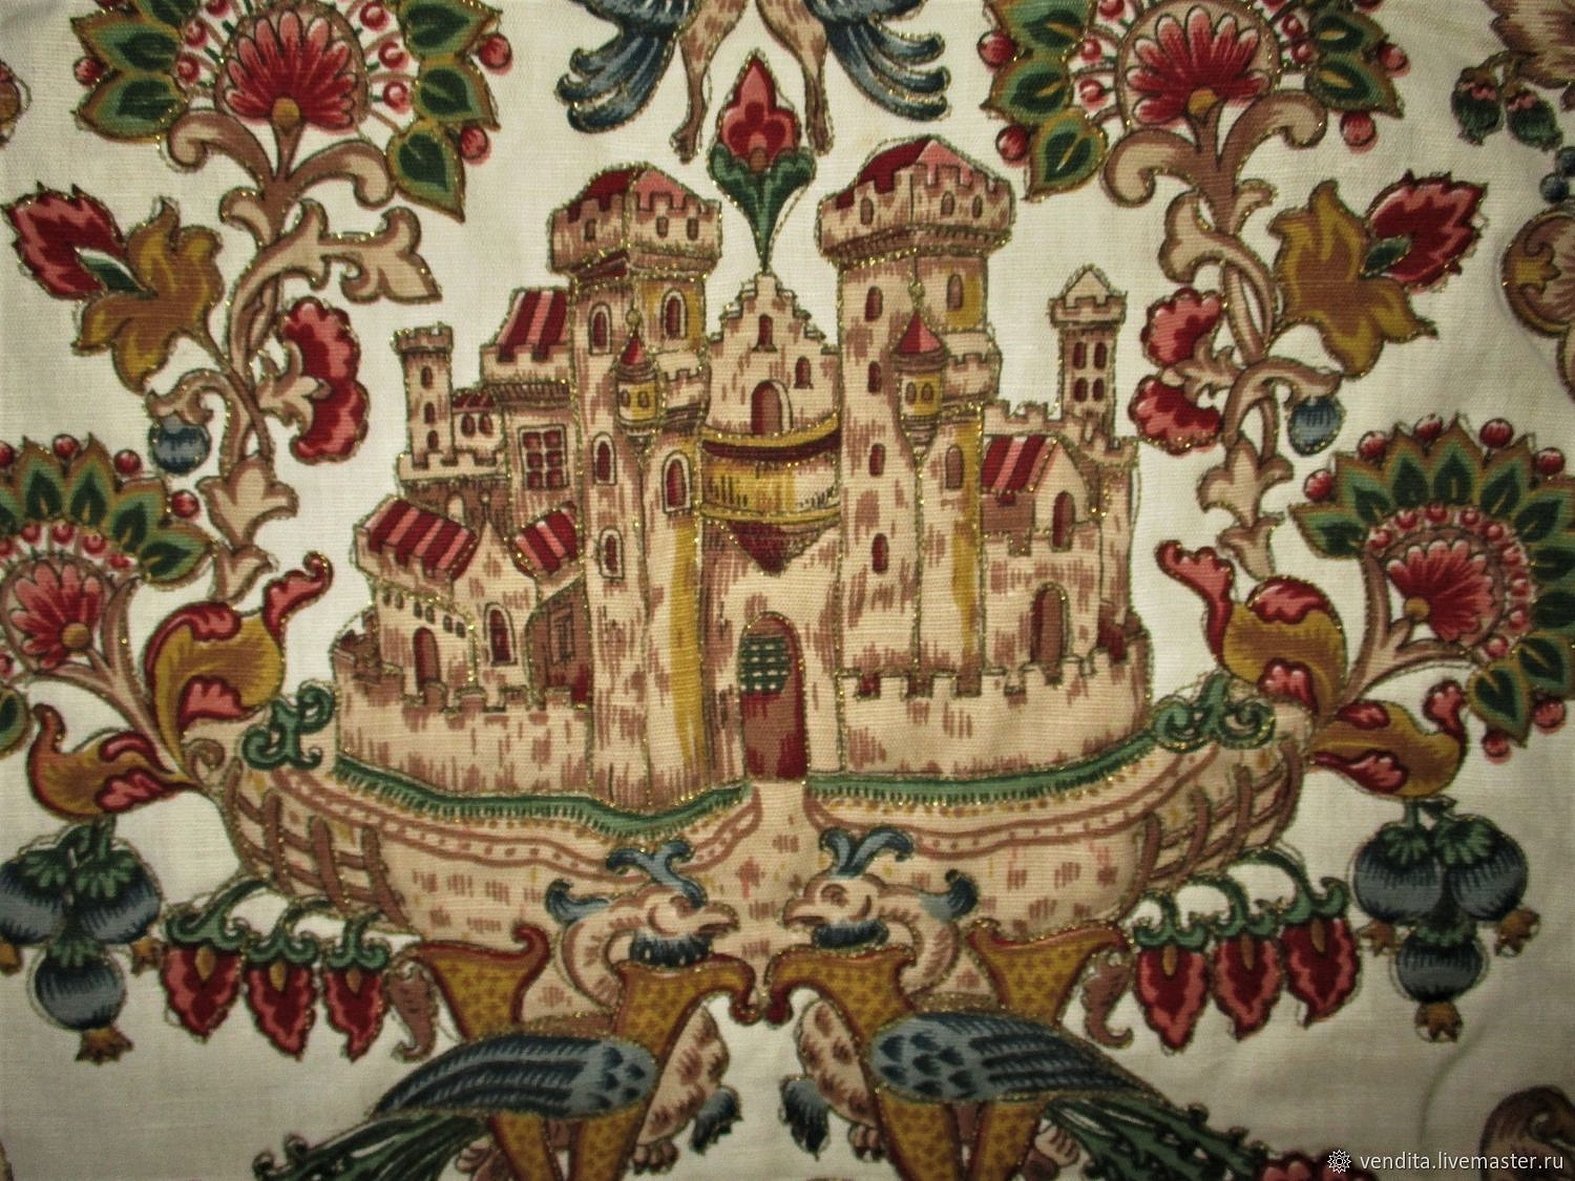
- in medieval style - military battles, knights, coats of arms of royalty;
- religious subject matter is very popular in paintings in the style of Raphael;
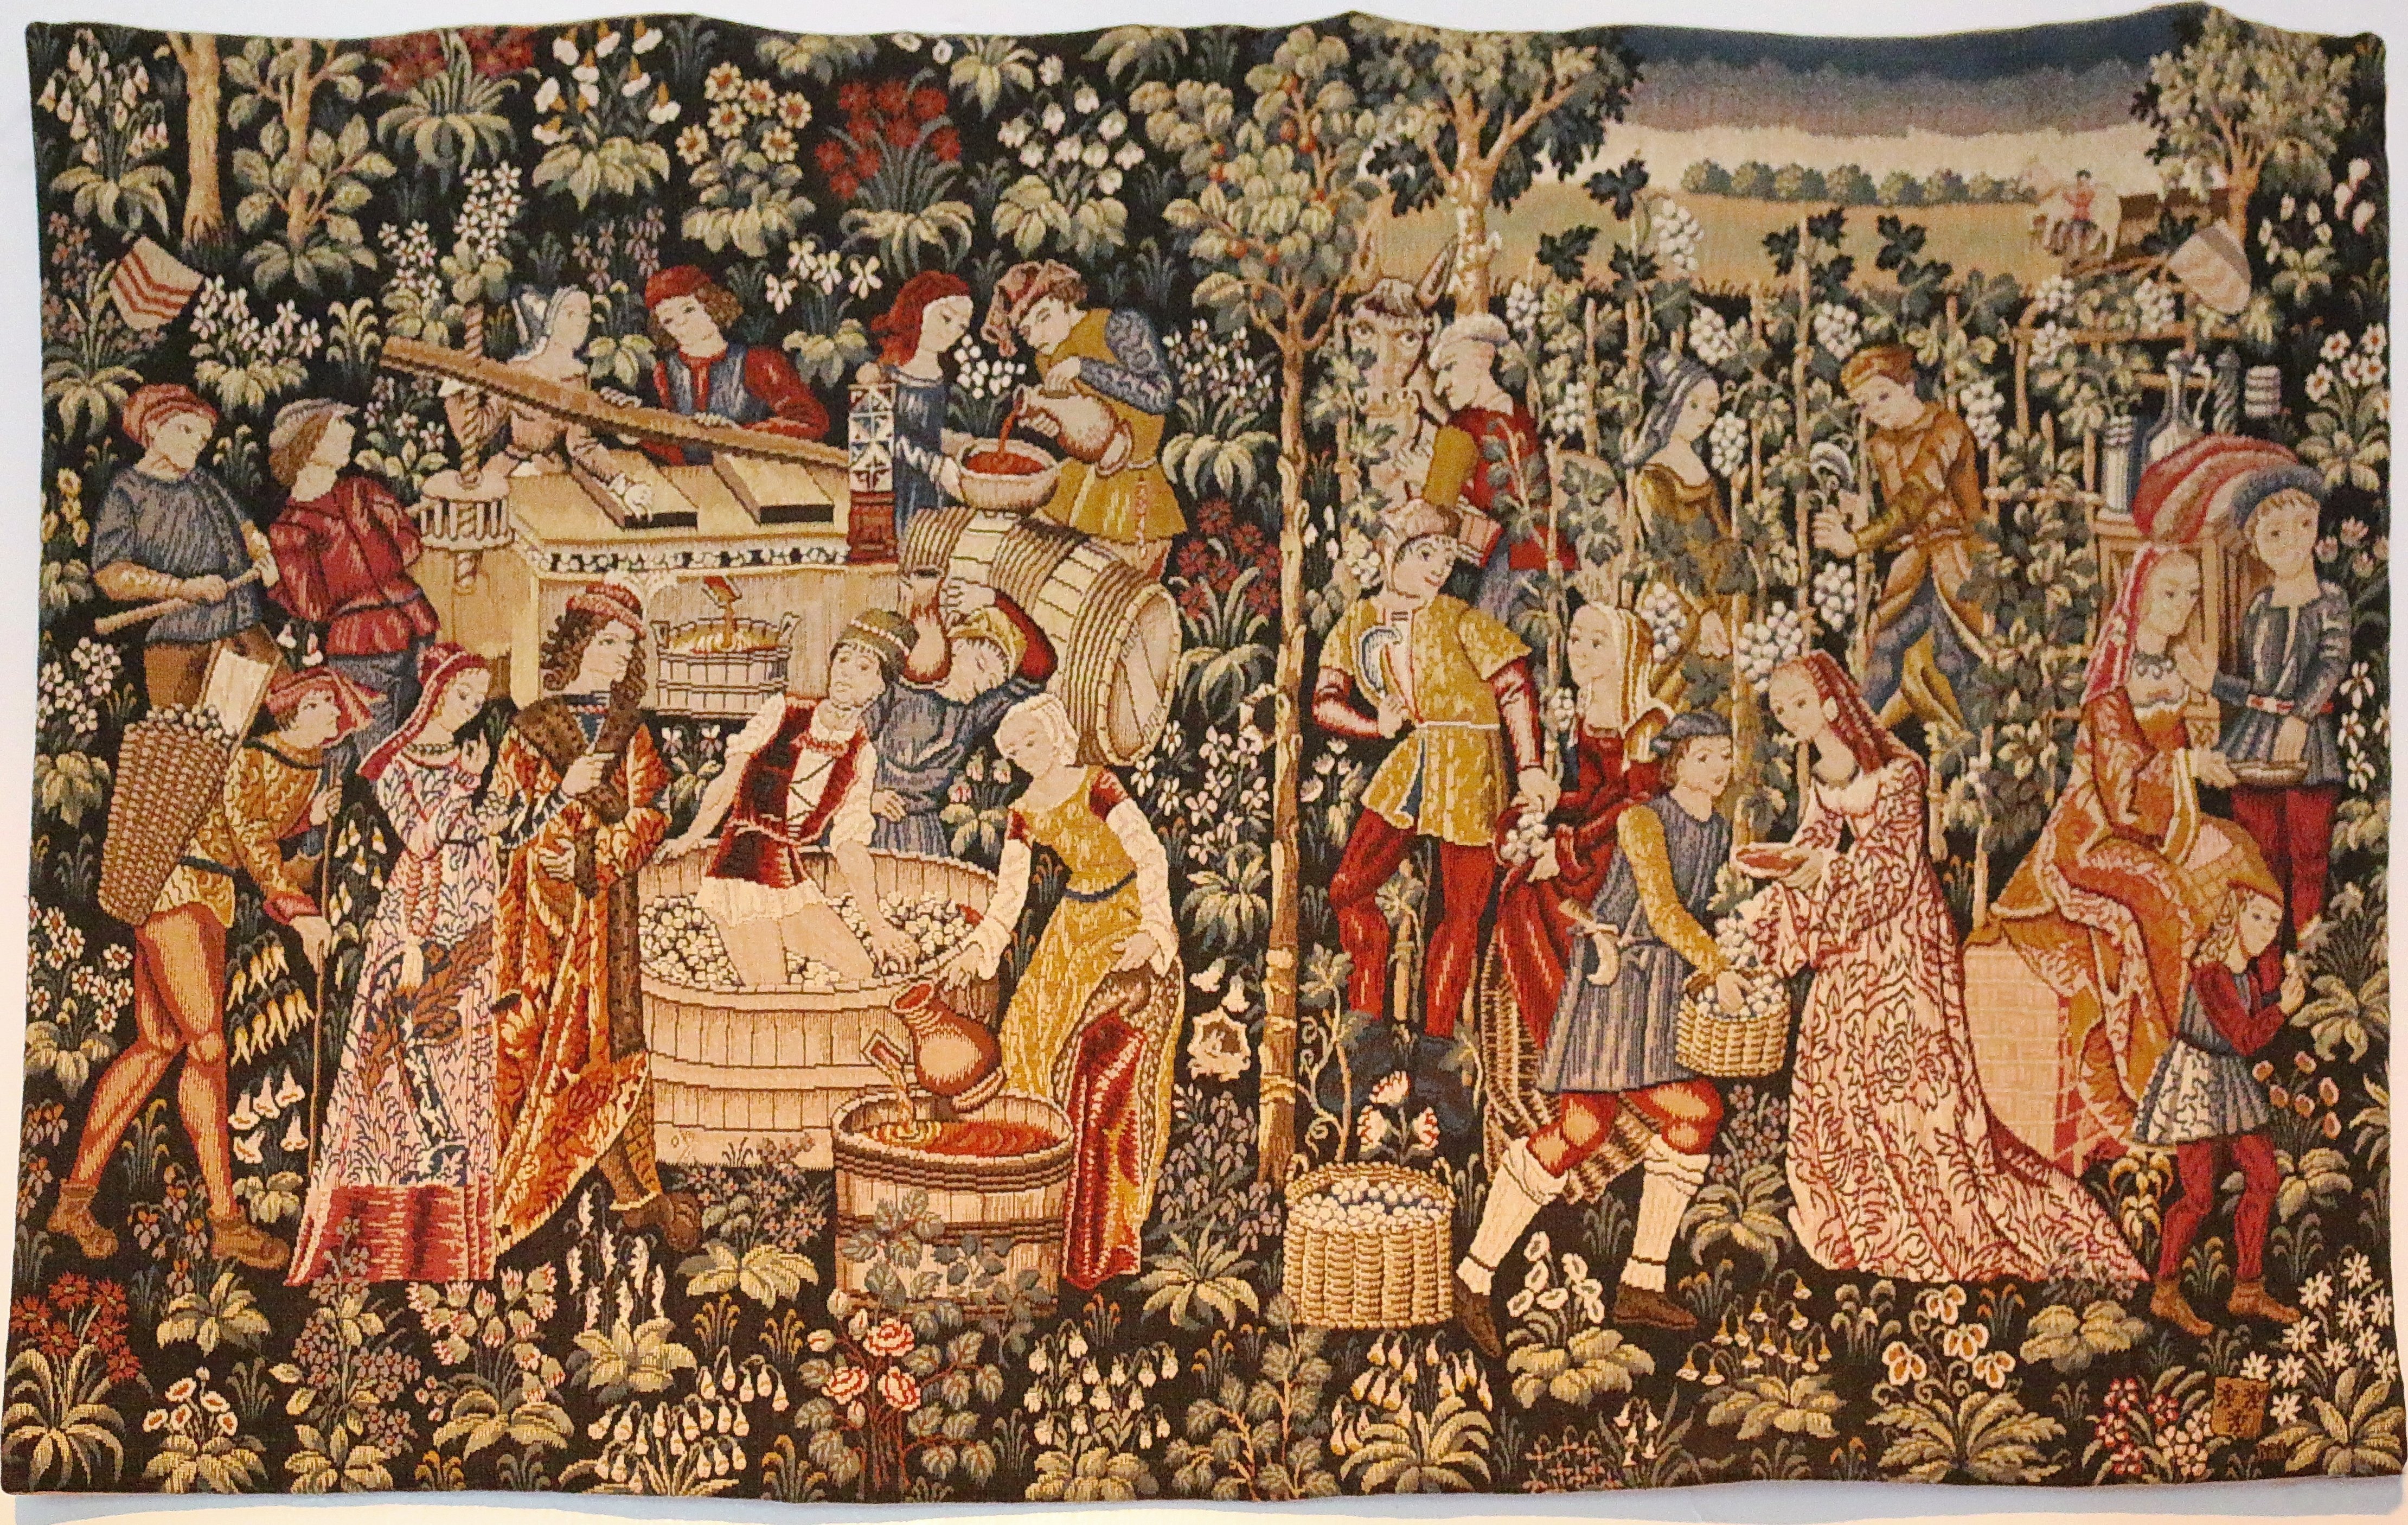
- paintings, landscape sketches, pastoral tapestries.

Historians believe that having a carpet with a complex design was proof of the family's wealth and nobility.
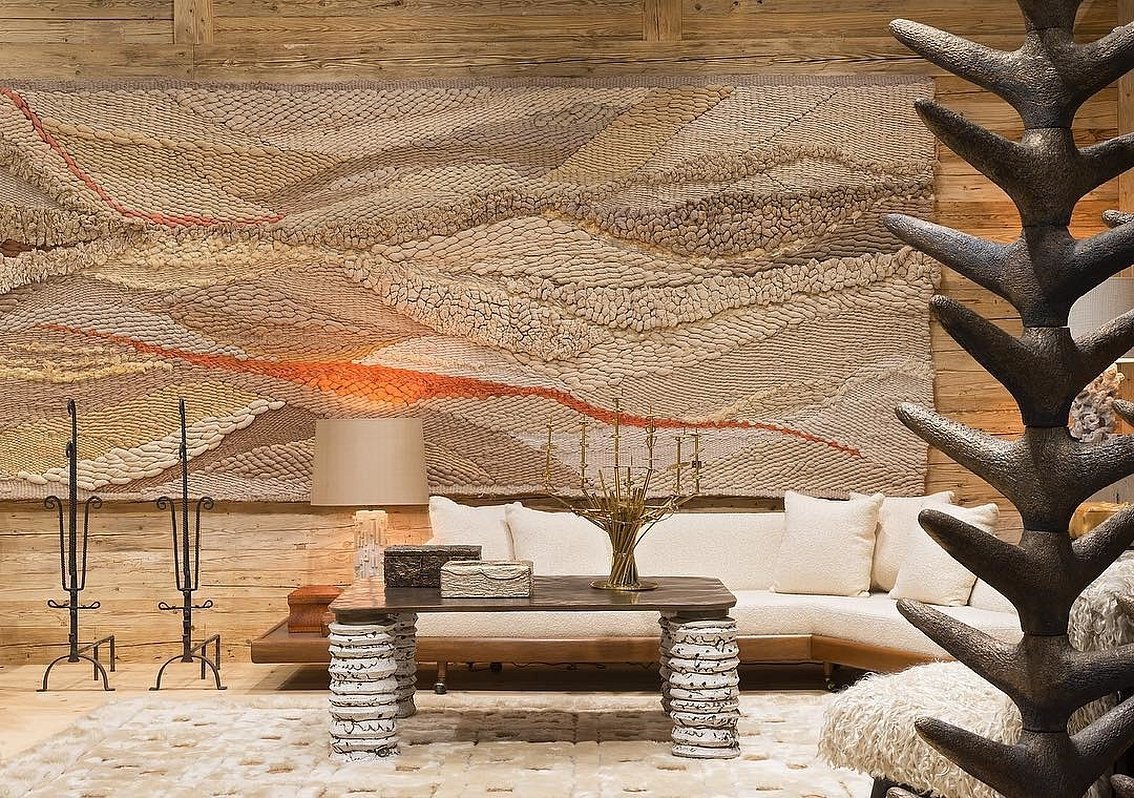
What fabric to choose for tapestry
Trellis technology includes different types of materials:
- wool/silk;
- cotton fabrics;
- acrylic/polyester;
- viscose fabric.
Materials differ in structure - single-layer or double-layer. The density of the tapestry depends on the weight, there are light, heavy and medium-heavy varieties. When creating expensive paintings, natural cotton fabrics are used. For "serial" production, synthetic materials are used, they have greater wear resistance.
Tapestry for beginners for home needlework is made on linen. If there is a choice, it is better to choose a looser fabric with a loose weave. Then the needle with the thread will push the fibers apart without unnecessary piercing. Here it is important to secure the colored thread during subsequent piercing. Woolen or cotton fabric will not be able to stop the sliding. At first, simple drawings are made - a kitten, a silhouette of a child or another object.
Attention! It is best to start working on a dark colored lining. If the base fabric is light, it will not hide the darker threads, and will require tinting from the back.
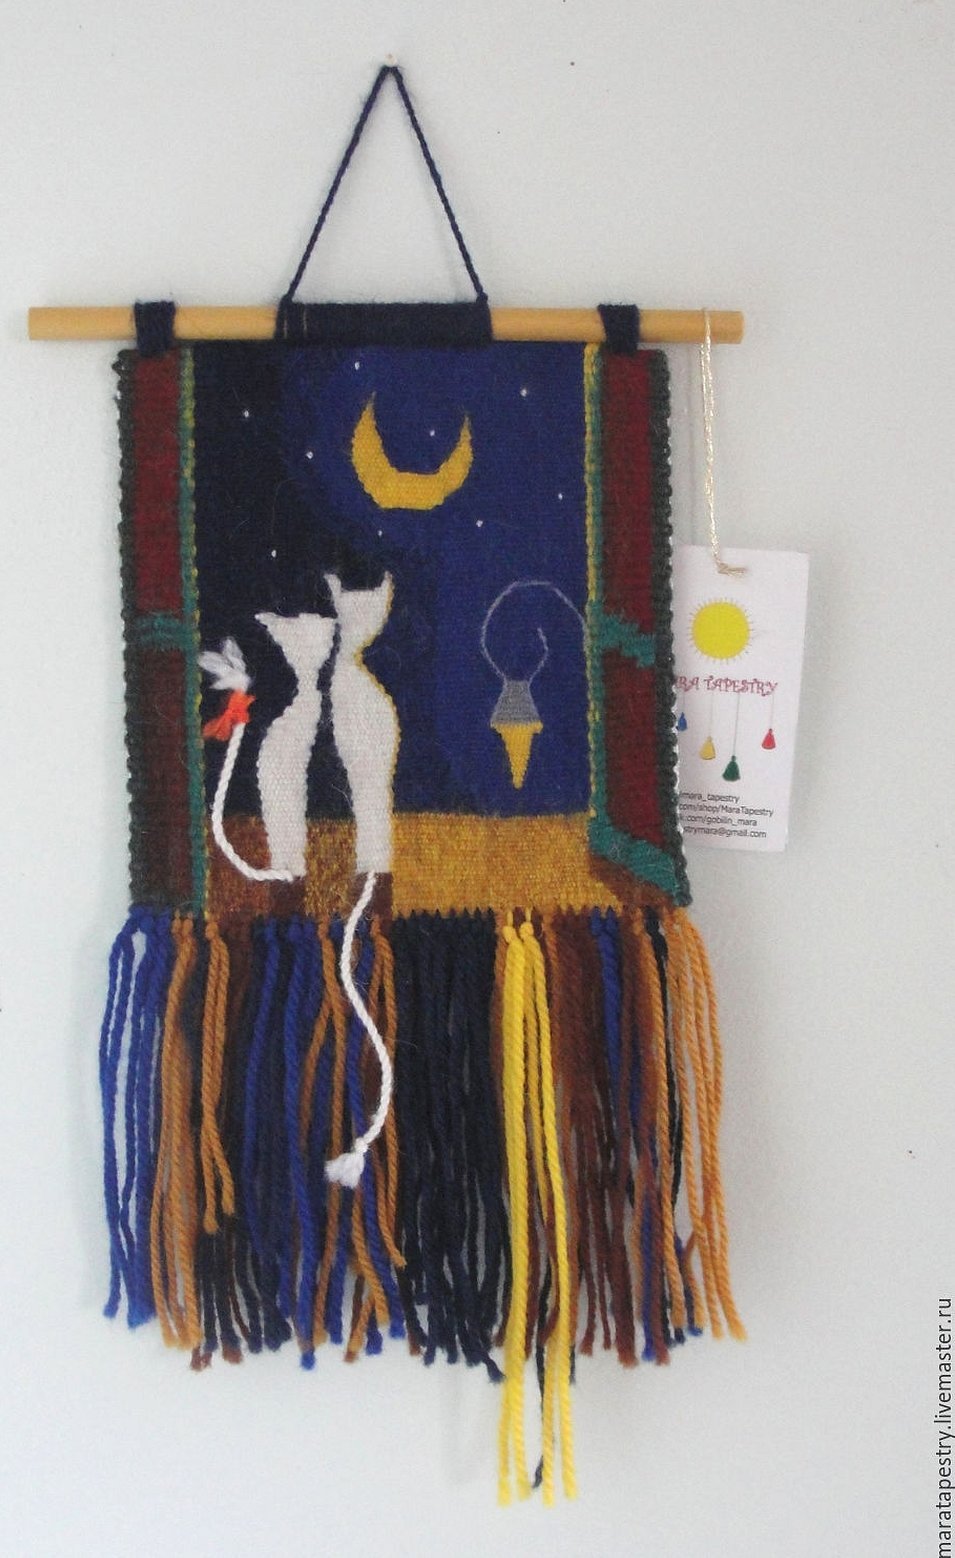
Types of thread interlacing
Wool threads are laid in short stitches, maintaining parallelism. Outwardly, they resemble horizontal rows of increased density. Stitches are distinguished by type:
- half cross – a seam in one plane, used most often;
- continental - there are no straight lines on the back, they are at an angle and longer than on the front side;
- straight - applied strictly upwards (downwards) or across;
- stitch with capture - stitches are laid, slightly overlapping the previous one, the color of the thread changes more evenly;
- braided - a whole row overlaps the adjacent one, forming a weave;
- with a loop - the threads are pulled out, they generally imitate the pile on the front side.
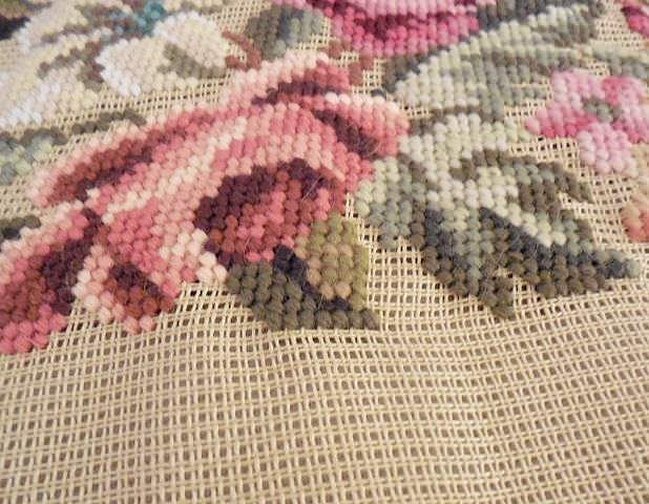
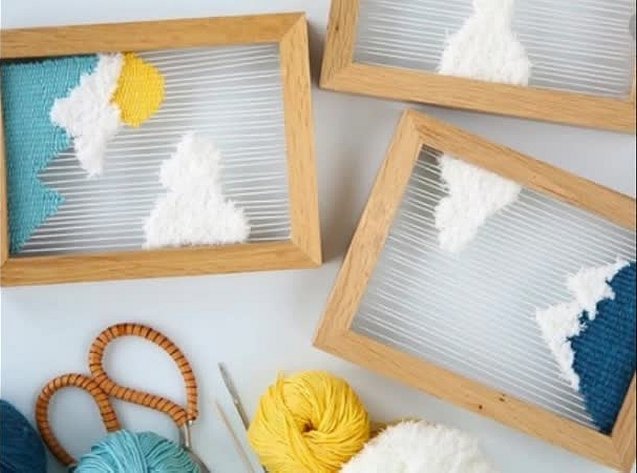
By changing the step-by-step technique of laying stitches, the craftswoman achieves a voluminous or smooth pattern, ribbed or woven, of varying density and texture. For beginners, it is better to start tapestry drawing with simple stitches.
What is needed for work
To complete this lesson you will need:
- special needle;
- a round or square frame with legs of different heights;
- a set of tapestry threads, yarn of different colors.
A regular needle on a plastic handle can break quickly. It is better to buy a special set of different lengths and diameters with a wooden base. The tool sizes vary from 3.5 cm (main) to 6-7 cm. The diameter of the working needle is no more than 2-2.5 mm (auxiliary ones for working on a cotton base can be thinner (up to 2 mm). With woolen and synthetic fabrics, needles with a thickness of 2-2.5 mm are used.
It is better to use a wooden frame frame larger than the size of the intended drawing. If the work in the plan is 40 x 40, then a frame of 50 x 50 will do. Leave at least 5 cm on the sides. If there is no separate frame, then it is possible to fix the base on the frame where the finished product will hang. But in this case, the walls will be damaged by an accidental puncture of the needle.
If non-woven tapestry is made, threads with a stable color are used. They are distinguished by the type of fiber:
- cotton;
- woolen;
- linen;
- mixed/artificial.
Attention! It is recommended to take the amount of thread with a reserve. If the threads run out, you should put the fragment aside, it is better to look for threads of the same color, and then continue working.
Let's start applying the embroidery
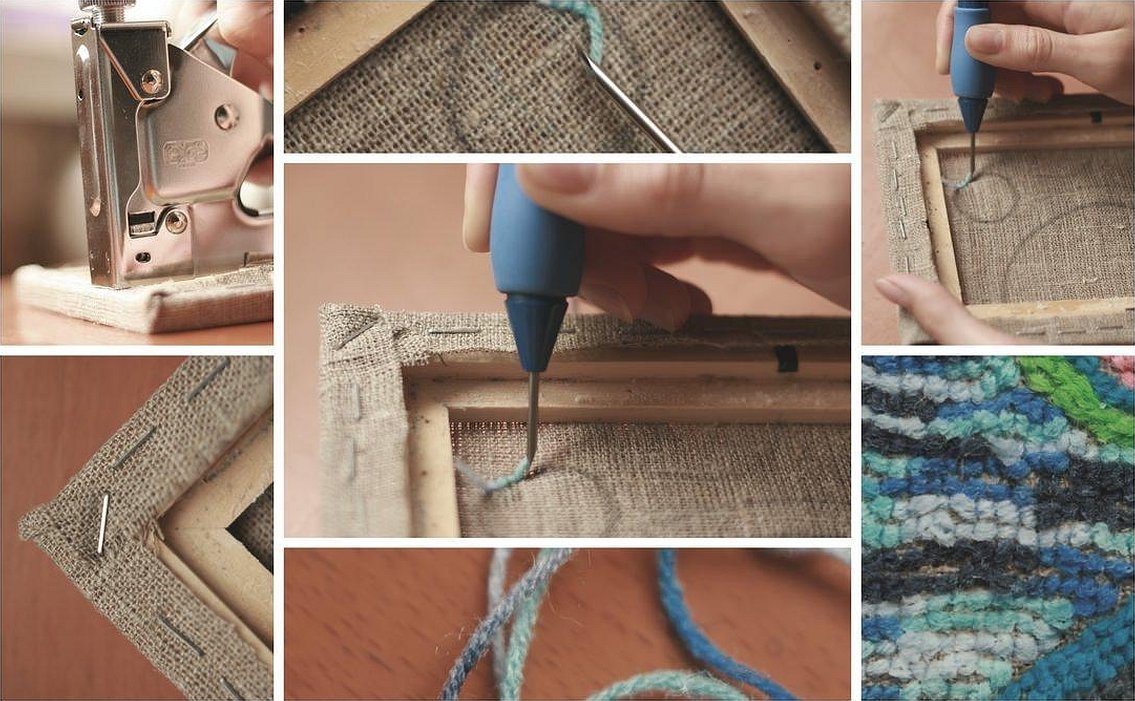
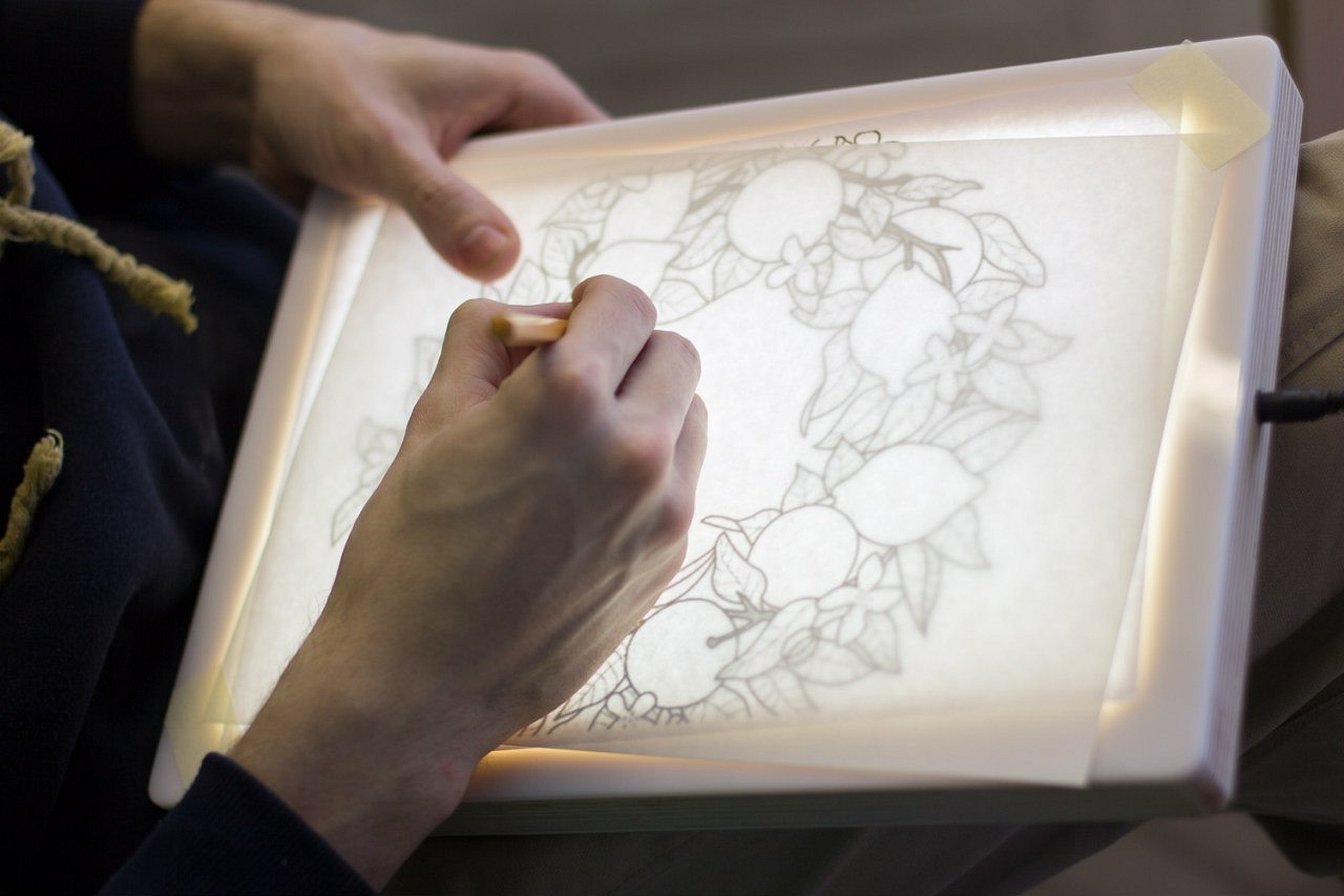
How to make a tapestry? To transfer the idea of the painting to the canvas, you should determine the application technique. The image is drawn on the base with a marker, chalk. Step-by-step transfer technique:
- Fix the drawing, stretch the base on the glass. Carefully outline all the lines. If the sample is clearly visible, you get clear contours.
- This method will not work with a sackcloth base. You need carbon paper, apply it with the ink side down, place the sample on top. Tracing all the contour lines, transfer the future plot to the base.
- As an alternative, another technology is used - turn the sketch over and trace all the lines with a pencil marked "m". Place the sheet with the drawing facing up on the fabric. Repeat all the lines with pressure, and the previous application will be imprinted on the fabric. The method is convenient for burlap.
- As an option, cut out the contours of the tapestry image on cardboard. Then put them on and trace the contours.
- After completing the transfer of the main lines, it is recommended to paint with appropriate colors. Acrylic water-based paints are suitable, they will not clog the canvas or sackcloth.
Tapestry weaving is best done in a line or outline manner, through the base vertically downwards, then upwards from the left side to the right. Maintaining parallelism is a must between stitches and the grain line. Outline application begins with stitches around, gradually moving in a spiral to the middle.
Frame manufacturing
In order to make a tapestry frame yourself, you will need the following materials:
- wooden or bamboo sticks;
- nails with a hammer;
- fast acting glue.
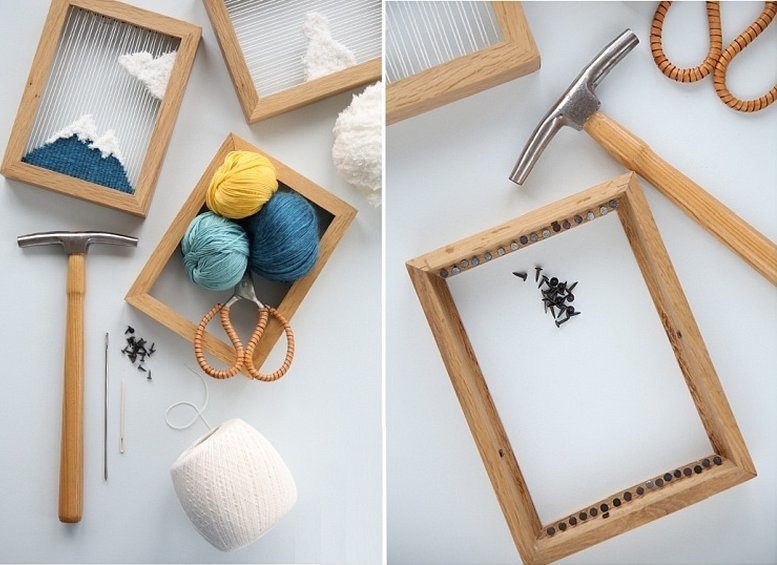
First, measure the dimensions of the trellis, then transfer them to wooden blanks. They need to be cut so that they connect in the corners to form a triangle. The connection is made either with nails or by gluing the contact sides. Usually up to 2 cm of fabric "goes" along the frame.
The finished blank is optionally varnished or painted in the style of the main image. An excellent decoration option is beads, small rhinestones, beads. They are easy to glue around the entire perimeter of the frame. After complete drying, a final varnish coating is applied. The finished frame is secured with either small nails or superglue.
How to make a tapestry yourself
It is enough to have an artistic streak, a base cloth, suitable threads, needles. If you follow the technique and hit the stitches in the contour lines, it is easy to make a simple drawing. After that, you can complicate the composition, improve your skill level, combining different types of stitches.
Tapestry making – in any case, even if it is created from a ready-made drawing, is almost always an art, not a craft. After all, the choice of threads, the manufacturing method and other moments always determine the final result, which in any case will be completely unique and will determine the hand of the master who made it.
https://www.youtube.com/watch?v=Bzx3tVck72Y