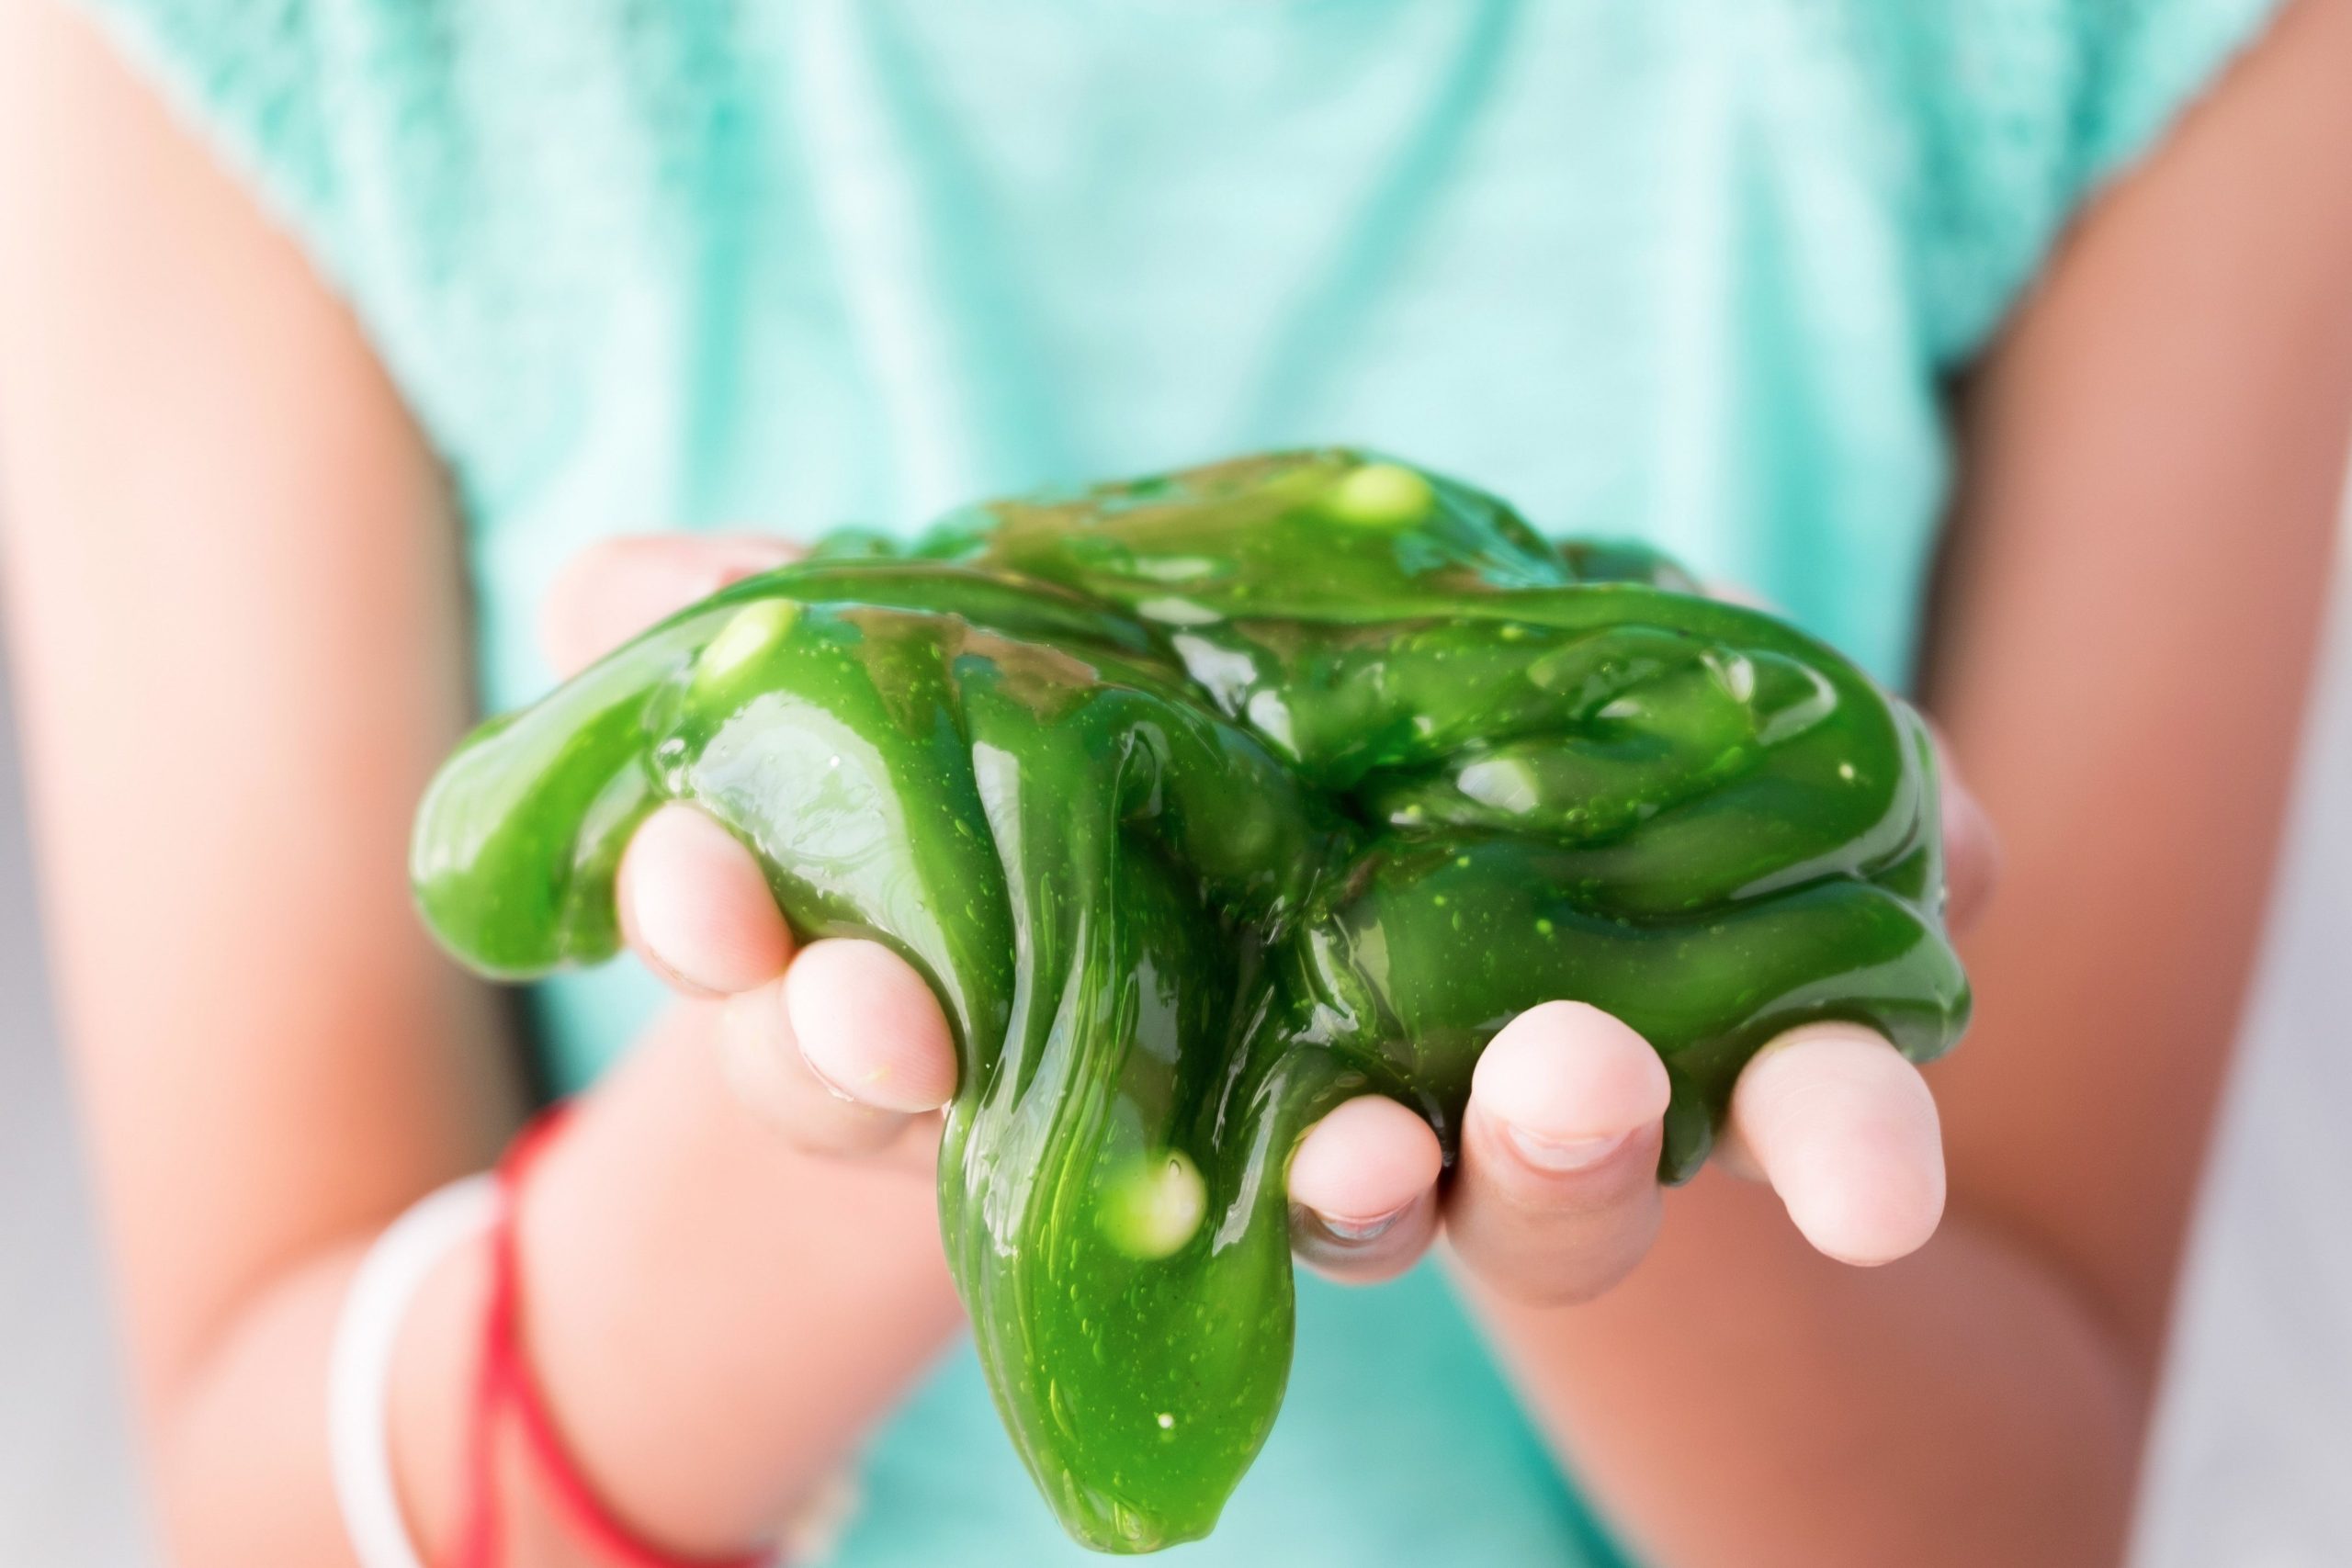
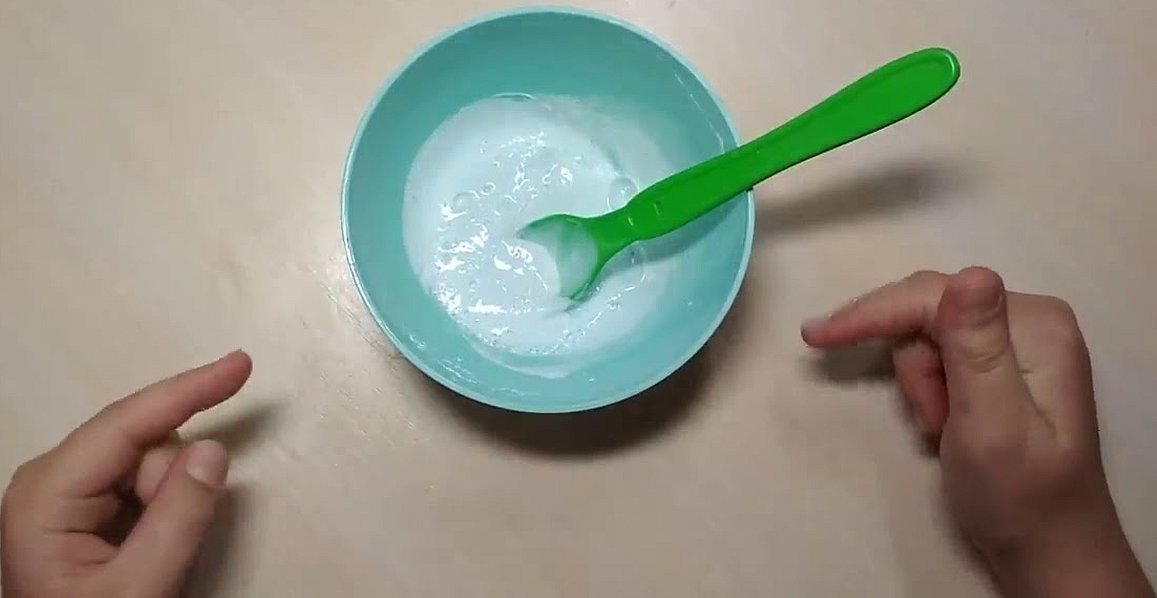
Making slimes at home is not difficult. Often, this does not require complex ingredients, and therefore they are either available at home or can be bought at the nearest store or pharmacy. Recipes for making slime from paste are the most popular, and therefore we will talk about them.
- What kind of toothpaste should I use?
- What additional ingredients are best to choose?
- Safety rules for home cooking
- Toothpaste Slime Recipes
- Slime from glue stick and toothpaste
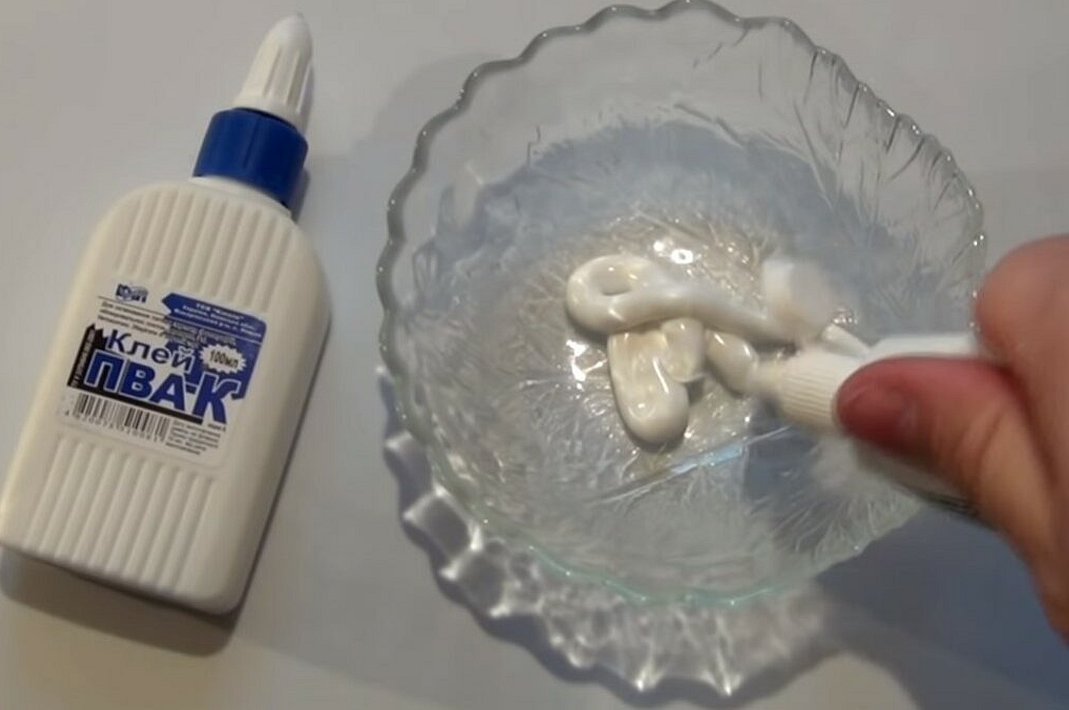
- From toothpaste and PVA glue
- Toothpaste and Shampoo Recipe
- Slime from paste and liquid soap
- Toothpaste Slime Recipe with PVA and Baking Soda
- How to Make Slime with Tetraborate Toothpaste
- Recipe with powdered sugar
- From toothpaste and shower gel
- How to Make Slime with Shampoo, Toothpaste, and Salt
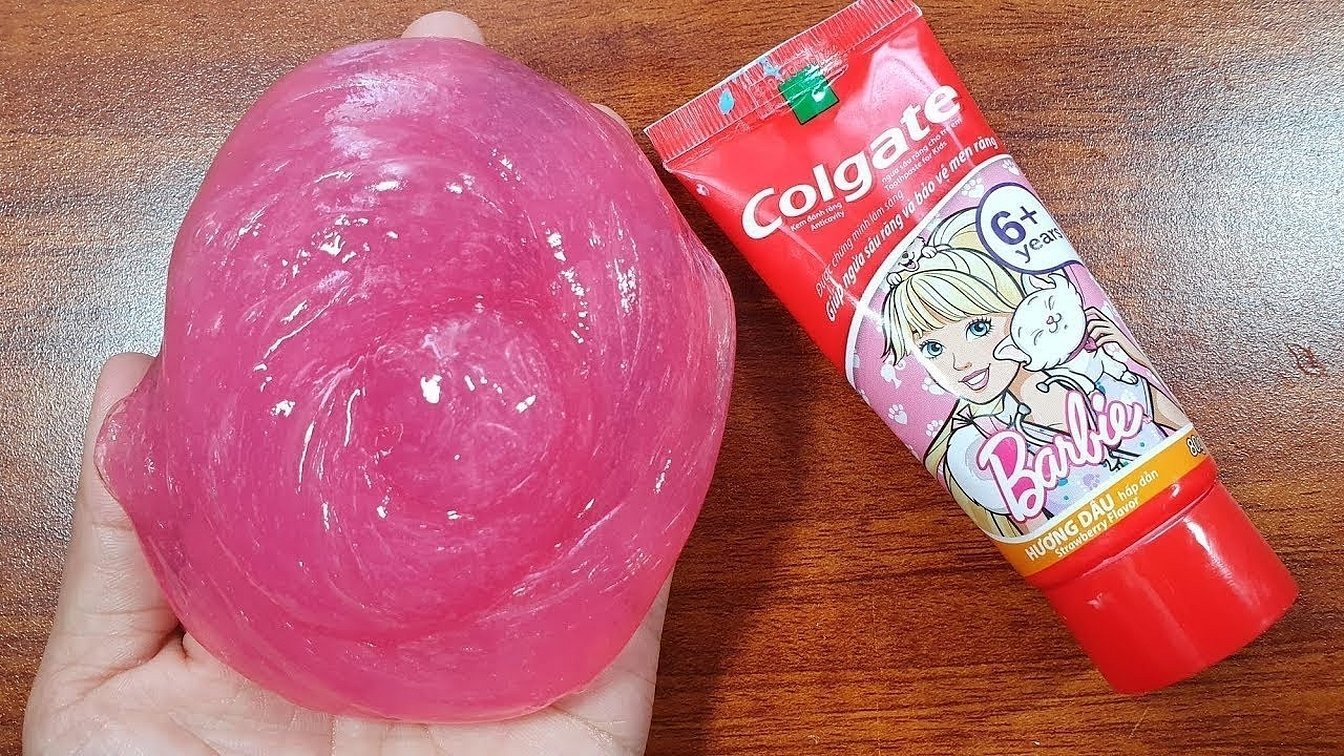
- Slime made from paste and liquid dye
- Method using hair product and conditioner
- From toothpaste and shaving foam
- What to do if slime doesn't work
- Features of care and storage
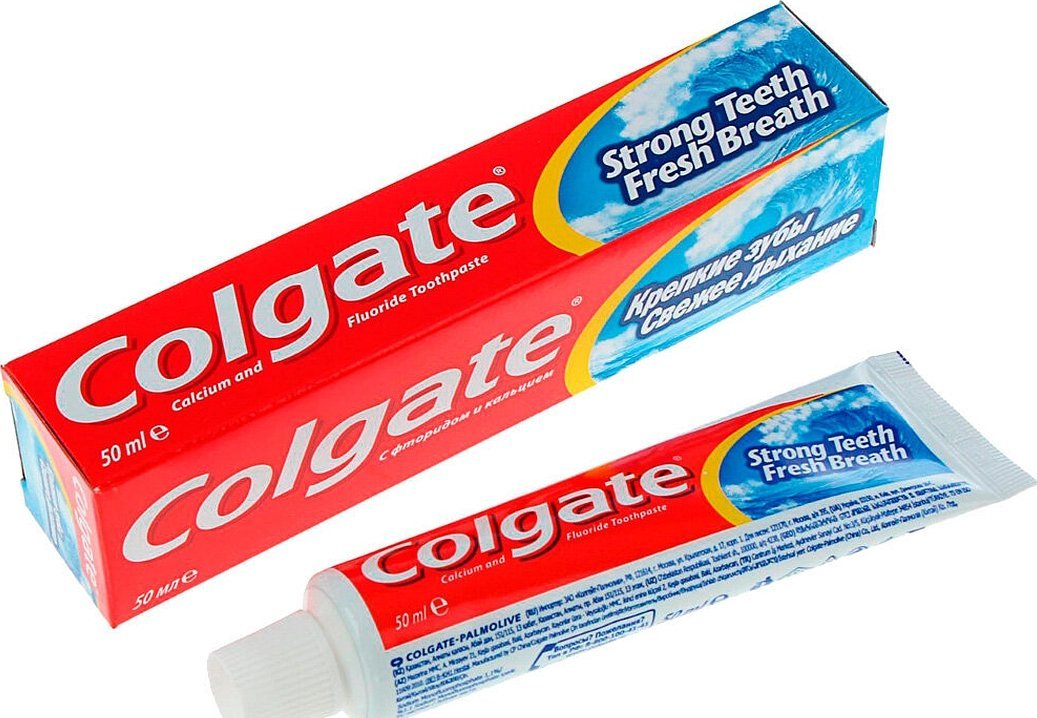
What kind of toothpaste should I use?
Toothpaste often contains:
- abrasive particles in the form of silica, calcium carbonate and others;
- detergents - foaming agents;
- flavors and colors;
- humectants that give a paste-like consistency.
Depending on the manufacturer, other components may vary, but they are more of an auxiliary nature.
To make slimes, you will need to choose a paste that contains a foaming agent.
What additional ingredients are best to choose?
To ensure that the toy turns out correctly, it is not recommended to change the ingredients of the recipe.
Glitter, rhinestones, and various toys can be used as additional ingredients so that in the monotonous plastic mass the hands sometimes encounter more substantial obstacles. Beads are best suited for this role.
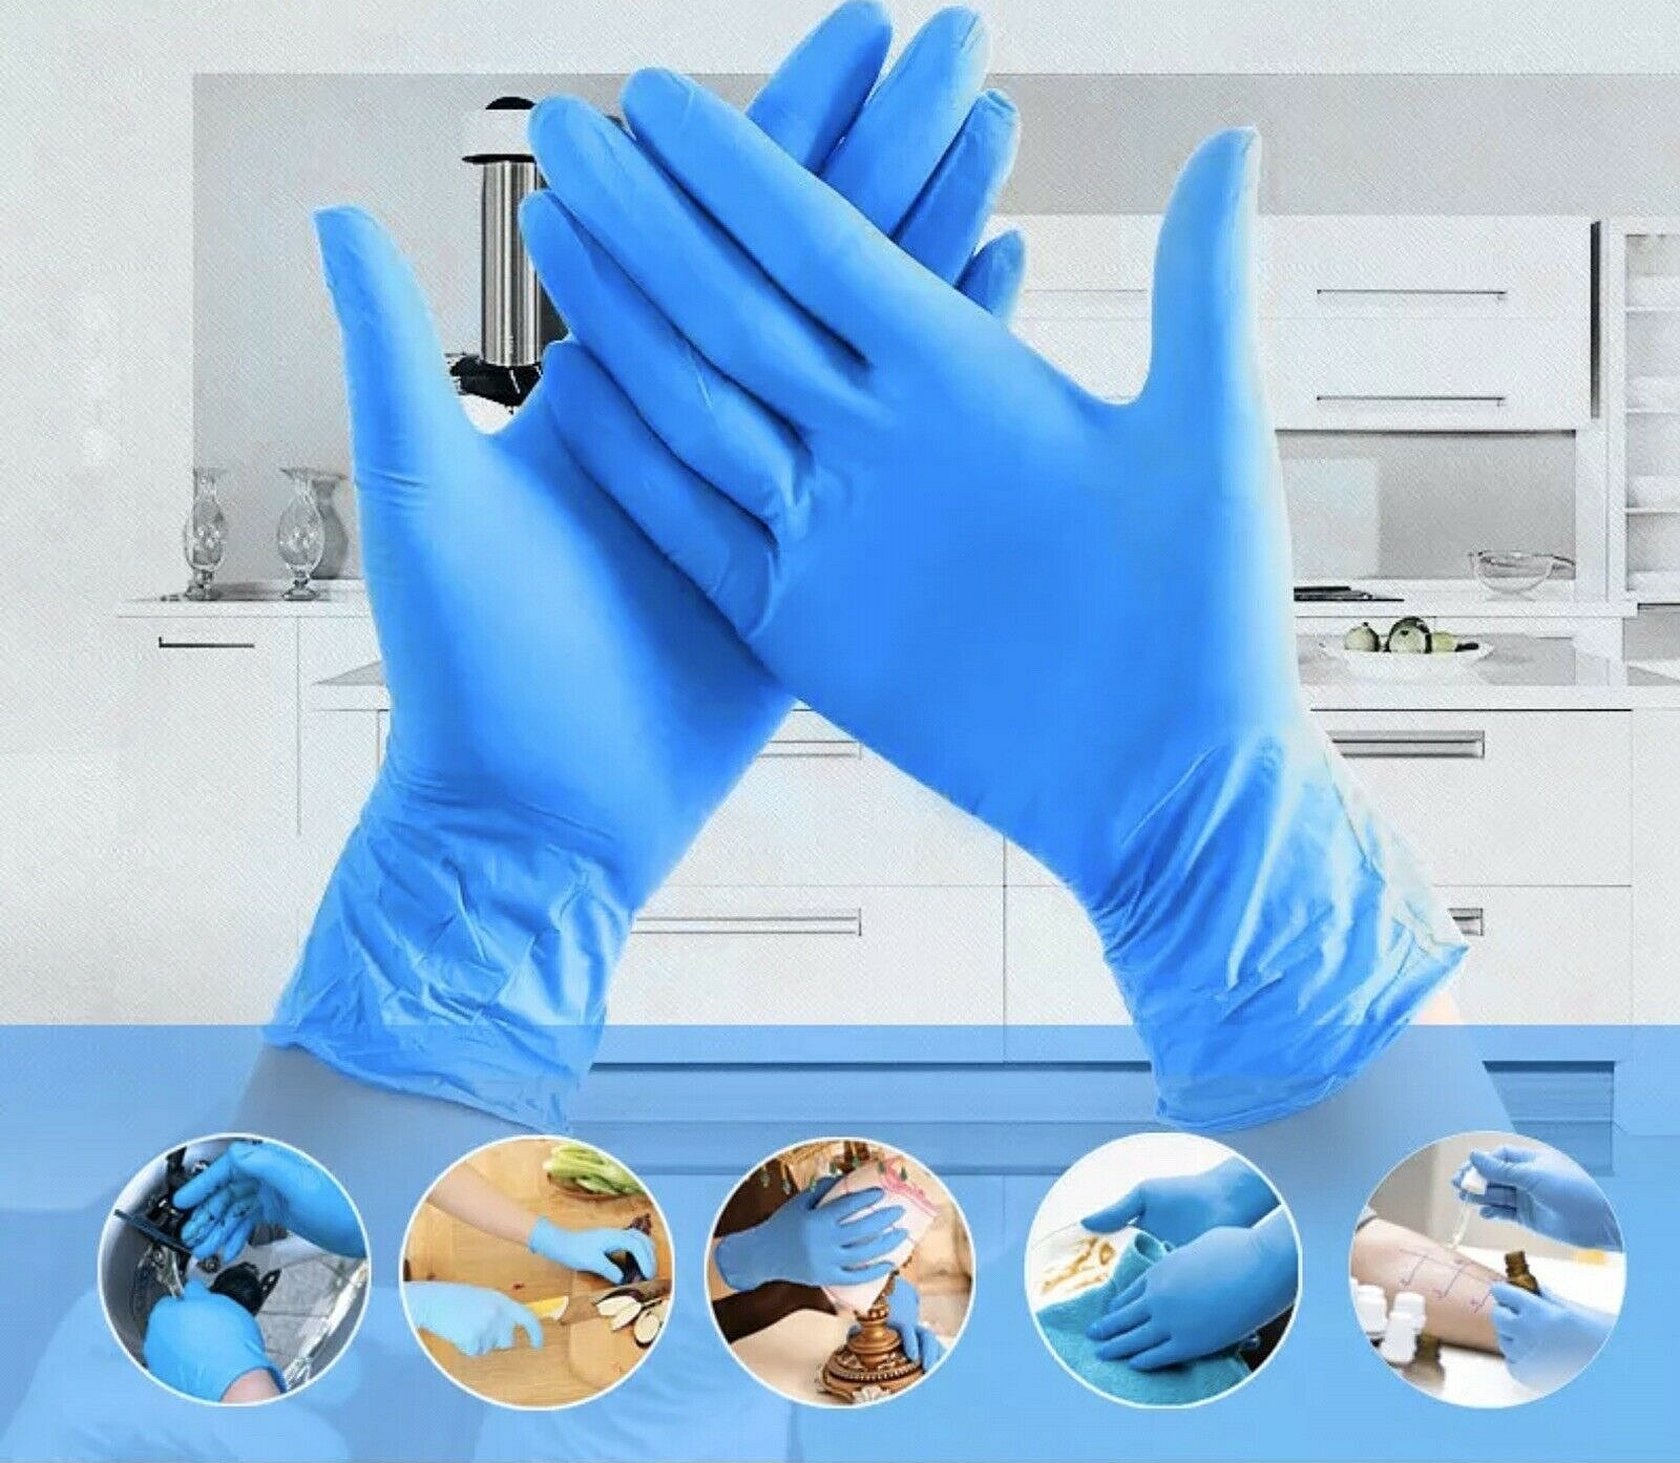
Safety rules for home cooking
Children should prepare slimes at home under the supervision of parents. Do not allow the child to lick the toy during cooking or while playing. Nothing particularly terrible will happen in most cases, but there may be allergic reactions or poisoning.
Please note! When working with liquid dyes, it is recommended to wear rubber gloves, as your hands may get dirty while mixing the ingredients.
Toothpaste Slime Recipes
One of the popular toys among children these days is slime. Many use store-bought options because they think that making it yourself is quite difficult or requires incredible ingredients.
However, there is no need to be afraid, as you can make slime from toothpaste and, for example, glue.
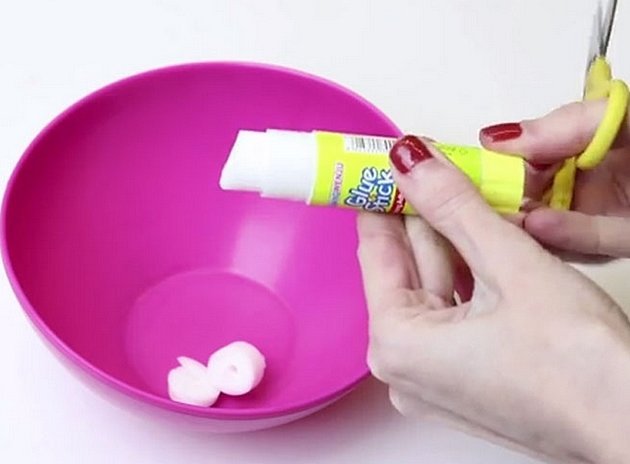
Slime from glue stick and toothpaste
You can use either a stationery-based glue stick or PVA glue as a base. You will only need a couple of tablespoons.
It must first be finely chopped and then melted in a water bath. After dissolving the glue, it is recommended to immediately add the main ingredient in these recipes (toothpaste). After that, if desired, you can add dye and mix well.
When the mass becomes viscous, you can remove the bowl from the water bath and put it in the refrigerator for half an hour.
From toothpaste and PVA glue
The simplest recipe consists of only two ingredients: PVA glue and toothpaste itself. This does not mean that we are talking about a weak slime. You can immediately take colored paste, so as not to add dyes. It is also recommended to take dishes and tools with which you will have to mix.
Then you need to perform the following steps:
- You need to squeeze out the required amount of toothpaste into the cup. To make a large slime, you can use the entire tube, but this is optional.
- You need to add glue to the paste in small portions, checking whether the mass begins to thicken.
- You need to constantly stir the mixture until it begins to thicken and eventually pull away from the sides.
- After this, you should put the bowl with the mixture in the refrigerator for a third of an hour.
- After this time, you need to take the slime out of the refrigerator and begin to knead it in your hands until the mass becomes homogeneous.
Please note! For some time the slime may have a strong minty aroma, after some time it will become less pungent.
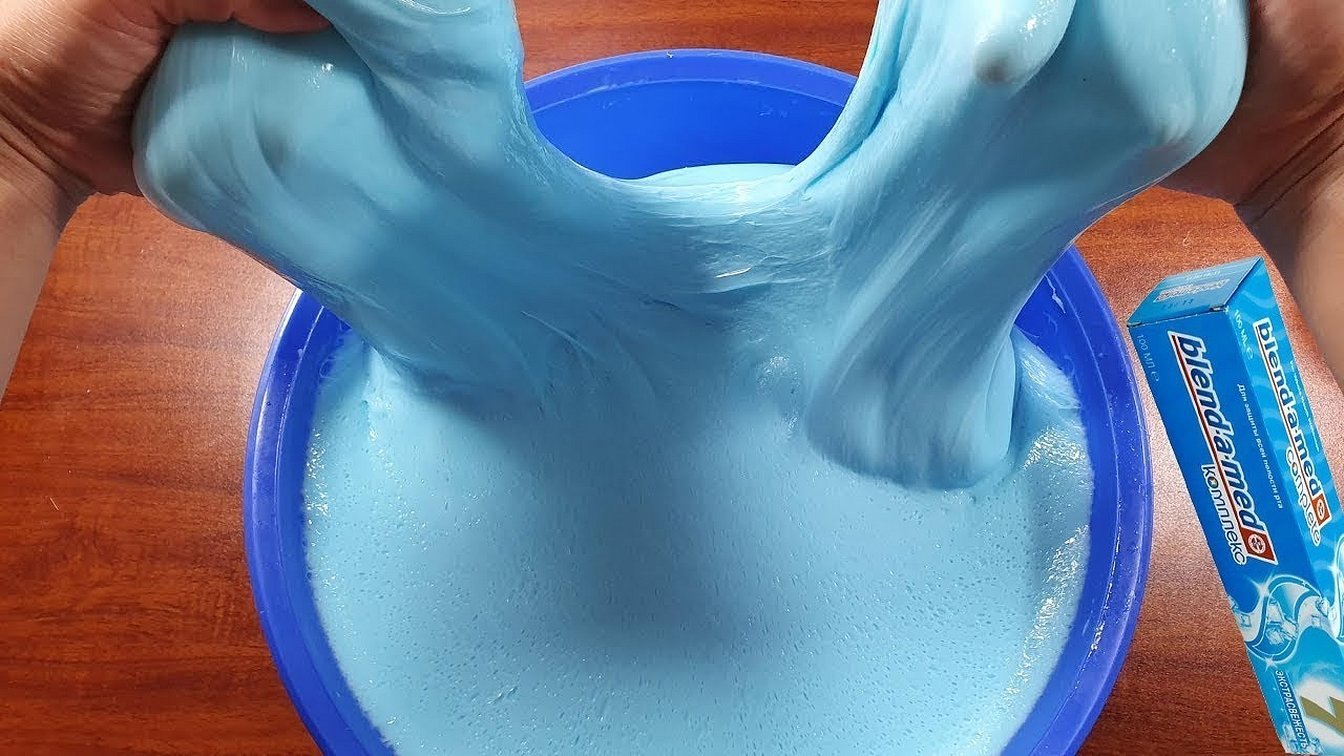
Toothpaste and Shampoo Recipe
Slime made from paste and shampoo is a bit more difficult to make than slime made from glue. You will need the following ingredients:
- thick shampoo;
- dye;
- toothpaste;
- mixing tools and cup.
To prepare, you need to follow the recipe step by step:
- Add 3 tablespoons of shampoo to the bowl.
- Squeeze out a small amount of paste and mix the ingredients.
- Add a few drops of liquid food coloring and mix thoroughly.
- If the mixture is liquid, you need to add more of the main ingredient.
- When the consistency of the mass is satisfactory, you need to put the container with the slime in the freezer for half an hour.
- After the freezer, you need to knead the resulting mass with your hands for 5-10 minutes.
The slime is ready. After playing, it is recommended not to forget about the peculiarities of its storage so that it does not spoil.
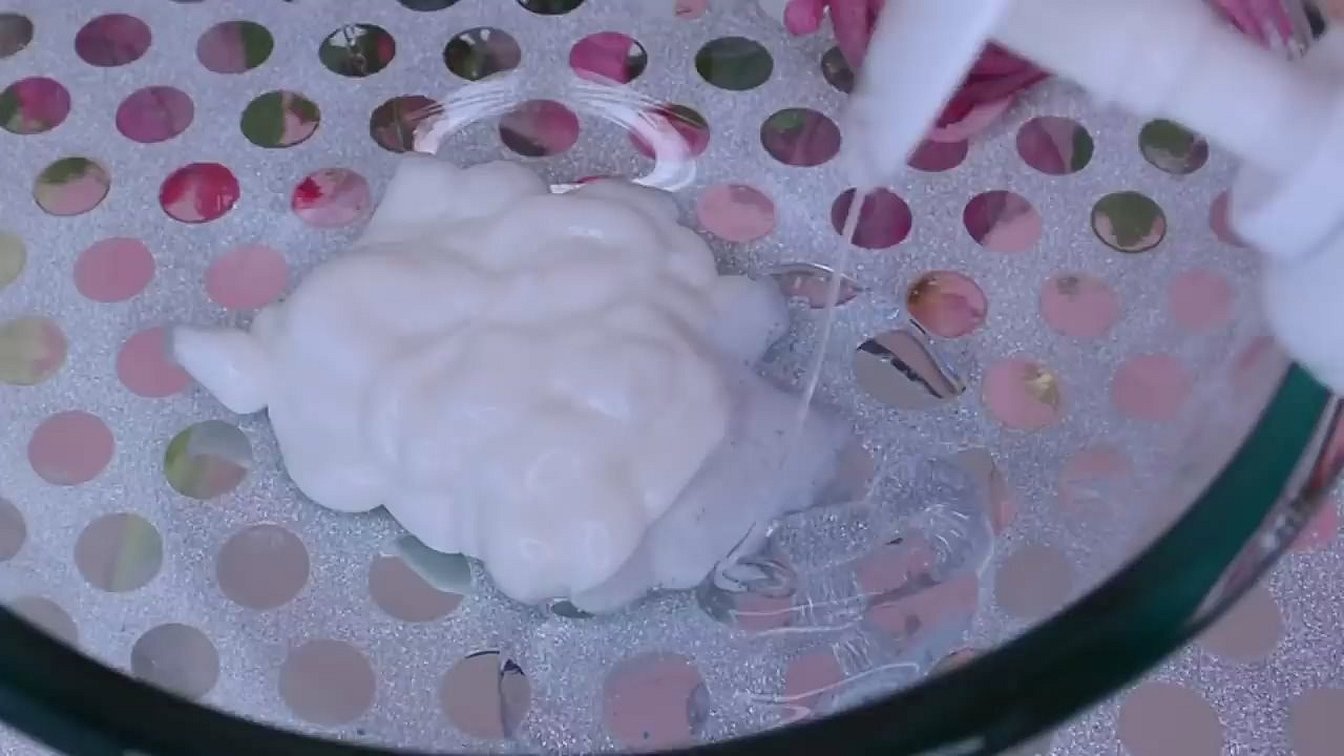
Slime from paste and liquid soap
A slime that is more viscous and pleasant to the touch is obtained if you use a paste with liquid soap. To create a toy, you need to follow the step-by-step instructions:
- Mix the main ingredients in equal proportions. It is recommended to start with a small amount to avoid mistakes. Gradually you can add more.
- If you want to color the slime, you need to add liquid dye at this step.
- After this, you should start adding flour in small portions, constantly stirring the mixture until it thickens.
- If dry dye was chosen, it must be mixed together with flour to avoid lumps.
- After obtaining a homogeneous mass, you need to add a teaspoon of water to the mixture and actively knead it with your hands until it turns into slime.
After the last step, you can start playing. However, it is important to store the finished product correctly, otherwise it will quickly harden in the air.
Toothpaste Slime Recipe with PVA and Baking Soda
You can add soda as a thickener to the recipe with paste and PVA glue. You need to mix the glue and paste in a bowl until smooth. In another bowl, you need to dissolve the soda in a glass of warm water. The resulting liquid needs to be slowly poured into the thick mass, stirring until the desired consistency is obtained. It is worth leaving for a quarter of an hour, and then, putting it in a plastic bag, knead thoroughly.
How to Make Slime with Tetraborate Toothpaste
Slimes are made using sodium tetraborate. This can be considered the most classic recipe, since using such a thickener, the toy turns out like in the store.
60 g of toothpaste should be mixed with 100 ml of sodium tetraborate. If desired, glitter and dye can be added to the slime. After combining all the components, it is recommended to mix thoroughly so that the mass is homogeneous.
The slime needs to be left to rest for about half an hour, and then try to knead it. If there is excess moisture in it, it can be removed with a paper napkin.
Recipe with powdered sugar
A fairly elastic slime is made from paste and sugar. You need to squeeze the required amount of toothpaste into a bowl, and then gradually start adding sugar. You need to stir the mixture until all the grains dissolve. After you get the desired consistency, you should put the toy in the refrigerator for an hour.
Additional information! To make the preparation process take less time, it is recommended to first turn the sugar into powder.
From toothpaste and shower gel
The easiest way to make a slime according to this recipe is with a slider bag. You need to pour any liquid glue into it, pour in shower gel (1 third of the amount of glue), and then add toothpaste as a thickener. You only need a little of the last component, so you should add it to the mixture gradually. After that, you need to thoroughly knead the bag with the contents. You can then store the slime in it.
How to Make Slime with Shampoo, Toothpaste, and Salt
To prepare this recipe you will need:
- paste - 20 g;
- shampoo - 60 ml;
- salt - 2 g.
The first two components need to be mixed until a uniform consistency is achieved. Salting the slime is required to bring it to readiness.
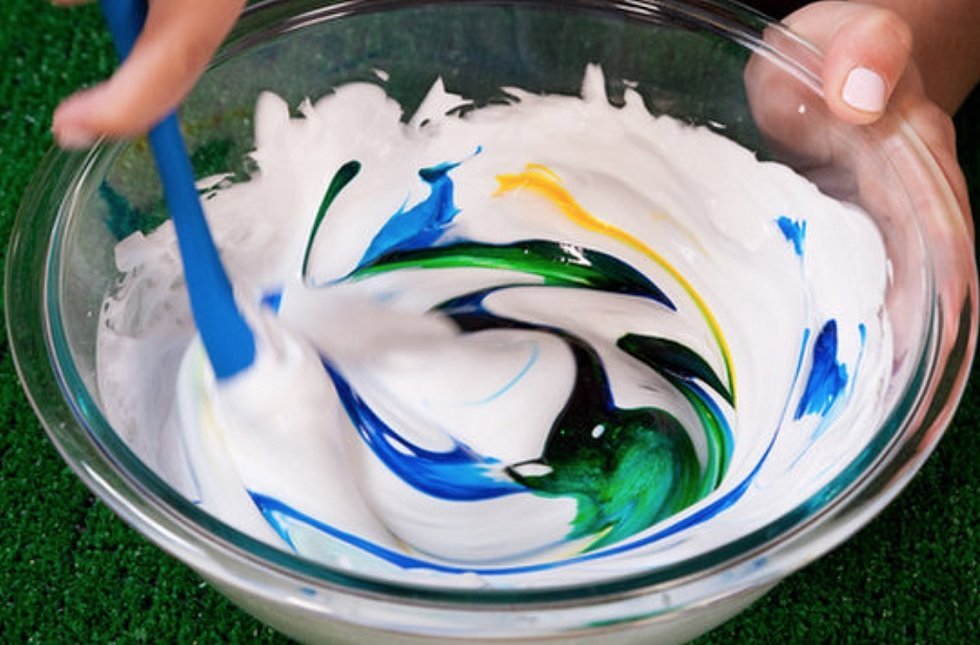
Slime made from paste and liquid dye
A fairly simple recipe consists of just paste and liquid dye. However, many people fail to achieve this because not all toothpastes have the required consistency. You need to do the following:
- Squeeze all the contents of the tube into a bowl, pour in the dye and mix thoroughly.
- Place the container in a water bath for a quarter of an hour, stirring constantly.
- After the mixture has thickened, you need to grease your hands with vegetable oil and knead the slime until it is ready.
It is recommended to use gloves during preparation, as the dye may stain your hands.
Method using hair product and conditioner
A conditioner-based toy is made in the same way as using shampoo or shower gel. The same proportions must be maintained when preparing.
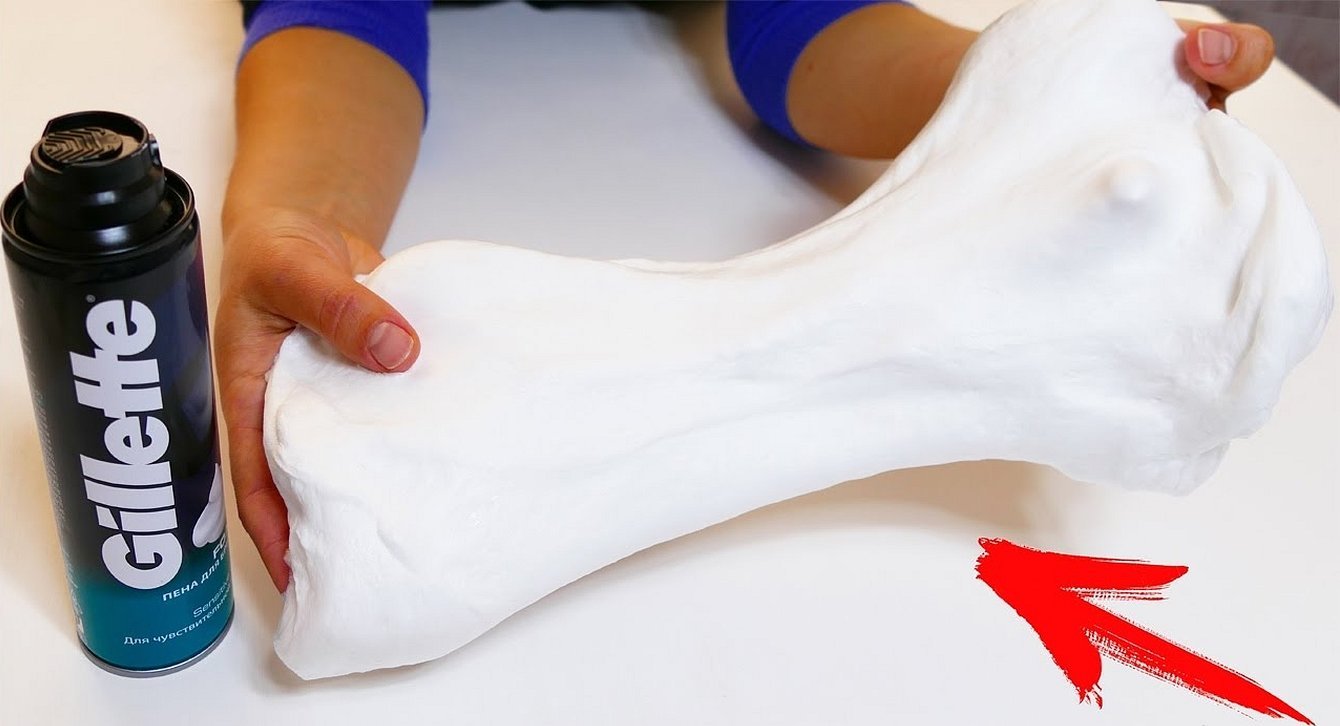
From toothpaste and shaving foam
Shaving foam is also quite often used when creating this kind of toys. The recipe requires only 125 grams, and toothpaste - 60. To make the slime bright, it is recommended to add a few drops of liquid dye.
The ingredients need to be mixed until smooth, kneaded in your hands for a few minutes, and then put in the refrigerator for an hour.
What to do if slime doesn't work
For one reason or another, slime may not work. The situation can be corrected quite simply.
- If it is too runny, you can add a small amount of cornstarch, baking soda or tooth powder.
- Tighter slimes can be diluted with a teaspoon of water. After adding, leave for 10-12 hours, after which it will become softer.
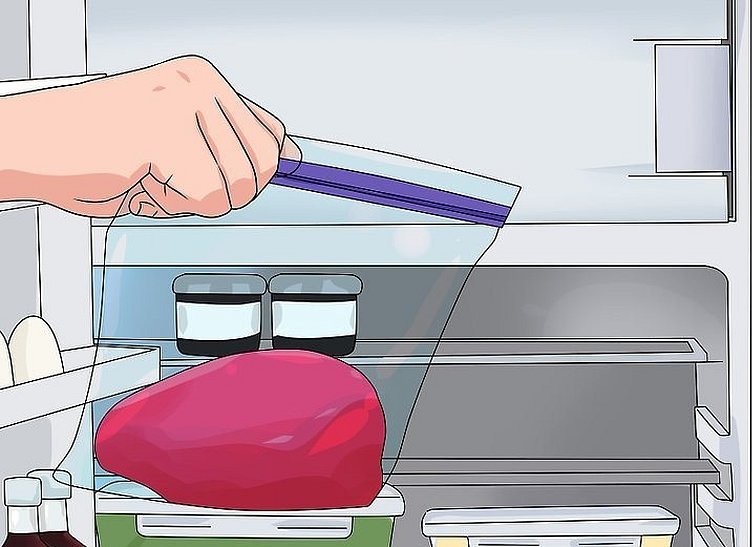
Features of care and storage
Proper storage conditions will help you enjoy the toy for a longer period. To prevent the slime from becoming hard and losing its qualities, it must be stored in a tightly closed container or plastic bag in the refrigerator. Avoid getting the slime on the floor, since stuck particles cannot be cleaned off, and therefore the appearance of the toy will be spoiled.
The slime does not last forever, so sooner or later you will either have to buy new hand gum or try to make it at home. The second option is preferable, since you do not need to leave the house for this, and also spend additional money, since the components are often already available.


