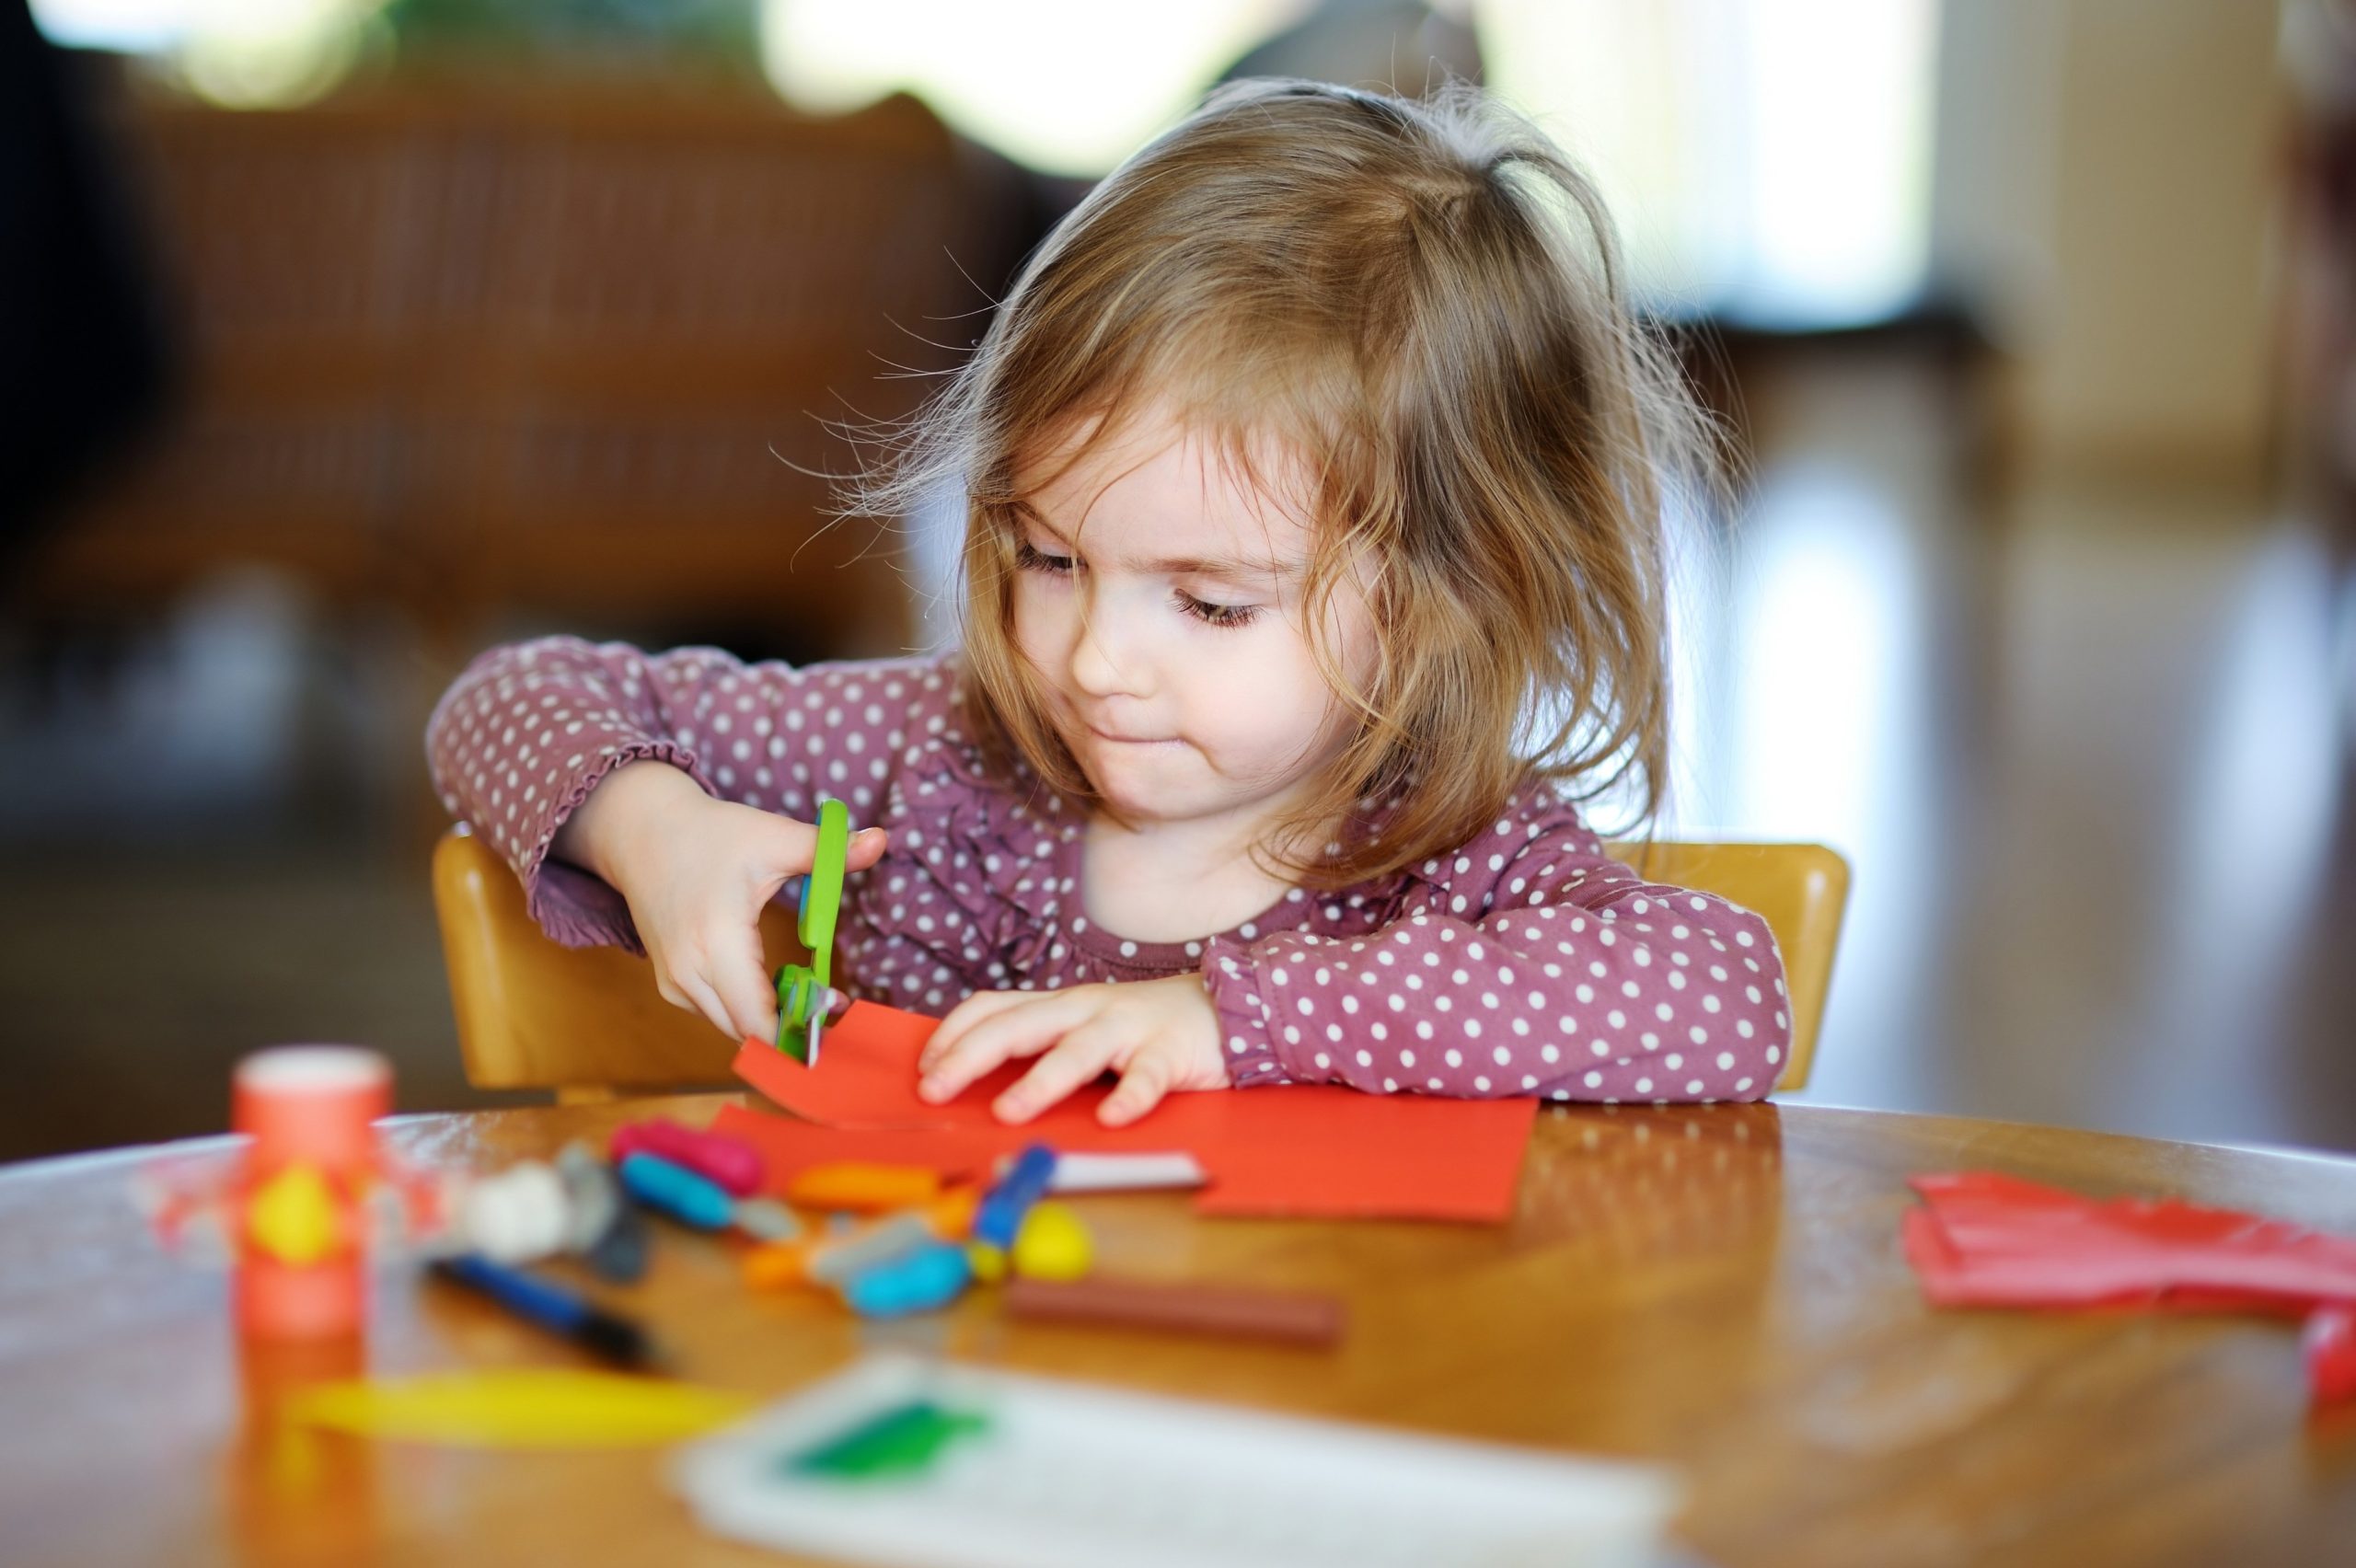
Making paper crafts is a fascinating and educational process for children, which broadens their horizons, improves memory, and develops fine motor skills. Paper crafts can be made with a child at home. Most often, children like to make animals. One of the most beloved children's paper toys is a lion cub. It can be made using origami, accordion, or cardboard - there are plenty of options.
Why Crafting Is Good For Kids
Making crafts is undoubtedly beneficial for children of different ages:
- At the age of 3-5 years, fine motor skills of hands develop, children learn to recognize colors, begin to distinguish geometric shapes, letters, animals. Regularly making various crafts, the child's imagination develops, speech improves. He becomes more attentive, focused. These qualities lay a good foundation for school.
- Crafts made at the age of 5-7 teach children perseverance. At this age, creativity forms fantasy, imagination, and broadens horizons.
Schoolchildren who are keen on making crafts learn patience and attentiveness. Creativity helps them become more focused and restrained.
For reference! Many children become seriously interested in this kind of craft and eventually enroll in thematic courses.
Origami paper lion
A paper lion using the origami technique is a simple and original craft that can be given to loved ones on behalf of a child for any celebration or holiday.
How to make a lion out of paper using origami technique:
- Take a sheet of colored paper (preferably yellow, brown or orange), an acceptable size is 15 by 15 cm.
- Place it with the colored side down.
- Fold the sheet along two diagonals and open it.
- Fold the bottom corner down by ¼.
- Fold the side pieces so that they are in a diagonal position.
- Bend the top of the head back.
- Draw a lion's face.
A simple and original craft is ready.
Please note! This type of product is suitable for children in the age category from 6 to 8 years.
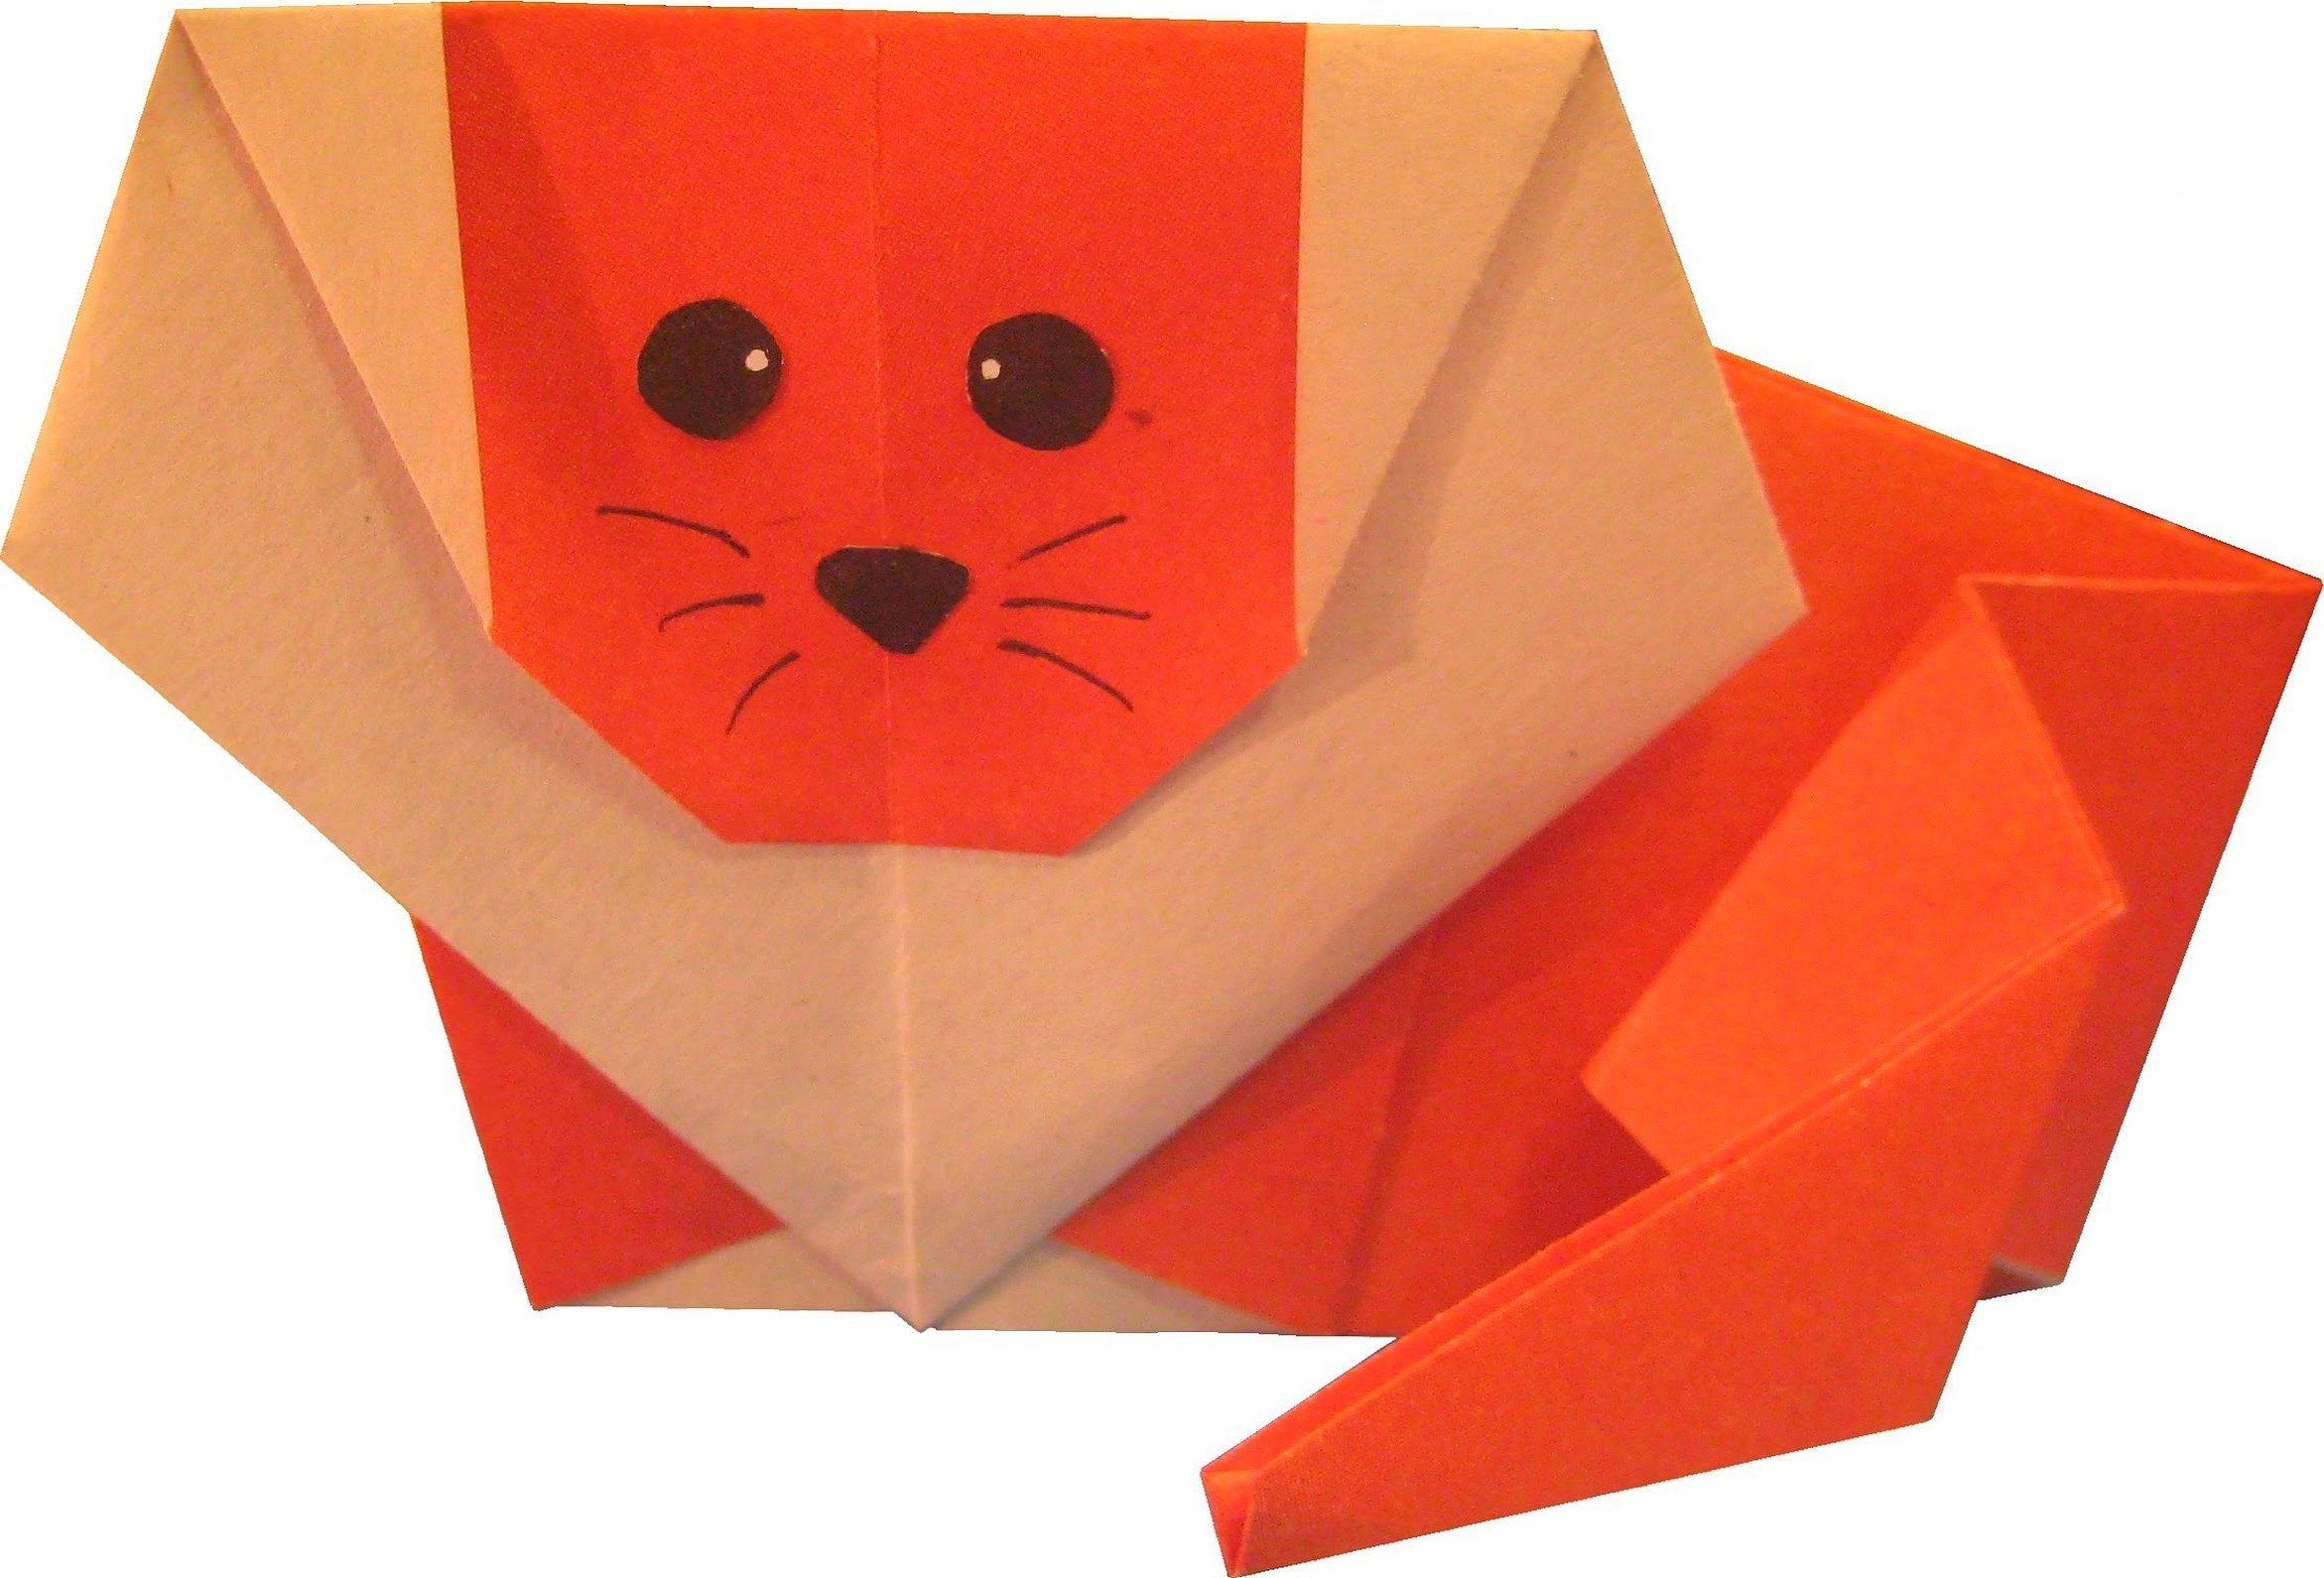
There is a version of making a lion cub using origami technique for older children. Craft lion from paper, instructions for making:
- take a square sheet of colored paper of the same size;
- you need to start working with the light part of the sheet - it needs to be folded diagonally (from top to bottom) and opened;
- bend the top corner so that it reaches the central axis;
- repeat the same with the bottom corner;
- fold the resulting line inward;
- top and bottom back;
- fold the product in half;
- make diagonal folds;
- on the back side of the fold, raise the left corner by 90 degrees;
- open the resulting blank from the inside to the left (this detail is the head of the future lion);
- lower the top point;
- tuck in the part that will stick out;
- bend the right sharp part to the left;
- bring it back;
- make another fold to the left, it should be zigzag;
- tuck the sharp end;
- draw a lion's face.
The craft is ready.
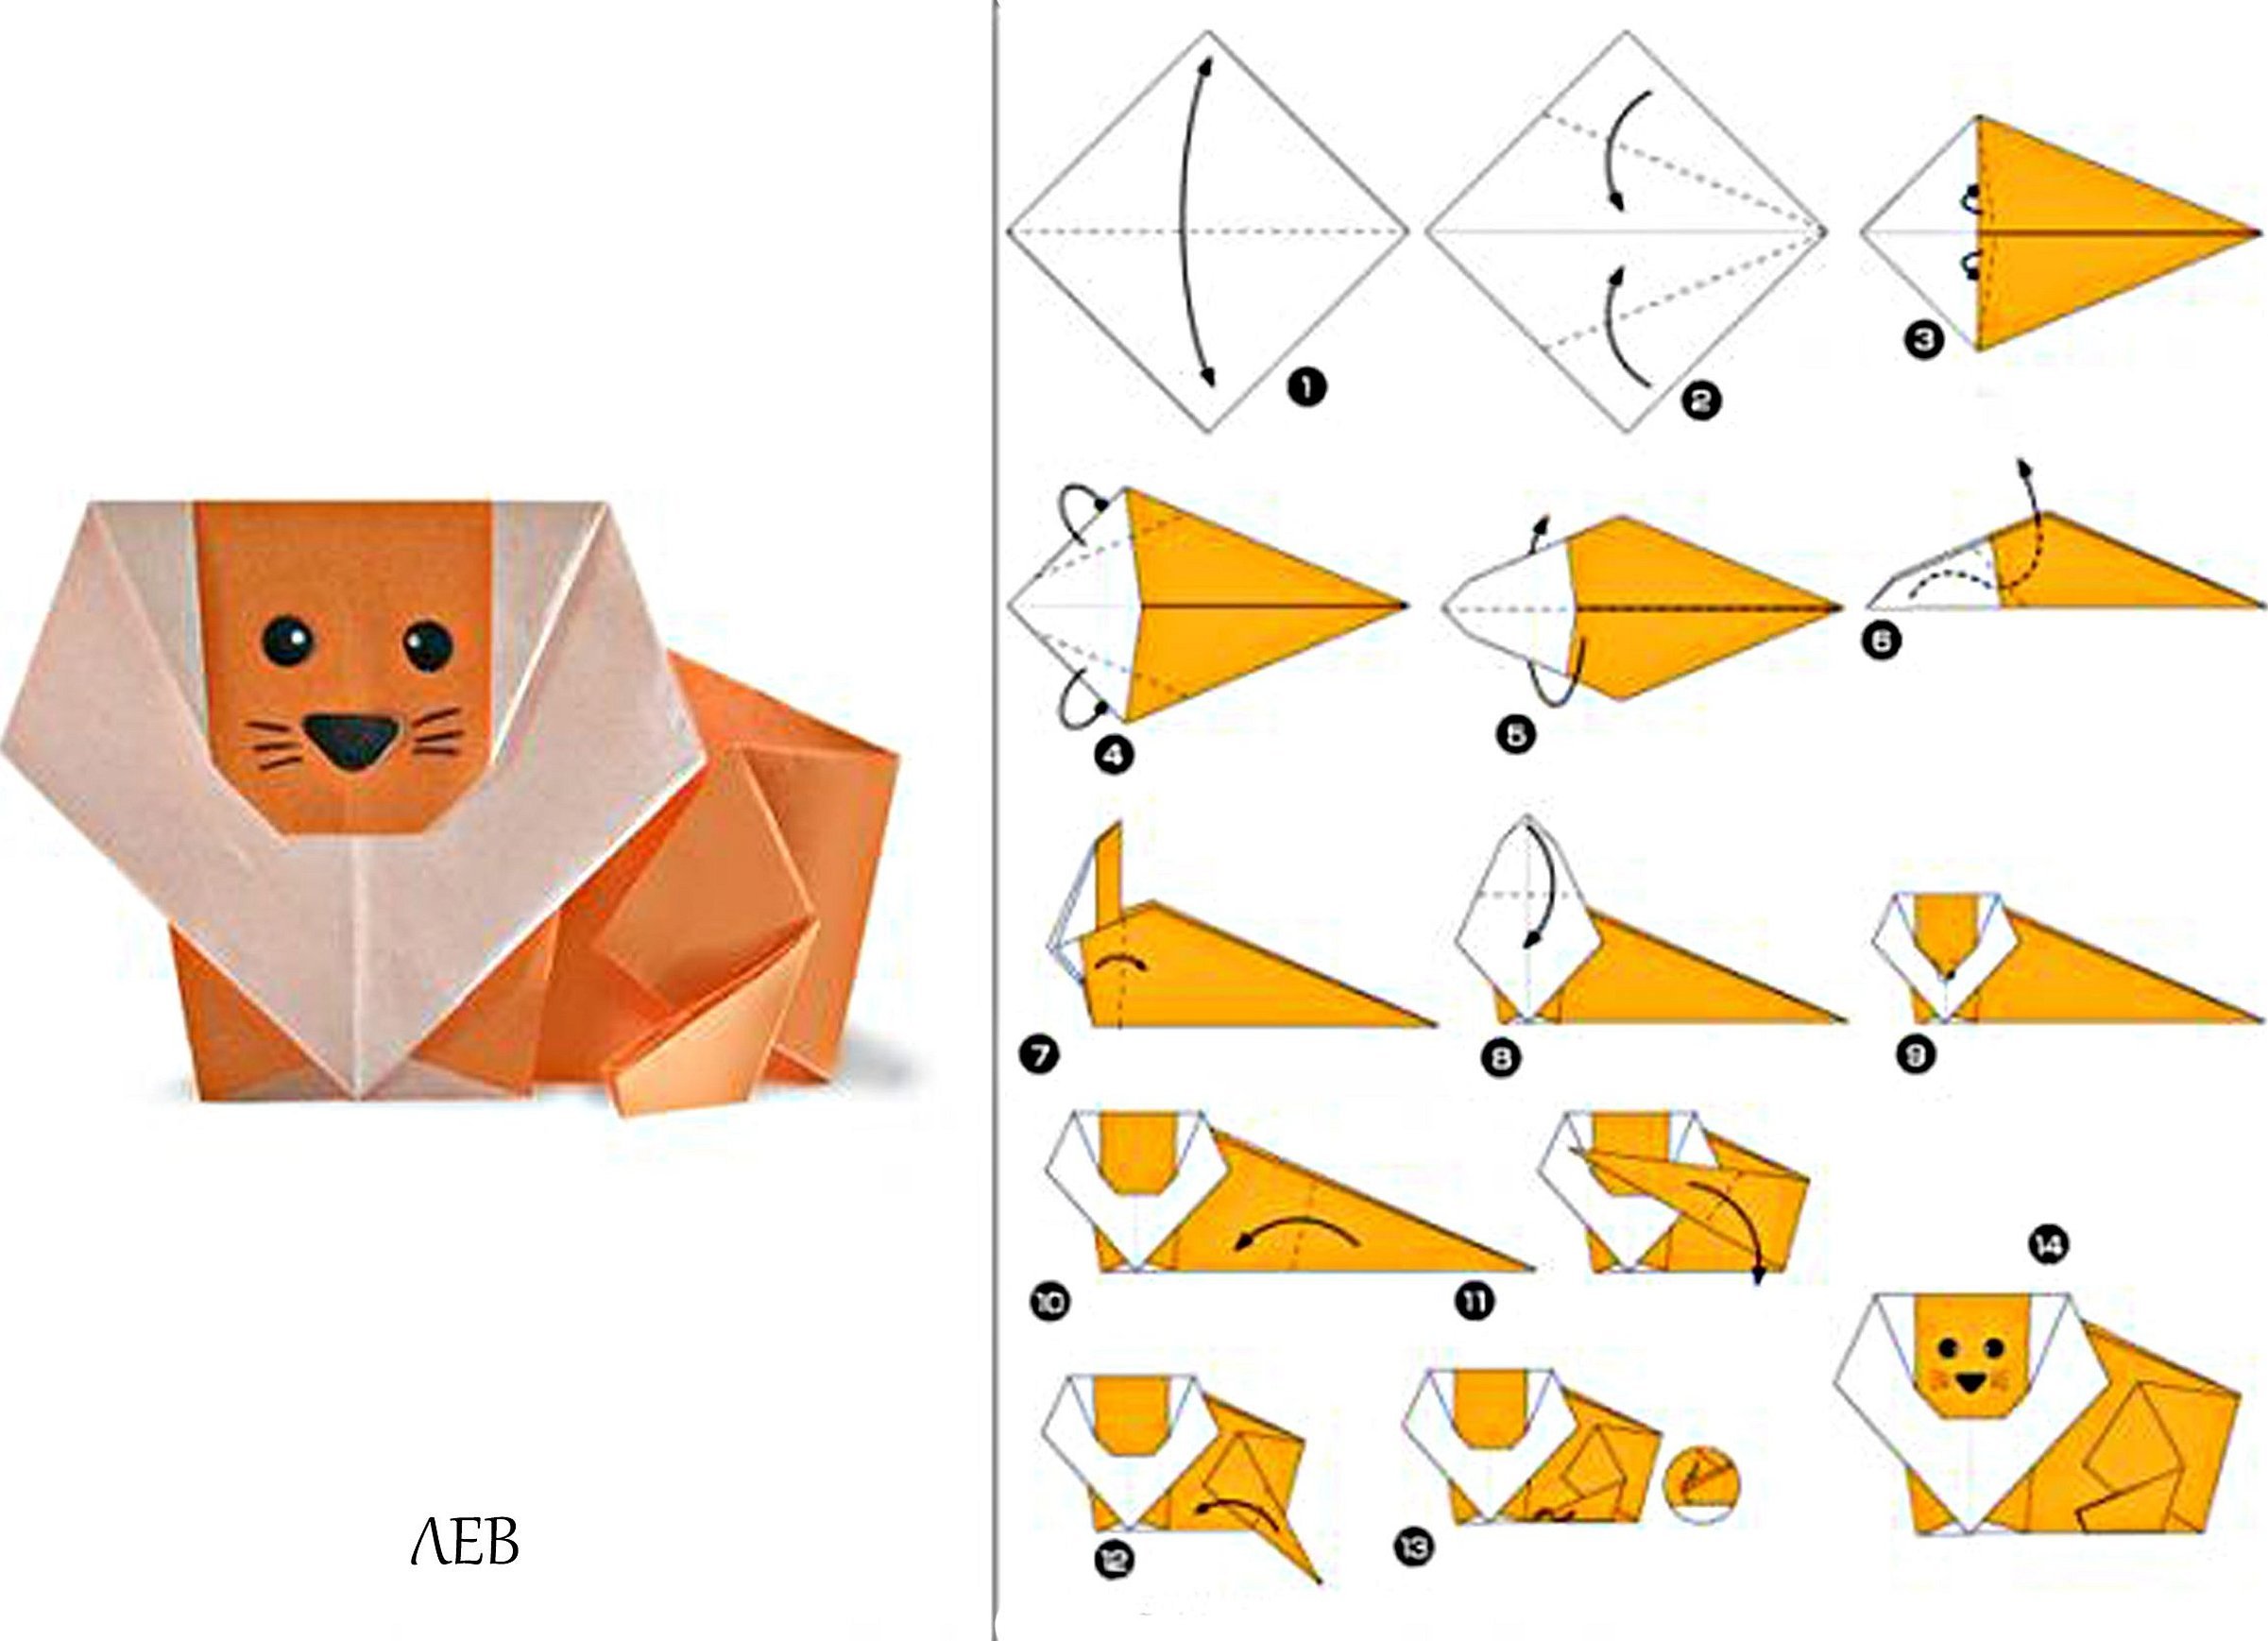
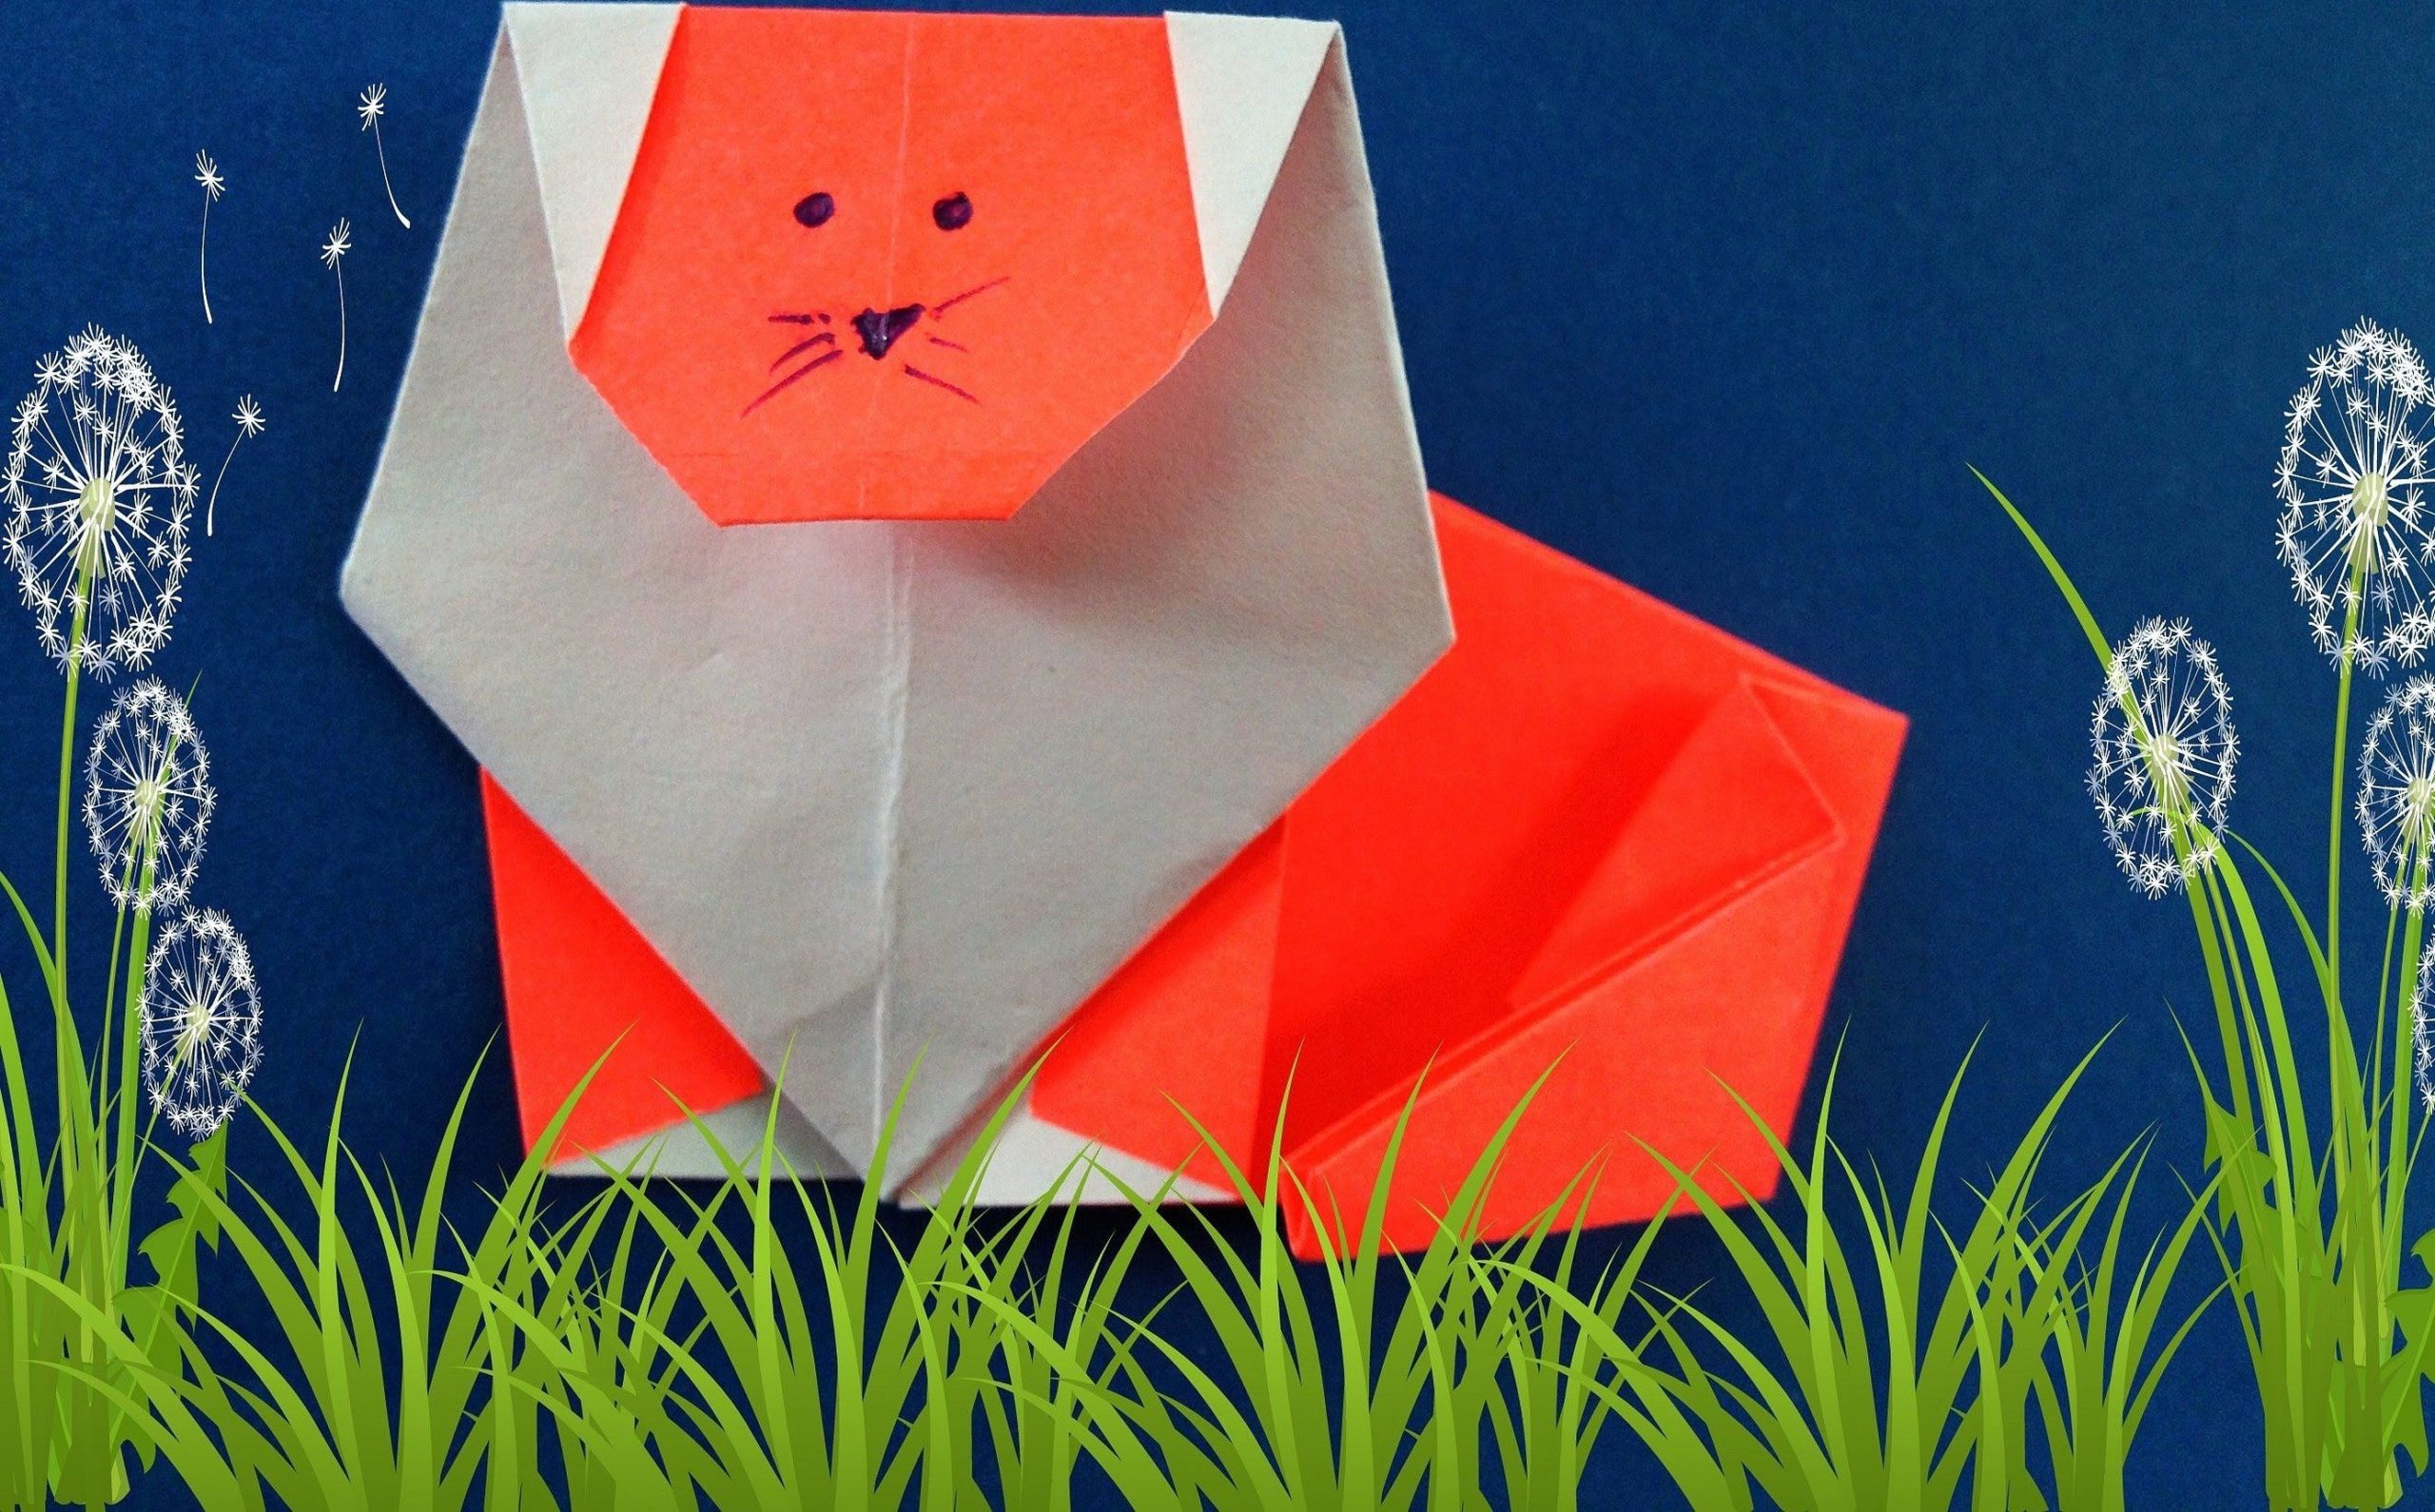
How to make a sitting toy, easy and step-by-step instructions:
- Take a sheet of colored paper measuring 15 x 15 cm.
- Place it with the colored side down.
- Fold 2 times diagonally.
- Open the sheet.
- Fold the top and bottom corners to the center. The result should be a vertical fold.
- Fold the workpiece in half along it.
- Rotate it 90 degrees.
- Lift the right and left corners up.
- Turn the figurine over.
- Bend the lower left part diagonally upwards.
- Make a reverse fold.
- Open the part that will be the lion cub's head downwards.
- Fold the right corner (sharp) to the left.
- Close the part that will be the lion's head.
- Fold the body part in half.
- Fold the near layer of paper diagonally.
- Fold the part that will be the body along the bisector.
- Open it.
Please note! At the end of the creative process, you will need to move the first layer of the “mane” a little, and bend the remaining part down.
The sitting origami lion is ready.
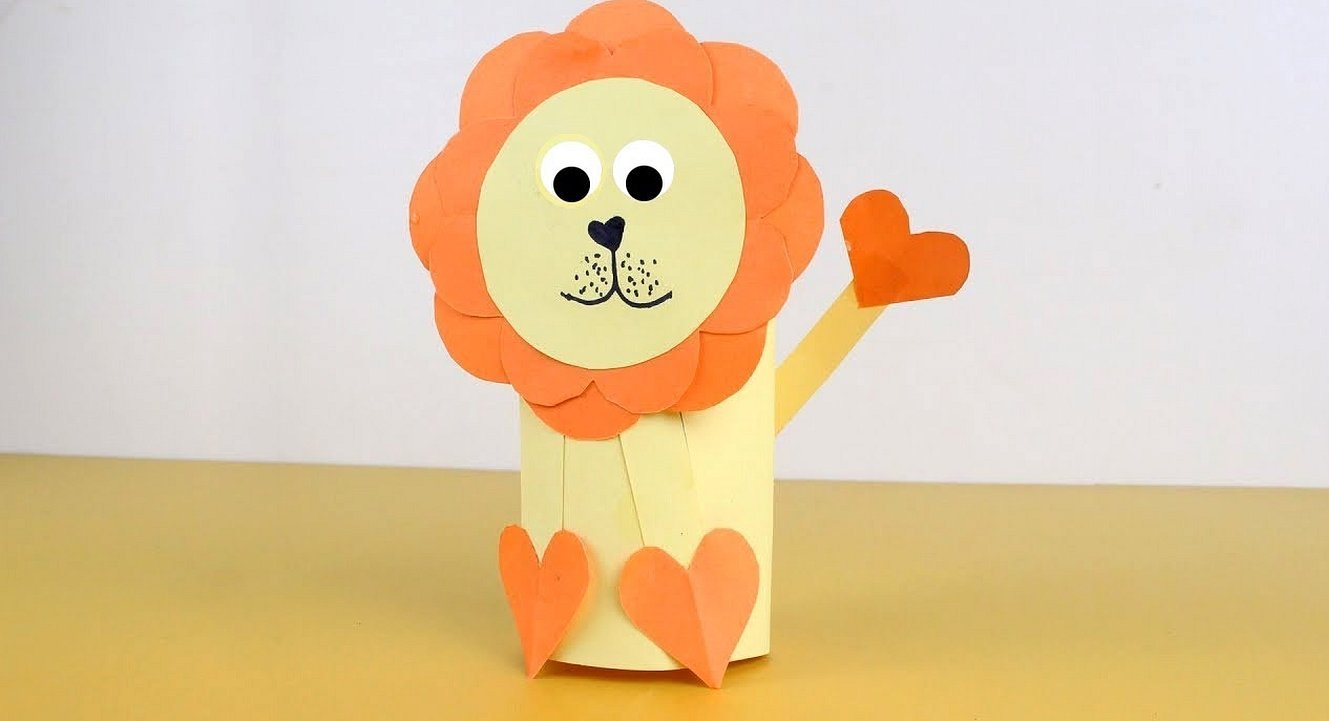
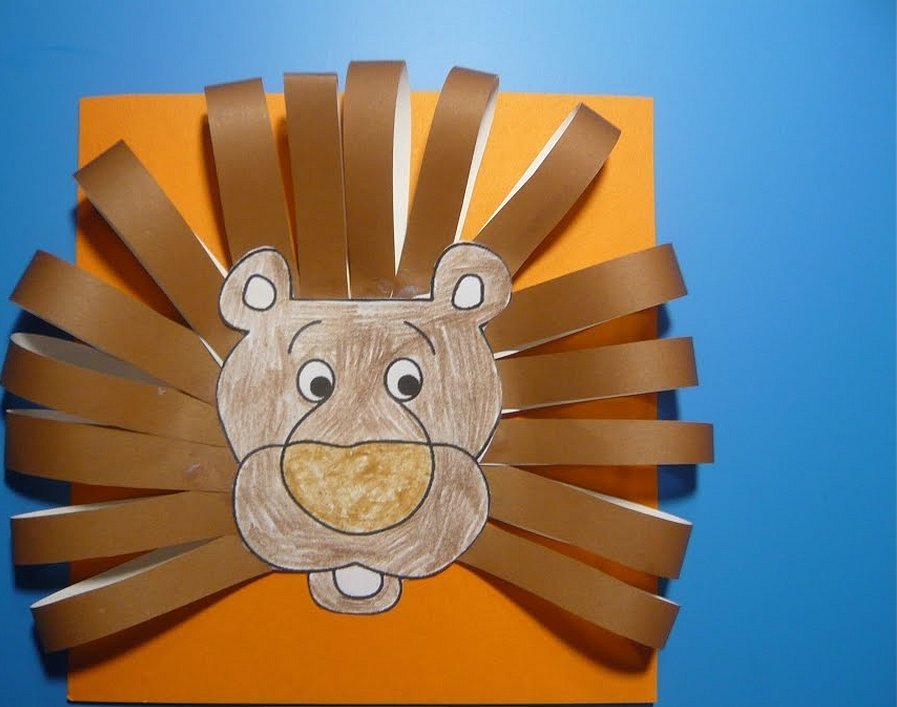
Volumetric lion made of colored cardboard
A 3D cardboard lion is a cute toy that you can give to relatives for the upcoming Christmas or add to your home craft collection. To make a lion cub, you will need the following materials and tools:
- yellow and white cardboard;
- orange colored paper;
- simple pencil;
- black and red handle;
- PVA glue;
- ruler;
- office scissors.
If all the tools are ready, then you can start working. DIY colored paper lion, instructions:
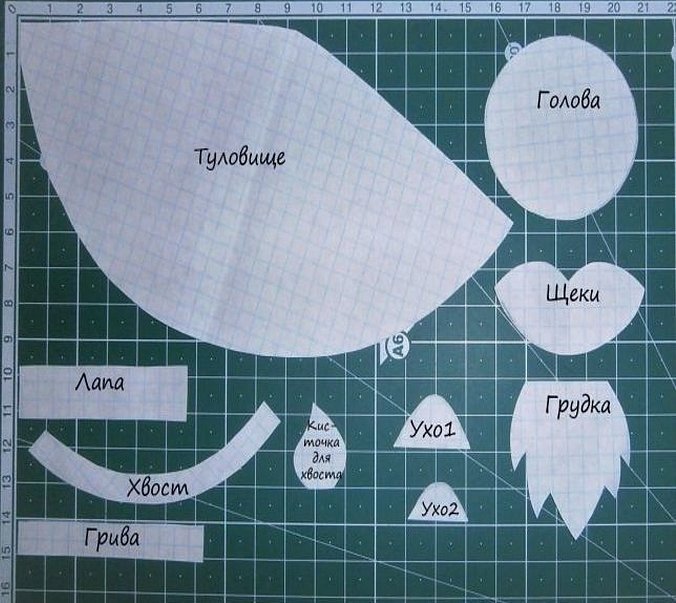
- First, you will need to make a template for the future toy. That is, you need to draw legs, a body, a chest, and a head on cardboard. An example is shown in the photo below. It can be printed on a printer.
- The resulting parts should be cut out using scissors.
- Using the received pattern, you need to cut out the main parts. Ears and cheeks should be made from white cardboard.
- From the yellow sheet you need to cut out the head, paws, tail, and body part.
- It is worth making parts for the mane from orange paper.
- Glue the chest to the part that will act as the lion cub’s body using PVA glue.
- Fold the body and glue it.
- Glue the cheek piece to the head piece.
- Glue white cardboard to part of the ears, which will also act as the inner part of the ears.
- Glue the resulting ears to one part of the lion's head.
- Draw eyes, nose, and mouth using pens.
- Glue the mane to the other part of the head.
- Wrap orange sticks of colored paper and glue them to the mane in a circle.
- Glue the second part (with eyes, nose and mouth) to the resulting part of the head.
- Glue the head and mane to the lion cub's body.
- Roll two pieces of cardboard for the paws into tubes and glue them together.
- Glue the paws to the body and draw lines with a black pen.
- Glue the tail parts together and attach them to the finished craft.
The original cardboard lion cub is ready.
How to make a lion from colored paper accordion
A lion made of accordion paper is a craft that you can make together with a small child. To create it you will need:
- double-sided colored paper of brown or yellow shade;
- PVA glue;
- scissors;
- black and red felt-tip pen;
- ruler.
Craft lion from colored paper - step-by-step diagram and manufacturing technology:
- Take paper of the desired shade.
- Measure out a rectangle on it, 15 cm wide and 20 cm long.
- Bend the long part on both sides to the middle. As a result, it should turn out that one part will slightly overlap the other (5 mm). Such manipulation is necessary in order to glue these parts.
- Now you can glue them together and measure 5 cm lines on the resulting rectangle.
- Place marks for bends.
- Fold along the first mark you drew.
- Repeat the steps with the second label.
- Continue doing the same. As a result, an accordion should form, which will be the basis of the toy.
- You can cut out eyes and a nose for the future lion from colored paper; you can choose the color at your discretion.
- Cut out ears from yellow paper and glue them to the front of the accordion, which will be the face of the toy.
- The second fold of the accordion will be the lion cub's mouth; you need to cut out a tongue detail from red paper and glue it to the "body". To make it look more prominent, you need to draw a line on the tongue with a pink felt-tip pen and shade it a little.
The accordion lion cub is ready.
Please note! The toy can be put on fingers and played with. There are two holes on the craft for this purpose (the double accordion itself).
DIY Paper Lion for Kids
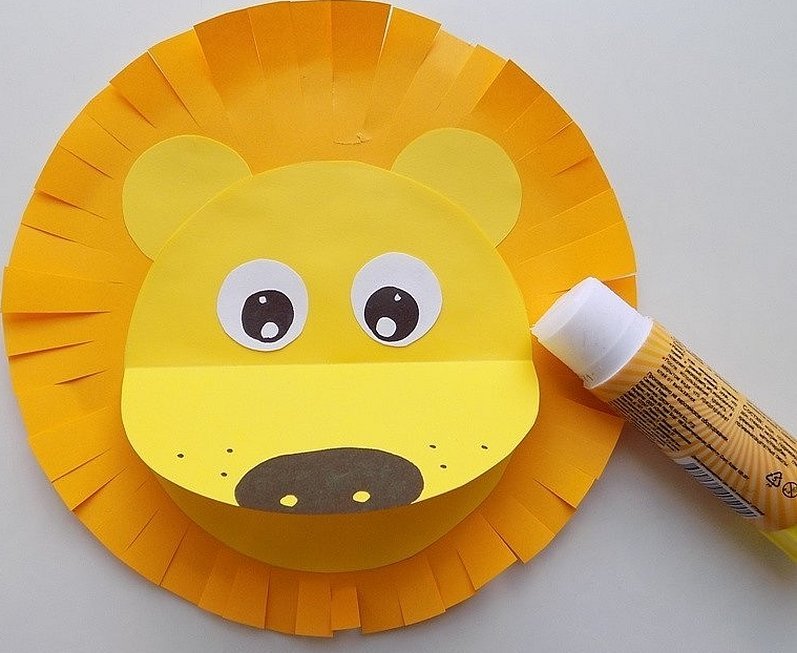
With children, you can make a lion cub with an opening mouth. For work, you will need colored paper in yellow, red, orange and white shades. You will also need a compass, scissors, a black felt-tip pen, and PVA glue.
Master class on creating a lion cub from paper:
- Using a compass, make 4 round parts on yellow paper. Two of them should be large, the other two 4 times smaller.
- Draw a circle on orange paper, the diameter of which should be slightly larger than the yellow circles (large ones).
- Glue the yellow circle onto the orange one, and glue small circles on the sides, which will be the lion’s ears.
- Make small cuts along the edges of the orange paper to create a mane for the lion cub.
- Fold the second yellow circle in half, glue eyes cut out of white and black paper onto it, and use a felt-tip pen to draw a nose.
- Glue half of the circle to the base of the toy.
- Cut out a tongue from red paper and glue it onto the muzzle (on the part where the second part of the muzzle will rise.
The lion cub with an opening mouth is ready.
Paper crafts for children improve imagination, broaden horizons, and improve fine motor skills. A toy lion cub is a great option for children aged 3-8. It can be made in various ways: origami, accordion, or cardboard. The finished product should be given to close relatives for the next celebration or put on a shelf with the rest of the child's crafts.


