On holidays, adults and children strive to dress beautifully, unforgettable. However, if we are talking about a masquerade or a children's party, then you also need to find a special character costume. Often, a mouse is chosen as a hero, for example, Monterey Jack from the cartoon "Chip and Dale: Rescue Rangers". In this case, the outfit will be complemented by a mouse mask made with your own hands.
What paper, cardboard is better to use
The finished product should stay on the face, not lose shape, so you should pay attention to the choice of material. Experienced craftsmen in this matter distinguish several types of paper and cardboard for work.
Paper suitable for making masks is listed below.
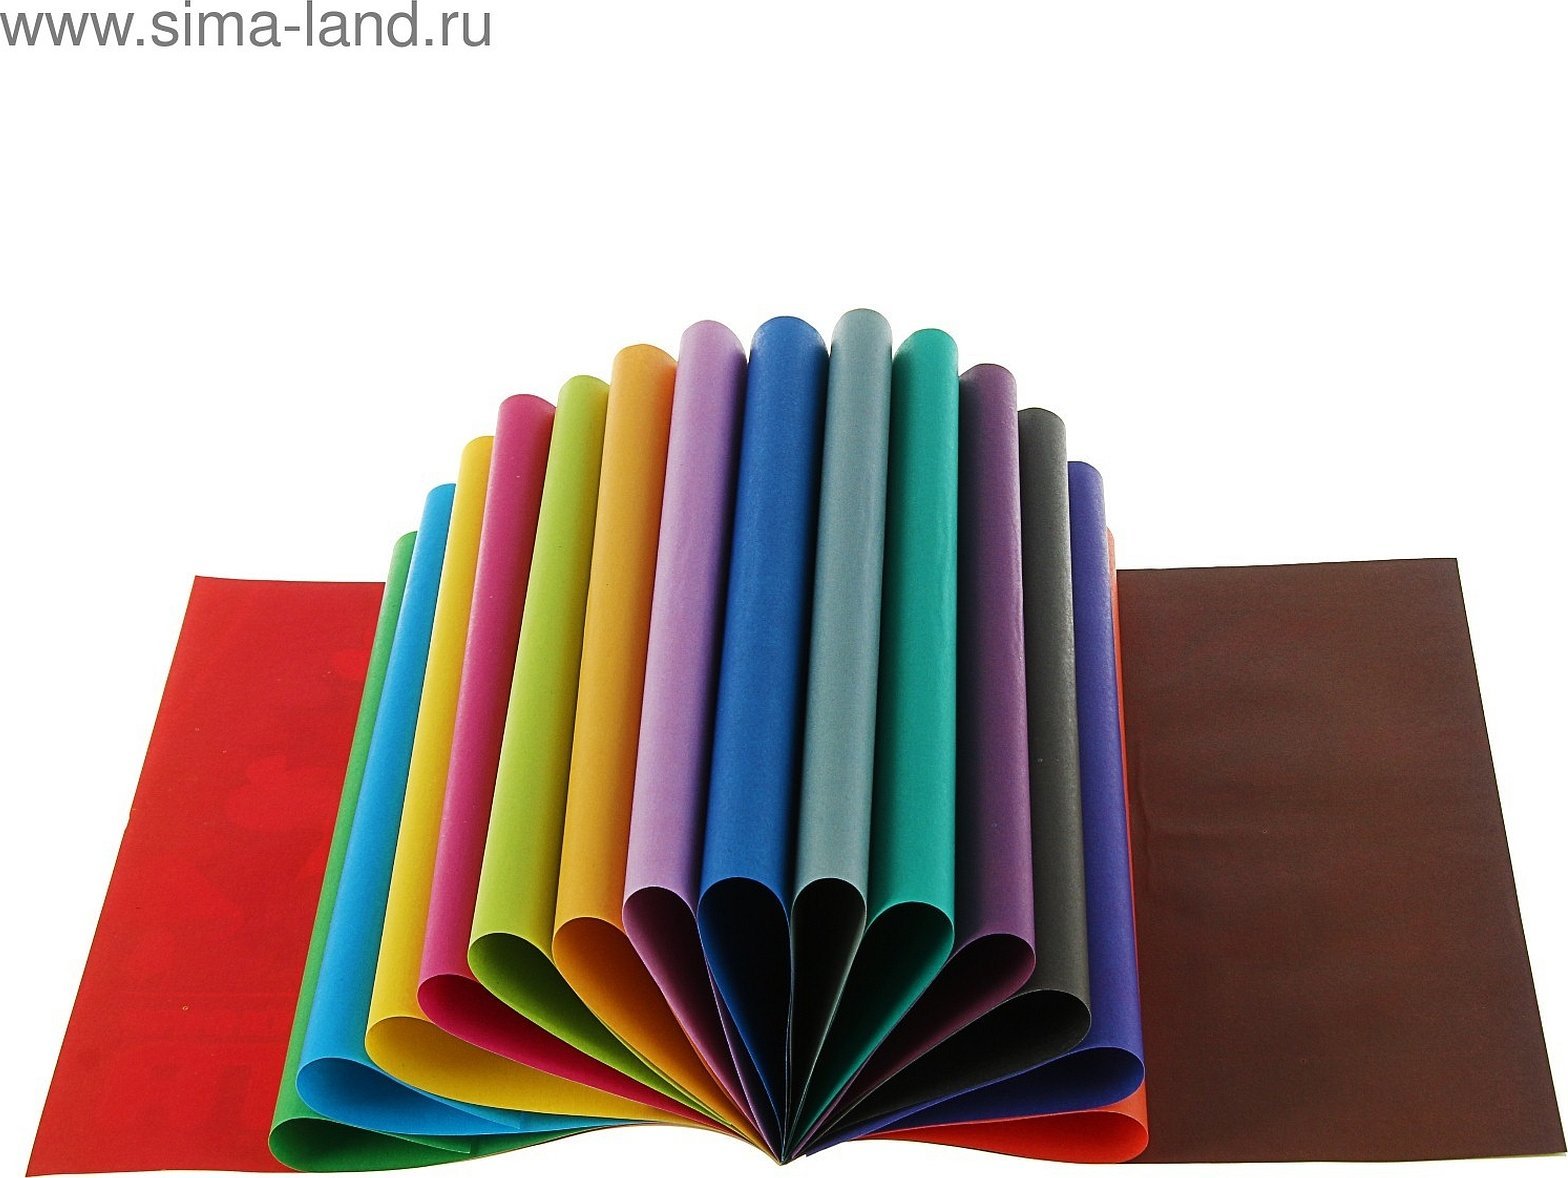
- Classic color
This type is suitable for applications, finishing the main product. For a mask, this is an exclusively additional material, it is not recommended to use it as a basis for crafts.
However, when buying, you should consult with the seller or carefully study the characteristics: coloring, density. Ideally, colored paper should be cut, have a bright palette and bend freely.
- Velvet
Perfect for finishing the outside. The texture imitates animal fur and looks original.
This material is somewhat more difficult to bend due to its density, which prevents the product from deforming when using glue or water.
For reference! High-quality velvet paper does not crumble or stain, is quite rigid and has a uniform structure.
- Holographic
Also called foil because of the iridescent effect. It will perfectly complement the mouse mask as eyes, nose. Ideally, the paper should not have external damage (scratches, cuts), as this will spoil the quality of the holographics. It is also worth checking the density and palette.
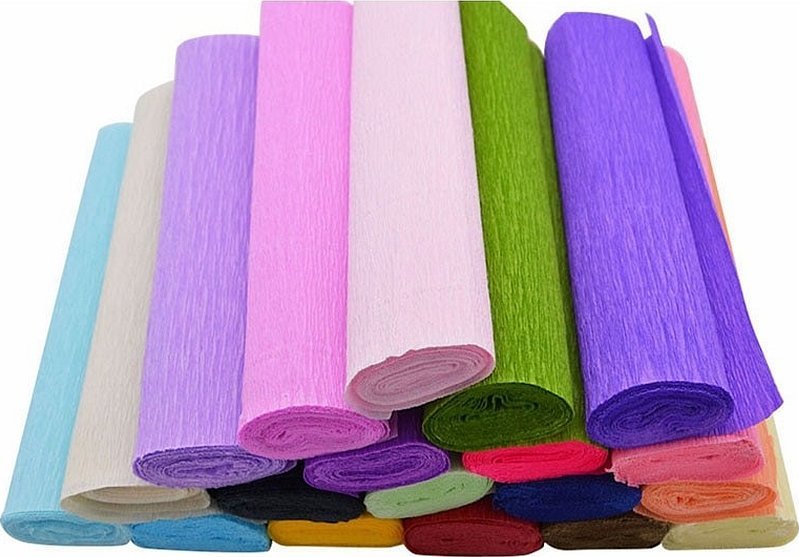
- Crepe
This type is used in the production of three-dimensional crafts. It often serves as a basis for flowers, interior decoration. In the case of a New Year's mask, it can be an alternative to colored paper, but no more, since the material gets wet and becomes colored when glue gets on it.
- Origami
Sold only in specialized stores focused on creativity. High density allows you to use it when working with a mouse mask. It is difficult to tear origami paper when turning it inside out, so you should have scissors at hand.
- Cardboard
The material is the most accessible and suitable for a child's mask. You can take classic colored, uncoated or corrugated, velvet, one-sided or two-sided. It can be multi-layered.
Regardless of the choice, the product will be of high quality due to its high density and brightness. In the case of a mask, it is recommended to use it, but if you have no experience working with such material, then you should start with any of the options suggested above, since cardboard does not forgive mistakes: the wrong bend - everything starts over again.
- Foamboard
Few people know about the existence of this type of paper product. This material is better known as polyurethane or foam plastic.
It is suitable for working with a mask due to its lightness and range of colors. Among the disadvantages, one can note the difference in cost: one sheet of foam board will cost about the same as a pack of high-quality colored cardboard.
Attention! You should not use soft or recycled material for the base, as it will quickly deform, and the product will lose its shape and deteriorate quickly.
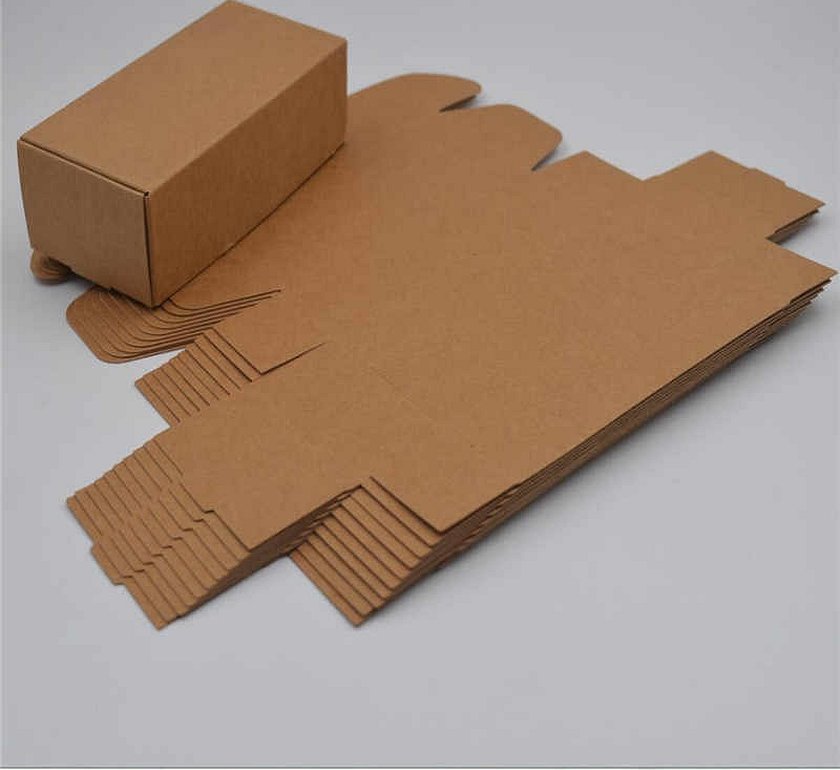
Separately, it is necessary to note the cardboard, which is used as packaging. It is much denser, has several layers and, if desired, can be separated. When there is no experience in using colored cardboard, it is enough to use this alternative. In addition, the work from it will be voluminous, but light.
What else do you need for work?
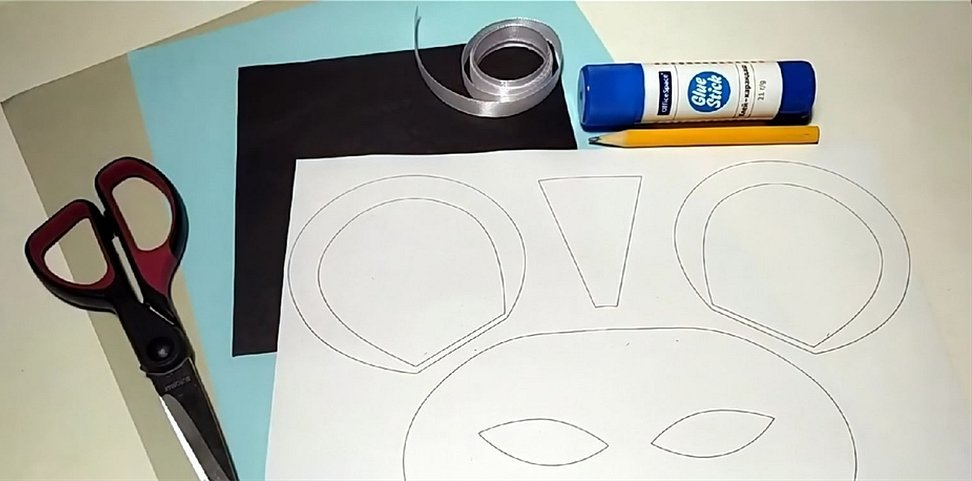
Paper is not enough to make a mouse mask with your own hands. You will need to use a number of additional things, the number of which depends on your imagination and the desired result. For the simplest work, paper, scissors, and glue will suffice.
However, for a truly magical craft that will be equally enjoyed by adults and children, you need much more:
- cardboard (preferably uncoated. 2-3 sheets);
- paper (colored gray);
- scissors;
- ruler;
- pencil;
- glue;
- marker;
- additional: hole punch, string or ribbon (optional) for the headband;
- good mood.
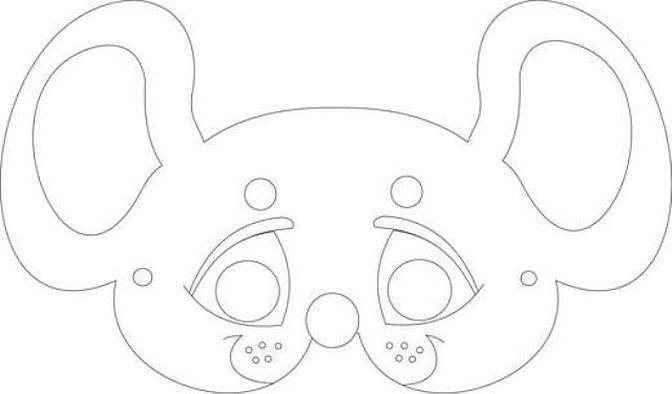
Ready-made mask templates
There are many different animal mask stencils. When choosing, you should remember the individual characteristics of the child, that is, take into account the size of his face, the shape of his nose and the position of his eyes.
The mouse's muzzle as a mask can be placed in only two ways: horizontally, vertically. The difference is that the latter option does not reach the ears, but ends in the middle of the cheeks. This shape is ideal for children with an oval face.
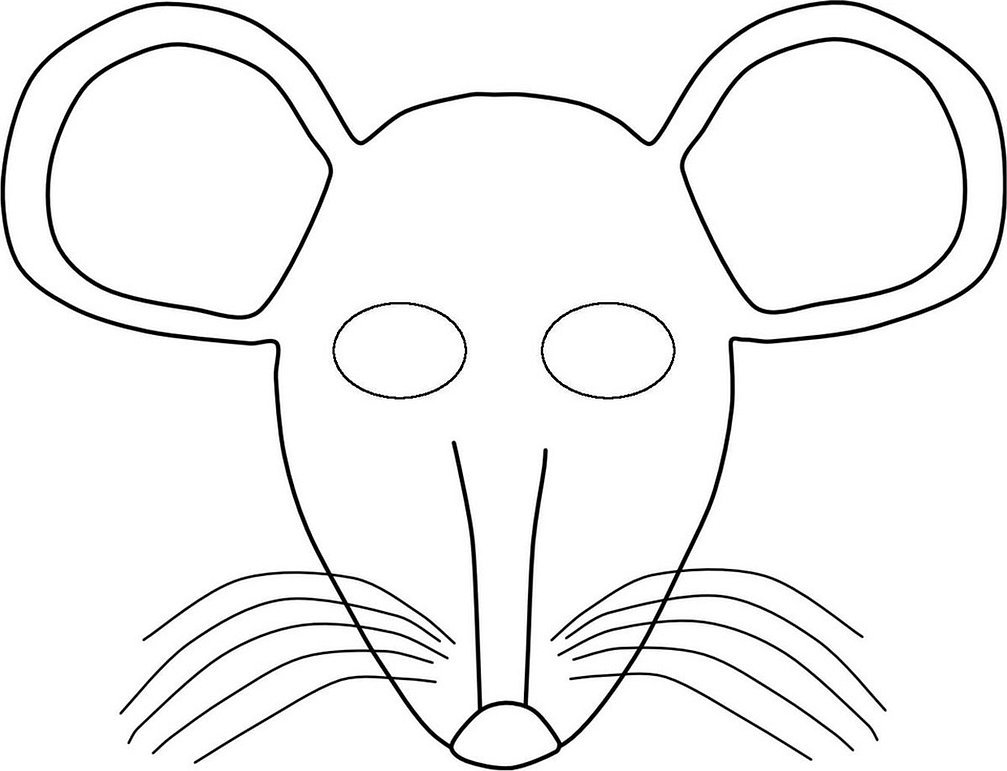
The horizontal format is used more often, and accordingly there are more types of masks: from simple ones, where the contour of the eyes is not even drawn, to complex ones, complemented by various patterns and slits.
Attention! When choosing from these options, it is best to consult with your child, because perhaps he will not only like something, but he will also want to make a mask of his favorite hero himself, you just need to print the template or reduce it.
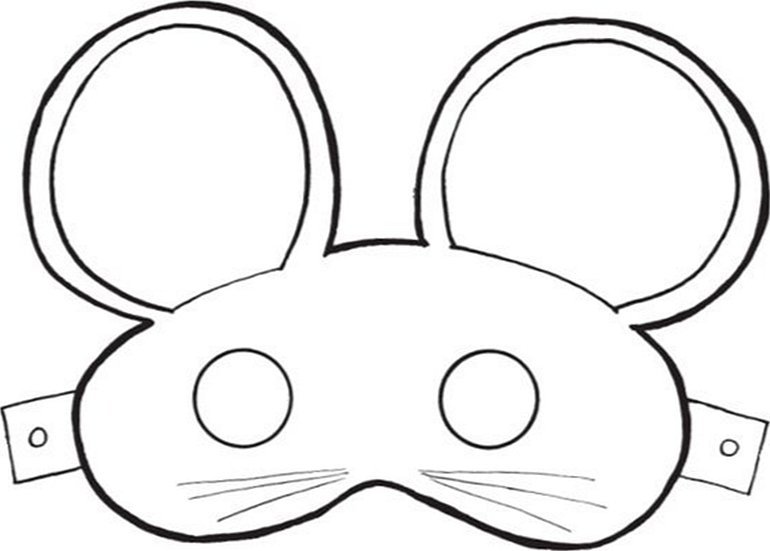
To continue working with the mask, you need a mouse ear template. There are also many ear templates, so you can either choose one and cut it out twice, or two connected ones.
Additionally, there is a variation of shapes: round, oval, elongated long, slightly bent. Any will do for a mouse, since the heroes of films and cartoons embody the most daring fantasies, which is why cat ears sometimes end up on a mouse or a fox.
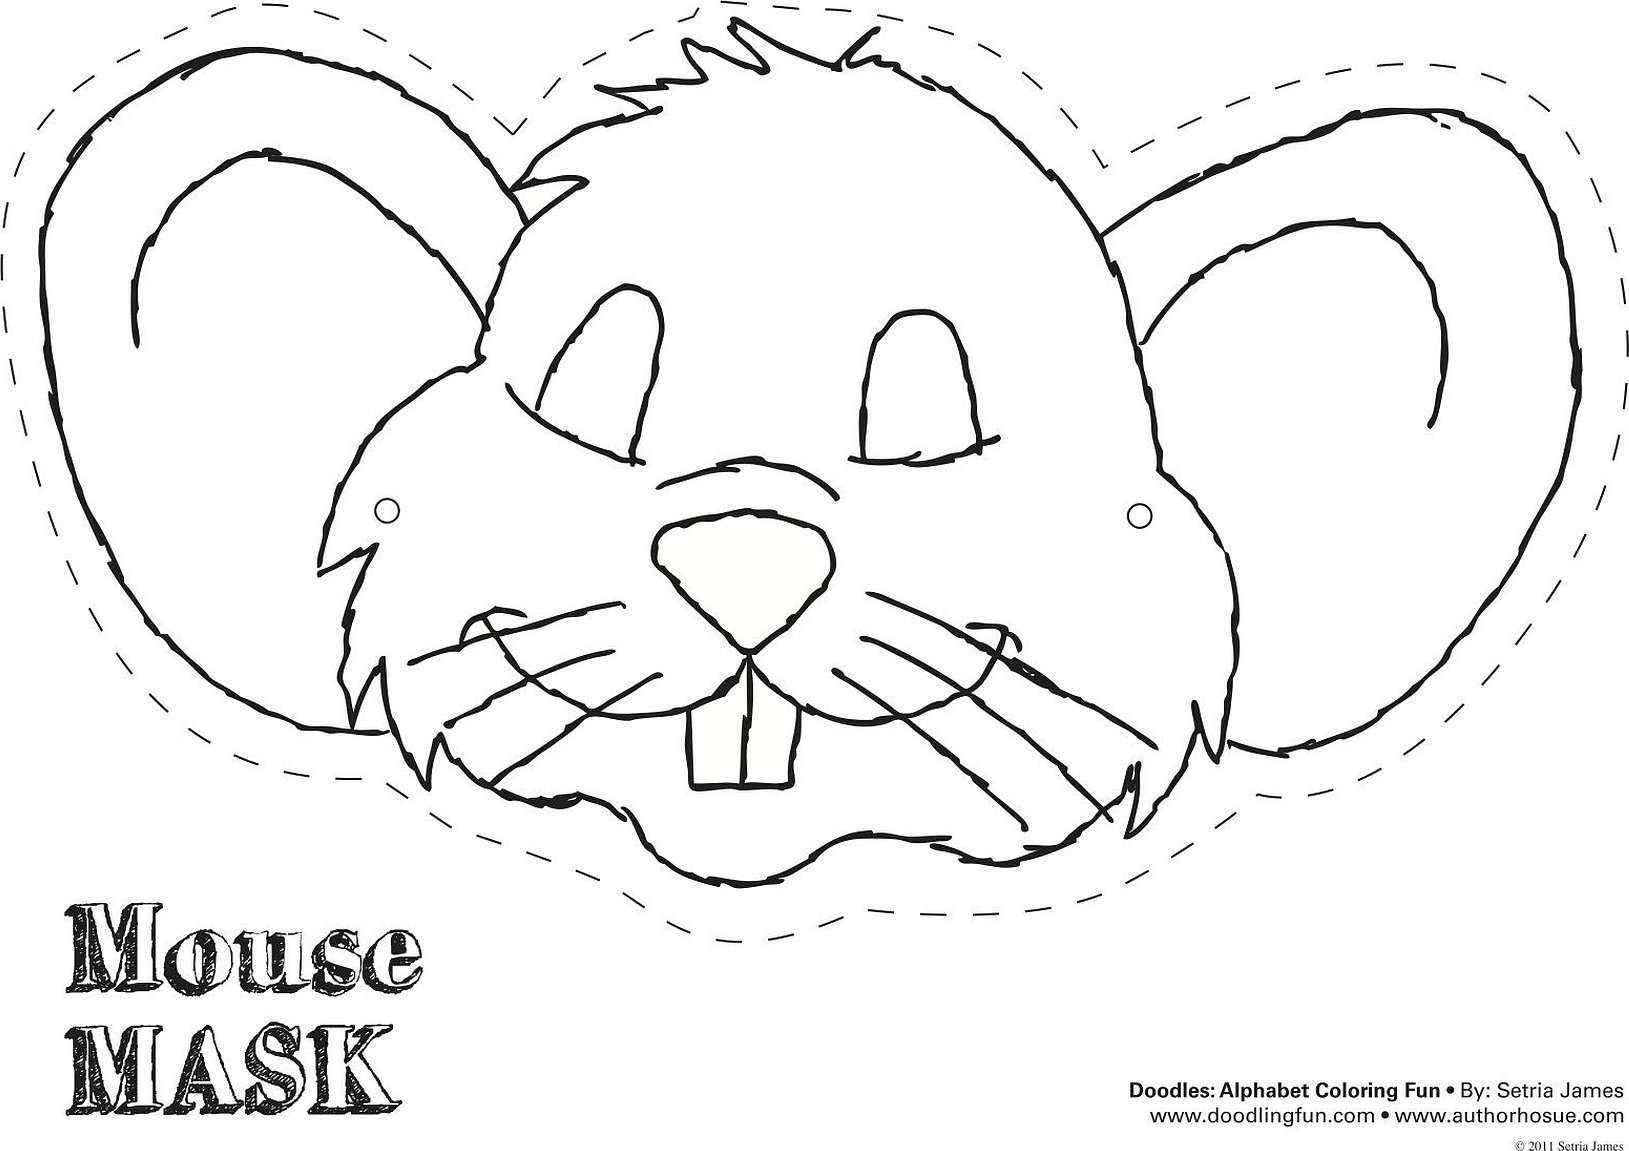
Mouse face for mask
Among the stencils, in addition to the mask that reaches the tip of the nose at most, there are also full-fledged muzzles. As a rule, they cover the nose and cheeks, which makes the character even more believable.
Colored paper is most often used for such products, since due to its softness, when stretched, the craft will not interfere with the child, but will not tear. As disadvantages, two can be identified at once: fragility and deformation upon contact with water.
There are enough variations of animal face templates, so everyone will find something to their taste.
Step-by-step procedure for making a mask
Making a mouse, like any other craft, should be done step by step, especially the first time. This will allow you not only to work out the product in detail, but also to correct errors if necessary. When everything is ready, you can begin.
First, a suitable template for the mask is selected. Preference is given according to the child's data, that is, based on his age, head size and nose length.
If the baby is very small, it is worth limiting yourself to using only velvet cardboard. It will not irritate the skin or cause discomfort when worn. The shape is selected according to the size of the head and the length of the nose: horizontal, vertical.
Once the choice is made, you need to print the template (consolidate, draw it yourself), cut it out. At master classes, they advise stocking up on several blanks for future use - about 3 pieces. This is necessary in case one cardboard is damaged during the work.
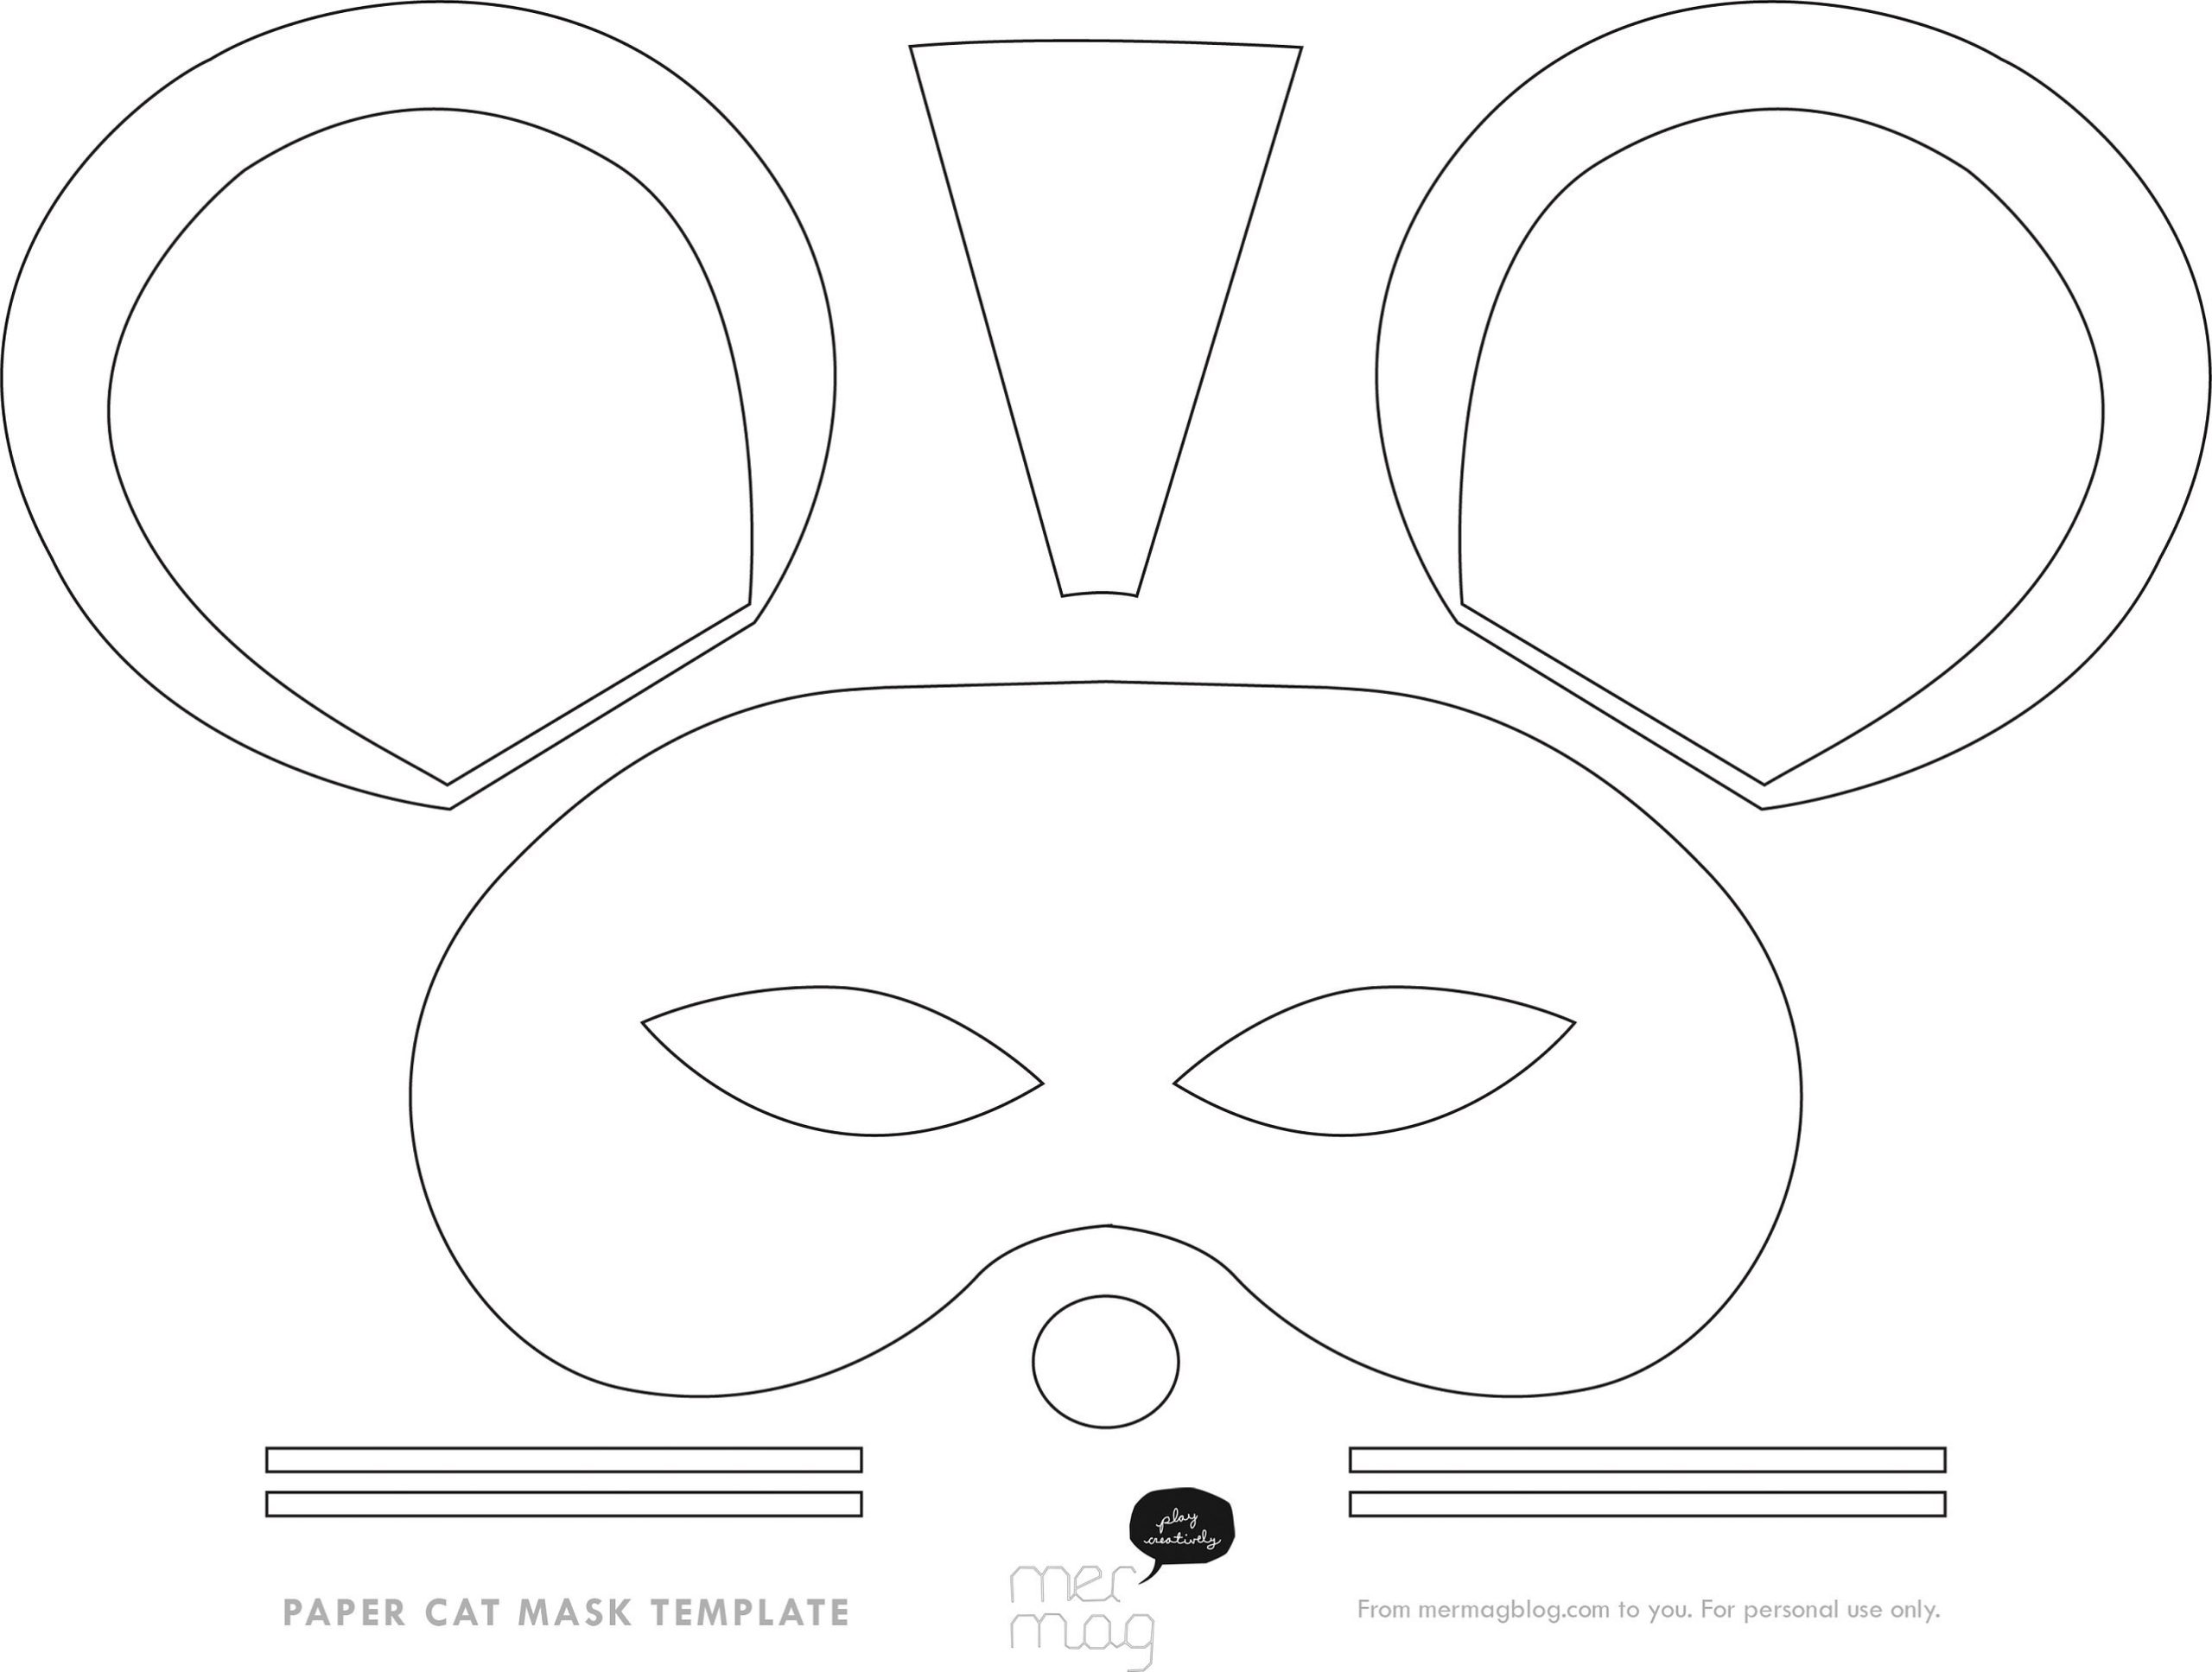
The finished stencil is placed on cardboard and traced. It is important to leave an additional 1-2 cm along the edges from the side of the child's ears, since a headband or satin ribbon will be attached to them later. The shape of such an increase is at the discretion of the master: square, oval, rhombus - the main thing is to keep the indentation in cm.
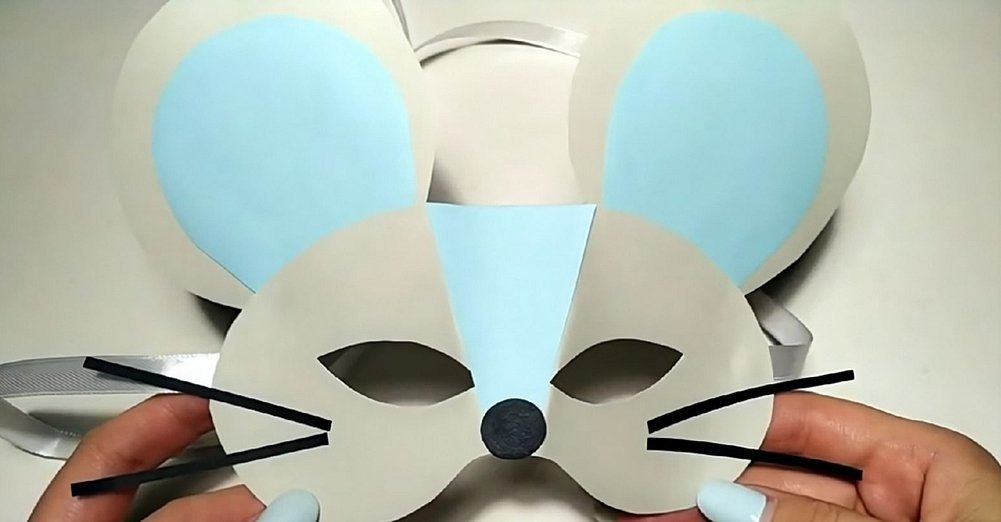
A good solution would be to use cardboard for packaging, otherwise the drawing can be cut out several times, then glued together and thus create volume. The shape is cut out, and the extra parts are thrown away. The mouse mask made by hand has acquired a base on which the applique will now be made.
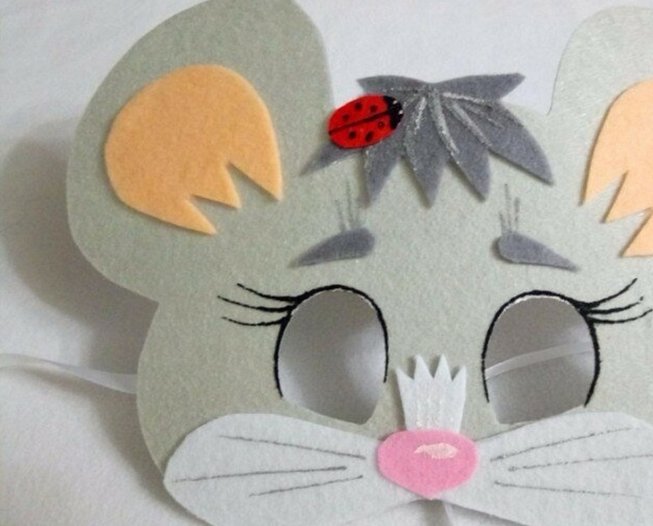
Attention! The color of the cardboard should be chosen to suit the child: light gray for a girl, dark gray for a boy.
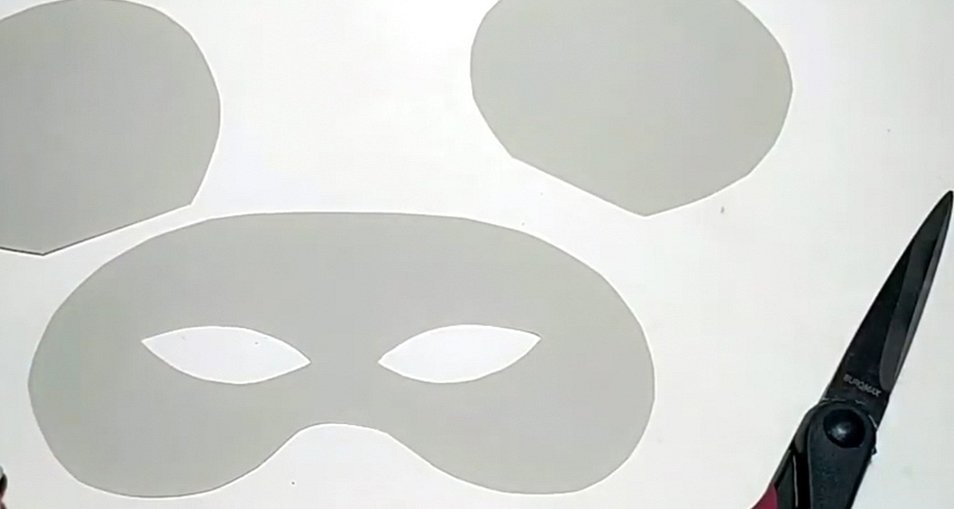
Eyes are drawn if there were none on the template, and everything is also cut out.
The templates will no longer be needed, they can be removed completely. At this stage, work is done only with the applique. The parts of the nose and muzzle are fastened together using glue or double-sided tape. If the choice fell on the latter, it is important to make sure that there is no air in the middle of the parts of the craft.
At this stage, you can use a black marker or a thin felt-tip pen of this shade, since it is quite easy to draw the mouse's whiskers and nose. From a different color of velvet cardboard, colored paper or felt (optional), cut out the ears (they can also be found among the stencils above), a small nose and whiskers.
The ears are secured with glue or, preferably, double-sided tape on the back.
Additional information! When working with the eye area and bulky cardboard, it is best to use a utility knife, as it will not compress the paper, leaving cuts or folds.

This stage involves two options: ribbon, paper. Using a hole punch, a needle with a large eye, scissors, make holes along the edges from the ears. A ribbon or string is passed through to secure it to the head.
In the case of paper: the child's head is measured, the corresponding part of paper or cardboard with a width of 3-5 cm is cut out, and attached to the product. As the masters note, the latter method is inconvenient, since the edges of the rim will cut into the child's skin and cause discomfort. The mouse mask is ready!
Attention! For a child who has some damage to the skin or a rash, it is better to choose not velvet cardboard for fastening on the skin side, but the fabric of a medical mask. Firstly, it is quite pleasant to the touch and will not cause irritation. Secondly, the size of the medical product corresponds to the parameters of an adult's face, so one piece is quite enough.
If your strength is not exhausted, and your desire to create has only increased, then you can give free rein to your imagination using something from the creativity store:
- Glitter. A masquerade costume is shiny – so will the mask. Loose glitter will go very well on velvet, but don’t use too much, as it will fall on your face and clothes.
- Feathers. In the fairy tale "The Nutcracker" there was a mouse king. If it is not possible to attach a crown to the child's head, then a pair of small feathers attached to one side of the mask will do just fine. Such an accessory will not only be original, but also unforgettable.
- Foamiran. Products made from this material are often present in the works of craftsmen. They make ears for a mouse or any other carnival animal from it. It goes well with velvet cardboard and paper. Over time, foamiran can be used as an alternative replacement for paper products.
- Wire. It is enough to add one black bead to the fishing line or wire and fix it as whiskers for the mouse. If you take a very strong material, you can create the effect of "live" whiskers that will sway a little when talking.
- Foam rubber. Masks made of foam rubber are the softest and lightest. It is a pleasure to work with such material, but it is worth remembering that no tape will work for foam rubber because of its small particles, so it is better to give preference to glue.
- Decorative buttons. Small and medium buttons are often used as a nose on toys. If you take a clasp with velvet or fabric trim, it will perfectly complement the finished mask with a mouse. It can also be glued or sewn on with threads. The latter method is not very convenient, since it is difficult to sew anything to a button. However, with this addition, the New Year's accessory will become unique.
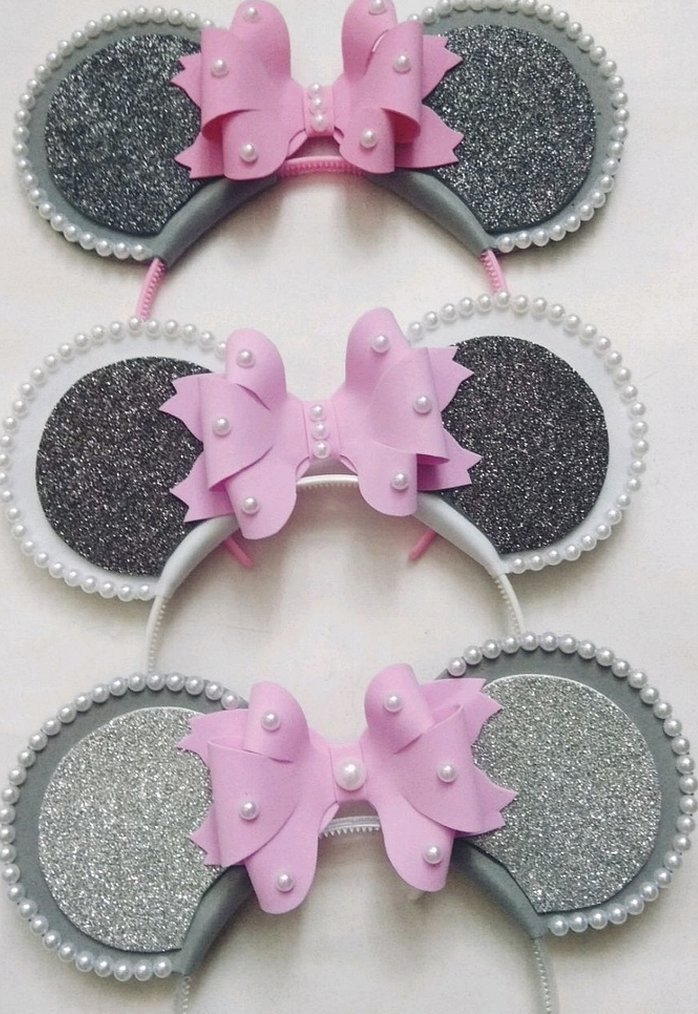
Craftsmen sometimes make the ears separately. In this case, this is also possible. For this, you will need a regular children's headband and twice as many parts - 4 large ears and 4 small ones. The ears are attached to the base on both sides using glue or double-sided tape. Then the headband is processed: a ribbon is attached to match the color of the mask or light gray glitter is used. Such a product will look interesting and unusual on a child.
The mouse mask will suit anyone, because there are several stencil options for work. Step-by-step instructions allow you to make the craft together with your child, regardless of age, and additional materials for creativity will make everyone the king of the matinee, children's party or carnival.


