Handicrafts are a fascinating activity that was in demand even in ancient times. How to crochet toys for beginners step by step, you can learn from special master classes in this article. Following the tips, you can end up with a cute little thing for an adult or a child.
- Basic knitting techniques
- How to make invisible decreases
- How to tighten stitches at the end of knitting
- What materials will be needed?
- How to stuff a knitted toy with your own hands
- What is the difference between amigurumi and regular toys?
- Amigurumi for Beginners, Ideas from the Internet
- Other easy knitted toys for beginners
- Crochet Mouse for Beginners
- Three-color crochet ball for beginners
- Crochet Caterpillar for Beginners
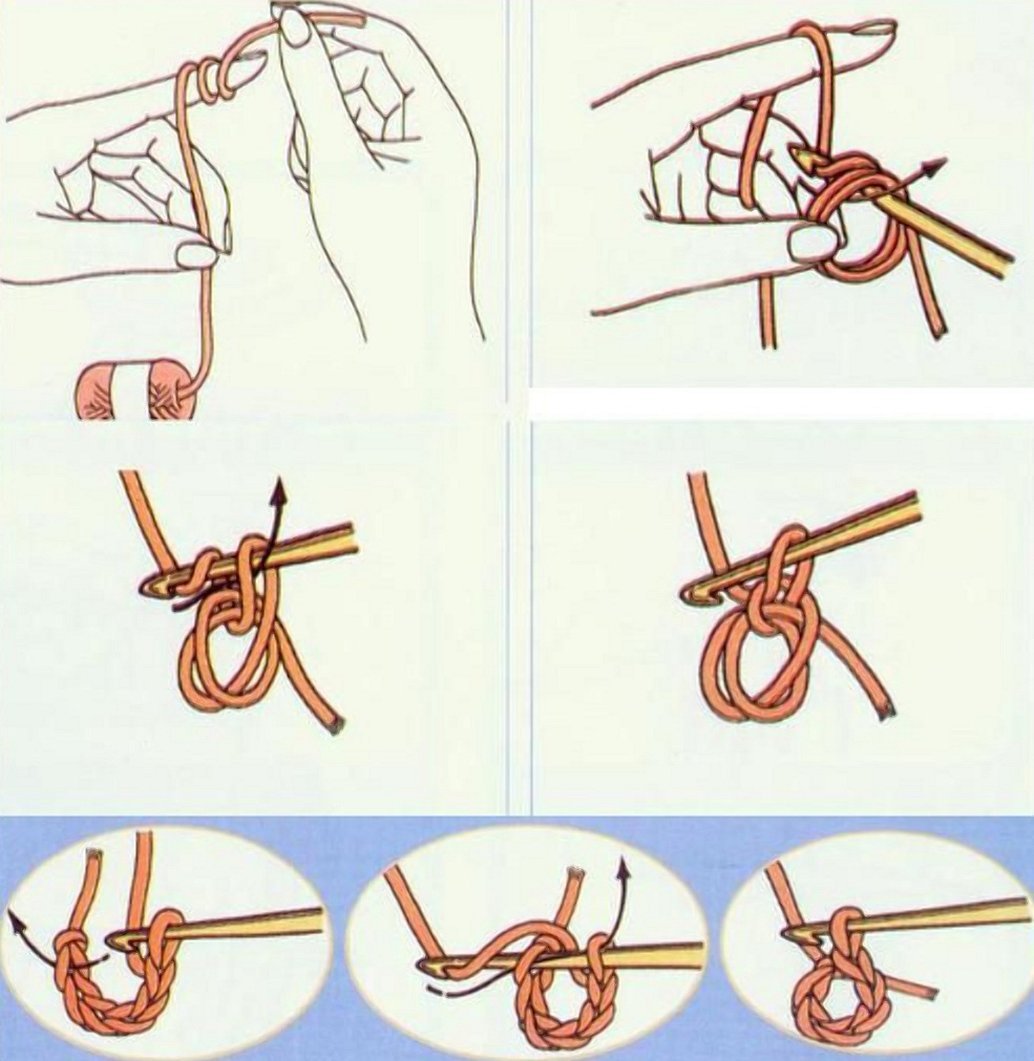
Basic knitting techniques
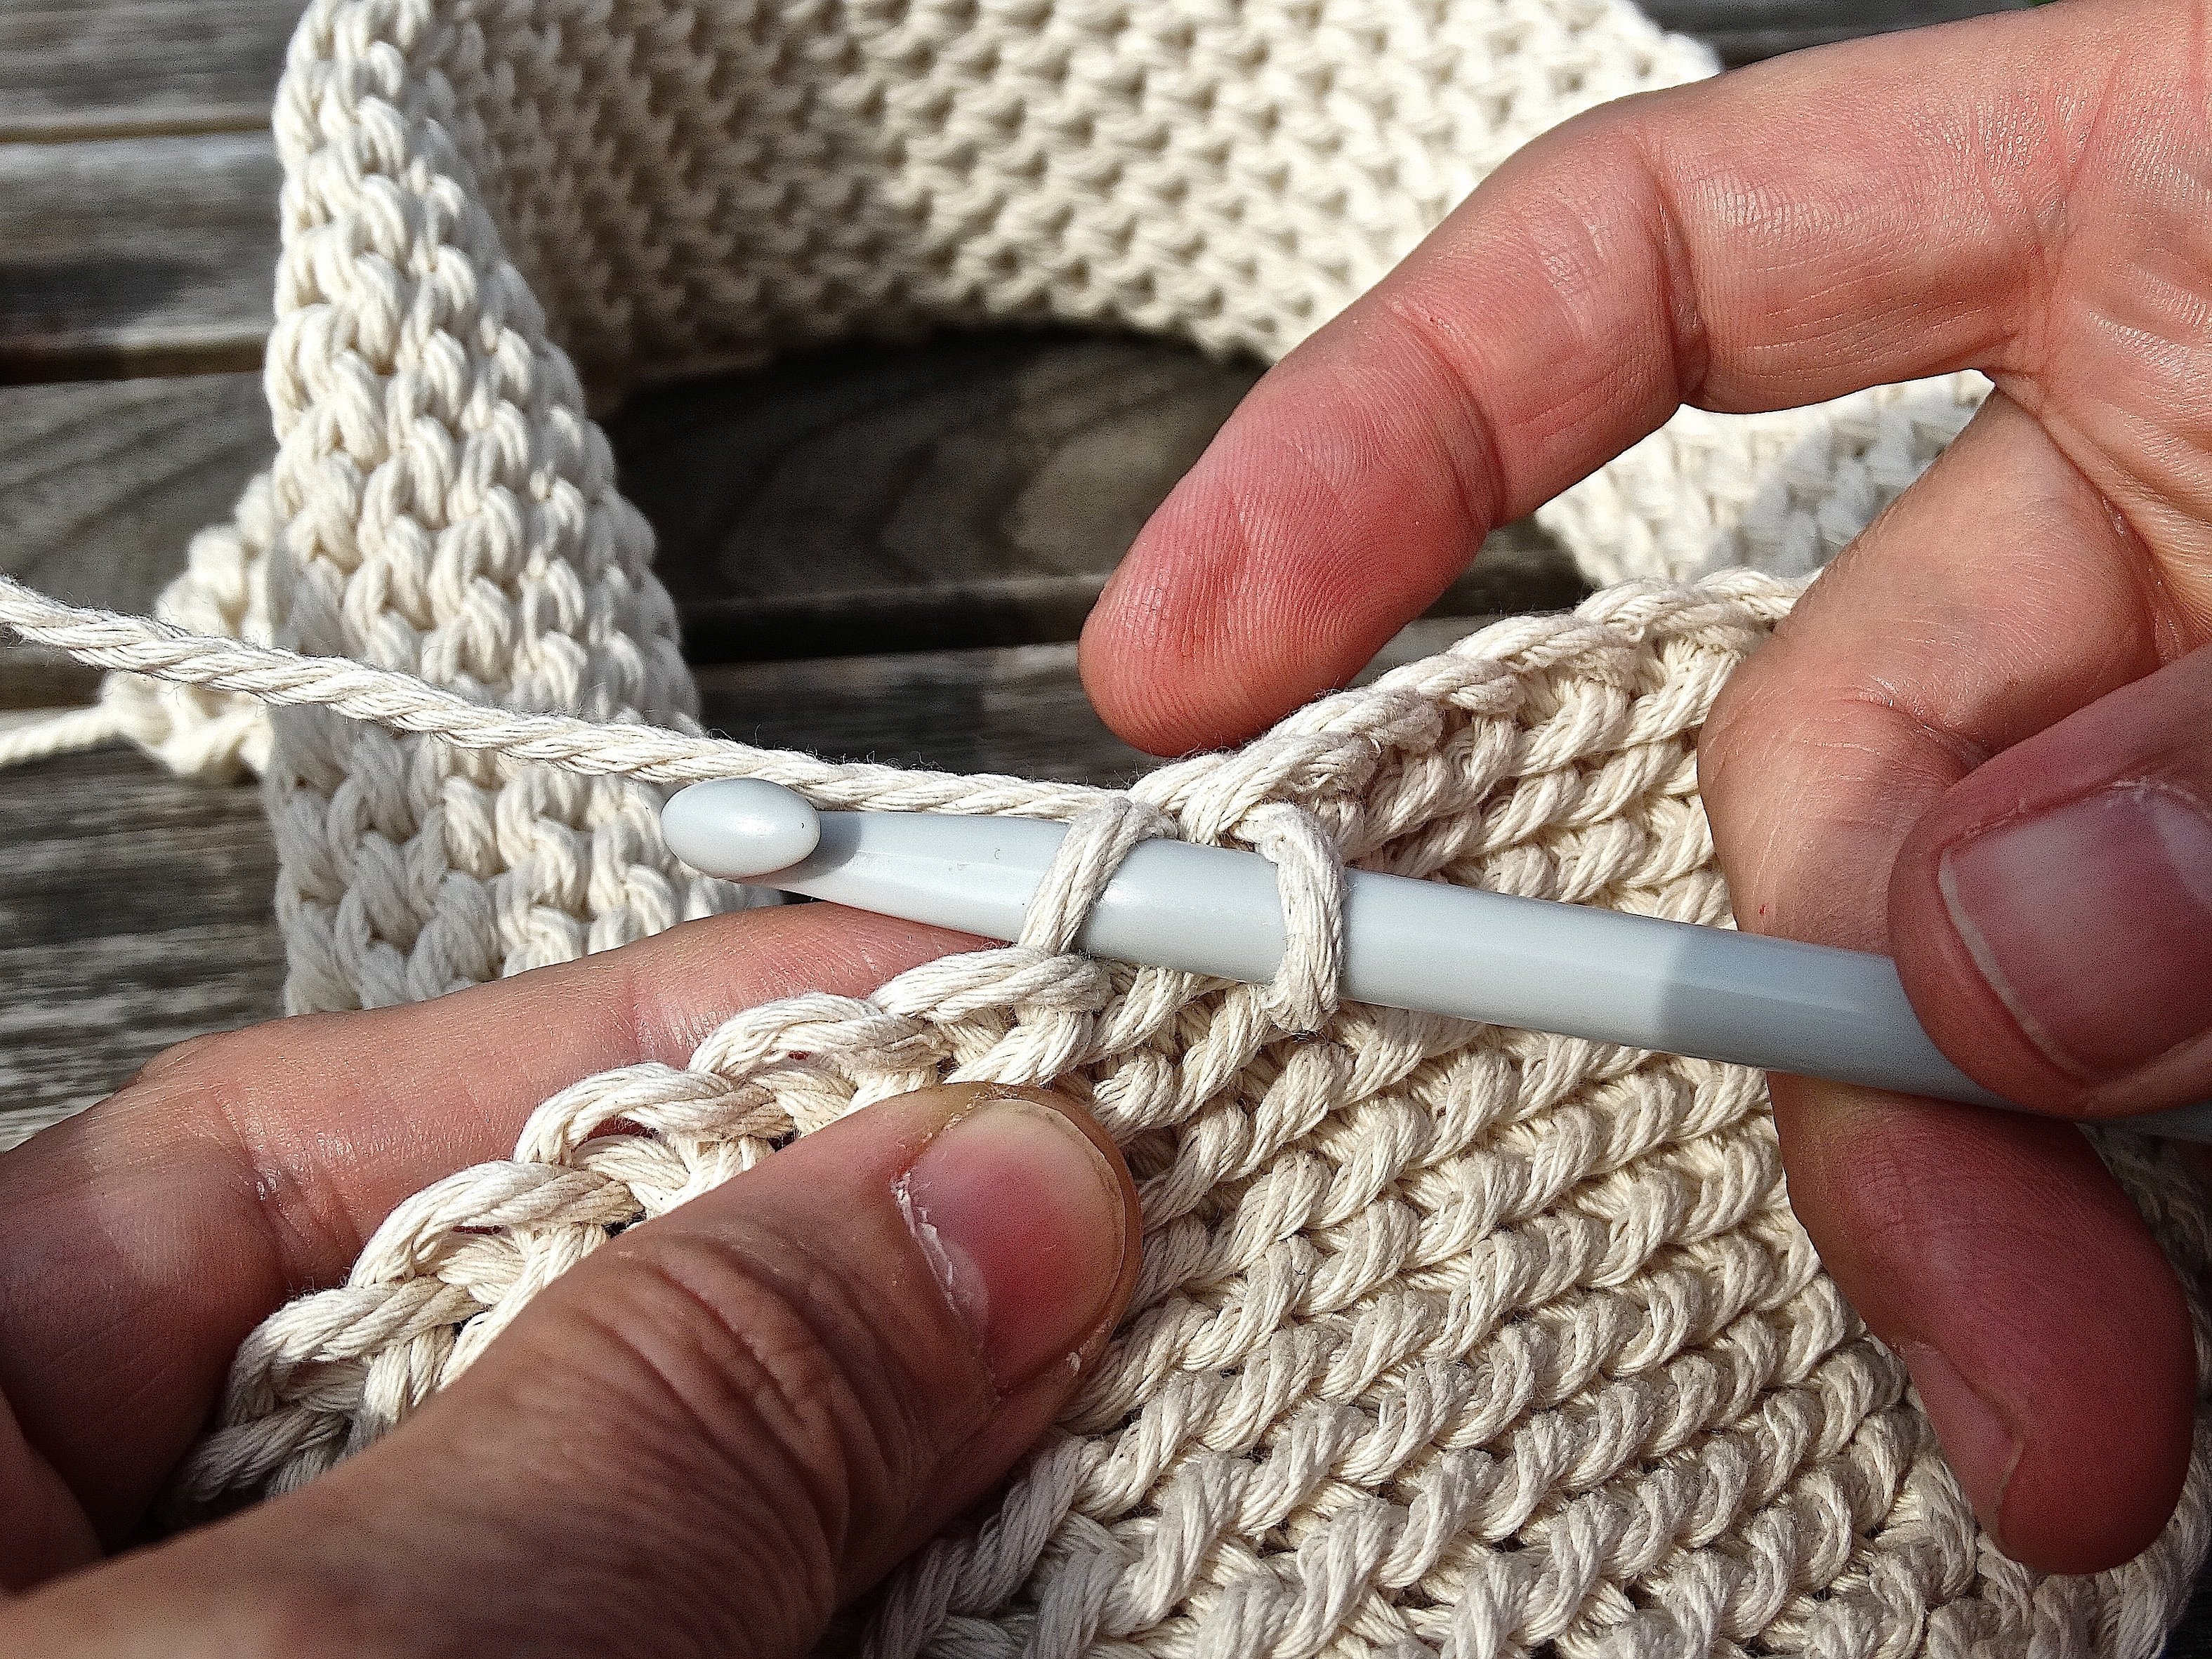
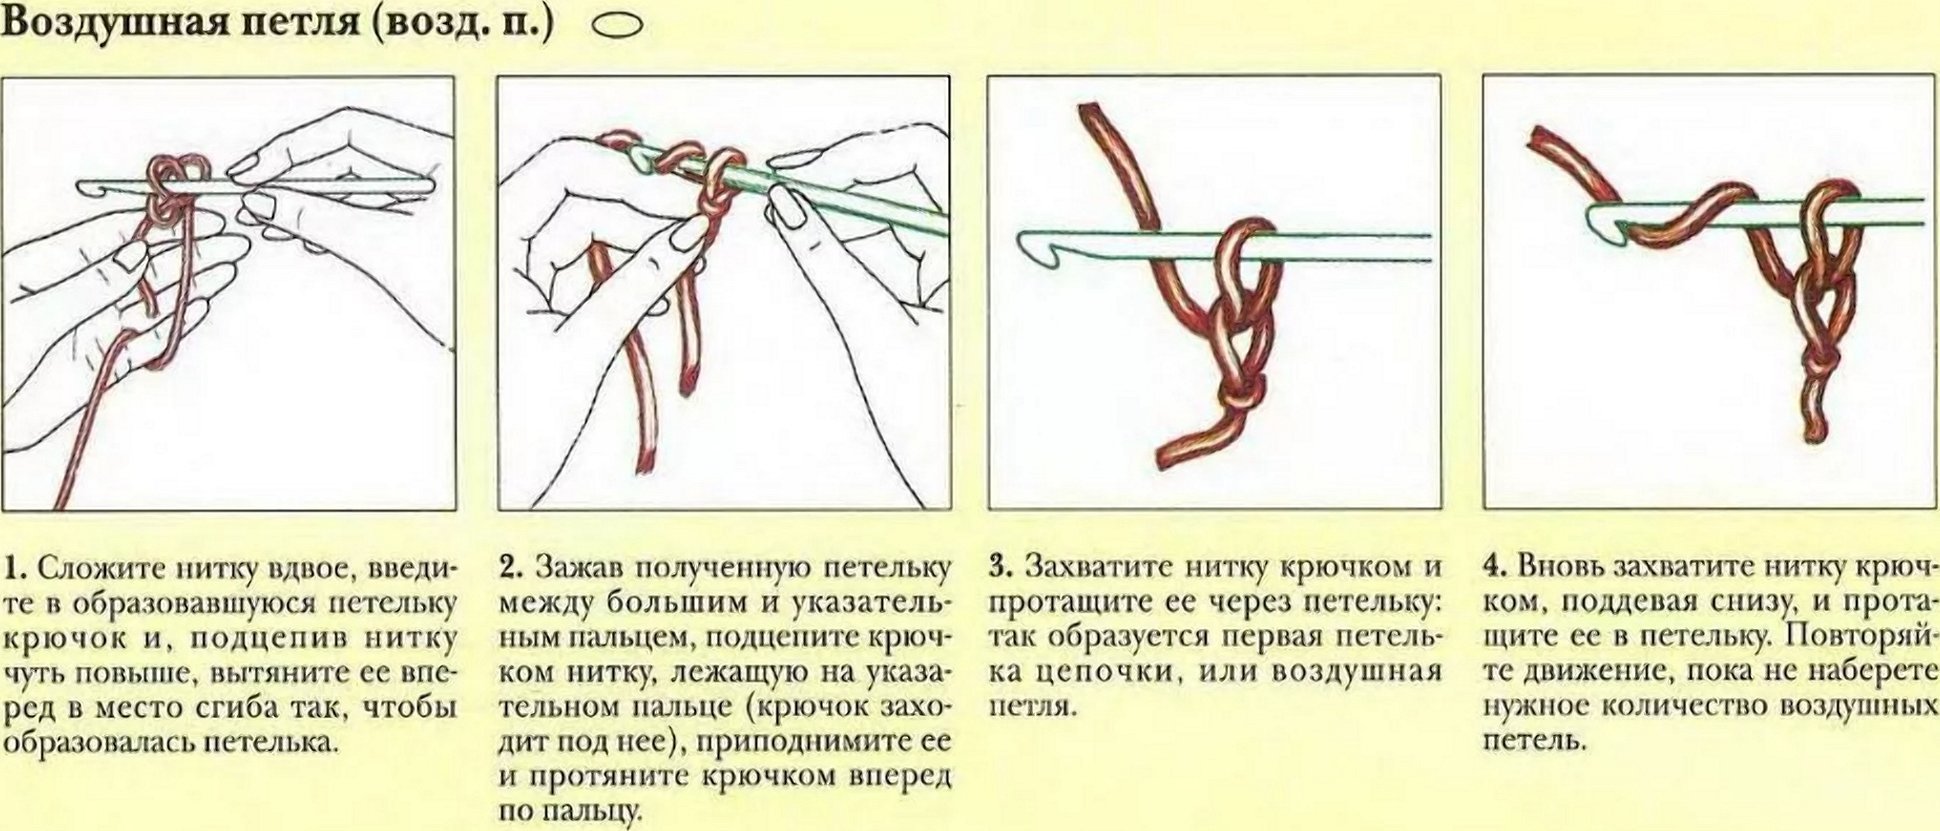
For those who are just beginning to master the art of knitting, it will be useful to learn how to learn to crochet toys on their own. When mastering the basic techniques and methods described below, you can easily and simply create a product in 30-40 minutes. There are different loops and columns with which patterns are created. For toys, there is no need to remember them all. It is enough to master the basics: the technology of dialing, decreasing and increasing, tightening loops.
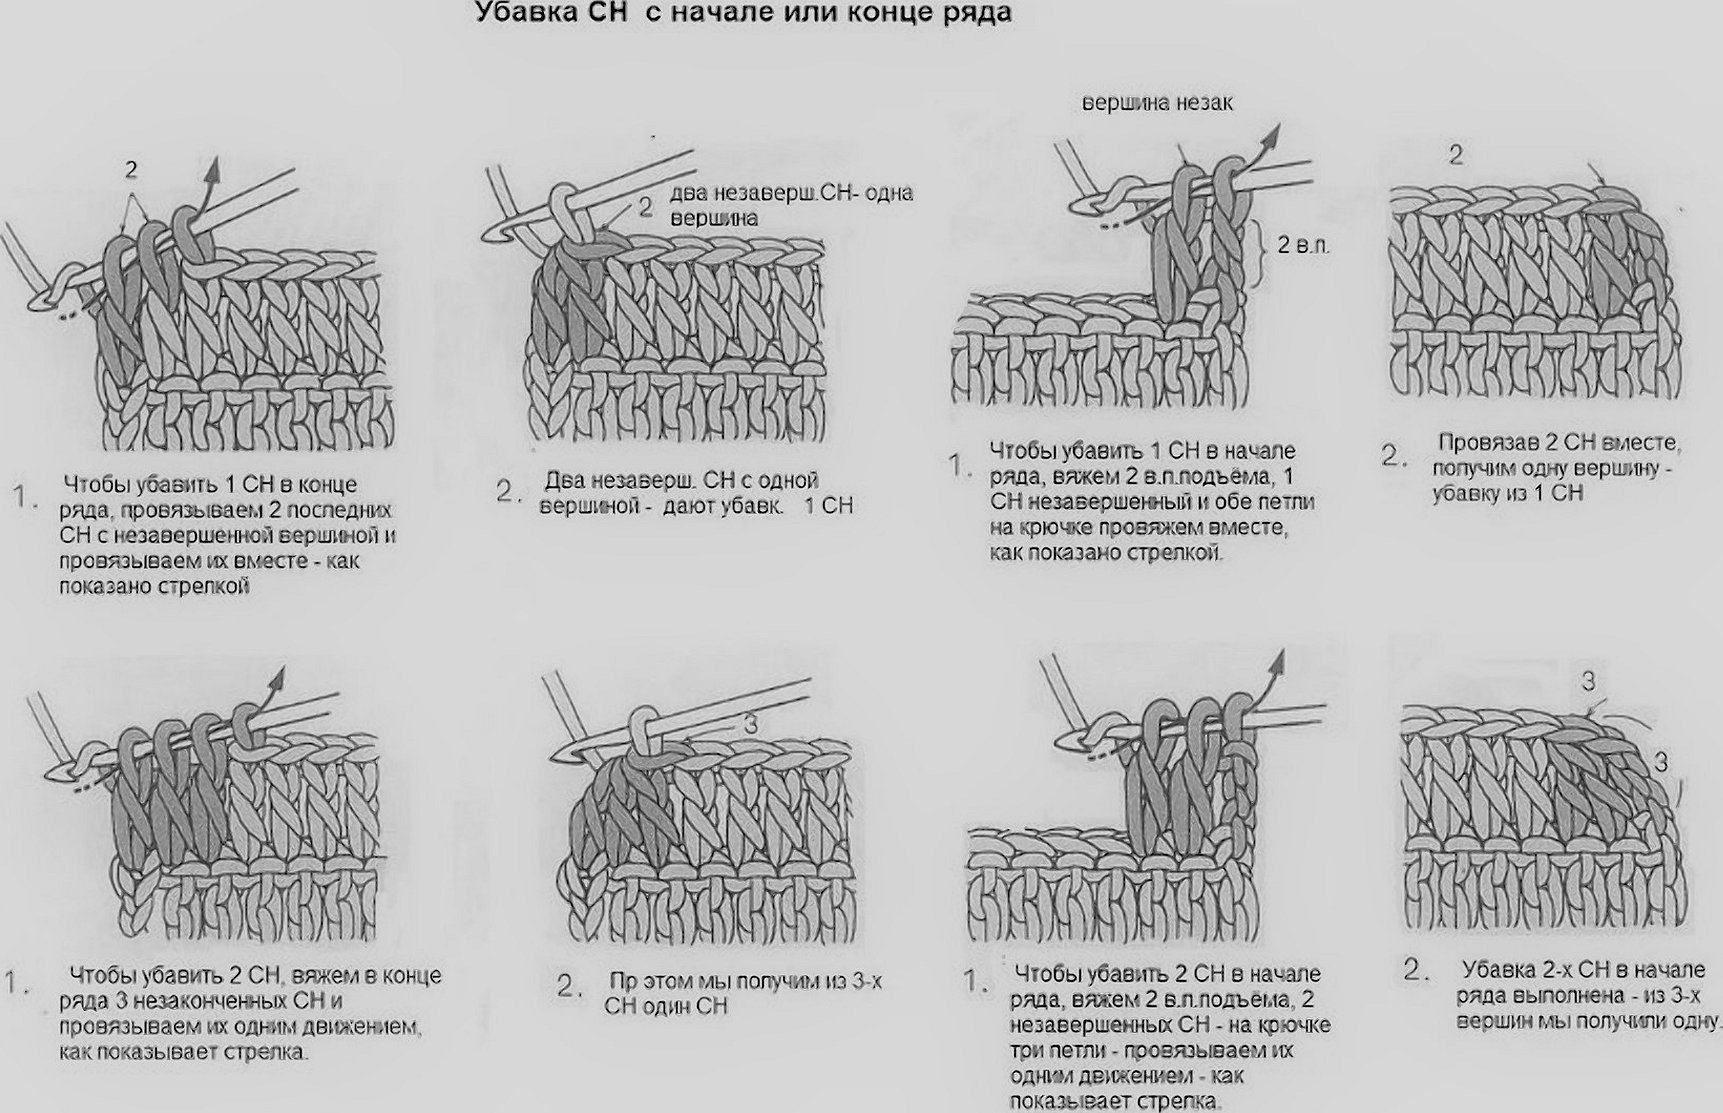
How to make invisible decreases
In the process of knitting, it is often necessary to add or subtract loops. The picture below shows a technique that is suitable for learning how to knit the necessary loops. The increase is done in a similar way. Only the thread must be brought from the other side.
Anyone can master the process. It is recommended to practice before making the toy.
How to tighten stitches at the end of knitting
The picture below shows the method of tightening the loops. These actions will be necessary when sealing the seam and the hole in the ball. It will not take long to learn this technique, as it is not complicated.
Important! To master the techniques, it is recommended to use the diagram descriptions and instructions. If you have the appropriate experience, you can skip the hints.
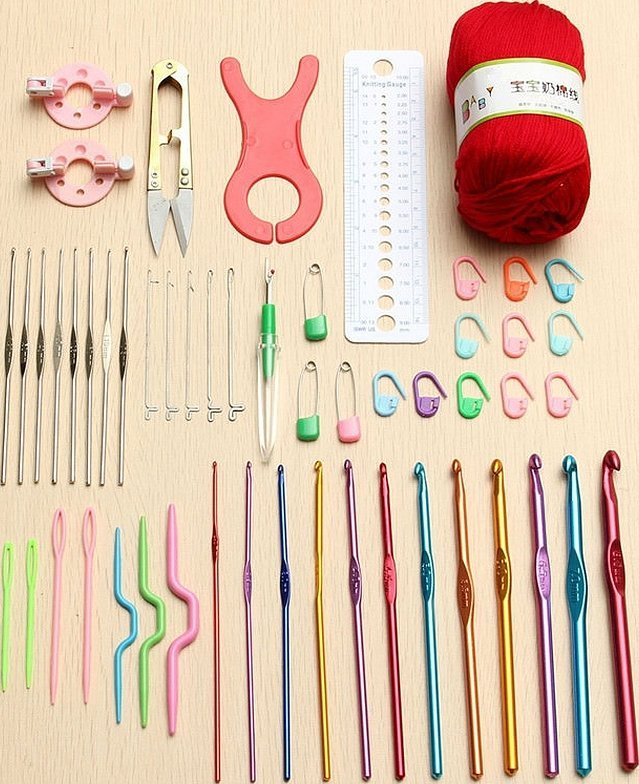
What materials will be needed?
To do this work, you need to prepare some materials, tools and fittings (the list is approximate and is for informational purposes only):
- Yarn. Preference should be given to those companies and brands that have earned the trust of consumers and are at the top of the ratings. The fibers should be soft, fluffy or smooth (optional), tear-resistant.
- Instructions for making a particular model. To avoid confusion, it is best to use the product diagram in your work. Some elements can be added according to your taste and discretion.
- Hook. It is better to take a metal one, size No. 4 or No. 5.
- Transparent waterproof glue (for fixing decorative elements).
- Ordinary threads of different colors.
The list contains the most necessary things for creating any toy.
Important! It is recommended to use only high-quality materials, tools and accessories in your work. For children, it is better to take yarn with natural hypoallergenic fiber.
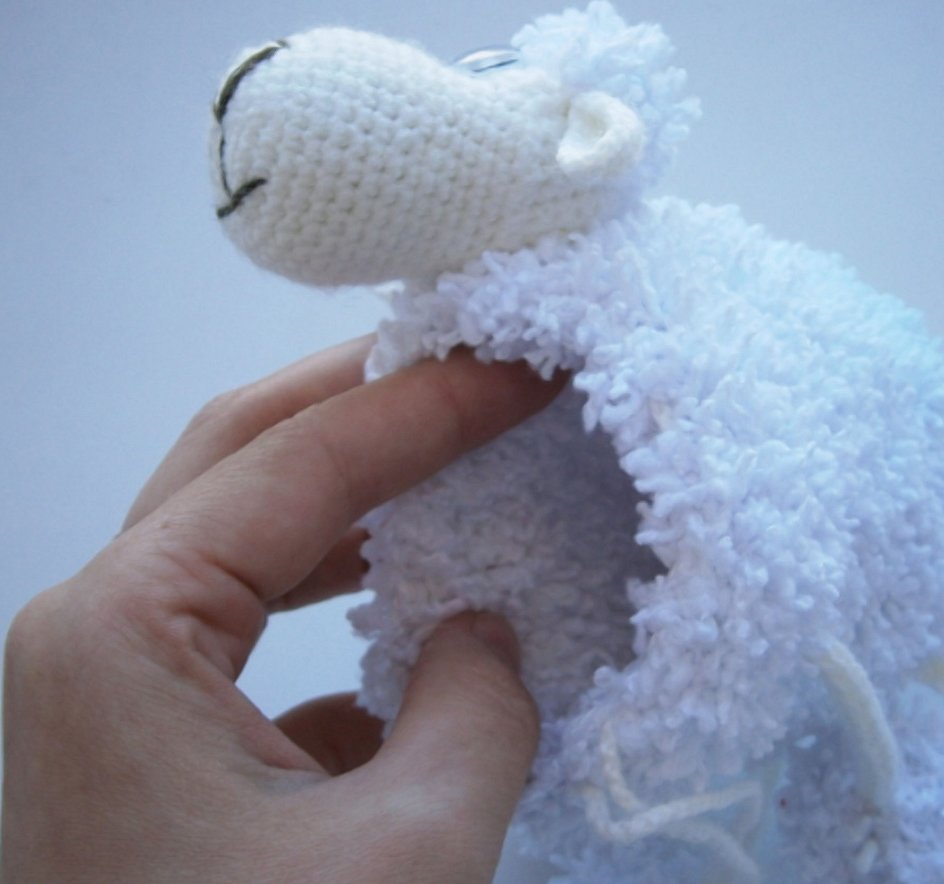
How to stuff a knitted toy with your own hands
A knitted cat, dog or other animal, an object will acquire volume only after stuffing. This process allows you to fill the voids of the product to give it shape. Synthetic padding is used as a material. It is the lightest and softest. Sawdust, fabric scraps are less in demand. The technique of stuffing a toy is shown in the figure below.
A children's toy must meet certain standards, rules and safety requirements. The elements of the product must not injure the skin of the child's hands under any circumstances.
What is the difference between amigurumi and regular toys?
Amigurumi toys have become very popular among adults and children. They are one-piece products that are often made without tearing off the hook. This concept comes from the word "agirumi" - "wrapped". To work, you will need lint-free yarn and a hook.
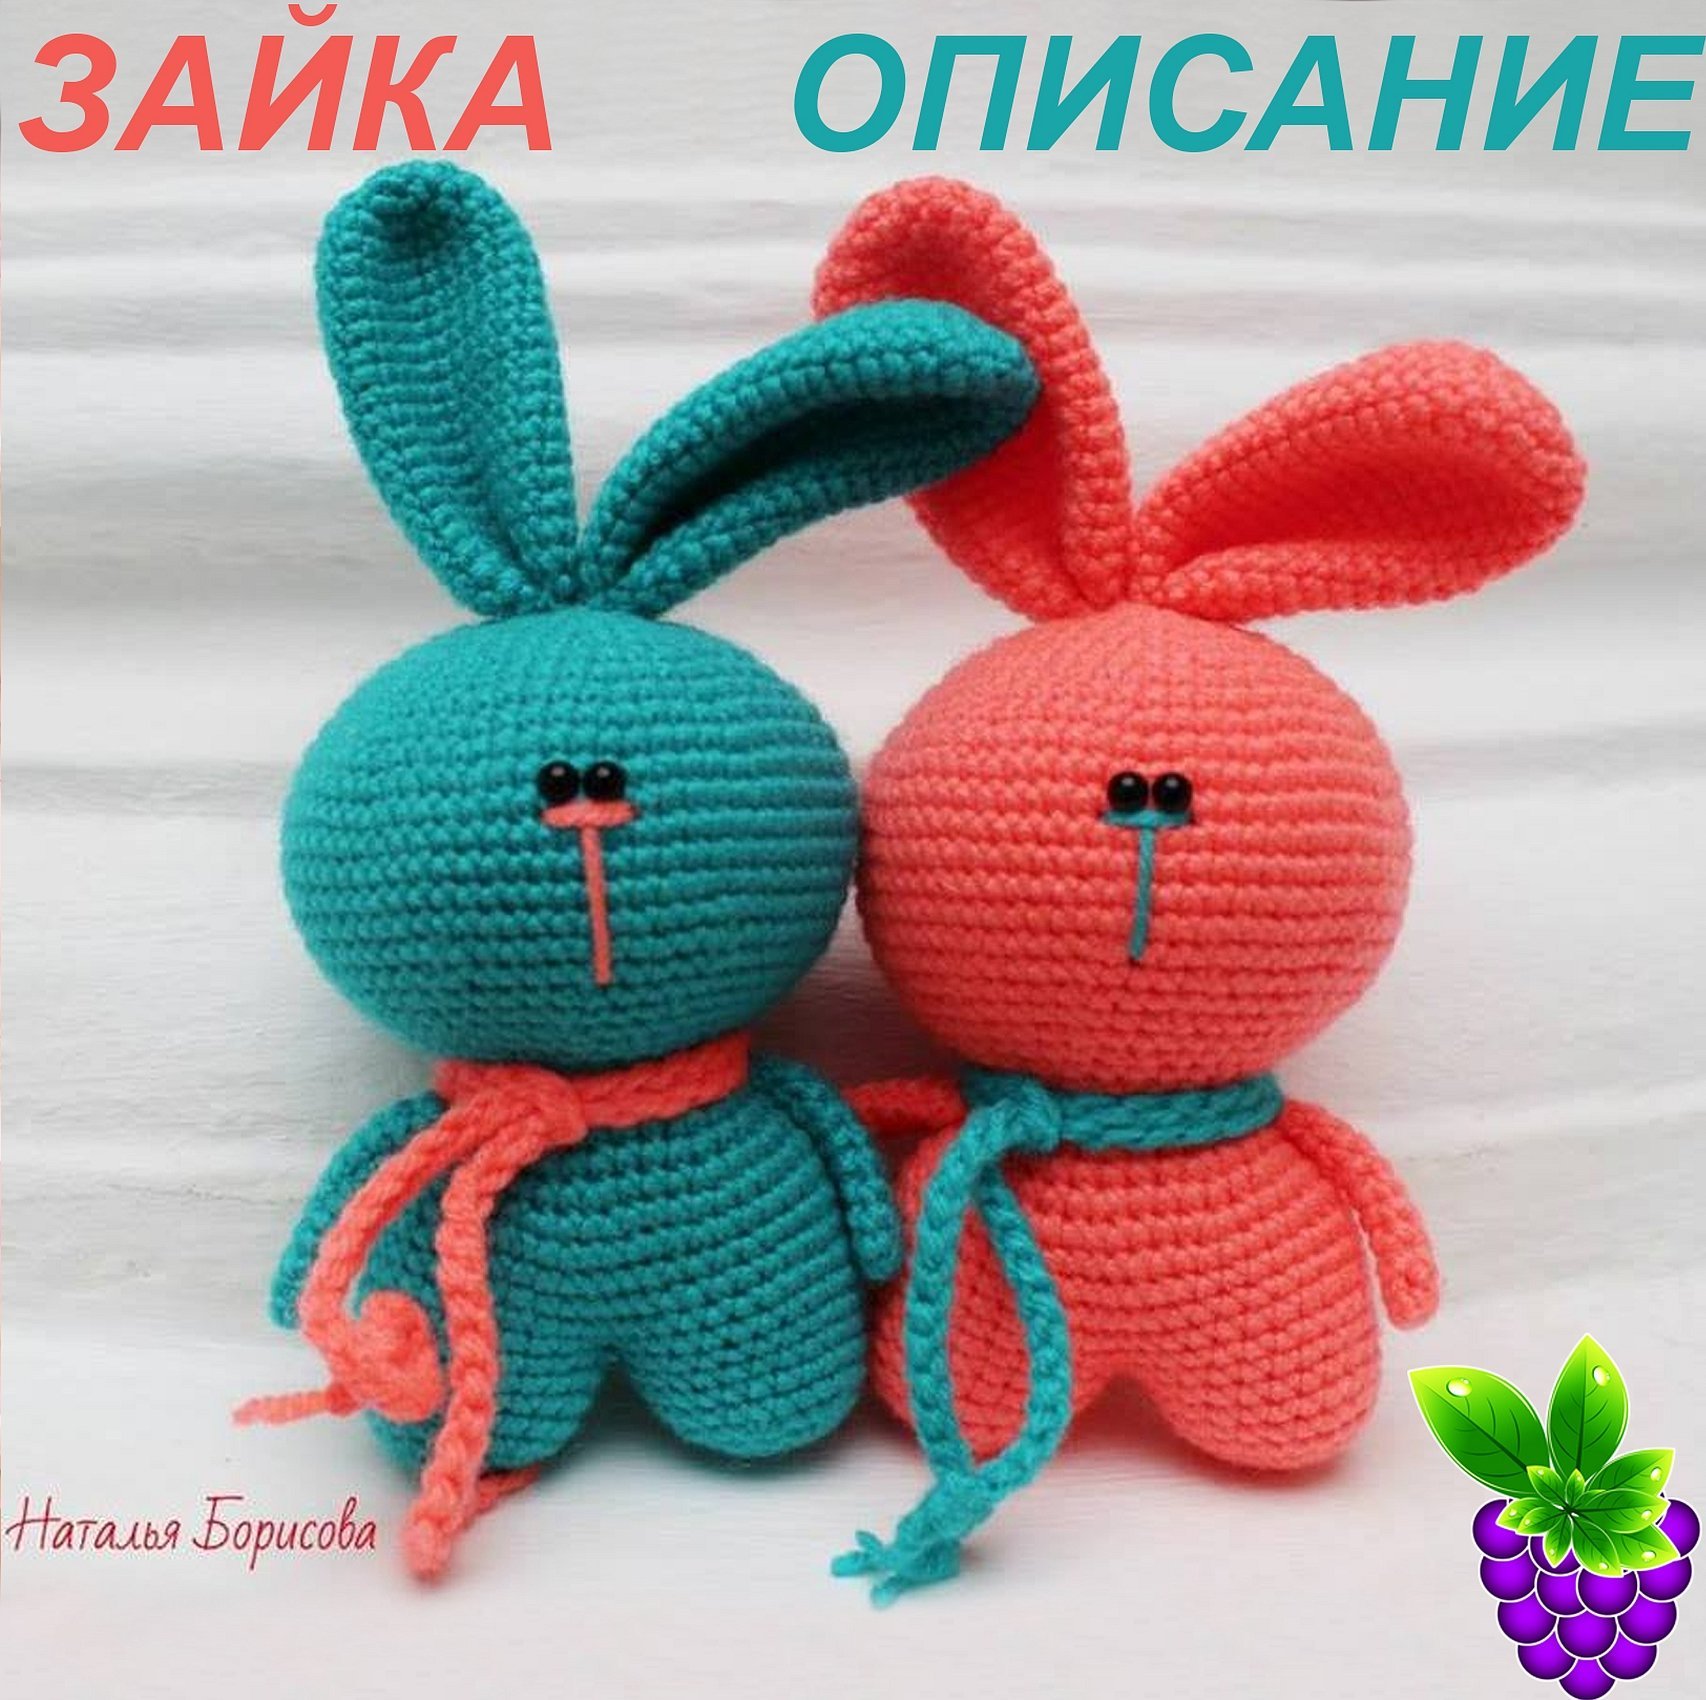
Amigurumi for Beginners, Ideas from the Internet
Even a beginner can handle these ideas. When creating a product, you do not need to tear the hook off the canvas. At the end of the work, the toy is stuffed with soft felt and the hole is tightened.
Stages of work:
- Knit a chain approximately 2-3 cm in size.
- Then add 4 cm to the end of the fabric and knit the same part.
- Then continue working for about 6-7 cm.
- Add 8-9 stitches on both sides.
- Knit 3 rows, then decrease the same number of stitches.
- Knit 2 rows, then decrease 6 more stitches.
- Knit a piece of fabric measuring 3 cm.
- Add 6 stitches and knit 7 rows.
Next, according to this pattern, you need to create a "mirror" side. At the end, the last loop needs to be tightened after stuffing with felt. The knitted product can look like any animal. To do this, you need to create a muzzle. Fresh ideas and fantasy will come in handy.
It can be a dog. You can sew the remains of yarn to the body and head as wool. Also create a fluffy tail. It will look like a breed such as a Yorkshire terrier. You can also sew decorative bows on the head, a skirt on the body.
Important! When the loops run out, you should pull out the thread and tie it so that the product does not unravel.
Other easy knitted toys for beginners
Crocheting toys for beginners step by step is the best way to learn how to create products. This technique allows you to train your hand motor skills and develop your imagination. You should always follow the instructions. Like a pie recipe, it helps you master the techniques in this type of needlework. To begin with, you can try to crochet a mouse, a three-color ball, and a caterpillar. Step-by-step instructions for creating such toys are presented below.
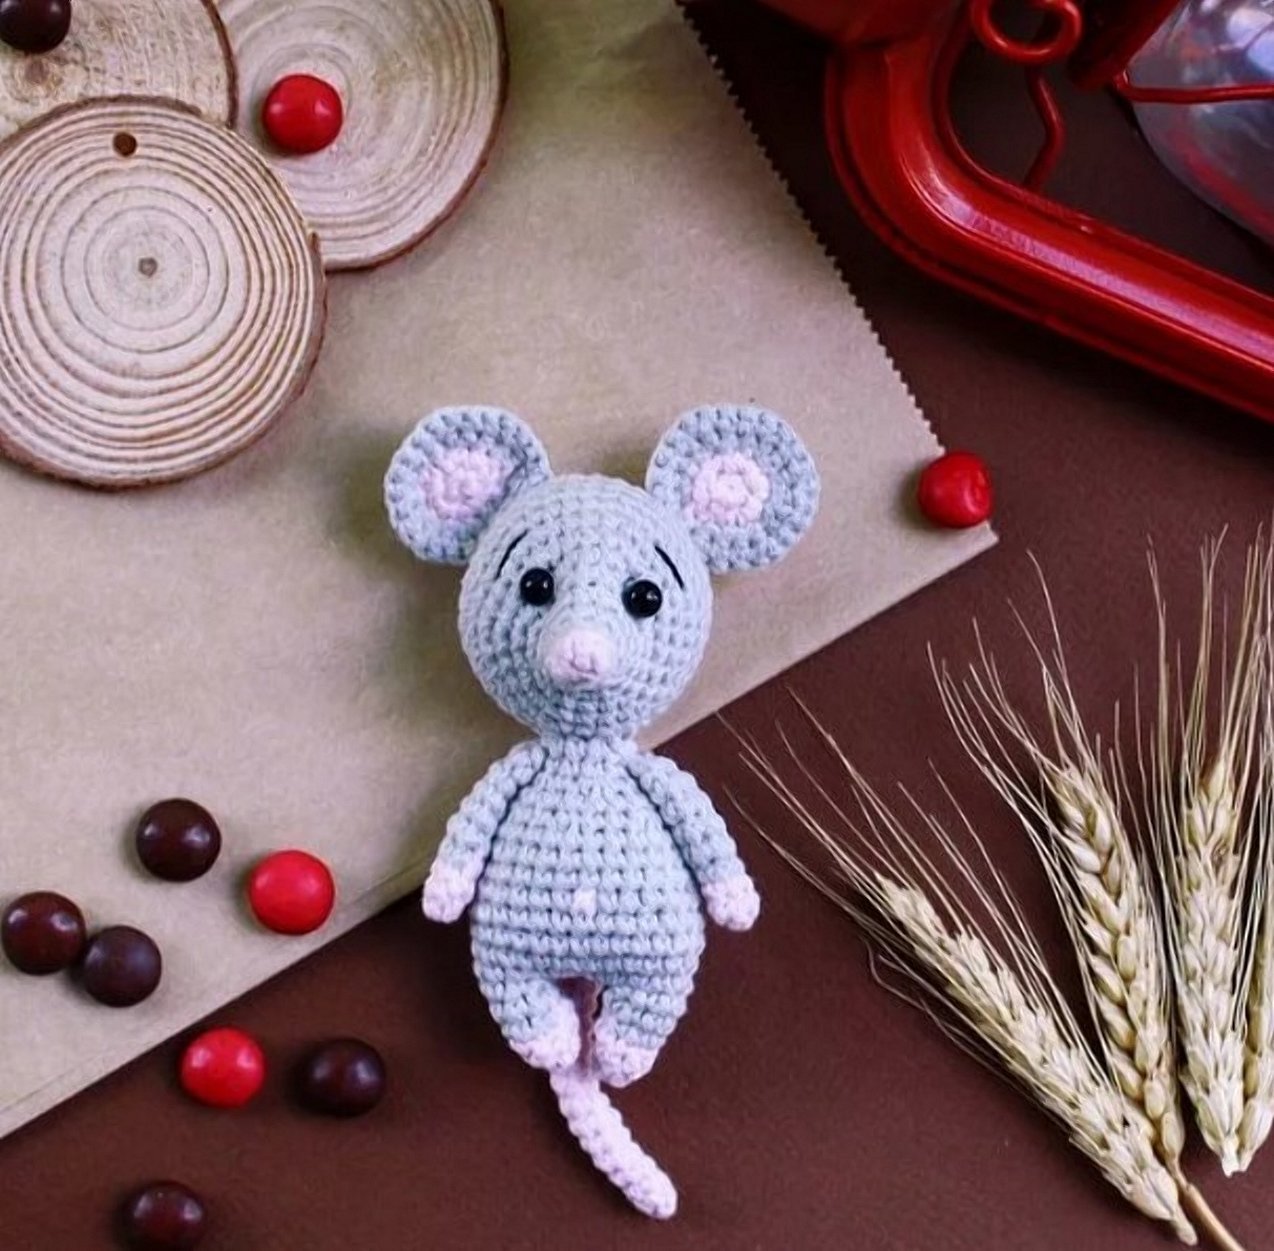
Crochet Mouse for Beginners
You can figure out how to learn to crochet children's toys for beginners quickly and easily by crocheting a mouse toy. For work you will need:
- Yarn (you can use "Iris").
- Metal hook.
- Decorative elements of your choice (soles of paws, eyes, whiskers and nose).
This product should not be plush. The threads should be smooth and lint-free. To make the toy more realistic, it is advisable to maintain the "natural" surface structure.
Step by step instructions:
- Knit a long column (about 5 cm).
- Increase 8 stitches and continue for about 9 cm.
- Next add 4 more loops and knit a 4 cm mouse.
- Finish the canvas.
- Knit the same part separately.
- Fasten both parts with thread and stuff with felt to create volume.
- Next, you need to sew on the ears of the little mouse. To do this, cast on 5 stitches and knit 3 columns, then decrease them. Twist slightly on 1 side and sew to the head in this way.
You can decorate the muzzle at your own discretion. Elements of clothing will also not be superfluous. As materials, you can take fabric, thick cardboard (possibly with a velvet coating). Even the baby himself can cut out a skirt or a hat, and then attach them.
Three-color crochet ball for beginners
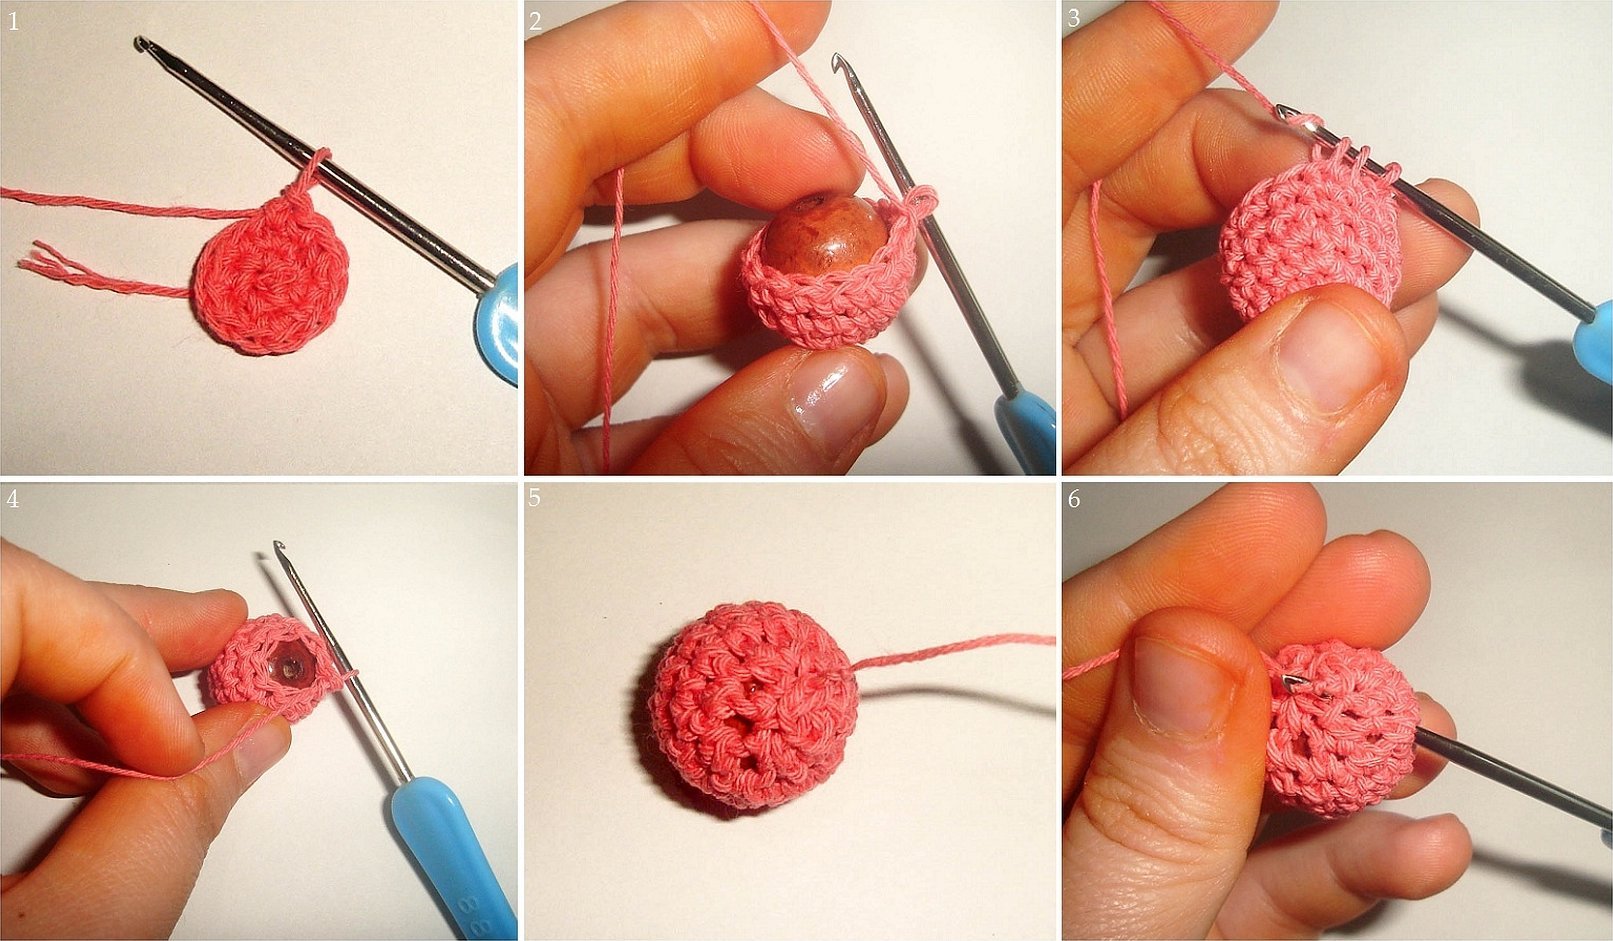
A simple crochet ball can be made from 3 colors of yarn. The coloring can be chosen at the author's discretion (shown in the picture). Using the main tool (a metal hook) and threads, you need to knit a circle. Then continue working until row 5 (for example, in blue). The end of the thread must be tied in a knot. Then take another color and knit another 5 rows, and then repeat the steps again with the last color.
Next, you should follow a step-by-step plan:
- Start adding loops – 3 pieces, 5 rows in one color.
- Then repeat the same steps, but decrease the number of loops.
- When the last loop remains, it needs to be tightened after stuffing with synthetic padding.
The end result should be a multi-colored ball for everyday play. If desired, you can experiment with patterns on the ball. But this requires practice.
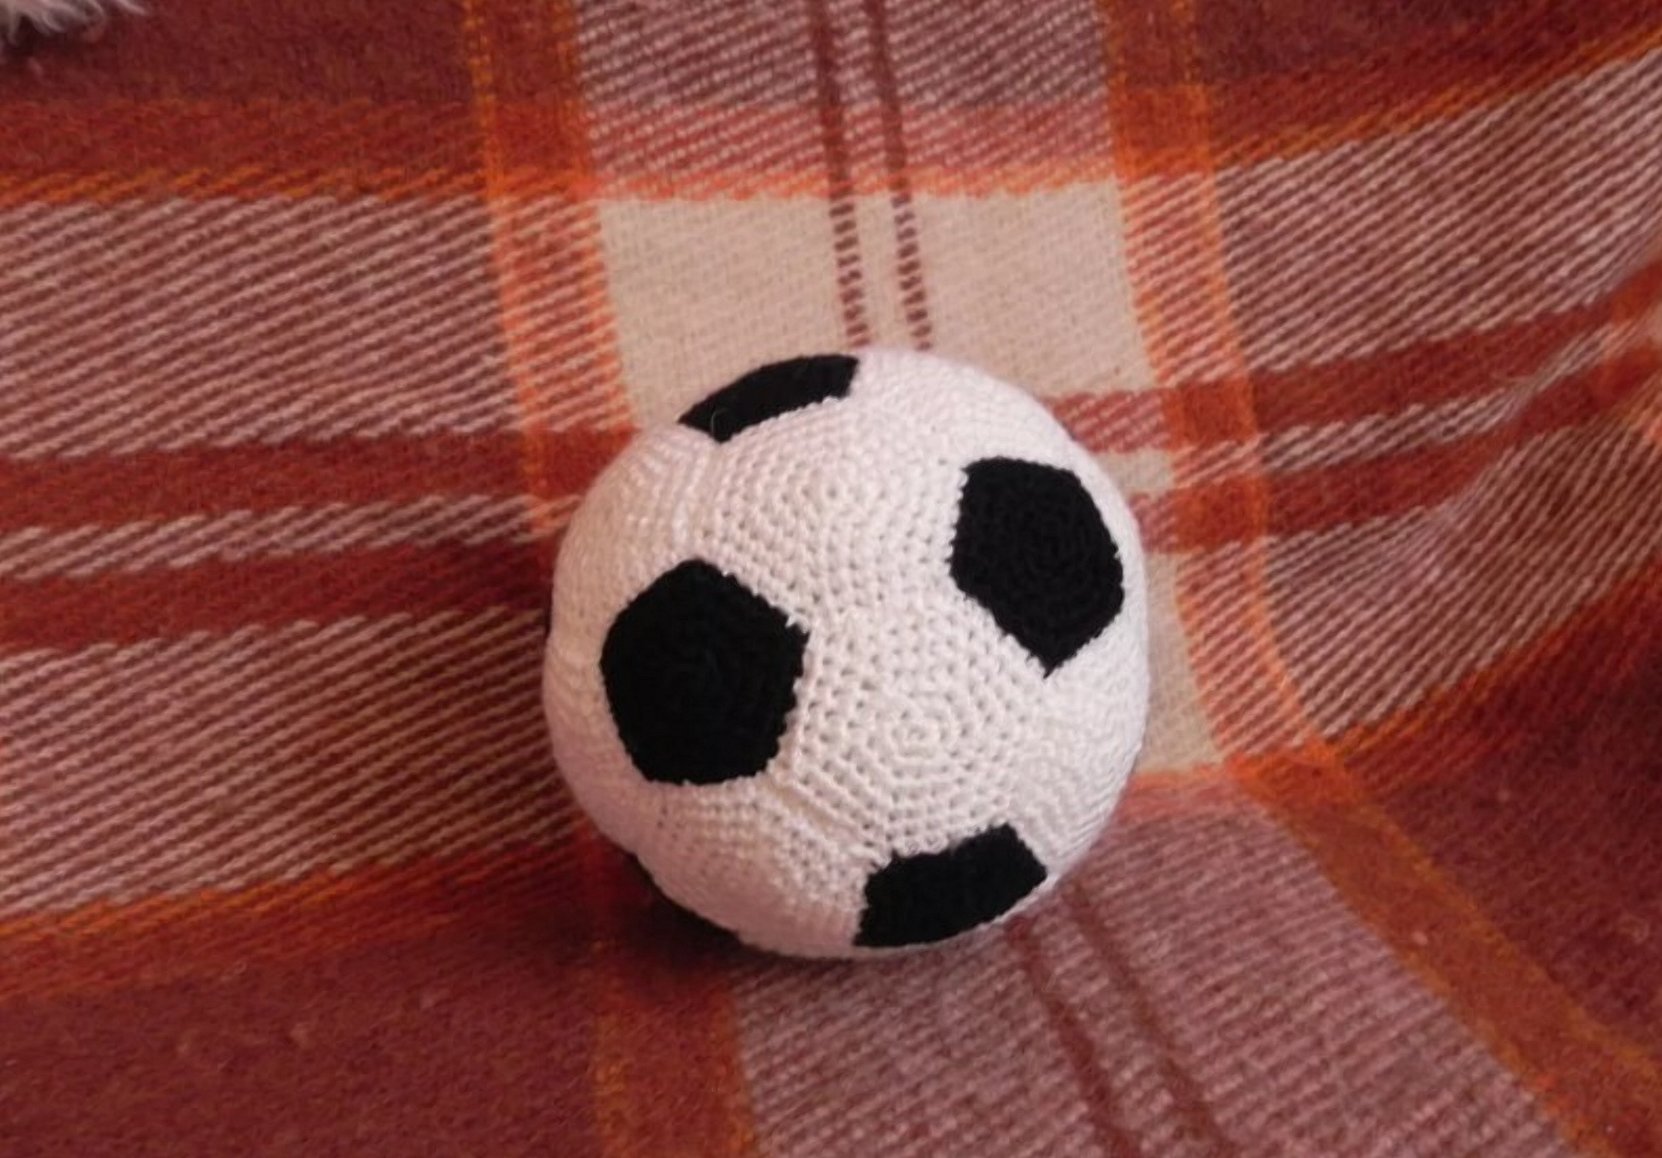
Important! It is not recommended to use more than 4-5 colors in your work.
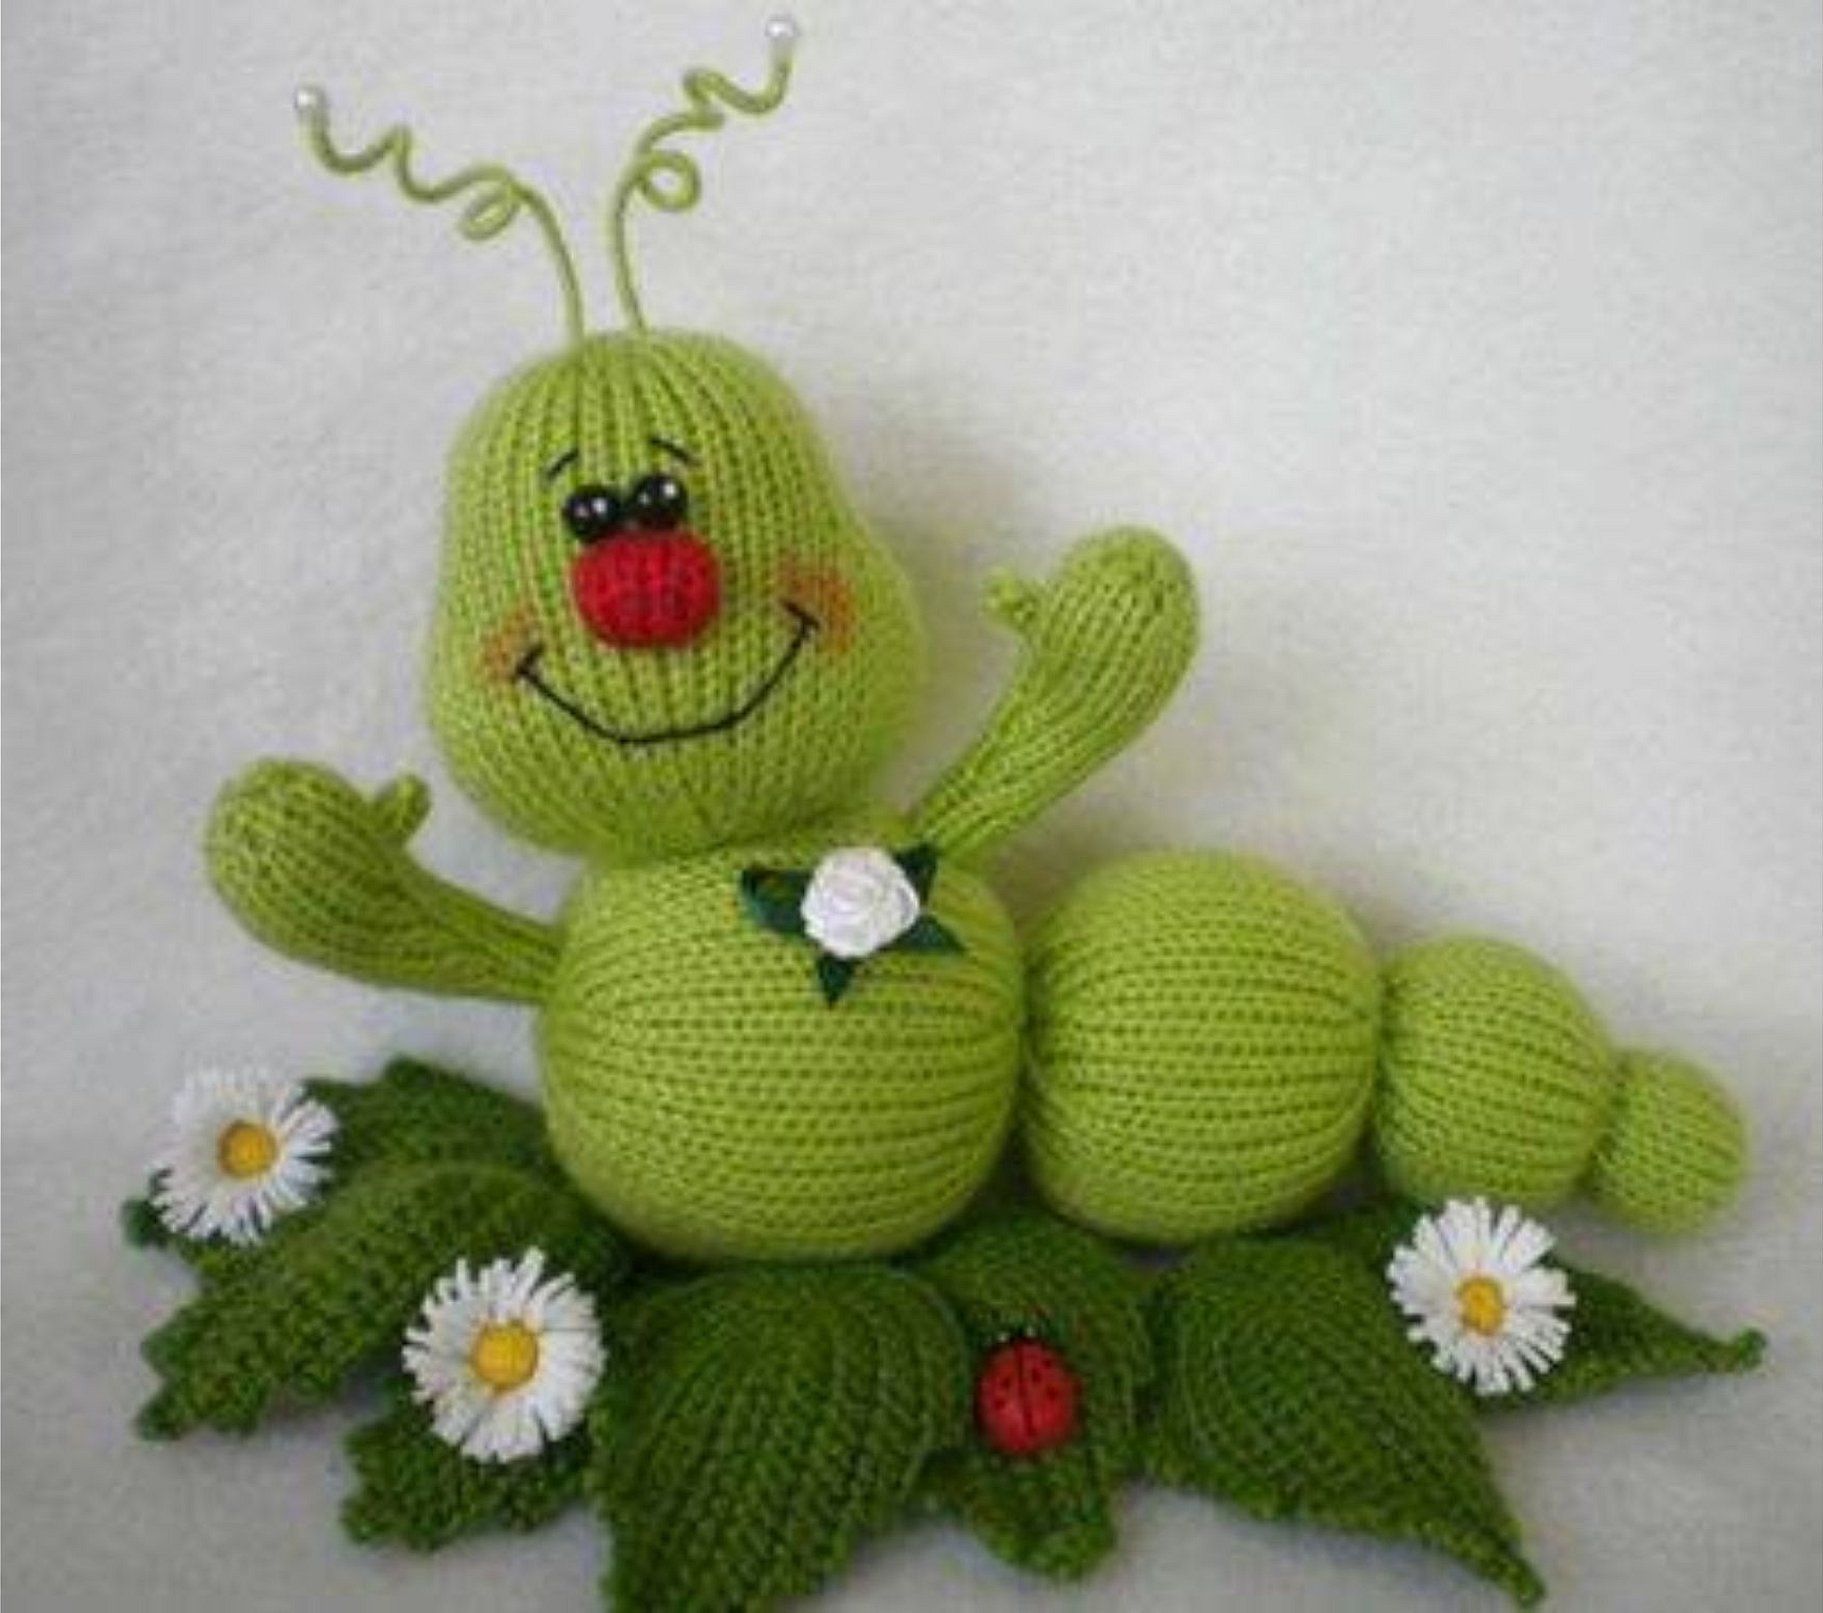
Crochet Caterpillar for Beginners
For work you will need yarn of the Iris type of any color (in the picture below - green). Using a hook, you need to knit a column and then knit loops in a circle. After 6 rows, it is recommended to add 2 loops and continue rows to 13. Then repeat the steps, but by decreasing 2 loops to the 20th row. The hole should be tightened and tied after stuffing with padding polyester. As a result, you should get a ball. For the finished product, you will need about 6-7 similar parts. The size of the toy can be any. As for the decorations, you can use the picture below as a guide.
Additional information. The balls must be connected together, having previously determined where the head, body and legs are. The muzzle, upper paws, soles, horns and everything else are made according to the master's ideas.
Such a toy can stand on a dresser shelf or the edge of a sofa for quite a long time thanks to natural threads. Experts recommend stuffing without making the product too heavy. When pressed with your hands, the balls should be viscous. It is better if the fabric is well pressed, creating a “watery” effect. This will make it more pleasant to play with the toy.
To crochet toys using master classes, you don’t need professional knitting kits or additional expensive parts. Step by step, you can improve your skills to achieve a more perfect result. This type of creativity will also be useful for younger children. It will help them spend their free time usefully and interestingly. To teach your child needlework, you can use different materials: cardboard, ordinary threads.


