The process of constructing moving toys is quite exciting and useful, as such an activity promotes the development of thinking, fine motor skills, perseverance and the development of creative abilities. Children happily remember the time they spent with their parents making cardboard crafts that could move. Below you can see how to make popular toys.
What are DIY cardboard moving toys
Movable cardboard toys are often called twitchers. This type of mechanical toy consists of a large number of parts that are loosely connected and set in motion by means of strings/threads that are fixed on the back of the product. Twitchers were used in Europe as early as in ancient times.
Reference! The toys that Russian craftsmen made were called dancers.
The classic jerk is considered to be a humanoid creature with a body, a pair of movable upper limbs and legs. Even famous artists created sketches of such toys.
The meaning of the craft and its role
A DIY cardboard jerk toy, the templates for which are presented below, like kinetic sand, allows you to develop your child's imaginative and logical thinking. Moving figures of favorite fairy-tale characters make it possible to distract your child during moments of hysteria and whims. You can make a variety of moving toys from cardboard:
- doll houses and castles;
- cars, planes, rockets;
- dolls;
- fairy tale characters;
- Christmas tree decorations;
- doll furniture;
- decorations for puppet theatre;
- volumetric constructors;
- educational games, etc.
Please note! Educational toys of a mobile type allow children to study the world around them. For them, you can make animals like a caterpillar, a bunny, and a mouse.

What materials and tools will be needed?
Home craftsmen approach the process of making jerks with imagination, trying to create an interesting product that will keep the kids busy for a long time. Before making a mobile toy from cardboard, you need to stock up on:
- pieces of fabric;
- colored cardboard;
- colored and wrapping paper;
- foil;
- beads;
- templates of all parts of the toy;
- with scissors;
- glitter;
- paints;
- pencils;
- PVA construction glue;
- buttons and threads;
- with an elastic band and thin sticks;
- with wire or special fasteners;
- with colored tape, feathers, etc.
How to Make a Cardboard Pull Toy: Master Class
It is quite easy to make a jerk doll with your own hands if you use the technology suggested below. When making moving toys, it is important to use the advice of professionals who recommend:
- Pierce the parts with an awl.
- Use brads as fasteners.
- During the manufacturing process, use only PVA construction glue, which is characterized by increased density and quick drying.
- Cover the cardboard with a layer of colored paper and press the pasted parts while it dries, which will help avoid deformation of the product.
Below you can see a step-by-step master class on making a jerk using the example of constructing a cardboard Puss in Boots. For work you will need:
- sheets of white paper;
- packaging micro-corrugated cardboard or ordinary cardboard;
- stationery knife;
- scissors;
- fastening material;
- awl;
- double sided tape;
- nylon thread;
- glue stick;
- Moment glue.
Stage 1
The first thing you need to do is start preparing the cardboard parts. To do this, cut out the templates, which need to be printed on white paper. Double-sided tape is glued to the back of the parts, and the templates are then glued to the cardboard from its back side.
Stage 2
Carefully cut out the craft parts with a stationery knife. Use an awl to make holes for the fasteners. Depending on what fastener will be used, you can calculate the required diameter of the holes.
The animal's paws are folded overlapping. Using an awl, you will need to pierce holes in the area of the upper outer parts. They will be used to control the limbs. A light polymer cord is threaded through the area of the holes in the body and limbs. The ends of the cord are melted with a lighter.
To create a movable mount, you can use:
- buttons;
- wire;
- threads;
- brads, etc.
Stage 3
To create a mechanism for controlling the limbs, it is important to tie the cat's paws in pairs with nylon threads, which will need to be threaded through small holes. By pulling the threads, the paws can be moved to the lower position. A long thread is tied to the horizontal, upper and lower ones. On the back of the jerk, knots are tied on a light polymer cord. Now you will need to test the product for free rotation of the limbs. If everything is in order, the ends of the paracord (cord) will melt.
Stage 4
A pair of circles with a diameter of no more than 25 mm are cut out of cardboard. The circles are glued together with Moment glue. This part is glued to the animal's head from the inside (on a loop of narrow tape). The cardboard craft is ready. Primary school students can make it themselves. Dynamic toys made with your own hands will please any child.
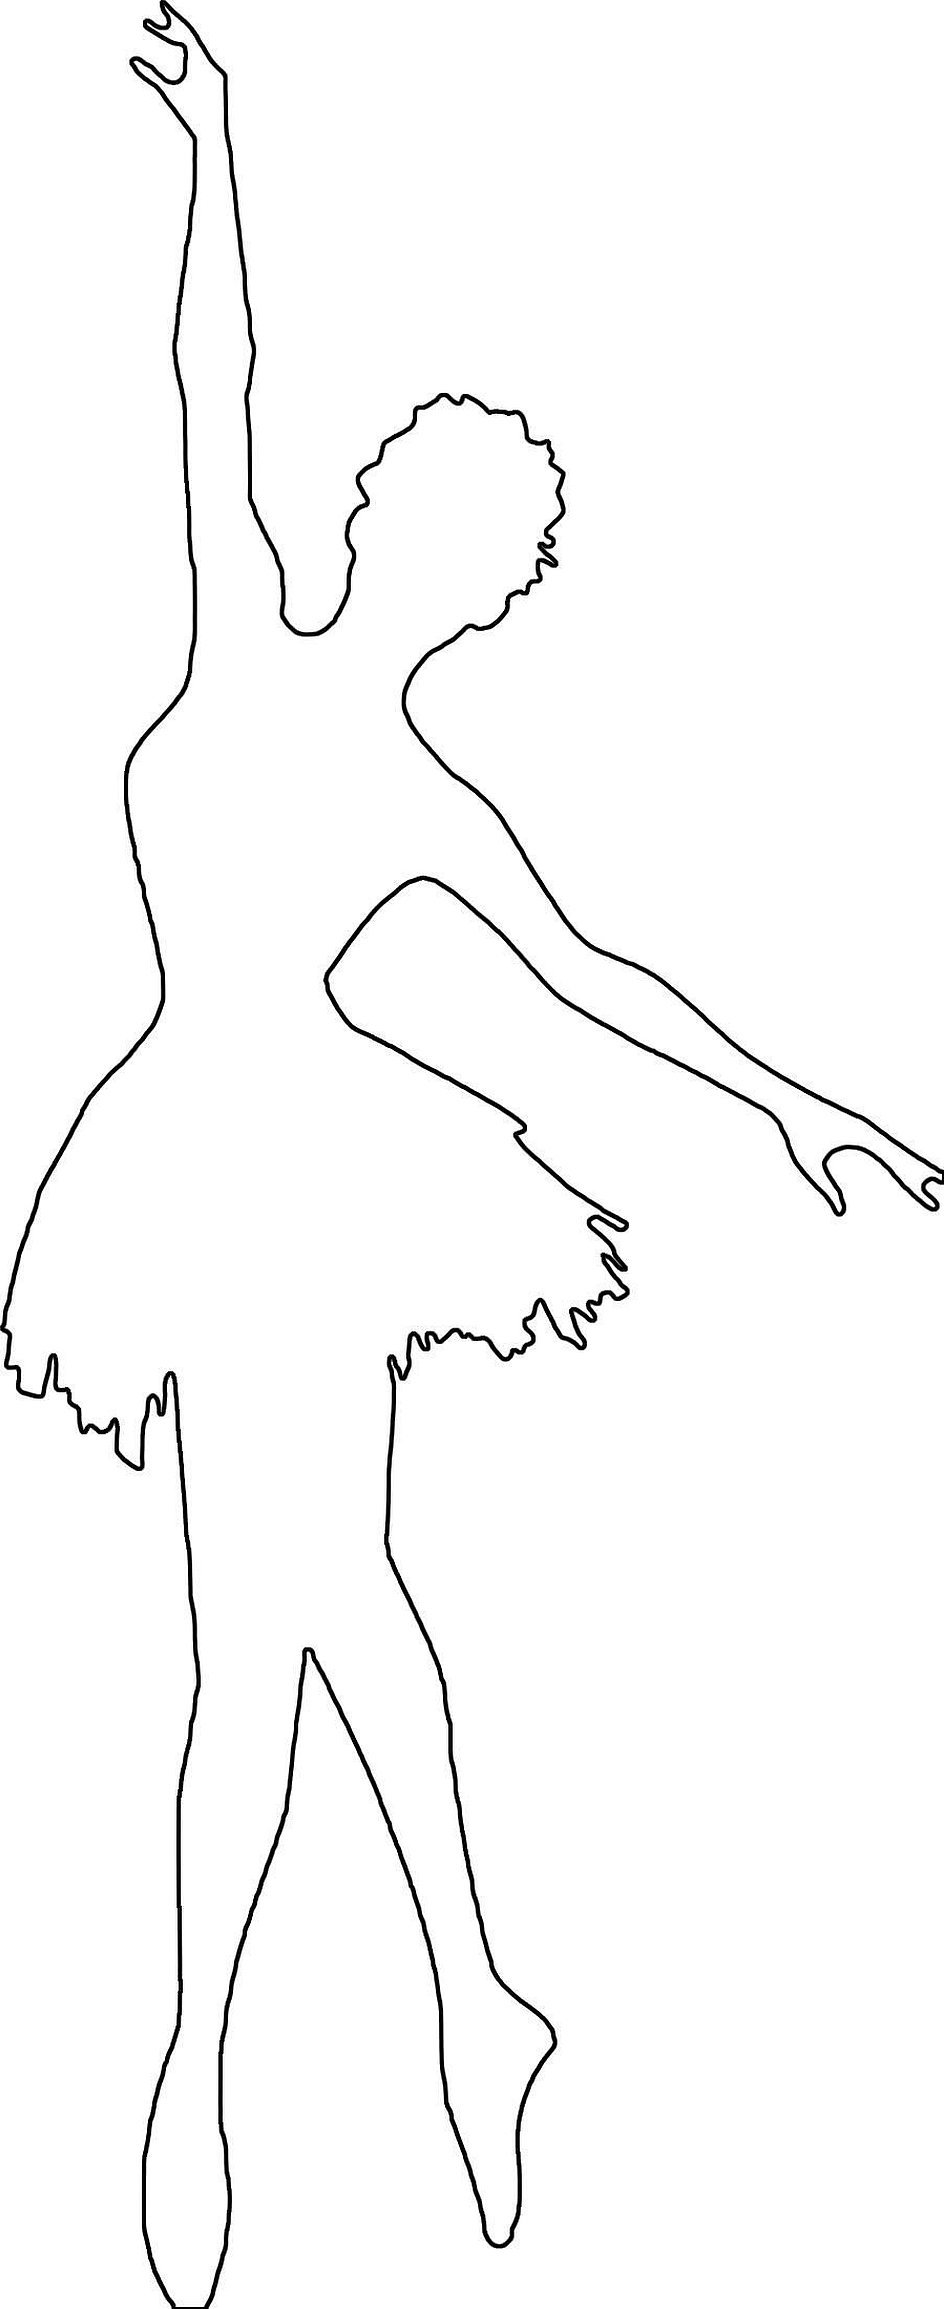
Twitching Ballerina
Such moving toys made of paper with your own hands, like a ballerina, will give a lot of impressions to children. To make it, you should stock up on:
- cardboard;
- a piece of copper wire 25 cm long;
- with paper clips.
Stage 1
A ballerina should be drawn on cardboard. The height of the silhouette should be within 10-12 cm. If you don't have the talent of an artist, you can simply print out the figure of a ballerina on paper and glue the cut-out template onto cardboard, then cut out the girl.
Stage 2
Make loops at the ends of the wire, through which to thread paper clips. The middle of the wire should be wrapped around the dancer's legs. The wire should be slightly spread apart, which will make it possible to achieve maximum stability of the product.
Stage 3
Place the craft on a stick or any other support. Make sure that the craft can stand and not fall.
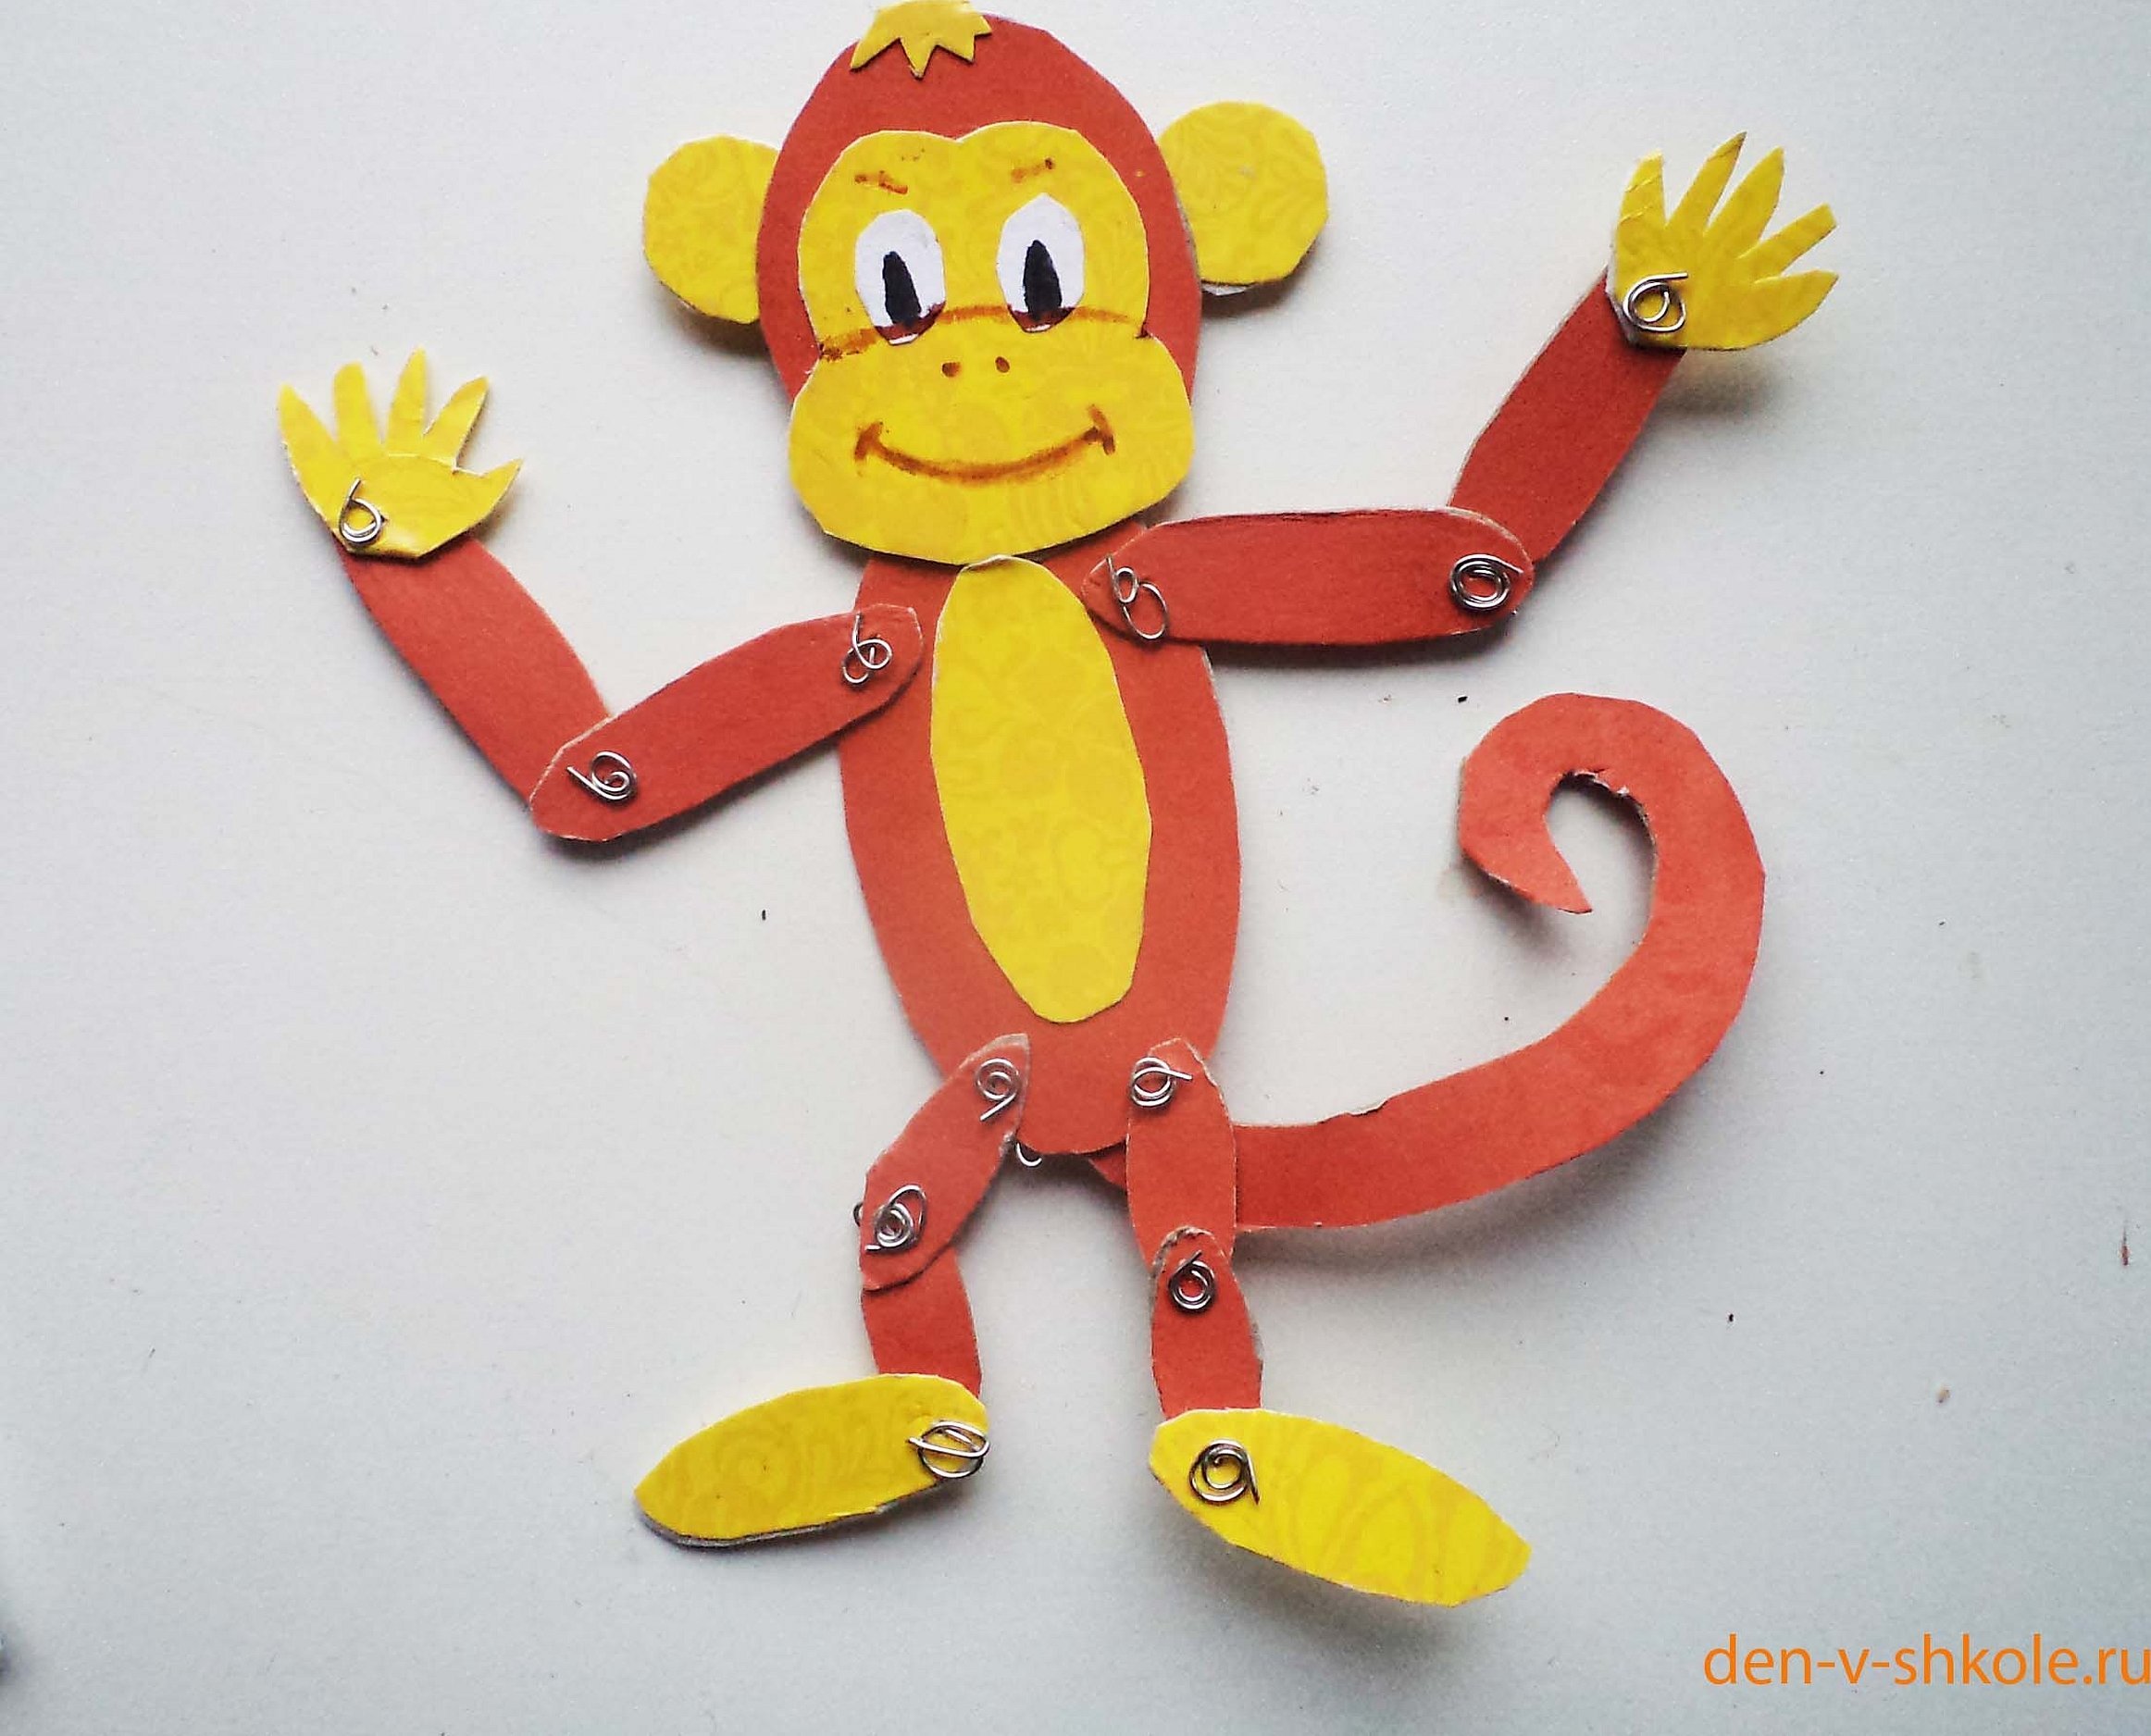
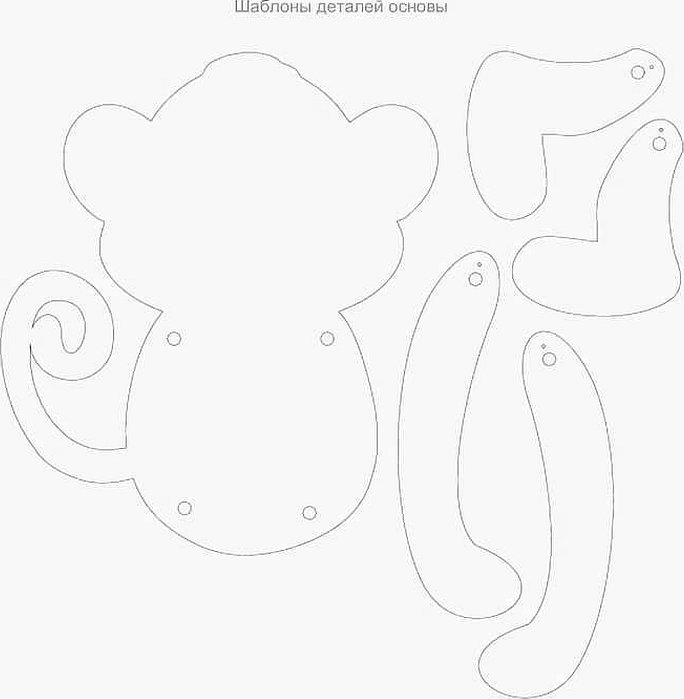
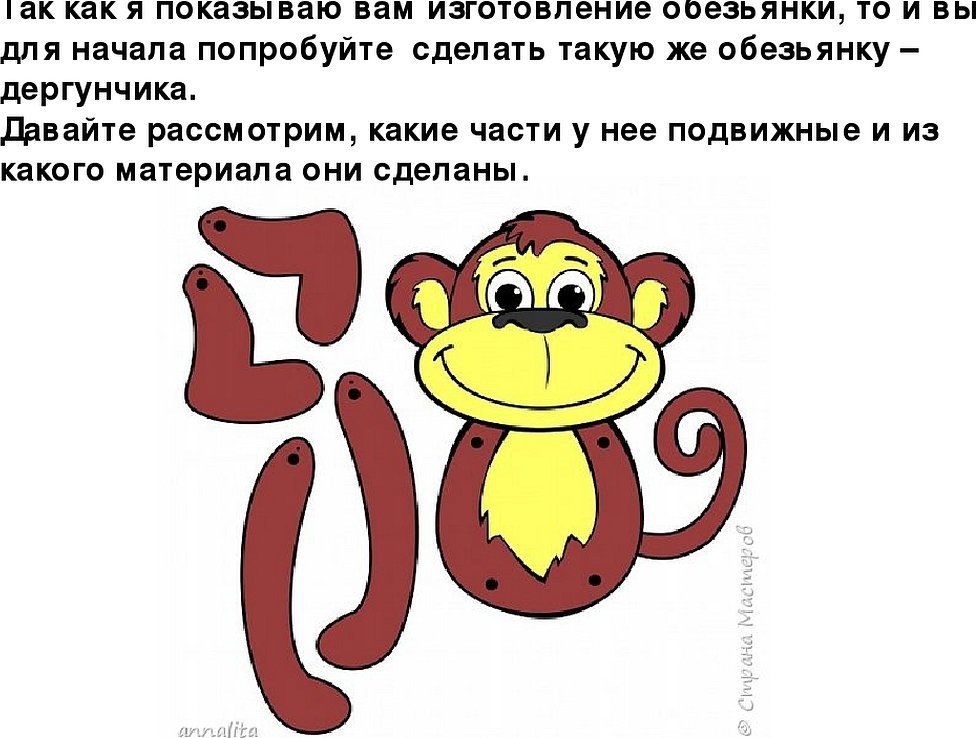
Twitch monkey toy + template
To make such a craft, you do not need much knowledge. The method described below is suitable not only for making a monkey, but also for creating a beautiful hare or clown. First of all, you need to print out the sketch you like on a printer and cut out the parts. Then the assembly process occurs in stages.
Step 1
In the indicated areas on the template, you will need to make many holes with an awl. Each part is carefully connected. It is most convenient to use braces or wire as a fastener.
Please note! You shouldn't squeeze the parts too much, so that the free fall function doesn't disappear.
Step 2
The lower and upper limbs are connected with threads. It is important to ensure that the parts go down. Using an additional thread, a loop is made on the thread with arms. Having gone down to the lower limbs, you will need to tie knots on the thread that comes from the legs. A bead is tied at the end of the string. After that, you can glue the animal's tail.
Please note! By gluing a magnet to the product, you can hang the finished work on a refrigerator or freezer.
Step 3
If you wish, you can glue the tail that comes off the thread between the tail elements. The resulting monkey will please any child, because it is not only beautiful, but also has the ability to raise its paw. To do this, you will need to pull it by the tail.

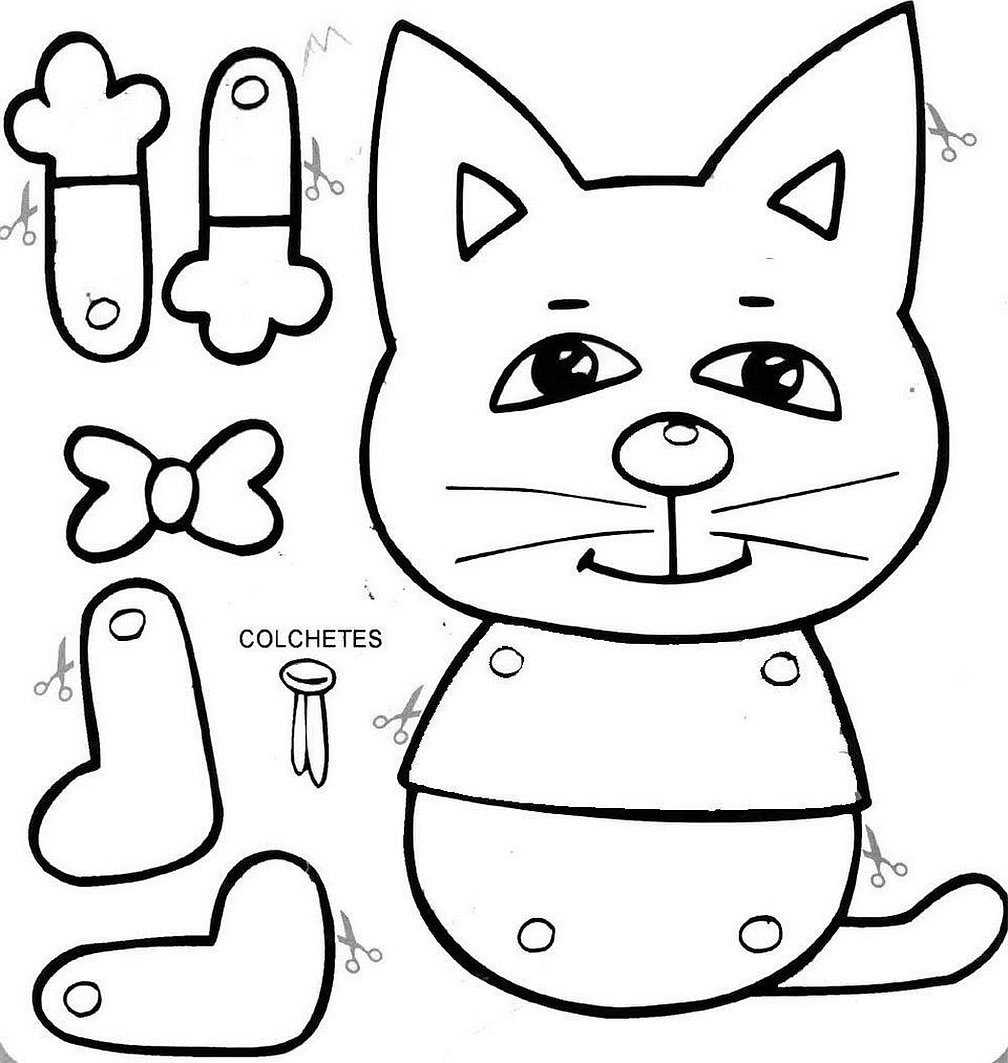
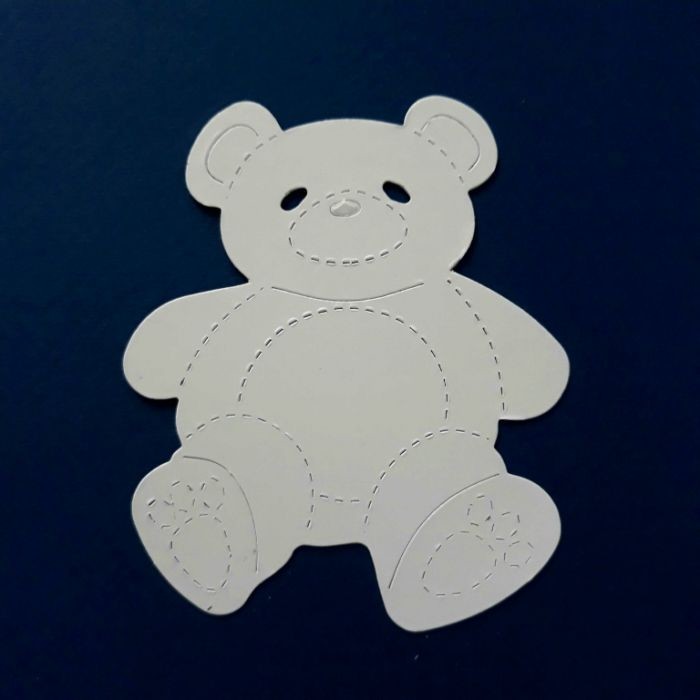
Twitching toy bear
To create a movable volumetric bear, it is enough to follow the step-by-step instructions, which will help you avoid making mistakes during the work. The created mechanism will allow you to raise all the paws every time after pulling the string.
Before the craftsman starts creating a simple toy, he will need to take care of purchasing:
- cardboard of the desired shades;
- colored paper;
- scissors;
- adhesive base;
- a small amount of soft wire that will help to flexibly fix the paws.
Step by step process
- The bear template can be printed for convenience. According to this sketch, you will need to outline the body along with the upper and lower limbs on cardboard.
- The animal's eyes, nose and ears are cut out and drawn on with a felt-tip pen. The apron area is glued to the central part of the bear cub's belly.
- The animal's limbs are fixed to the body with wire.
- On the reverse side, the paws are tied with threads.
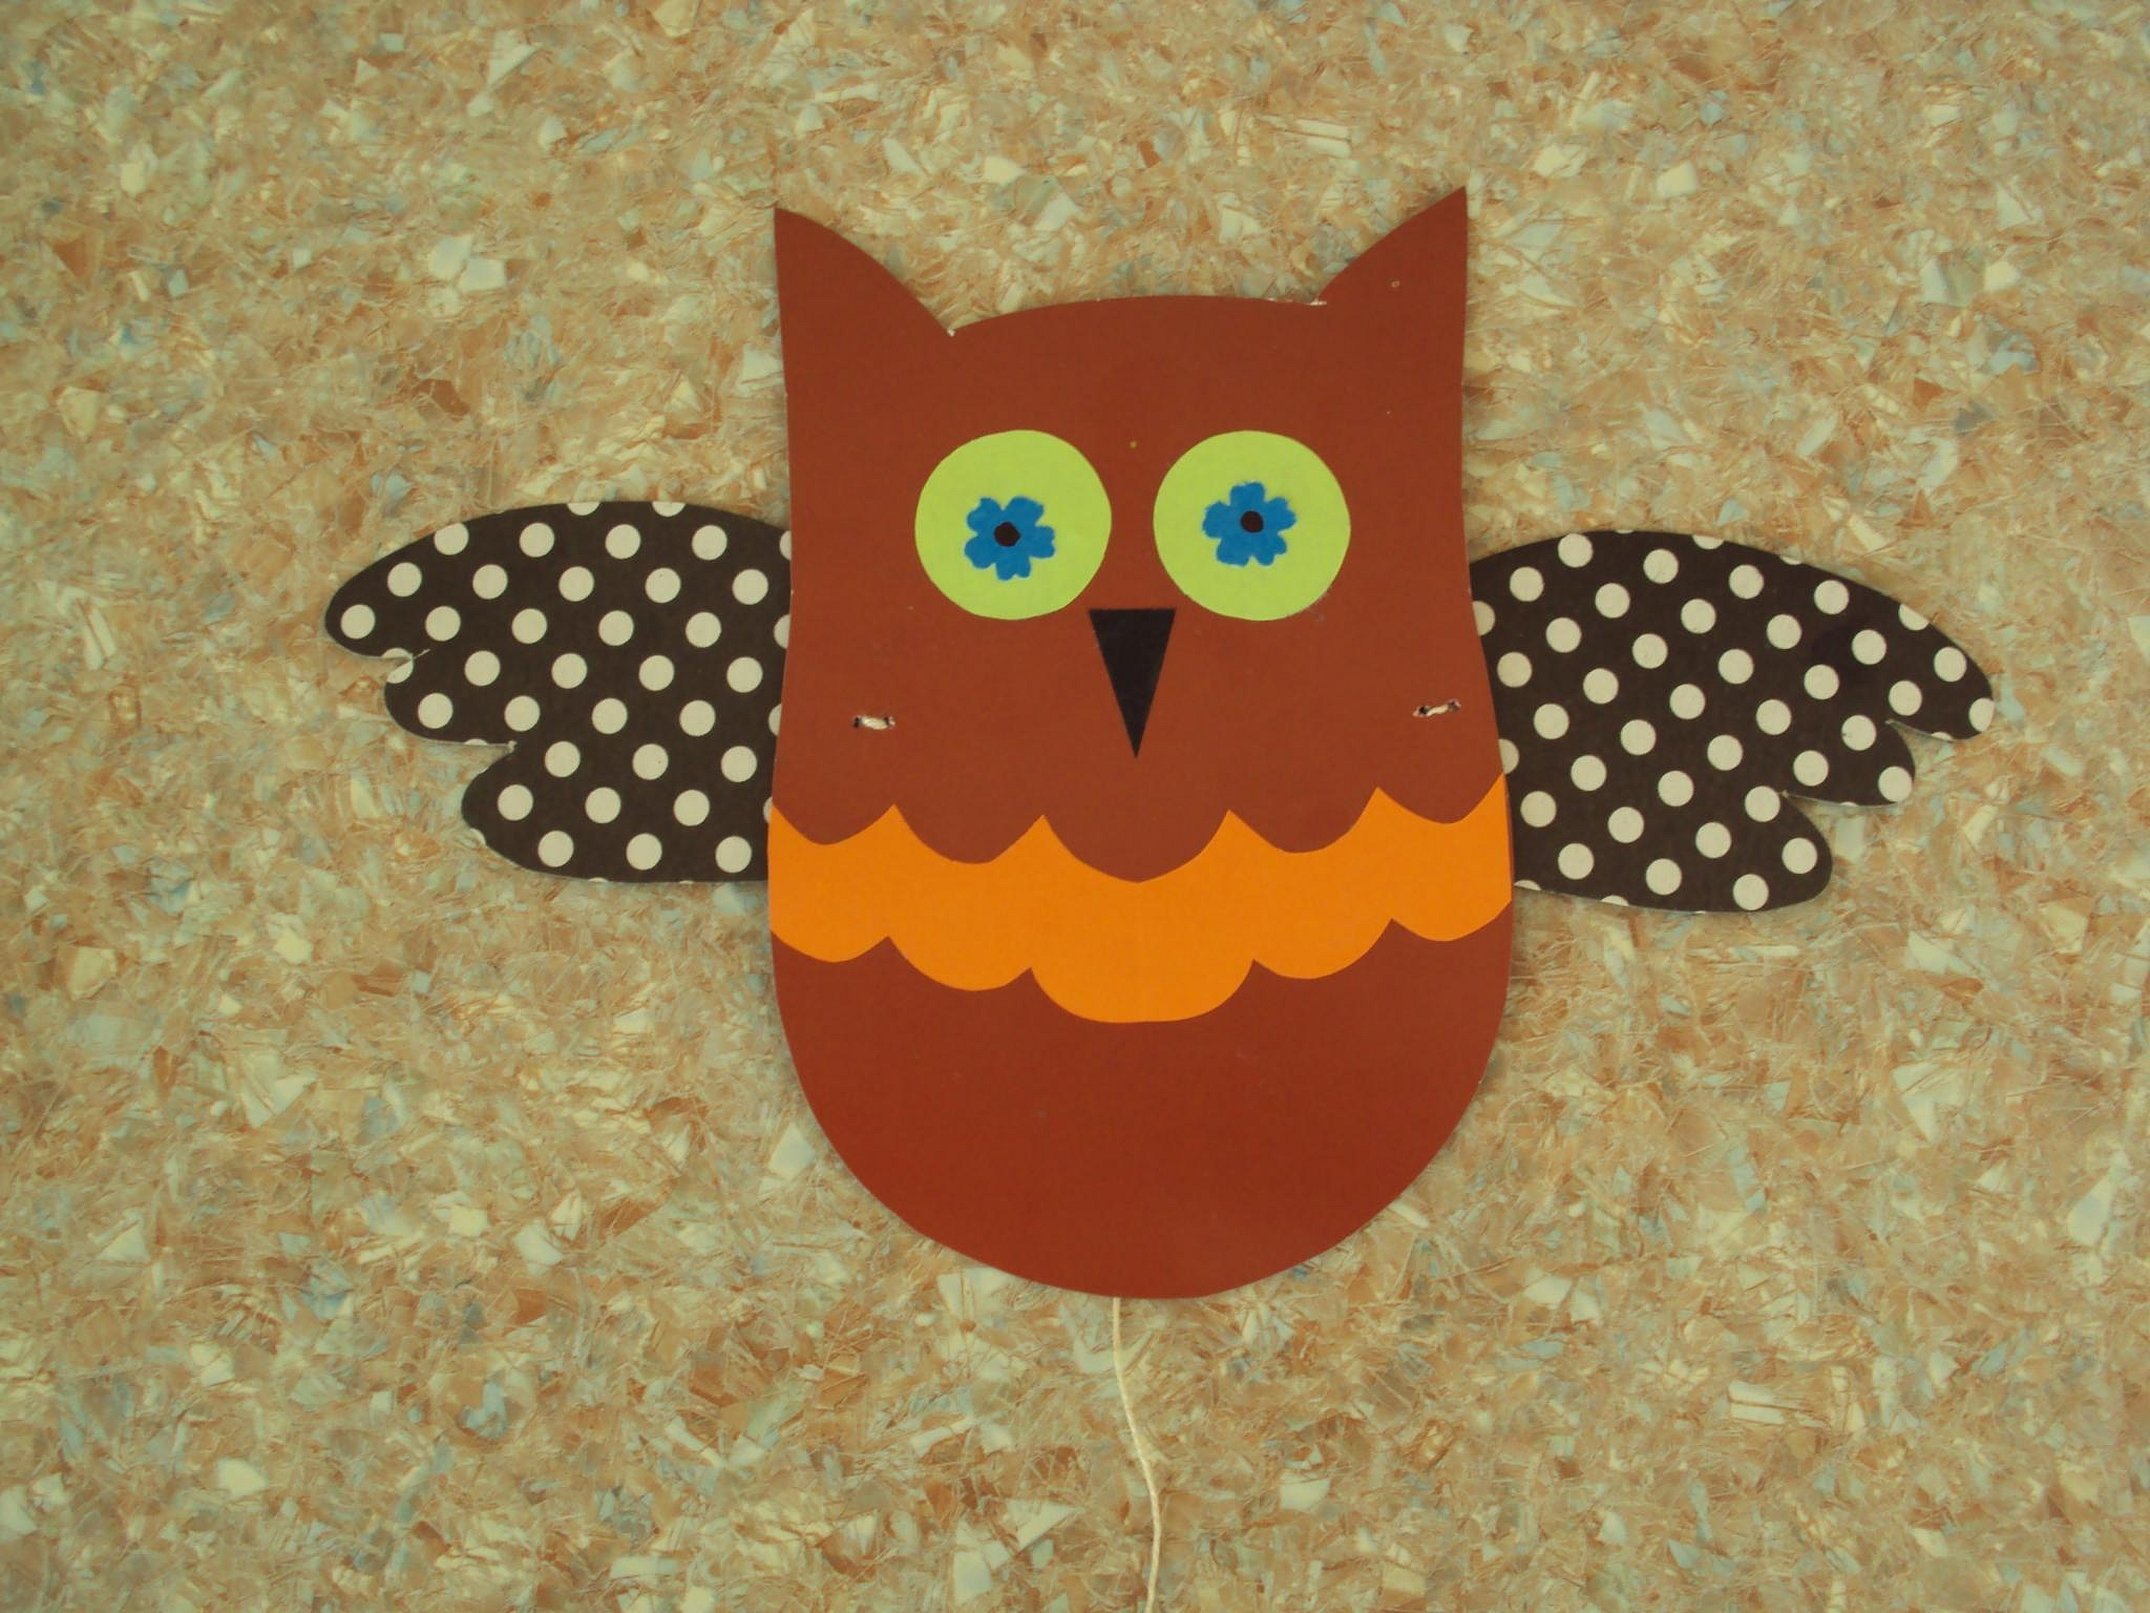
- Now you should test how well the toy moves after the child pulls the string. In a similar way, you can create a pull toy in the shape of an owl.
Making moving toys is a great way to spend time with your child. The above-presented patterns for making products will help both adults and children cope with this task.


