There are many master classes called "Knitting a doll Stesha". Most of them are distinguished by a detailed description of knitting each individual row. But such detailing is not necessary, since making a soft doll is quite simple. The craft will be an excellent gift for a child, and a novice needlewoman will learn how to knit simple soft toys in this way.
Description of the toy

Stesha is an original example of the megapode dolls that are so popular now. The facial features of this type of toy resemble dots - there is no detailing here.
A soft doll of this type can become an excellent mannequin with a basic form of clothing, which is knitted during the process of making the base.
Necessary materials, tools for work
To make a beautiful toy of this type, you don't necessarily need to have a lot of tools and materials. To make Stesha, you will need the following tools and materials:
- children's acrylic in several colors;
- PDF;
- knitting needles, hook, needle and thread;
- scissors;
- holofiber;
- buttons.
In the process of knitting each individual part of the doll, a specific color of yarn is used.
For reference! It is necessary to prepare beige, blue, pink, red, gray, green, mint yarn.
Conventional designations
Each scheme has its own symbols that should be used during the work process:
- VP - air loops;
- ССН — double crochet;
- SC - single crochet;
- Decrease - decrease;
- Pr. - addition;
- K.A. - amigurumi ring.
Using such designations and techniques, the Stesha doll can be crocheted quite quickly.
How to knit an amigurumi doll Stesha: step-by-step description
Amigurumi is a fairly popular technique for making toys using crochet. There are no textured transitions on the fabric if columns were added or subtracted.
Therefore, the crochet doll Stesha, the diagram and description of which are presented below, is made using this technology.

Head
You should start working from the top - the first detail will be the head.
Master class on making a toy head:
- It is necessary to form K.A. Knit 6 SC.
- In the second row, you need to make 6 Pr. - knit 2 sc in each loop. You should get 12 cells.
- In the 3rd tier, you should also make 6 Pr. - now you need to knit 2 sc through 1 loop.
- Now in the next 7 rows make 6 increases, knitting 2 sc in 1 loop through 2, 3, 4, 5, 6, 7, 8 loops respectively.
- Now you need to knit 9 rows without changes - in each tier, knit 60 sc.
- The next step is to decrease using the same principle as the increase. Decrease 6 sc, working through 8 loops.
- Then make 6 Dec through 7, 6, 5, 4, 3, 2, 1 loops.
- As a result, there will be only 6 sc. At this stage, you can finish the work. Beforehand, it is worth filling the head with holofiber.
After finishing the work, it is worth decorating the face. To do this, you need to embroider a nose, dotted eyes and eyelashes.
Legs and torso
First, the foot of each leg is made separately, then the legs themselves are knitted, which are then connected. The next stage will be the formation of the body. Thus, the legs and the body are a single piece.
- It is necessary to dial a chain of 10 VP. Additionally, it is necessary to dial 2 VP for lifting.
- Knit 4 dc into the third loop from the edge of the chain. Then 8 dc, and then 5 more sc into the last loop of the chain.
- Turn work and work 8 dc on the other side of the chain.
- Then again form 2 VP and make 5 Pr. in those DCs that were formed from 1 loop. Again work 8 DCs and make an increase according to the same principle as from the very beginning.
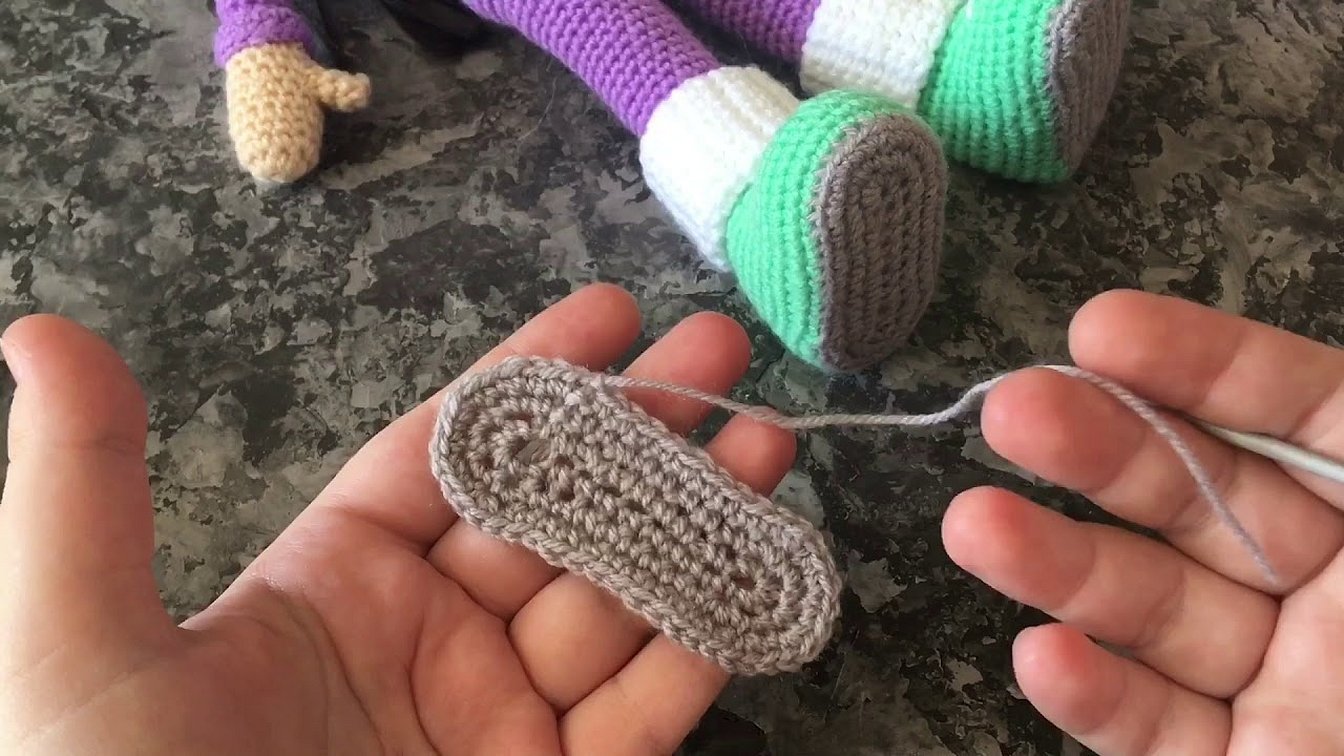
- Another row is formed in the same way, but Pr. is done through 1 loop. Then you need to cut out a part from chipboard in the shape of the foot.
- Next, the shoes are formed. You need to knit 3 rows without adding or decreasing. In this case, the first one is formed in such a way that only 1 thread from the loop is caught (half loop).
- Next, decrease - work 24 DC, then decrease 2 loops, knit another 14 DC, and then decrease again. knit the rest of the part.
- You need to lay the chipboard insole and continue knitting. You need to make 3 Dec. in the places where they were made in the previous row.
- Then in the next 3 rows, 6 Ub are also made in the same places where there were before. As a result, 18 CCH will remain.
- You need to change the thread and knit 24 rows without changes. At the same time, you need to gradually fill the finished leg with holofiber.
Please note! The chipboard is inserted to make the shoes more correct in shape. At the same time, the doll itself will become more stable.
The second leg is made in the same way. Then the parts are connected to each other with a chain of 3 VP.
Next, the body is formed:
- Knit 2 rows of 48 DC.
- Then make 6 Pr. through every 8 loops.
- Do the same number of Pr in the next 4 rows.
- Then decrease by 4 DC in each subsequent row through an equal number of loops. Stop when there are only 18 loops left. Fill the figure with holofiber.
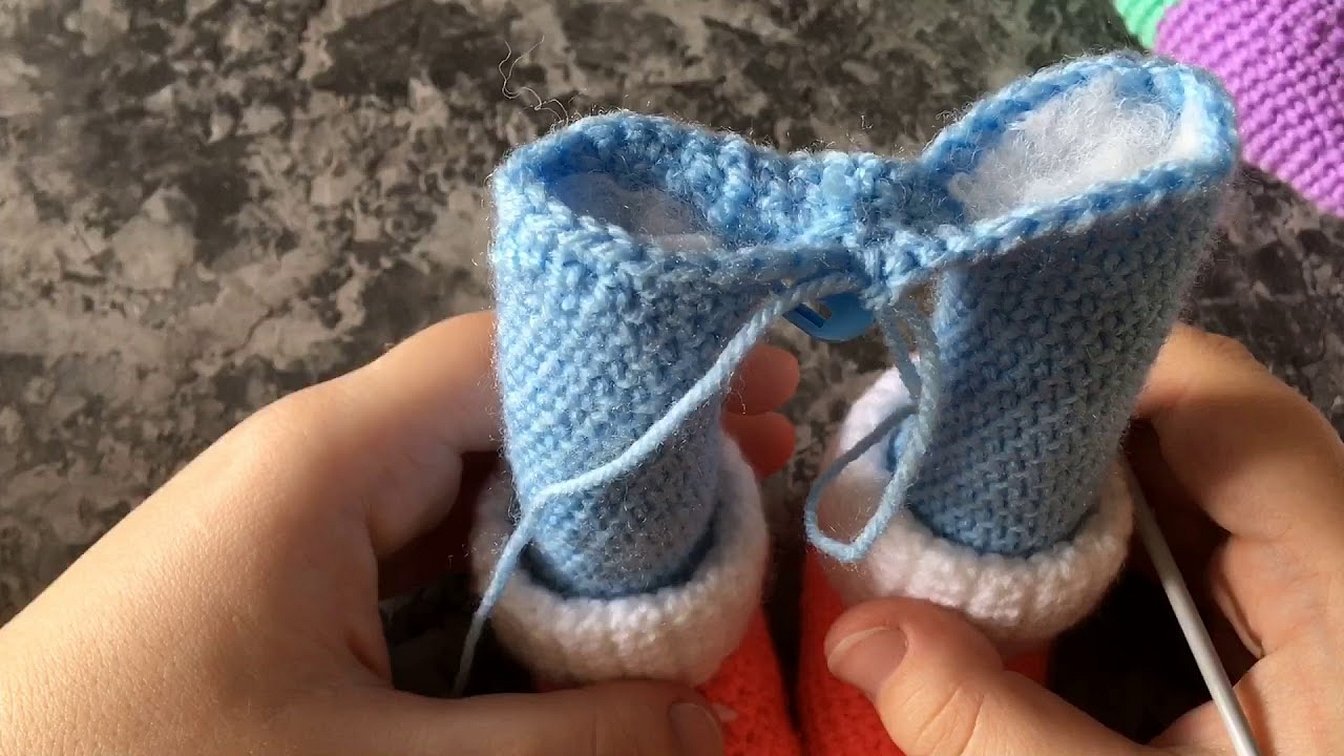
Then the shoes are decorated - embroider the lacing, you can knit a headband. Usually it is formed by knitting an elastic band with knitting needles (1 front + 1 back).
Hands
To make the doll complete, you need to tie the hands:
- Work 6 sc in K.A.
- Then make Pr. - 2 SC in 1 loop.
- In the next row, 2 Pr., which need to be made through every 5 loops.
- Then work through 6 tiers without changes.
- Next, you need to make a Dec. - just remove 2 CCH through 6 loops.
- Then you should change the thread and knit 20 rows of 12 DC. Stuff the resulting part with holofiber and finish the work.
Make another hand just like this.
Attention! In the area of the transition between the colors of the thread, it is worth making a cuff. This will give the doll additional decorativeness.
Cap
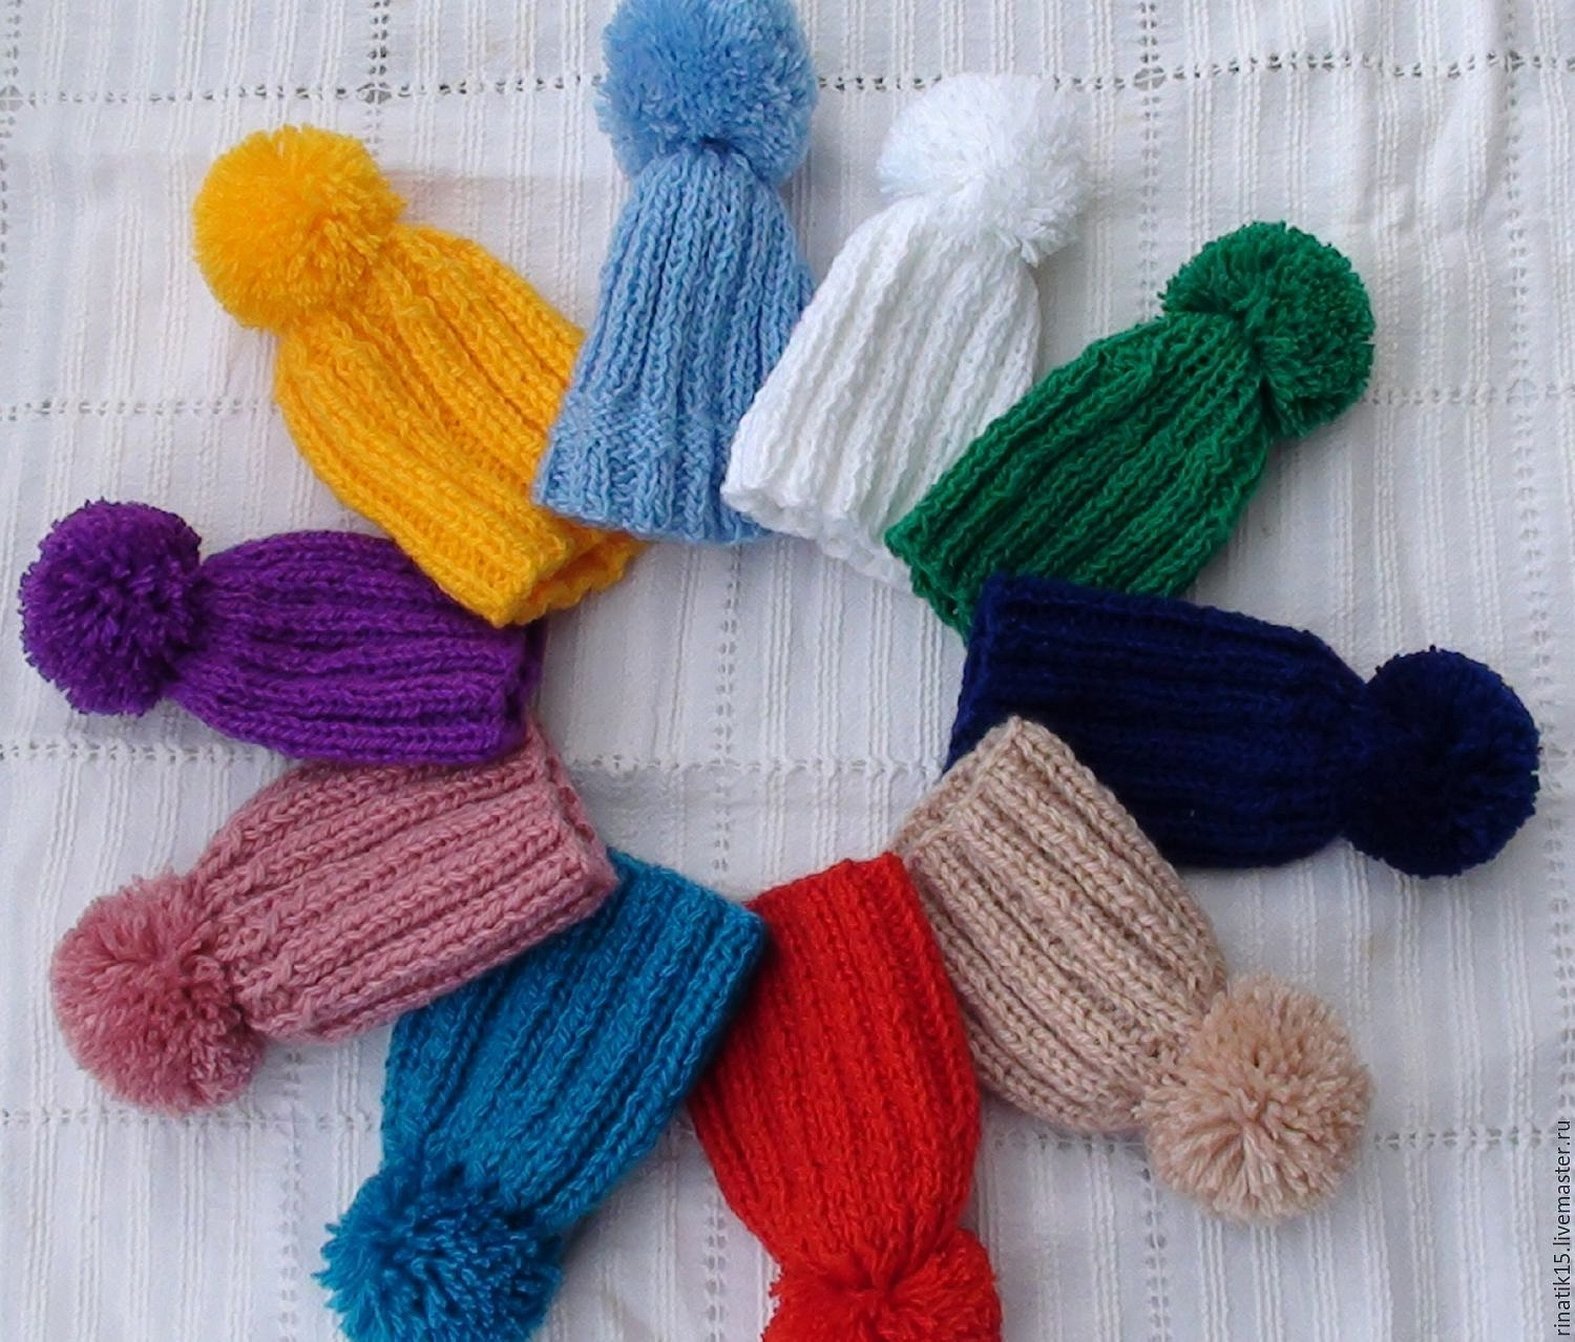
The hat is a very important accessory in terms of decorating the finished doll. You can knit such a detail with knitting needles or a crochet hook. But it is better to use the first type of tool.
Step-by-step algorithm for making a hat:
- Cast on 60 stitches using circular needles.
- Start knitting the elastic. Having knitted to the end, you can close the strip into a ring.
- Work 4 rows in this way, then gradually decrease by 4 loops.
- When there are about 44 loops left, you can tighten the remaining loops by threading the working thread through them.
Additional information! To ensure that the hat is the right size, it is worth constantly trying on the product during the manufacturing process.
After finishing the work, it is worth sewing on a pompom, which it is advisable to first make from yarn of the same color as the hat itself.
Vest
The vest will be a great addition to Stesha's look. It's quite easy to make such a wardrobe item:
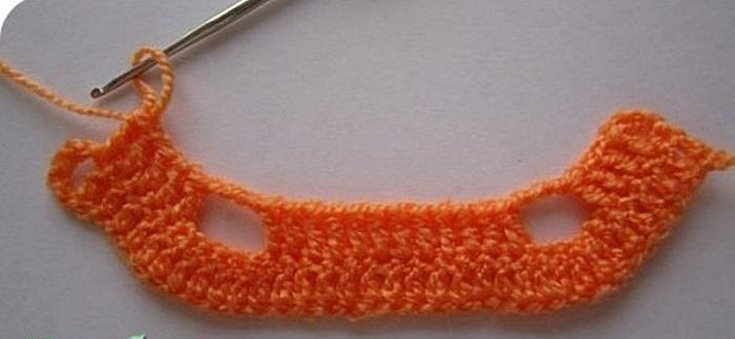
- Cast on a chain of 42 VP.
- Knit 8 rows of DC without any changes.
- Then you need to knit about 4 CCH on one side, then form a chain of 7 VP. Fasten the chain by skipping 5 loops. Knit 33 loops. Again, repeat the action as from the very beginning of the row.
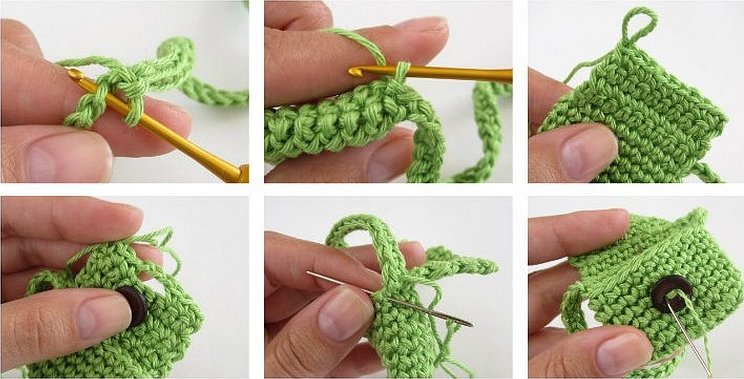
Next, knit 3 more rows, decreasing 4 DC in each tier. Next, in the area where the openings for the sleeves are formed, sew a button on the edge and make a hanging loop on the other side.
Bag
A knitted accessory in the form of a bag is simply necessary in this composition. Such a thing is made quite simply:
- Cast on a chain of 10 VP and knit a strip of SC.
- It is enough to form 20 rows.
- Fold the strip in half and sew on both sides.
- Make a chain of 20 VP and attach to the base of the bag.
The accessory for Stesha is completely ready. You can put small items in the bag.
How to assemble a toy
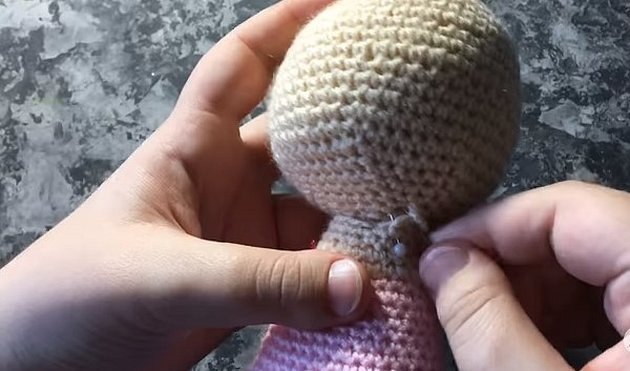
The MK for assembling the doll parts is quite simple, since the legs and body are already a single piece. You only need to sew the arms and head to the base of the already finished body. The hat, bag and vest can be removed, so they do not require fixation.
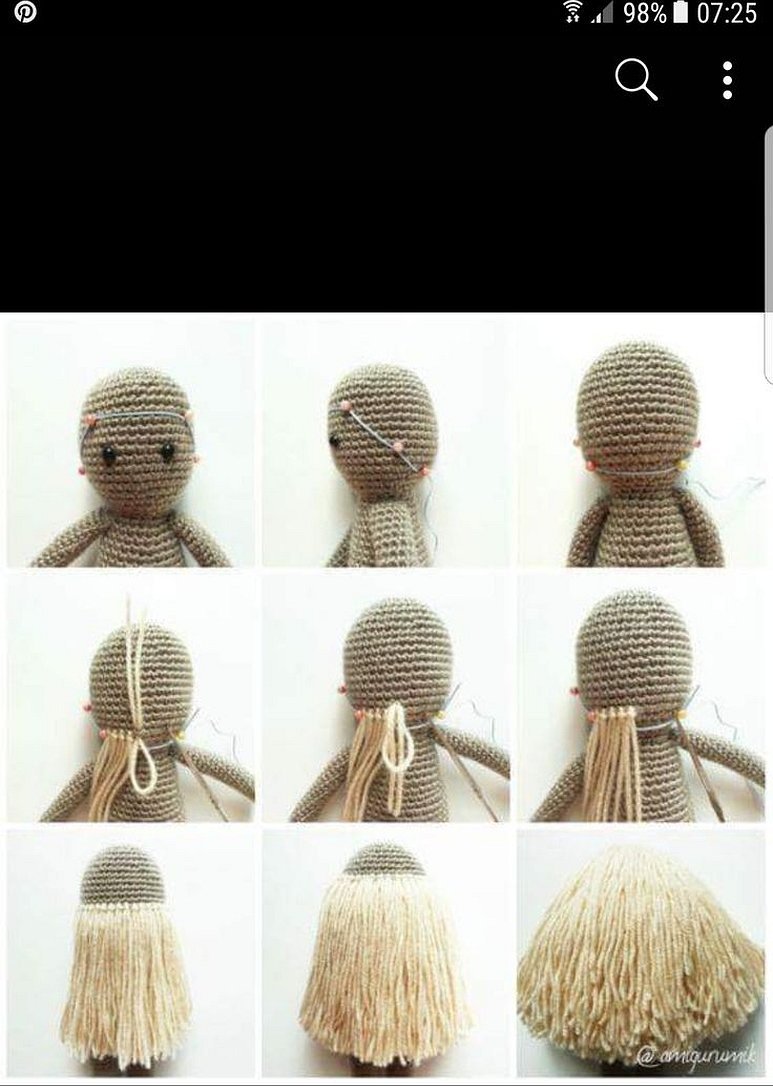
Important! It is better to make hair from yarn, since artificial hair can break, fall out and get tangled over time.
Making hair can take a lot of time. If the doll is intended for interior decoration, it is advisable to use artificial material. And for children's games, it is recommended to make hair for the doll from yarn.
There are several options for how to crochet a Stesha doll. Each model has differences in terms of the formation of individual parts or pieces, but the general concept remains unchanged. A doll of this type can be used in children's games or simply decorate the interior of the room. The manufacturing principle will provide great pleasure to the needlewoman.


