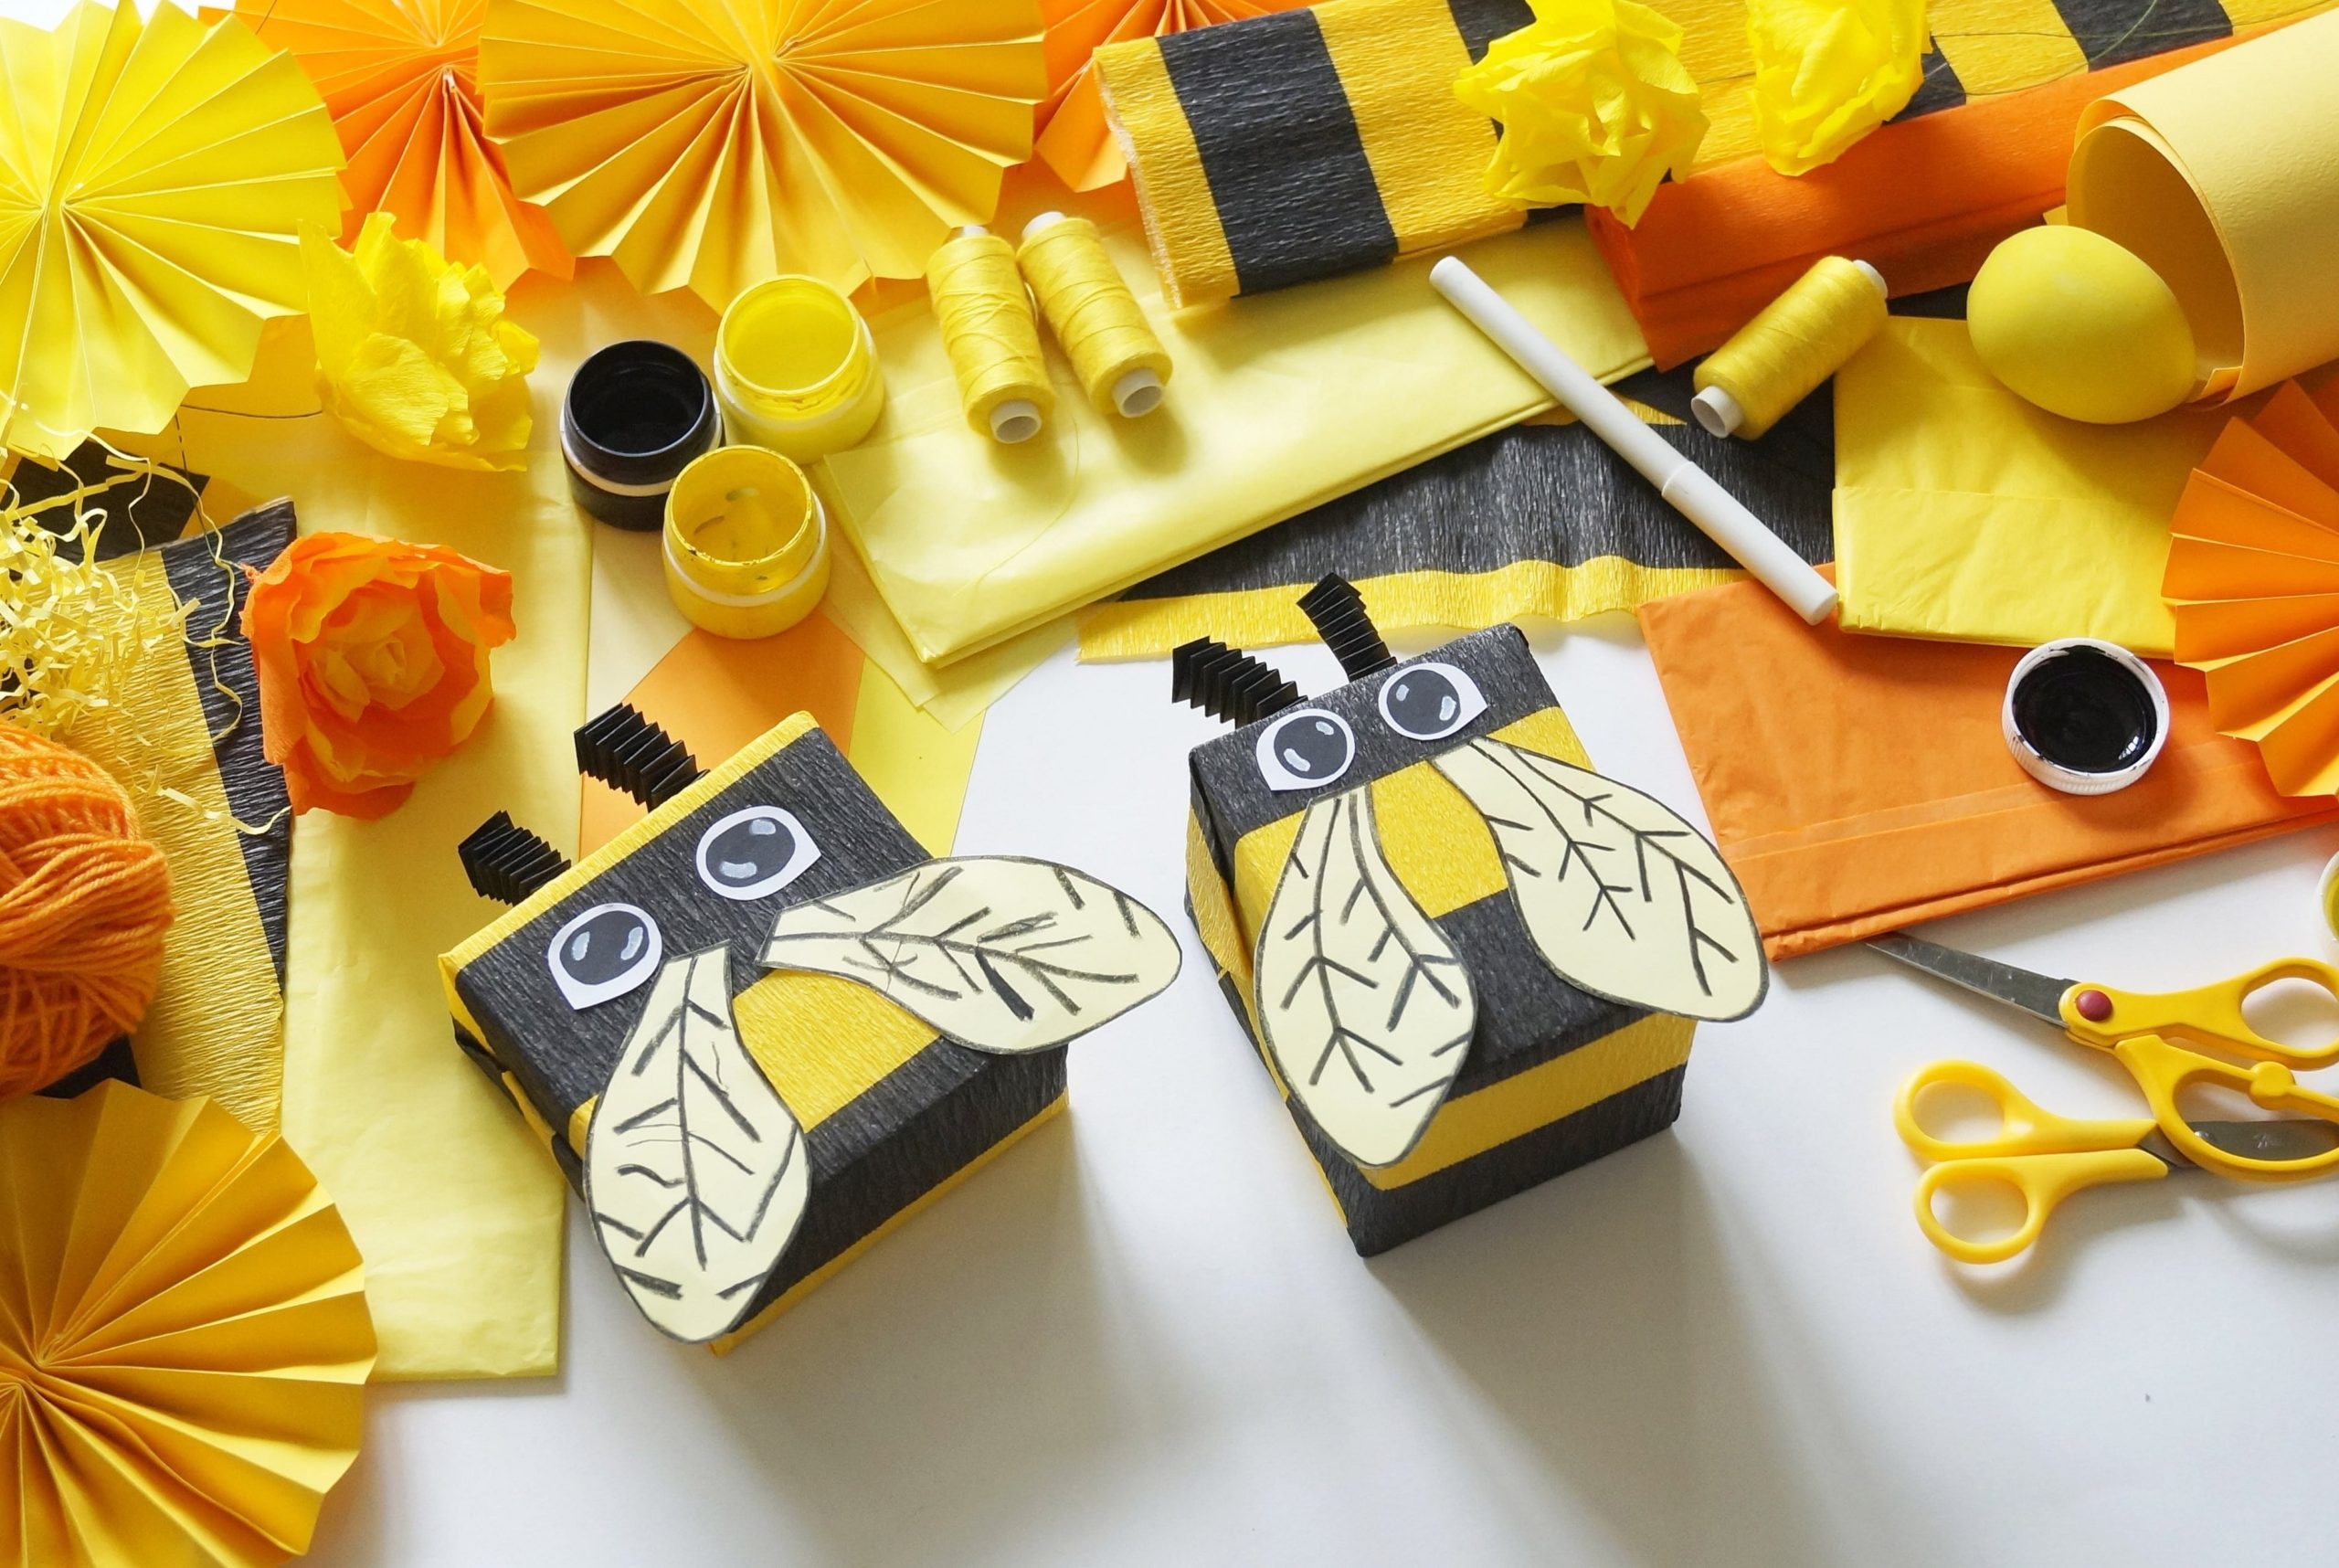
Bees are not only insects that make very tasty and healthy honey. This is a topic for creating crafts from scrap materials. With little ones, it is interesting to make a bee with your own hands from colored paper, salt dough, Kinder egg cases. Older children will cope with creating toys from felt or simple embroidery.
Rules for making a paper bee
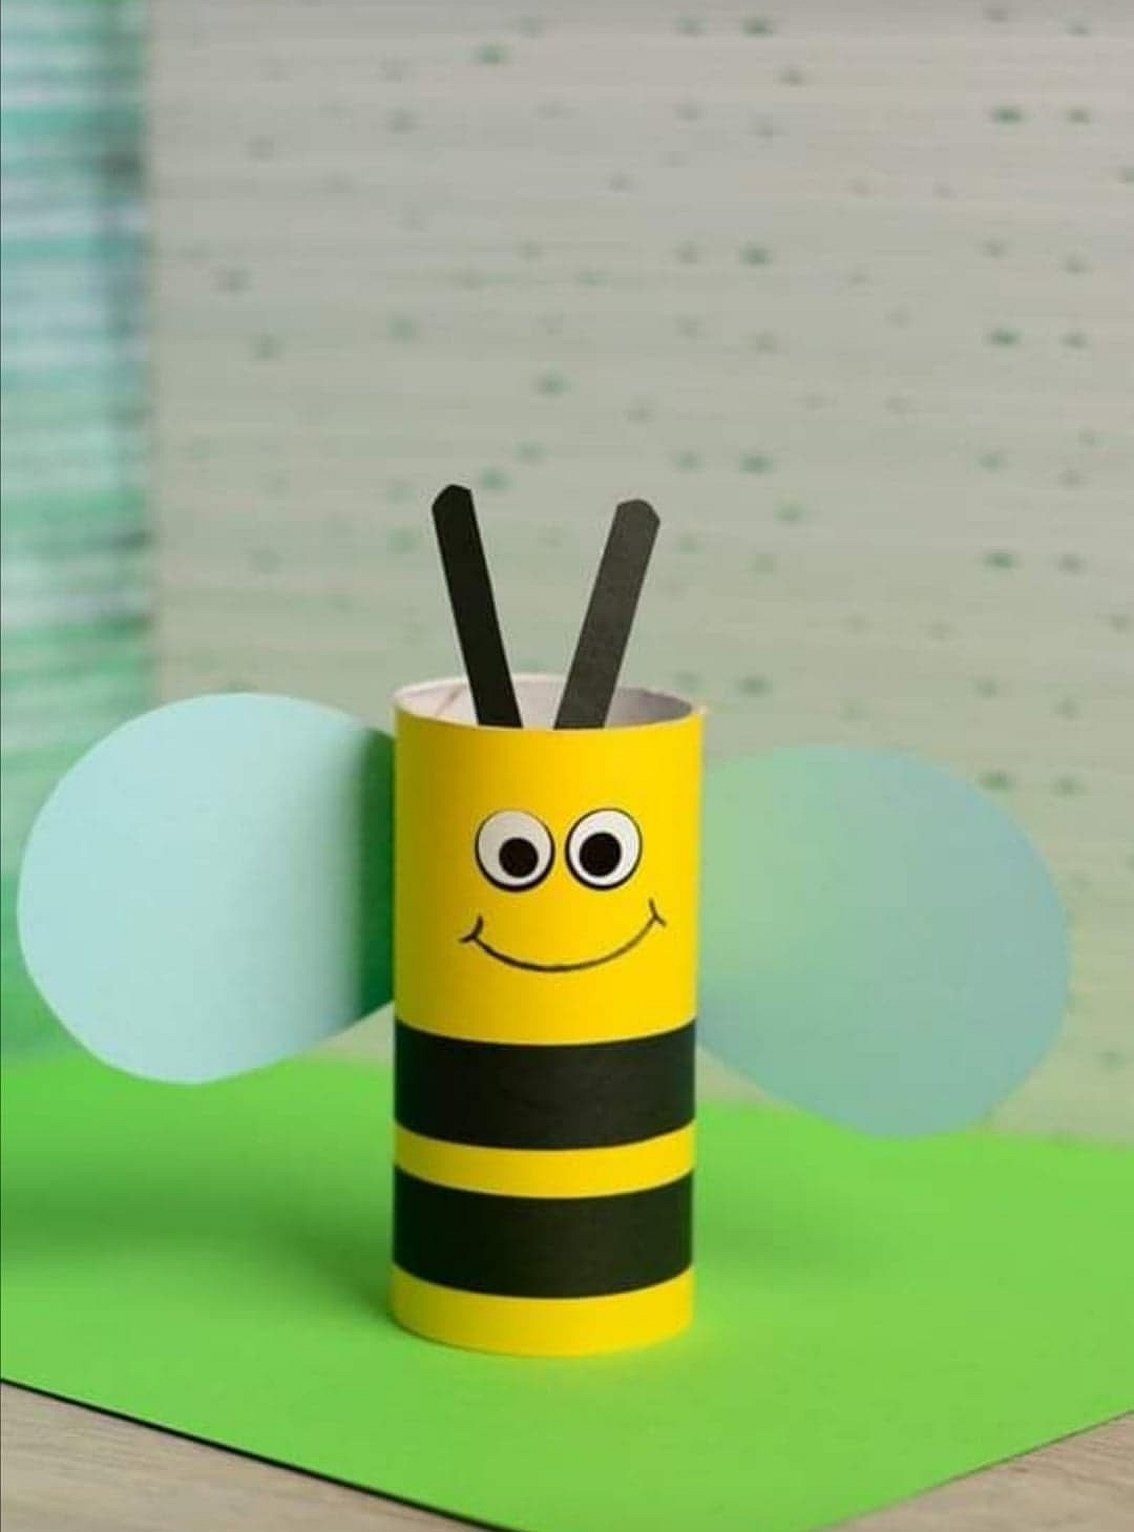
Colored paper is an affordable material for home creativity. It is suitable for children of different ages and involves the creation of products of varying complexity. A bee made from a tube and colored paper looks original. The craft is suitable for decorating a New Year tree, as a craft for kindergarten or a simple toy.
Before making a paper bee with your own hands, you need to prepare all the materials:
- toilet paper tube or thick cardboard;
- colored paper of black, yellow and white colors;
- felt-tip pens;
- glue;
- self-adhesive eyes.
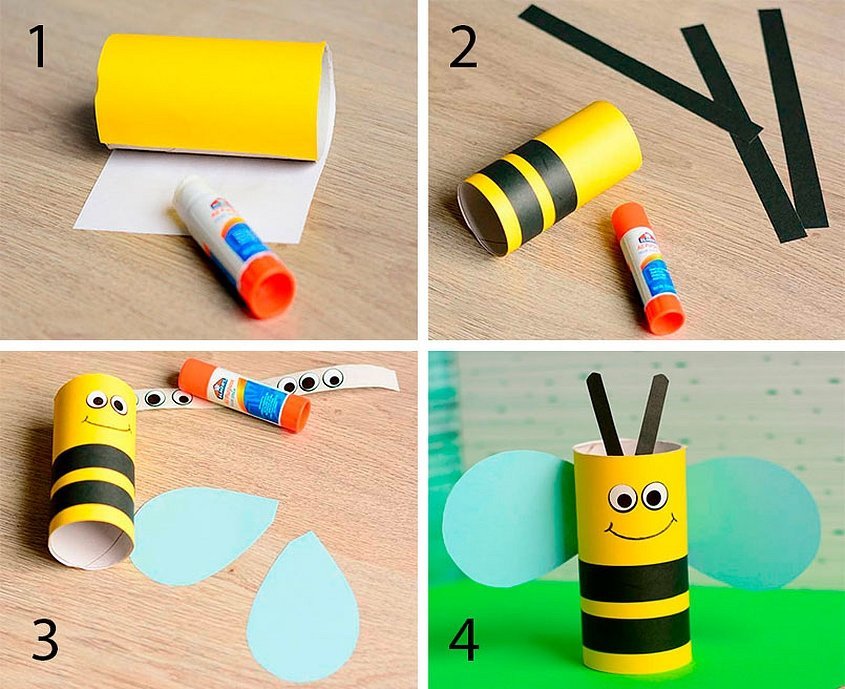
- Abdomen. Cover the tube with yellow colored paper. To do this, cut out a rectangle of the required size.
- Strips. To create strips from black paper, cut strips 1 cm wide and the length equal to the circumference of the tube. Glue the strips from below, at a distance of 0.5 cm. 2 strips are enough.
- Wings. The wings are drawn on white paper. The cut out parts are glued over the stripes.
- Whiskers and muzzle. For the whiskers, cut out strips of black paper 0.5 cm wide and 3 cm long. Round off the top edge. Glue the strips from the inside, opposite the wings. Glue or draw the muzzle details with felt-tip pens.
Please note! A DIY paper bee will turn out better if you use a glue stick for gluing. It does not flow and does not cause deformation of the paper.
Making a bee from felt
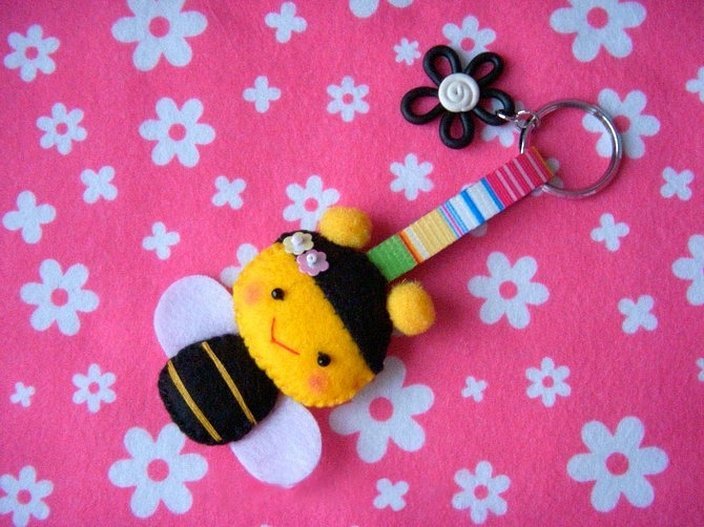
Felt is a universal material for creating soft toys. A felt bee turns out bright and neat. Such products are used to decorate Christmas trees, as a soft toy, a keychain or just for playing.
Please note! Depending on the selected pattern, the set of materials and the complexity of the product manufacturing differ. Simple options are suitable for beginner seamstresses or children.
Before making the bee, prepare:
- felt in yellow, black and white;
- black threads;
- pattern paper;
- fabric marker;
- beads or seed beads for eyes.
The bee is created in several steps. The step-by-step description is suitable for making a bee using any pattern.
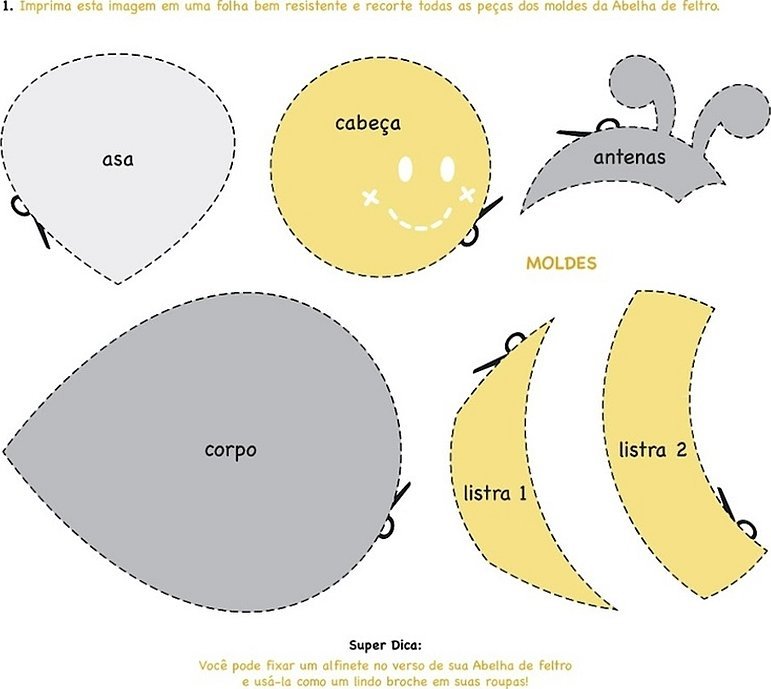
- Pattern. Choose a bee pattern. If the image size is insufficient, scale it. Print out and cut out the pattern.
- Details. The patterns are transferred to felt. The belly is black, the stripes are yellow. The head is yellow, the upper part of the head is black. The wings are white. The belly, head and wings are transferred in two copies.
- Head. Sew bead eyes onto the front part of the head, make a mouth with red thread. Sew a black head piece on top. Sew the finished front part to the back. When there is 1 centimeter left to the end, stuff the head with holofiber and sew it up.
- Abdomen. Yellow stripes are sewn onto the front part of the abdomen. The abdomen parts are sewn together. The head is sewn in the middle, two connected wings are inserted and sewn on the back. The product is stuffed and sewn to the end.
- Decorating. The DIY bee craft will be brighter and more interesting if you use glue rhinestones, sequins and other decorative elements.
For reference! Felt toys are soft, light and completely safe. They are easy to wash. They keep their shape and appearance for a long time.
Bee from a plastic container
The bee made from a plastic container from Kinder Surprise is durable. Such a toy is not afraid of either moisture or temperature changes.
To make a bee you will need:
- yellow plastic container (several if making a swarm);
- an awl, a thin screwdriver or a thick sewing needle for making holes;
- scissors;
- 6mm thick black satin ribbon for the legs;
- black beads;
- black stained glass paint or thin electrical tape for stripes;
- transparent plastic bottle;
- black marker;
- small self-adhesive eyes for toys;
- glue gun.
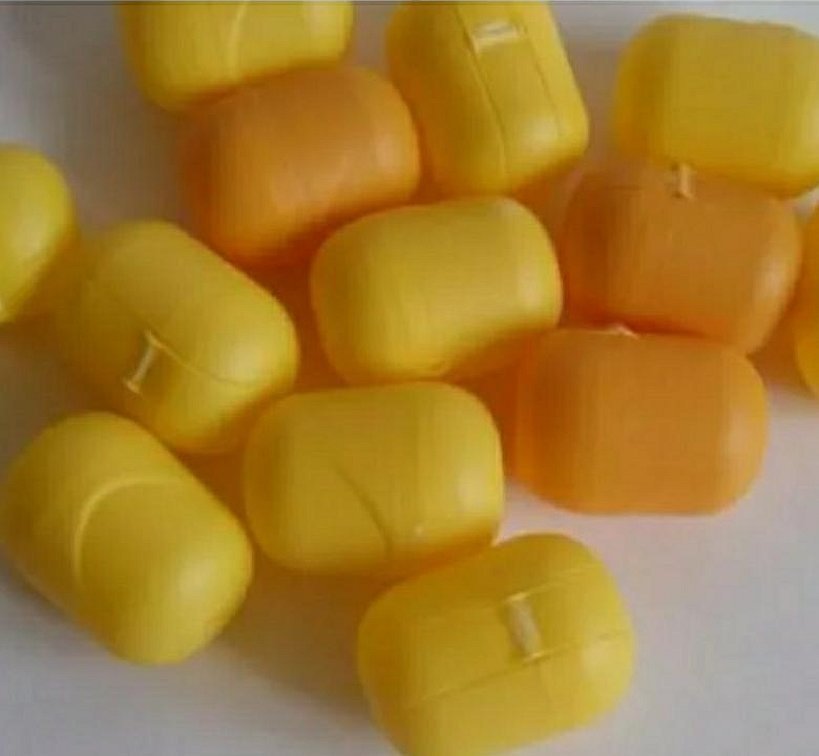
Important! For the bee, only yellow containers are selected. If the toy is supposed to be used outside or in the garden, the stripes are made of indelible materials (acrylic paints, marker, electrical tape).
Once all the materials are prepared, they begin to create the bee.
- Making a loop. Make a hole in the center of the plastic container. Insert a black, yellow or other color satin ribbon into it so that the ends are inside. Tie the ends of the ribbon into a knot. This creates a loop that will hold the bee.
- Making the legs. You will need two pieces of black satin ribbon 10 centimeters long. Make 4 holes in the bottom of the container. Pull each piece of ribbon through 2 holes. String a black bead onto the ends and tie a knot. You have the legs.
- Making stripes. Using a black permanent marker or electrical tape, draw black stripes on the container. Three stripes of 0.5 cm thickness at the same distance are enough.
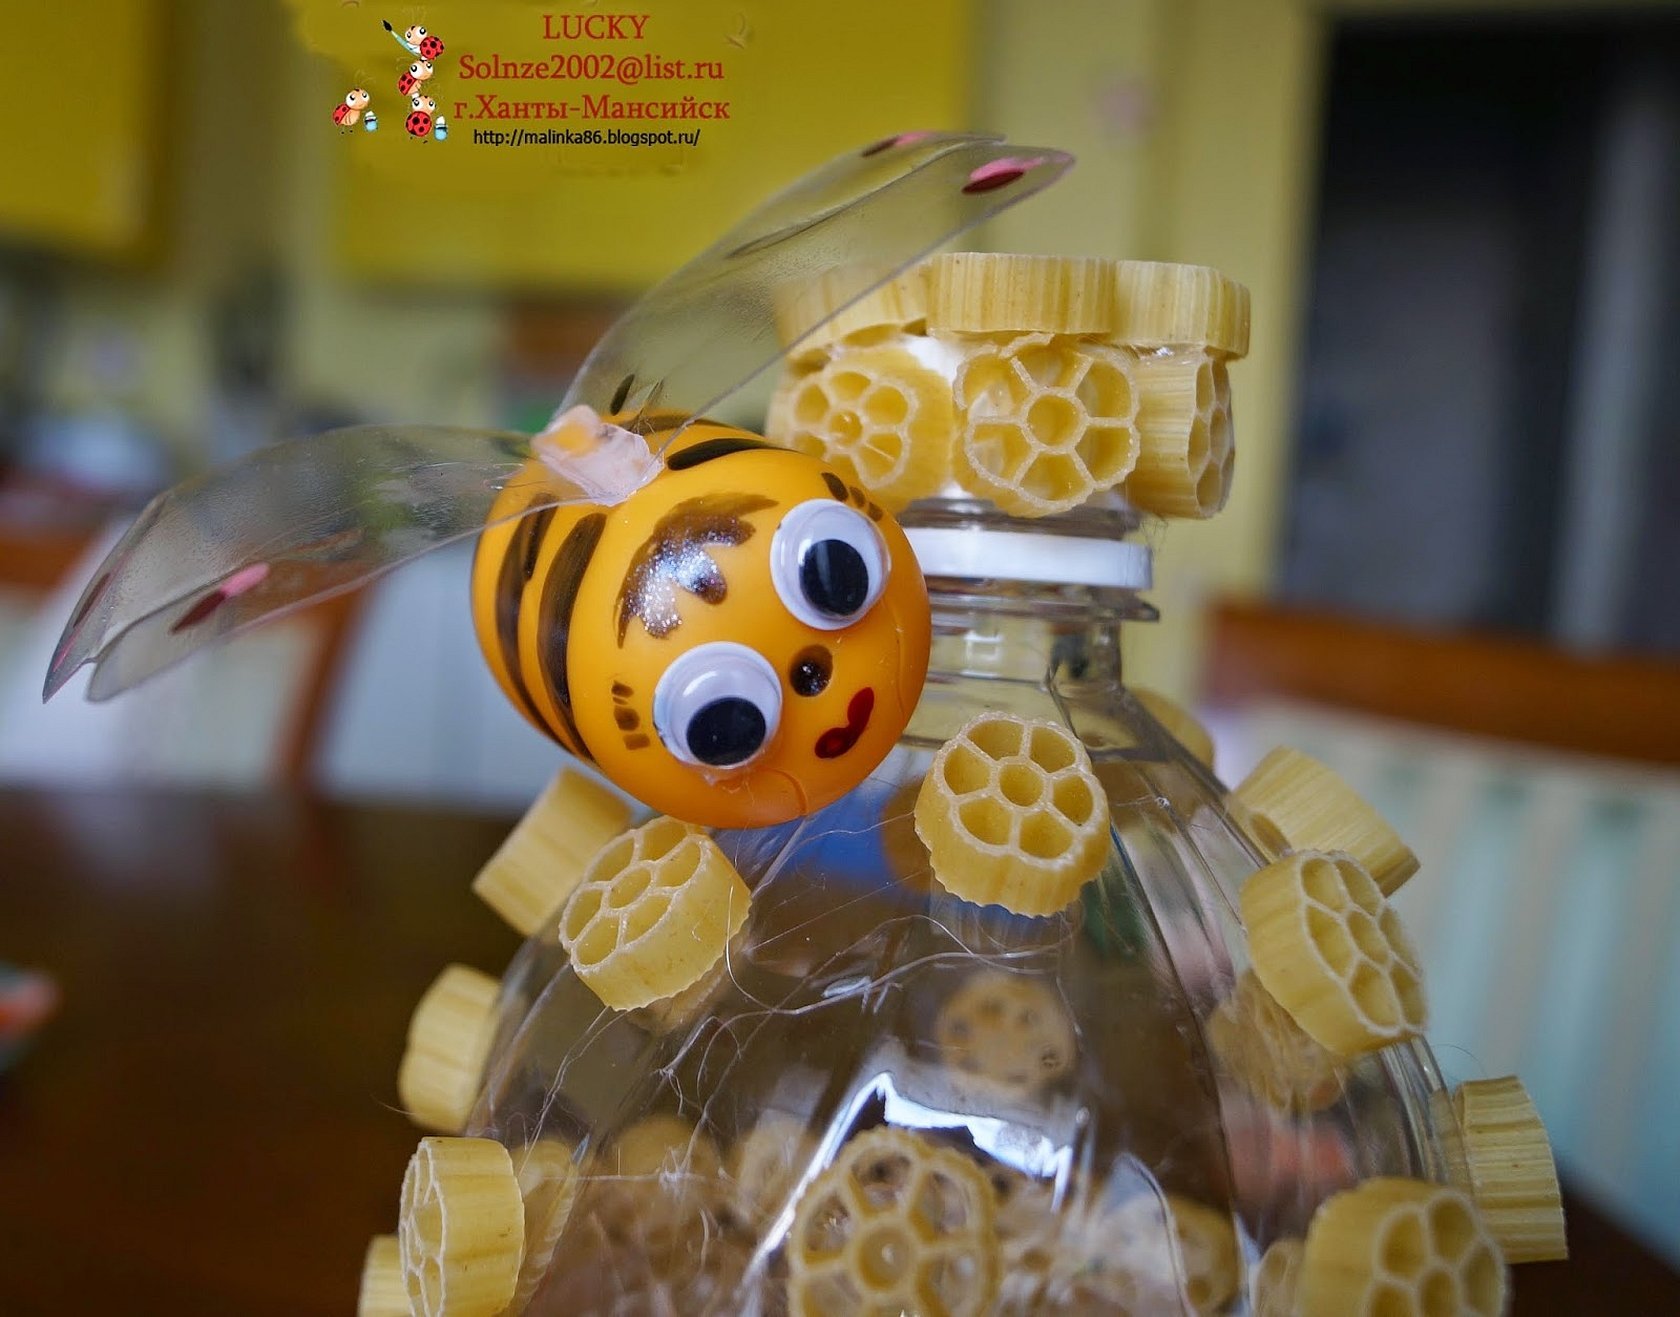
- Making wings. Draw 2 wings connected in the center on a transparent bottle. For greater effect, outline the wings with a marker, and apply veins in the center. Glue the wings with a hot glue gun.
- Making the face. Glue the eyes on with a hot glue gun, draw the nose and mouth with a permanent marker or acrylic paints.
A hand-made bee craft will perfectly decorate trees in the country or on a playground.
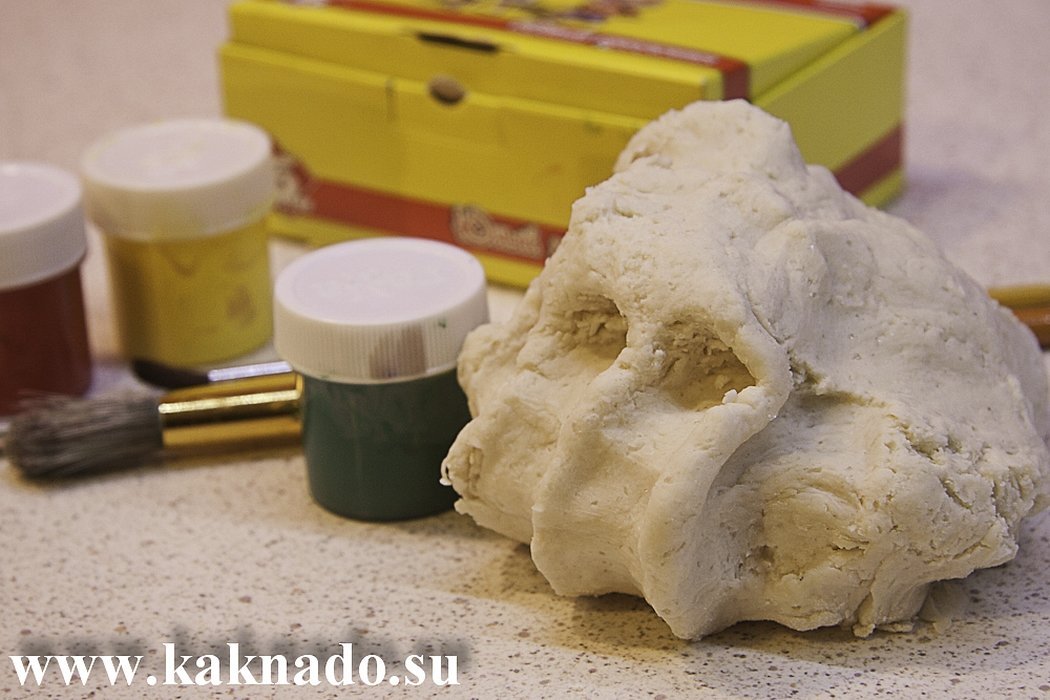
Salt dough for making a bee
Salt dough is used for working with children of different ages. It allows you to create various compositions and three-dimensional panels.
Work with the test is carried out in 3 stages:
- dough preparation;
- baking;
- painting.
To prepare the dough you will need:
- 1 glass of salt;
- 1 cup flour;
- 1 tablespoon starch;
- water.
It is recommended to use fine salt for the dough. The ingredients are mixed until smooth. Water is added to the dry mixture in small portions. The dough is kneaded so that it is dense and elastic. The consistency is similar to soft plasticine.
To make a bee you will need:
- salt dough;
- eyes;
- chenille or regular wire;
- transparent plastic bottle;
- heat gun;
- toothpick;
- yellow and black paint.
The bee is sculpted in several steps.
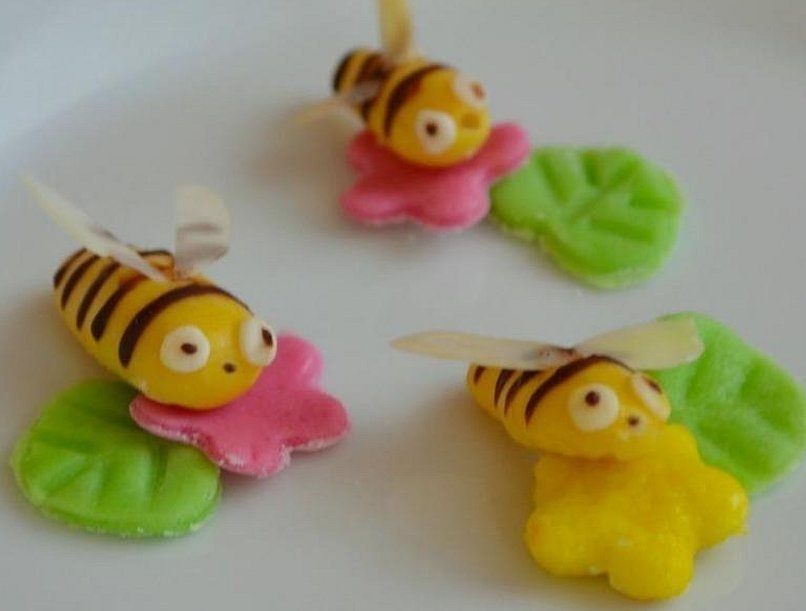
- Body and head. To make the body with the head, separate a small piece of dough. Give it an oval shape. To highlight the head, press a strip on the body. Use a stack or a toothpick for this.
- Wings, antennae, legs. Cut two teardrop-shaped wings from a plastic bottle. Insert the wings into the soft dough in the places where they will be attached, then remove them. Antennae and legs are made from regular or chenille wire. Use a toothpick to mark holes in the places where they will be attached. If you don’t have a plastic bottle, you can mold the wings from dough and immediately attach them to the right place.
- Baking. The finished bee is baked in the oven at a low temperature.
- Painting. When the bee is completely dry, start painting. The head is made black. On the body, stripes of black and yellow are outlined.
- Assembly. After painting, insert the wings, antennae, legs and eyes. They are glued with a hot glue gun.
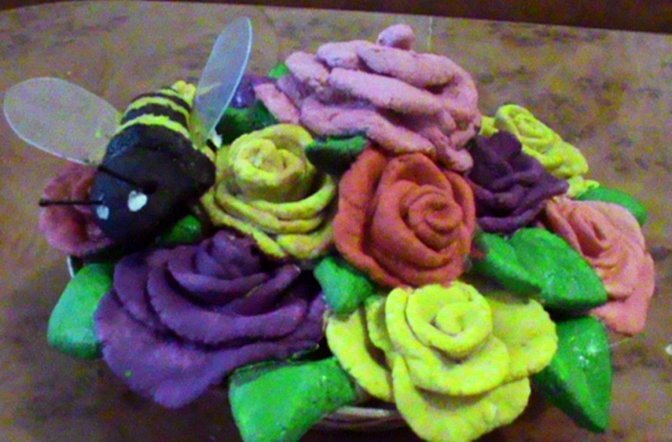
A bee made with your own hands will look great on a bouquet of roses made from salt dough or on a panel.
Important! The main condition for baking is a temperature of no more than 60-80 degrees. High heat causes the dough to crack. Baking time depends on the size and thickness of the product.
Bee embroidery
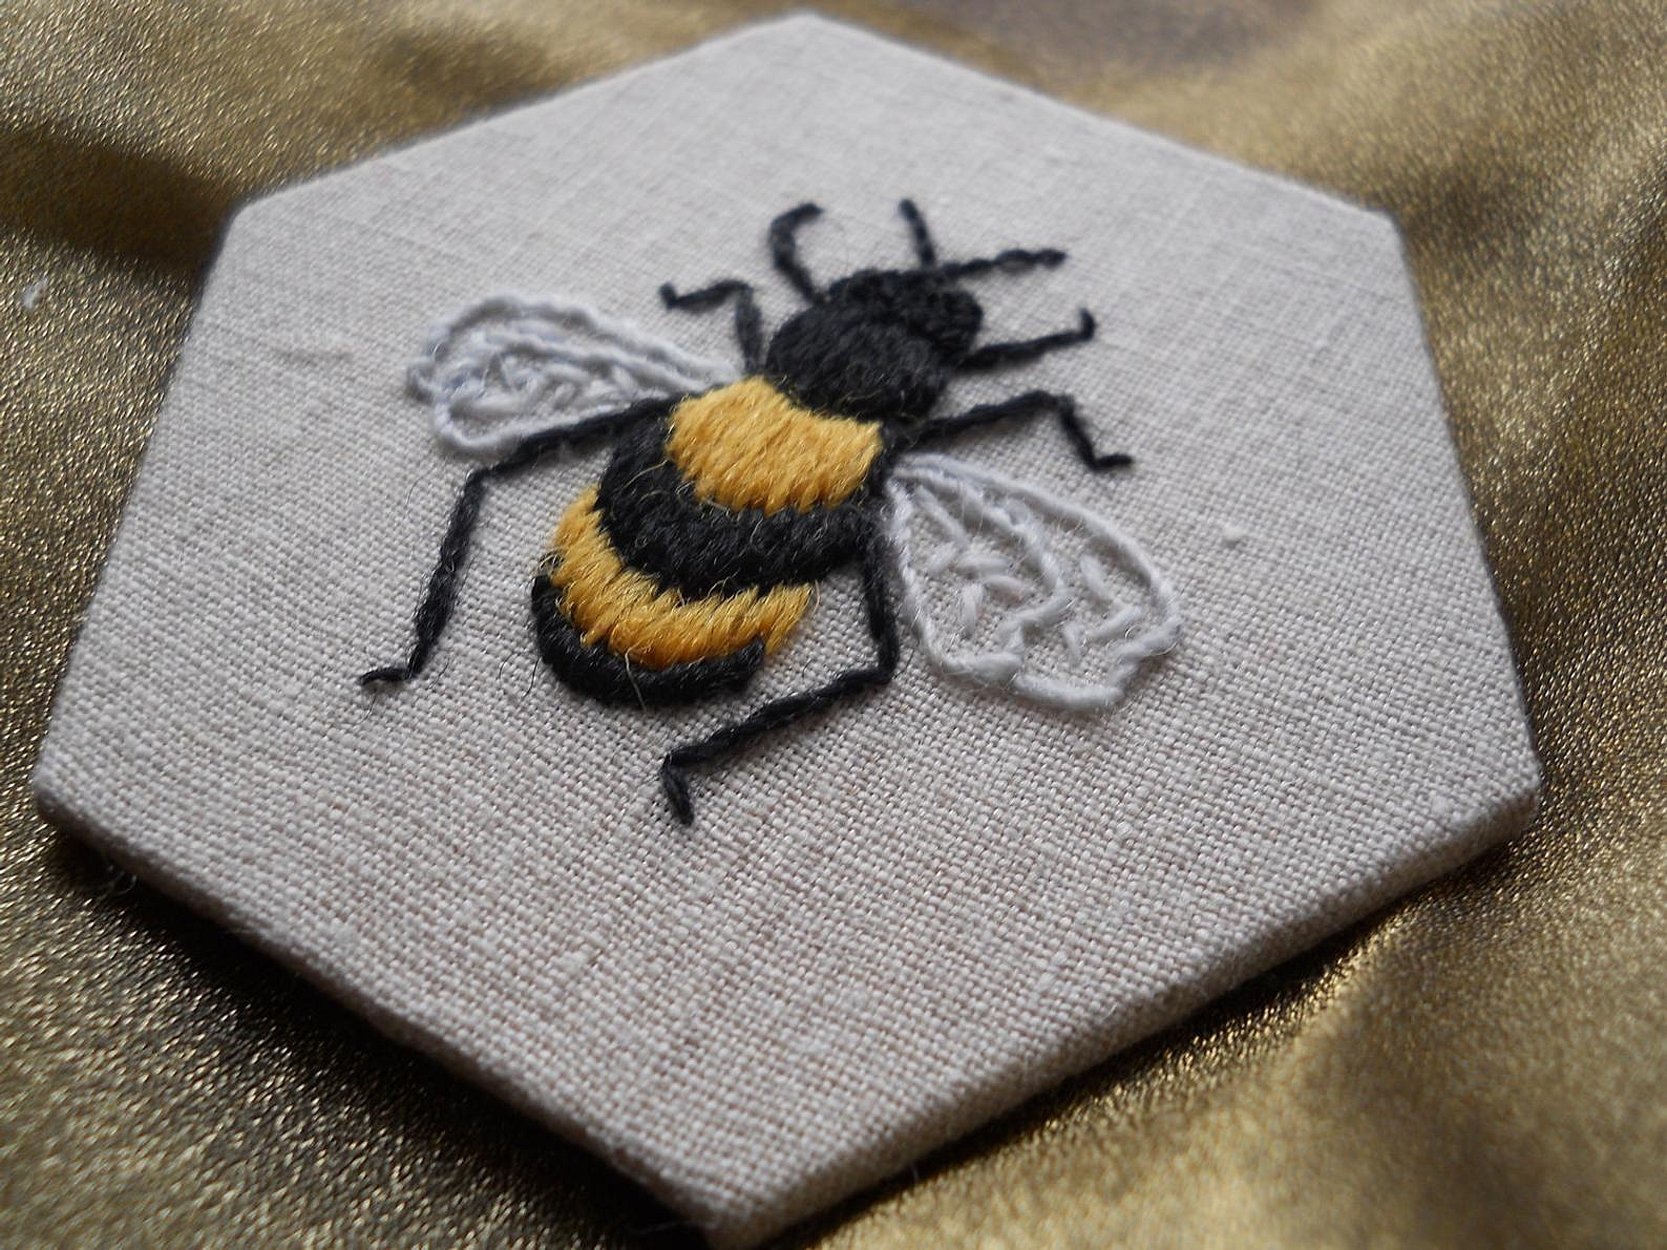
Bees can be made not only from paper, felt, plastic containers, molded from plasticine or modeling clay. They often appear in various embroideries.
There are several embroidery technologies:
- satin stitch;
- cross;
- ribbons.
Bees embroidered with ribbons are more often found in three-dimensional paintings. For decoration, satin stitch or cross stitch embroidery is usually used. Bee patterns are distinguished by their diversity and complexity. They are suitable for both beginners and experienced embroiderers.
For reference! The most popular themes for embroidery are cartoon bees: Maya, children in bee costumes, as well as natural images of insects. Such embroideries are suitable for decorating rooms, decorating clothes.
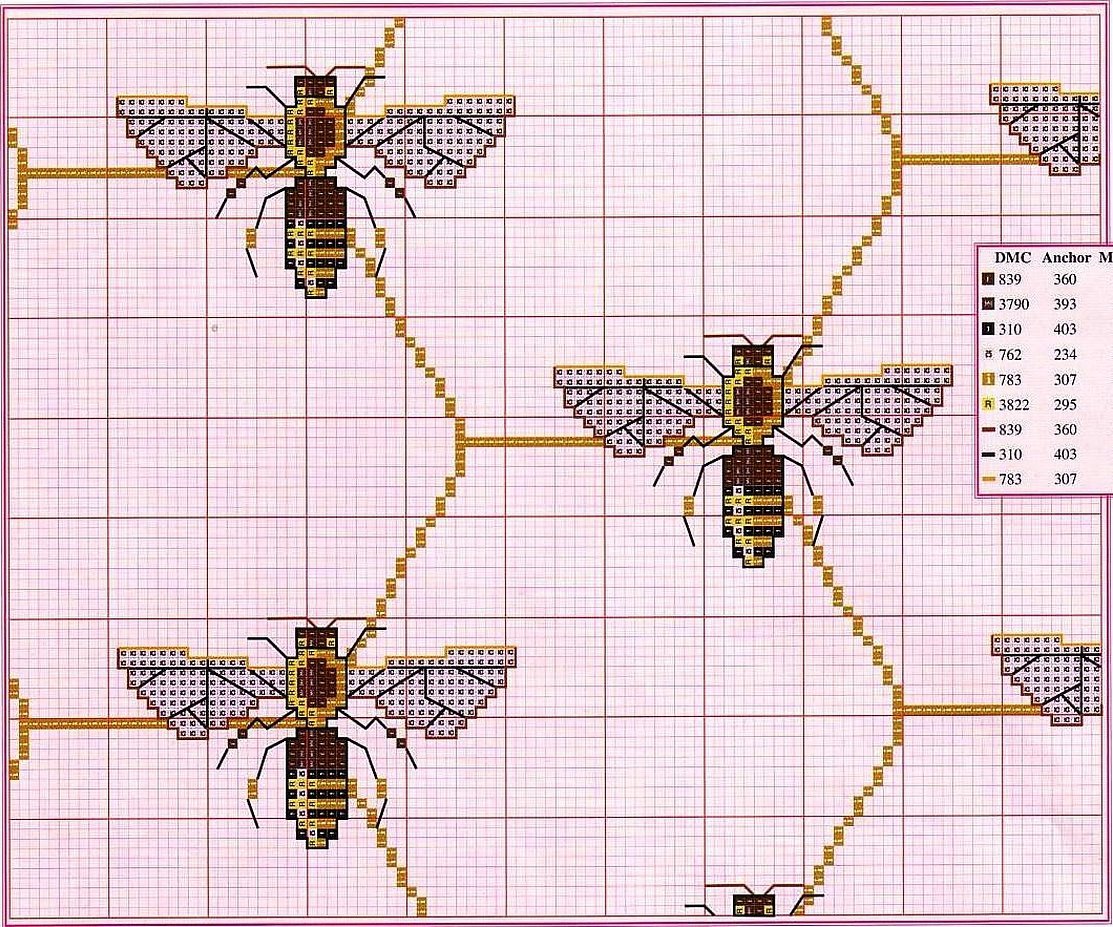
To embroider a bee you will need:
- scheme;
- threads according to the pattern;
- canvas (selected based on the craftswoman and the size of the image);
- hoop, scissors, needle.
The variety of materials: paper, cardboard, felt, plastic, embroidery threads, open up a wide scope for children's and adults' creativity. Bees made in different techniques are not similar to each other and have unique features of their creators. Such creative activities are always interesting for small children. They develop imagination and fine motor skills.


