A cube is a three-dimensional figure, all sides of which are squares. You can make such a thing from any material, including paper. There are many techniques for creating cubes. One of these methods is origami. Such handicrafts involve a certain technique of folding sheets of paper, resulting in a variety of figures. An origami cube can be used in games and teaching children, and it is quite easy to make.
Features of origami toys
Origami is a fairly popular technique for making various paper crafts. This method allows you to create many beautiful products - from the simplest to quite complex. The peculiarity of the technique is that the figures are folded according to special patterns. For lightweight products, you don't even need glue.
For reference! China is considered the birthplace of the technique. Literally, the word "Origami" is translated as "folded paper". Initially, the toys were simple, they were made by monks to decorate temples.
Gradually, the technique developed and became more complex. Origami became most widespread in Japan. In this country, such handicrafts are very popular and are constantly developing.
There are two types of technology: simple and modular.
- In the first case, the paper is simply folded along certain lines to form a figure.
- In the second version, the product is assembled from small modules, it turns out brighter and more voluminous.
Wet folding is also used to diversify styles. For this, special paper is used that perfectly absorbs PVA glue. The result is three-dimensional and quite graphic figures with a large number of sharp corners.
There is also a technique called kasida. It involves using several sheets of paper at once. The necessary blanks are assembled from them, which are later connected to each other. The result is original products that can be used for games and decoration.
General rules for working with paper
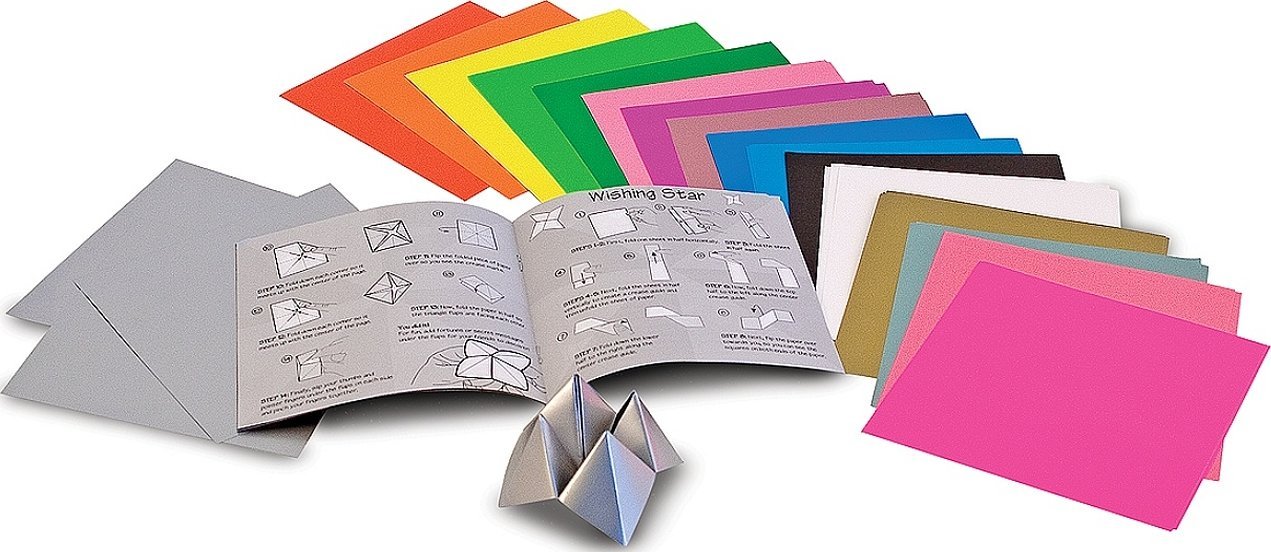
To create a truly high-quality product, you need to select the right material.
Thin sheets roll up well, but toys made from them are short-lived and quickly lose their decent appearance. Thick sheets are more difficult to bend, but the products retain their appearance longer.
Attention! The average paper density should be maintained at 100 g per 1 square meter.
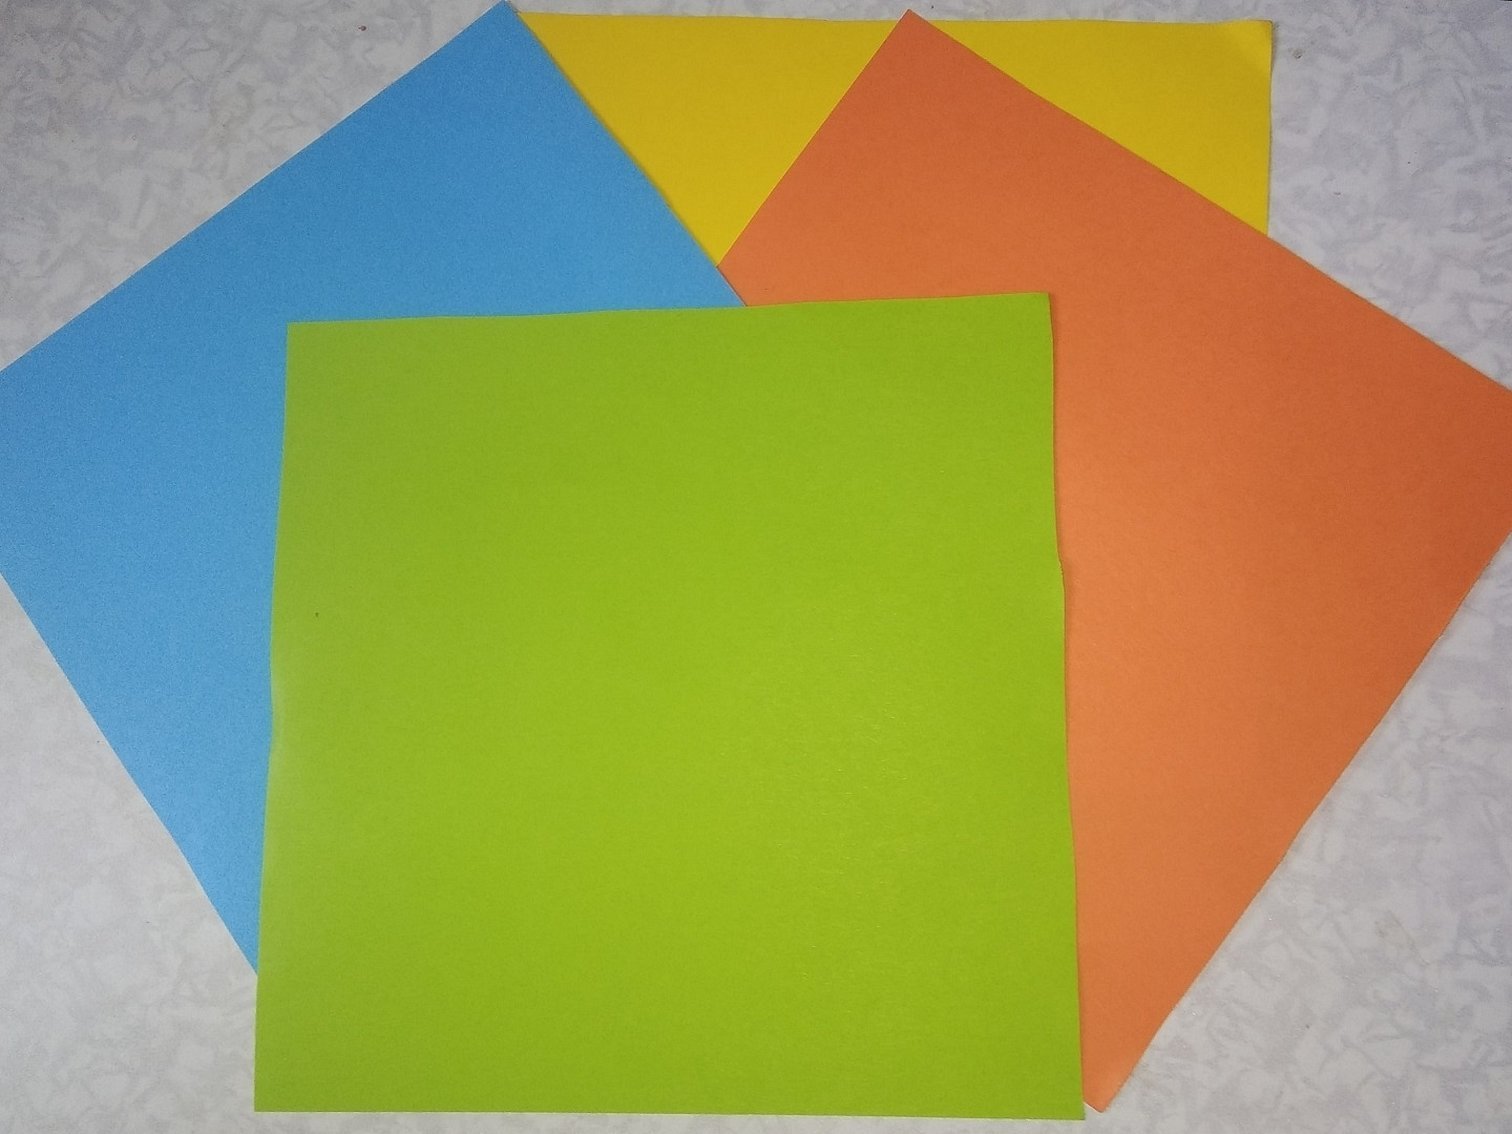
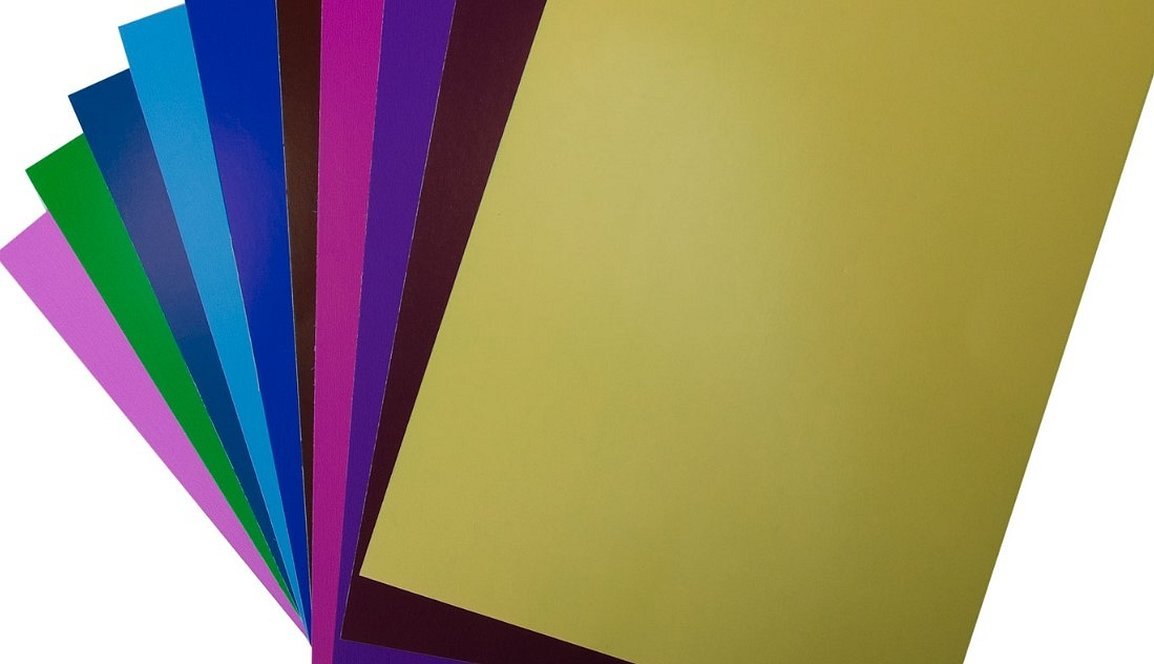
You can buy special paper for origami, but at home you can use any possible options.
- There are several sizes of squares for making toys: 10, 15 and 20 cm (side length).
- For experienced craftsmen, there are very small squares with a side of 2.5 cm.
You can also use foil sheet to create toys. This material is hard, comes in a variety of colors, and is great for small toys.
To create things, not only square sheets are used, but also paper of other shapes. It depends on what is planned to be done.
The most important thing is to learn how to fold paper correctly. This action must be brought to automatism. There are several simple rules that should be followed:
- It is best to fold the sheet on a flat and smooth surface. At the same time, it should have enough space to place the paper and have some extra space left.
- All folds should be made away from you, while holding the paper by the near edge (the process occurs from the bottom up). This makes the folding process easier and allows you to control the direction of the folds, which you should try to make straighter and sharper. In this case, the figure will turn out beautiful and neat.
- It is best to use your thumbnail to run along the folds to ensure they are clean.
- If you are not sure that the assembly is correct, it is worth studying the diagram again.
- When one of the folds opens, it is recommended to repeat the action again.
Attention! When creating products, you don’t need to strain yourself too much; the activity should be enjoyable.
It is important to fold the paper exactly along the marked lines. Any distortion of just half a millimeter can lead to a distortion of the figure, and in some cases even prevent it from being assembled correctly.
How to make an origami paper cube: diagram with step-by-step description
There are several ways to make a paper cube. The process does not take much time, but requires careful adherence to the instructions.
Origami dice from Sonobe modules
An origami cube can be assembled from several Sonobe modules. This module is a parallelogram that has small pockets for connecting with similar parts.
It is named after Mitsunobu Sonobe. He developed a special system based on a module. Using this method, you can assemble various three-dimensional figures.
To create a cube from Sonobe modules, you will need the following materials:
- sheet of paper,
- ruler,
- scissors,
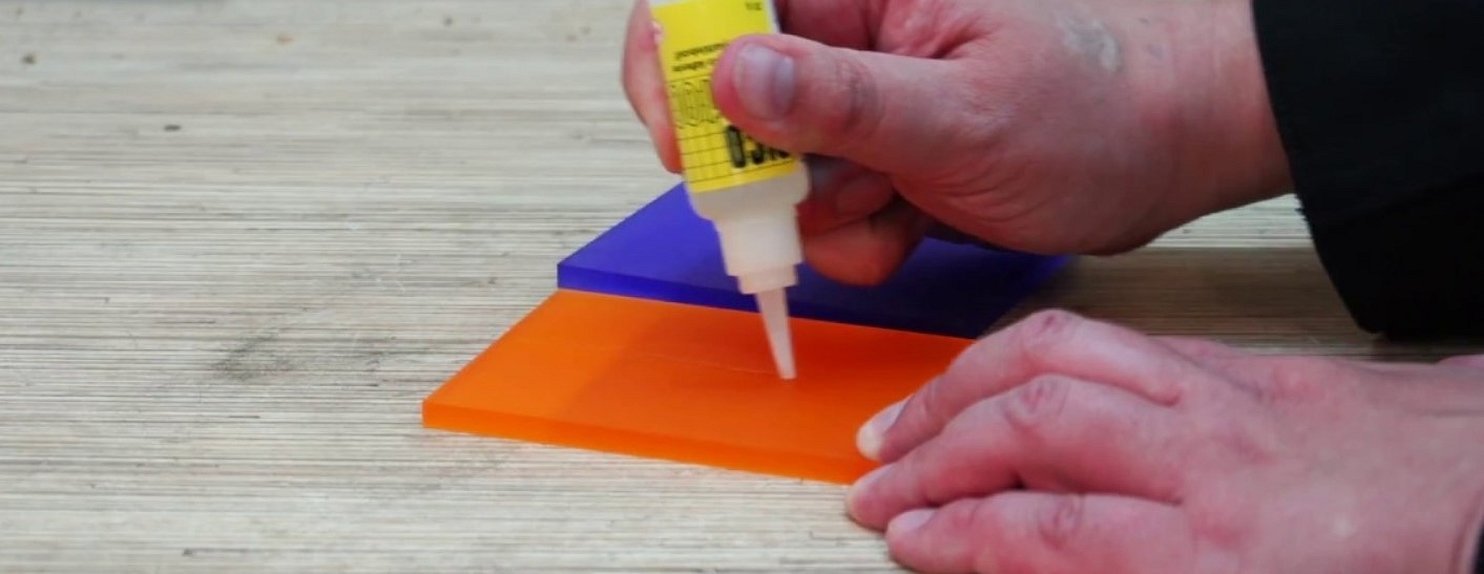
- glue "second" if necessary.
The cube production should start with the creation of modules. After the required number of modules is collected, it will be possible to assemble a large figure.
The manufacturing process is carried out step by step according to the instructions:
- The sheet of paper needs to be drawn in such a way that you get squares with a side of 4 cm. After this, the paper is cut along the marked lines.
- For one cube you need to make six identical modules.
- Take one square and fold it in half.
Then proceed as follows:
- Then the sides that are parallel to the fold must be folded inward.
- The lower left corner needs to be folded so that the left edge matches the upper one. Repeat the same with the opposite corner.
- After this, you need to turn the workpiece over to the face.
- The small corners that are located opposite each other need to be tucked inward.
- You also need to tuck the large corners inward. The result will be a parallelogram (or rhombus).
- It needs to be turned over and the sharp corners folded towards each other. The result should be a square.
- In a similar way, it is necessary to make five more similar blanks - these will be modules for the future cube.

When all the parts are ready, you can begin assembly. You need to insert the corner of another module into the pocket of one module.
Gradually, all modules are connected in a similar manner. It is necessary to ensure that during the assembly process a figure similar to a cube is obtained.
Attention! If the cube does not rotate, then an error was made during the assembly process. It is recommended to disassemble the figure and try to connect the modules again.
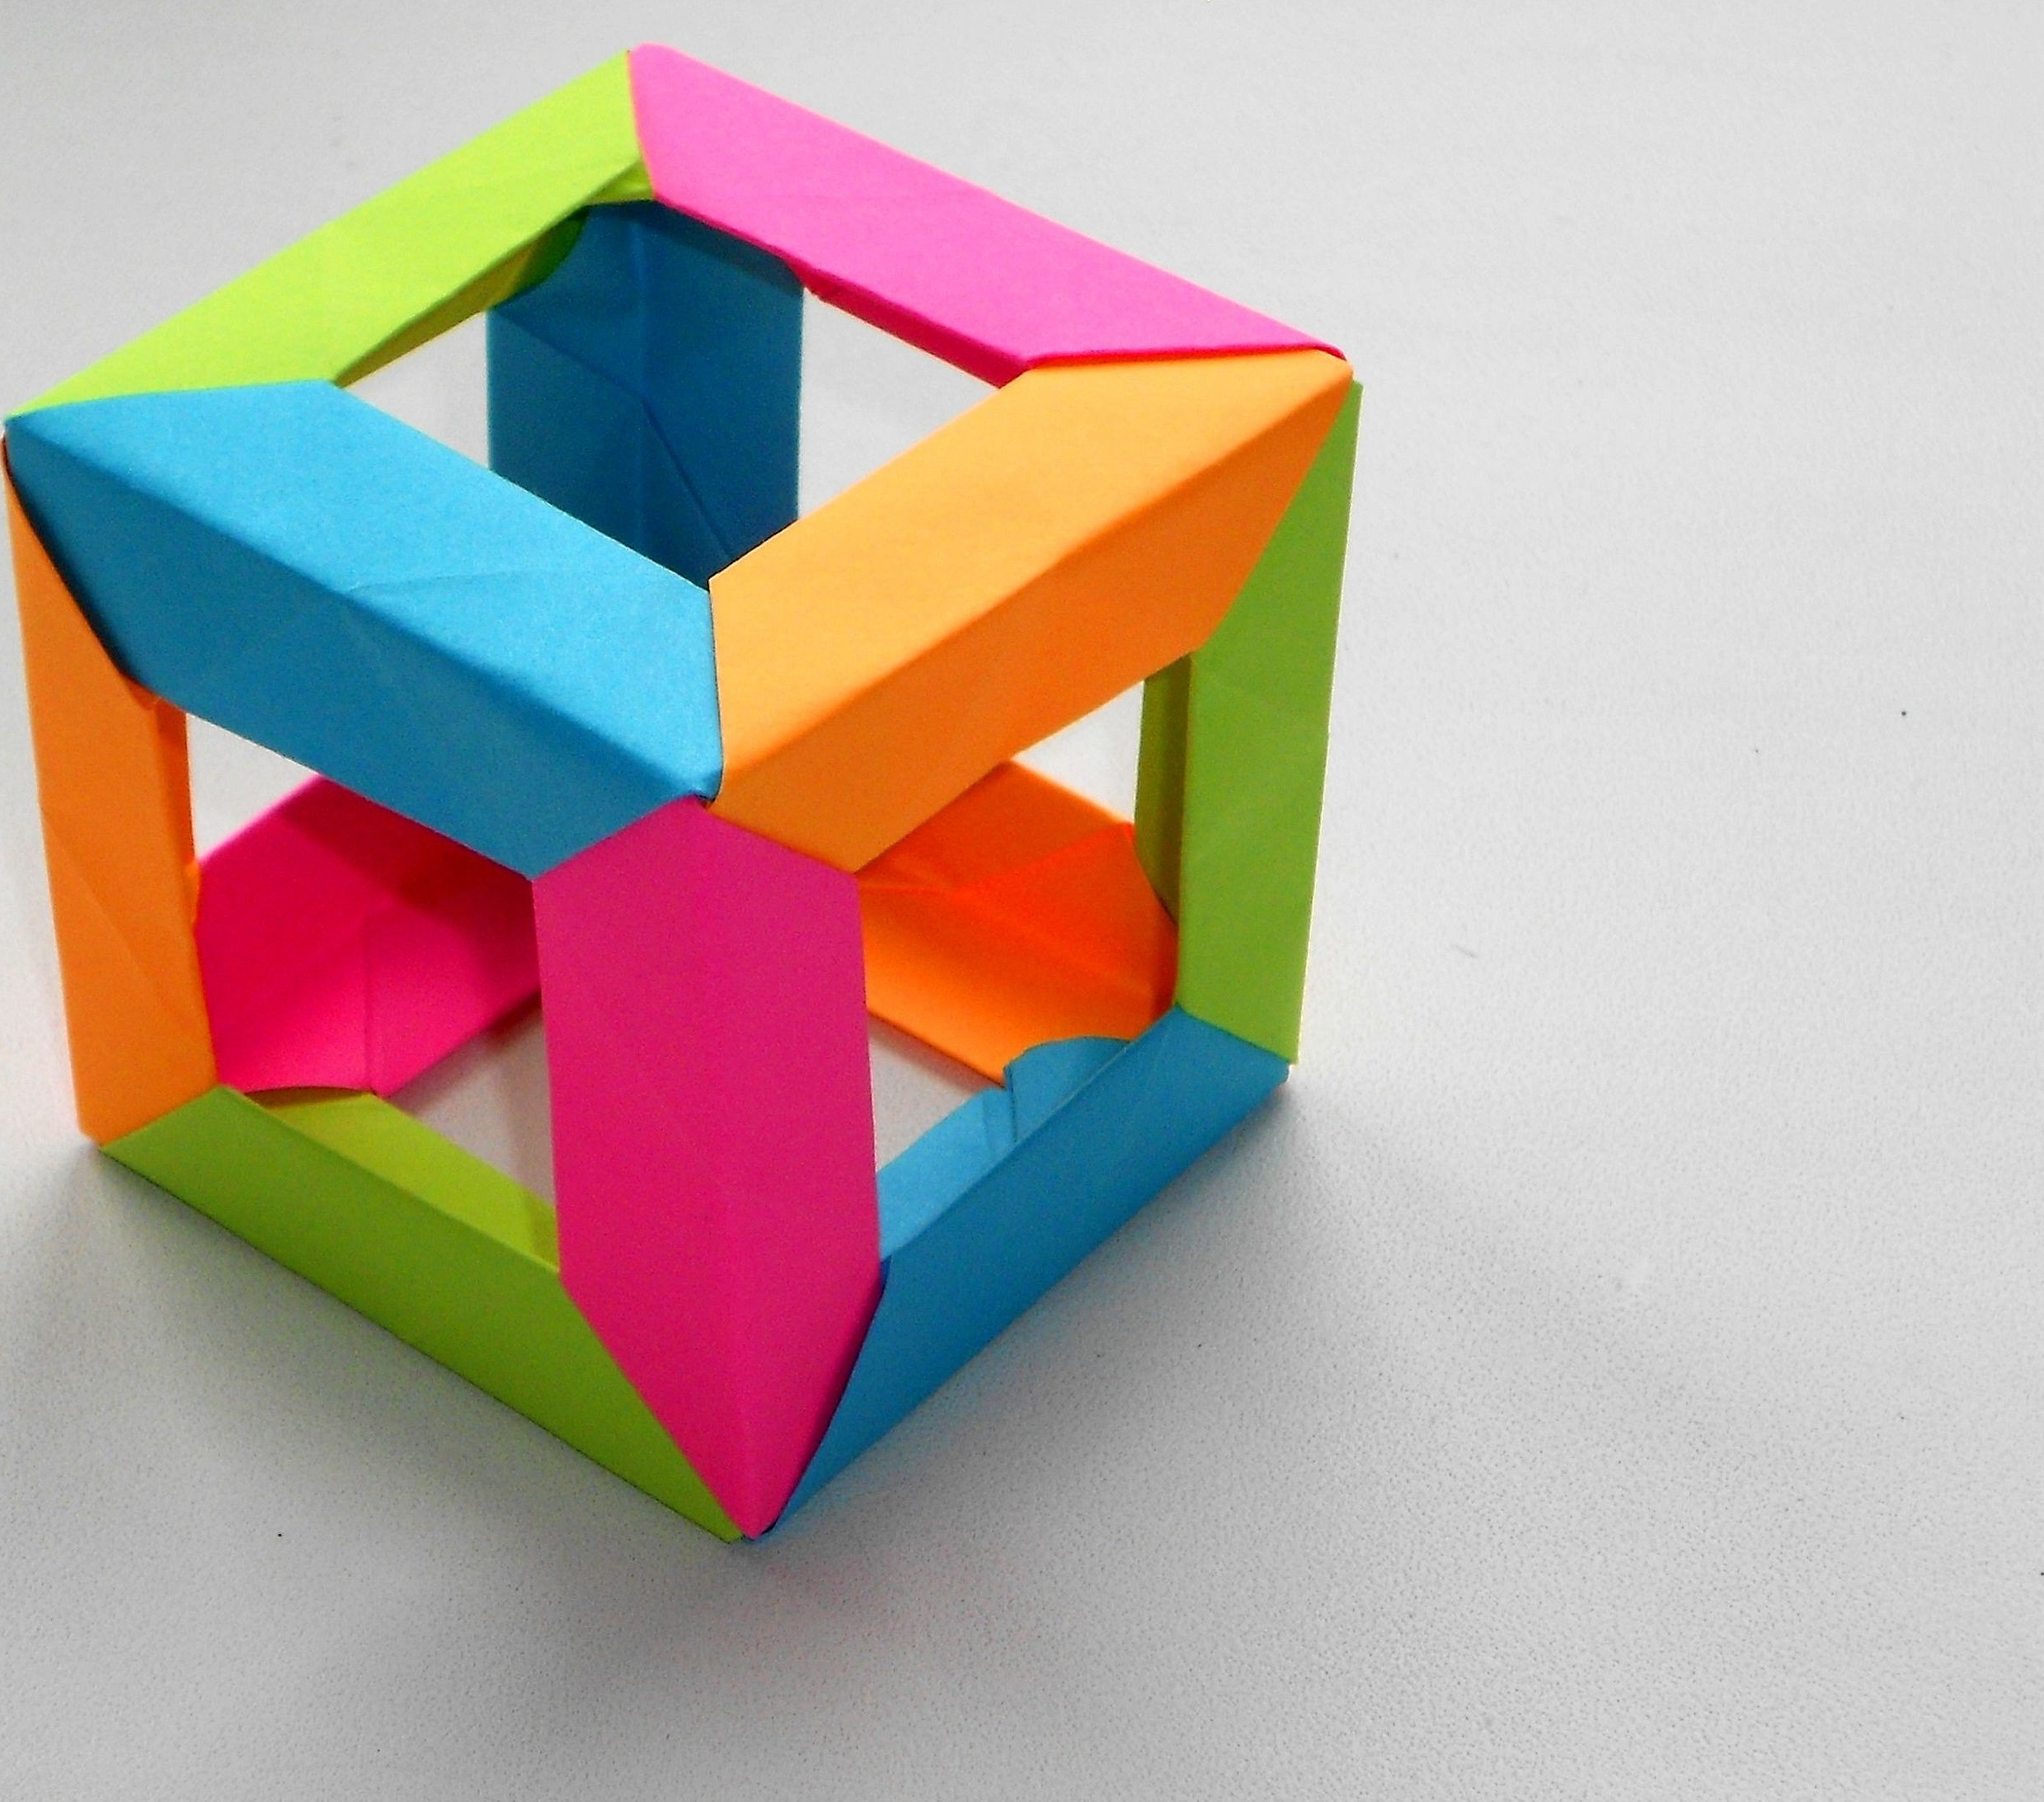
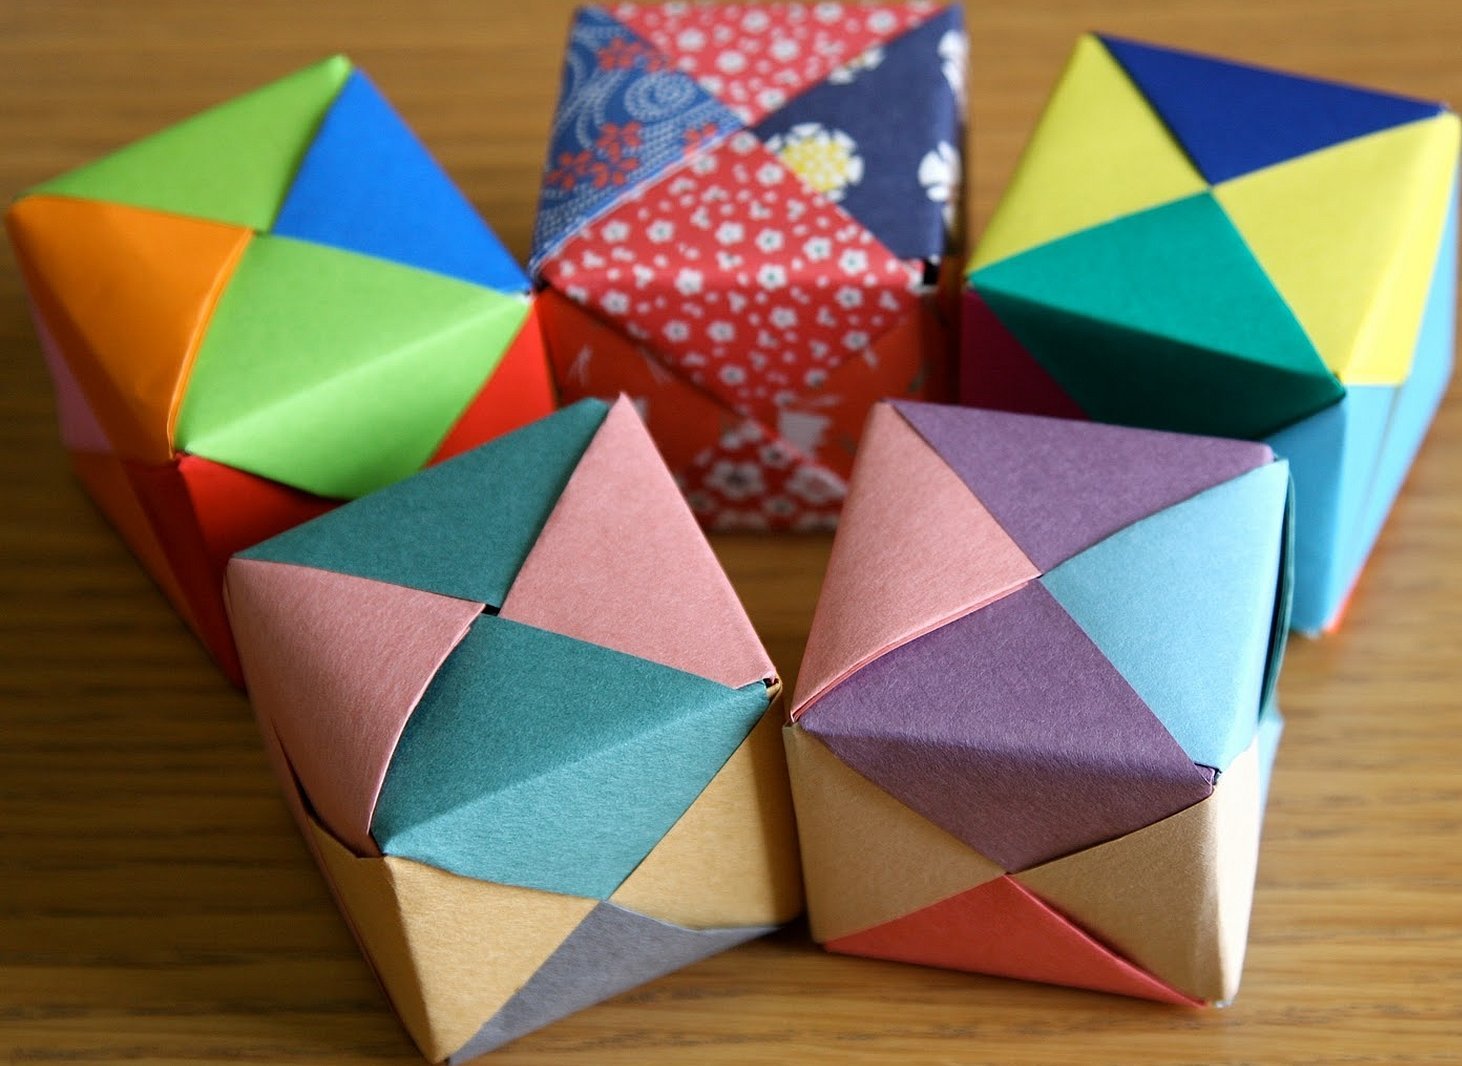
If assembled correctly, you should get a transformer in which you can replace the modules. If desired, you can assemble similar toys from larger sheets. If you take colored paper, the cube will be colorful and beautiful. If necessary, you can use glue to fasten the parts more tightly, and the figure will not fall apart.
By connecting modules, you can make a variety of products, not just cubes. The folding process is quite simple, perfect for working with children.
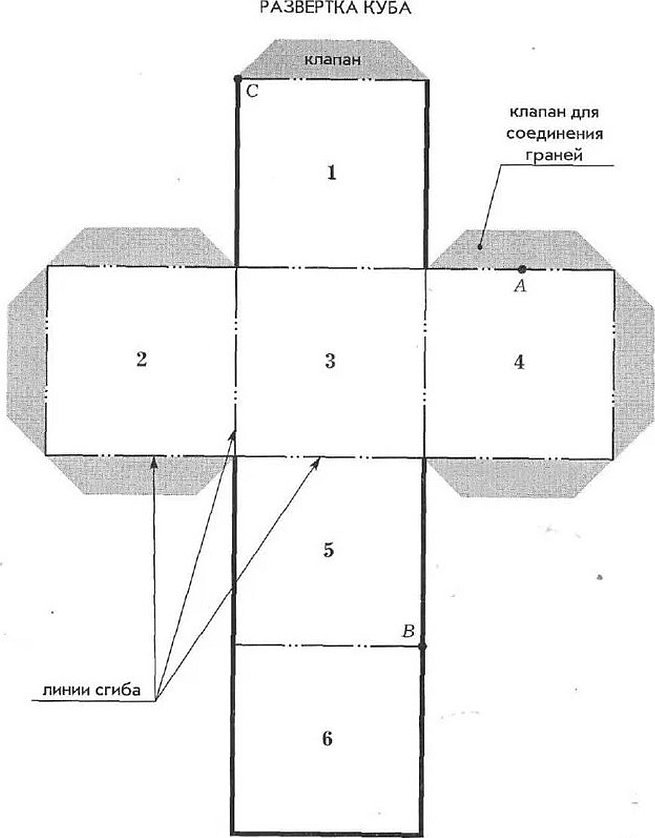
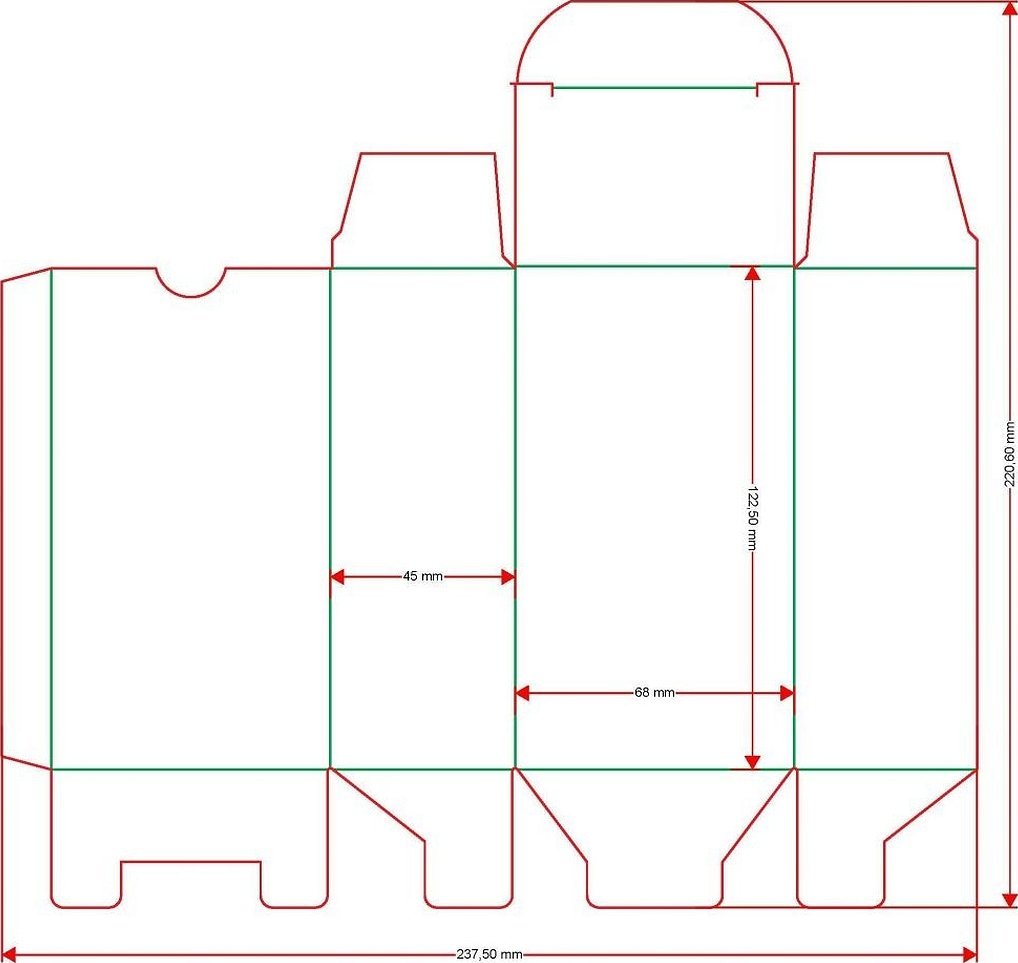
Easy to make using a ready-made template
It is quite easy to make cubes using a ready-made template. You don’t need any knowledge for this, just download a ready-made template from the Internet. After that, the blank needs to be cut out and carefully glued together. The result will be a cube that can be used in a game with children.
However, in origami technique there are also simple ways to assemble a cube. In this case, no glue is required, and scissors will be needed only once.
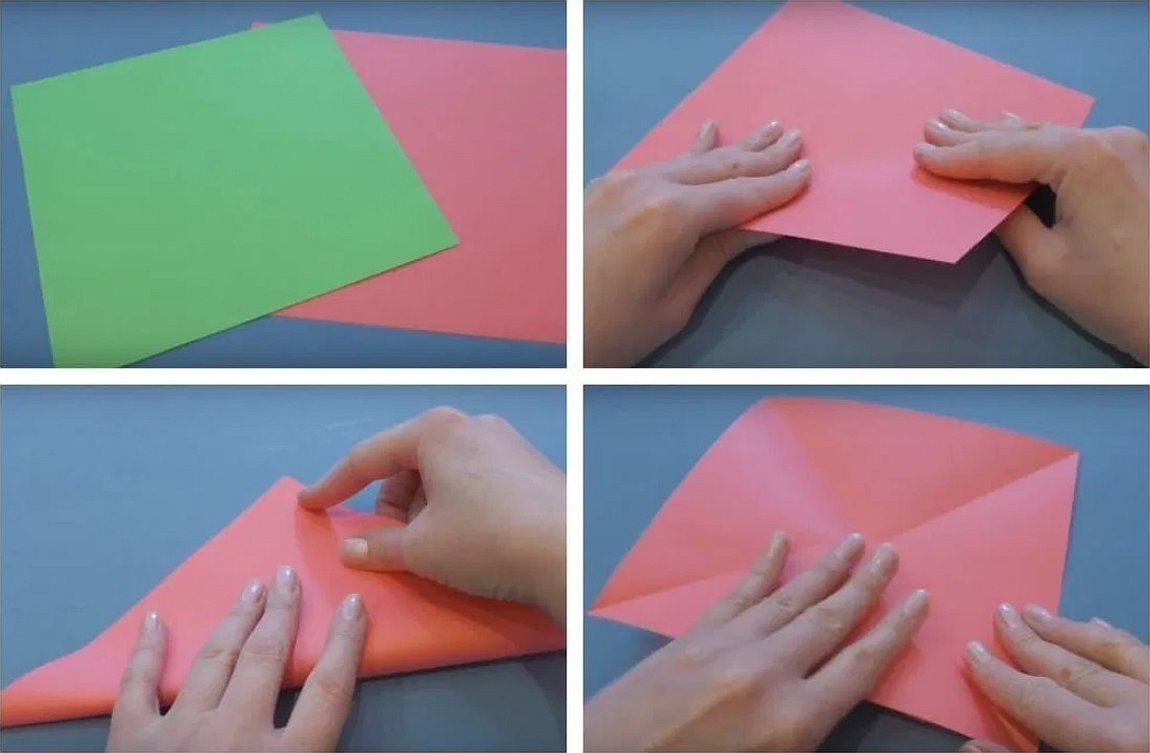
You need to take an album sheet. Fold it diagonally, the remaining piece of paper needs to be cut off with scissors. As a result, after unfolding the sheet, you will get a square.
The step-by-step manufacturing process is as follows:
- Next, you need to fold the square diagonally from opposite corners and unfold it.
- Fold the square in half, unfold. The result will be markings on the sheet.
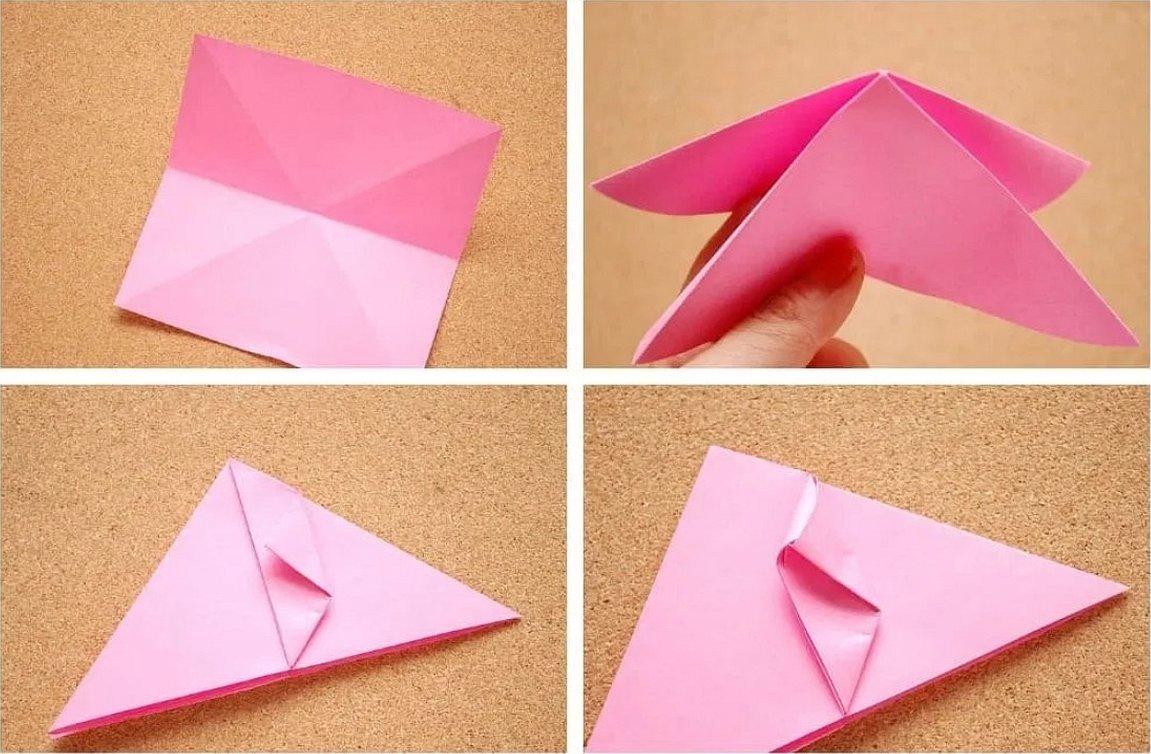
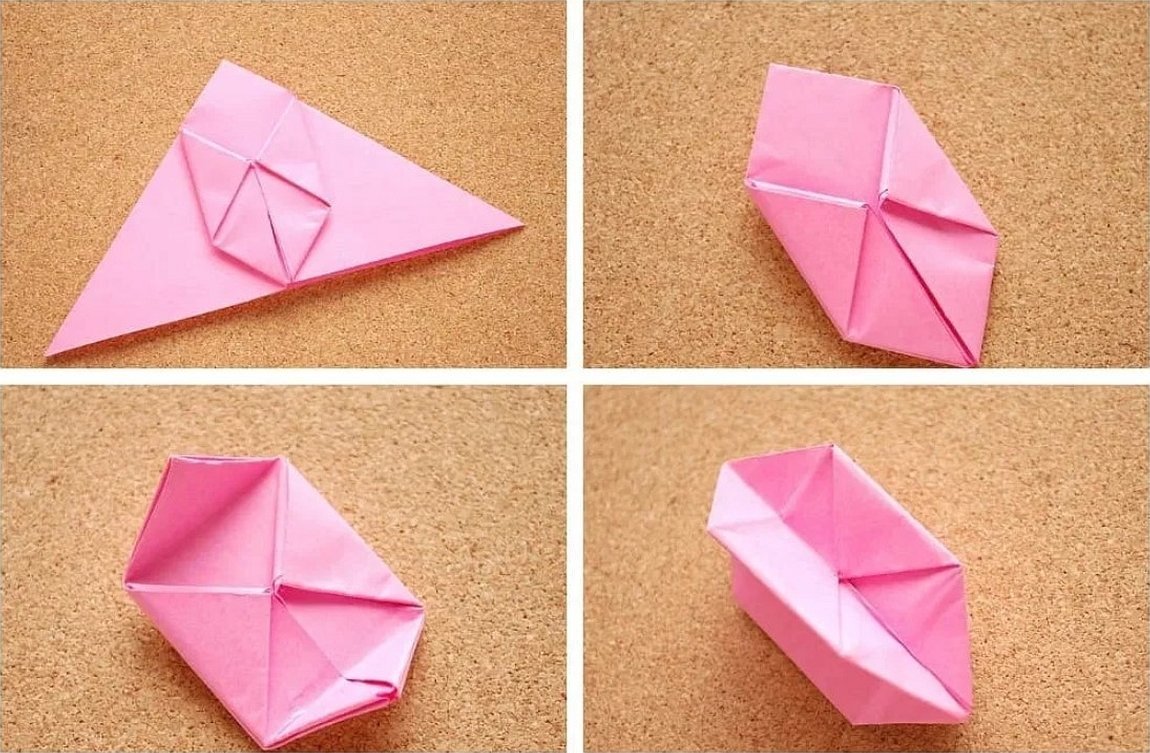
- Using this marking, you need to fold the square to form a triangle (the sides need to be tucked inward).
- The outer corners of the double triangle need to be lifted up so that they meet in the center. This needs to be repeated on the other side.
- The resulting rhombus needs to have its opposite corners bent towards the central line.
Continuation of work:
- In one part of the figure there will be two free ends, they should be put into the pockets that were formed during the last fold.
- Repeat on both sides.
- The triangles at the top and bottom also need to be folded to create fold lines.
- There will be a small hole in the top of the figure, through which you need to carefully inflate the cube and straighten all its edges. This is the most important part of the assembly.
If you do everything right, you will get a simple cube that can be used in games. Unfortunately, this product will not be very durable. But it is very easy to make with your own hands, and you only need paper. Therefore, you can make quite a lot of such cubes, without fear of spoiling them and replacing them with new ones.
Cubes play a significant role in children's development. You can make several products at home from paper using the origami method. First of all, you should choose a pattern and prepare all the materials. The process itself does not take much time and does not require special skills. With the help of adults, children can make a Rubik's cube, products for board games and even for funny predictions that can be written on the edges. You can use colored paper for things to make them brighter and more interesting. But the main thing is that you can make any number of cubes from paper, and they will cost practically nothing.


