Translated from Japanese, origami means folded paper. Indeed, using this technique, you can fold interesting figures. These can be animals, flowers, abstract elements, interior decor items. To create beautiful crafts, you do not need to have special creative skills. Even a beginner can cope with the task.
Features of origami crafts
Origami is one of the ancient types of decorative and applied art. Almost anyone can master this type of creativity, since the master only needs paper of the right size for work.
Scissors and glue are not needed in the origami technique, since paper cutting is not used in this case. To assemble complex figures, craftsmen use special symbols. They help to fold the product step by step without errors.
Today there are the following types of origami techniques:
- Modular type. It is based on assembling a figure from several modules, i.e. component parts. In this case, the crafts are made in two stages: first, the master creates modules (from separate sheets of paper), and then connects them together, obtaining the desired figure from them. The entire structure is held together by friction. Modular origami is used to make three-dimensional geometric figures, as well as flowers and animals.
- Simple type. This is a type of decorative and applied art used mainly by beginner craftsmen. Simple technique helps to create simple figures.
- Wet folding method. A technique that first appeared in Japan. During the process, craftsmen pre-wet the paper so that the parts stick together well, and the end result is a product with clear shapes and edges. The wet technique allows you to make figures more natural and organic. With its help, you can make animals, flowers, geometric items, toys for children.
Important! To ensure that the finished crafts are high-quality and durable, the craftsmen use the appropriate paper for each of them.
Simple elements can be made from regular sheets with a density of 70-90 g/m2For more complex crafts created using the wet technique, paper with a density of more than 100 g/m2 is usually used.2.
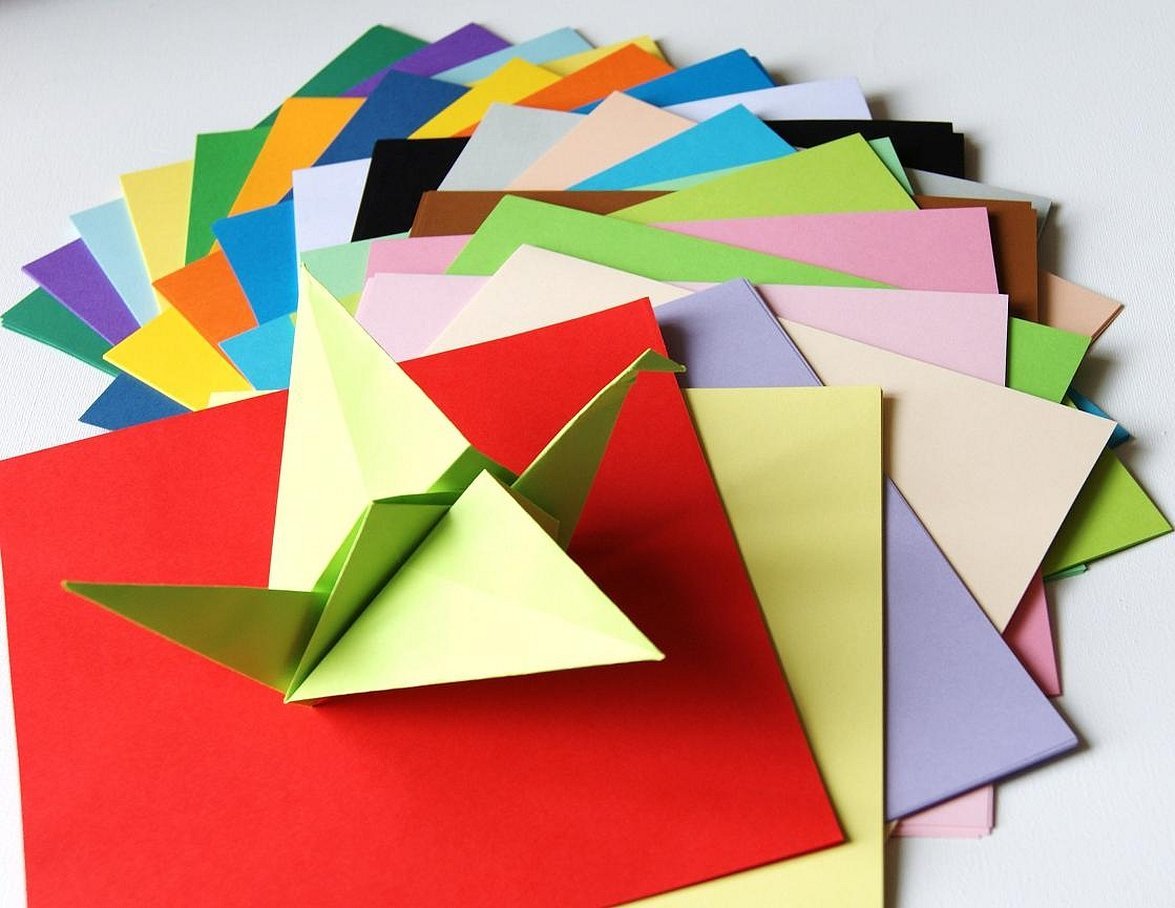
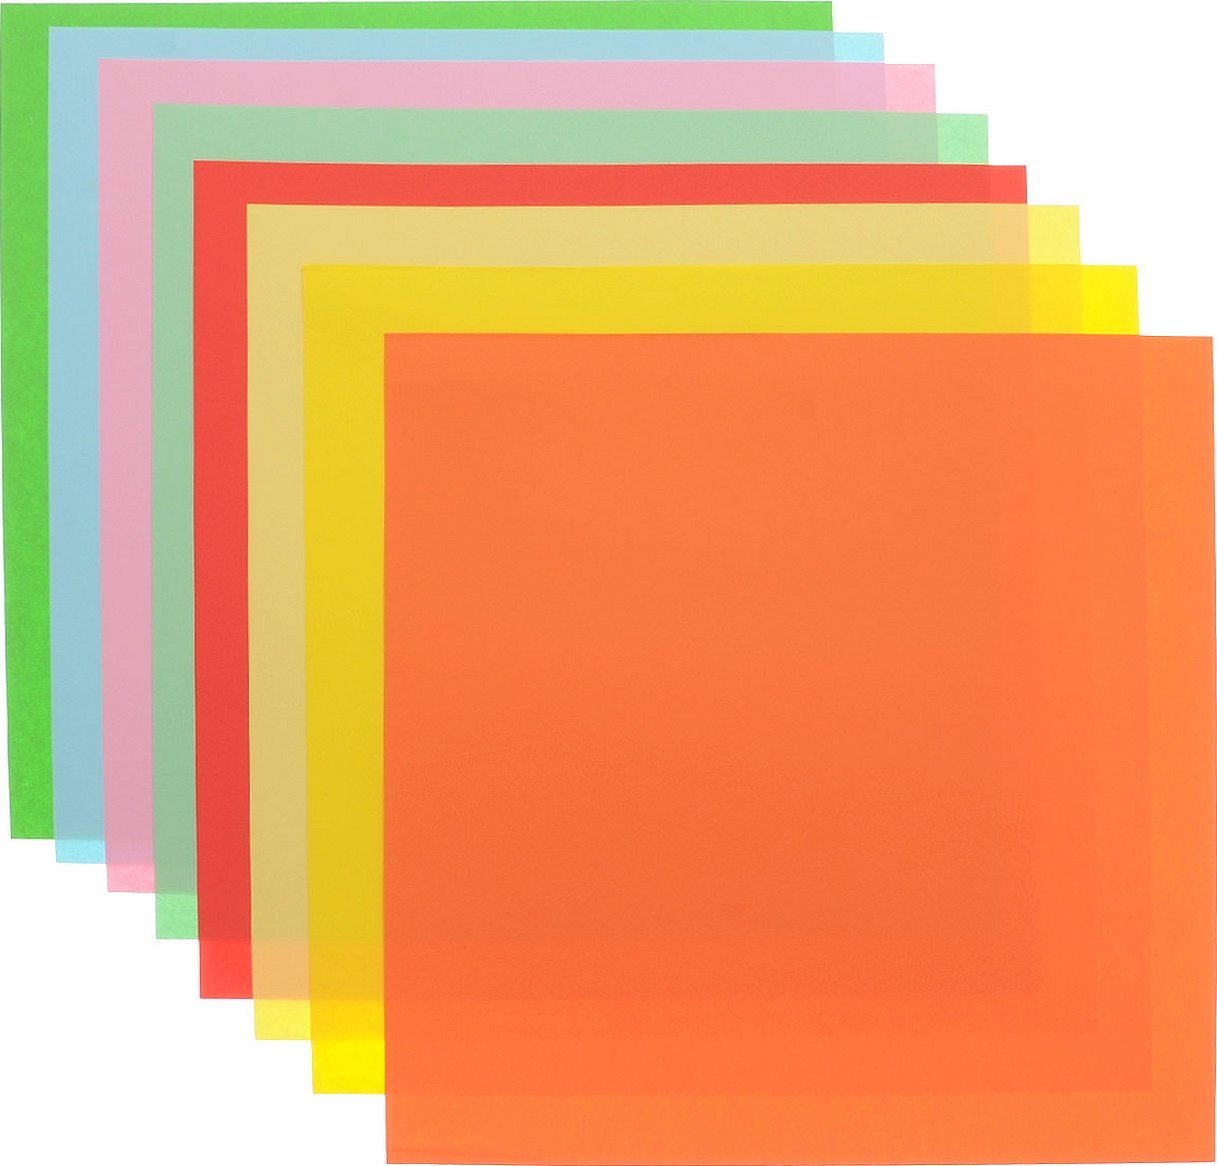
Most often, square sheets are used in the creative process. For some crafts, craftsmen take rectangular or round modules.
What you will need for work
The most important element that will be needed in the creative process is paper.
The standard and universal option is to use office paper. It has a medium density, is easy to bend and fix, and allows you to create figures of medium complexity.
Office sheets can be used by beginners who are just starting their journey in the world of crafts. For natural and organic crafts, you can take writing paper. School notebooks, notepads, and notepads are created on its basis. Such sheets are characterized by low density and good flexibility.
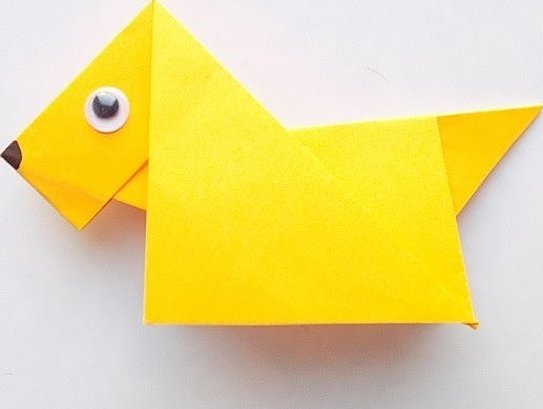
You can also use colored paper to create an origami dog. This option is suitable for three-dimensional crafts of medium and high complexity.
If you use regular paper, not special origami paper, you will need scissors to cut out the initial modules for work, a pencil for sketching, a glue stick, and additional decorative elements.
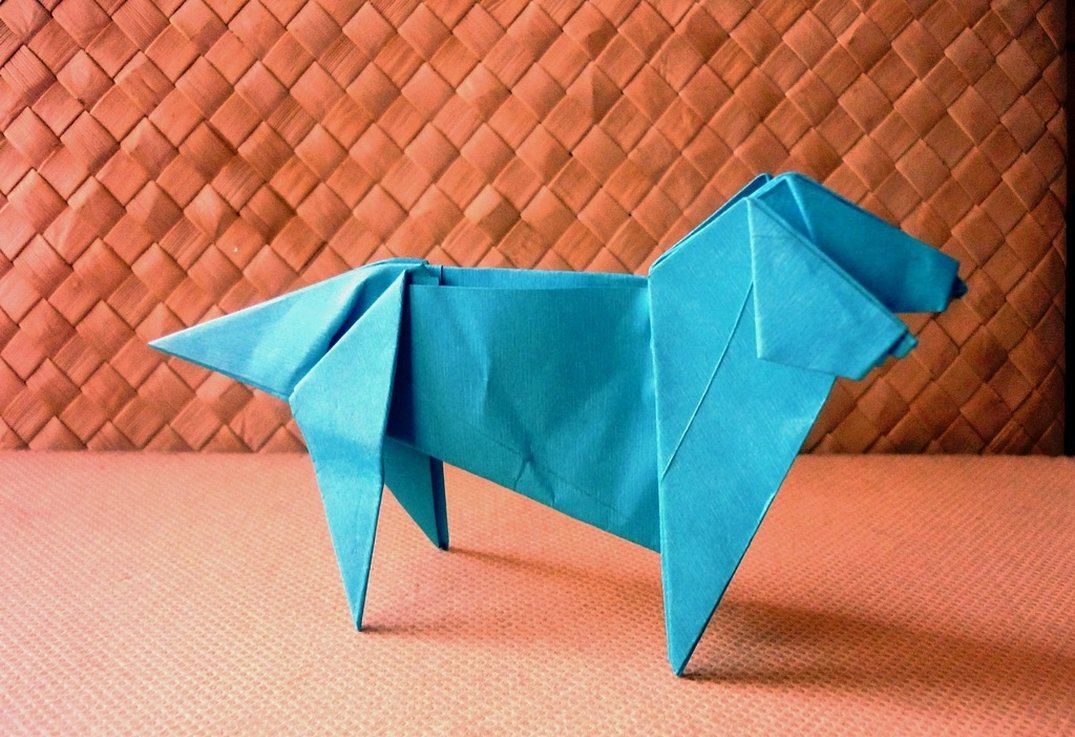
How to make an origami dog: step-by-step master class
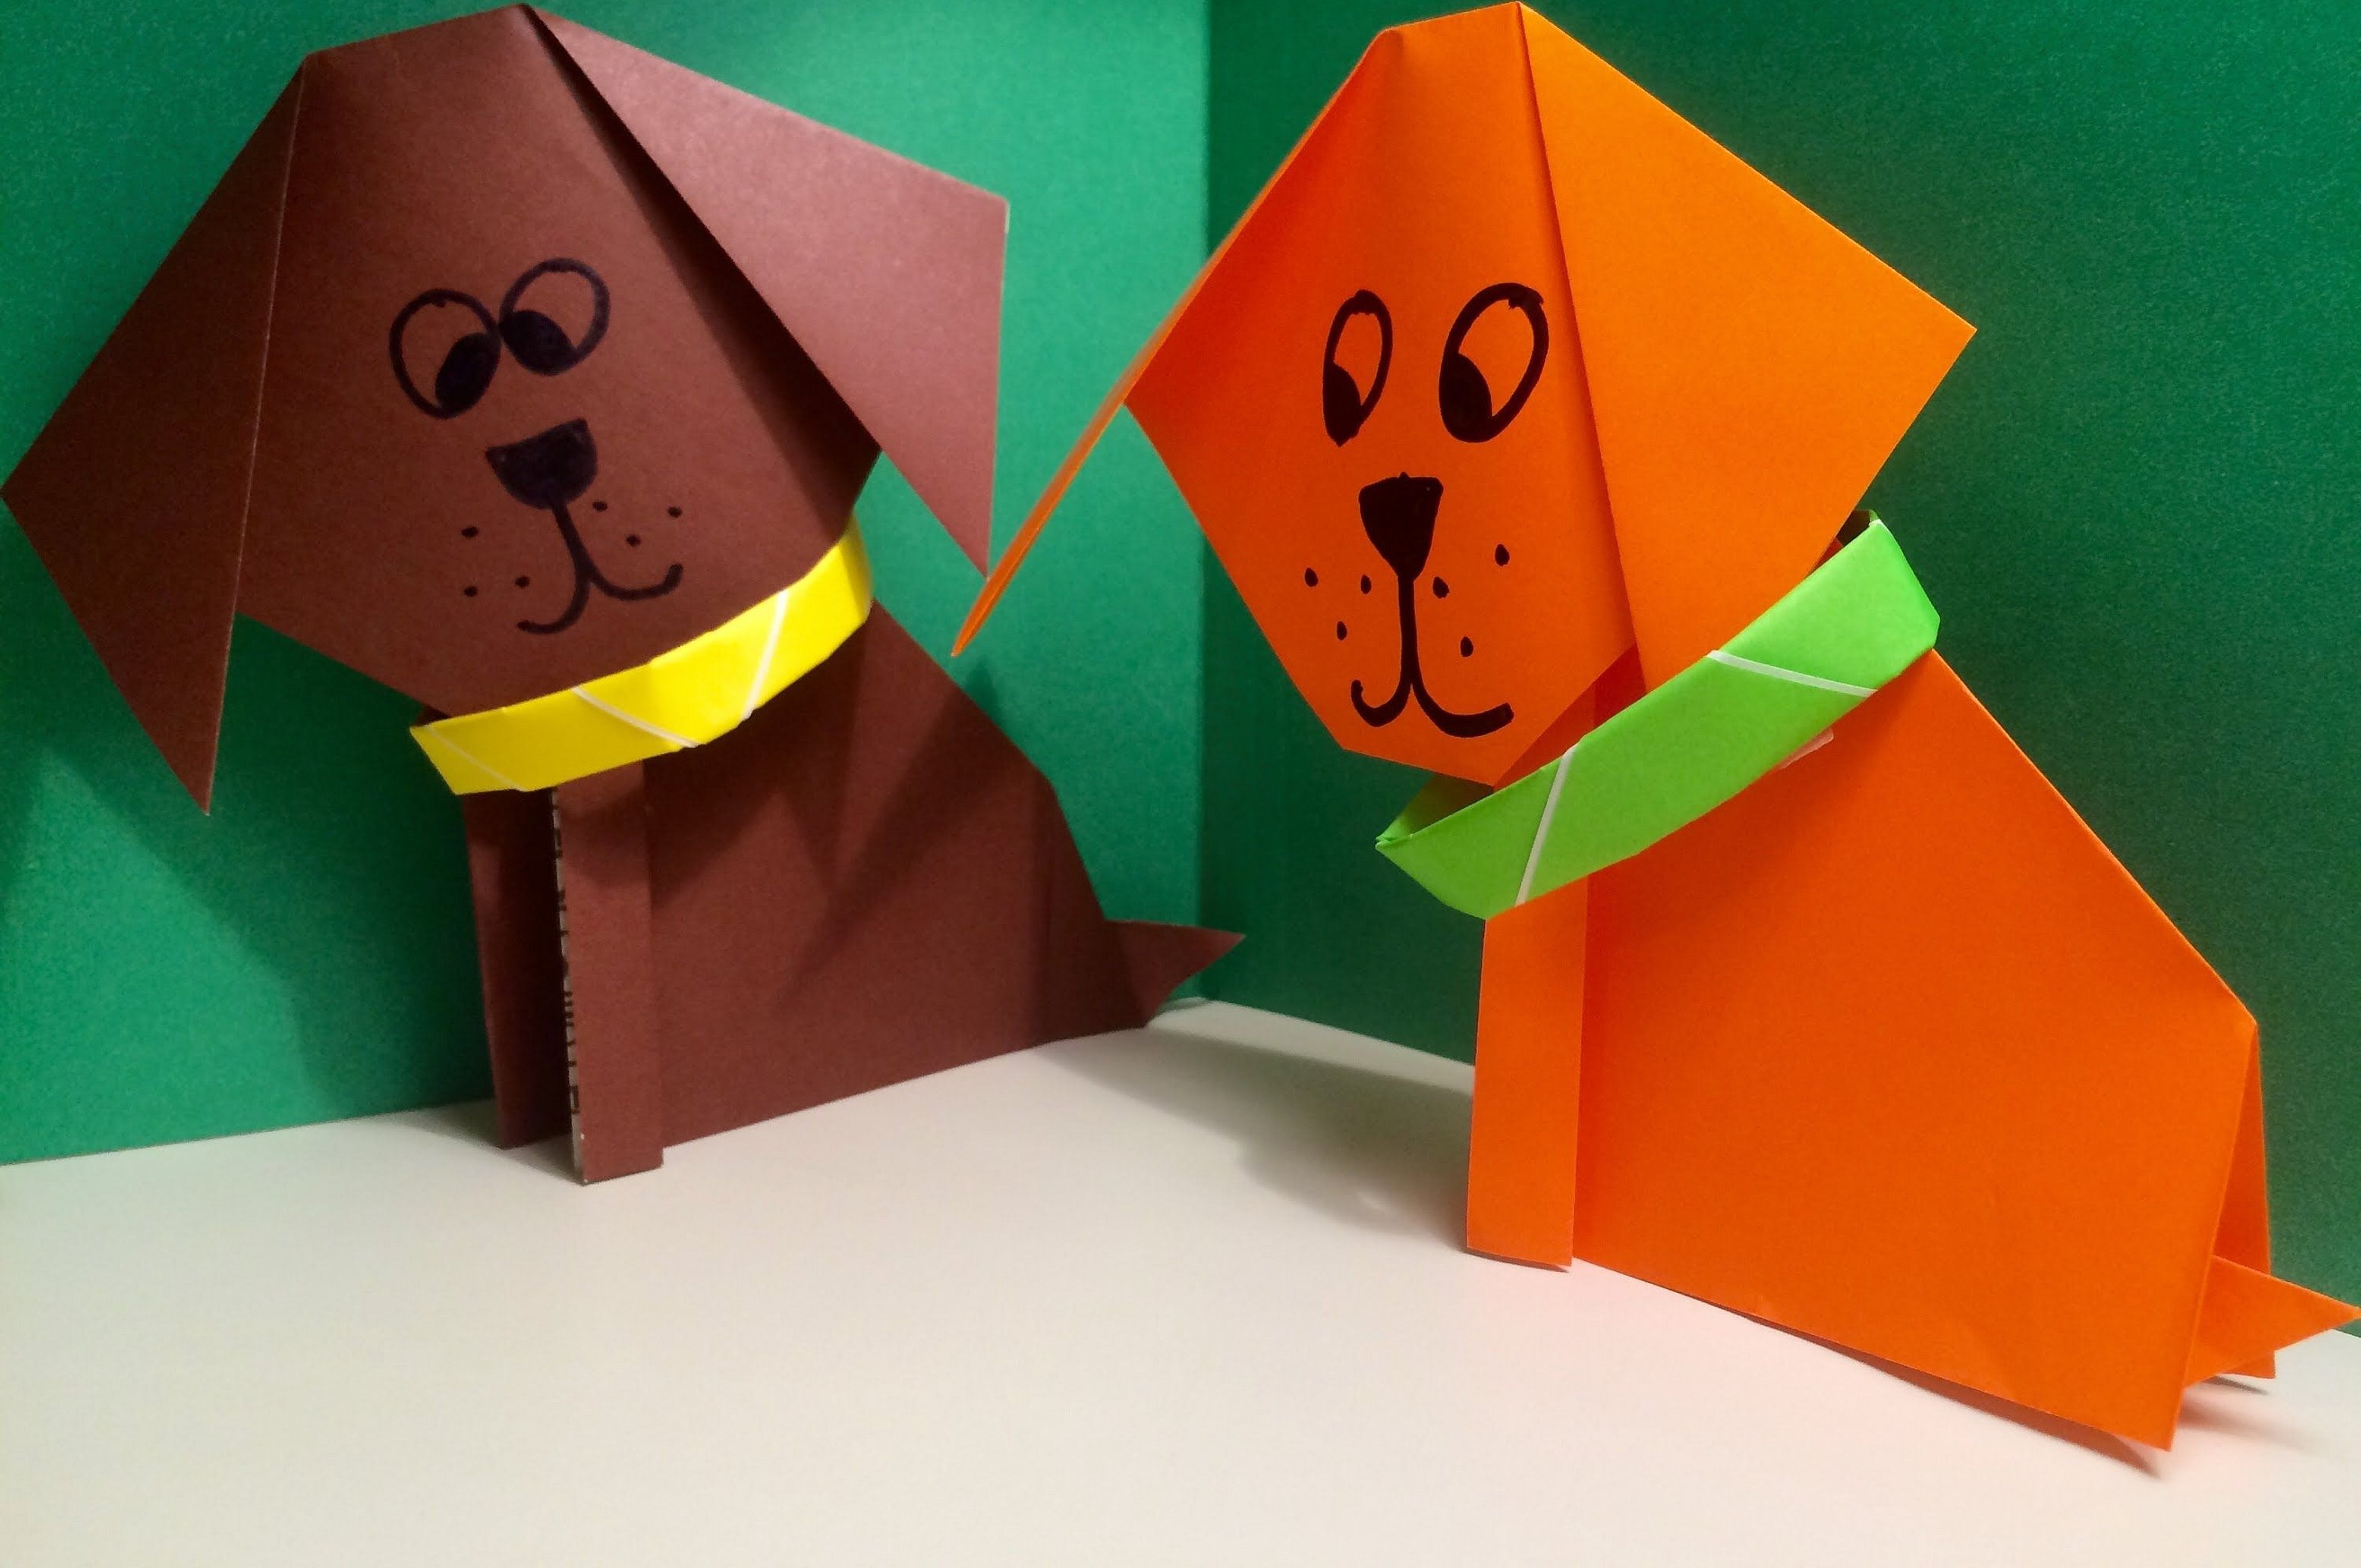
The most standard and simple version of making an origami dog is based on brown one-sided paper, a black marker and a simple pencil.
Step-by-step master class on creating a craft:
- Two paper modules are needed to make the head and body. First of all, it is worth starting with the head. To do this, the master should take the paper, fold it along two diagonals.
- Fold the piece so that the result is a triangle.
- Place the triangle with the corner facing down and bend the lower part of the corner up to the base of the piece.
- Bend the top edge of the triangle on both sides to create dog ears.
- The ears will need to be straightened to form diamonds.
- The top of the animal's head needs to be bent.
- To create the nose, the lower part of the triangle must be slightly bent upwards.
- Fold the resulting piece up to the middle line; the result should look like a dog’s head in profile.
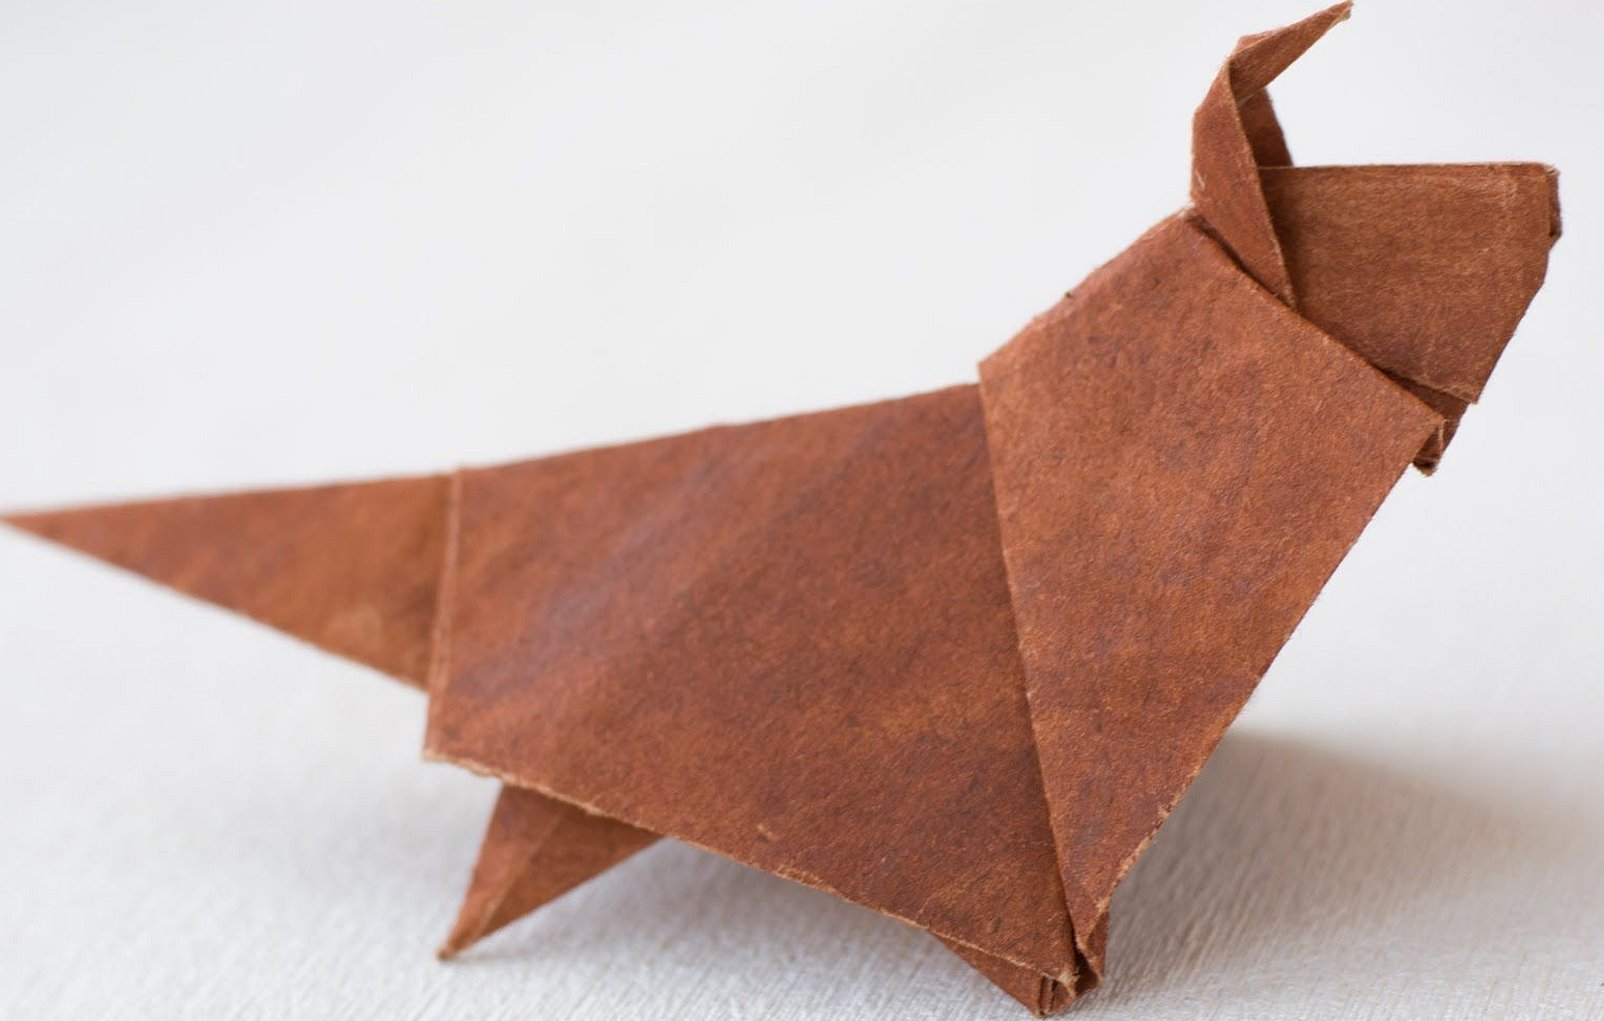
Now you need to take the second paper module and start making the animal’s body:
- To do this, the master needs to fold the sheet diagonally to form a triangle.
- From the bottom of the resulting piece, mark the middle and mark it with a pencil.
- Fold the right corner of the triangle.
- Turn it inside out so that the tail is white.
- Fold the left part of the triangle towards the previously marked middle.
- Bend the top part of the resulting piece to the left, which should result in a small triangle.
- Turn the workpiece inside out so that the origami dog's chest turns out white.
- Using a glue stick, assemble the dog's head and body.
- Draw eyes with a black marker.
The origami dog is ready. You can additionally decorate it with decorative elements or paint it with markers.
Important! You can also find fragments of eyes online, print them out and glue them to the craft using a glue stick.
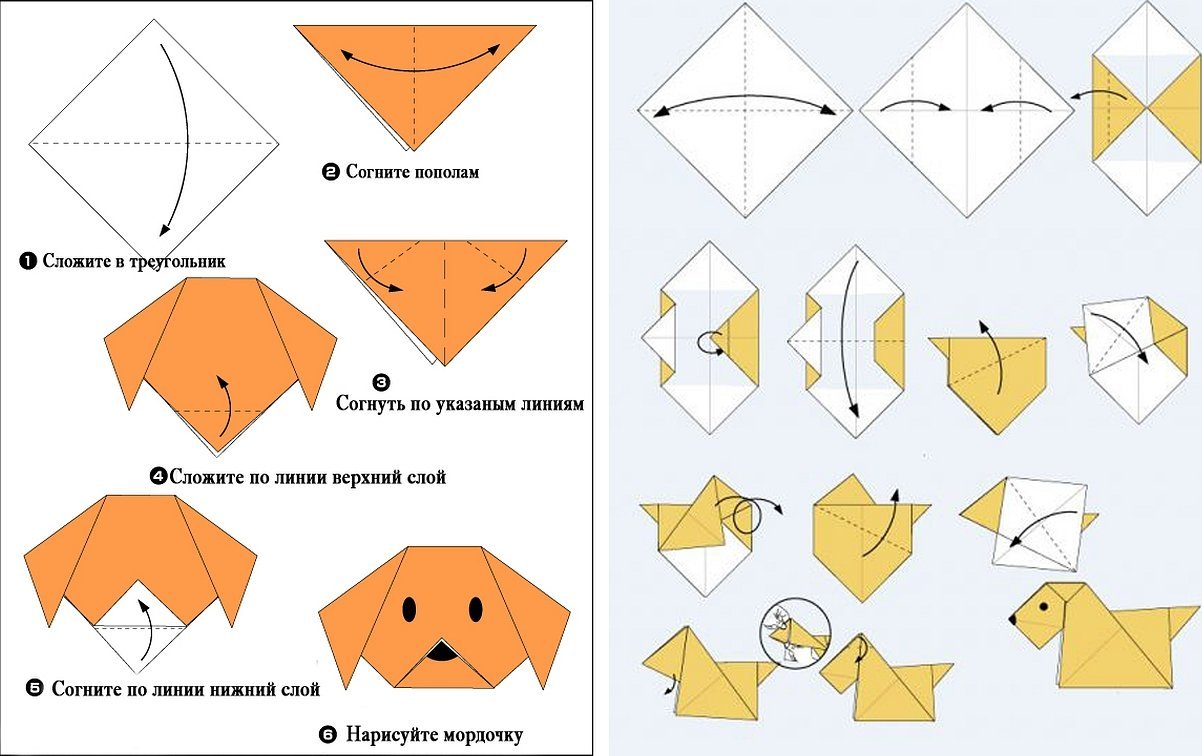
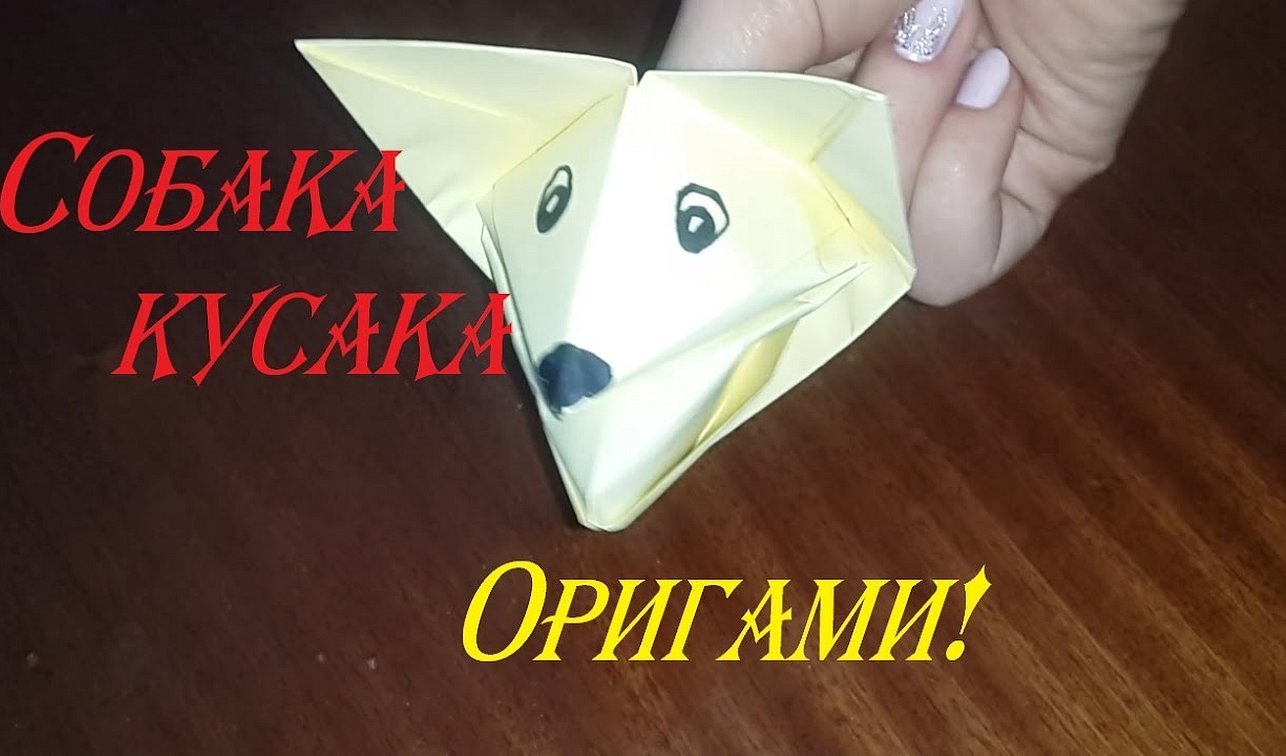
Another option for making a paper dog bite:
- Prepare a square sheet of yellow double-sided paper.
- Fold it in half along two diagonals.
- Bend the side parts of the module towards its center.
- One of the resulting corners will be the dog's tail, for this you need to bend it slightly to the side so that this part protrudes beyond the craft itself.
- On the other side of the module, you need to bend the corner down; this will be the dog’s muzzle.
- Fold the resulting product in half.
- Fold the top layer of paper to the left and up to form a triangle.
- Fold the top left corner in the opposite direction.
- Turn the craft to the right.
- Fold the corner to the right and up.
- Bend the folded part back to outline the contours of the animal.
- To make the muzzle, you should straighten the inner fold outward from the bottom of the workpiece.
- Bend the dog's ears on both sides.
Next, you will need to draw the animal's eyes and nose using a black marker. The origami dog is ready.
How to make an origami biting dog: diagram
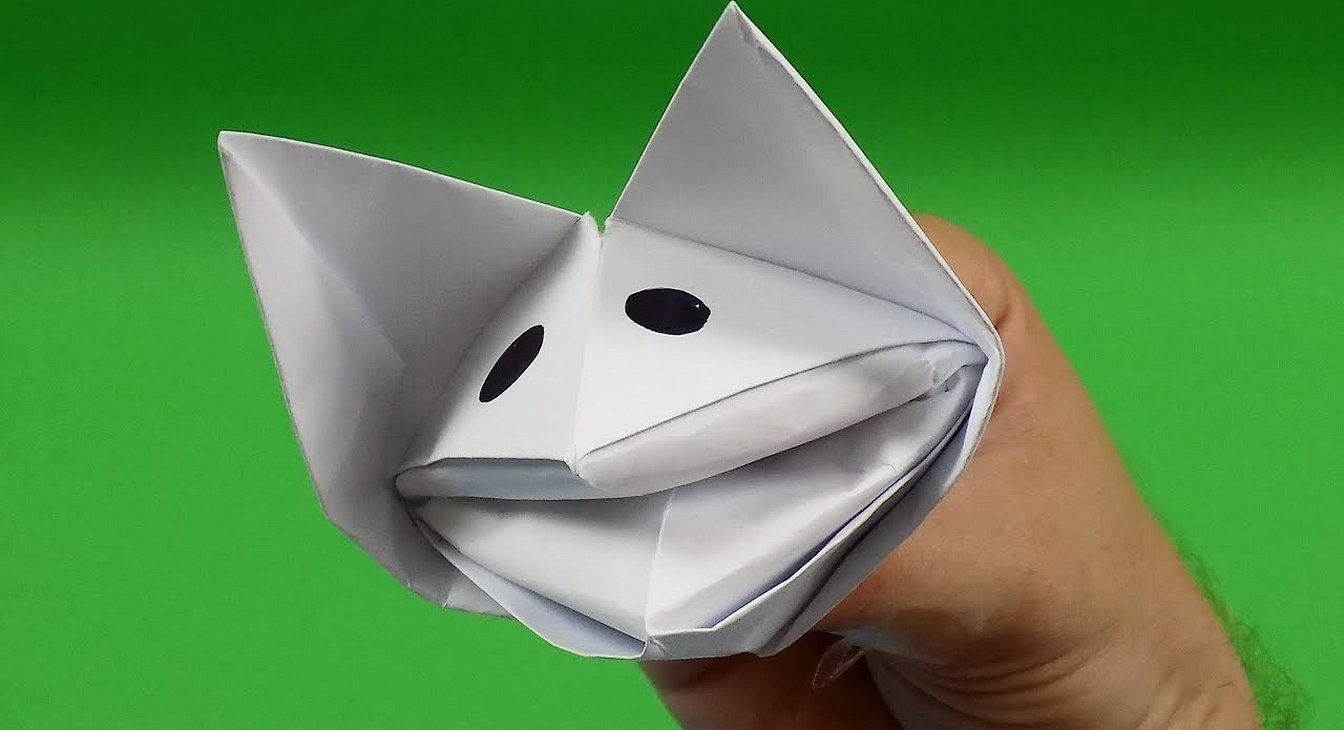
Origami dog bite for kids is a suitable figure for home theater. It can be put on hands and put on real performances for children.
To create a funny children's toy, you need to prepare a square sheet of paper in a yellow or brown shade. It is best if the paper is double-sided.
The density of the material should be medium. It is not recommended to use thin sheets, as the craft will constantly move, which can lead to friction.
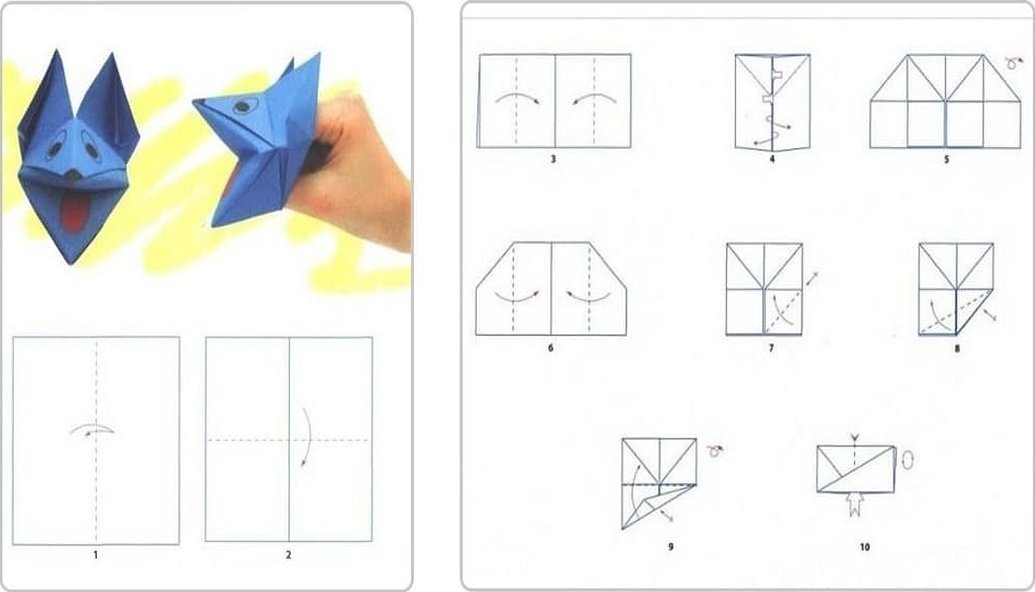
Step-by-step instructions for creating an origami dog from paper:
- Fold the square sheet in half from top to bottom.
- Make “doors” from the resulting rectangle.
- Return the last two folds to their original position.
- Open the side pockets.
- Smooth them out.
- Turn the element over to the other side.
- Fold the side flaps towards the middle of the craft.
- Bend the right corner from the bottom, capturing the nearest layer of paper.
- Make the next fold diagonally from the first layer, do not touch the second one for now.
- Lift the bottom left corner until it touches the top right corner.
- Repeat the steps on the other side.
- Rotate the finished piece 90 degrees counterclockwise.
- The edges that remain free must be opened and fingers inserted into them. The craftsman should have a free pocket for his hands.
- Fold the resulting piece in half, pushing the middle inward.
- Iron the fold line on the other side of the paper element.
- Close the dog's mouth and remove any creases that may have formed.
- Raise your ears up.
Important! Now you need to use a little imagination and give the biting dog beautiful eyes and a nose so that they look realistic.
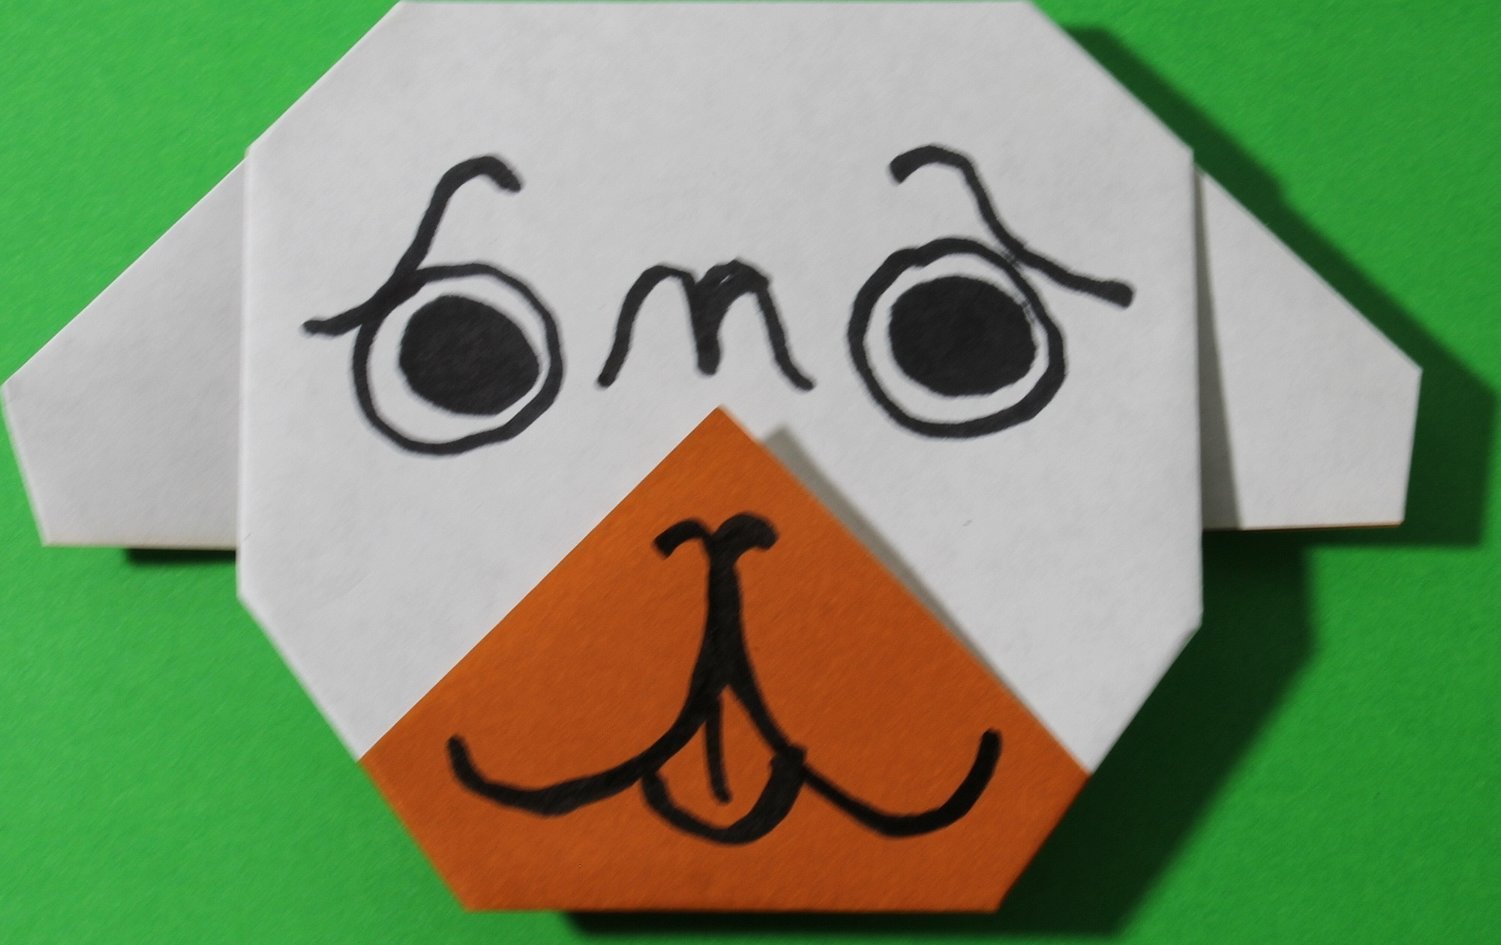
You can make a children's craft in another way. For this craft you will also need square double-sided paper. You can choose the color at your discretion.
How to make an origami dog out of paper:
- Fold the square diagonally in two directions.
- Open the piece and fold all 4 corners towards its central part.
- Flip the element.
- Fold the corners again using the technique described above.
- Bend the product into a “mountain” shape and place it so that its free corner is facing up.
- Open the craft and fold it from left to right in its original position.
- Bring the corners to the center of the product to create a pouch.
- Smooth the fold lines with your fingers to make them more distinct, press the sides of the piece tightly against each other.
- Turn the craft over to the other side.
- Straighten the resulting 4 cells.
- Turn the workpiece over again.
If you glue adjacent cells together, you will get a children's applique of a biting dog, which can be used for home theatrical performances.
The craftsman will only need to show a little imagination and colorfully paint the dog's face. This can be done with pencils or felt-tip pens, or a sketch of the animal's face can be glued to the craft. The paper nipper dog is ready. A cat, tiger cub, or shark can also be made using a similar technique.
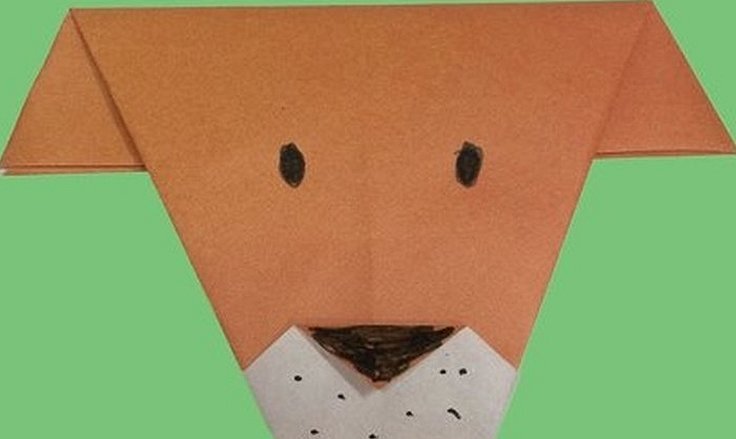
How to make a dog head using origami technique
To make a dog's head using the origami technique, you need to prepare a square sheet of paper.
It is advisable to use single-sided paper so that the other side is white.
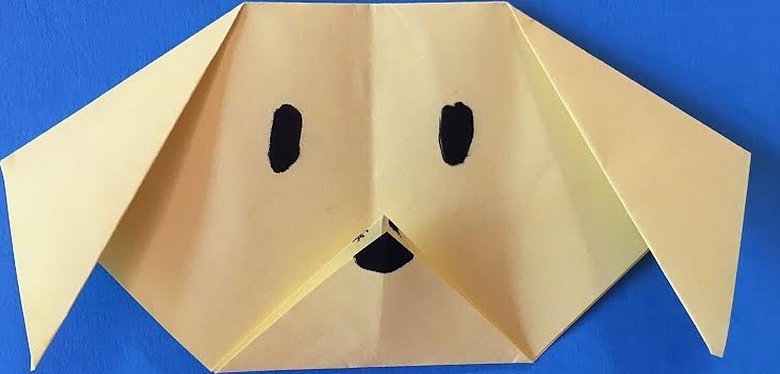
Paper dog, step-by-step master class on making the craft:
- Bend the module in half to the right side, unbend it.
- As a result, there should be a fold in the middle, then the master needs to bend the sheet from top to bottom and press the fold well.
- Fold the right and left corners to the bottom so that the triangle turns into a square.
- Now you need to return to the folded corners again, they should be bent upwards a little more than half.
- Fold one of the bottom corners up.
- Bend the sides of the figure slightly so that it ends up looking like an arrowhead.
- Fold the piece in half, connect the bottom corner to the top corner.
Important! The corner that will stick out in the middle from the top needs to be folded down. Next, the craftsman will need to turn the toy over and draw the eyes, mouth, and nose on paper using a felt-tip pen.
Here you can use your imagination and use different colors, as well as additional decorative elements. You can stick ready-made stickers of eyes and nose on the muzzle. They can be pre-printed on a printer.
If desired, the child can color the toy himself with felt-tip pens or colored pencils. However, in this case, it is initially necessary to take white paper for work. The little ones can also try to make the toy themselves.
An easy way to make a dog face for kids:
- Take a square sheet of light, medium-weight paper.
- Fold it diagonally and fold it into a triangle.
- Bend the upper corners of the piece downwards.
- Bend the top corner of the craft back.
- Repeat the same steps with the two lower corners.
The simple origami dog face is ready. Now you can give the children colored markers to draw the eyes, nose, and mouth.
Speaking about origami technique, a dog is far from the most difficult craft. You can make it yourself at home. For work you will need only white or colored paper of medium density. When making complex crafts you will also need to buy a glue stick. Even a novice craftsman can cope with the task if he follows the step-by-step master classes and presented craft templates. The resulting products can be used for games with children, as a gift to relatives or as souvenirs for interior decoration.


