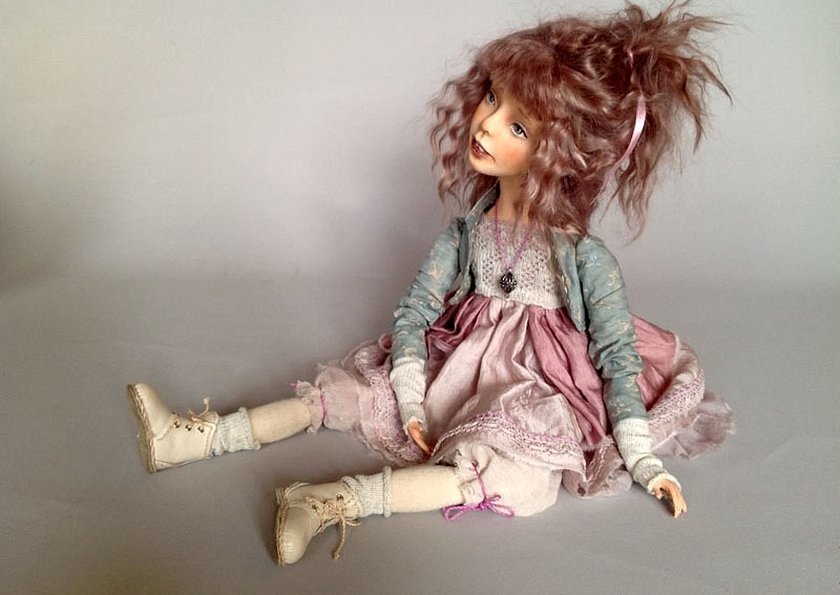
Today, there are many types of toys, among which the frame doll deserves special attention, which can take a worthy place in the home collection. It is considered an interior and is not intended for children's games. Most often, such a doll is presented in the following versions: Columbine, Harlequin, angel, elf, etc.
What is a frame doll: features
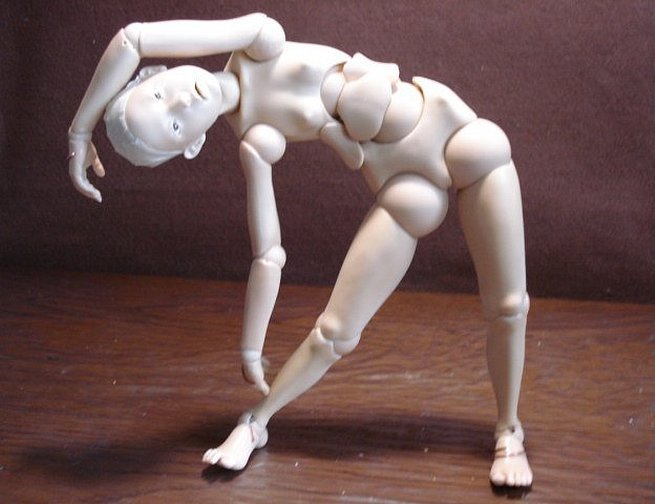
A frame toy is distinguished by the presence of a frame made of wire. It can be rigid or flexible. In the first case, the doll will always be in a static position, in the second - will be able to take various poses (stand, sit, move arms and legs).
Please note! There are articulated and framed versions of the doll's skeleton.
The hinges act as joints and give the toy additional flexibility, but in this case it cannot take complex static poses or "freeze". The frame version has a noticeable advantage - with it, the doll's body will become strong and flexible, capable of being in a fixed position.
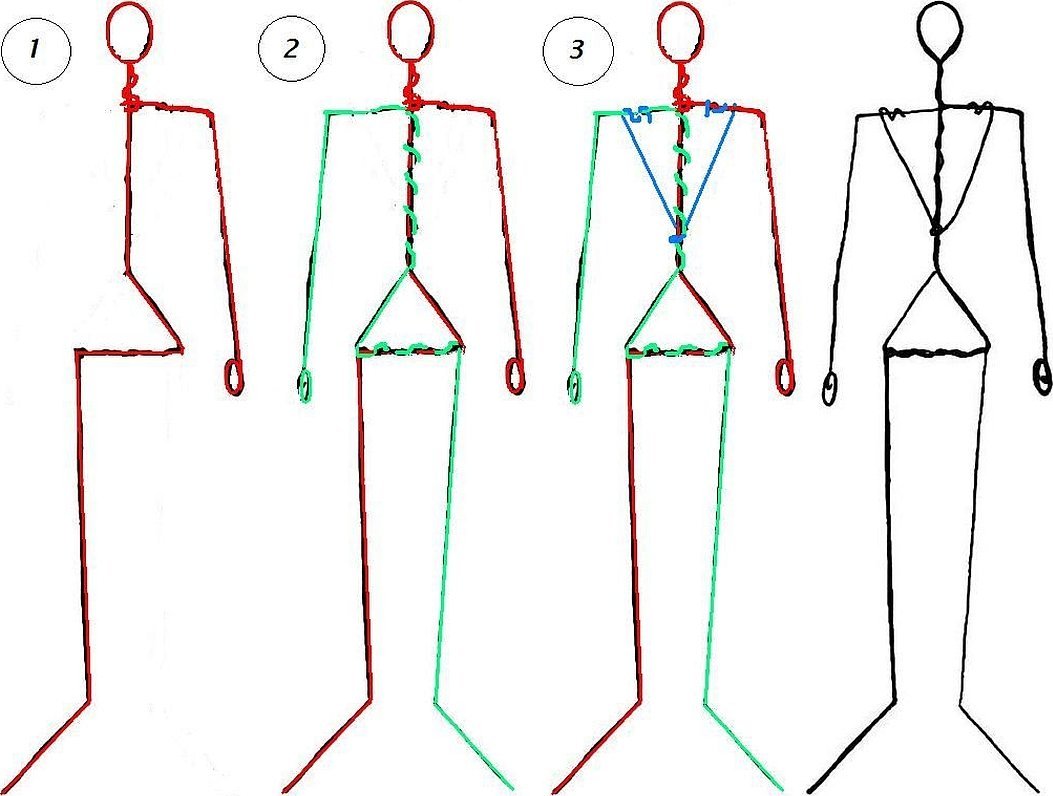
The creation of a frame toy begins with a sketch, which must be made. If you start making a doll without a sketch, it may turn out asymmetrical or with incorrect proportions. You can also use ready-made drawings from the Internet by printing them out.
Another feature of the frame doll is the stuffing. It should not be visible, so the doll is made of thick textile or knitted with the smallest hook, which ensures high knitting density and protects the toy from deformation.
Making a frame toy is a labor-intensive and time-consuming business, which is why it is expensive. Such a doll is not a toy for a child: it is bought by collectors and interior designers. Some craftsmen are even ready to make frame dolls to order.
A crocheted doll on a frame is called "amigurumi". This is a very simple toy that even a beginner can make, so information requests like - crocheted doll on a frame master class on creating - are quite common. The word "amigurumi", which comes from the Japanese language, is translated as "knitted doll" and indicates that the first amigurumi appeared in Japan. An amigurumi master is a person who creates such dolls. The most common crocheted frame toys are girls and boys that look very much like real people, but there are also amigurumi animals.
What skills are required to crochet a doll?
Crocheting a doll begins with an "amigurumi ring", which is the basis for many toys. It ensures that there are no holes in round parts, such as the toy's head, so that its body is solid and dense.
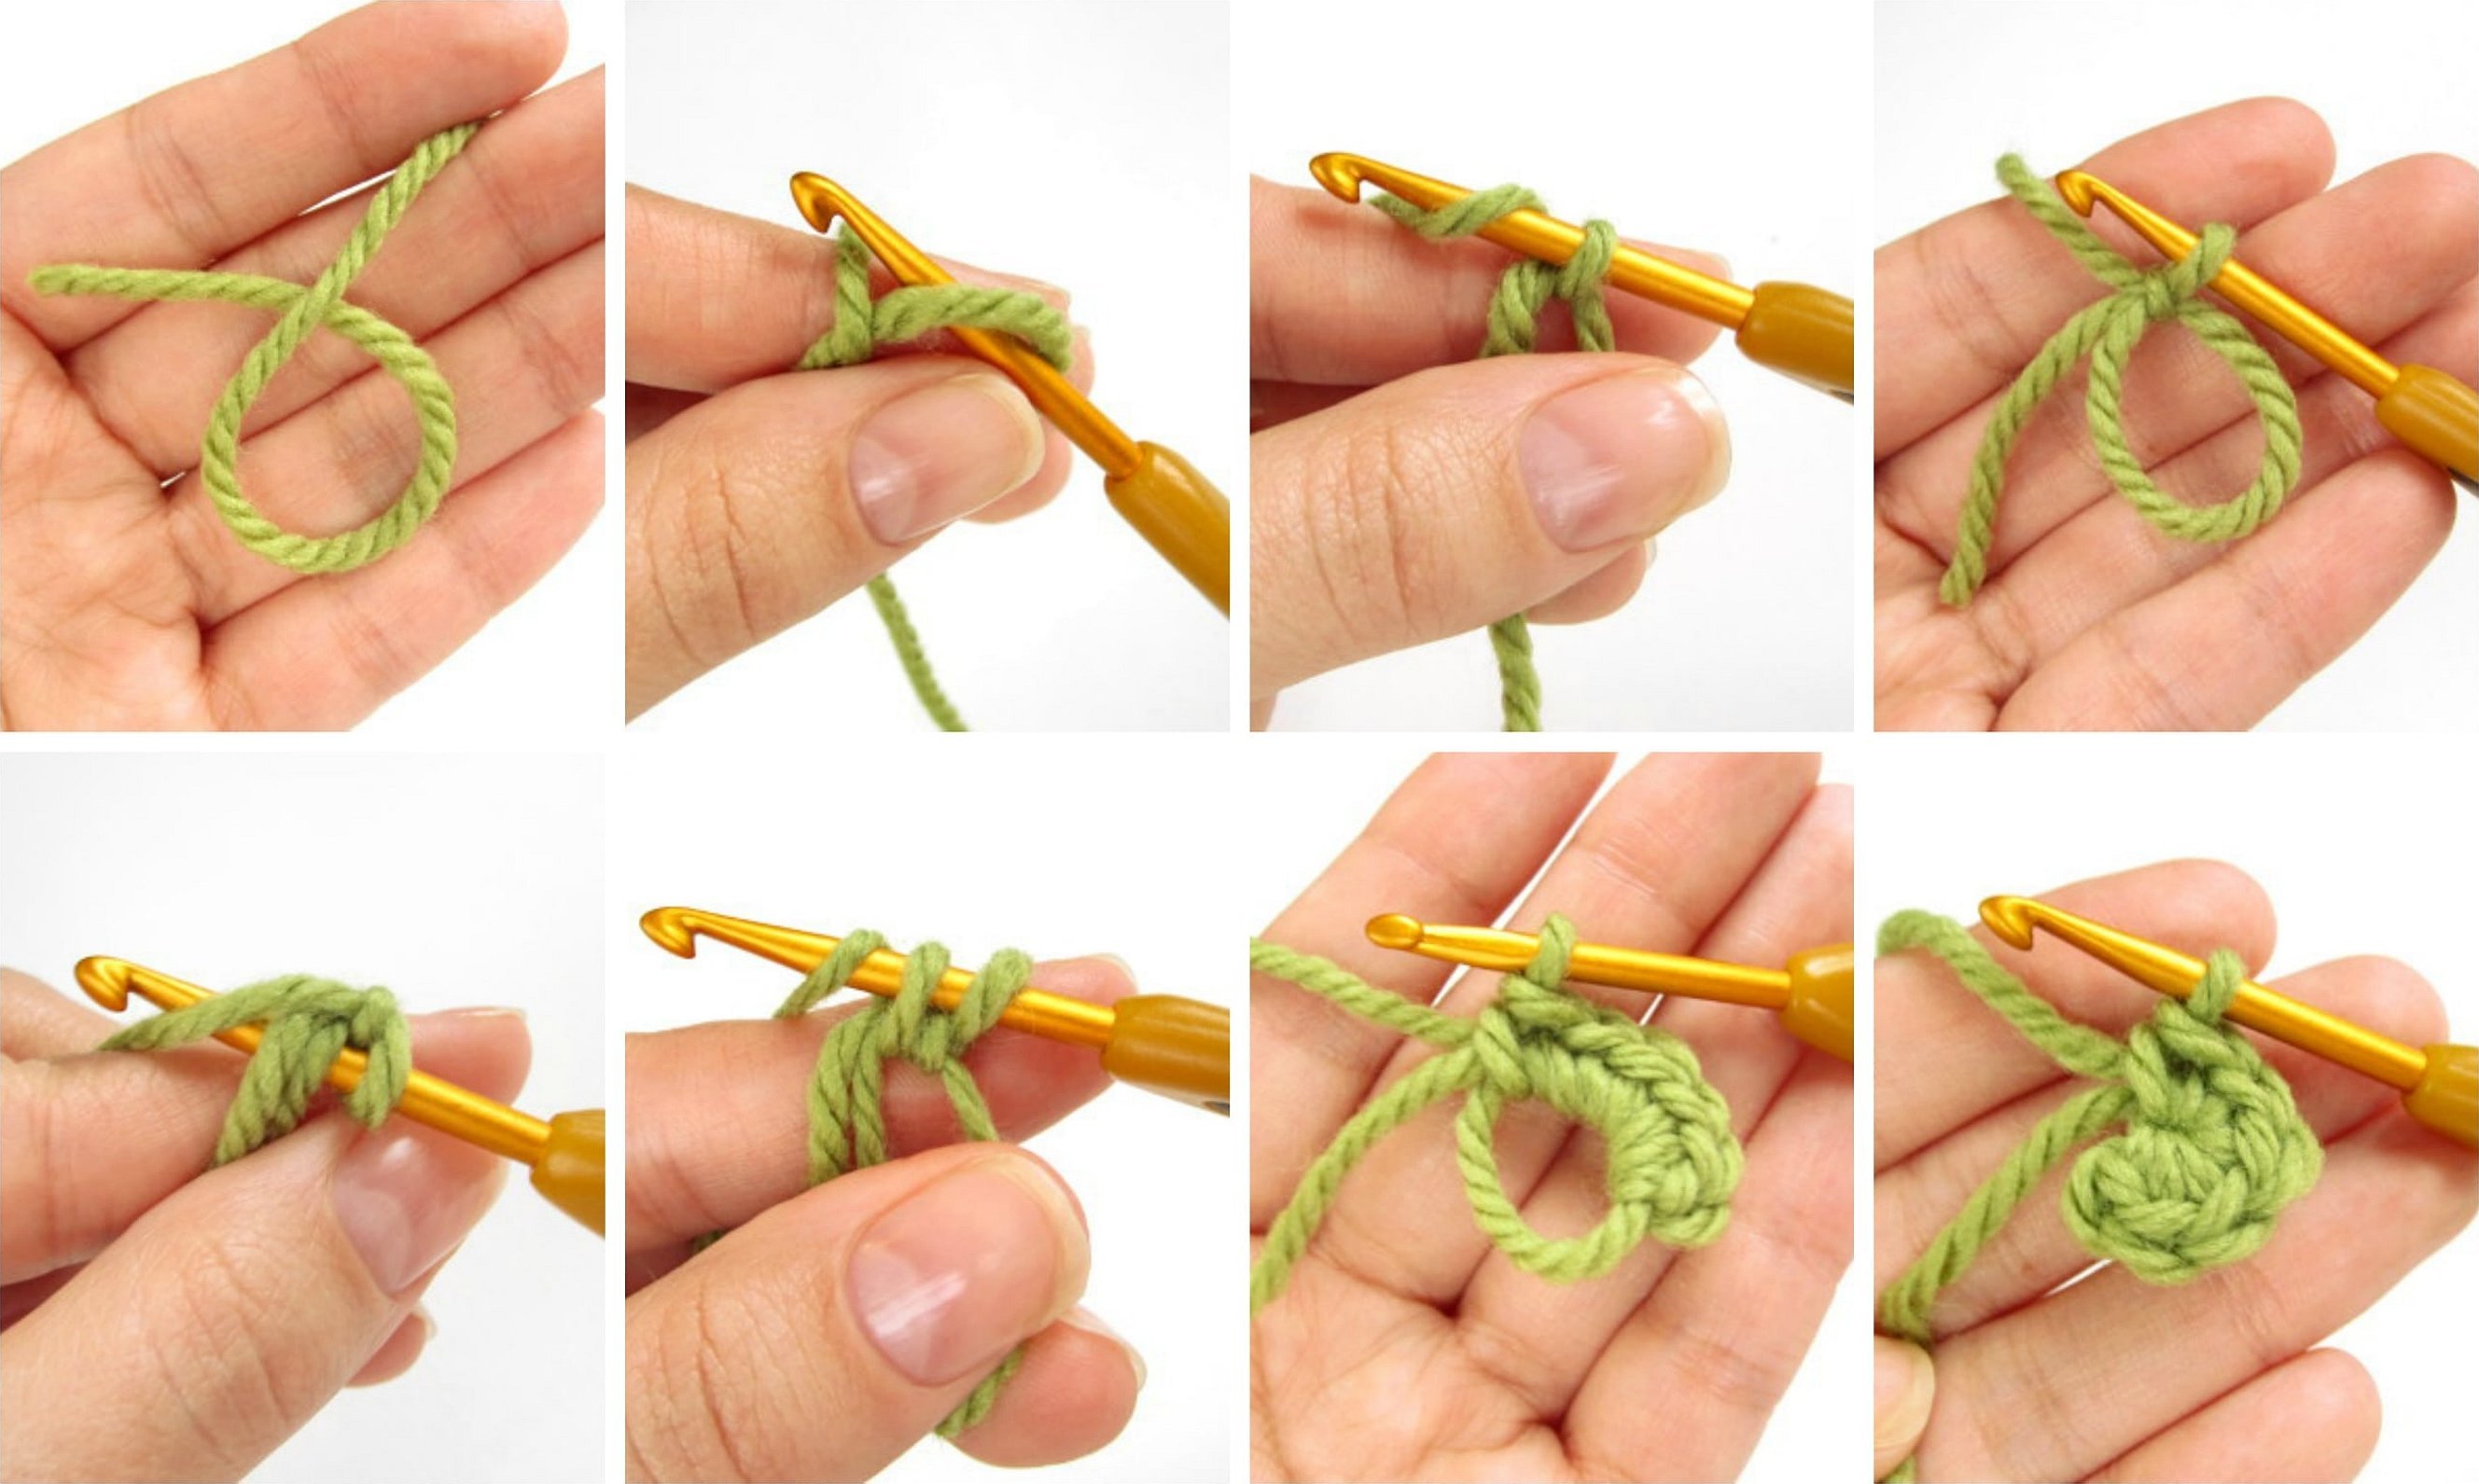
The amigurumi ring is knitted as follows: first, a small loop is made near the end of the thread. The working thread is placed between the middle and index fingers, inserted into the loop with a hook and pulled out from above. Another loop is formed, into which the working thread is again inserted and tightened, forming a large loop of two threads. The working thread is inserted into this loop - the first single crochet is obtained, from which the amigurumi ring consists. These actions are repeated the number of times indicated in the diagram, after which the loop from which knitting began is tightened.
Another important skill is the ability to knit without lifting loops. This helps to avoid seams that can ruin amigurumi and make the work sloppy. This method is used to knit not only doll parts, but also, for example, lacy napkins.

To knit this way, you need to make one lifting loop and knit the number of single crochets indicated in the diagram, for example, 5. This will make the first row of six loops. The work is not turned over, knitting continues in a circle.
Important! In each subsequent row, the number of columns of the first row is added to the number of columns of the previous row. Thus, in the 2nd row there will be 12 columns, in the 3rd - 18.
Materials and tools for creating dolls on a frame
To work you will need:
- Wire for creating the frame. It must be strong enough to support the weight of the doll. The best choice is copper wire in a braid, but aluminum and steel are also acceptable. The main advantage of copper wire is its flexibility and plasticity - it easily takes any shape and does not deform when bent and unbent, unless, of course, it is too frequent. The limbs of the toy can be made of plastic or polymer clay. In this case, the length of the wire for the frame is reduced by half - to the elbows and knees. Depending on the size of the doll, the thickness of the wire is determined. For small dolls, 4 mm wire is suitable, for large ones - thin wire is intertwined several times for additional strength.
- Cotton yarn in flesh tones (white, beige, etc.).
- A hook, the thickness of which is selected in accordance with the length and thickness of the yarn threads. A medium-sized hook – 2-5 mm – will be convenient for creating dolls on a frame.
- Cotton yarn for hair.
- Sintepon for volume. When winding sintepon on the doll's frame, it is worth paying special attention to the female figure and focusing on the sketch: outline the chest, waist, hips. Soft paper, sintepon, cord can also be used if the doll's body should not be soft, but dense.
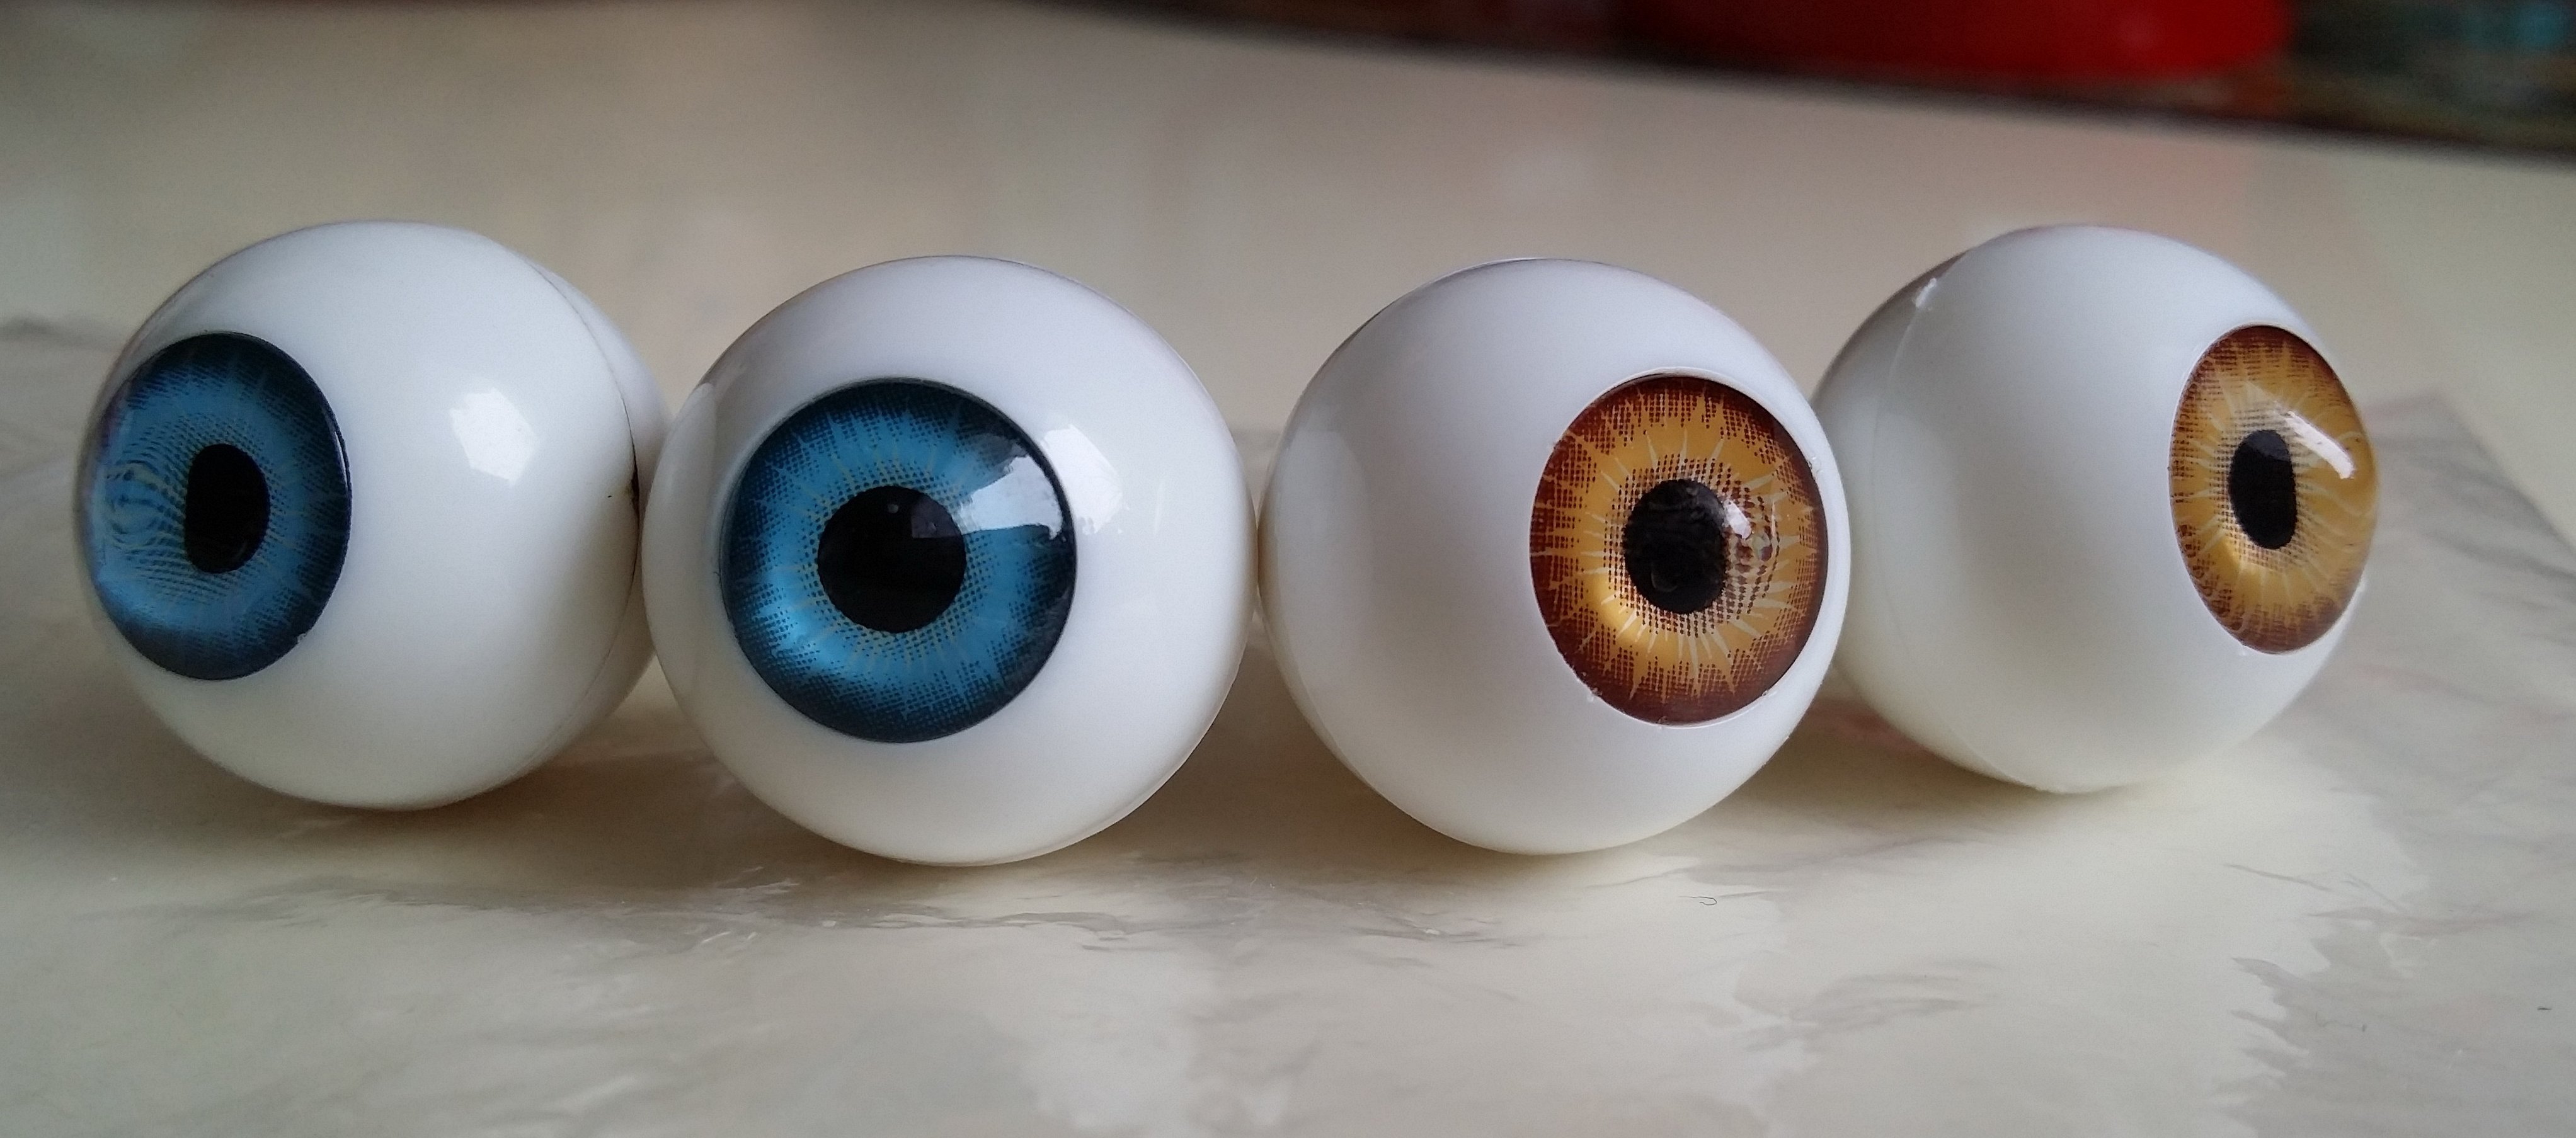
- Eye shaped beads for face.
- Textiles, ribbons, frills for clothes, etc.
- Sewing supplies (threads, needles, etc.).
Additional information! Additionally, it is worth strengthening the arms, torso and legs, since these parts are functional, that is, they are responsible for constructing the body of the toy.
Master classes on knitting dolls
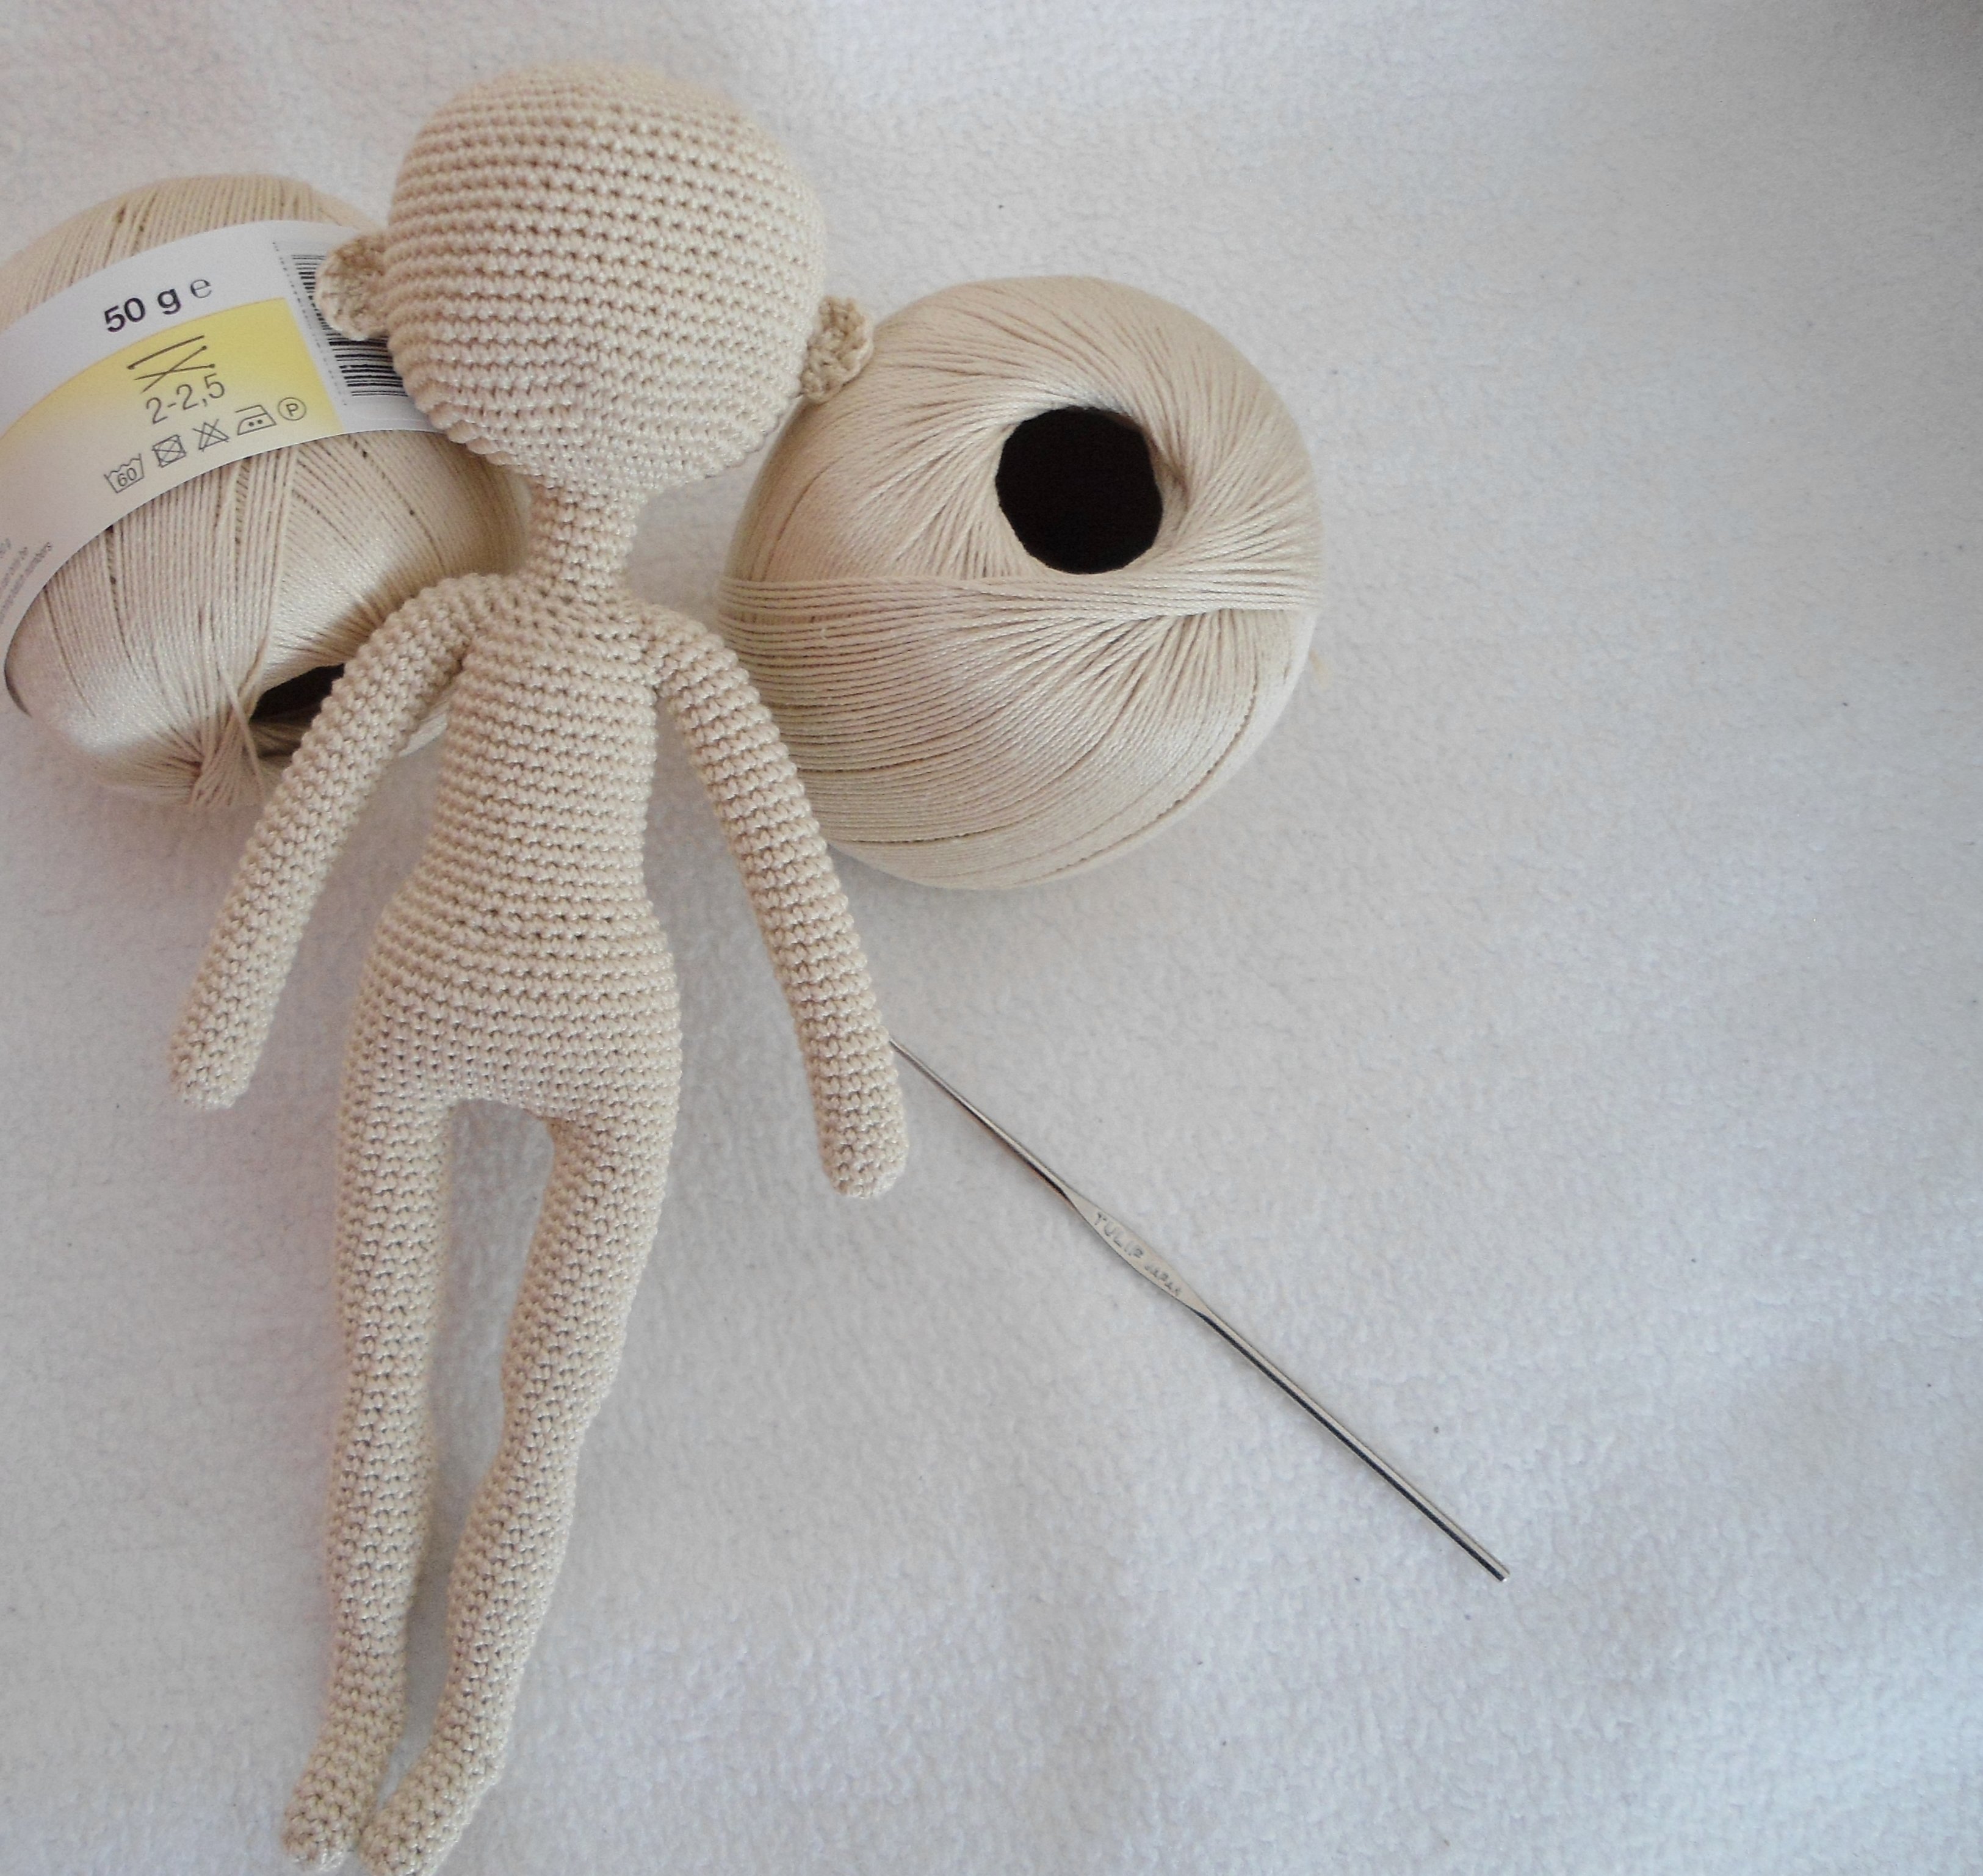
A crochet frame doll is the easiest option for beginners. It is a single piece that does not require joining parts. The MK on knitting a doll reflects all the stages of work, as well as a diagram and description of the work on creating a crochet frame doll. To make it, you will need:
- prefabricated wire frame;
- 50 g of flesh-colored cotton yarn;
- hook of medium thickness;
- synthetic padding for stuffing.
Legs
For the first row, you need to dial two air loops and from the second from the hook, knit 6 single crochets. In the second row, you need to make 6 increases (knit 6 columns from one loop). In the third, knit 6 single crochets with an increase - three times. In the fourth to twelfth rows, you should knit 15 single crochets. After the first leg is knitted, you need to tightly stuff it with padding polyester and repeat the same with the second.
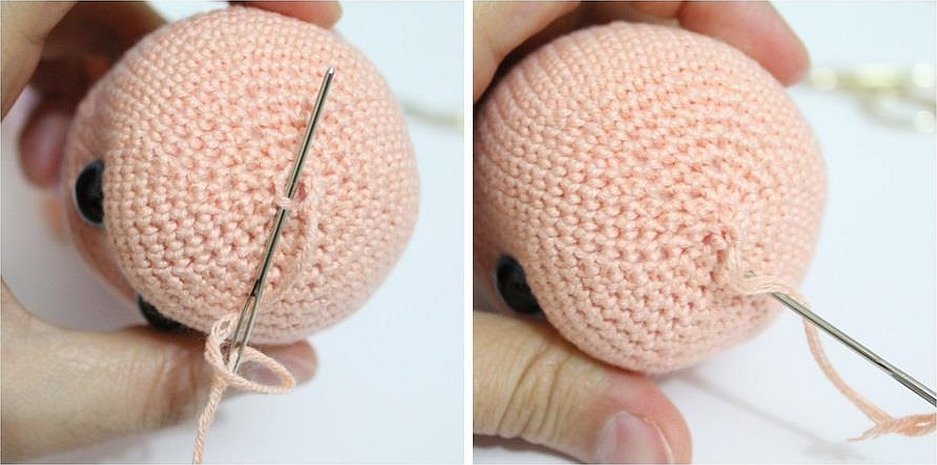
Head
Knitting the doll's head begins with making 18 increases, then knit 5 single crochets and 6 more increases. Next come 6 single crochets and 6 increases. In the fourth row - 48 single crochets, in the fifth - 7 and 6 increases. In each of the next eight rows there should be 54 single crochets. In the 14th row - 7 single crochets and 6 decreases (knit two columns from one common loop), in the 15th row - 48, in the sixteenth row - 6 and 6 decreases, in the 17th row - 4 and 6 decreases. The eighteenth row should consist of 30 single crochets, the nineteenth - of 3 and 6 decreases, the twentieth - of 2 and 6 decreases, the twenty-first - of 1 and 6 decreases. In the last, twenty-second row, only 6 decreases are knitted.
Please note! Once the head is ready, you need to fill it with padding polyester and tighten it.
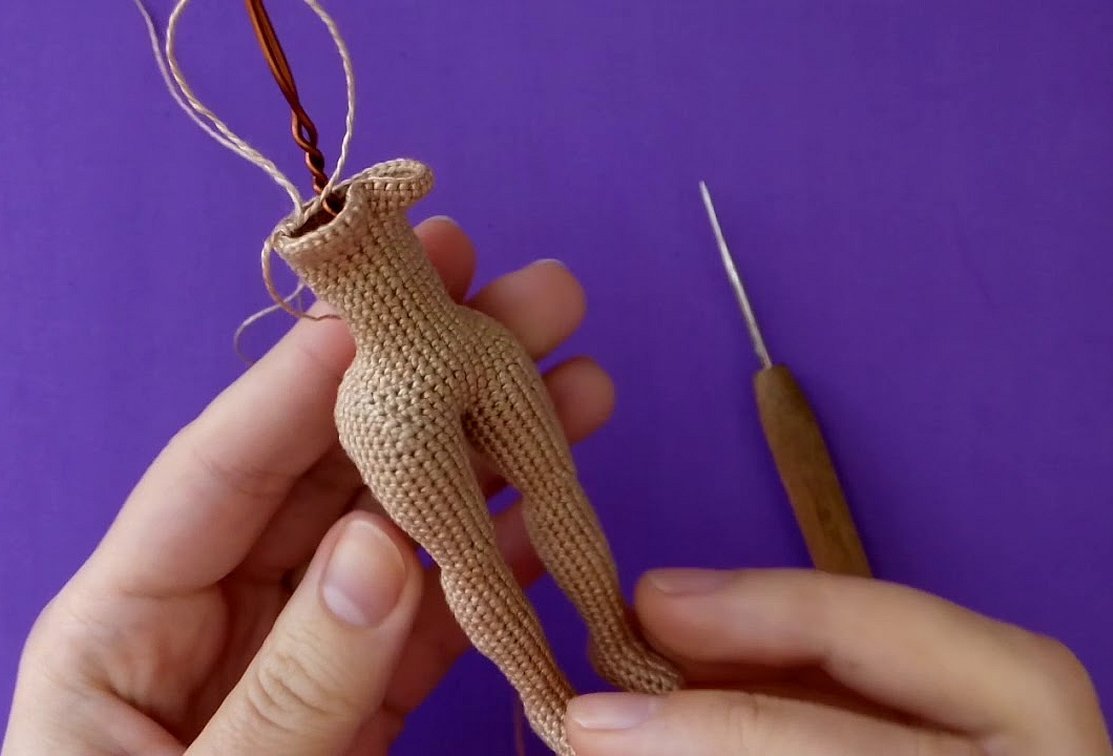
Body
The body of the frame doll is crocheted starting with seven single crochets with two increases. Next come 5 single crochets and 1 increase, 7 and 2, 5 and 1. The fifth row consists of 50 single crochets, the sixth - of 17 and 1 decrease, the seventh - of 6 and 1 decrease. In the eighth row, 20 single crochets are crocheted and an offset occurs, in the ninth - 48. The tenth row - 14 single crochets and 3 decreases. In the 11th row - 48 single crochets, 12th row - 14 and 3 decreases, 13th row - 45, 14th row - 13 and 3 decreases, 15th row - 42, 16th row. – 5 and 6 decreases, row 17 – 36, row 18 – 4 and 6 decreases, row 19 – 30, row 20 – 3 and 6 decreases, row 21 – 24, row 22 – 2 and 6 decreases. The last, twenty-third row, consists of 18 single crochets.
Hands
For the first row, two chain stitches are cast on, from which 5 single crochets are knitted from the second. In the second row, five increases are made. From the third to the twelfth row, there are 10 single crochets. In the thirteenth row, there are 2 single crochets, 5 double crochets, 3 single crochets. From the fourteenth to the twenty-second row, there are 10 single crochets. The edges are sewn together.
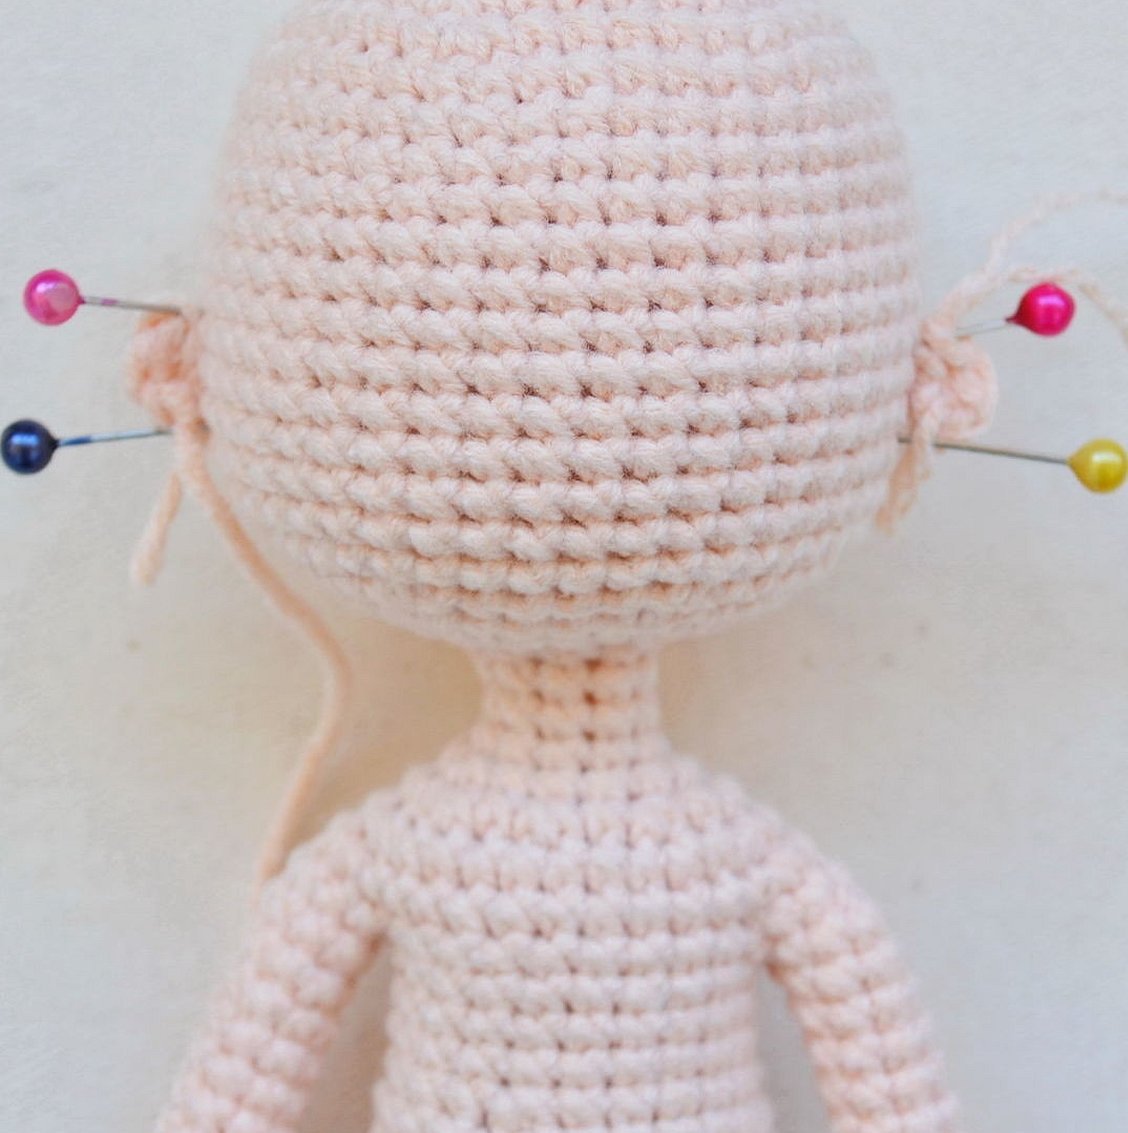
Ears
The ears are knitted separately. At the eye level, you need to secure the thread and knit three air loops, eight double crochets. The thread is inserted into the third air loop and a knot is tied.
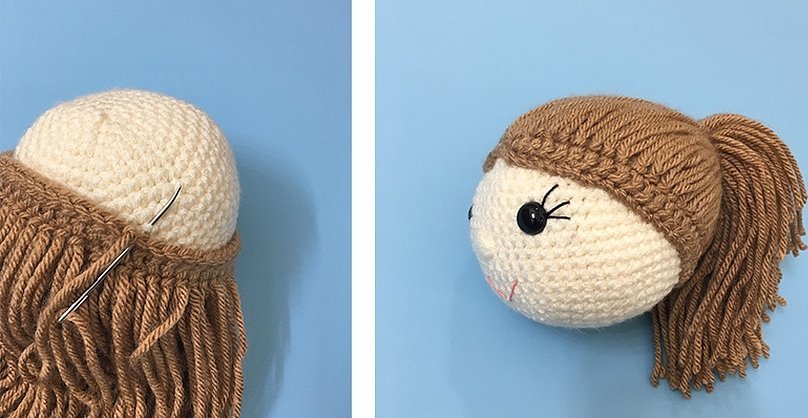
Hair
For the hair, yarn of a certain length is cut and attached to each loop on the doll's head. You need to start from the top of the head. You need to insert the hook into the loop, grab the folded thread with it and pull it out so that it is inside the loop, then tighten it. The threads should be attached in a circle until the hairline is reached. Now that the doll's hair is ready, you can leave it loose, gather it into a ponytail or braid, depending on your idea.
Thus, to make a doll on a frame with your own hands, you need to be able to work with wire and crochet. It will not take much time - in about a week, you will get a cute doll from colored yarn. A hand-knitted toy will be a good element of home decor or a gift to loved ones.


