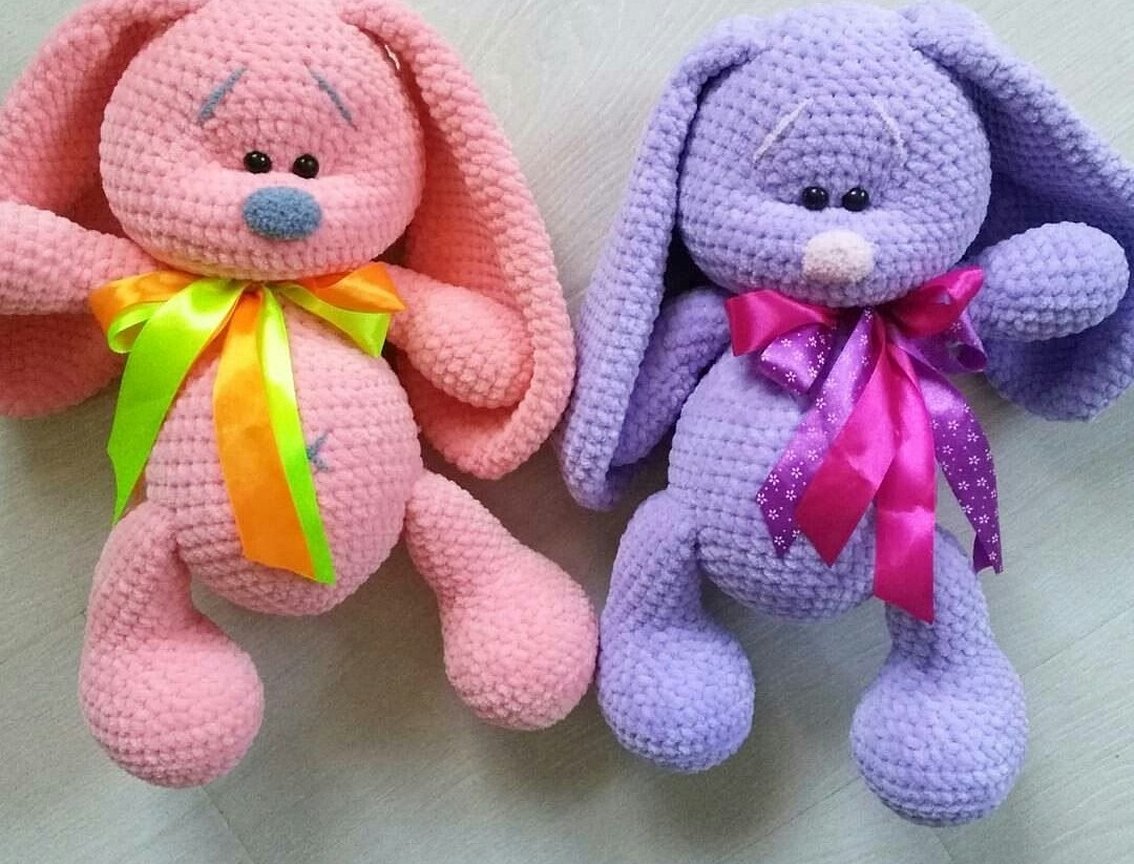
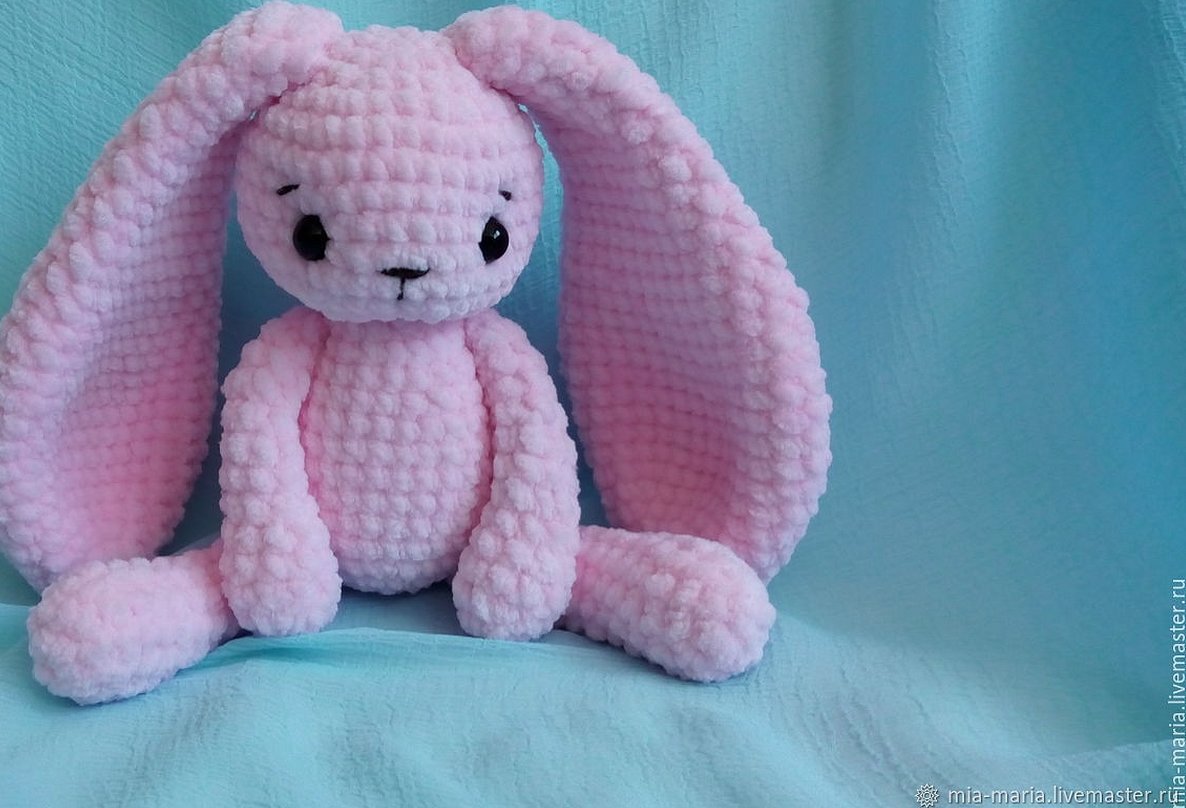
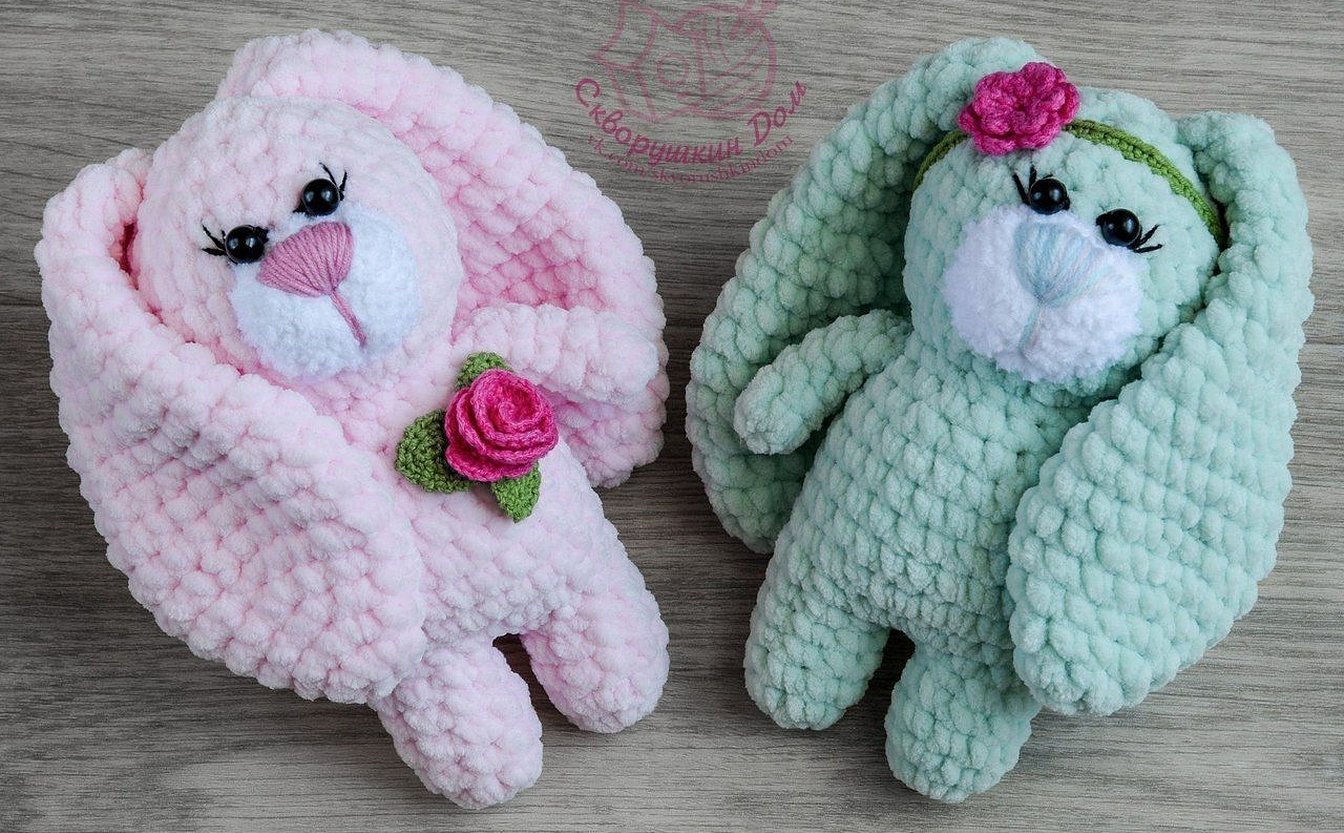
A plush bunny is a cute and attractive toy. It can become a soft friend for a child or an addition to the interior design. This article describes in detail how to create a bunny from plush yarn using a crochet hook (master class).
Specifics of plush yarn
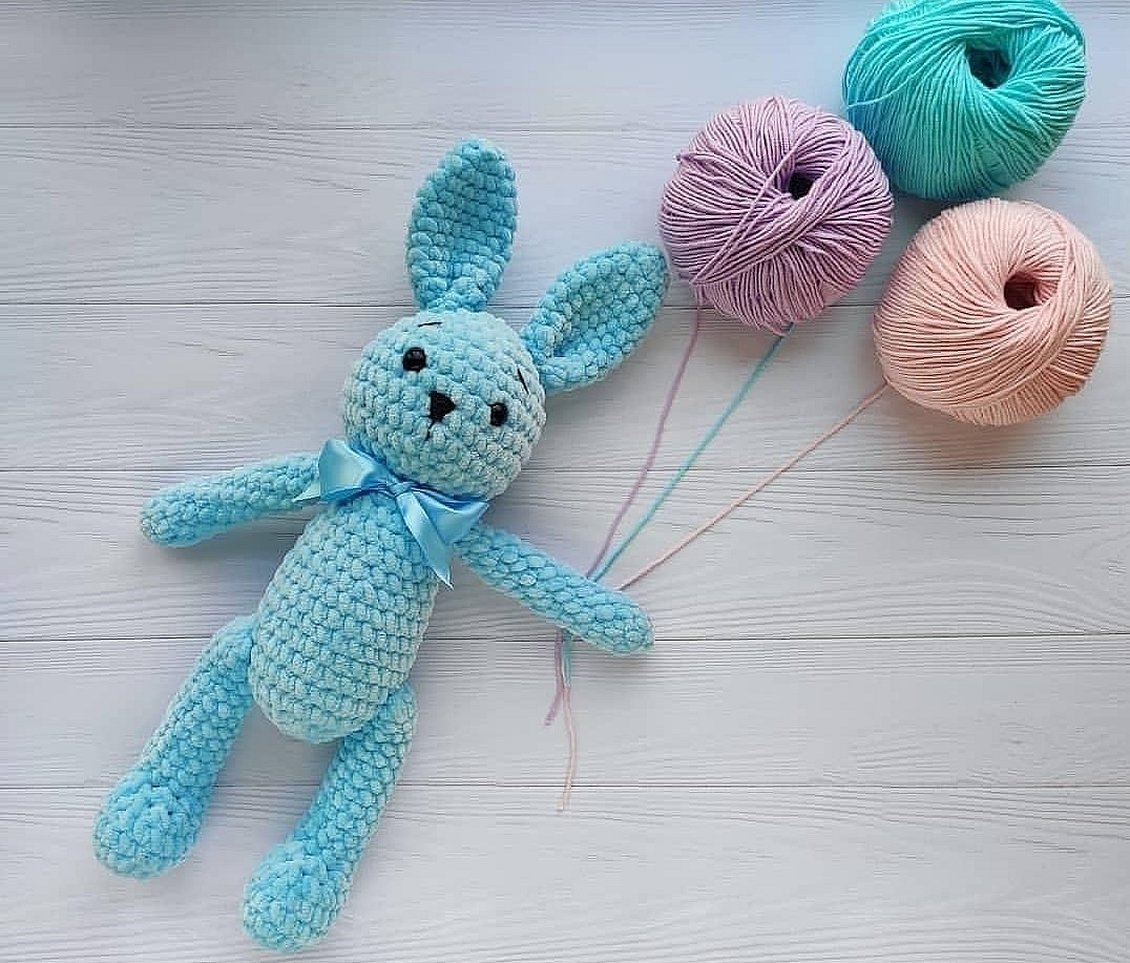
Velour, marshmallow, plush threads or chenille most often consist entirely of synthetic fibers. Such yarn, made of many soft and silky villi, tightly and evenly woven into the base thread, has a number of positive qualities:
- retains its shape perfectly and can withstand repeated washing;
- painted in a variety of bright and attractive colors that do not fade in the sun;
- pleasant to the touch;
- absolutely hypoallergenic.
Thanks to these properties, plush yarn is often used for knitting children's clothes and toys. The most popular yarn brands are Alize Puffy, Yarnart Happy and Himalaya Dolphin Baby.
Attention! If the work is done with knitting needles, the simplest patterns are used, such as satin stitch, which even beginners can handle.
Marshmallow threads are very textured in themselves and the product made from them turns out spectacular. For the hook, it is also enough to use the most basic techniques - air loops, double crochets and single crochets.
What tools and accessories are needed to knit a plush bunny
When making a bunny or any other toy from thick and loose plush threads, it is very important to choose the right tools. It is most convenient to work with a large-diameter hook (at least No. 4). Manufacturers write their recommendations on this matter on the labels attached to each skein of yarn.
Also, when working with a crochet hook, the length of the pile matters. Too fluffy a thread is inconvenient for knitting with this tool, it is better to take it for a knitting pattern. But finely fluffy plush is an ideal option in the case of a crochet hook.
For stuffing, you can use any of the modern synthetic materials, such as holofiber or artificial fluff. They are quite loose and light, do not bunch up inside the toy, and allow you to wash the product.
It is necessary to prepare eyes and a nose from the accessories or beads for their execution. Also, eyebrows with eyelashes and embroidery threads may be useful for decorating the muzzle. If the plush bunny is to be dressed in a suit or dress, then it is worth thinking about scraps, ribbons and other consumables for creating an outfit.
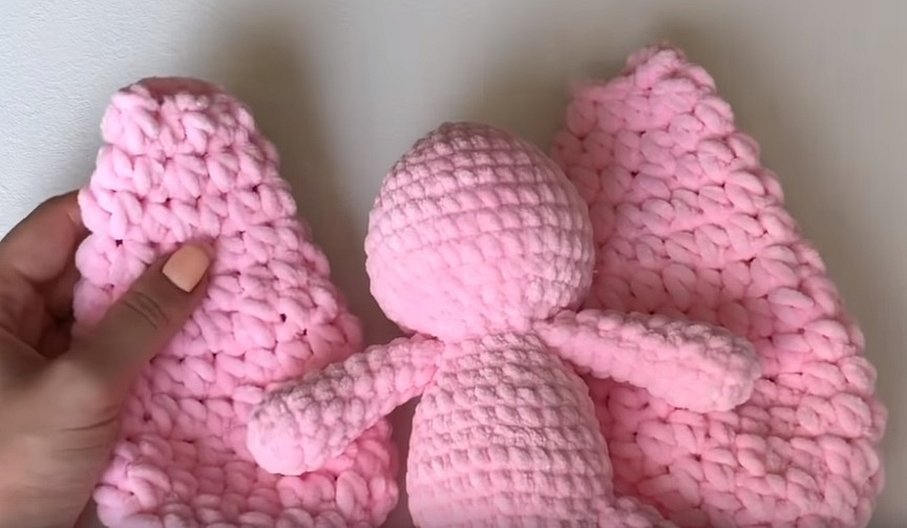
Knitting process step by step
There are many ways to knit a plush bunny. It can be a toy in the amigurumi technique or a figurine in the style of Tilda. A bunny made of plush yarn crochet is a master class that will help you make a cute marshmallow animal with your own hands.
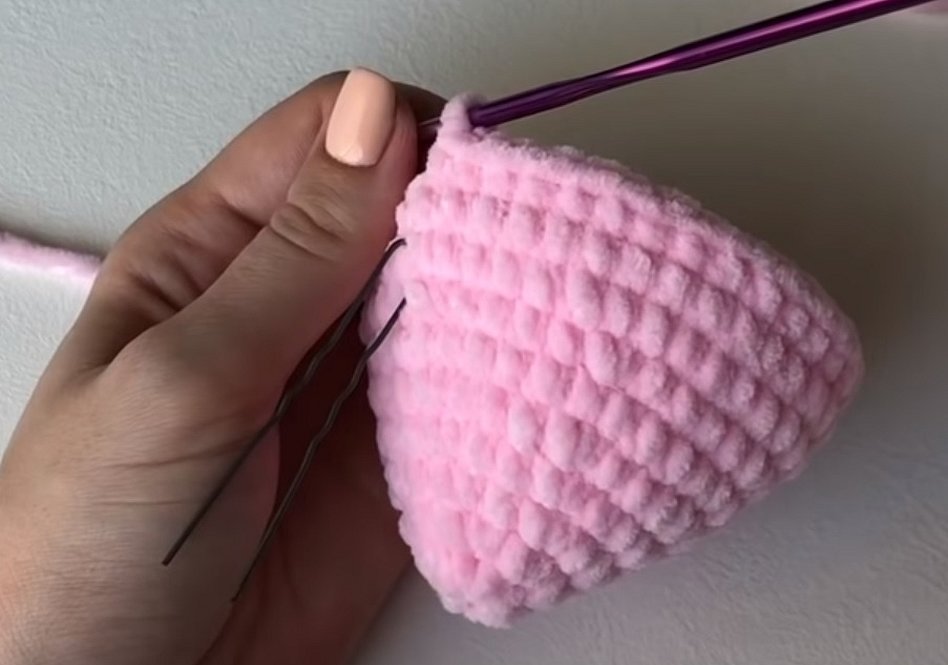
Head
This piece is knitted from top to bottom. The entire step-by-step process consists of several steps:
- 0 p. - close 3 air loops into a ring.
- Row 1 - 6 single crochets.
- Row 2 - perform 1 increase from each column of the previous row = 12.
- 3 r. — (1 st.b/n, 1 increase)*6 = 18.
- 4 rub. - (2 st.b/n, 1 increase) * 6 = 24.
- 5 p. = 24.
- 6 rub. - (3 st.b/n, 1 increase) * 6 = 30.
- 7 p. = 30.
- 8 rub. - (4 st.b/n, 1 increase) * 6 = 36.
- 9-12 p. = 36.
- 13 rub. - (4 tbsp, 1 decrease) * 6 = 30.
- 14 rub. - (3 tbsp, 1 decrease) * 6 = 24.
- 15 rub. - (2 tbsp, 1 decrease) * 6 = 18.
- 16 rub. - (4 tbsp, 1 decrease) * 3 = 15.
The thread is cut and fixed. The head is stuffed through the hole and put aside.
Body
This piece is knitted from the bottom up. Later, the body is sewn to the head in the neck area:
- 0 p. - close 3 air loops into a ring.
- Row 1 - 6 single crochets.
- Row 2 - perform 1 increase from each column of the previous row = 12.
- 3 r. — (1 st.b/n, 1 increase)*6 = 18.
- 4 rub. - (2 st.b/n, 1 increase) * 6 = 24.
- 5 rub. - (3 st.b/n, 1 increase) * 6 = 30.
- 6-10 p. = 30.
- 11 rub. - (3 tbsp, 1 decrease) * 6 = 24.
- 12-13 p. = 24.
- 14 rub. - 2 st.b/n, 1 decrease) * 6 = 18.
- 15-16 p. = 18.
- 17 rub. - (4 tbsp, 1 decrease) * 3 = 15.
Cut the thread and secure it, stuff the piece tightly with filler through the hole.
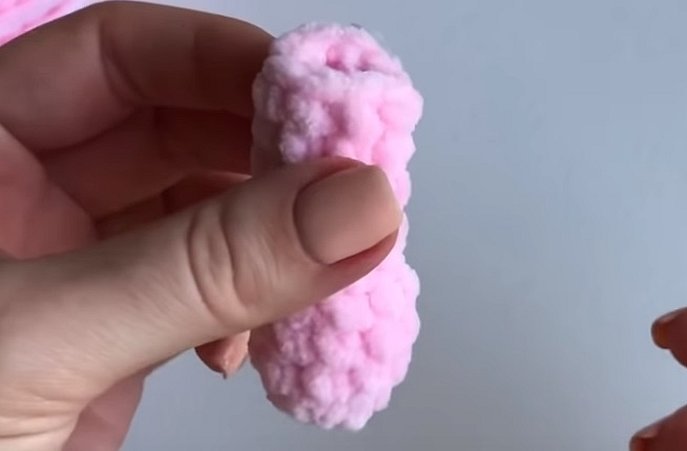
Handles
Knitting the upper paws is very simple. You just need to do the following:
- 0 p. - close 3 air loops into a ring.
- Row 1 - 4 single crochets.
- Row 2 - make 1 increase from each column of the previous row = 8.
- 3-16 p. = 8.
The finished part is stuffed. The second handle is knitted in exactly the same way.
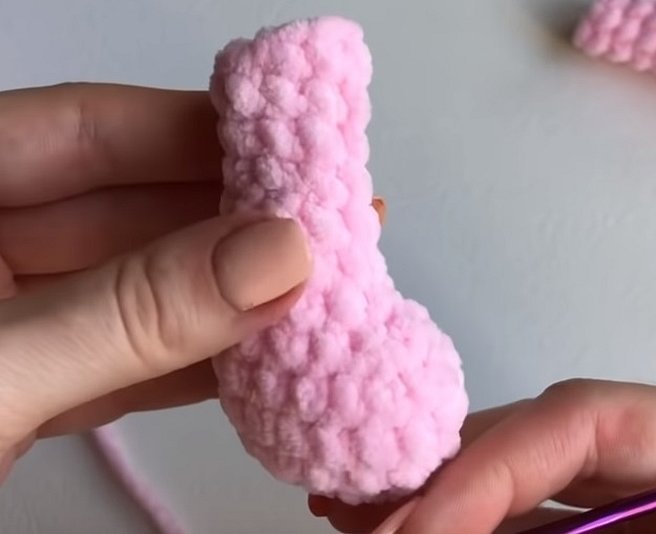
Legs
The lower limbs are also made separately from each other. To knit one paw, follow these steps:
- Make a chain of 5 air loops.
- 2nd row - 3 sc in the 2nd loop from the hook, 2 sc, 3 sc from one loop, 2 sc = 10.
- 3 rows - (3 increases, 2 sc) * 2 = 16.
- 4 rub. - (1 increase, 1 st.b/n)*3, 2 st.b/n, (1 increase, 1 st.b/n)*3, 2 st.b/n = 22.
- 5-6 p. = 22.
- 7th row - 3 decreases, 2 sc, (1 decrease, 1 sc)*3, 5 sc = 16.
- 8 rows - 2 decreases, 2 sc, (1 decrease, 1 sc) * 2, 4 sc = 12.
- 9-13 p. = 12.
- 14 rub. — 1 decrease, 10 stb/n = 11.
- 15 p. = 11.
- 16 rub. - 1 decrease, 9 st.b/n = 10.
Stuff the finished piece and knit the second leg in the same way.
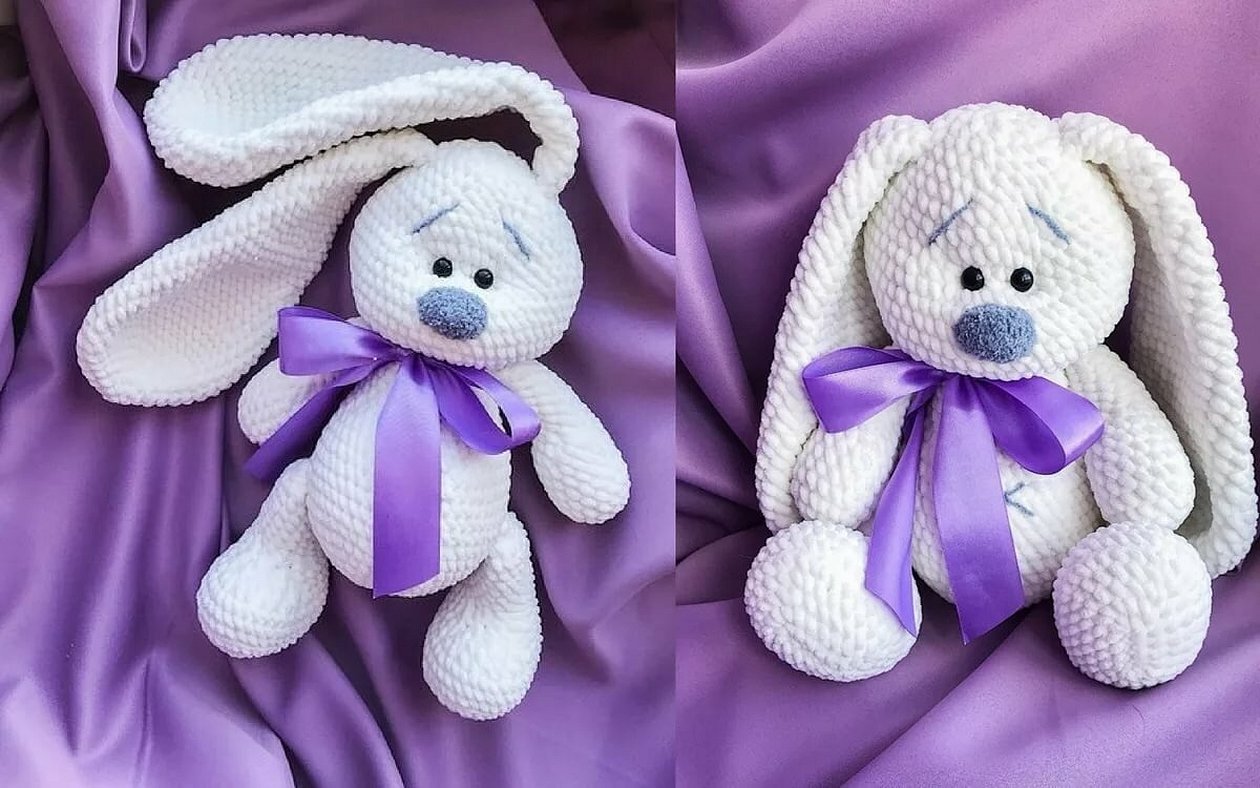
Ears
The bunny's ears are hanging due to the lack of stuffing. But they are knitted in the same way in a circle as the other parts:
- 0 p. - close 3 air loops into a ring.
- Row 1 - 6 single crochets.
- 2 p. = 6.
- Row 3 - make 1 increase from each column of the previous row = 12.
- 4-5 p. = 12.
- 6 rub. — (1 st.b/n, 1 increase)*6 = 18.
- 7-8 p. = 18.
- 9 rub. - (4 tbsp, 1 decrease) * 3 = 15.
- 10 p. = 15.
- 11 rub. - (3 tbsp, 1 decrease) * 3 = 12.
- 12-17 p. = 12.
- 18 rub. - (2 tbsp, 1 decrease) * 3 = 9.
- 19-20 p. = 9.
- 21 rub. - (1 st.b/n, 1 decrease)*3 = 6.
- Row 22 - fold the piece in half and knit 3 single crochet stitches, joining the back and front parts of the ear.
The second piece is knitted in exactly the same way as described above.
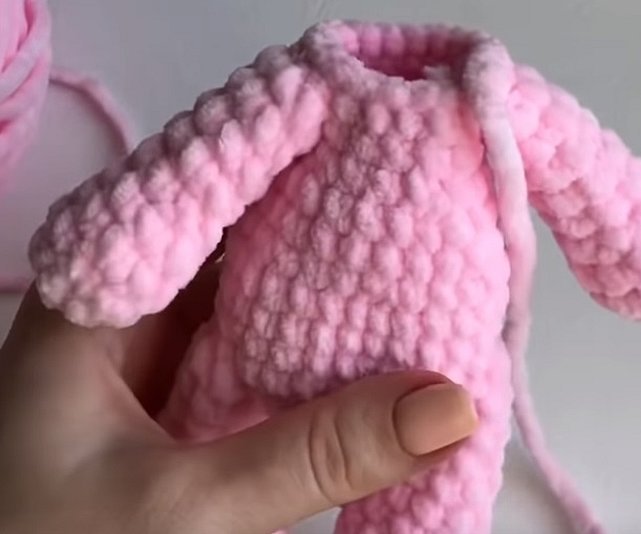
Assembly
All parts of the bunny's body are pinned together using pins.
Attention! If necessary, you can change the position of the paws or ears while they are not yet attached to the body. If the appearance of the toy is satisfactory, then the parts are sewn together.
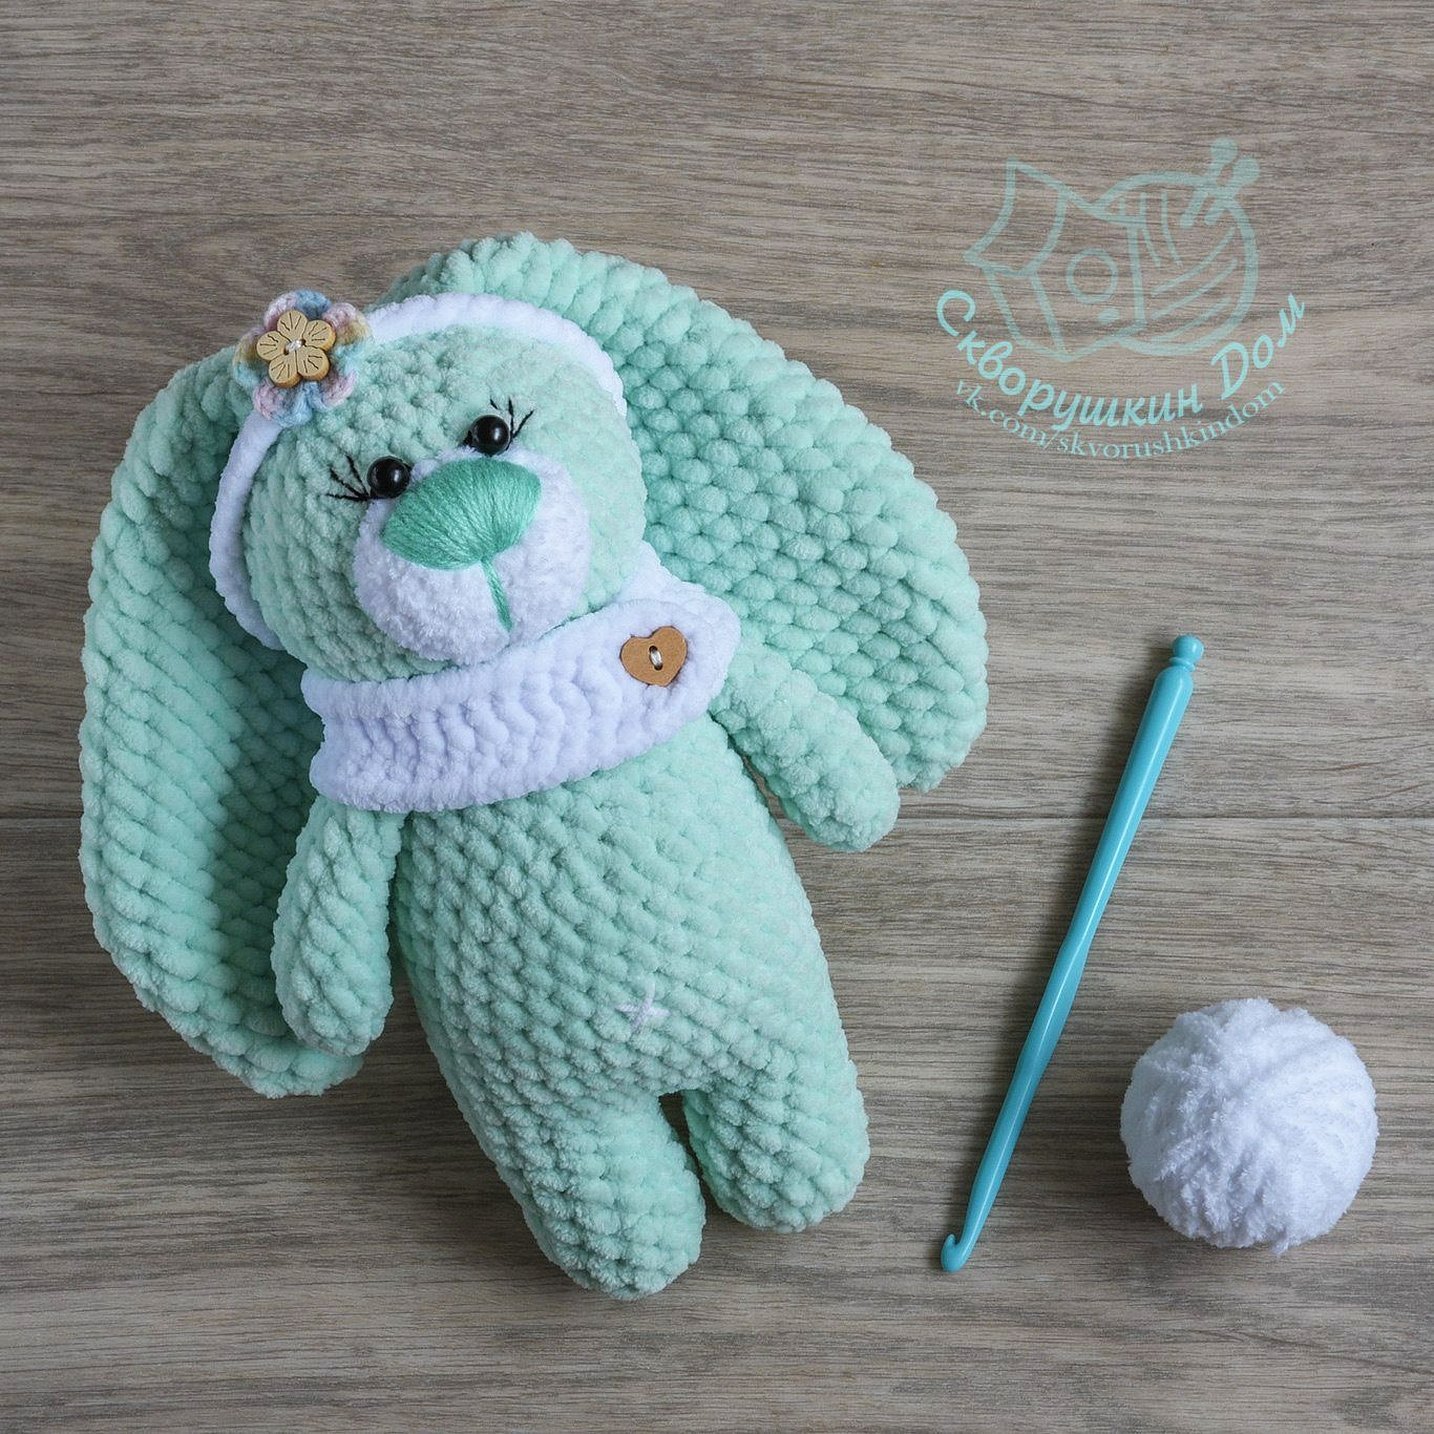
How to make a muzzle
To form the hare's muzzle, a small tightening is done in place of the eyes. To do this, a thread is pulled inside the head, inserting and removing the needle in place of the depressions.
The eyes themselves are glued or sewn into the resulting indentations and complemented with eyelashes and eyebrows.
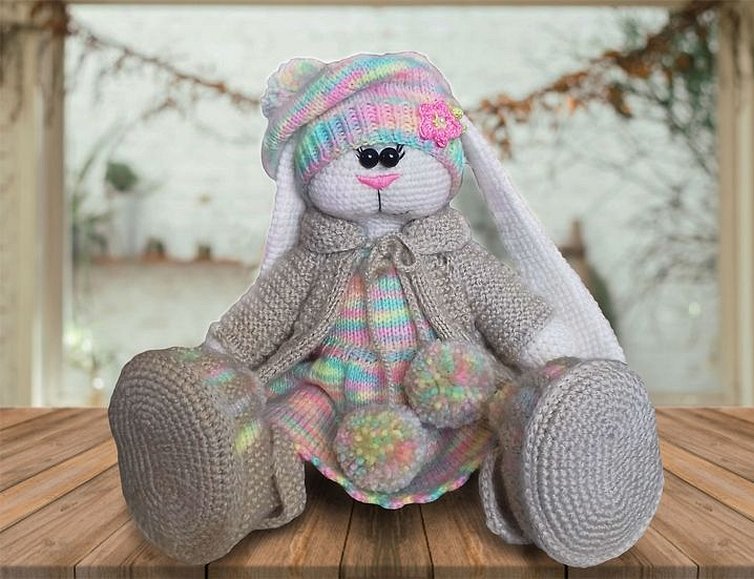
How to knit a tilde bunny
Toys in the Tilda style have their own characteristics. A bunny knitted in this technique can be recognized by the following signs:
- The figurine is knitted from natural cotton-based yarn.
- The doll has a whole wardrobe and a set of accessories decorated with lace and ribbons.
- Both the toy itself and its clothes are made in pleasant pastel colors.
- The hare has a classic height of about 40-50 cm.
Among the existing plush yarns, you can also find cotton yarn with a small pile, which is suitable for a tilde bunny. Work on the toy is carried out according to the same description as suggested above, but to increase the overall height, longer arms and legs are knitted.
Also, when decorating a knitted tilde, the eyes are made from beads, and not from the corresponding fittings.
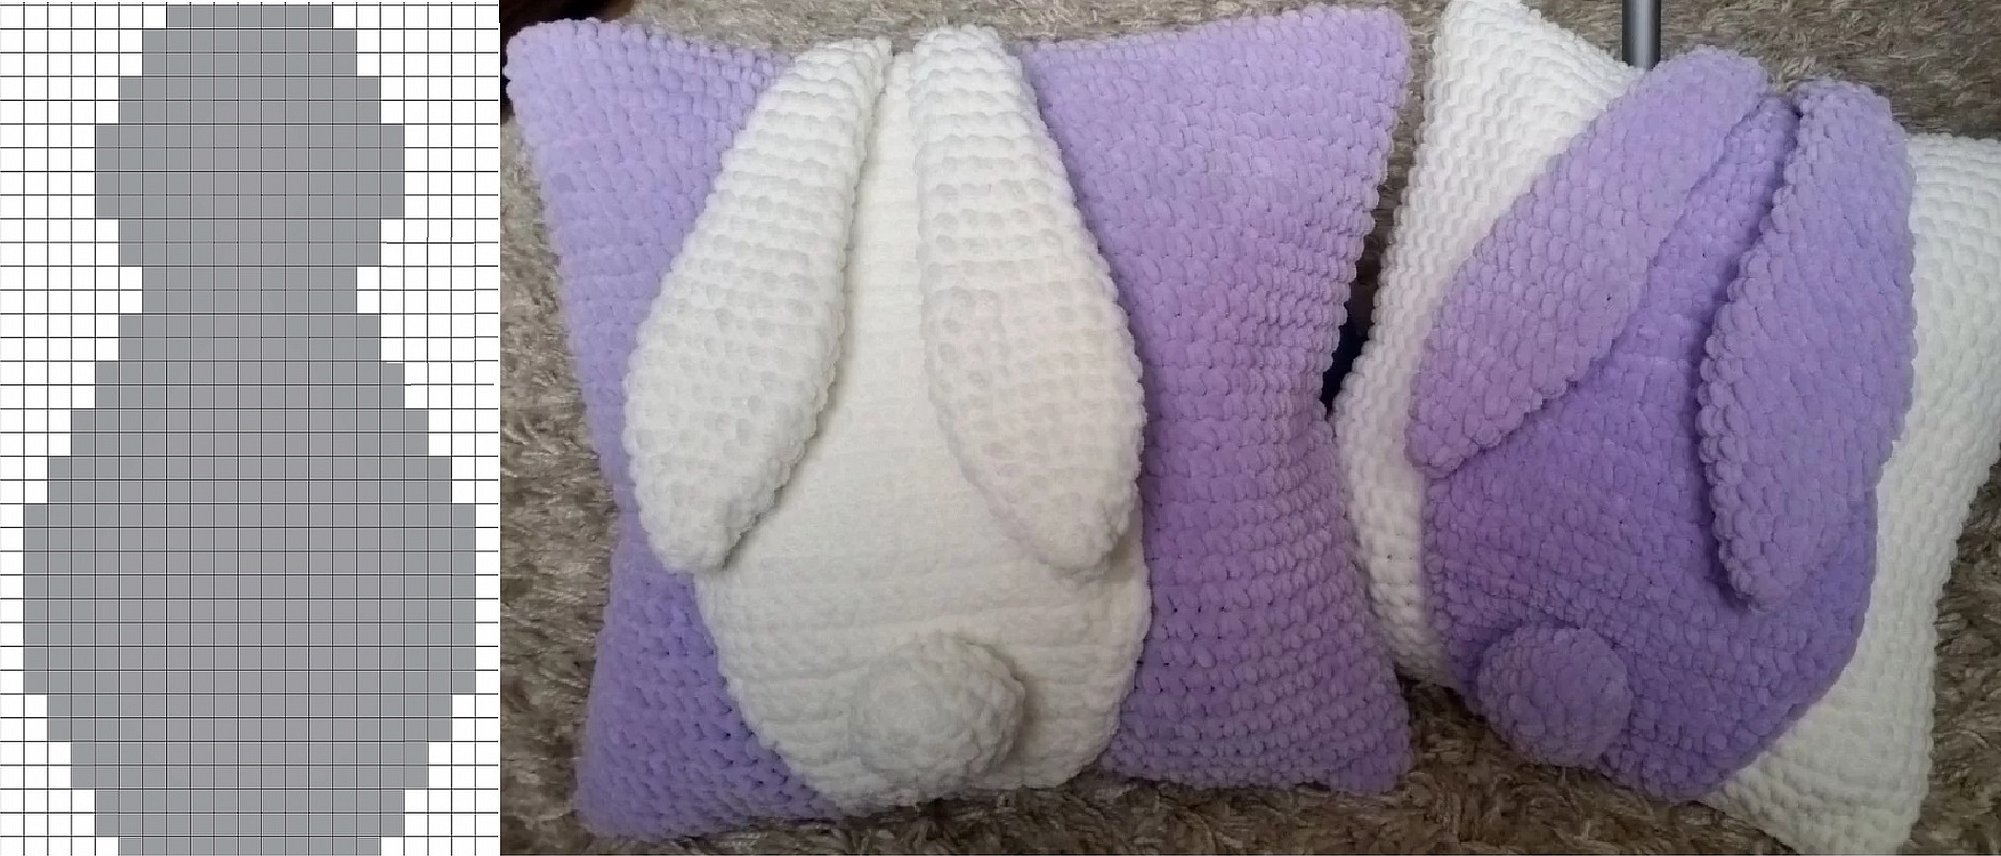
How to knit a pillow with a hare from velvet yarn
There is also nothing complicated in knitting a pillow with a hare from velvet yarn. All work in this MK is done in a circle:
- 0 p. - dial a chain of 30 air loops.
- Row 1 - knit 30 single crochet stitches, turn the resulting strip and from each loop of the original chain knit another 30 single crochet stitches = 60.
- Then continue working in circles until the height of the pillow reaches the desired level (in this case, you should get a square).
Put the finished velvet pillowcase aside. Separately, using turning rows, knit the silhouette of a bunny from white or gray plush yarn according to the suggested pattern.
After the hare figure is ready, knit the ears. You need to knit in a circle again:
- 0 p. - close 3 air loops into a ring.
- Row 1 - 6 single crochets.
- 2 p. = 6.
- Row 3 - make 1 increase from each column of the previous row = 12.
- 4-5 p. = 12.
- 6 rub. — (1 st.b/n, 1 increase)*6 = 18.
- 7-10 p. = 18.
- 11 rub. - (7 tbsp, 1 decrease) * 2 = 16.
- 12 p. = 16.
- 13 rub. - (6 tbsp, 1 decrease) * 2 = 14.
- 14-15 p. = 14.
- 16 rub. - (5 st.b/n, 1 decrease)*2 = 12.
- 17-18 p. = 12.
- 19 rub. - (4 tbsp, 1 decrease) * 2 = 10.
- 20-21 p. = 10.
- 22 rub. - (3 tbsp, 1 decrease) * 2 = 8.
- 23-24 p. = 8.
- 25 rub. - (2 tbsp, 1 decrease) * 2 = 6.
- 26 p. = 6.
- Row 27 - fold the piece in half and knit 3 sc, joining the back and front parts of the ear.
The second ear is knitted in exactly the same way. No need to stuff the parts.
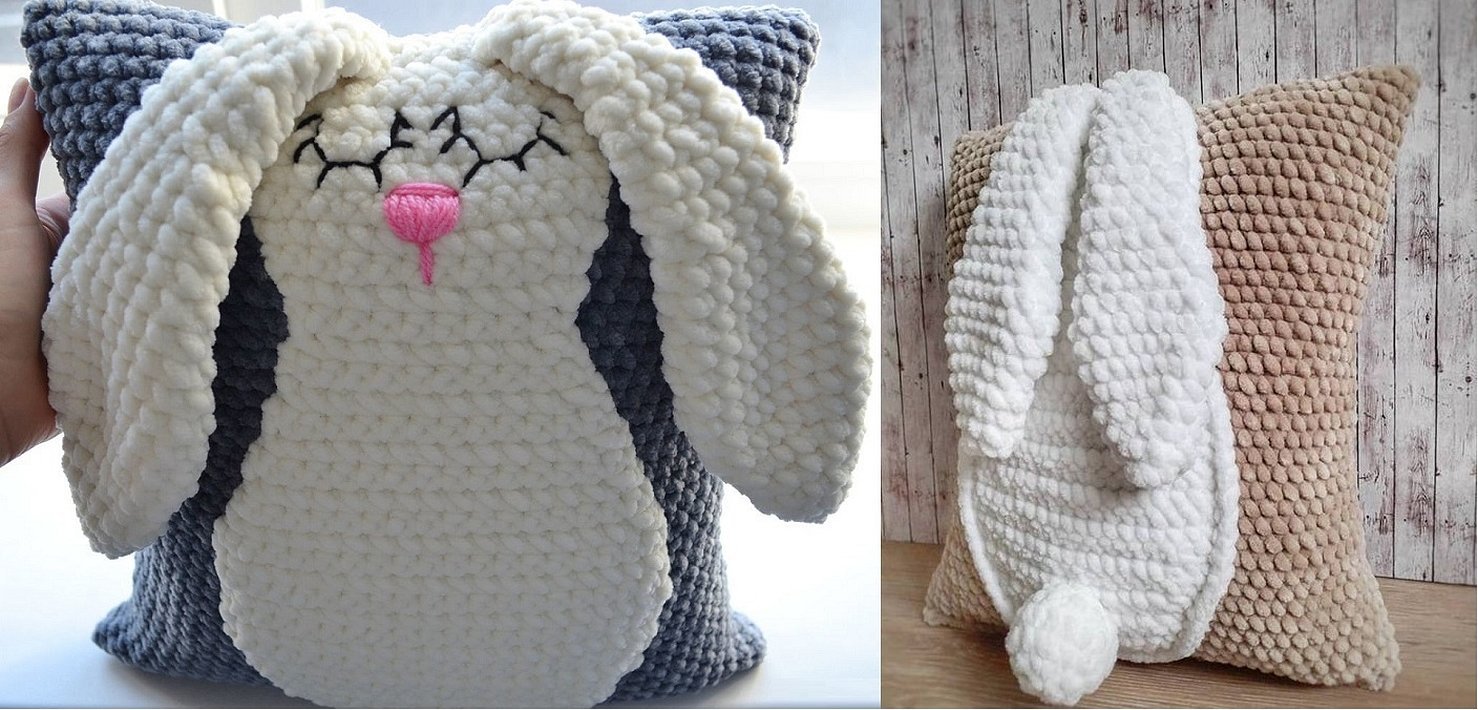
If the bunny on the pillow should be turned with its back, and not its muzzle, then you also need to knit a tail. The detail is knitted in a circle:
- 0 p. - close 3 air loops into a ring.
- Row 1 - 6 single crochets.
- Row 2 - perform 1 increase from each column of the previous row = 12.
- 3 r. — (1 st.b/n, 1 increase)*6 = 18.
- 4 p. = 18.
- 5 rub. - (1 st.b/n, 1 decrease)*6 = 12.
- 6 rub. - (1 st.b/n, 1 decrease)*6 = 6.
Cut the thread and secure it. Fill the piece with stuffing.
Next comes assembly: a zipper is sewn into the cover, and all the parts are tacked to the cover.
For reference! If the hare is turned face down and not back down, then the eyes and nose are embroidered.
By following the instructions given in the article, even a beginner knitter will be able to create a fluffy bunny from plush threads. Not only the result, but also the simple knitting process will bring pleasure.


