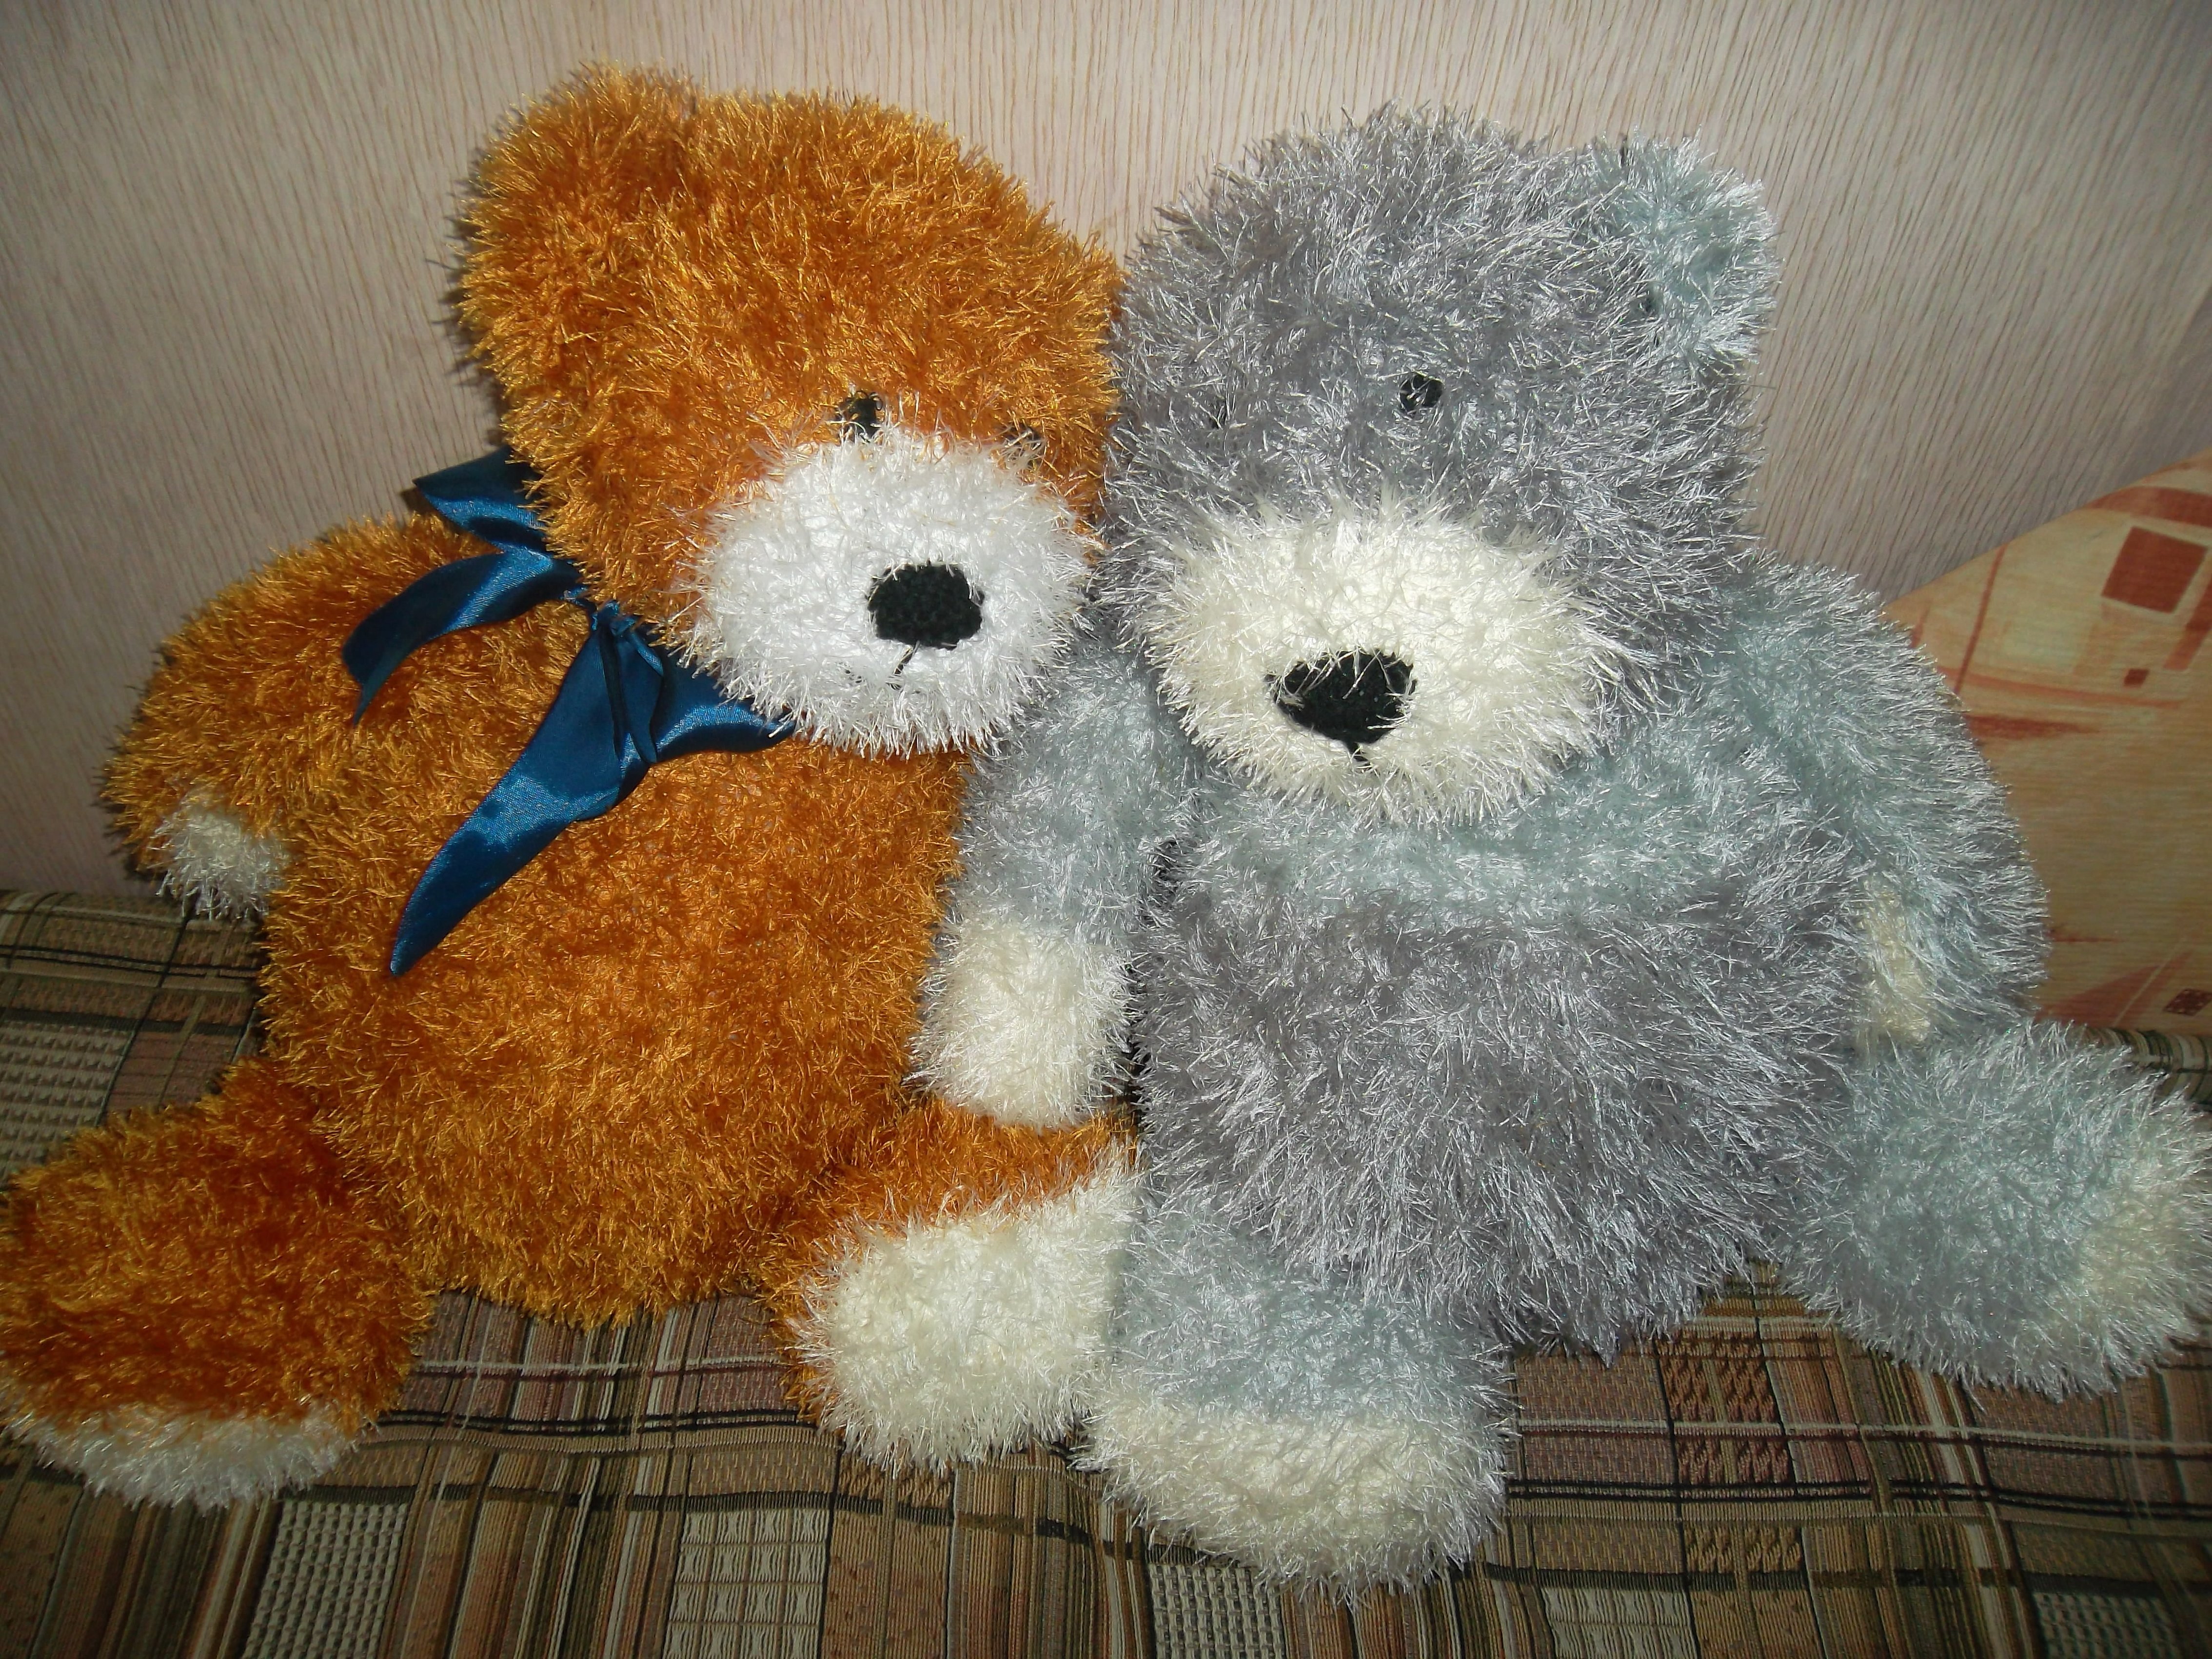
Today, handmade toys are highly valued compared to store-bought products. If previously preference was given to store-bought teddy bears, now buyers choose knitted or crocheted bears. Such handmade products are filled with the warmth of the soul of the needlewoman who knows how to knit a bear with knitting needles. Below is a detailed description. MK shows an easy principle of work, but it needs to be grasped.
How to choose yarn for knitting a toy
The bear is knitted with knitting needles from different types of yarn. The combination of threads determines the appearance of the future product by 50%. The following are suitable for knitting a plush Teddy bear with knitting needles according to the diagram and description:
- Tweed with a special coloring to obtain a toy in a vintage style.
- Mohair - the bear will be soft, fluffy, but quite hairy. It is better not to give this to newborns and children aged 0-3 years.
- Velour acrylic yarn. Not recommended for beginners, as it is quite difficult to count the loops.
- Velour like Himalaya Dolphin Baby. A popular type of material among craftswomen of children's toys, but the products made from it are large.
- Semi-wool or wool thread of the corresponding color. Such toys should not be given to newborns and children under 12 months, due to the fact that they like to taste everything.
- Semi-cotton like Yarn Art Jeans, but it is more suitable for small items.
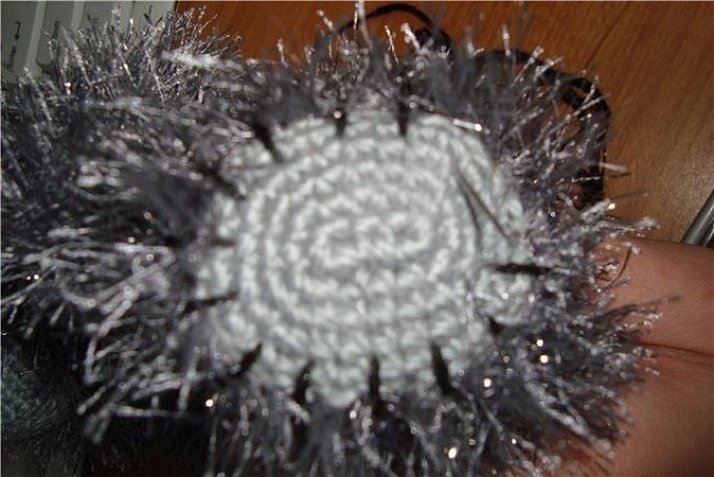
- Various types of grass. It makes funny little animals with slightly ruffled fur.
Attention! In this master class, dark gray "grass" yarn was used. If desired, you can choose any other shade for the knitted bear.

Tools and accessories for knitting toys
It is impossible to knit a teddy bear without the necessary tools and accessories.
You will need the following:
- A skein of "grass" thread.
- Knitting needles No. 4.
- Hook No. 1.5.
- Regular yarn in a different color.
- Sewing threads or floss for embroidering the face.
- Eye fittings (beads, buttons).
- Padding material (synthetic padding, holofiber, cotton wool and similar).
- Scissors.
Knitting a soft toy bear with knitting needles with diagrams and description: master class
It is important to remember that the knitting should be tight. This will give neatness to the loops and prevent the appearance of gaps in the knitted fabric through which the filler can be seen or squeezed out.
Description of the process of knitting a Teddy bear
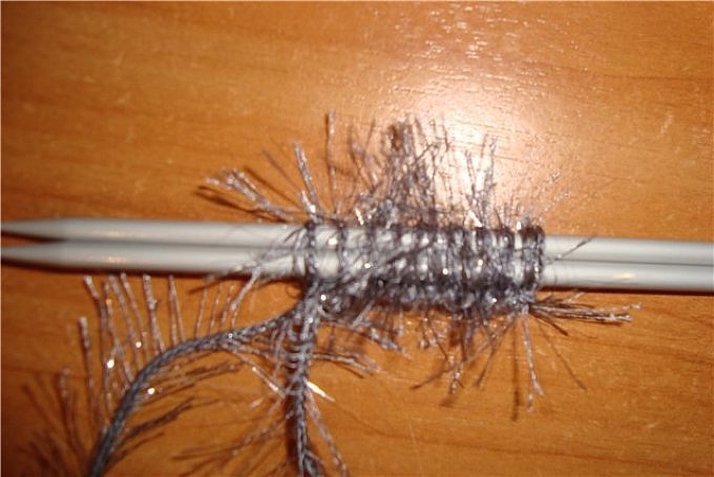
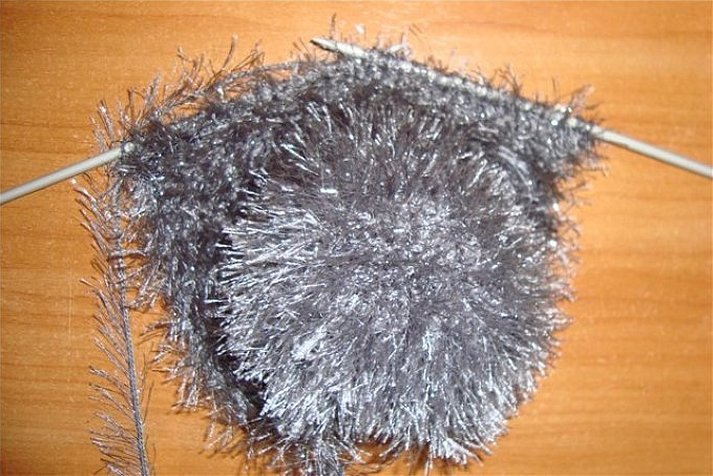
All work is done in garter stitch. Start with the lower part of the body, then gradually move to the head.
At the first stages, you will need to cast on 11 loops on the knitting needles. Then, in every 2nd row, add another 10 until there are 51 loops on the tools.
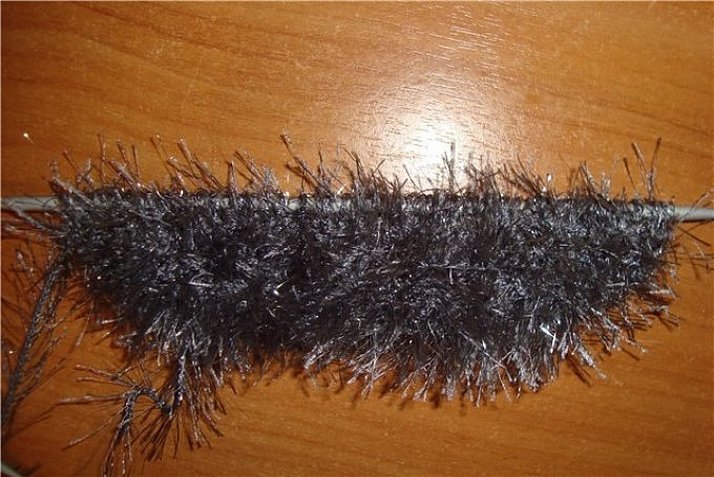
Then knit 3 rows without adding. On the next one, decrease 5 loops. This action is repeated on every 4th row until there are 21 loops left on the needles.
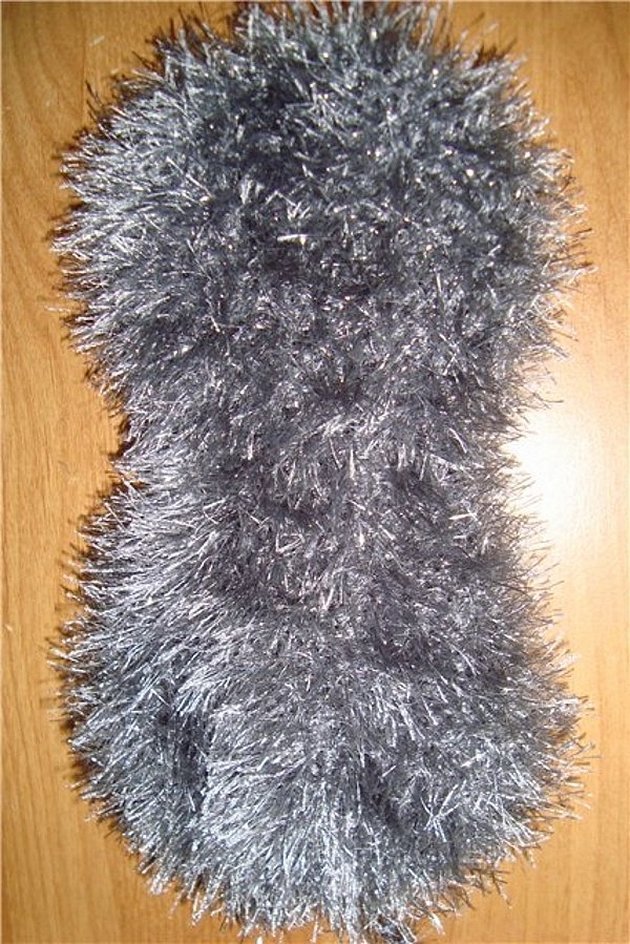
The next stage is the formation of the neck.
Please note! The neck of the future toy is knitted in three rows without increases or decreases.
Once the area allocated for the neck is formed, you can move on to knitting the head: in every 2nd row, 10 additional loops are added twice.
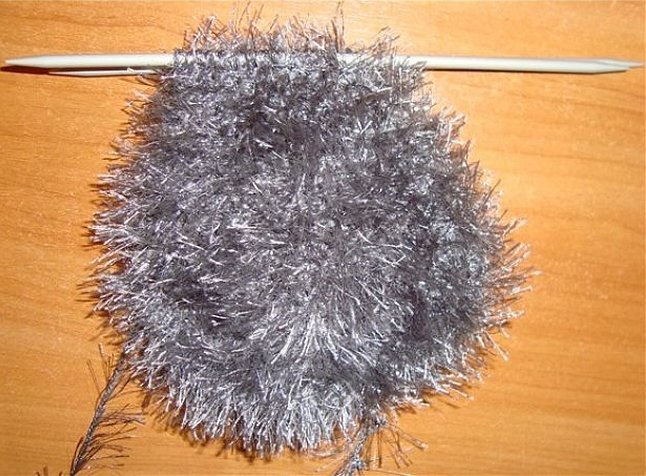
In this way, knitting of the fabric continues until its length exceeds the 4 cm mark.
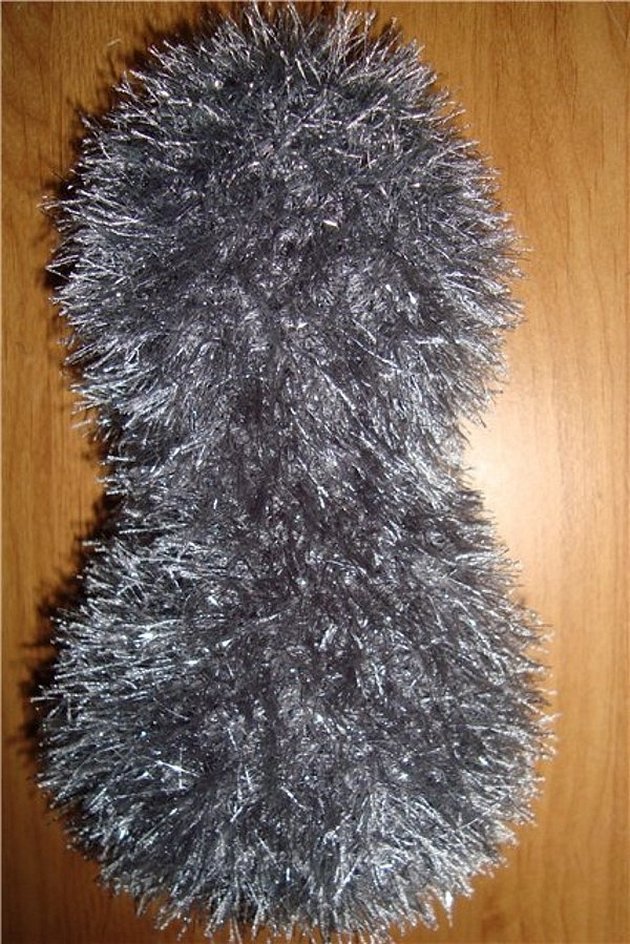
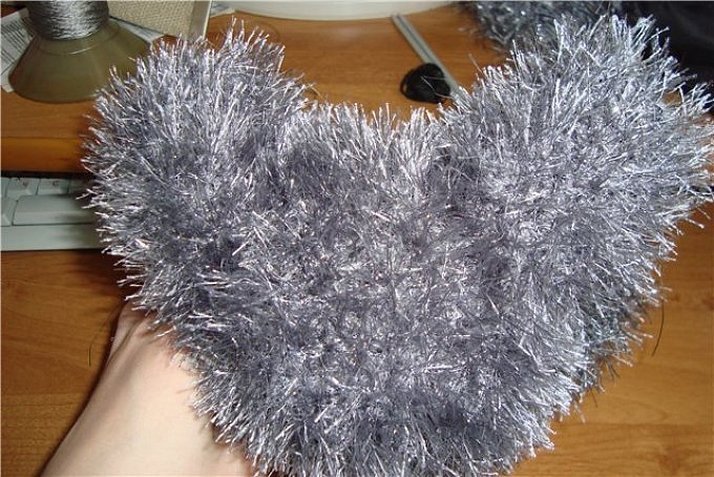
The next step is finishing the head knitting. It is done like this: first, 5 loops are closed, then the row is knitted to the end. Then, in every second row, you need to close 10 loops three times.
The thread is pulled through the remaining loops on the needle and the work is tightened. Now you can stuff the resulting product and sew up the edges.
Technique of making the product
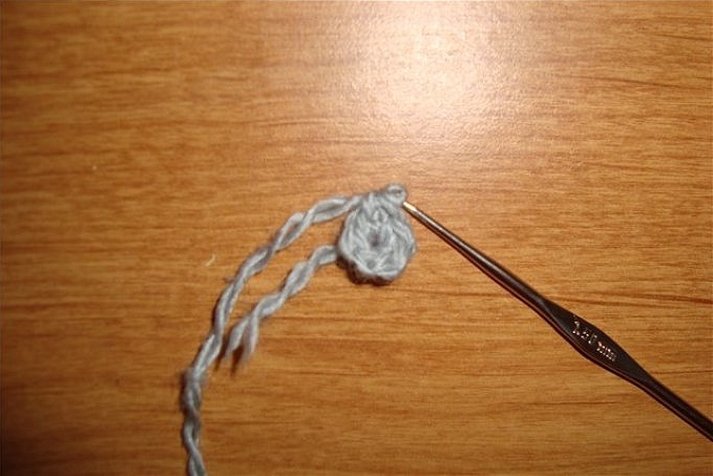
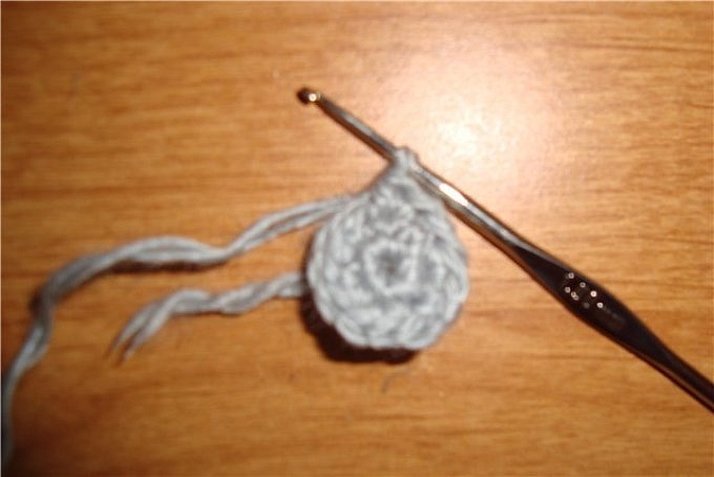
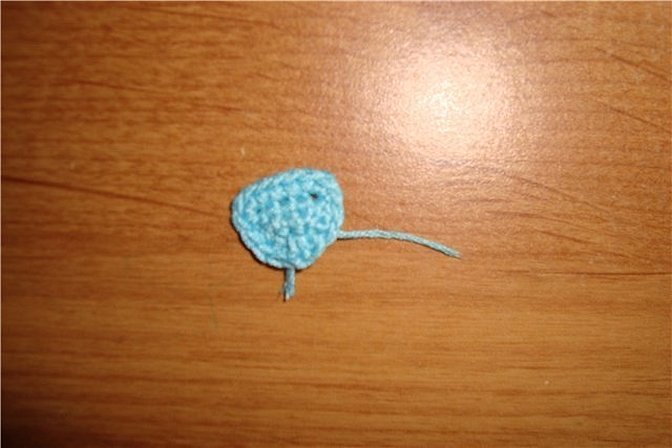
When the blank is formed, you can proceed to making the muzzle, paws and ears. To knit the muzzle, you will need a hook. Work begins with 3 loops, 6 single crochets are added to the last one, and the ring is closed.
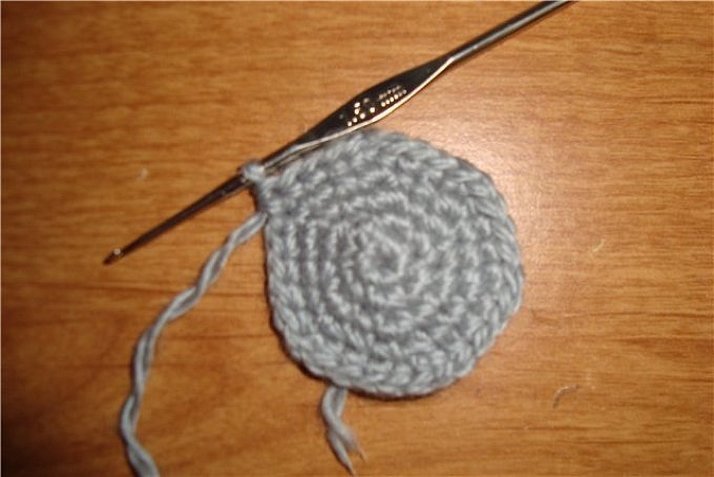
Then knitting continues according to the pattern:
- Row 2 should consist of 12 loops: first add 1 single crochet, then 2 into the previous column.
- In 3 - 18 loops: knitting is similar to the previous row, only the increase is repeated 6 times.
- In the fourth - 24 loops, you need to knit 6 times like this: 2 single crochets, knit 1, in the next - 2 single crochets.
- In the fifth - 30 loops, knit 6 times in this way: 3 single crochets, knit 1, in the next - 2 single crochets.
- In rows 6-9, knit without yarn overs.
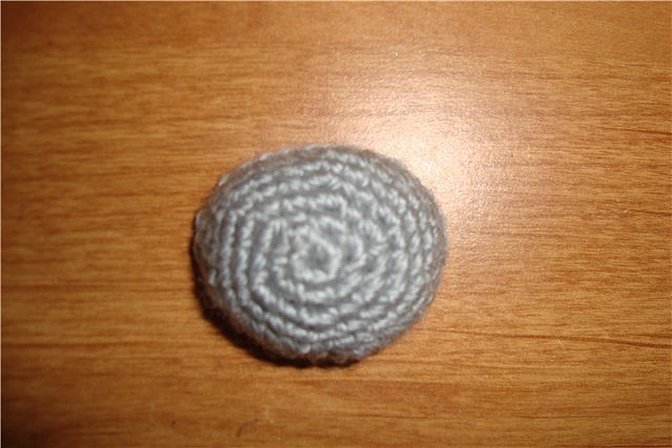
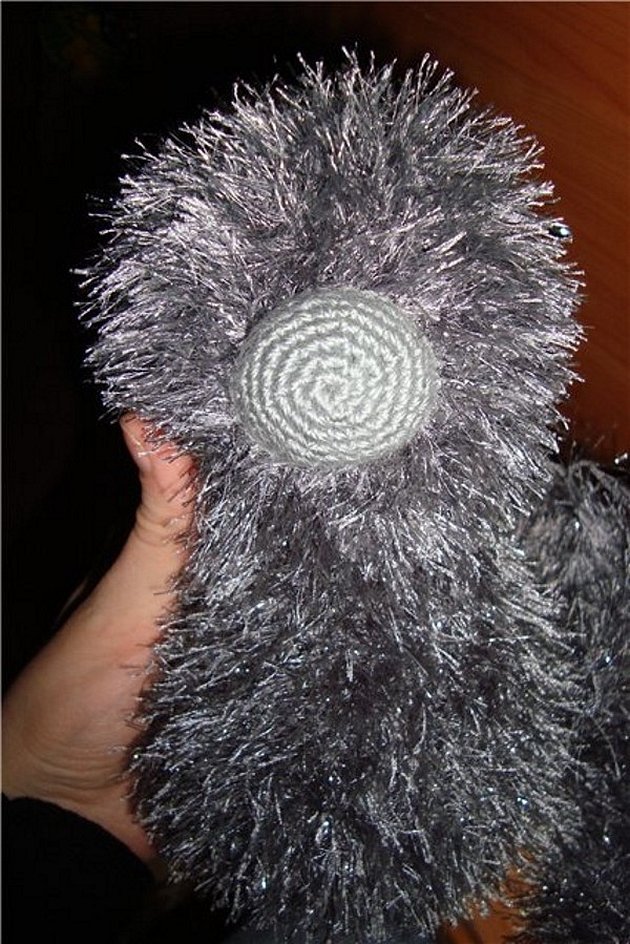
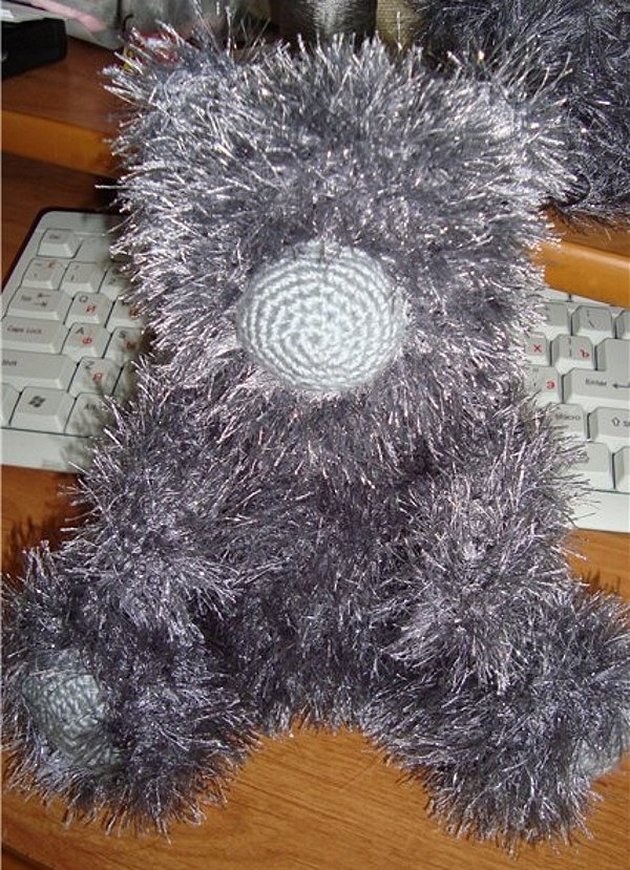
Close the work on the muzzle, place the stuffing inside and sew it to the head.
The next step in the work is knitting the front legs. The work is done in regular knitting and begins with 10 loops.
In every 6th row, add 1 extra loop along the edge until there are 14 loops on the needles. Then knit 6 rows without adding.
In the seventh row, you need to close 7 loops, but the decreases should be evenly distributed across the fabric. At the end, the thread is pulled through the remaining loops, the work is tightened. The second front paw is knitted in a similar way. Then the parts are filled with padding polyester and sewn to the body.
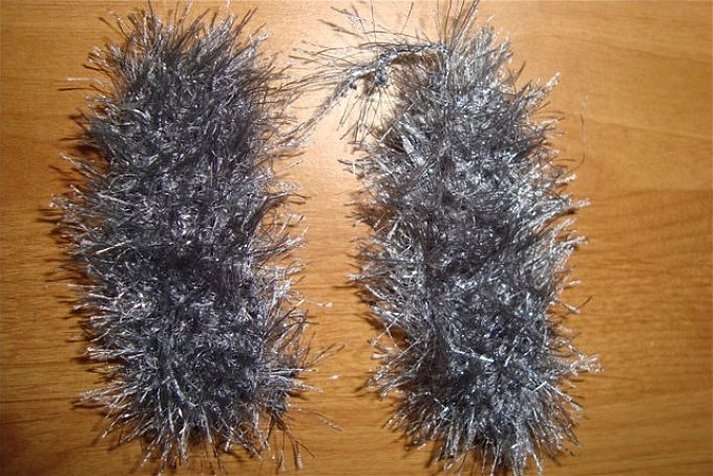
Knitting of the hind legs begins with a set of 30 loops. Work is done from the bottom up.
4 rows are knitted normally, on the 5th row the decrease begins: 13 loops are knitted, 1 is decreased, then 1 front, 2 together, and then another 13 in normal knitting.
In the 7th row, a similar decrease is made, only 12 loops are knitted. The following rows from 9 to 13 are knitted in a similar way with decreases. 14-18 are knitted straight.
Work on the canvas for the hind legs is carried out according to the following scheme:
- Row 19: knit 10, add 1, knit 1, add 1, 10 regular knit.
- Row 21: increase after 11 loops.
- Row 23: increase after 12 loops.
- Row 25: knit 2 loops together 7 times, then 14 times with the front knitting stitch.
- Row 27: closing the work.
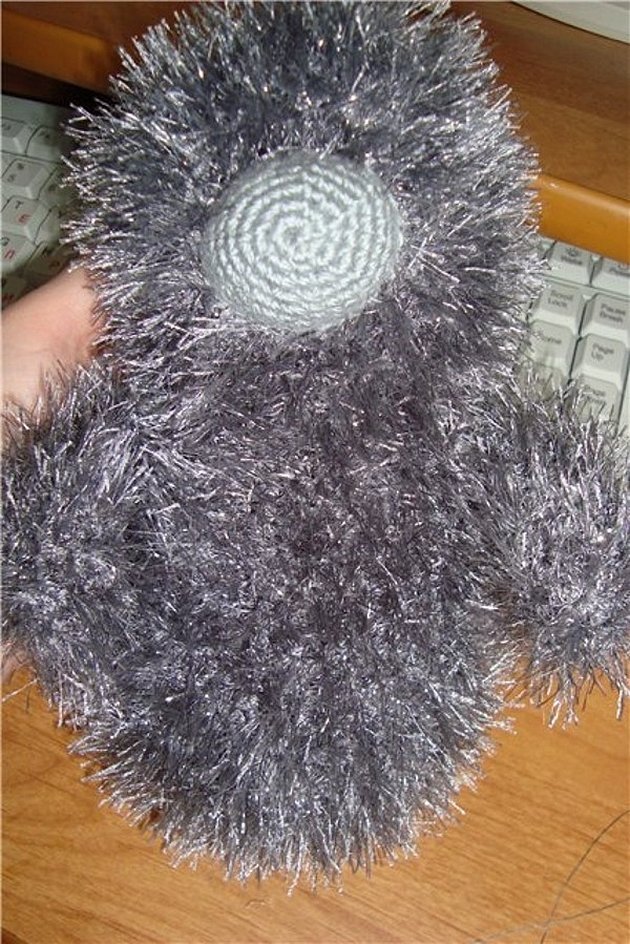
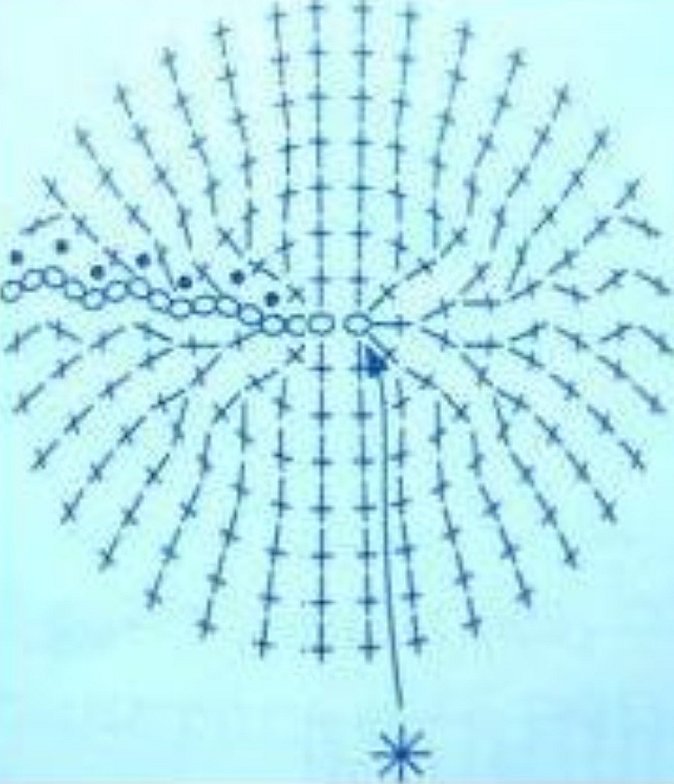
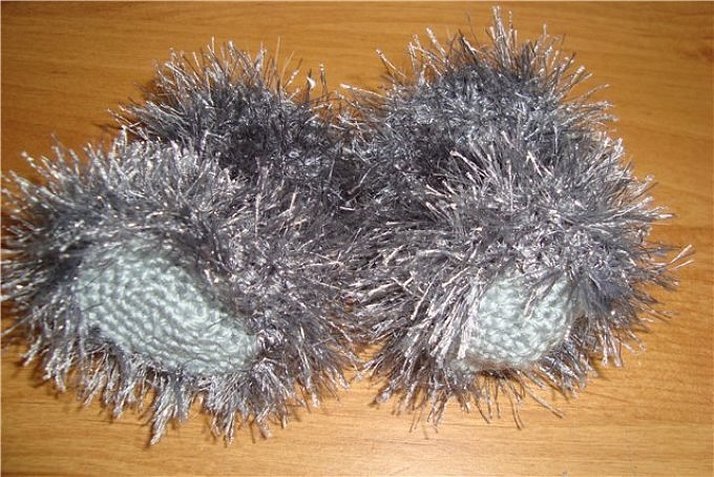
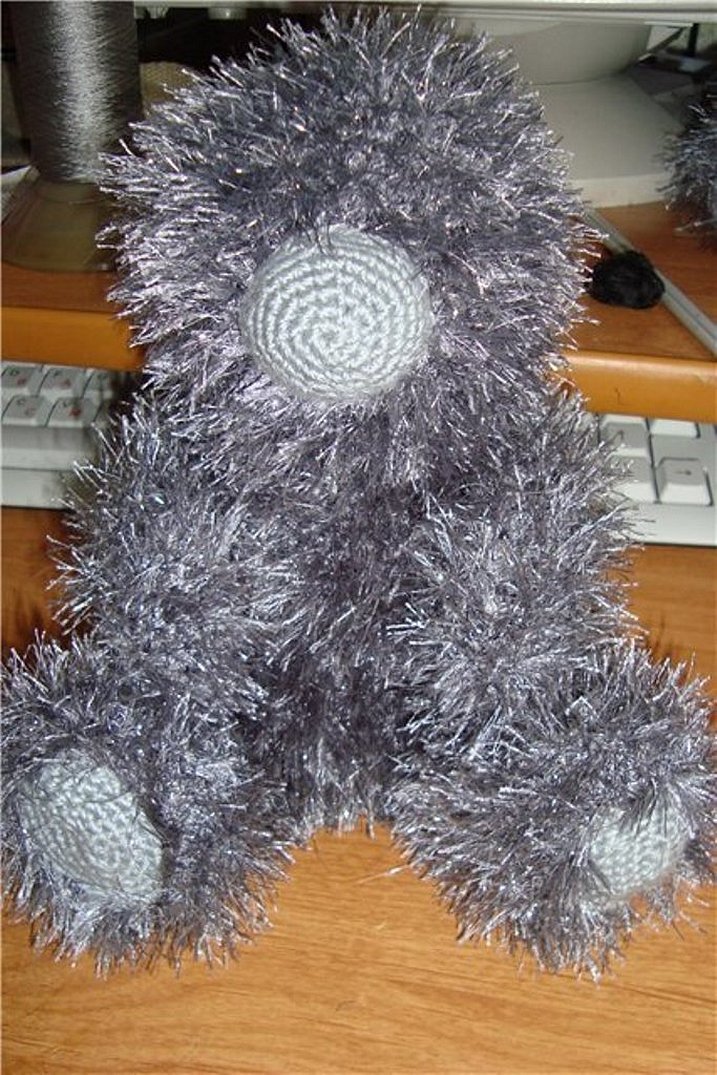
Once the second paw has been made using a similar pattern, you can move on to making the feet using the pattern in the picture below.
When all the parts are prepared, you can start assembling the paws. First, the feet are sewn on, then the filler is placed in the parts.
The next step is to connect the paws and the body.
Knitting of ears starts with 7 loops. In each row, 1 loop is decreased at the edges. At the end, the part is crocheted to give the desired shape.
The second ear is knitted in a similar way. Then the parts are sewn to the head.
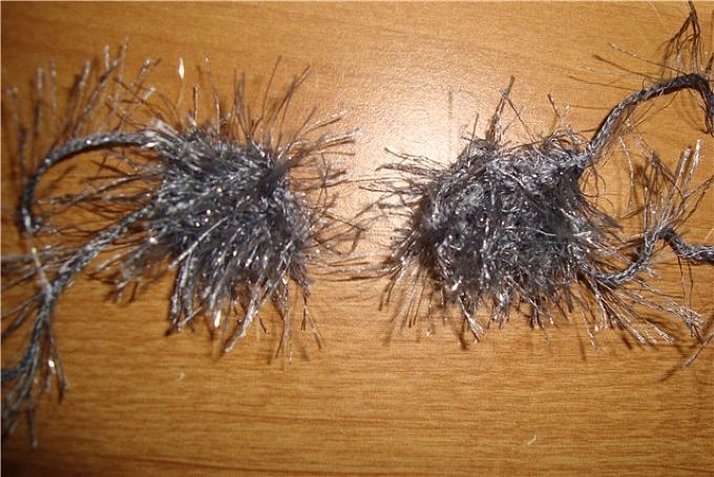
Now all that remains is to sew on the nose, purchased in advance at a hardware store or knitted by yourself, as in the picture below.
Finally, all that remains is to knit the patches for the head and body, and then sew them on with stitches (braid on braid or straight).
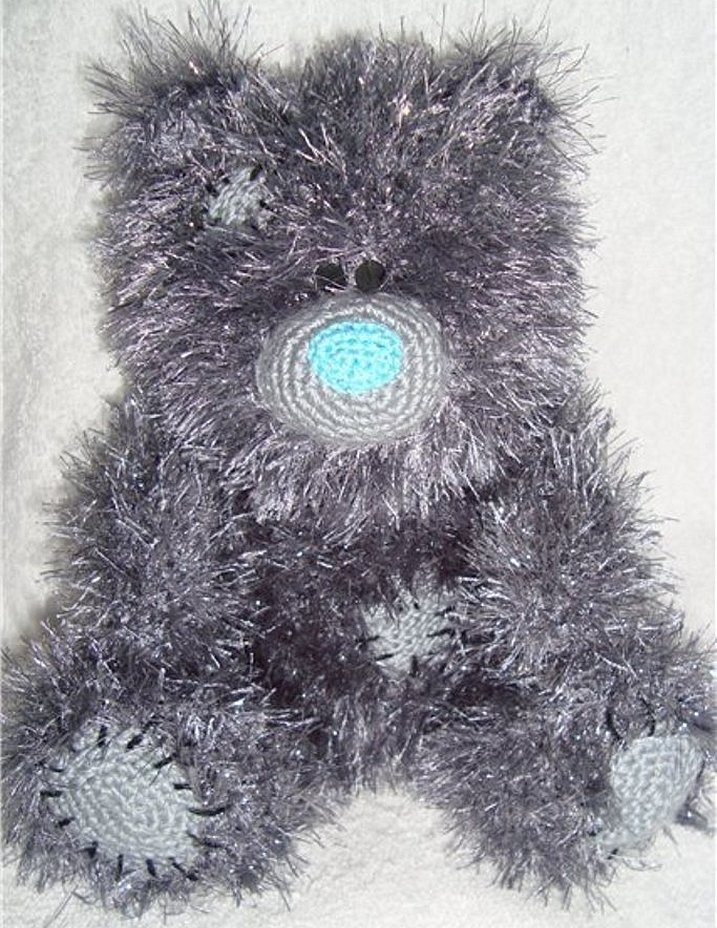
If desired, you can dress the knitted bear in a jacket or overalls. In this simple way, you can knit a plush Teddy.
It is not so difficult to master knitting, and step-by-step instructions and a detailed master class will help those who have little experience. Now any needlewoman can knit a bear with knitting needles.


