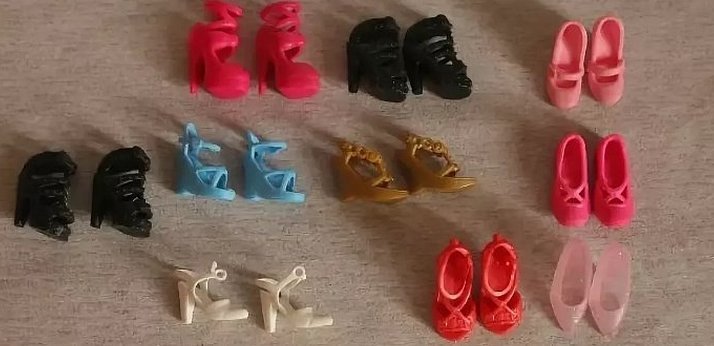
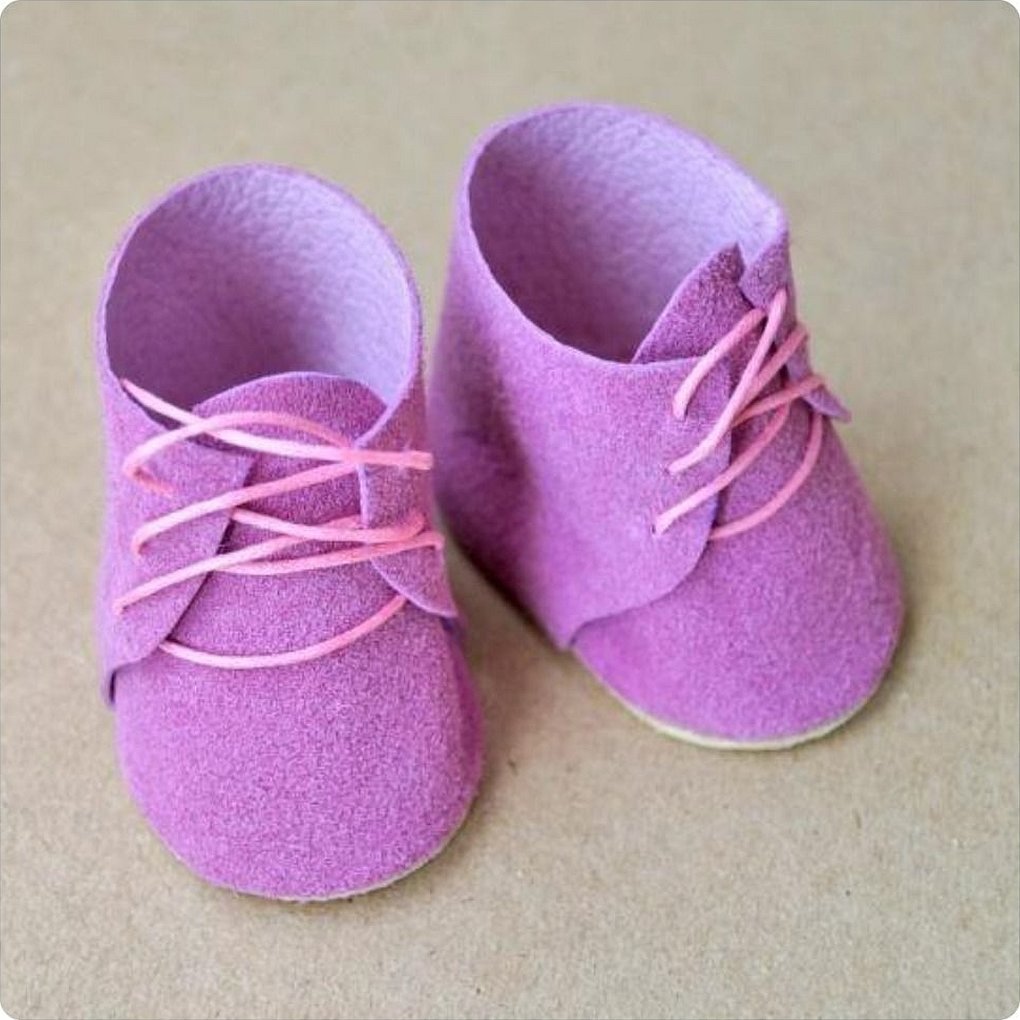
Many girls dream of dressing their dolls in special and beautiful outfits. This applies not only to clothes. Some craftswomen think about sewing shoes for dolls with their own hands. Here, various master classes come to the rescue, according to which you can make different models of shoes, sandals, sneakers and trainers.
Materials for making doll shoes
When thinking about how to make shoes for a doll, you need to stock up on certain materials. You will definitely need the following:
- Patterns. They should be tested and fit the size. If you don't have any, you should sew a trial shoe and get the exact measurements according to it.
- Leather of natural or artificial origin. The first option is preferable due to its good quality. The sole and upper parts are sewn from it. The shoe material for the upper part should be especially dense. This is necessary so that the leather does not stretch. Too thin and too hard texture create problems. The sole also requires a dense modification of the material.
- Thick cardboard, preferably bookbinding. It will serve as the basis for the future insole. A piece of thin leather or cotton can be placed on top. On the other hand, some types of shoes have a regular, cardboard insole. Therefore, you may need cardboard of varying thickness to form an insert between the allowances and the insole. If you do not provide for it, the sole may become uneven and small depressions in the central area are likely to form.
- Threads. They should match the color of the leather or be light, for example, cream or milky. They are used to fasten individual parts. If we are talking about decorative elements, the threads must be thicker (they will provide an expressive stitch).
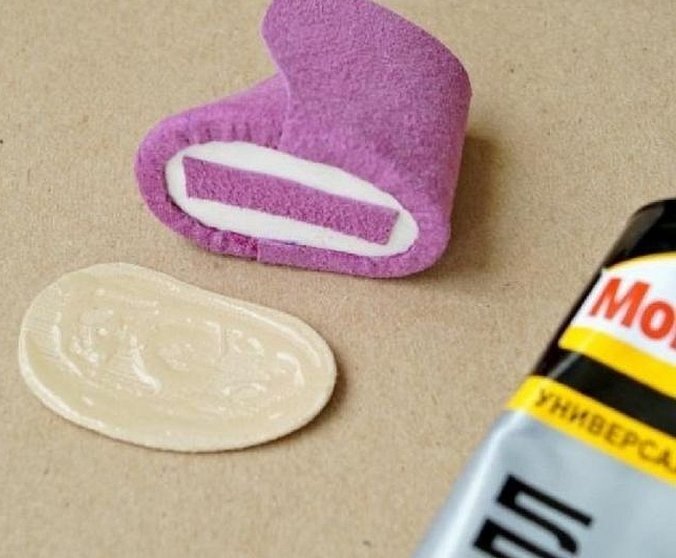
- Glue. The one that is made in the form of a gel should be used for gluing the decor. For any other work that requires strong fixation, it is better to use the Moment glue.
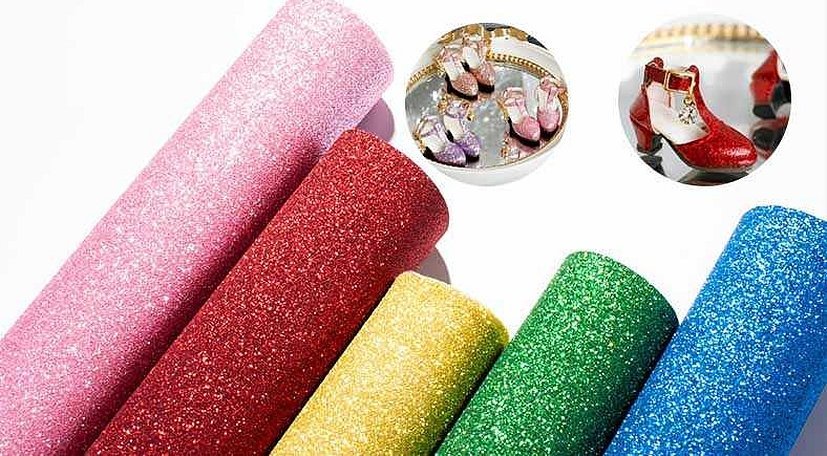
- Materials used for decoration. These include beads, buckles, buttons, ribbons, lace.
To sew shoes or boots for a doll, you will need to stock up on a number of tools: large scissors to cut leather, as well as small ones with sharp edges. In addition, you will need to prepare an awl, metal wheel markers for marking lines, rulers, and a pen.
Note! If you want to create an aging effect on the product, you will need sandpaper.
A lighter will come in handy for finishing the edges of the leather.
How to take measurements of a doll's foot correctly
When considering the question of how to make doll boots with your own hands, it is important not to forget about measurements.
Important! The finished result of the work directly depends on the quality of their removal.
To ensure that your shoes are not too big or too small, you can use several measuring methods:
- Take measurements using a tape measure and a ruler. This is convenient if we are talking about a big-foot doll, because there are quite large specimens 32-36 cm in height. You need to measure the length of the sole and foot, as well as its girth. You can’t ignore the ankle circumference either. Depending on what kind of shoes you are going to sew, you may need to take additional measurements in other areas of the leg. For example, if you need to sew boots, you need to take measurements of the area from the heel to the desired point of the shin (knee), determine the girth of the widest part of the shoe.
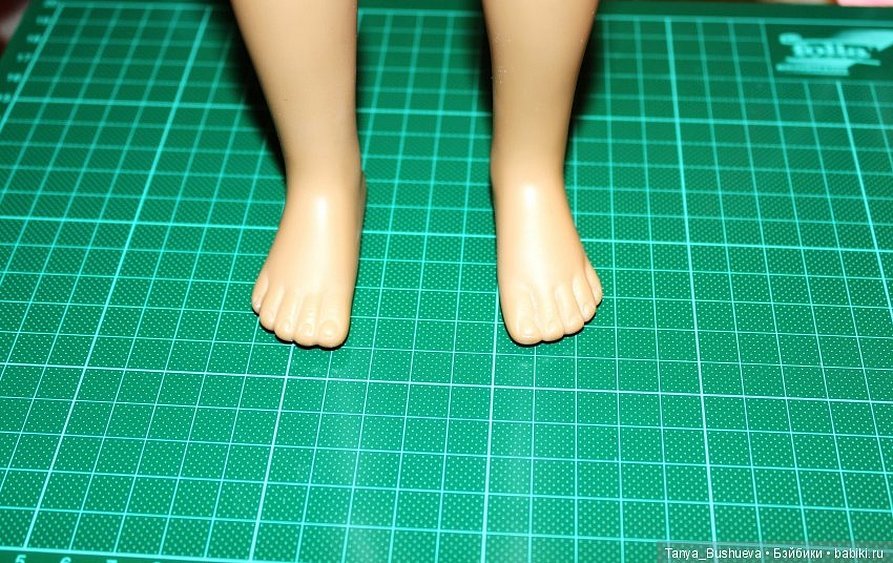
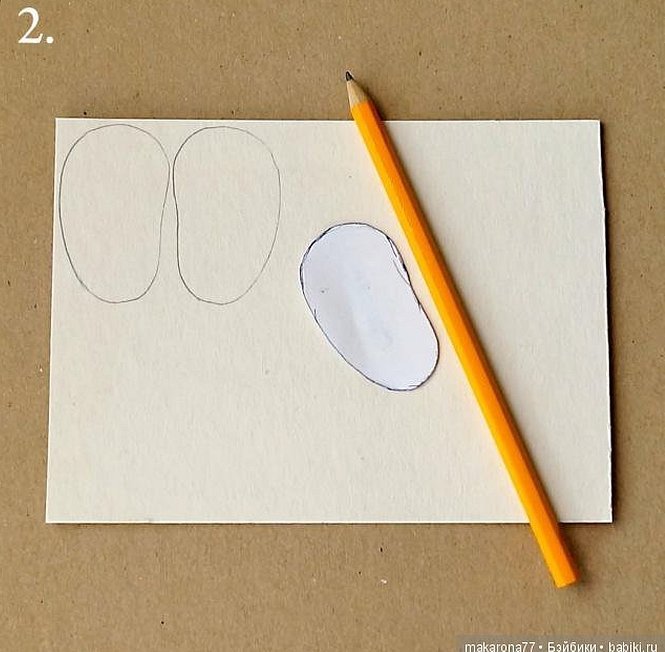
- Outlining. This is a good option for beginners, as it is enough to put the doll's foot on a sheet of paper and trace it with a pencil. If it is small, then all the other details are easily adjusted. The disadvantage of this method is that there is a risk of incorrectly tracing the outline of the foot. To avoid mistakes, you should press the pencil tightly to the foot.
Methods of creating doll shoes
There are various ways to make shoes for dolls. You can take separate parts and glue them together. This method is most often used by craftswomen. There is another option, according to which you can dry the shoes. This is especially relevant for models that have a high bootleg. The same can be said about models with a hard sole. As an example of such things, we can cite the following:
- Boots. Their shaft can be quite inconspicuous and short, or reach almost to the knee.
- Slippers. This is a fashionable item that is often included in the doll's wardrobe. They fit well into the overall atmosphere of the doll's house. Such shoes are often made with knitting needles and a crochet hook.
Please note! To make shoes for a textile doll, you can also use a proven method that involves using acrylic paints. The advantage of this approach is that there are no restrictions in terms of creativity. Here, it is enough to draw a particular model of shoes or sandals.
Master classes on making doll shoes with your own hands
When choosing one or another method of creating a shoe product, it should be taken into account that dolls have different structures and parameters of legs. But any such new thing is guaranteed to cheer up a child, and therefore it is worth trying to make this unique thing with your own hands.
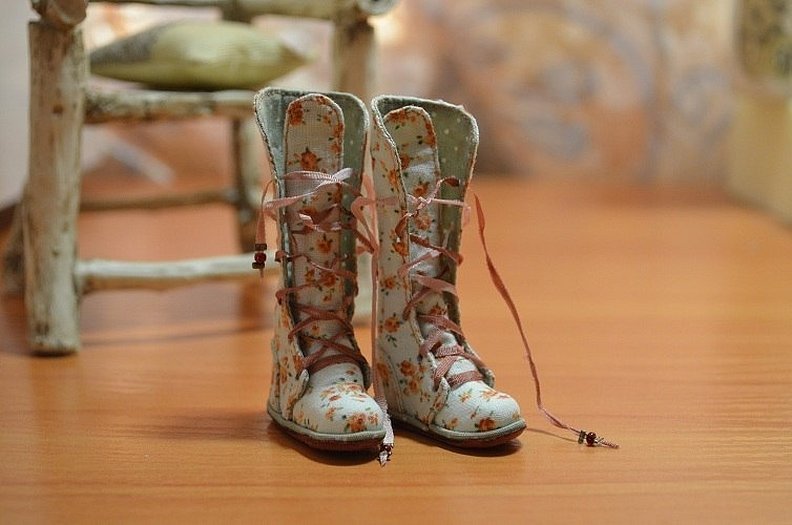
How to make doll boots
Craftswomen can use the following master class to sew doll shoes. According to this method, you can make the necessary pair quickly and without much effort. To do this, you will need to take some felt, foamiran, natural or artificial leather to arrange the upper part. The same materials can be used to form the lining.
Attention! The shoe insoles are made of cardboard. The same can be used for the sole, but only in a denser version.
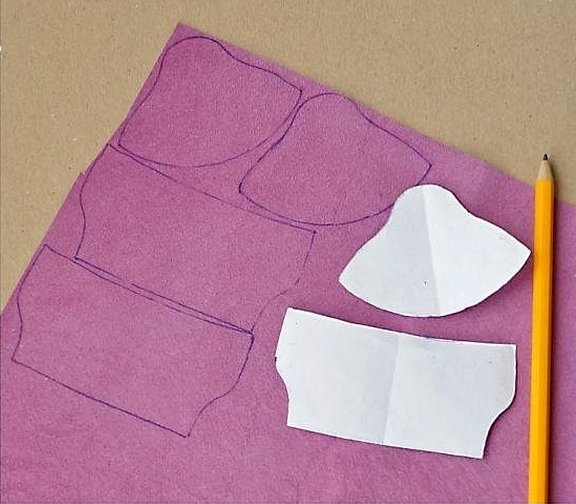
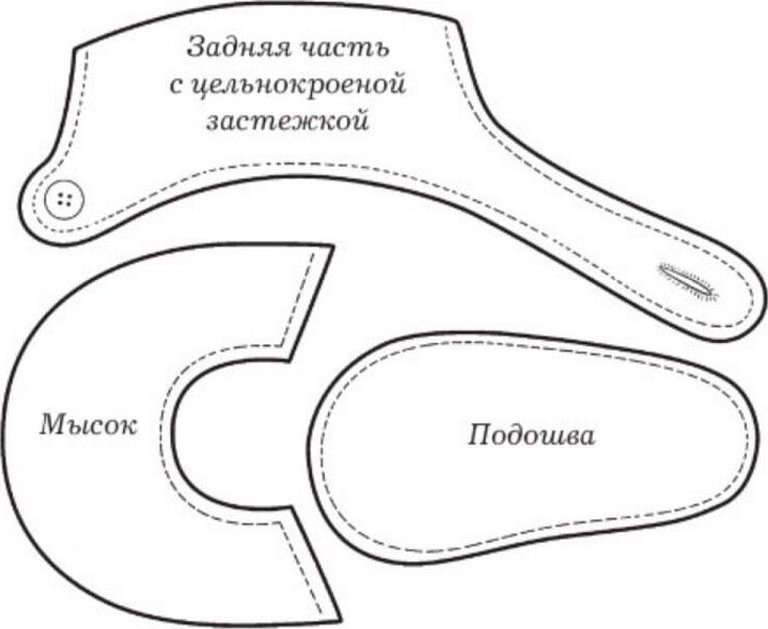
The pattern can be made in advance, adjusting it to the size of the doll's legs. The step-by-step algorithm of actions is as follows:
- Take the pre-cut shoe parts and unfold them from the outside. Glue the lining to the leather base using Moment glue.
- Without making allowances, open the parts. After that, coat all the components of the lining from the wrong side, let them dry. Then put them together and press firmly.
- Add 7 mm to all leather parts. At the bottom, mark the miniature notches needed for the lining.
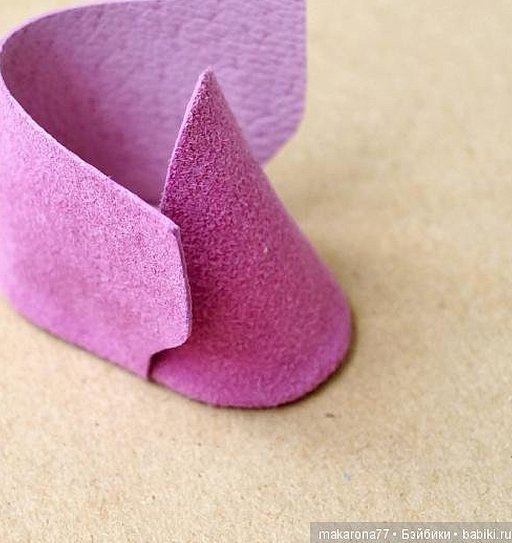
- The key parts of the doll boot are bent with stitches by themselves. After that, all components are glued together and left to dry.
- The insole must be inserted carefully so that it fits tightly to the surface. If it is a little longer, it will have to be cut.
- Cut out the heel and sole area, adding 3 mm each.
- The sole is coated with glue, the workpiece is dried thoroughly, and then fixed.
- As the boots dry, smooth out their surface with sandpaper.
- The remaining components are secured with glue around the entire perimeter.
- To make the resulting models look natural, special holes are made for the laces.
The boots can be considered ready.
Advice! Decorating them is not necessary, but decorating them will still add more visual appeal.
Leather doll shoes
This master class allows you to create an original pair of shoes for an interior doll. The difficulty level of the MK can be designated as average. The entire work takes about 2 hours. What needs to be done to create such products:
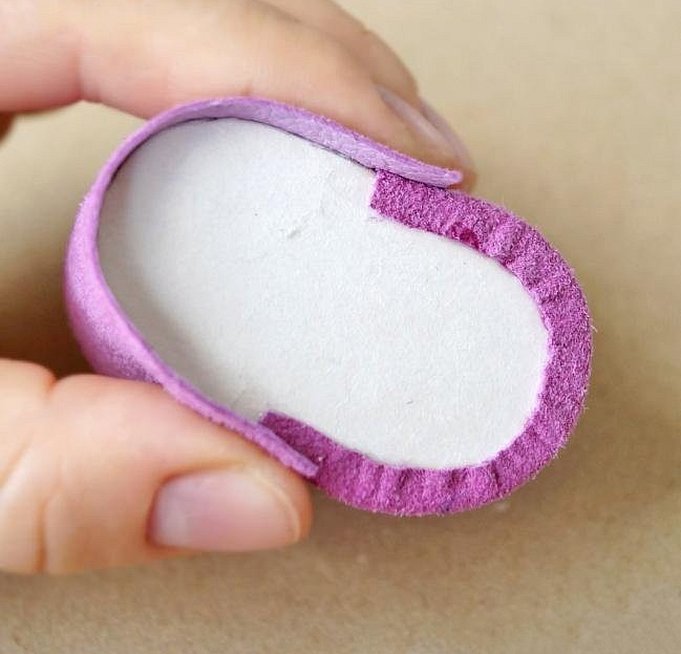
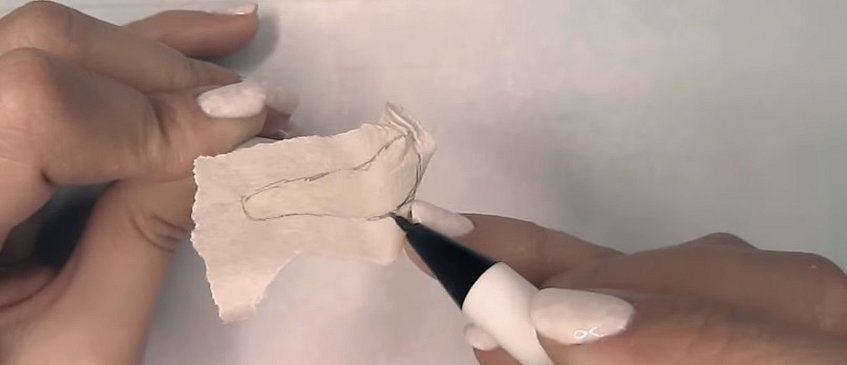
- You need to cut out the insoles from cardboard, then use a ballpoint pen to trace the details of the back area and the toe on the leather. These components should be paired and created separately for the left and right sides. After this, allowances are arranged along the outer edge. Their size should be about 5 mm.
- Following this, the middle is marked on all parts, including the insole.
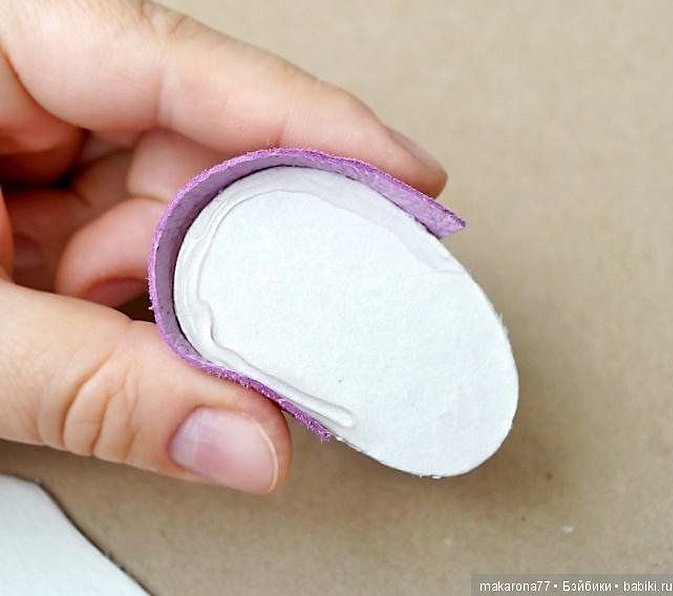
- Connect the central marks, place the toe and insole on top of each other.
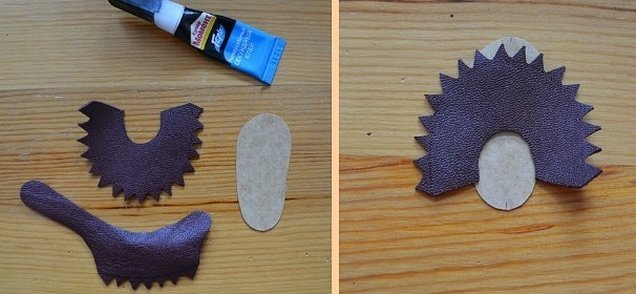
- Apply a small amount of superglue to the area of the central teeth, turn them towards the insole, and then fix them with glue.
- Again connect the edges of the toe and the insole.

- Secure one side with glue.
- The other side is glued in a similar manner.
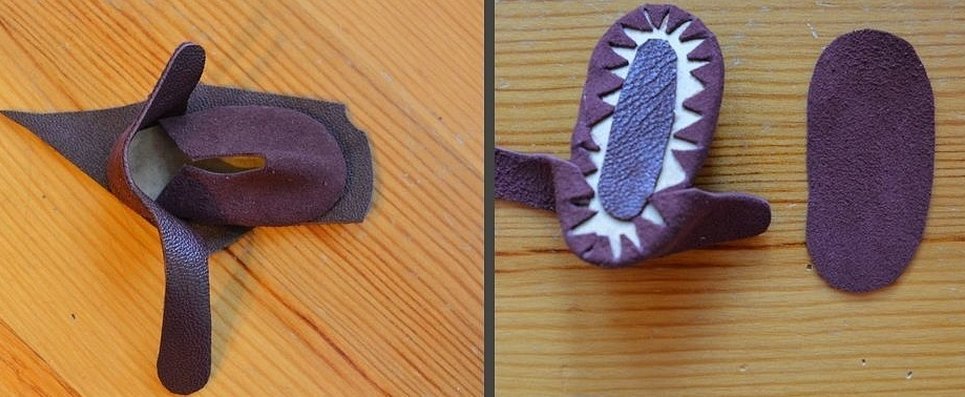
- Combine the back piece and the insole.
- Gluing begins with the central areas, after which they move on to the side teeth.
- Secure a piece of leather in the central area with superglue.
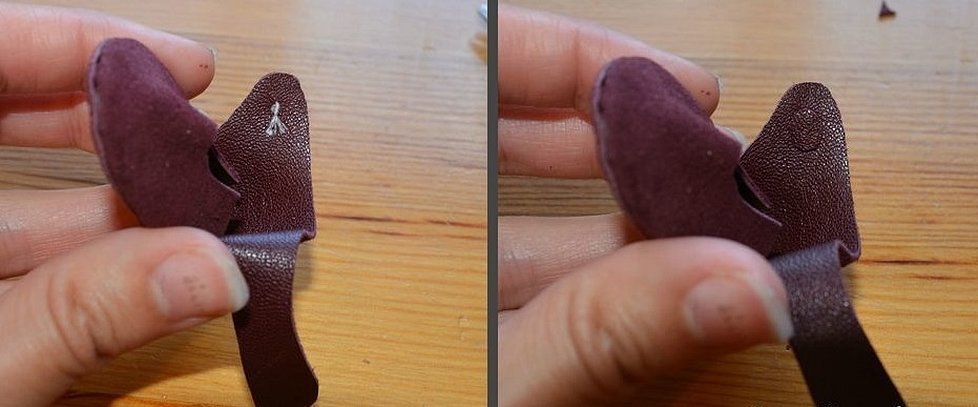
- They draw it along the contour of the future shoe blank. They cut out the sole with scissors. Then they glue it to the shoe.
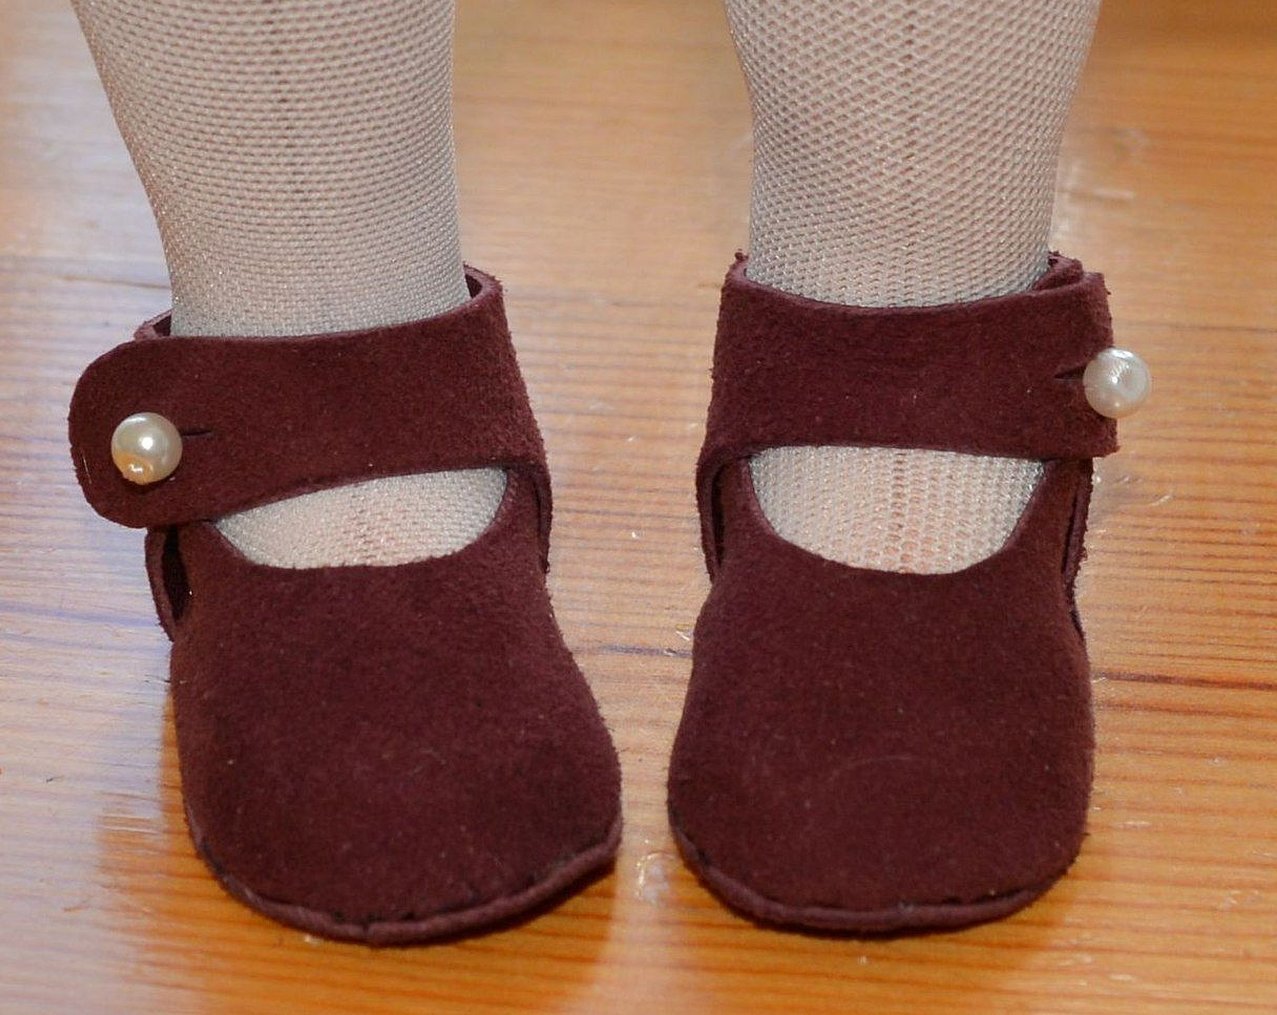
Next, sew decorative elements to the finished leather shoes. Beads and miniature ribbons are suitable for this. The thread is fixed with glue and covered with a small piece of leather.
Important! The material for the sole must be dense so that the finished product looks natural and beautiful.
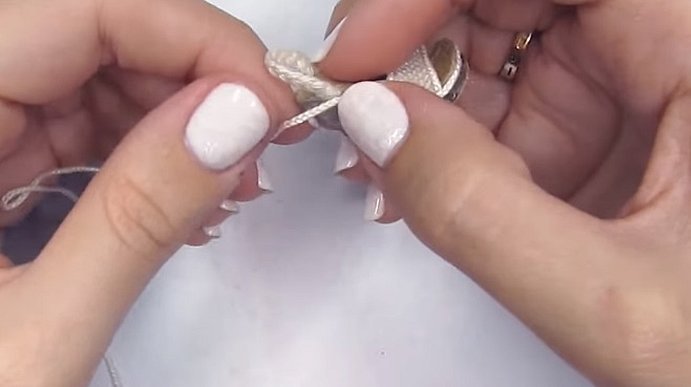
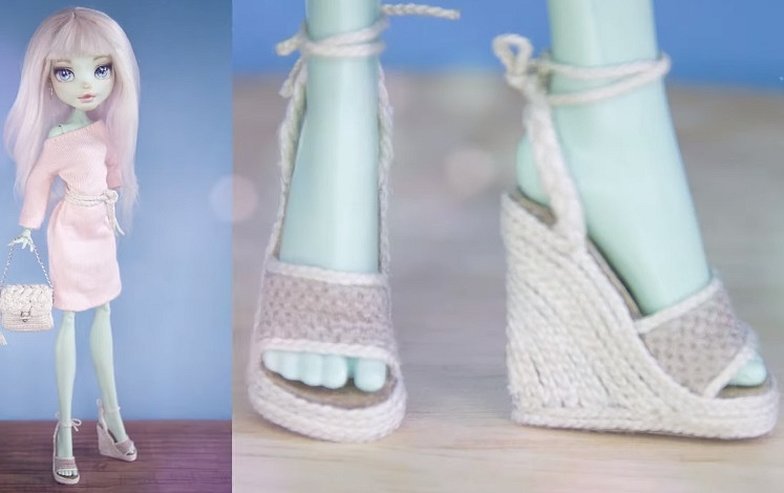
Greek style sandals
These are unique pieces because they are made almost entirely of lacing. How to make them:
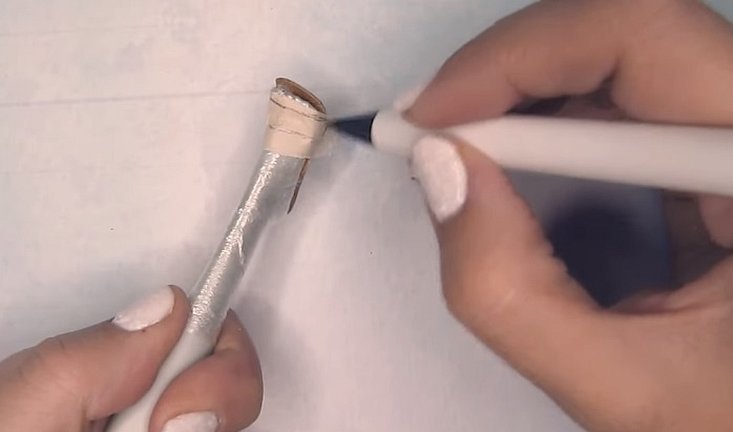
- Take 2 sandal parts, for example, from furniture suede, make holes for the cord. Make 2 parts for the interlayer from cardboard. Take 2 components from the material taken for the sole. They are also cut out with scissors. They should correspond to the left and right sides.
- The parts are connected using Moment glue. First, the cardboard parts are processed, after which they are immediately attached to the suede pattern from the front area. 10 minutes are enough for a thin layer of fixing material to harden. The sole is glued to the cardboard in a similar way. However, here the cardboard is coated with glue first, and then the sole.
- Put all the parts aside to dry for 5 minutes, then press firmly. Apply glue to the back seam with an overlap.
- The edges of the sole, which look unaesthetic, are covered with a strip of suede. Only the end part of the sole is coated with glue.
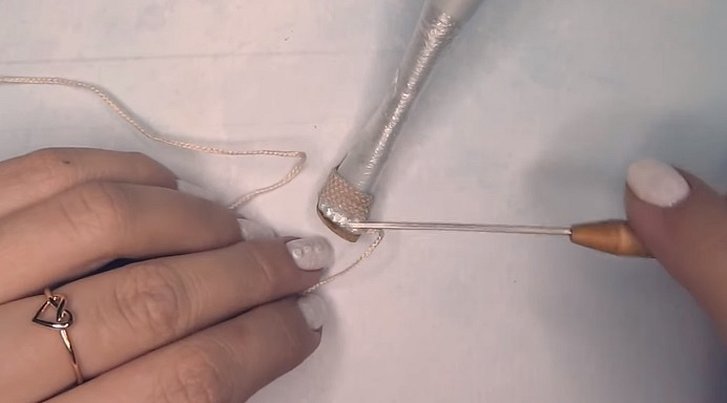
- It is desirable that the fixing material touches both layers. It is also necessary to coat the sides of the shoes so that they do not stick together on top.
Insert the cord, put it on the foot and tighten it. The shoes in the Greek style can be considered ready.
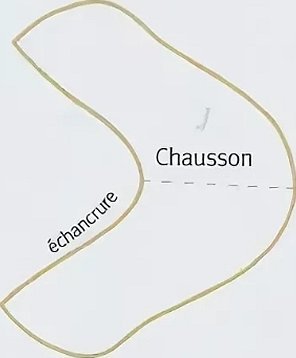
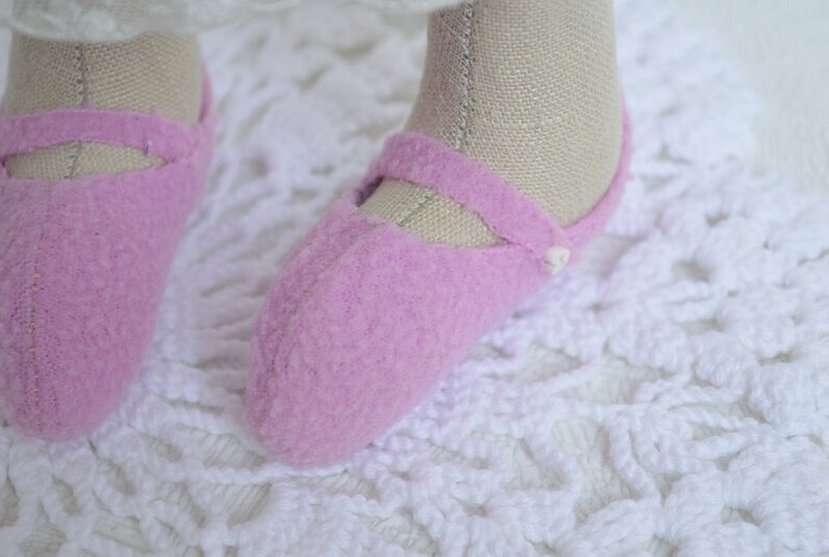
Slippers for Tilda
For such a doll, you can sew light and comfortable shoes. What you need to do for this:
- Patterns are made according to the size of the doll's foot. The template is applied to the fabric, folded in half, outlined with a pencil, leaving a few millimeters for allowance.
- The product is stitched, cut out, unfolded and put on the doll’s foot.
Shoes for Barbie
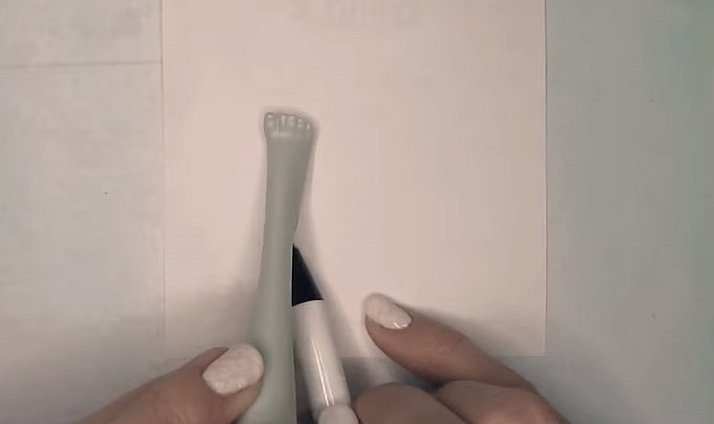
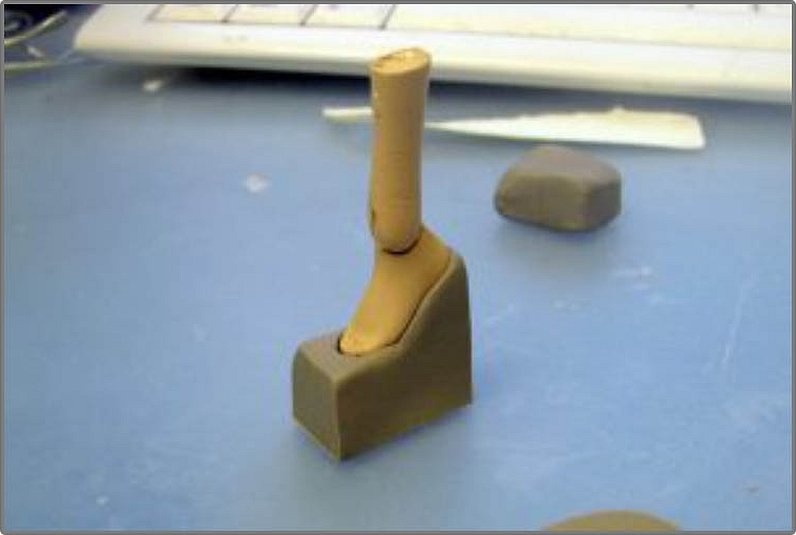
A characteristic feature of Barbie and Monster High dolls is the miniature size of the legs. The easiest material to use in this case is polymer clay. It is pliable and resembles plasticine. With its help, you can create products of any shape and size. What you will need for this:
- A little polymer clay, preferably rectangular. Lay it out on a rug placed vertically. Cut the upper area diagonally. This will be the inner surface of the shoes. Place such a blank upright and attach the doll's legs tightly on top.
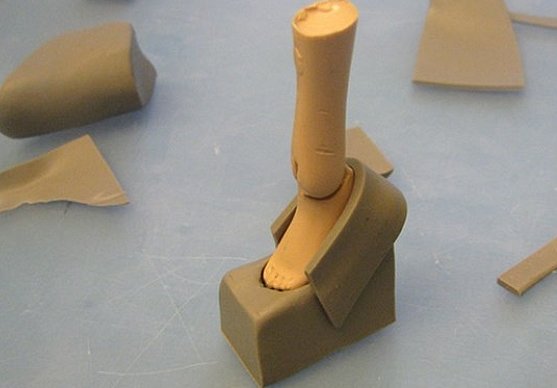
- Cut a flat rectangular piece of clay from another fragment and cover the heel area.
- To form a shoe mold, you need to press your foot slightly into the existing mold.
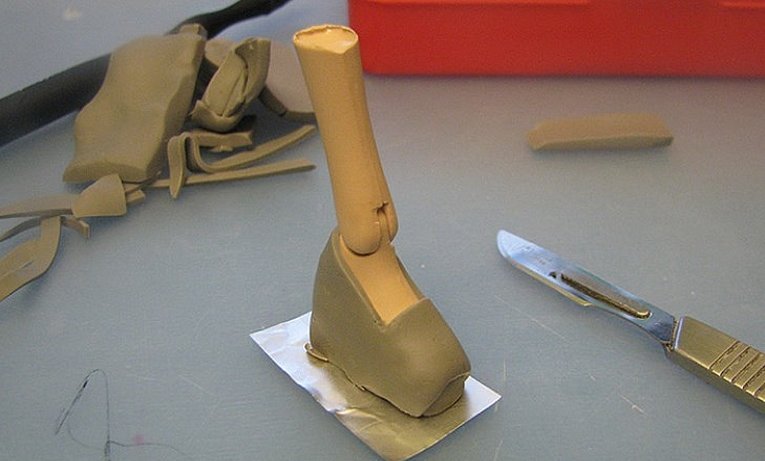
- After this, a new piece of clay is cut off similar to that which was taken to close the heel. It is applied to the toe so that it becomes reliable.
- All that remains is to remove the excess clay from this piece and smooth out the resulting shoe with your fingers.
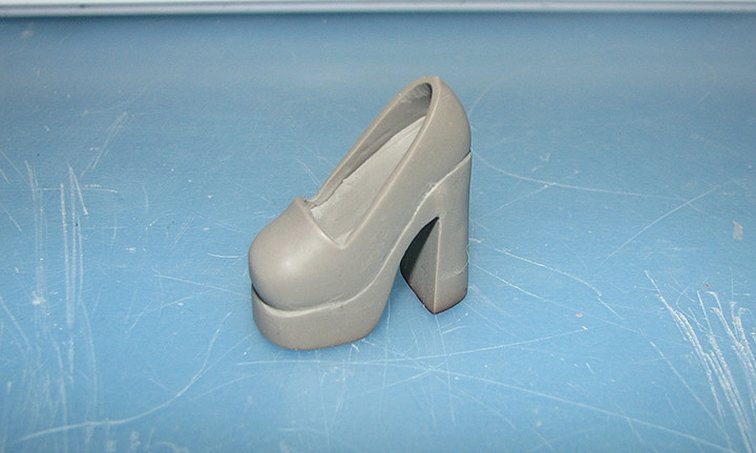
When all manipulations are completed, you need to carefully pull the doll's foot out of the shoe. In order for the shoes to be hard enough, you need to bake the toy product. The conditions under which this should be done are indicated individually on each package of polymer clay. As soon as the hot shoes cool down, they are decorated. As for the decor, you can paint various patterns on the shoes with acrylic paints.
These are the basic methods of making doll shoes at home. These products are good because they allow you to save a lot of money on buying ready-made models. They can be made from scrap materials. In addition, they have an exclusive design.


