You can please your pet or a small child with a toy made with your own hands. It will take a minimum of time and money to create a new masterpiece. From this article you can learn in detail how to make a mouse with your own hands from threads.
Materials needed for work
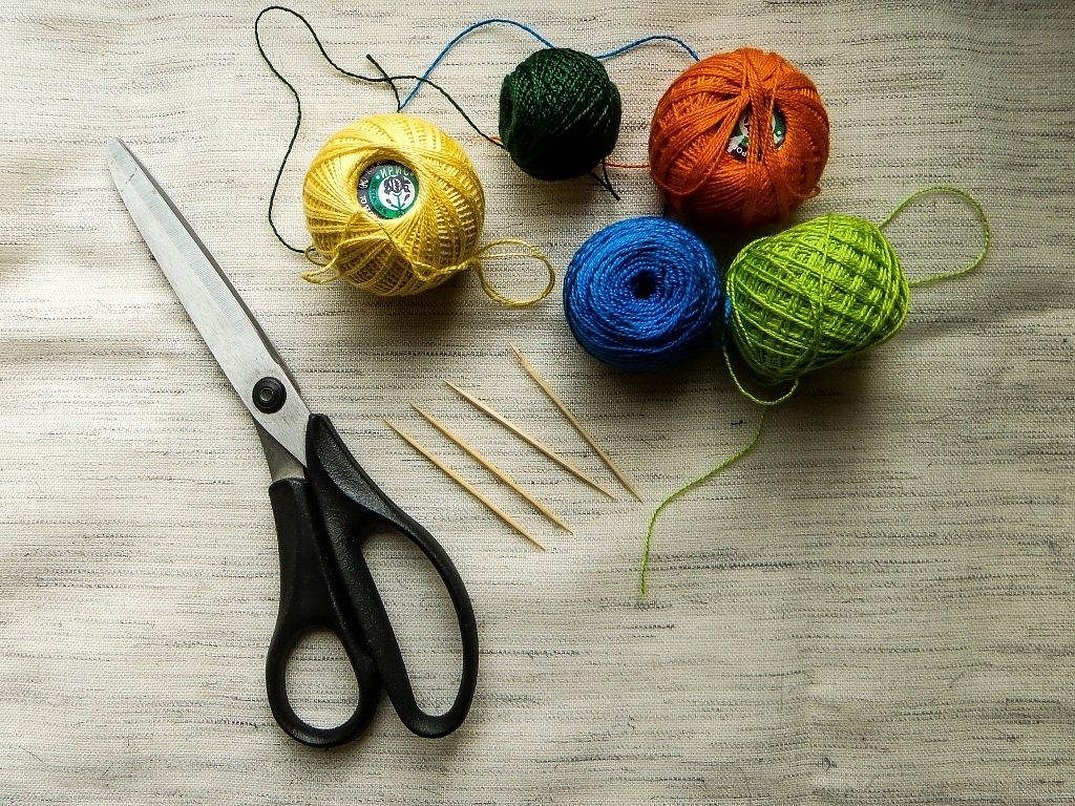
To make a mouse from woolen threads with your own hands for the New Year or any other holiday, needlewomen will need to prepare the following materials and accessories:
- Plastic blanks for making pom-poms (they can be cut out of thick cardboard, 2 tori for each pom-pom).
- Wool or acrylic threads in suitable colours.
- Ready-made eyes (you can make them yourself using tablet blisters).
- Foil.
- Stencil.
- Wire.
- Black or pink varnish.
- Pieces of felt for the nose, ears, paws, tail.
- A pattern that can be printed out and used in practice as an example.
- Scissors, needle, PVA glue.
How to make a mouse from threads (wool yarn) with your own hands: step-by-step description
The symbol of 2020 according to the Eastern calendar is considered to be rodents - mice and rats. And of course, many needlewomen want to make gifts and home decorations with their own hands in the form of these animals. Therefore, many of them ask themselves the question, how to make a mouse from threads?
Please note! The following instructions can be used by a novice craftswoman as a basis for her own, more complex ideas, or applied in work with children, for example, this applies to kindergarten teachers.
You can make a regular mouse from woolen threads and glue with your own hands using the following diagram:
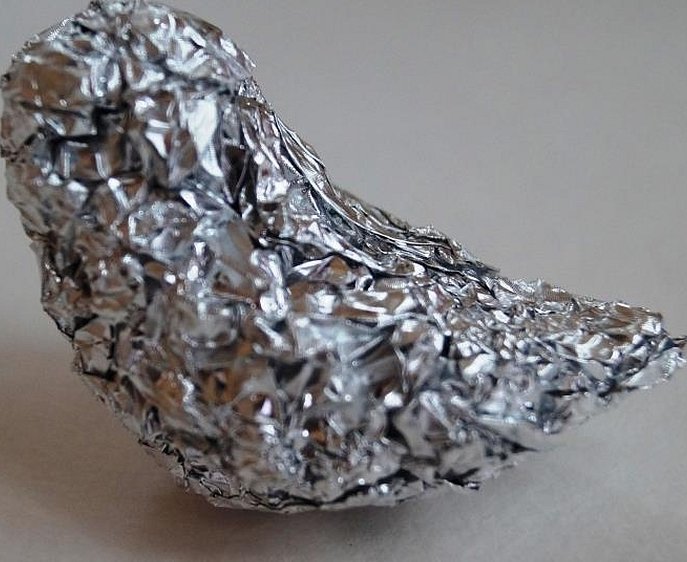
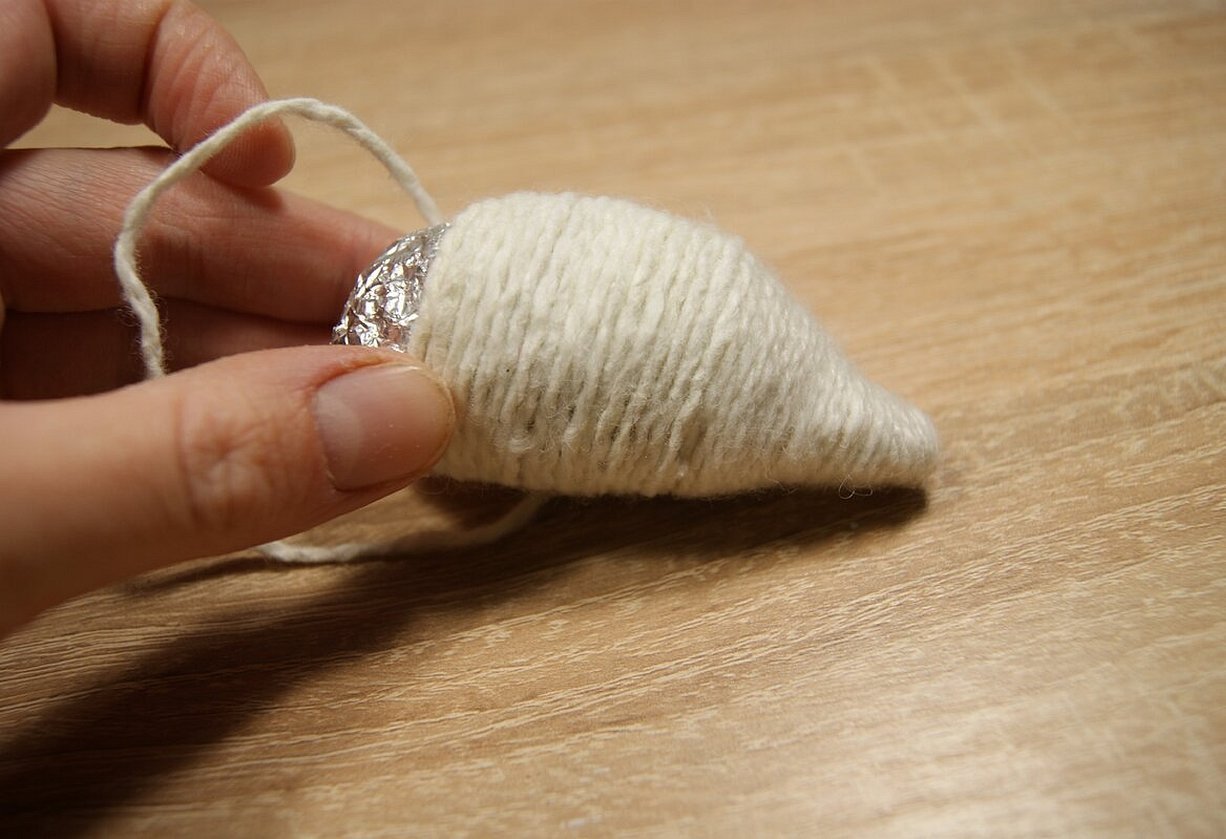
- Take some food foil and cut off a piece at least 20 cm wide with scissors.
- The foil in your hands compresses, gradually forming the shape of a mouse.
- Then it is done so that the surface of the figure is as smooth as possible. At the same time, there should be no emptiness left inside.
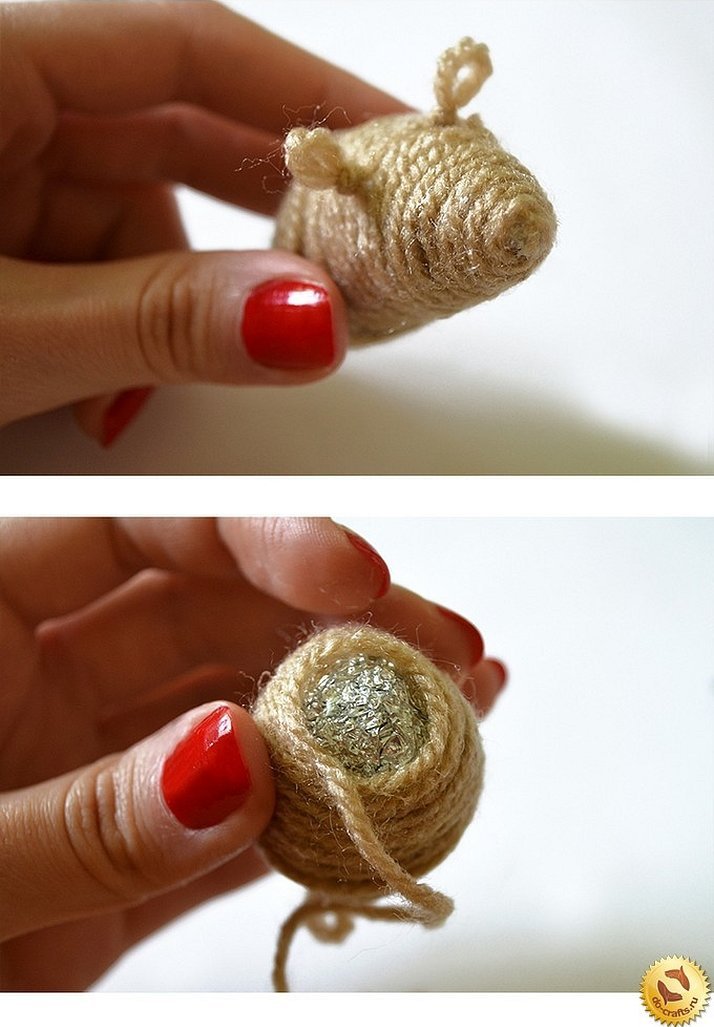
- The loops are used to make ears. A woolen thread is taken and used to form a small ring.
- Then the tail of the thread is threaded through the ring and pulled tight.
- This procedure is repeated. A similar loop is formed. This is how cute little ears are obtained.
- Quick-drying glue is carefully applied to the resulting loops.
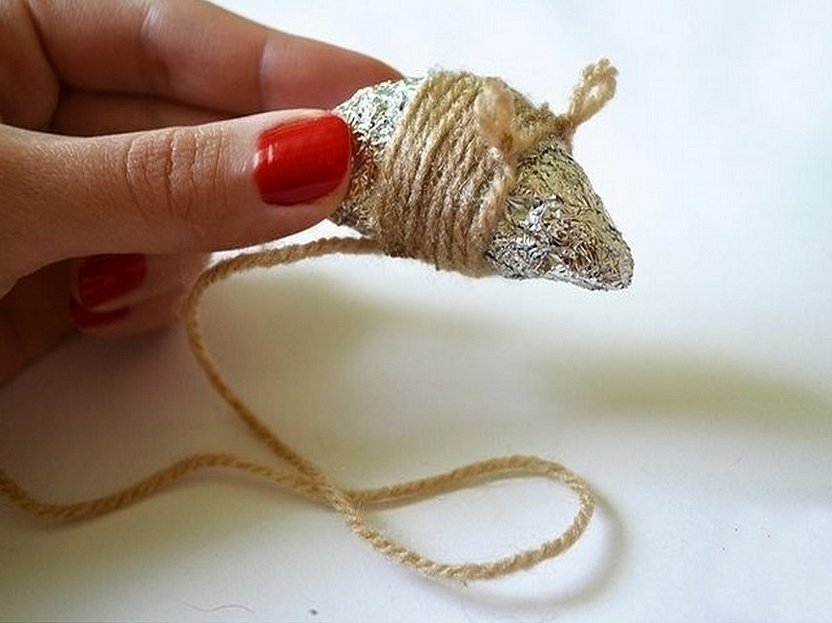
- The toy's ears are attached to the nose. Then the mouse is wrapped with woolen thread (for this, glue must also be applied to the sides of the foil figure). Excess threads are cut off.
9. You will also have to wrap the nose of the toy.
10. The main part of the craft is almost done. You just need to wait a little while for the glue to dry, and then secure the threads well.
11. Next, you will have to attach a tail to the mouse. To do this, leave a long thread from the body winding in advance or take an additional one, which is glued to the back of the figure.
12. If the tail turns out too long, you can trim it a little.
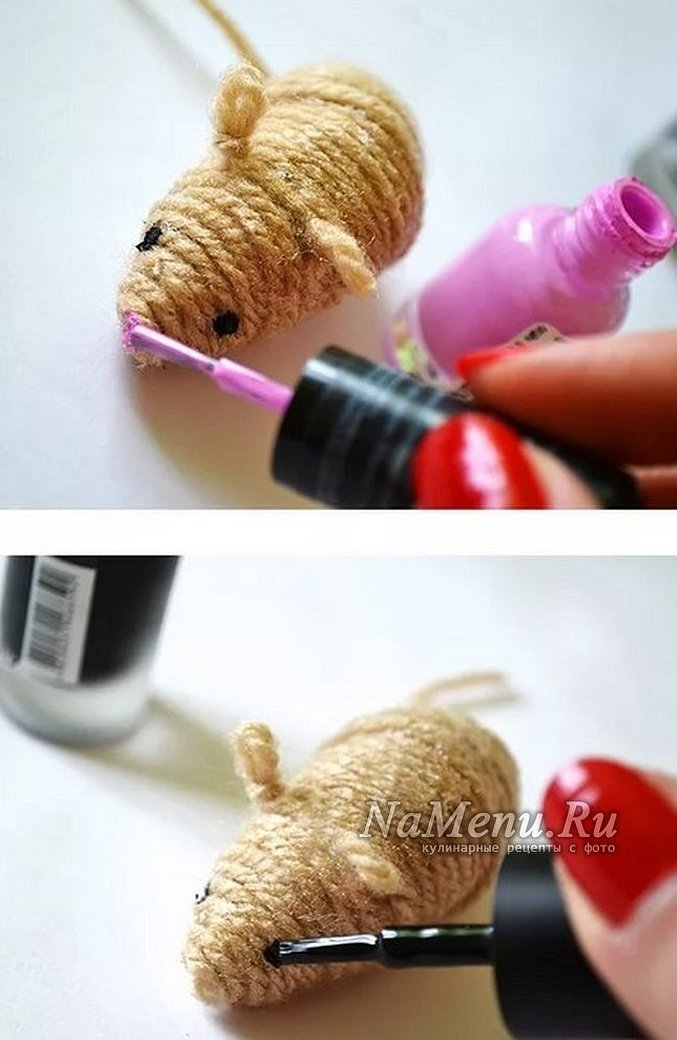
Finally, you need to give the mouse a face:
- Take black nail polish, use drops of it to make the eyes, and use pink for the mouse’s nose.
- After the first layer of varnish has dried, it is advisable to apply a second layer (also in drops).
- In the same way, you can add a little volume to the eyes and nose.
Please note! The glue must be applied to the surface of the product as carefully as possible so as not to stain the toy.
How to Make a Pom-Pom Mouse Yourself: Master Class
When making a pom-pom mouse with your own hands, you can use ready-made eyes bought in a store. But this is not at all necessary. Craftswomen can draw eyes on cardboard and cut them out at home, make an applique from paper or felt.

Step-by-step instructions on how to make a pom-pom mouse with your own hands:
- To make a mouse you will need two pom-poms of different sizes (white for the face and beige for the mouse’s body).
- Take two ready-made pom-pom making tools. They can be replaced by cutting out two tori for each ball from thick cardboard.
- The threads will need to be folded into 4-8 parts and wound onto the device. It is convenient to use a regular thick crochet hook for this.
- The threads will have to be cut along the outer edge of the future ball.
- The devices should be slightly spread apart. The pompom should be tied with an additional thread. The edges of the additional thread should remain long.
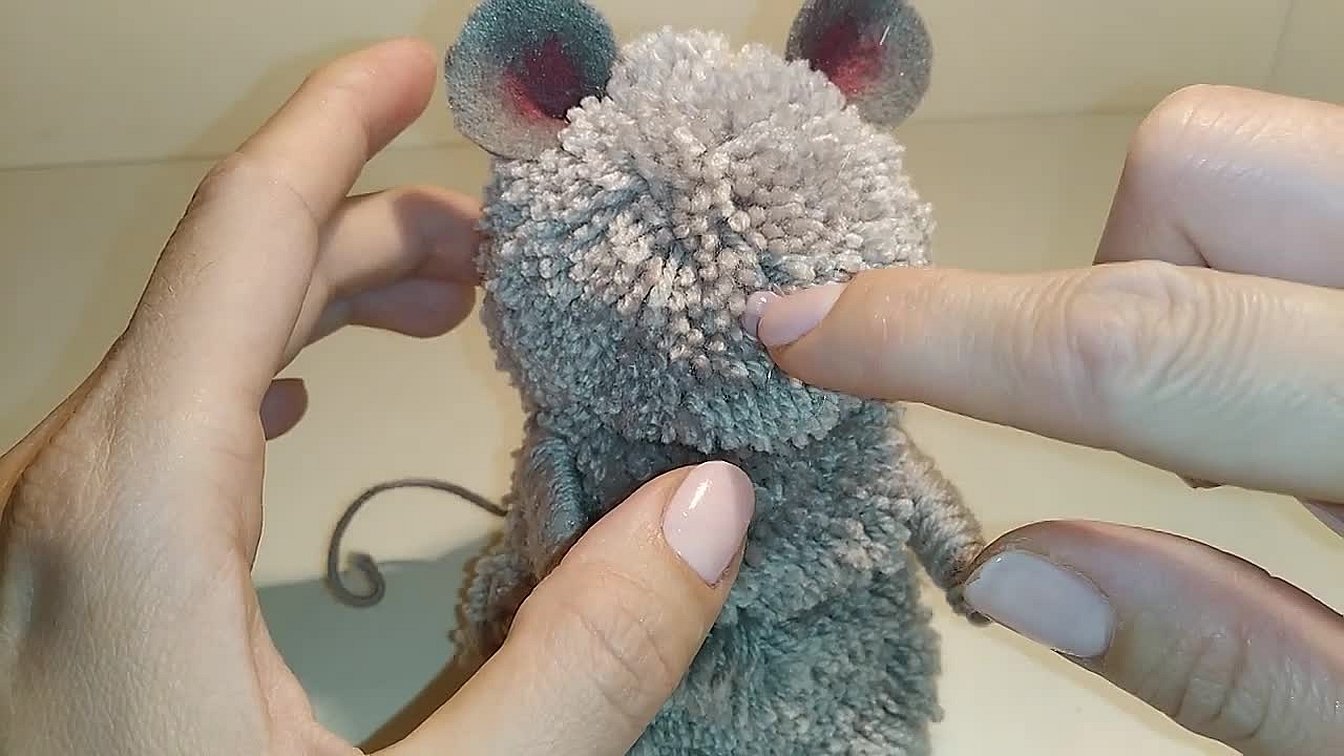
- The device will need to be completely removed from the balls. The latter will need to be thoroughly fluffed.
- The long threads from the two pom-poms should be tied tightly together.
Please note! The handmade mouse blank made from fluffy pom-poms can be trimmed with scissors to give it the desired shape.
The step-by-step master class on making the toy also includes the following:
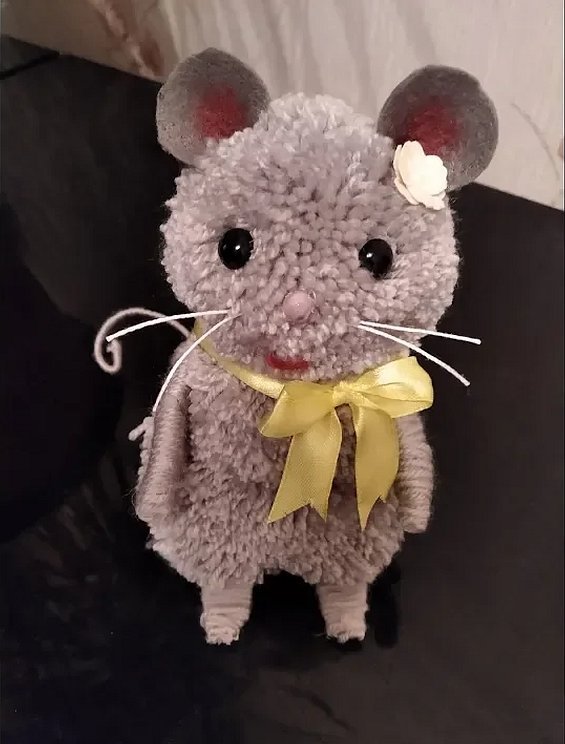
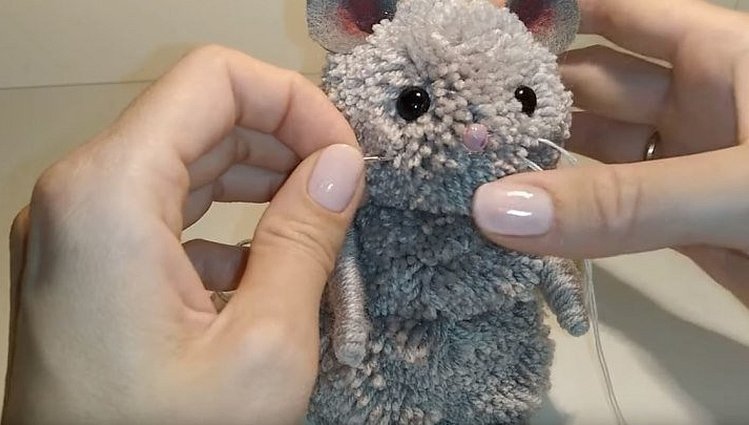
- For the mouse's ears, you will have to cut two blanks out of felt. Make a fold in the center of the blanks and secure it with a few stitches.
- For the mouse's nose, you need to cut out a circle from the same felt. You need to sew a seam along the edge of the circle, and then pull the workpiece together. You will need to make a few more stitches to secure the resulting ball.
- The pompom threads should be spread in half, and then the ears and nose should be glued into the mouse blank. The eyes should be glued onto the ball.
- From hard felt, cut out the mouse's legs and tail and glue them to the body.
Now the toy is completely ready.
It should be noted that making a mouse from threads and PVA glue with your own hands is easier for craftswomen who are well versed in the technique of crocheting or macrame weaving. Some needlewomen prefer to sew toys with knitting needles. This does not mean at all that others who are not familiar with these techniques cannot take on the manufacture of thread decor. Any novice craftswoman will be able to acquire the necessary skills in the process of work, the main thing is to stock up on the necessary accessories and strictly follow the step-by-step MK.


