There are many decorative and children's things that can be created using crochet. The most famous of them is probably the designer toy. Using only one hook, you can create animals, trees and dolls, knit toys (most likely, no one will have problems downloading ready-made patterns from the Internet). Such a thing will perfectly fit into the interior of the house and will carry positive energy.
Types of knitted toys
Please note! Before you start working, you need to decide what exactly you want to end up with.
There are at least three types of knitted plush toys:
- rainbow;
- amigurumi;
- scops owls;
- others.
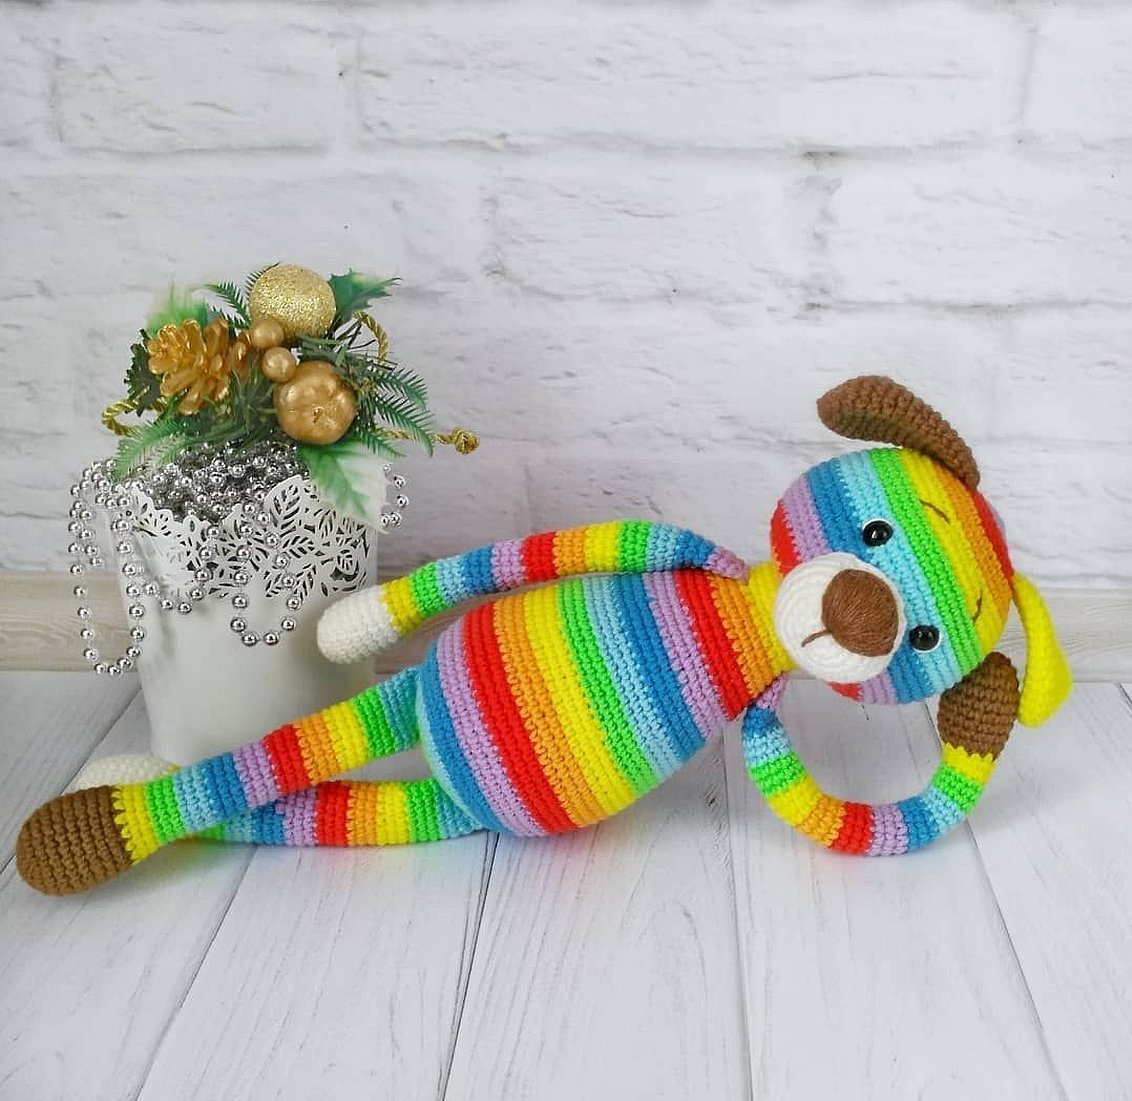
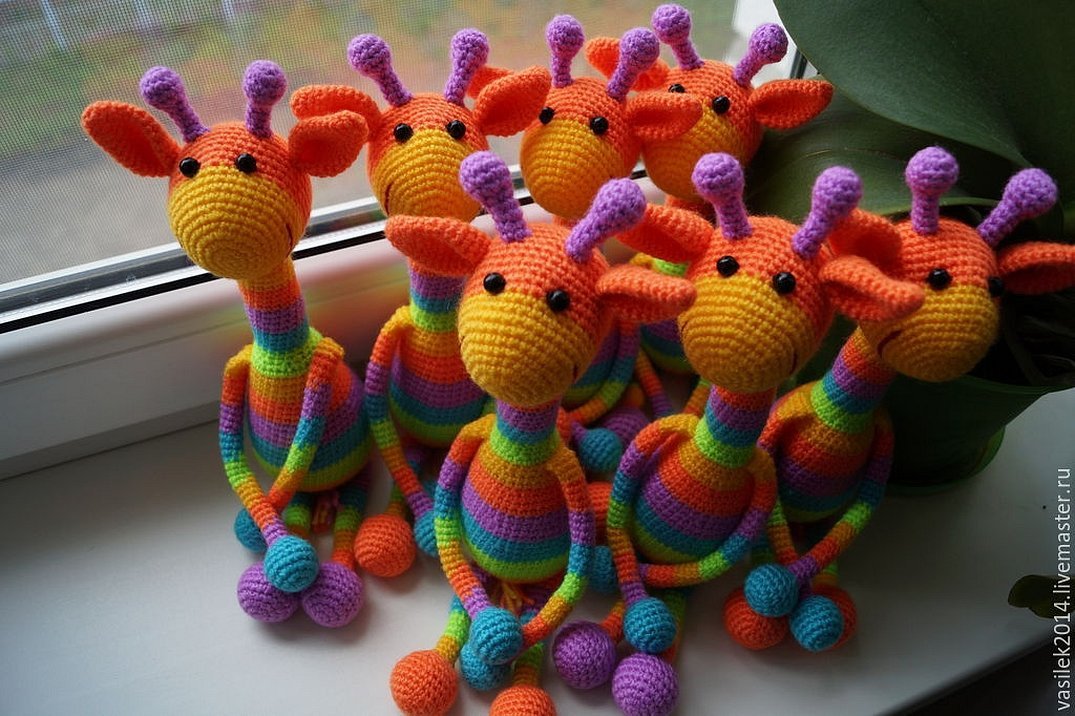
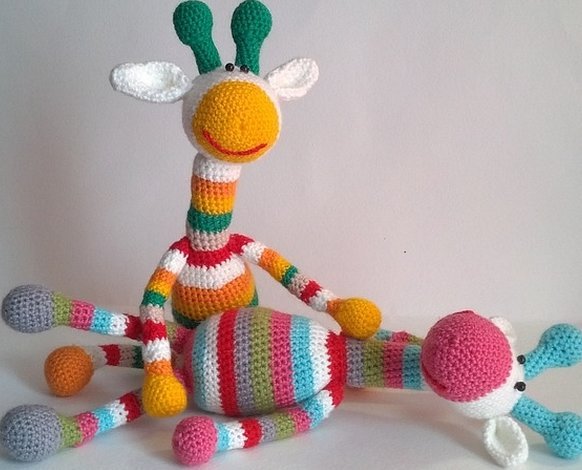
Rainbow
It is worth warning in advance that the method of knitting rainbow toys with a crochet hook is not at all easy for beginners. It requires precise adherence to the rules and patterns, and accordingly, it is not easy to choose the threads either. However, despite the complexity of the MK for knitting toys of this type, interior products turn out to be incredibly beautiful. Also, in this technique, you need to choose the right colors so that all the parts match each other. A beginner is recommended to knit toys by downloading a document in pdf format.
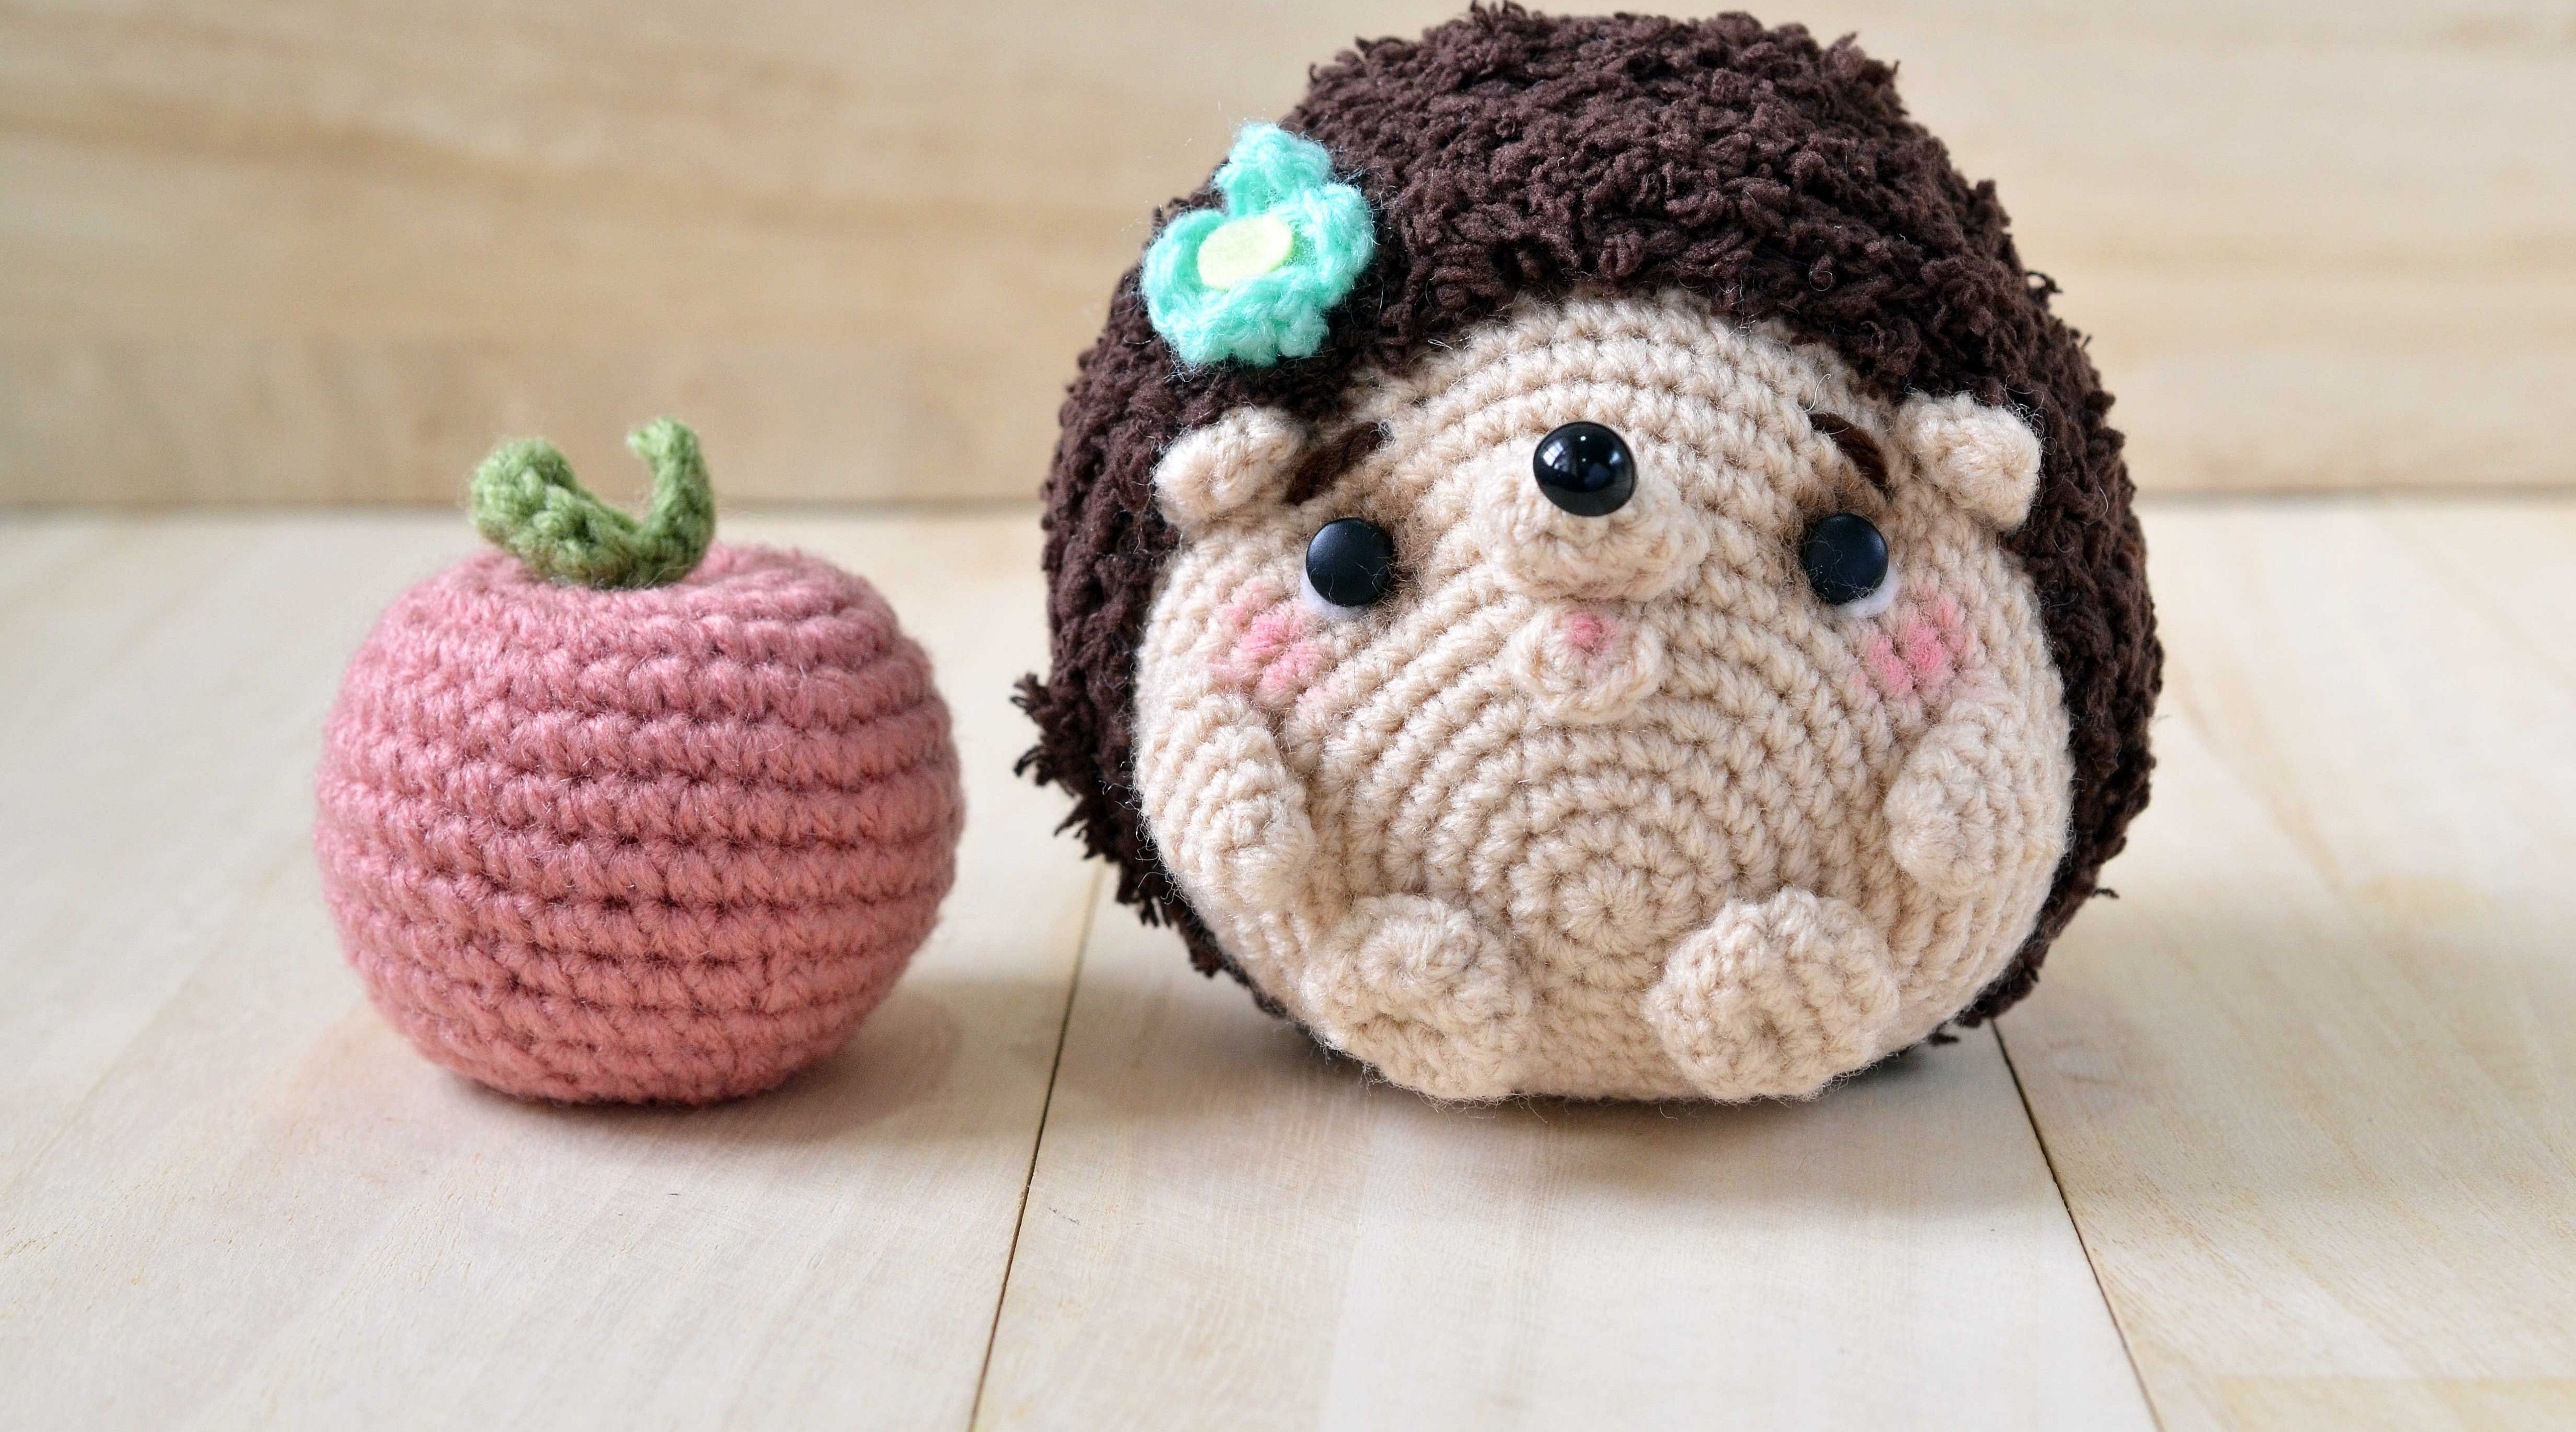
Amigurumi
It is worth noting that the amigurumi technique came from the land of the rising sun - Japan. Initially, it was used to knit miniatures: handbags, small animals, such as a panda, and inanimate objects. Also, do not confuse it with other techniques, because not every knitted item is amigurumi. If an animal is created, it should first of all be cute: this is facilitated by the unique low location of the "drop-shaped eyes". In addition, when doing it, you need to pay attention to the limbs - they should be elongated.
Please note! The knitting technique consists of initially creating a dense seam, which is then generously filled with cotton wool or other fillers, and then everything is sewn up with threads using a hook.
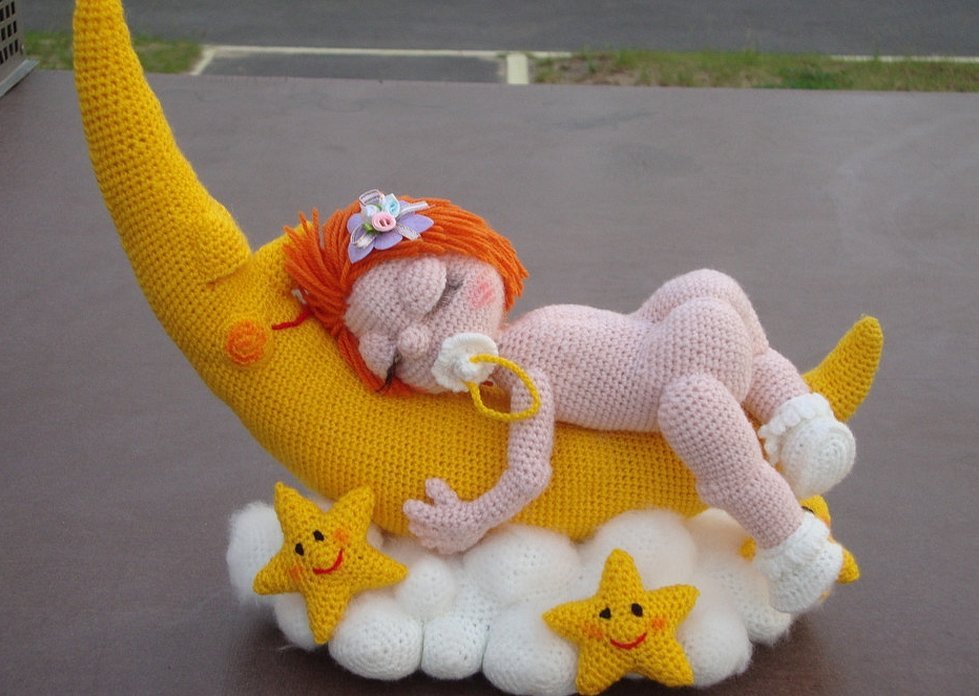
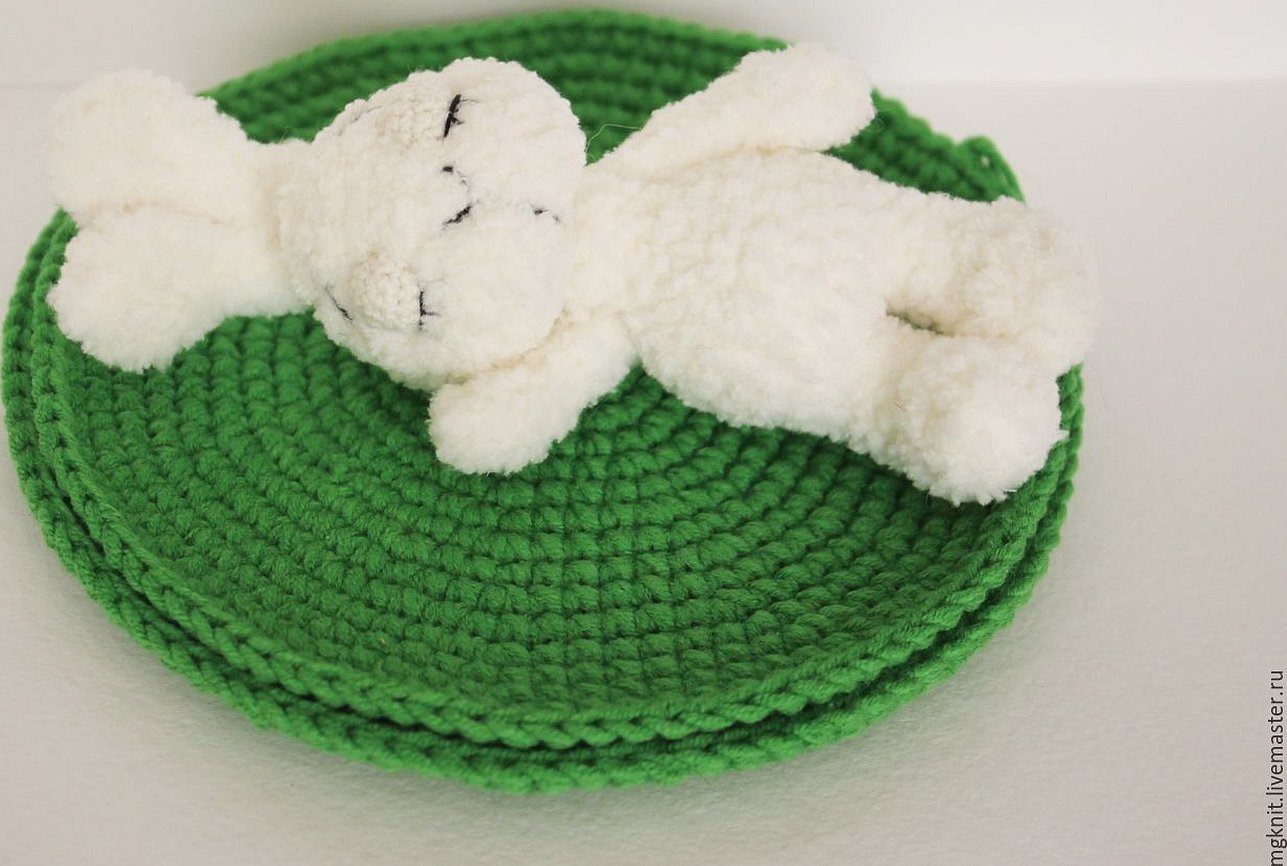
Scops Owls
Another type of knitted toys are sleepyhead toys. The difference with the others is that their eyes need a lot of attention, as they are closed. The semblance of closed eyes can be made by embroidering two small arcs, to which you can optionally add "eyelashes". A more complex method is to sew two separate parts filled with cotton wool (eyelids). Again, if you are creating an animal or a doll, you need to think about clothing and maybe a sleeping cap to enhance the effect. Such toys are great as companions for a child during sleep.
Others
Others include heroes of popular fairy tales, comics, cartoons, etc.
Materials required for work
Having finally decided what will be obtained as a result of the work, you can move on to the most difficult part of this activity - finding diagrams and instructions, as well as materials and tools.
Materials
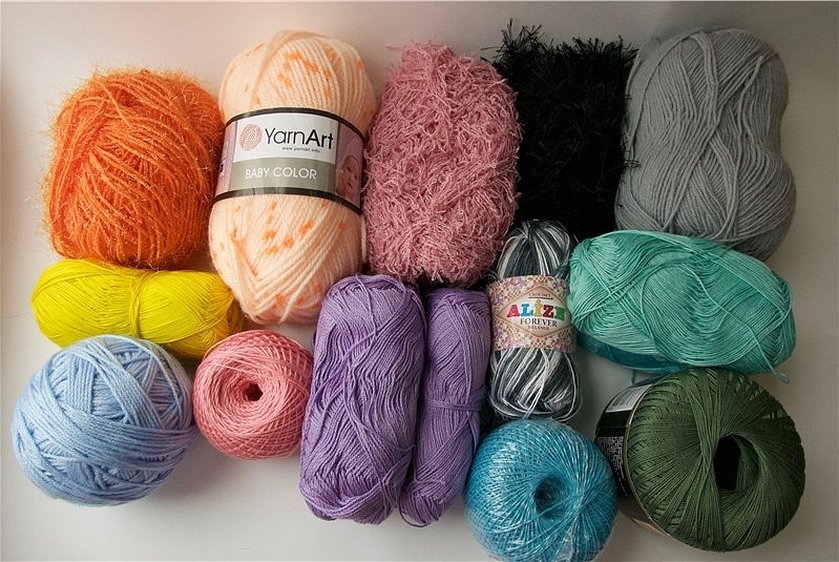
The most important and fundamental thing in knitting is yarn. You need to take its choice more seriously.
Attention! The wrong choice of yarn can result in a poor quality product that will have a very short lifespan.
First, you need to estimate the size of your future toy. If it is quite miniature, then the best option would be "iris" yarn. For beginners, acrylic yarn is more suitable due to the fact that, being a non-professional, they have not yet learned how to skillfully handle a hook and clamp the threads with a certain force. Acrylic yarn will look very good on toys and will last a long time. But if a person has been knitting for a very long time, then he definitely needs to take cotton yarn.
Please note! You need to hold cotton yarn very tightly in your hands, so this type of work will take longer than knitting with acrylic yarn.
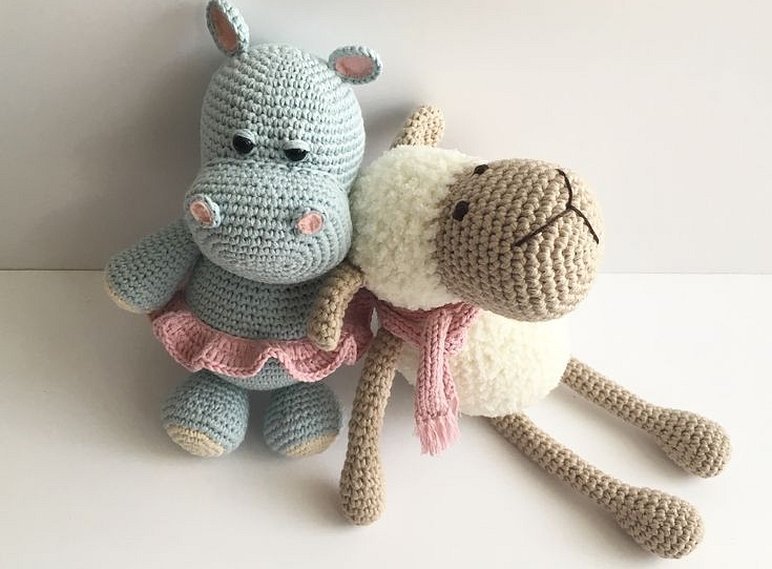
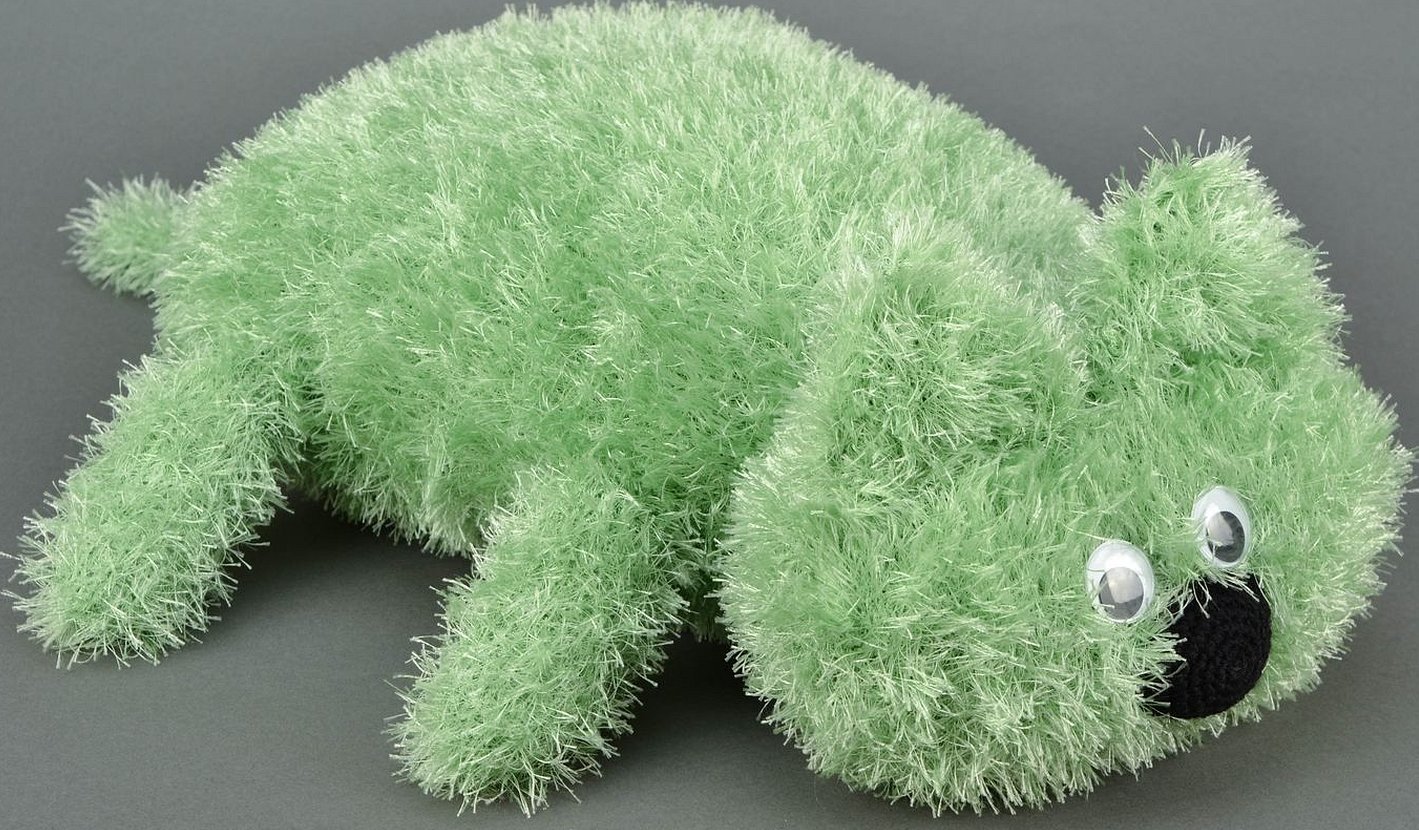
Also, depending on the animal, for example, for a sheep, you can add wool to the product. If you use "grass" threads, you will need an additional tool - knitting needles: they are much easier to work with this type of yarn.
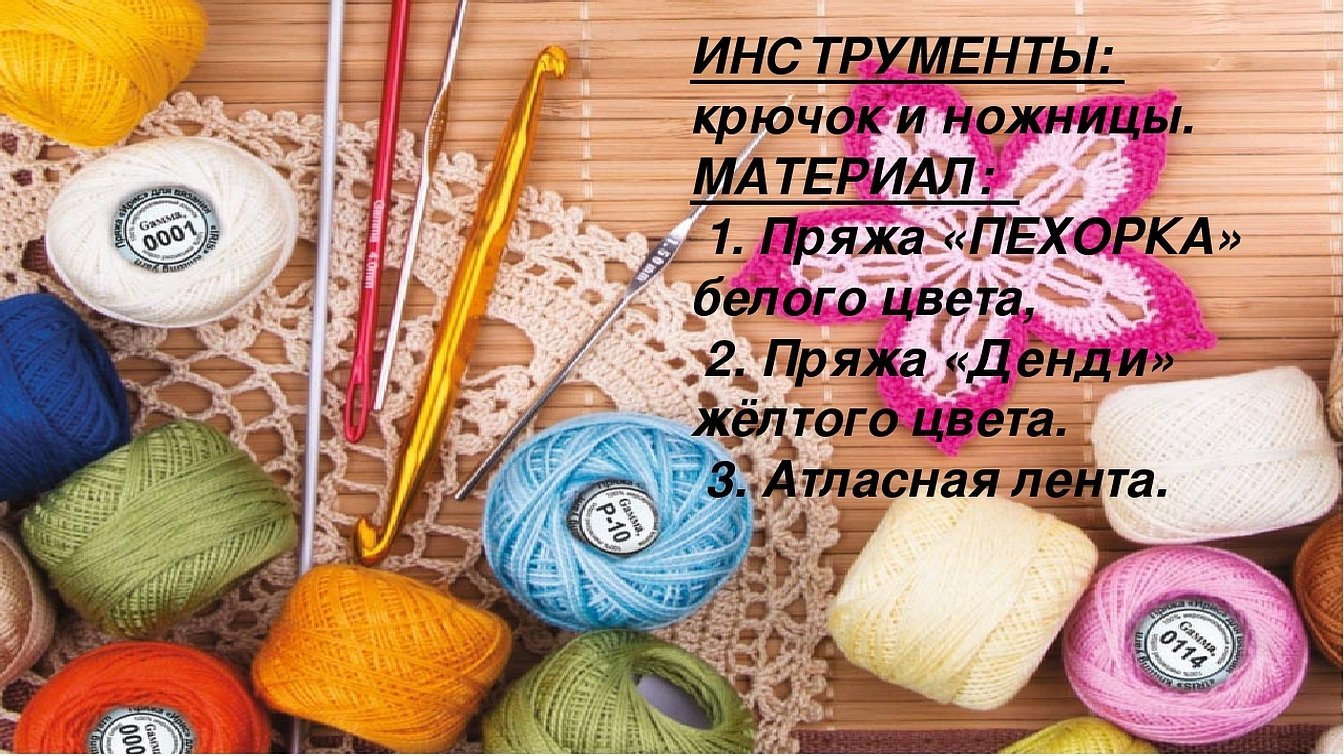
Knitting tools
For the toys you will need:
- Scissors.
- Knitting needles and a crochet hook.
- Ready-made parts of the face for an animal or doll (eyes, threads for the mouth, nose, etc.).
- Depending on the idea, various decorative elements.
Accessories
In case miniature elements are knitted, metal fittings will be needed. Then the product will be suitable for a keychain and hairpins.
Materials for stuffing
To fill the toy elements, cotton wool is usually required, but it can be easily replaced with synthetic padding.
Please note! But you will need a much larger quantity of it, but it will be much cheaper.
Knitting toys crochet MK
The first option is a rainbow toy.
For a crochet toy, the MK will require acrylic yarn, a hook and knitting needles, elements of the animal's face (eyes, nose, etc.). Also, do not forget about the filler: synthetic padding or cotton wool.
Knitting should start from the body and neck:
- From the 1st to the 13th rows, 6 doubled single crochets (sc) are embroidered, connected into one loop.
- Rows 14-29 are made with 78 sc.
- From rows 30 to 51, the number of columns gradually decreases from 72 to 30.
- 52-83 are knitted with 30 sc. The thread color changes every 4 rows.
Please note! The body needs to be made a little wider, and the neck narrower and a little shorter.
You can start selecting flowers from the neck or the body - all this is done at the discretion of the needlewoman.
Algorithm for further actions:
- Now you need to fill the element. It is advisable to stuff it more densely so that the toy holds its shape. Due to the fact that the neck is narrow, stuffing is done with an ordinary pencil or the same hook. There is no need to sew up the neck.
- Next, you need to move on to the arms and legs. Create six "drops" (two long, two slightly shorter, and two shortest). A "drop" consists of a ball (hand) and a long narrow tube (arm). Same with the legs.
- The first seven rows contain from 6 to 42 sc, the number of which increases by 6 each time.
- From rows 8 to 14, 36 columns are made.
- Rows 15-41 – 24 sc. Every three rows the thread color changes. When stuffing, you need to use a hook, because these parts of the body are narrower than the neck.
- The arms and legs are attached to the body with threads using a double yarn over.
- Create a ball (head).
- From rows 1 to 11 the number of single crochets is 6-66. Each time it increases by 6.
- Rows 12-22 – 66 sc each.
- From rows 23 to 41, the actions are performed in reverse order to point 1. But at the same time, on rows 27-35, 42 sc are embroidered.
Make two triangular bags (ears):
- Rows 1-6 – 6-21 columns.
- From 7 to 13 – 21 sc.
- Rows 14-16 are embroidered with 18-12 columns.
- They stuff the head tightly and the ears very lightly.
- Attach the head to the body, horns and ears to the head. All actions are performed using a double thread.
- Add eyes, embroider the mouth and nose. Do all this with a double thread in a loop of 12 columns.
Please note! Using large stuffing tools can damage the quality of the product.
Knitted sleeping toys crochet with description
To make a sleeping bunny, you first need to create an oval body and a spherical head as follows:
- 1 row – 6 sc in hook.
- 2-6 rows – 12-30 stitches per loop.
- From rows 7 to 9 there are 30 sc.
- Rows 10-16 – 24 single crochets.
- On row 17 – 18 sc.
- On row 18 – 12 sc.
- On the 19th row – 6 sc.
Next, they are stuffed with a hook and attached to each other using a double tie.
Now you should knit two long bags (ears):
- Make 4 slip stitches, then 3 sc.
- Knit 3 half double crochets and 4 sc.
- The same is repeated on the reverse side.
They are sewn onto the sides of the head without stuffing them with anything.
Four “drops” are made:
- 1 row – 5 columns in a ring.
- 2-5 rows of 5 sc.
- In row 6, make one increase and 4 sc.
- From 7th to 12th rows – 6 single crochets.
Please note! They are stuffed in the middle and sewn on the top on the sides - short ones, on the bottom on the sides - long ones, to the body.
The nose, mouth and closed eyes are embroidered on the face. The details are embroidered in 2-3 rows of 6 single crochets.
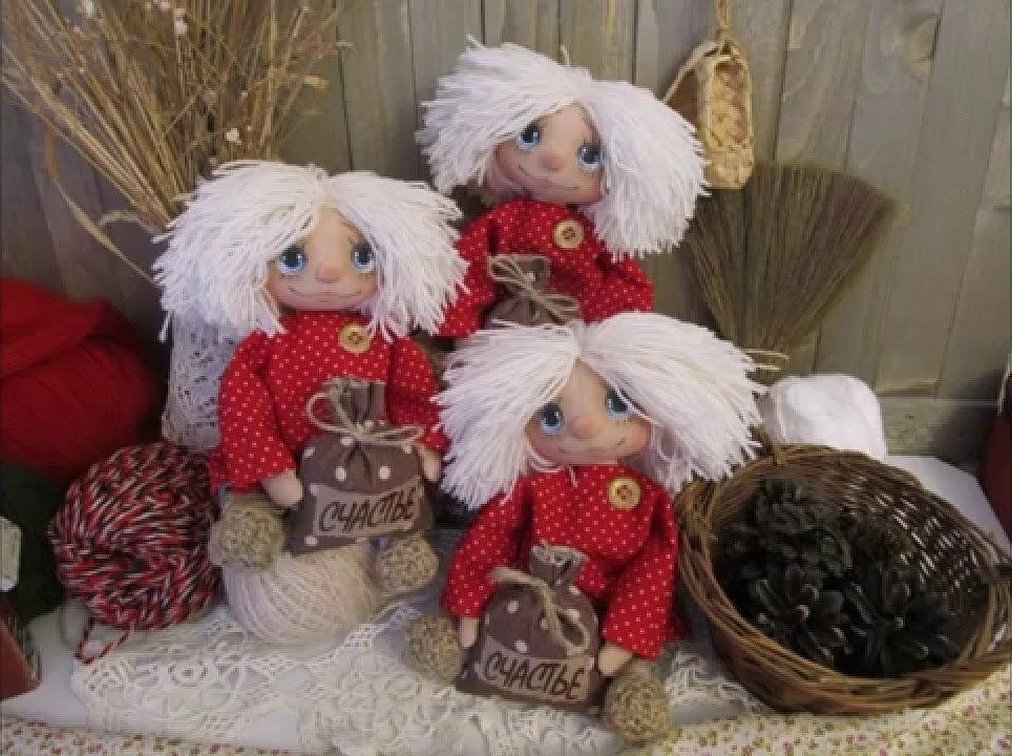
Toys: MK "Kuzya with a bag"
To make Kuzya, you first need to create the head:
- From 1 to 9 rows are embroidered from 6 to 54 columns. Each row increases by 6 sc.
- Rows 10-17 – 54 sc.
- Rows 18-26 are the opposite of rows 1-9. The stitches decrease from 54 to 6.
For the body, you need to sew 10 more middle rows (54 sc), stuff them, sew them together with a double loop.
To create two long ovals (arms), you need to do this:
- Rows 1-7 – 18 sc each.
- Rows 8-14 – 14 sc each.
- 15-22 rows – 12 columns each.
- Row 23 – 6 single crochets.
To knit the legs, you need two tubes:
- Rows 1-5 increase the number of columns from 14 to 32 sc.
- Rows 6-8 – 32 single crochet stitches.
- From rows 9 to 12, decrease from 30 to 18 sc.
- Rows 13-18 – 18 sc each.
- Rows 19-20 – 12 columns each.
They should be fastened and sewn to the body with a double ligament. The clothes should be made depending on the needlewoman's idea.
Next you need to make a bag (handbag):
- Rows 1-8 – 12 single crochets.
- Rows 9-17 – 18 sc each.
- Rows 17-23 – 24 sc each.
Please note! The threads (hair) are crocheted to the head with a single thread. The eyes are attached in the same way. The nose and mouth are embroidered with a double loop.
This activity will brighten up the pastime of each person and will be a wonderful addition to the interior and a gift to relatives. Using the above-mentioned master classes on knitting toys with a crochet hook and knitting needles, you can delight your kids with new toys every time.


