Crafts are a very exciting journey to a country called Fantasy. Every kid has his own view on creativity. It is important to support him and help him in his endeavors. You can make crafts both at home with your parents and in kindergarten with a teacher. When making paper bears, different techniques are used (folding, origami, applique, gluing) and additional actions, for example, to construct a craft, you sometimes need to print a stencil taken from the Internet. The simplest and most popular instructions for creating paper bears are collected in this article.
- Why Crafts Are Good for Kids
- How to make a paper bear using a template
- Accordion colored paper bear
- The simplest paper bears for kindergarten
- Paper Teddy Bear
- Teddy bear on a stand
- Teddy bear made of scrap paper
- Family of three bears
- Polar Bear - Paper Craft
- Volumetric bear according to the scheme
- Cardboard bears
Why Crafts Are Good for Kids
Children love to learn new things and create. One of the favorite activities of all children is making crafts. This exciting activity will bring a child many positive emotions. When making crafts, children get acquainted with different materials and things. This broadens their horizons. Crafts develop hand motor skills, creativity and sense of taste.
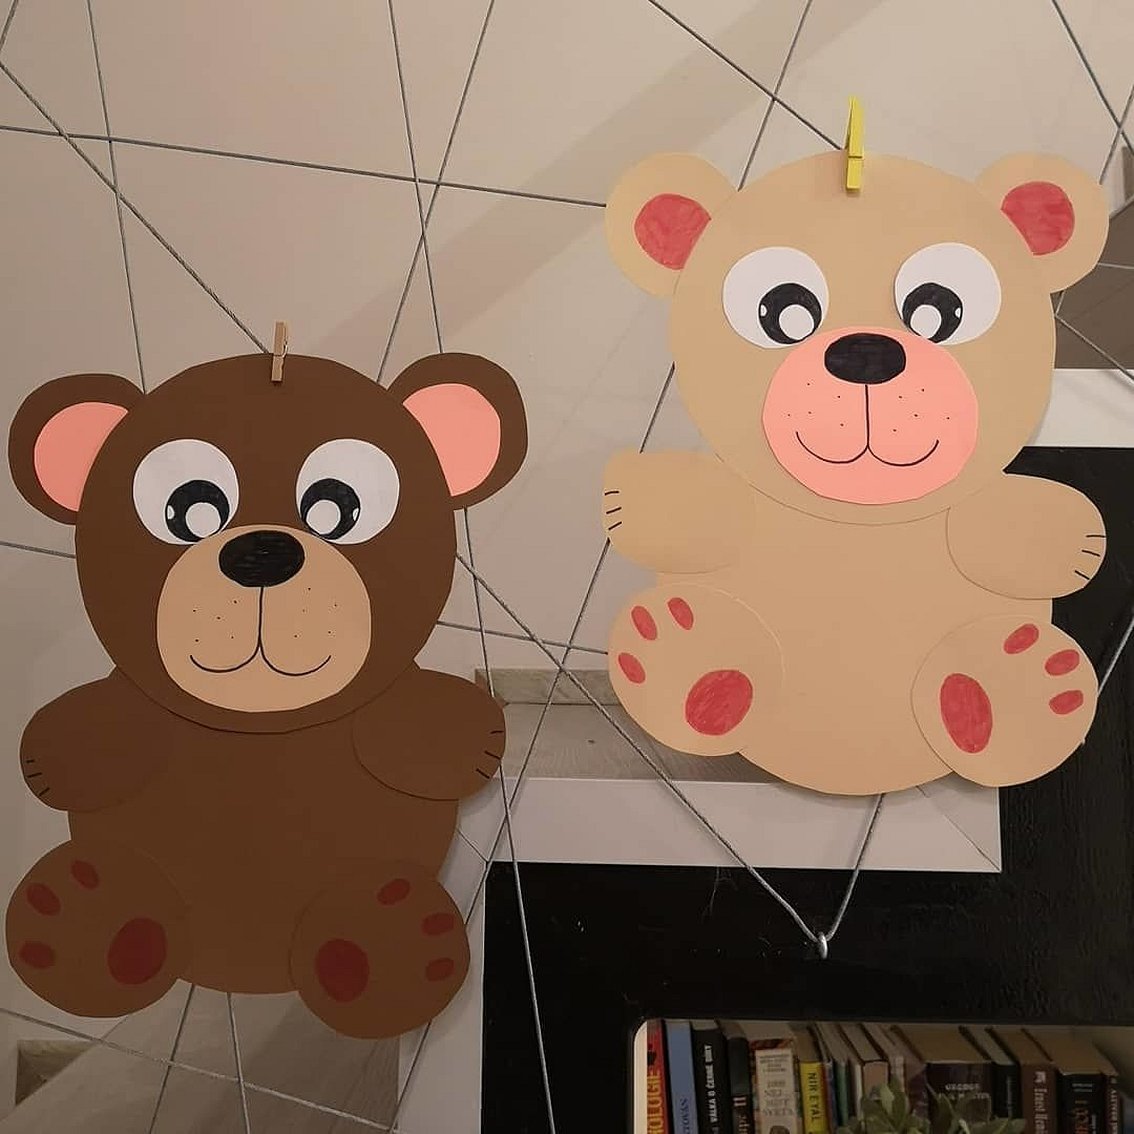
How to make a paper bear using a template
Before making the craft, you can talk to your child about bears. Tell him that every bear has a den where he sleeps and spends the winter, and wakes up in the spring, in March. The bear is very agile. Despite his large weight, he can climb a tree if necessary. It is worth recalling with your child the poem "Clubfoot Bear", in which a pine cone fell on the bear. Such a preparatory conversation will help the child remember everything about bears.
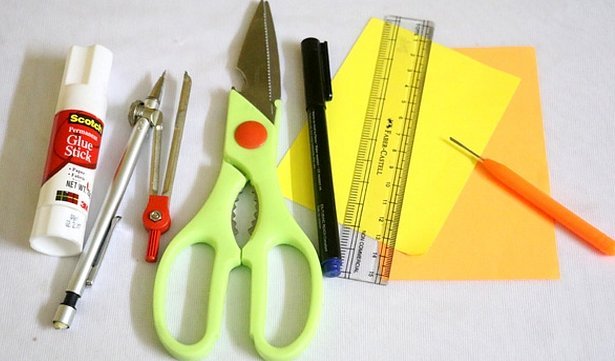
Before making this paper bear, you need to prepare the necessary materials and tools: paper of four colors (white, yellow, brown, pink), as well as a compass, scissors, a black felt-tip pen and glue.
Step-by-step instructions for making a bear craft with your own hands:
- Fold the brown sheet in half, with the fold facing up.
- Draw a circle so that it does not fit completely on the sheet of paper.
- Complete the bottom part of the sheet by marking the contours of the future bear cub.
- Cut out the outline of the circle using scissors.
- Glue the two finished parts together.
- Cut out a muzzle from brown paper. To do this, draw a small circle.
- Take brown and pink paper to create the bear's ears. The parts of the two colors are glued together.
- The bear's ears are glued to his head.
- Cut out an oval from yellow paper and glue it to the muzzle.
- Cut out eyes from white paper and paint the inside with black using a felt-tip pen.
- Also design the nose and mouth with a black marker.
- Glue the body to the muzzle.
- Cut out a small tail from brown paper and glue it on as well.
- At the end, bend the legs to make the craft more stable.
Additional informationIf the child is still small, you can use colored paper to study colors.
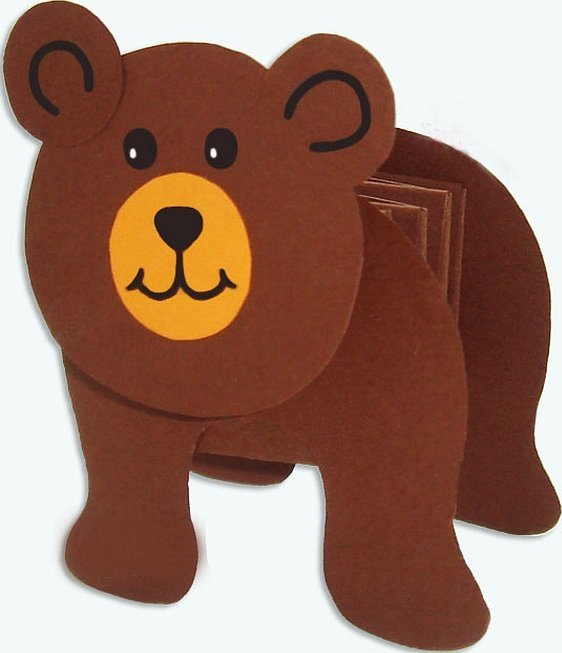
Accordion colored paper bear
To make such a bear, you need:
- cardboard (brown and orange),
- pencil,
- compass,
- scissors,
- glue,
- felt-tip pen.
Procedure:
- First, the body is created. To do this, you need to cut two brown strips from an A4 sheet, two centimeters wide.
- Next, one strip must be glued to the end of the other to form a corner.
- To make an accordion, you need to put one side of the strip after another towards the center. When the accordion is done, the end needs to be glued.
- Next comes drawing with a simple pencil, and then cutting out the paws, which should be double.
- The bear's leg pieces are glued to one and the other end of the accordion.
- To create the head, use a compass to draw a circle on brown paper.
- A smaller circle will go on the ears.
- The muzzle should be made yellow.
- Next, all the pieces are assembled together.
- The features of the face are finished being drawn - the arches on the ears, a nose with a smile, eyes.
- The head is glued to the body.
Important! The child may not know what an accordion is. In this case, you need to first introduce him to the meaning of this word.
The simplest paper bears for kindergarten
For creativity in kindergarten, it is better to use the simplest paper crafts. Several options for creating paper bears are described below.
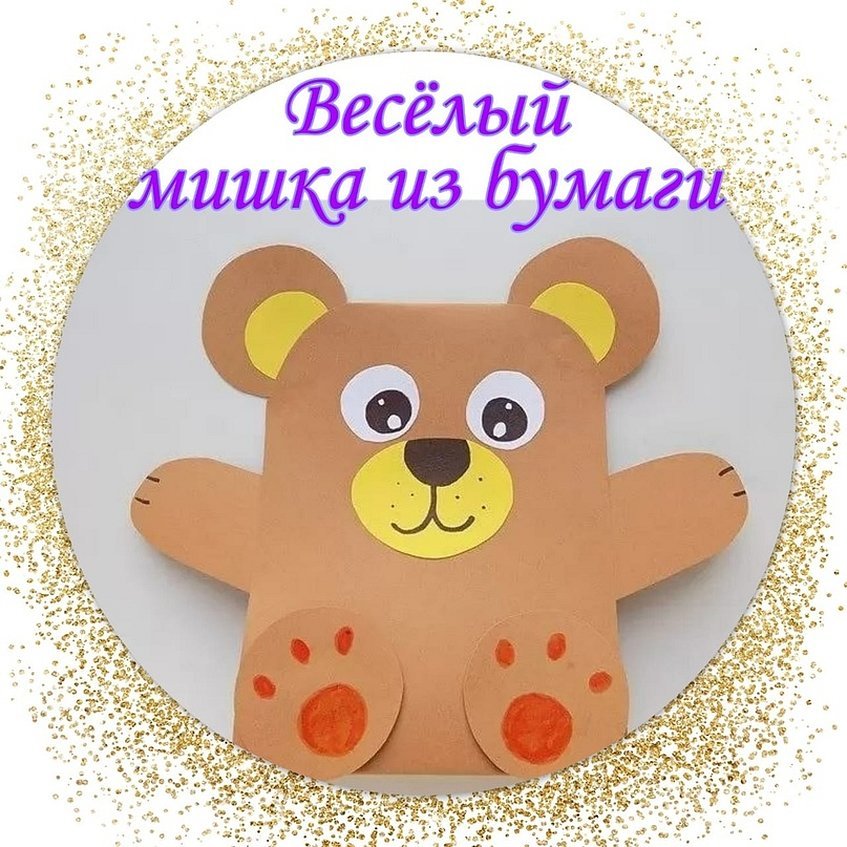
Paper Teddy Bear
To create a bear from a paper rectangle you will need:
- paper (brown, white, yellow);
- scissors;
- felt-tip pen;
- glue.
Step-by-step instructions on how to make a paper bear:
- You need to draw and cut out a rectangle the entire length of the sheet, the width of which will be 9 cm.
- Next you need to fold it in half.
- The part at the top is rounded and the part at the bottom is bent.
- Apply glue to the bottom side and glue the same second piece to the first.
- Then you need to create ears for the teddy bear.
- Next, you need to cut out circles from brown and yellow paper, some smaller, others larger. And glue the yellow circles onto the brown layer.
- The ears are glued to the rectangle.
- Next, you need to take brown paper and draw paws. They need to be cut out and glued to the rectangle.
- The "claws" are drawn on the sides.
- To make the lower paws, you need to cut out circles. They are glued to the bottom of the rectangle and painted with a yellow felt-tip pen.
- To create the face, you need to draw circles, cut them out and paint them, and then glue them onto a rectangular blank.
- The next part of the blank is made from yellow, only the nose and mouth are drawn.
Note! This bear can be made from cardboard. If you make it bigger and adjust it a little, it can become a blank for a New Year's mask.
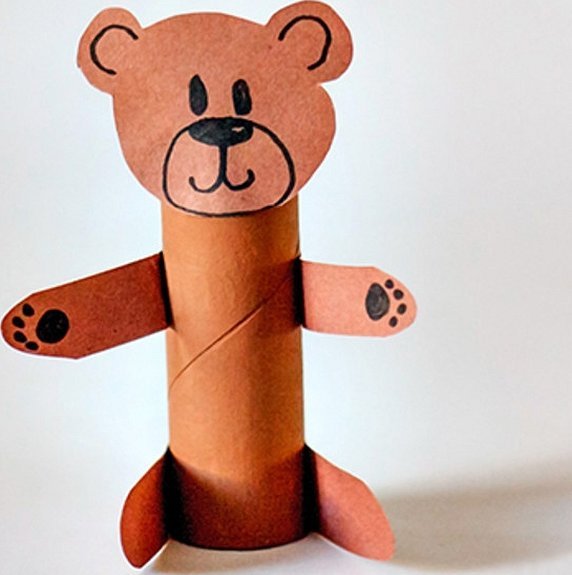
Teddy bear on a stand
It is very easy to make such a bear. To do this, you need to prepare:
- glue;
- toilet paper roll;
- brown colored paper;
- black marker pen.
The order of making the craft:
- First, take a toilet paper roll. This will be the base of the bear.
- Next, cut out four small strips of brown paper. These will be the bear's paws. They are glued to the body, that is, to the toilet paper roll.
- To make the head, you need to cut out a circle with ears and glue it to the top of the sleeve.
- All that's left is to add some detail to the bear. To do this, take a black felt-tip pen and draw claws on the paws, as well as a muzzle with eyes and a nose.
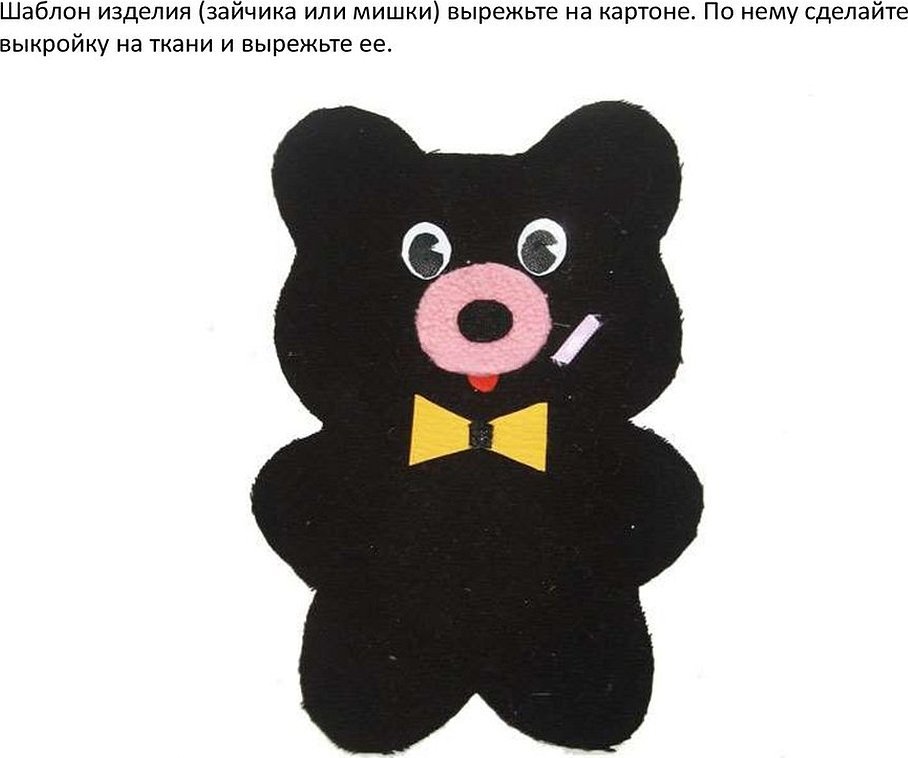
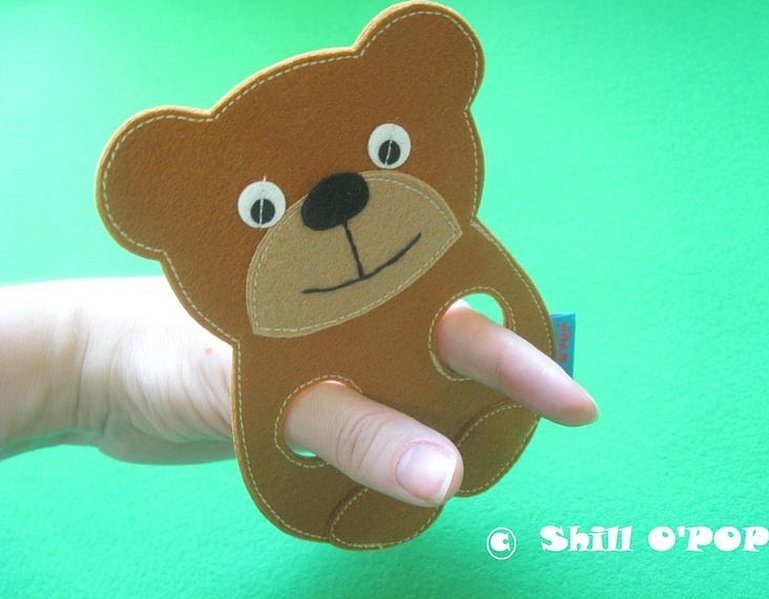
Teddy bear made of scrap paper
This craft is based on an unusual type of paper – scrap paper. Step-by-step instructions:
- Take paper of any color you like and cut out the base of the bear.
- Cut out a circle from pink paper – the bear’s face, as well as a red tongue and a black nose.
- For the eyes you need to take white and black paper.
- The bear will be decorated with a yellow butterfly, cut out of the same paper.
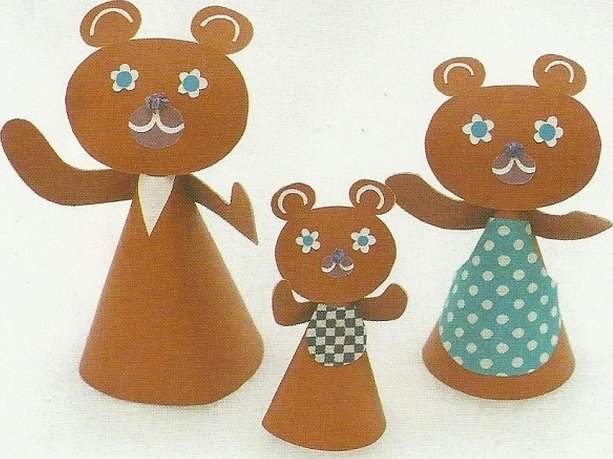
Family of three bears
To make a family craft, you need:
- Take brown paper and cut out three trapezoids.
- Roll them into a cone, securing the edges with paper glue.
- Cut out the bear cubs' paws.
- Draw and cut out the muzzle with ears along the contour. The eyes will be unusual, in the shape of a flower. To do this, draw a flower on white paper that looks like a chamomile. A blue circle slightly smaller than the flower will be its core.
- Next, connect these two parts with glue and stick them onto the face of each bear.
- For the nose, cut out a circle from dark brown paper, and two strips of white paper for the antennae. Connect the two parts and glue.
- To distinguish the bears, you need to decorate them. Dad needs to cut out a tie from white paper, mom needs to cut out an apron from beautiful paper for decoration, and the child needs to cut out a small apron also from beautiful paper.
Please note! When gluing parts, you need to apply glue in small portions so that it does not spread.
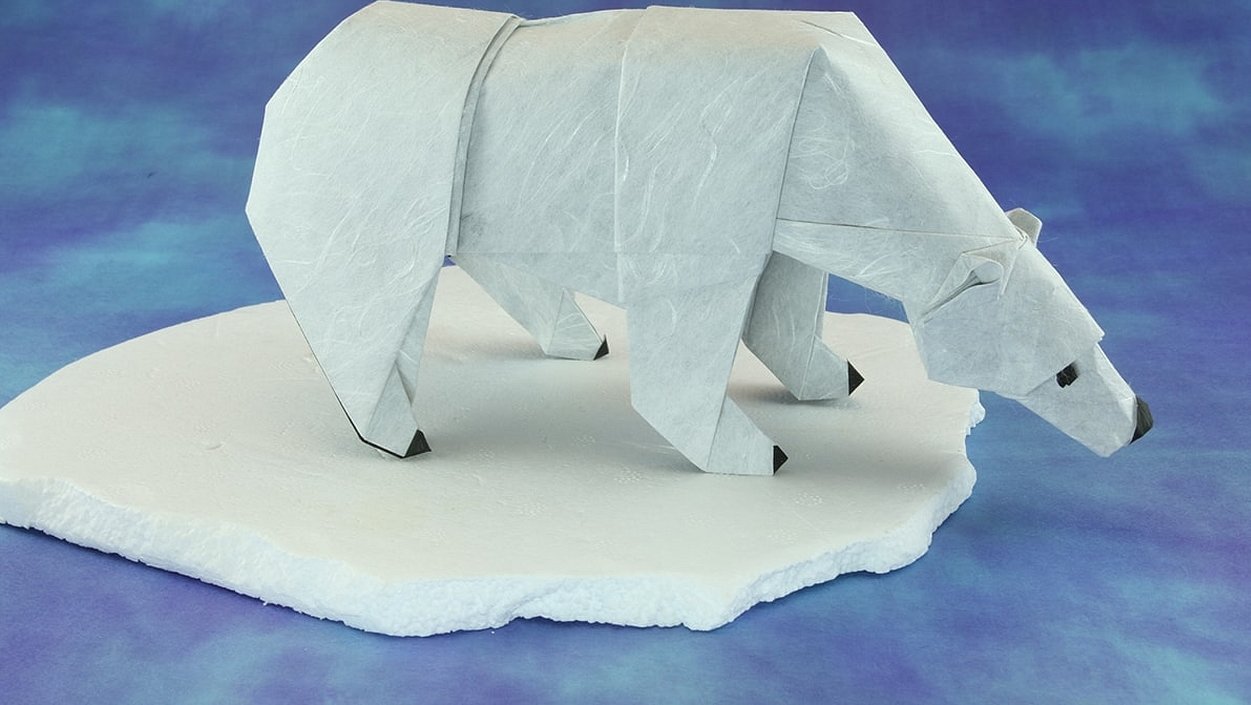
Polar Bear - Paper Craft
In nature, polar bears live in the north. But you can create them yourself using origami. The modular method of work will help with this. To create the craft, you only need white paper and a felt-tip pen.
Step-by-step instructions for implementation:
- Take a piece of paper and fold it in half, into two sides.
- A coup is being made.
- You need to fold the sheet diagonally.
- Then you need to take two opposite sides and fold them inward. You get a triangle with a double layer.
- The first top layer is folded into a diamond shape.
- Next you need to turn it over.
- One part of the triangle must be folded towards the other.
- Next, the legs are formed. You need to lift one side up and then to the side. Then repeat this with the other side. Both legs are bent into the middle of the workpiece.
- The top corner goes down. This will be the head.
- The paws need to be spread apart to give shape.
- In the bottom corner you need to form a couple of folds.
- The bear's features are drawn with a felt-tip pen - eyes and nose.
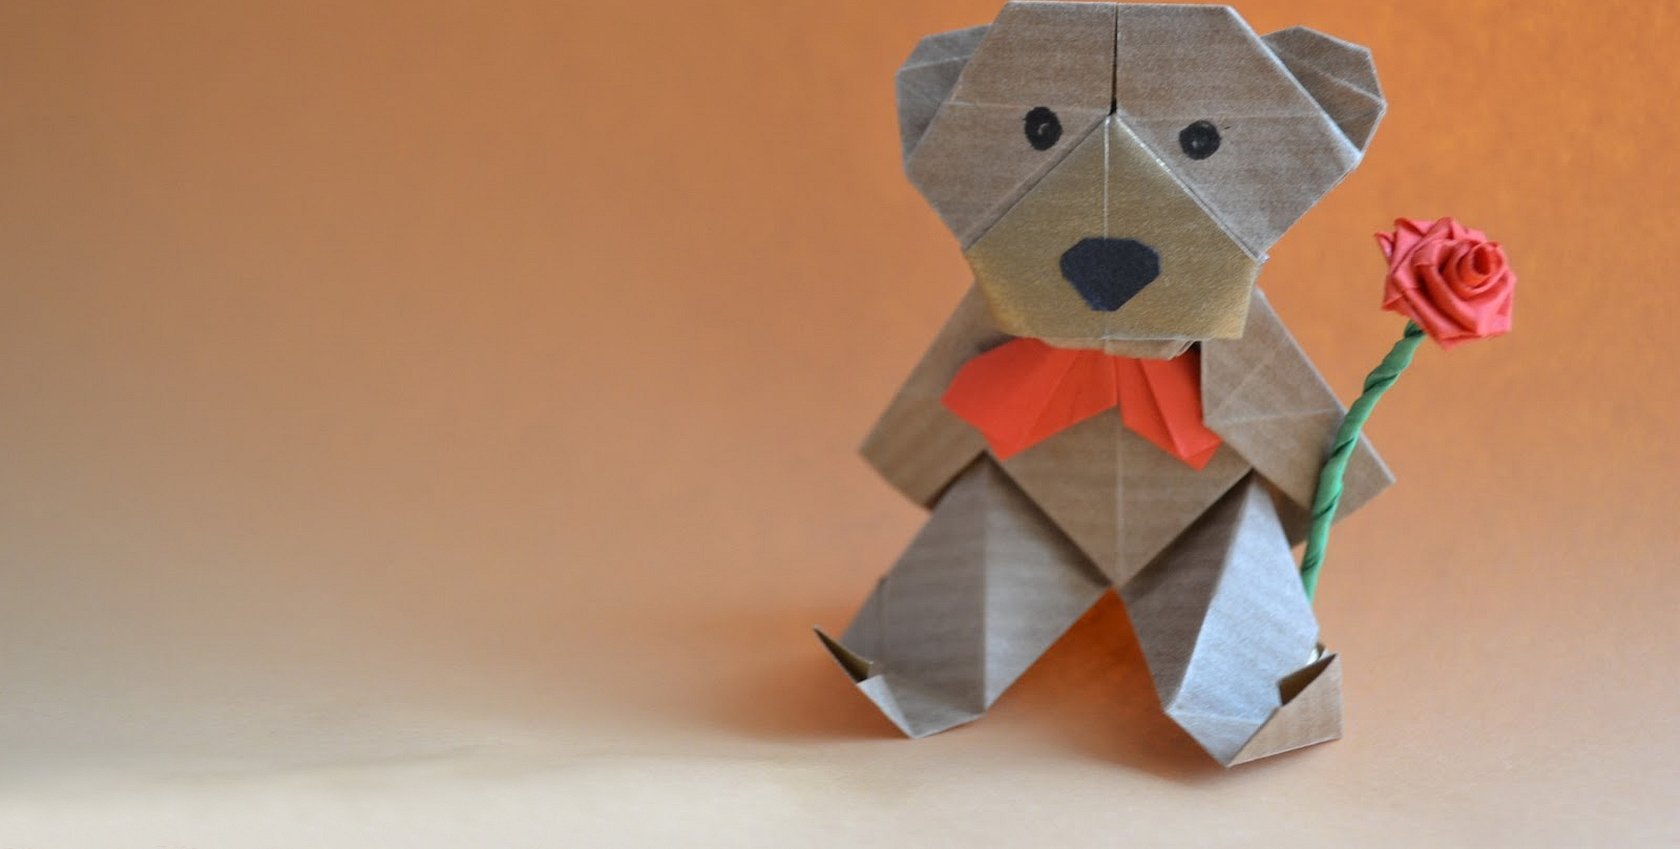
Volumetric bear according to the scheme
This craft is made using origami technique. The order of actions is as follows:
- The two corners of the paper blank facing each other must be folded towards the center.
- The side edges are folded towards the center.
- Then you need to fold the side corners to the center.
- Next, a coup is made.
- The bottom corner must be folded in the opposite direction.
- Next you need to pull out a couple of triangles that are inside.
- Then you need to open and fold the left corner.
- Pockets also need to be opened.
- On the left side, you need to fold the corner back.
- It is necessary to flatten and bend the edge that is at the bottom.
- Next, a couple of lines are marked.
- The triangle of the muzzle needs to be raised.
- Then fold a couple of triangles on the left side.
- Fold the bias edge.
- Next, you need to move the muzzle onto the body and bend the right side.
- The triangle that is at the back (where the back is) needs to be tucked into the blank, and a couple of triangles need to be folded at the location of the chest.
- The bottom part of the triangle needs to be tucked in the same way.
- The triangle is folded into the resulting pocket.
- Next comes the opening and shaping of the ears.
- Then you need to adjust the head.
- The triangle that is curved must be inside.
- The ears are opened in such a way that they appear voluminous.
- Then the paws are created.
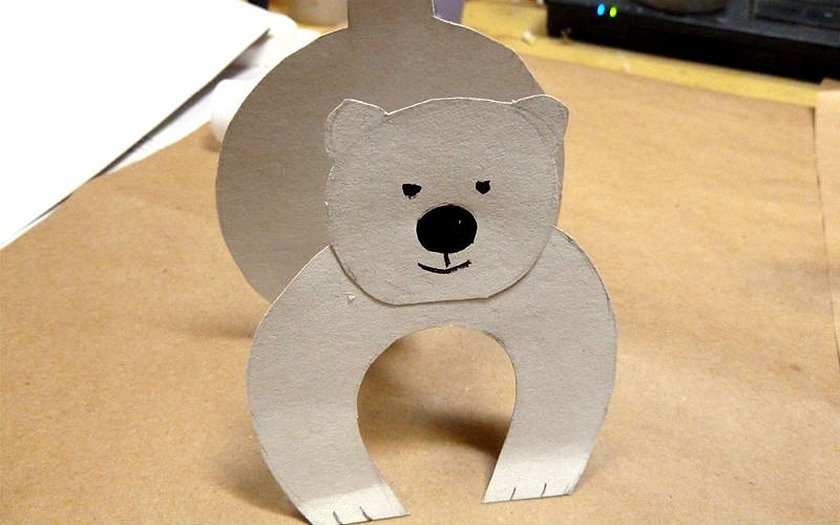
Cardboard bears
Crafts made of cardboard are very budget-friendly, since there is no need for very expensive materials. These bears can be used, for example, in a puppet theater, since the legs give them "liveliness". For the craft you need:
- white cardboard;
- scissors;
- glue;
- store-bought eyes for toys;
- pompom on the nose;
- felt-tip pen.
Important! It is necessary to help the child so that he does not cut himself, because this is painstaking work and it requires accuracy.
Procedure:
- Three circles are drawn, from large to small. One circle will be used for the head, one for the body and one for the ears of the bear.
- Next, they are glued in a logical order.
- The eyes and nose are glued on.
- A smile is drawn.
- At the bottom of the body, use a hole punch or scissors to make slits, that is, two circles. These will be the legs. If you stick two fingers through them, you will get a bear that can walk.
Note! If you plan to stage the fairy tale “The Three Bears” in a homemade puppet theater, you need to make two more of the same bears, but bigger ones – for mom and dad.
You can create many different bears from paper. These can be the crafts presented above, or some other models. When creating them together with your child, it is important to remember about his safety, and talk about such moments before work. And then the activity will be exciting, interesting and safe.


