Small toys made in Japanese style can be found in almost any store. Their charm lies in the ability to return to their original shape even after prolonged compression. Due to the unscrupulousness of some manufacturers and the production of toys with carcinogenic substances, many parents prefer to make squishies with their own hands from safe and proven materials.
- What are squishies and what are they used for?
- What figures can be made?
- Materials and tools for work
- How to Make Squishees with Your Own Hands: Options
- Foamiran squishies
- DIY Light Plasticine Squishy
- Balloon Squishy
- Squishes from a cellophane bag
- Squishy from the cover
- Sponge (foam rubber) squishies
- Squishy from tights/socks
- Paper Squishes Without Tape
What are squishies and what are they used for?
Squishes are small figures that change shape under the pressure of the hand. They are anti-stress toys and allow people who are under emotional stress to distract themselves. The tactile technique allows you not to worry and restrain your emotions.
The figurine is used to vent accumulated anger, bad mood and unreasonable irritability. It helps to suppress depression and improves mood. The toy can be used in various situations:
- Large, bulky items are suitable for the home;
- For the office it is better to use small silicone balls and pens.
Squish allows you to pass the time or get your thoughts in order before an unpleasant meeting or gathering. They are used not only for adults, but also for kids. The latter need constant finger training - fine motor skills of the hands are necessary for holding small objects, developing dexterity and strength.
The figurines gained particular popularity due to the different ways they can be used:
- they can be crushed and stretched without fear of accidentally damaging them;
- toss from hand to hand;
- swim with them;
- use as a keychain or school backpack decoration;
- learn colors, names of products.
The benefits of anti-stress items include:
- pleasant smell - ready-made store-bought products are additionally scented;
- stress relief;
- the soft material used for creation does not cause any discomfort;
- compact size allows you to carry it with you at all times;
- interesting and beautiful design, helping to choose a figurine to suit your mood and personal preferences.
Important! If you want, you can create an anti-stress thing yourself, using materials at hand. The process helps not only to distract, but also to interest the child.
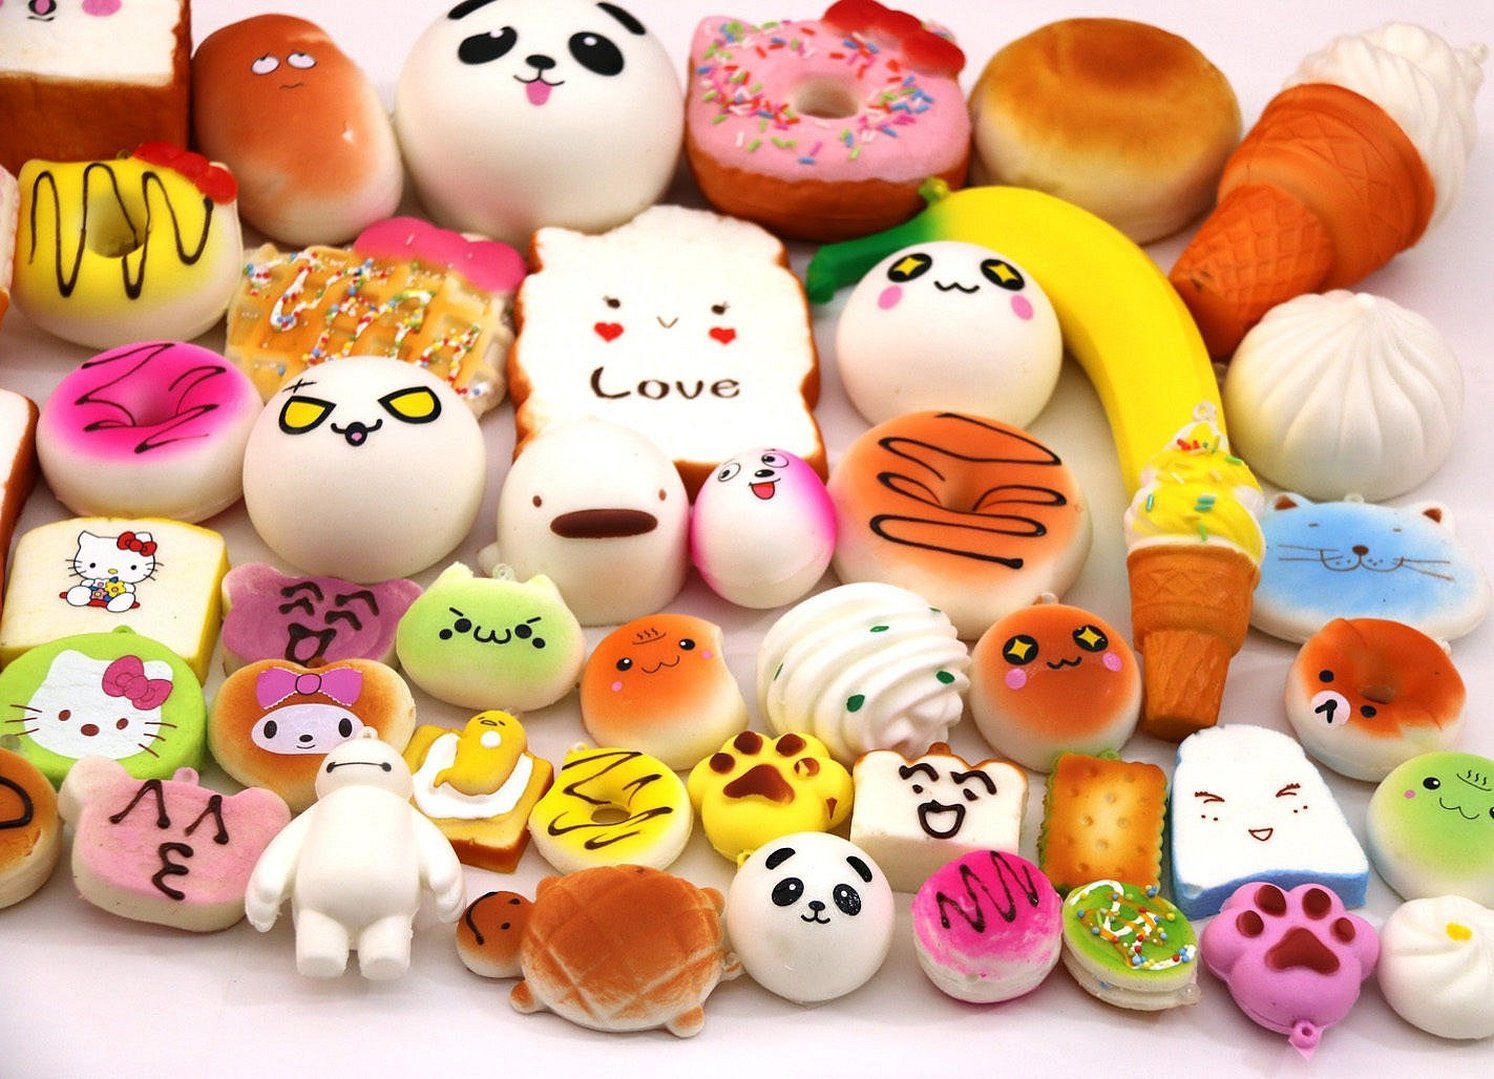
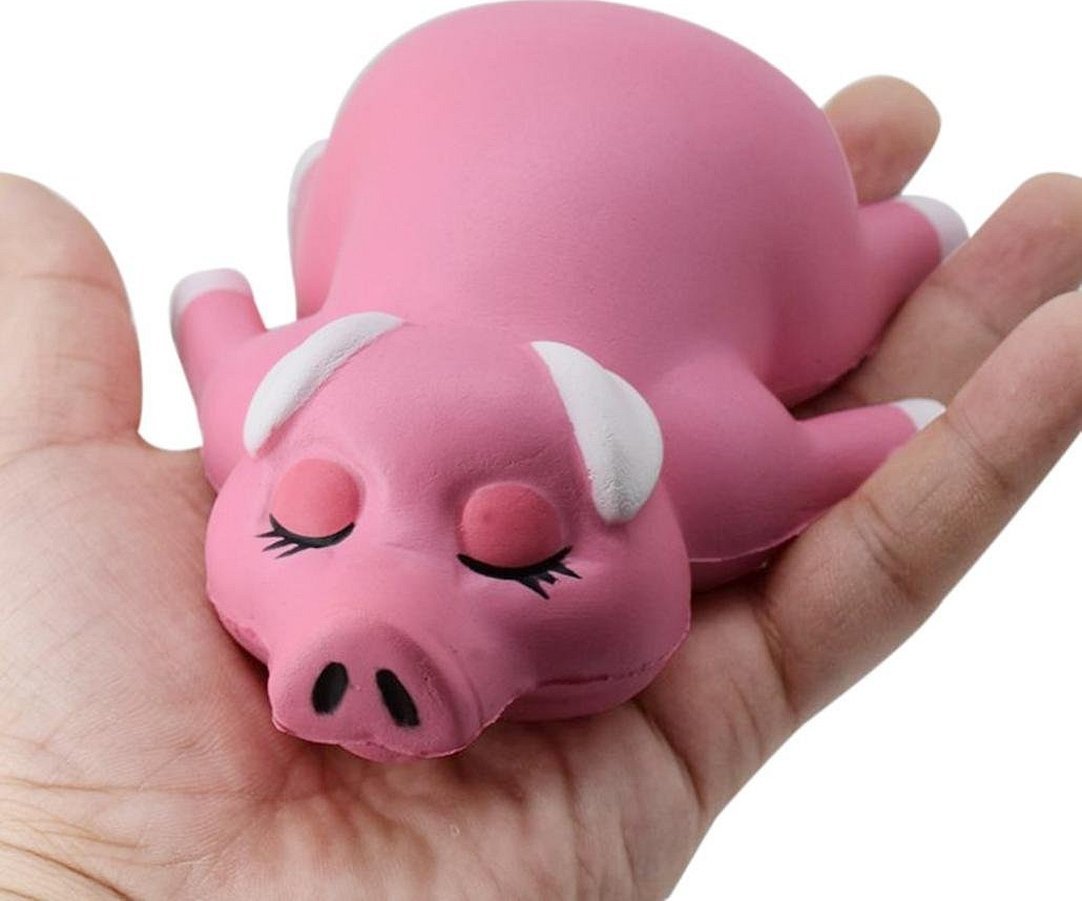
What figures can be made?
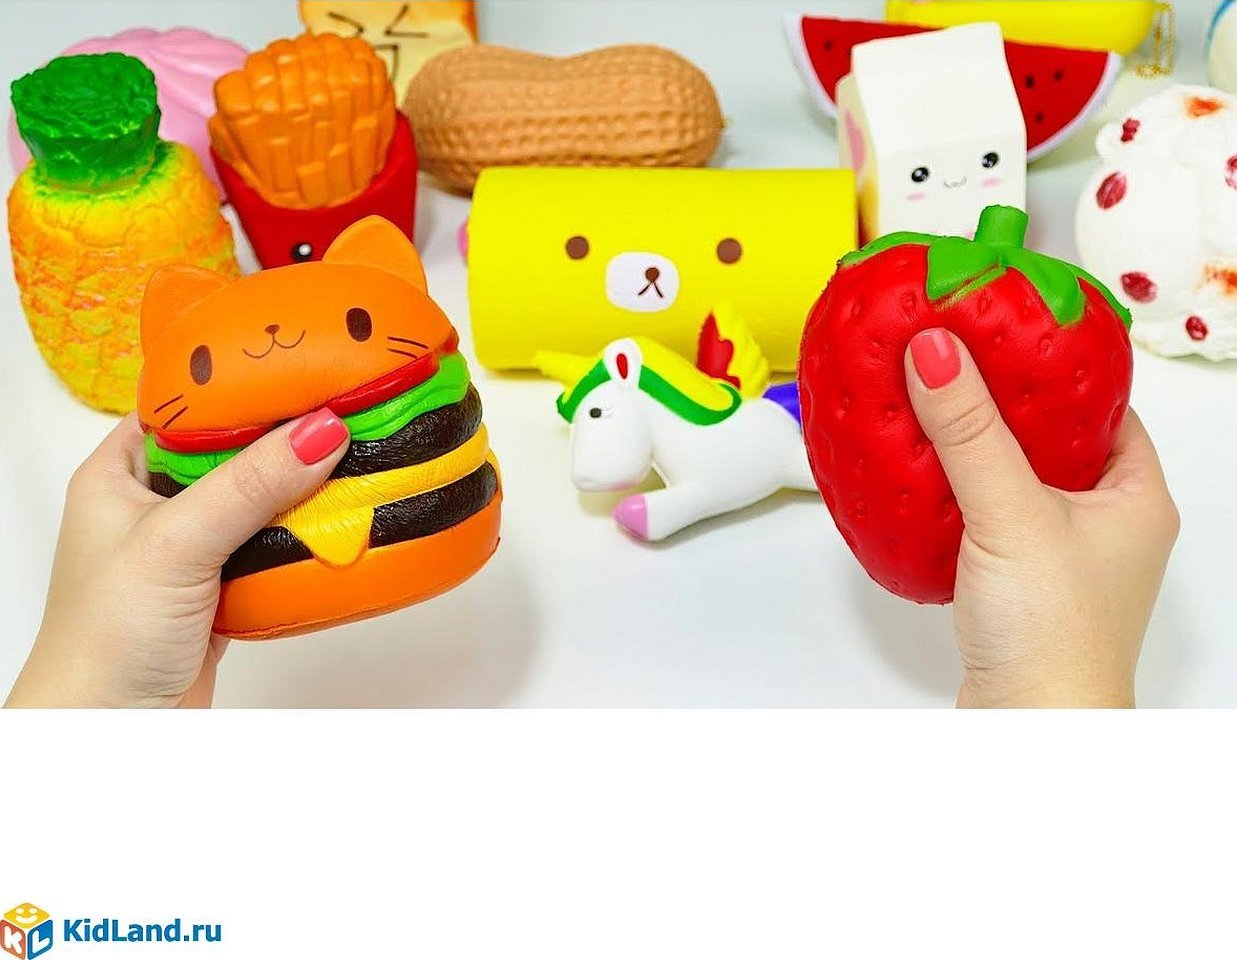
When creating an anti-stress assistant, its appearance depends on the author's flight of fancy. Squishy can resemble:
- heroes from famous cartoons;
- unicorns;
- dragons;
- emoticons;
- cupcakes;
- ice cream;
- cakes;
- donuts;
- burgers;
- balls - with or without a net;
- pieces of watermelon, lemons, oranges;
- cacti.
Important! The final appearance directly depends on the ingenuity of the manufacturer. Some authors prefer to make pillows with funny and amusing inscriptions, others make non-existent animals or fairy-tale characters.
Materials and tools for work
Before making a squishy, you need to decide on its appearance. After drawing the desired layout, you need to choose materials and tools for work.
What are homemade squishies made of: the filler is selected in accordance with the preferred tactile sensations. For the internal contents, you can use:
- foam rubber, synthetic winterizer;
- flour, cereals, foam balls (they will crunch);
- scotch tape or plastic film.
The outer surface should be as reliable as possible. Weak material will quickly become damaged and the filler will start to spill out. Experienced authors prefer to work with paper, balloons, adhesive tape and book covers. The surface can be additionally decorated with glitter, painted with gouache, felt-tip pens, markers or acrylic paints.
Depending on the type of figurine chosen, scissors and brushes are used in its manufacture. The latter are needed for painting the outer side of the product. The gluing of different parts is carried out with PVA glue or hot glue.
Important! If the craft is intended for a child, then the safest materials are selected. Children constantly put everything in their mouths, and direct contact with adhesives or dyes can cause serious poisoning.
How to Make Squishees with Your Own Hands: Options
Anti-stress helpers do not necessarily have to be purchased ready-made, there are many techniques that allow you to create them yourself, at home. You can make squishies from paper, foamiran, plasticine, balloons and any other materials.
Foamiran squishies
To make a homemade squish, you will need the following list of available tools:
- several multi-colored sheets of foamiran (plastic suede);
- non-working ballpoint pen;
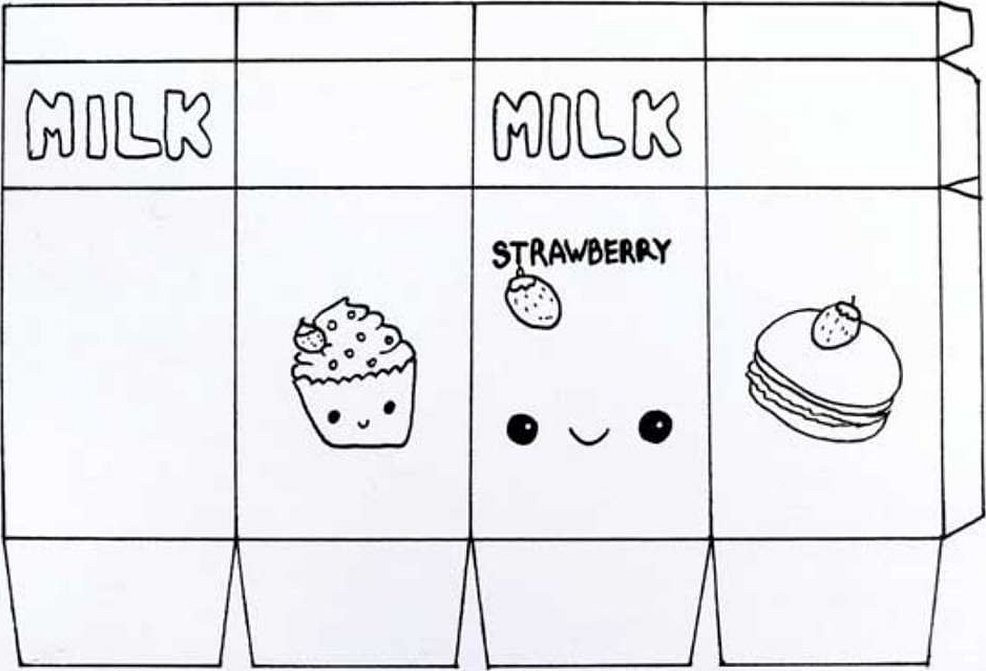
- a template made in the shape of a milk carton;
- scissors, glue and pencil;
- acrylic paint black.
Foam balls, foam sponge, synthetic padding or textiles are used as the inner layer. The thing is created according to the standard scheme:
- A milk carton (or other drink) template is pressed against a sheet of foamiran and traced around the edges with a non-working pen. The resulting layout is cut out, folds are created (oriented to the outline) and the box is glued along them. The top is left open.
- The filler is inserted through the top opening; if foam rubber is used, it is cut to the shape of the toy. Then the top is carefully closed and glued, according to the principle of a real milk tetra-pak.
- The last step is to create the decor. On a small strip of foamiran with a different color, draw dripping drops (with a pencil). After cutting, glue it to the bottom section of the box, and attach a thin strip of plastic suede in the middle (the color should match the overall tone of the toy). Draw eyes and a mouth on top - using acrylic paint.
Important! To glue the parts together, you need to use glue intended for rubber.
DIY Light Plasticine Squishy
The materials used for making them are light plasticine of various colors, pink and black markers. Homemade plasticine squishies are created according to the scheme:
- The plasticine must first be softened. Balls are formed from it (by color), each one is slightly flattened.
- Ears are made on top and it looks like a cat's head.
- The muzzle is painted with a black marker, and the tongue, cheeks and ears are highlighted with pink.
Important! After making the craft, it is left to dry for 6 hours.
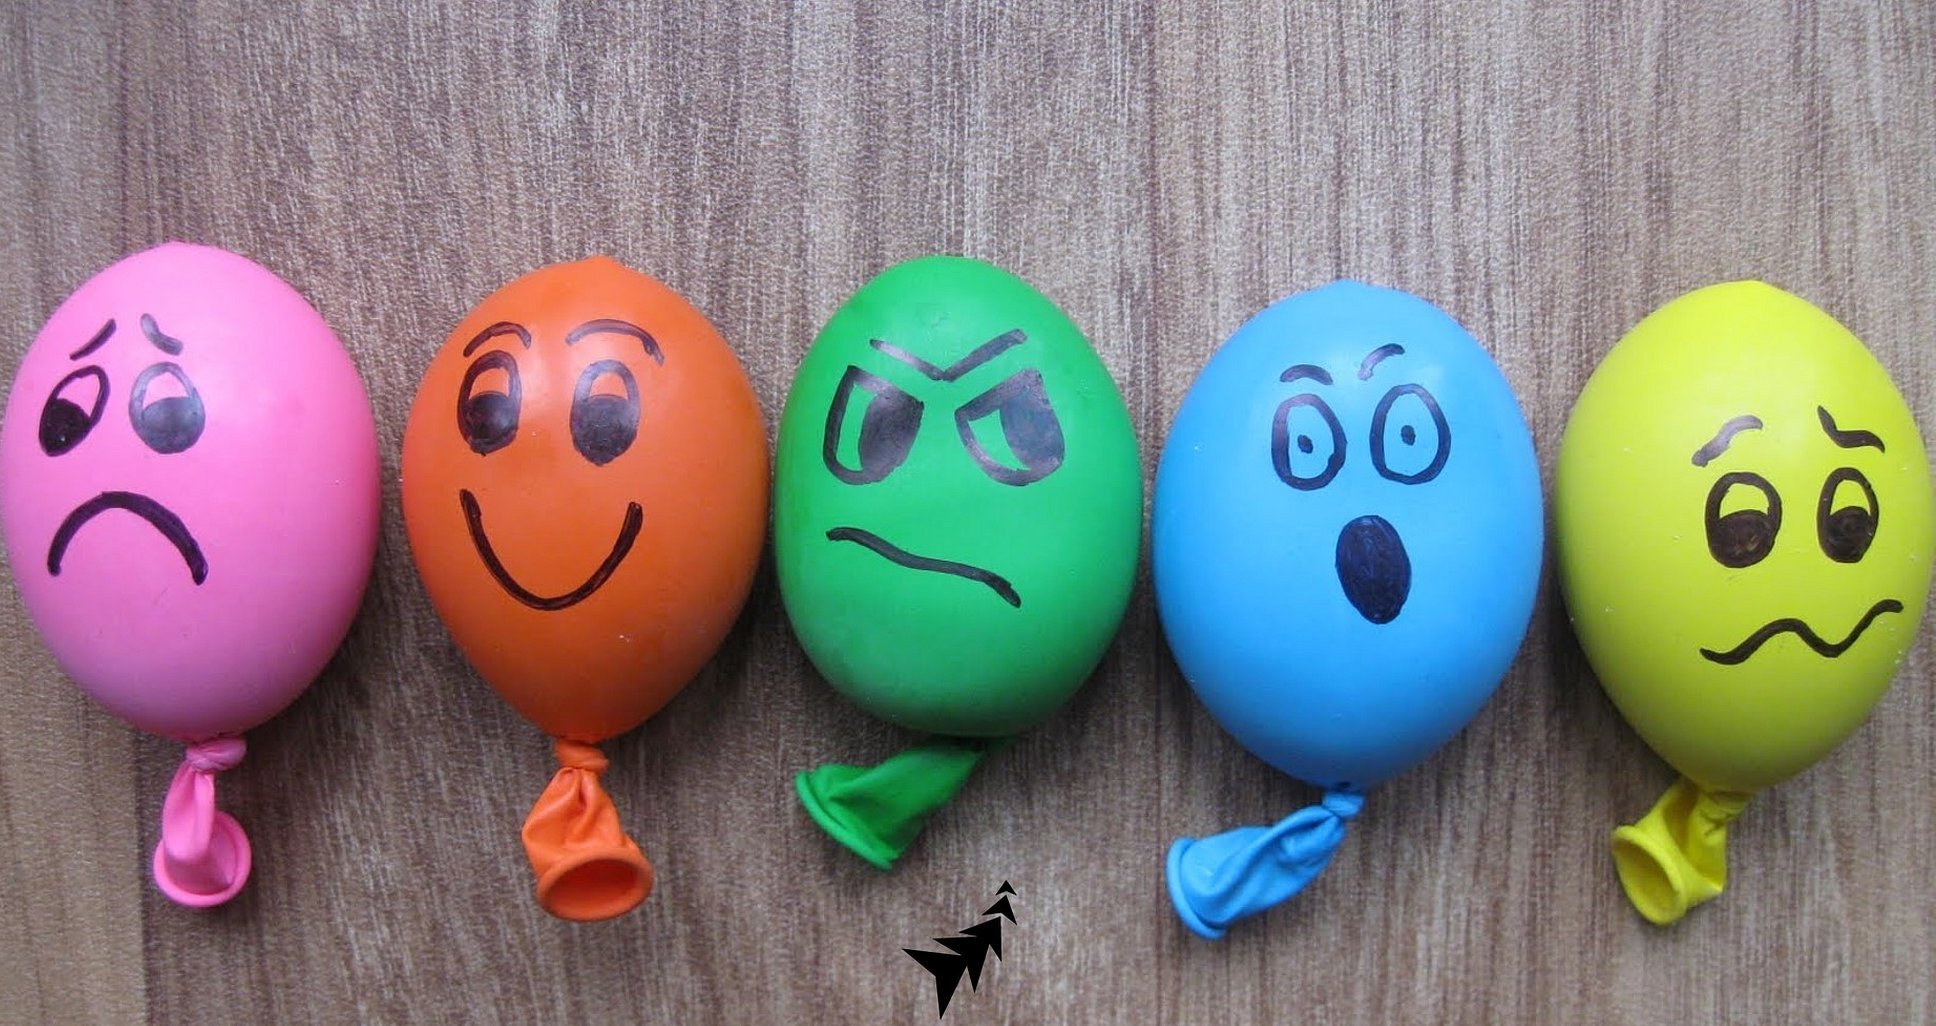
Balloon Squishy
Prepare a balloon, a plastic bottle, a needle and scissors in advance. Flour, starch or foam balls are used as a filler. The instructions for making include the following steps:
- Styrofoam balls are poured into a bottle.
- After inflating the balloon, it is placed on the neck of a plastic bottle and turned upside down.
- Wait for the filling to pour out, remove the ball from the neck and get rid of excess air.
- After tying the neck of the balloon, carefully draw a muzzle on it.
Important! When buying balloons, you need to pay attention to their thickness. Too thin rubber will wear out quickly.
Squishes from a cellophane bag
To create the toy, take a plastic bag, several multi-colored thin tapes, a silicone rubber band, felt-tip pens and scissors. To fill the inside, you can use a cotton, synthetic padding or foam base.
The process is not complicated:
- The sharp corner of the bag is filled to form a cone-like shape. This part is secured with a rubber band and a ball is created. Its end is twisted, cut and glued with tape. The result is a figure resembling an ice cream cone.
- The top part is covered with multi-colored strips of adhesive tape. The overall color of the craft should be flesh-colored or light brownish. A net is drawn on it, imitating a waffle cone.
Important! If desired, you can create any appearance for the toy, it does not necessarily have to resemble an ice cream cone.
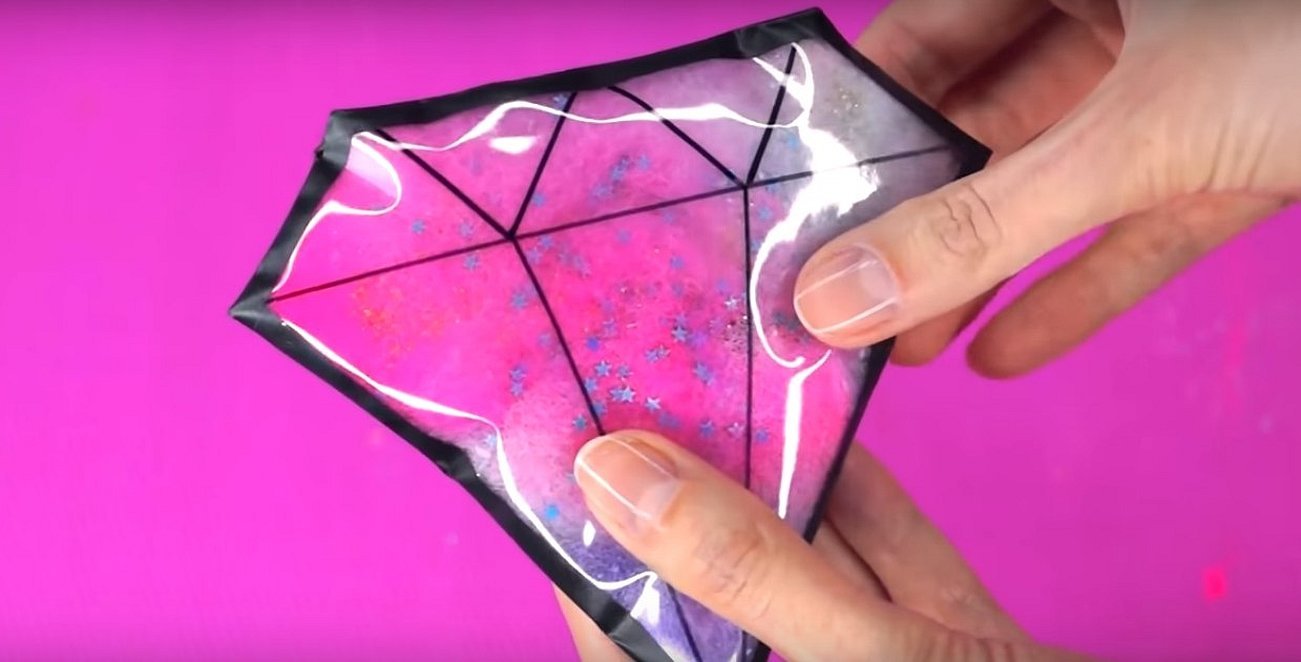
Squishy from the cover
The figure is created using a transparent cover, glitter, dry pastel or gouache, a black marker, felt-tip pens. Cotton wool or synthetic padding is used for filling.
The step-by-step algorithm is simple:
- First, a paper stencil (in the shape of a diamond) is created, it is placed under the cover folded in half. After drawing the figure with a marker, it is cut out along the contour.
- Grate dry pastel of pink, blue, light blue or violet shades. Divide the filler into parts and sprinkle it with powder of different shades. After rubbing the pastel into the synthetic padding, put it in a bag and press it down for better coloring. Then add glitter.
- The two sides are glued together with adhesive tape, leaving a small gap for filling. The padding polyester is inserted inside, observing the color sequence. When the process is completed, the unclosed part is sealed with adhesive tape.
Important! The finishing touch will be to create inscriptions with a marker on the surface of the craft.
Sponge (foam rubber) squishies
Before starting work, select the material: sponge, gouache, shaving foam, PVA glue, scissors and food coloring. The rest of the actions are carried out according to the algorithm:
- Give the foam sponge the desired shape (muffin, cake, donut or other food) by trimming the edges.
- The resulting figure is soaked in gouache and painted to match the color of the dough, light brown or dark brown.
- The base is left to dry, while a cream is prepared consisting of shaving foam, a few drops of dye and a small amount of glue.
- After drying, apply liquid cream on top, sprinkle glitter on top. The final step is to dry the product for 20-30 minutes.
This method is suitable for creating multi-layered figures made of sponges. They are glued on top of each other, observing the order of colors. The top is decorated with "cream" with glitter.
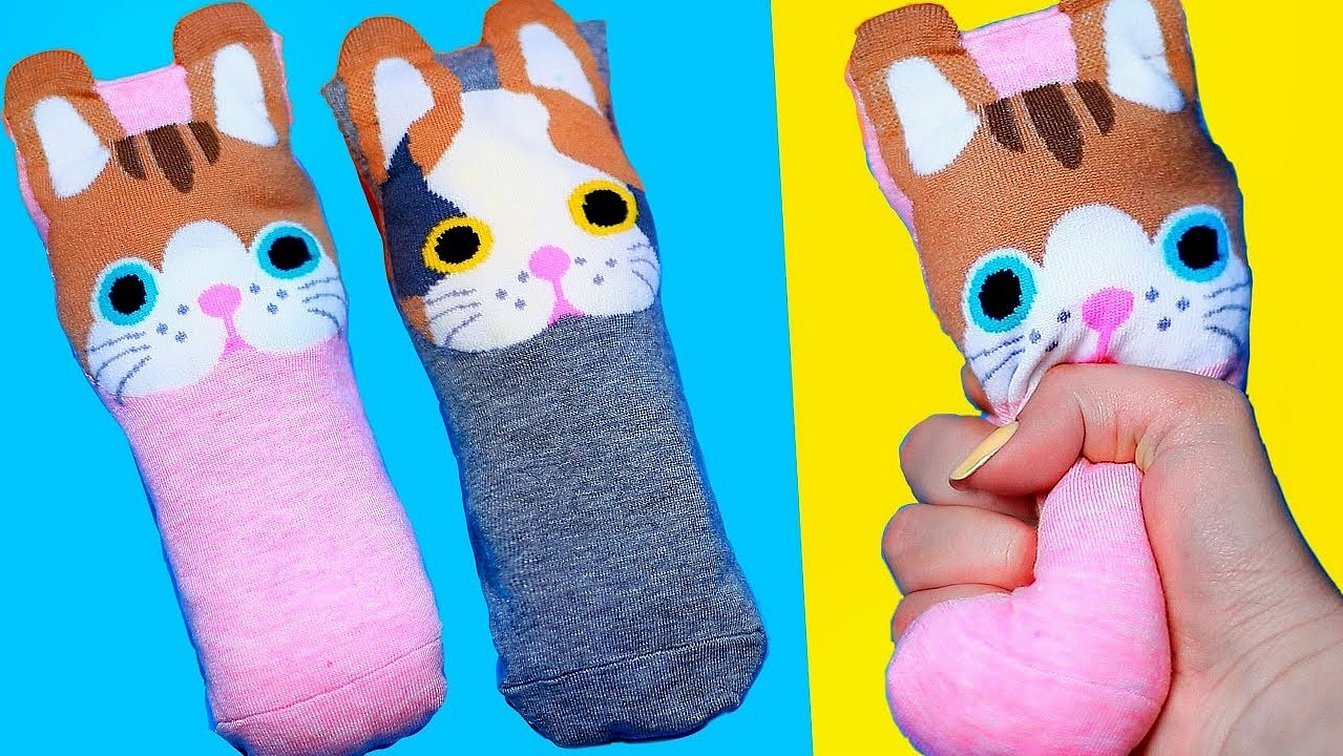
Squishy from tights/socks
The creation of the toy begins with collecting materials at hand: green nylon tights, silicone rubber bands, scissors. Foam balls, cotton wool or synthetic padding are suitable as filler.
The manufacturing instructions indicate the following diagram:
- The "legs" are cut off from the tights and one is inserted into the other. The open part is hemmed, leaving space for adding filler.
- The void is tightly filled with cotton wool, and the edge is tied with an elastic band.
- The figure is turned over and eyes are drawn on the front part (you can take ready-made stickers and glue them on).
- Using silicone rubber bands, create rounded thorns: tie a small section of fabric together with the filling.
Important! Many craftswomen store the “cactus” in an empty flower pot or drink container.
Paper Squishes Without Tape
How to make paper squishies in this way: before this, you need to find a pattern for making a three-dimensional paper toy. The best idea is models with the simplest shape (watermelons, smileys, ice cream):
- The drawing is applied to 2 sheets, and an allowance of 0.5 cm must be left along the contour of one of the blanks.
- Both halves are carefully colored with paint or felt-tip pens.
- The allowances are lubricated with glue, leaving a small part without processing.
- After gluing the halves together, carefully fill the middle with chopped synthetic padding or cotton wool.
- The remaining open area needs to be sealed.
Squishies made by hand from paper do not last long due to the lack of an outer protective layer. Constant contact with hands quickly pollutes them, and the worn-out paper begins to tear.
Paper or rubber squishies are suitable for developing fine motor skills of the hands, as well as for calming down or increasing concentration. They can be bought ready-made (factory-made) or made independently, spending a minimum amount of time on the process of creating a collection. The best options can be viewed on special handicraft websites, where you can also find a pattern and print it out. Children can easily glue simple figures themselves.


