At all times people were engaged in home handicrafts. Today, each person can choose an activity to their liking. If you want to master some universal technique that allows you to create unique things or funny toys, you should pay attention to felting.
- What is felting
- Materials and tools for felting
- Needles for felting
- Felting brush
- Decorative elements
- Additional tools
- Types of wool for felting
- Where to buy and how much do felting kits and wool cost
- How to felt: basic techniques
- Wet felting of toys (felting)
- Dry felting method
- Mixed felting
- Master class on felting toys from wool for beginners
What is felting
This is a very ancient technique of felting wool (folding). In the past, nomadic people used felt to make carpets, clothes, shoes and even the walls of their portable homes. Later, wool yarn came into use, from which they began to knit everyday items and clothes.
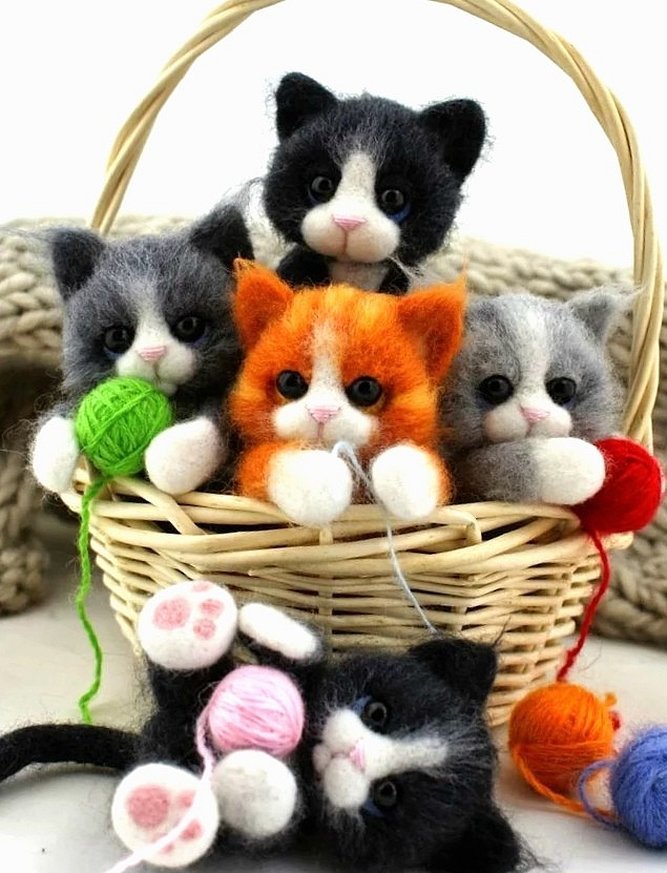
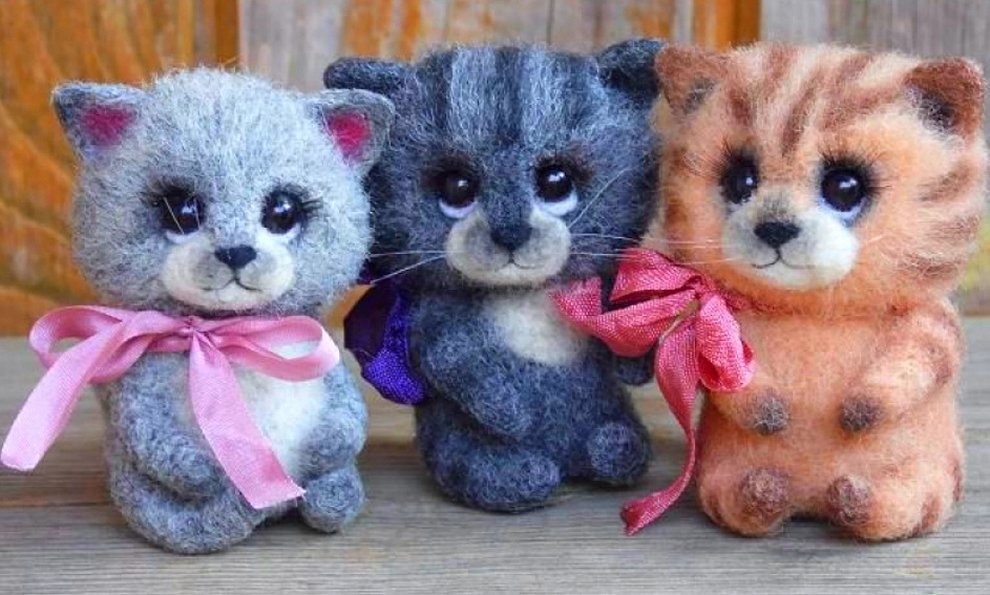
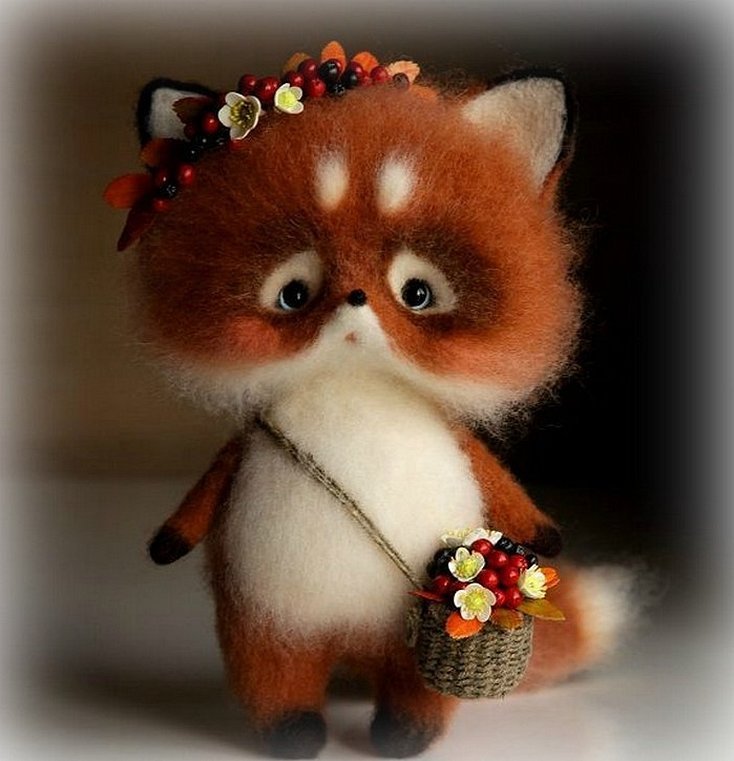
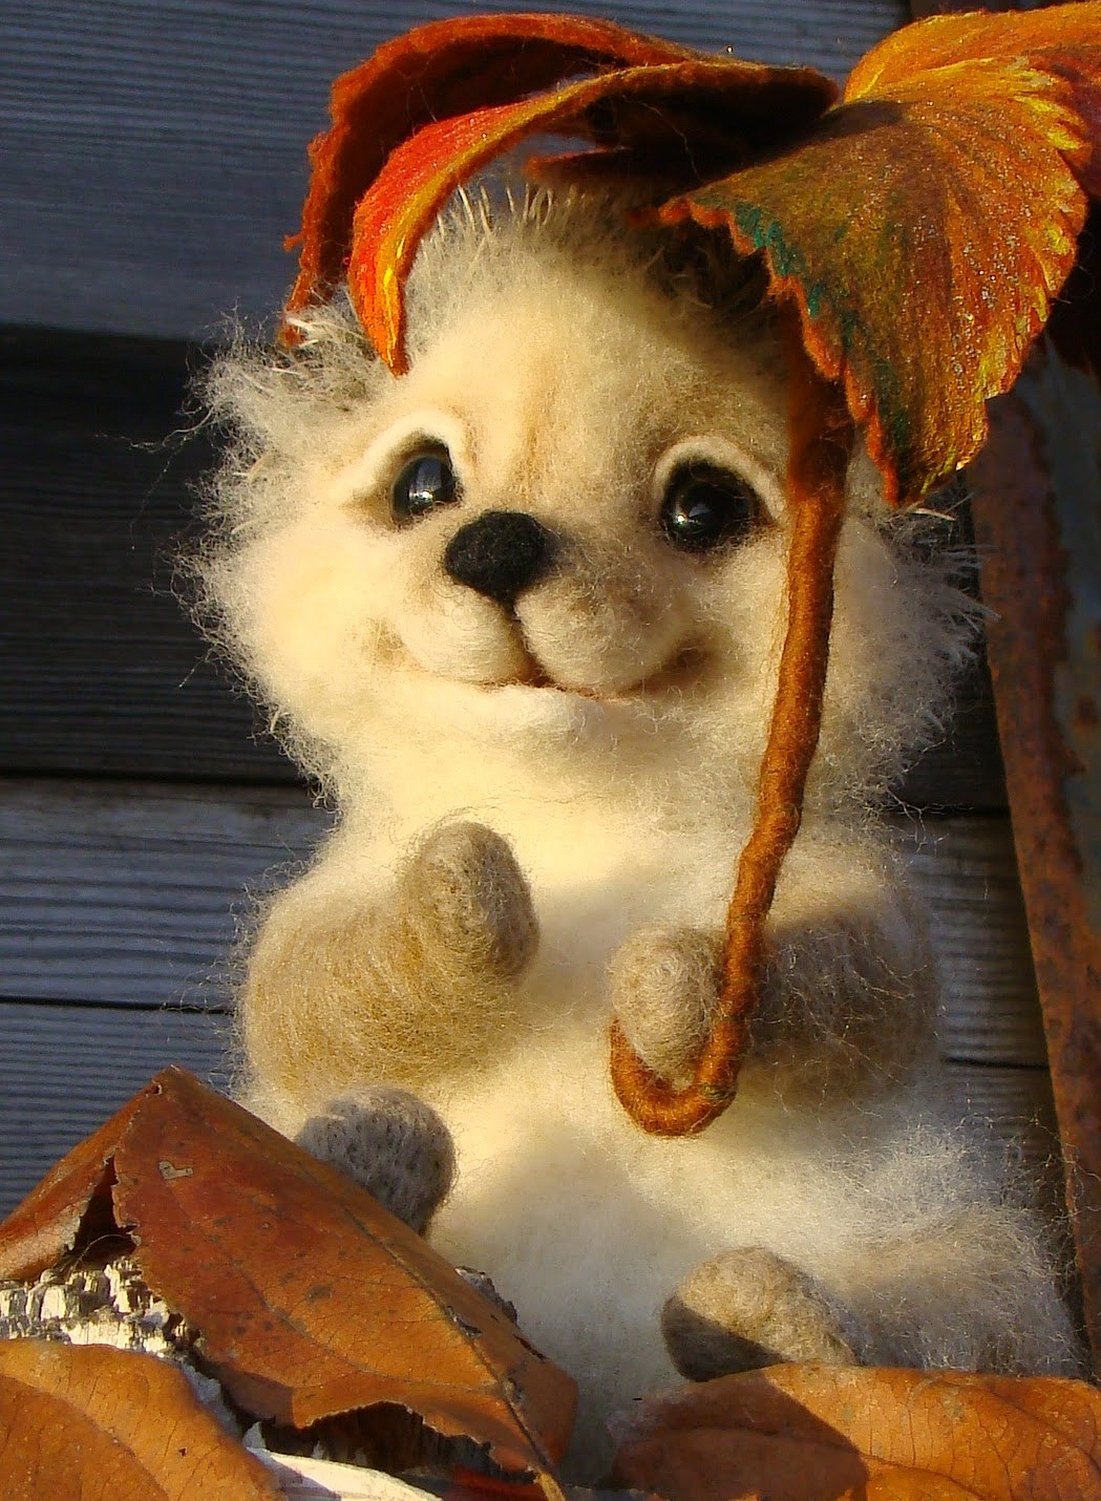
Felting is currently particularly popular among needlewomen. Today, felting wool is used to create patterns on fabric or felt, voluminous felted toys, decorative items, clothing and accessories. Using special needles, voluminous wool is transformed into very dense felt. This only happens if the yarn is natural, since only such fibers are able to tightly connect with each other.
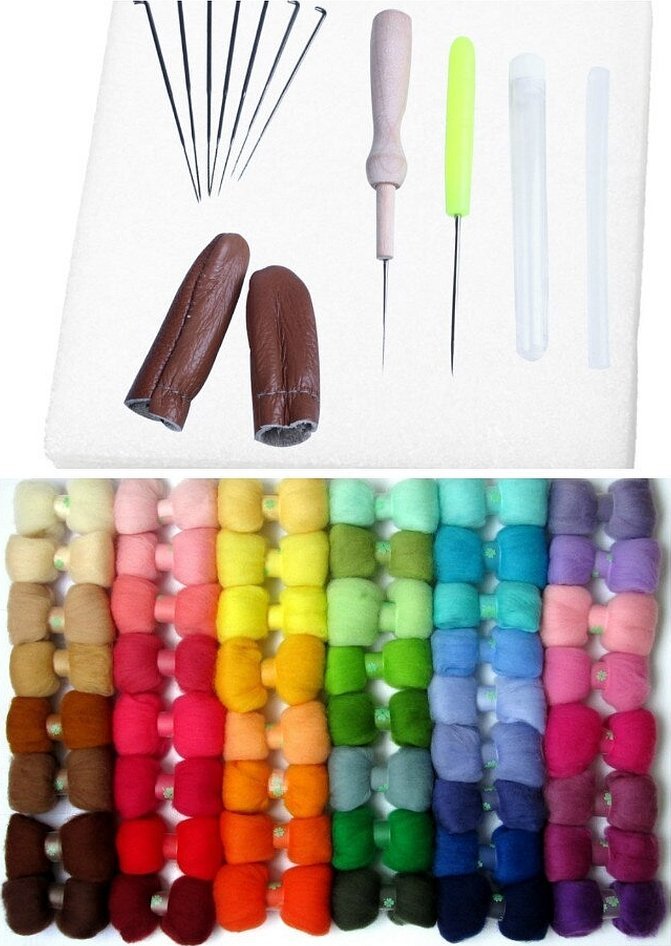
Materials and tools for felting
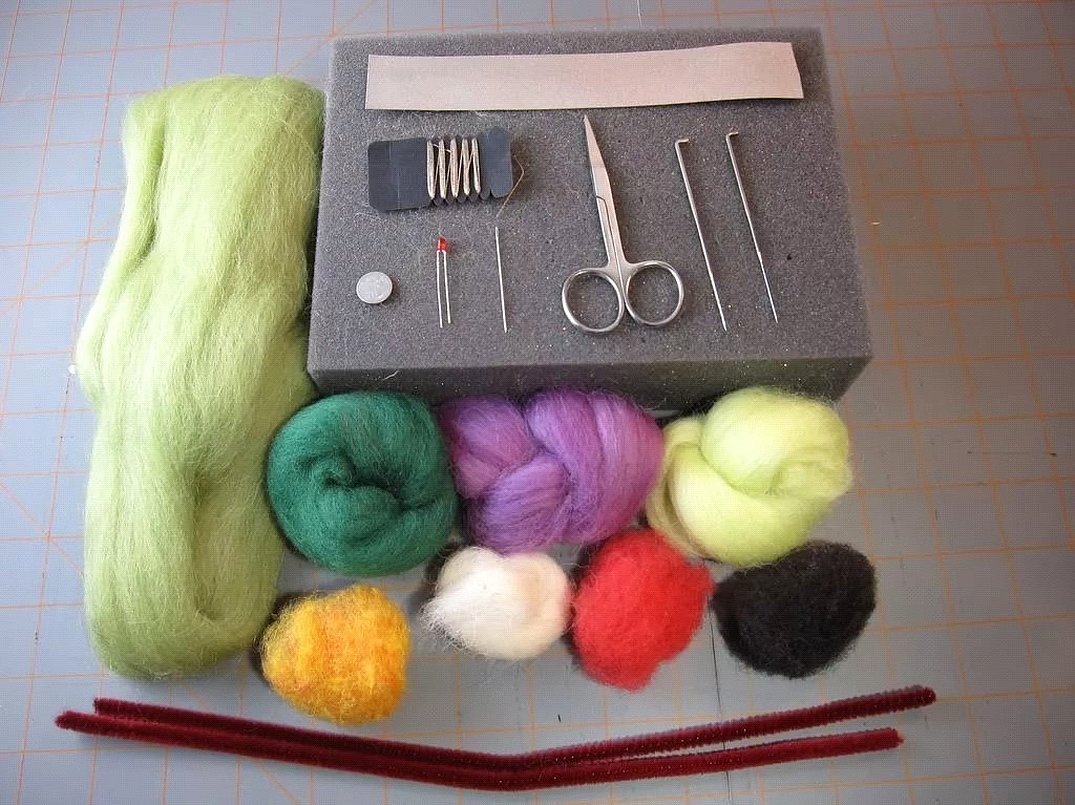
Before you start learning felting, you need to prepare your tools and materials.
Please note! Only natural yarn is used for felting. By connecting the fibers together, dense felt is obtained from voluminous wool.
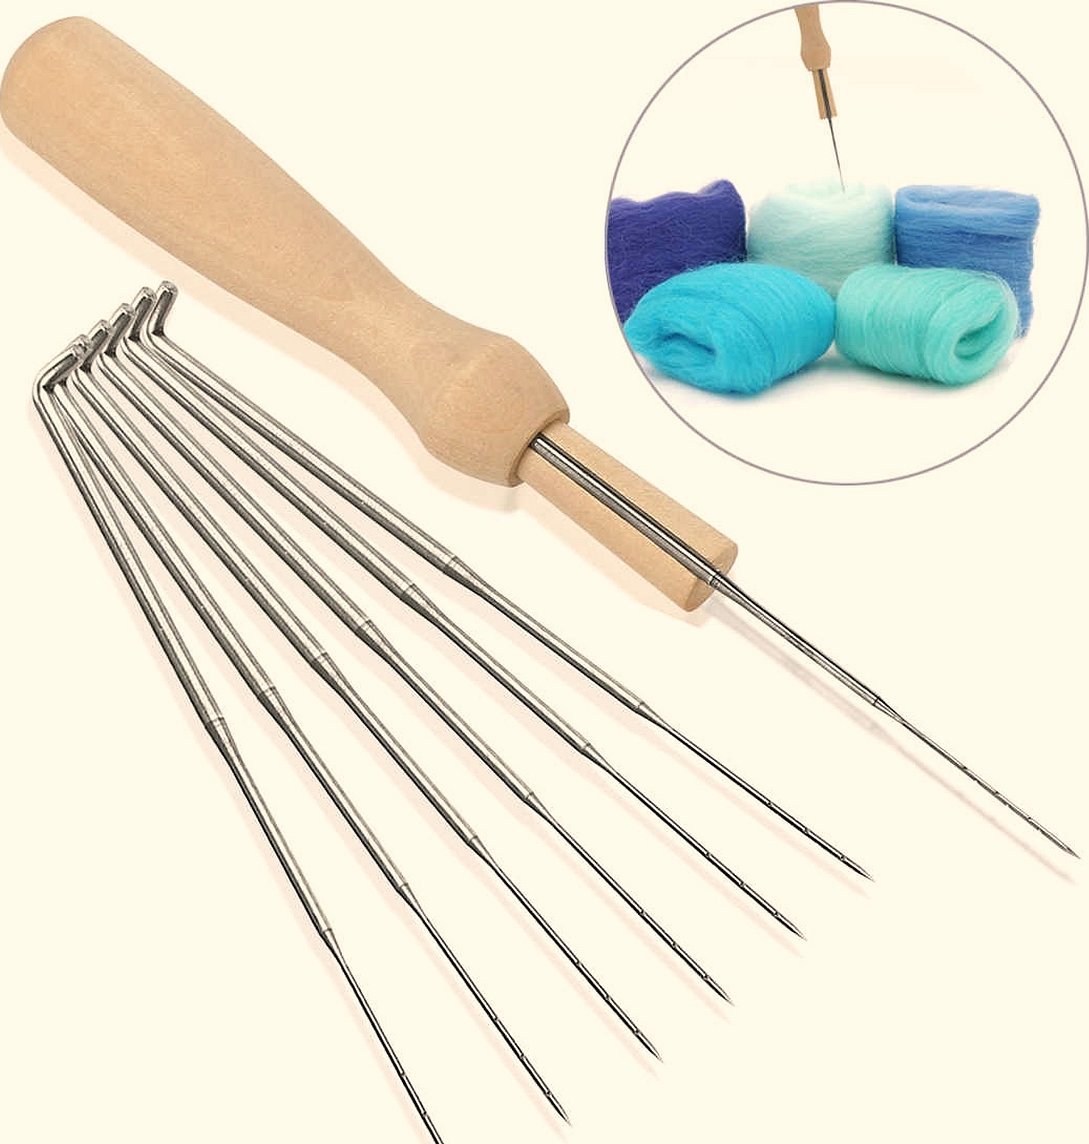
Needles for felting
They are made of hardened steel. They differ from ordinary ones in that their tips have special notches that push the hairs through during work. As a result, the wool fibers are compacted and take the shape of the intended image or figure, for example, a doll, a funny mouse or another funny animal.
Felting a toy or other product from wool is done in several stages. Each of them uses its own type of needles:
- triangular - each of its faces has serrations;
- star - this needle has one edge larger than the previous one. It is necessary when it is necessary to felt flat parts to the product;
- crowned - the notches are located at the end. It is used to felt hair or eyelashes onto a toy;
- reverse - with notches applied in the opposite direction. Used to remove wool lint;
- fork needle - used to make the smallest details;
- Twisted has a spiral shape, so it grips the material well. It is used at the end of the work, when the base is already felted.
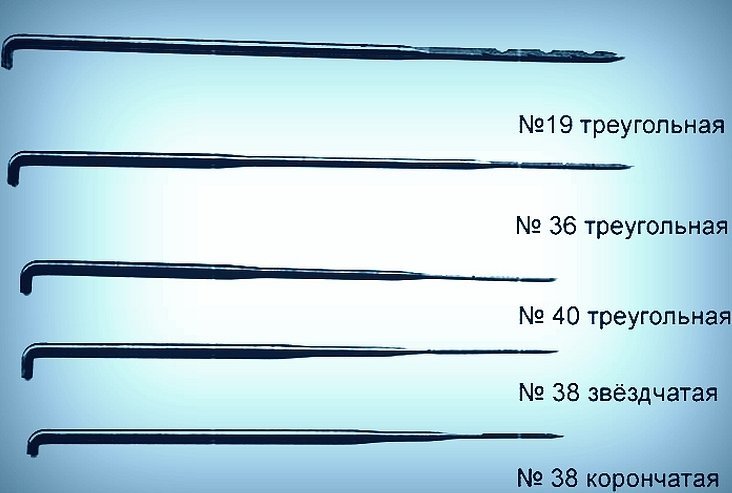
Please note! The sizes are indicated on the needle packaging. They come in super-thin (designated by numbers 40–43), medium (36–38), and thick (19–34).
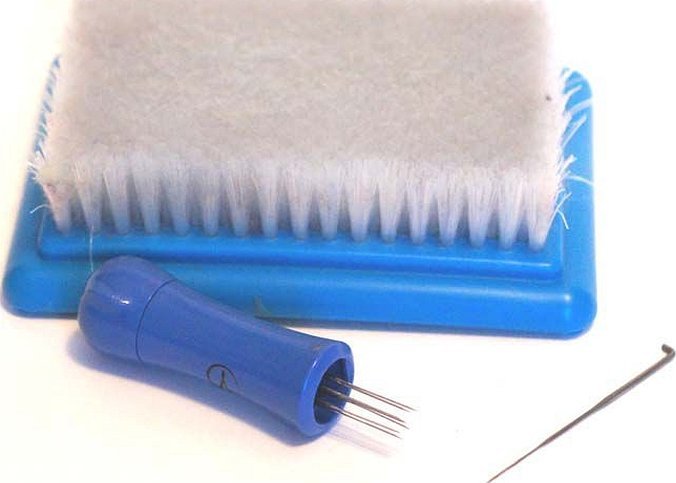
Felting brush
For felting, you can use a special brush or a regular household sponge for washing dishes. A ball of wool is placed on the brush or sponge (you don’t need to hold them in your hands) and pierced with needles until it is felted. It is recommended to use a special felting pad. It protects the craftswoman’s hands and the work surface from needle pricks.
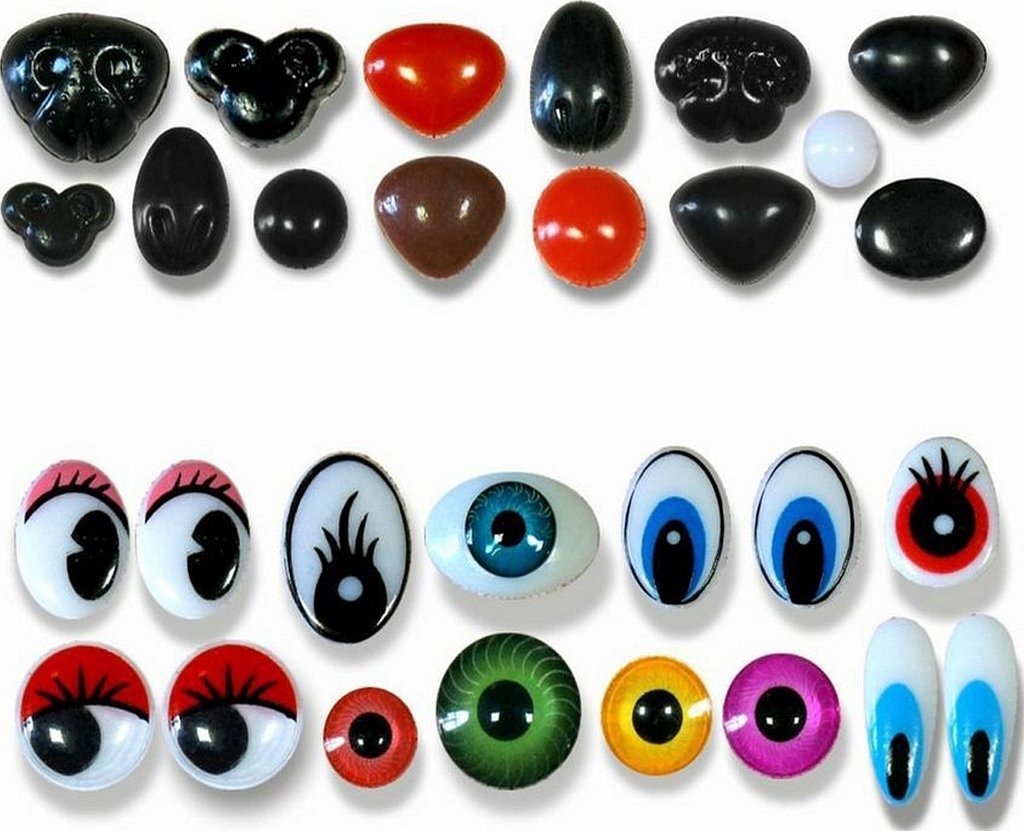
Decorative elements
Beads, ribbons, braid, beads, rhinestones, buttons, lace – all this will decorate the toy and it will be more original.
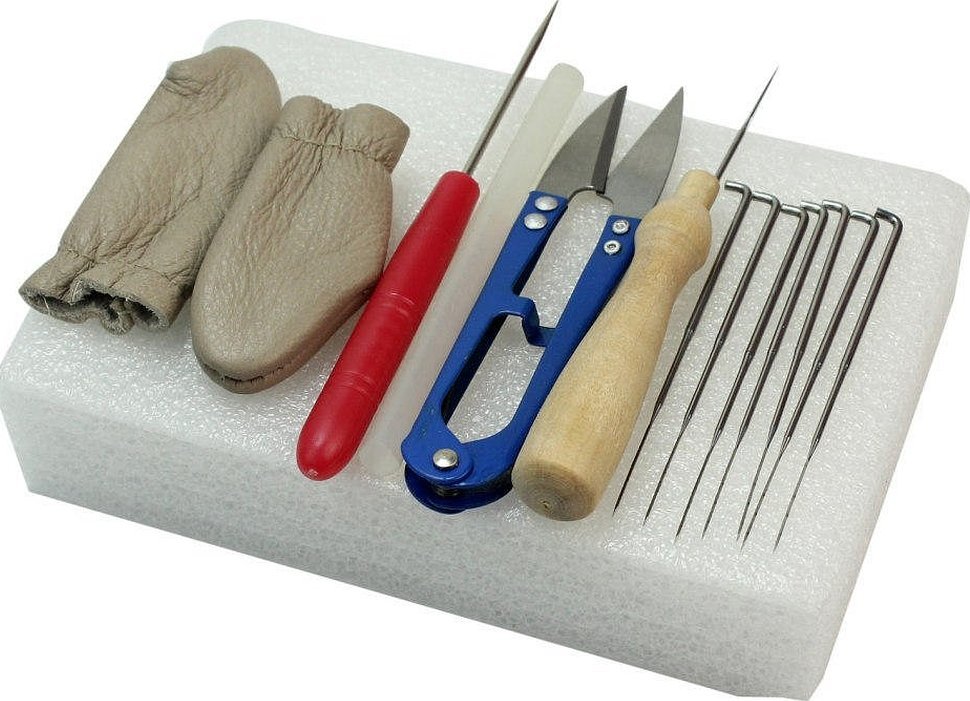
Additional tools
To make a felt toy you will need scissors, pins, scraps of fabric, glue, felt-tip pens or pastel crayons, and a toothbrush. You will also need thin wire or a ready-made frame, and dyes. Thimbles protect your fingers from pricks during felting and are made of leather or rubber.
Please note! Some craftsmen use a felting machine for dry felting, which saves time when processing the material, but it is not at all necessary to buy one, since you can easily get by with needles.
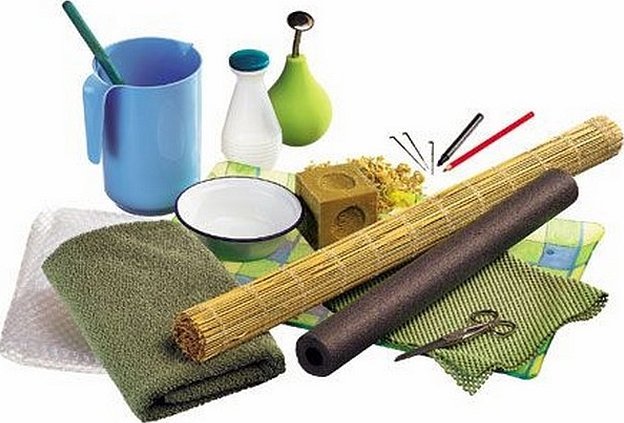
For wet felting you will additionally need:
- rigid mesh (veil or mosquito net);
- felting mat;
- gauze or bubble wrap.
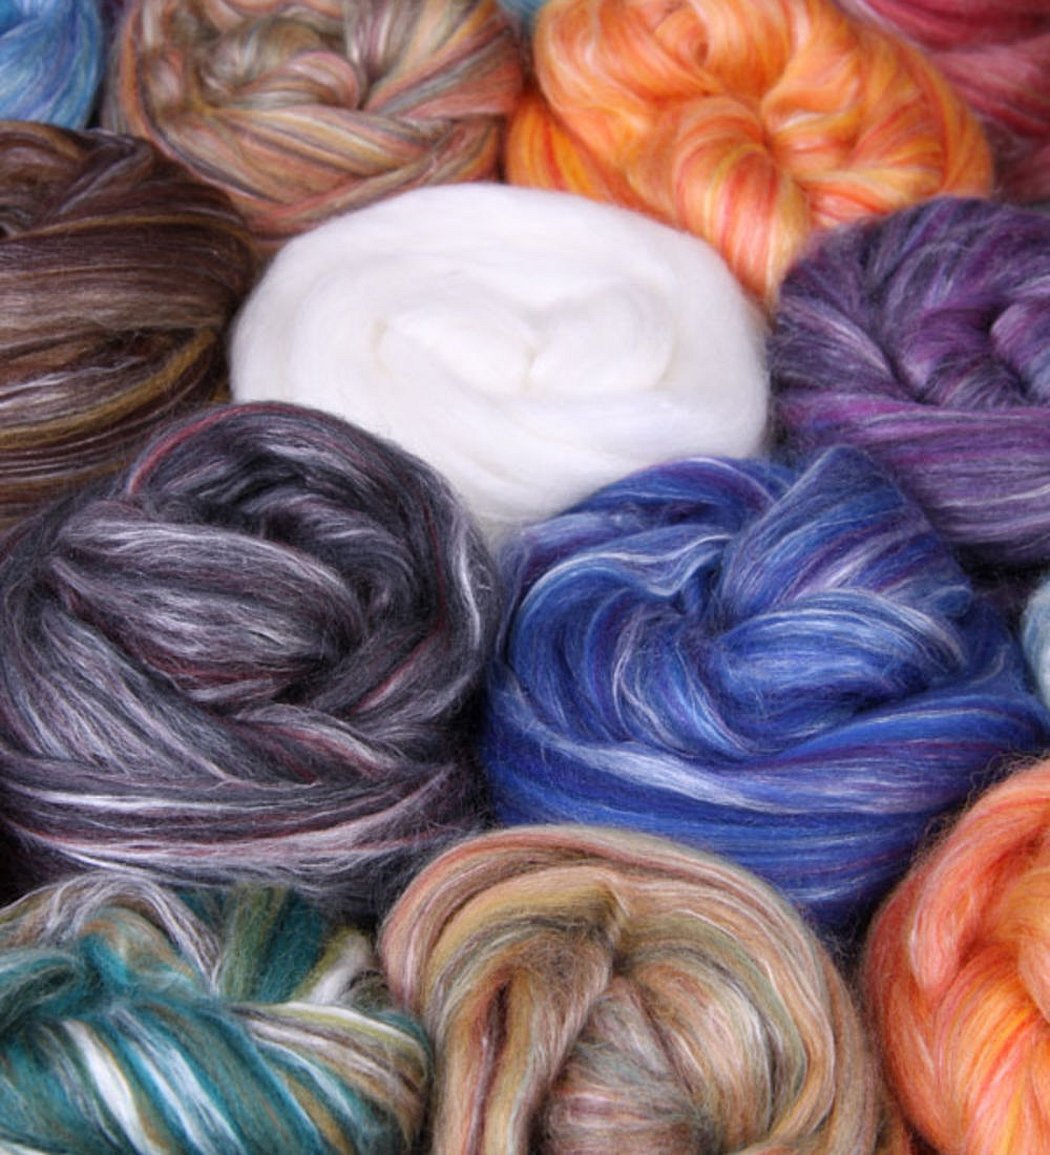
Types of wool for felting

For the dry felting method of toys, dyed coarse or semi-fine unspun wool is used, which does not tear during the process.
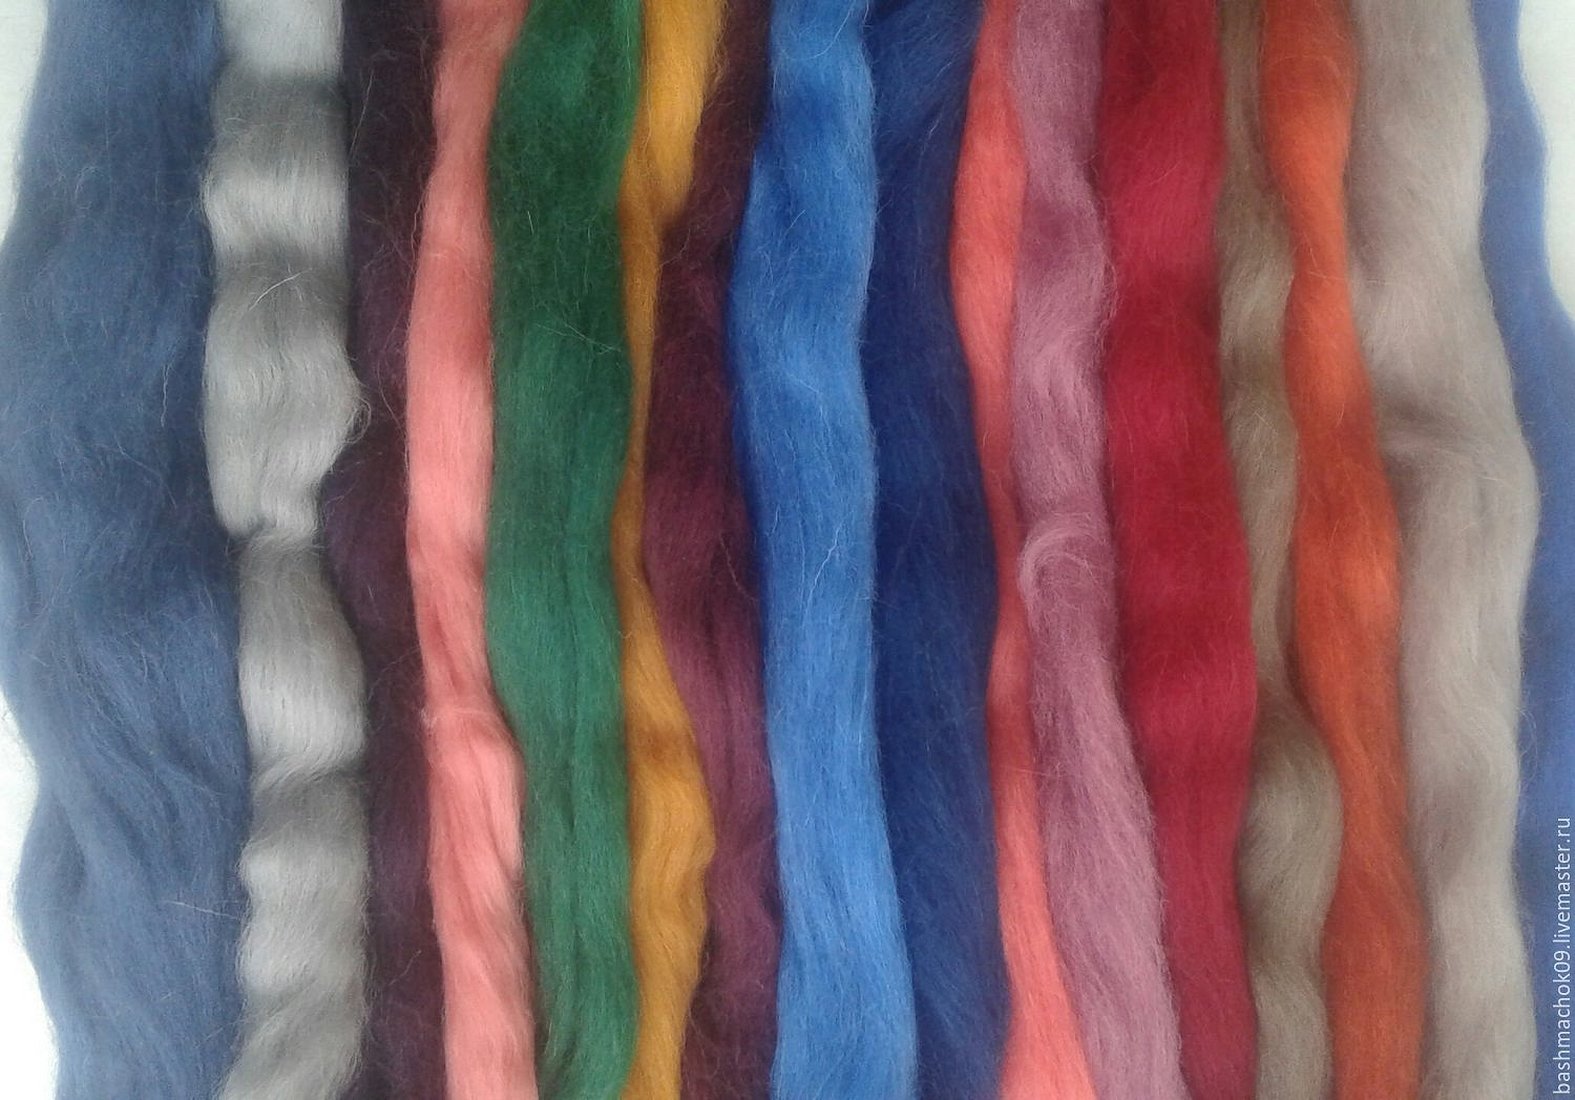
Wool for felting is sold in the form of:
- combed sliver - wool fibers laid out in a long strip. The material will have to be thoroughly ruffled before felting, otherwise the fibers will not stick together well;
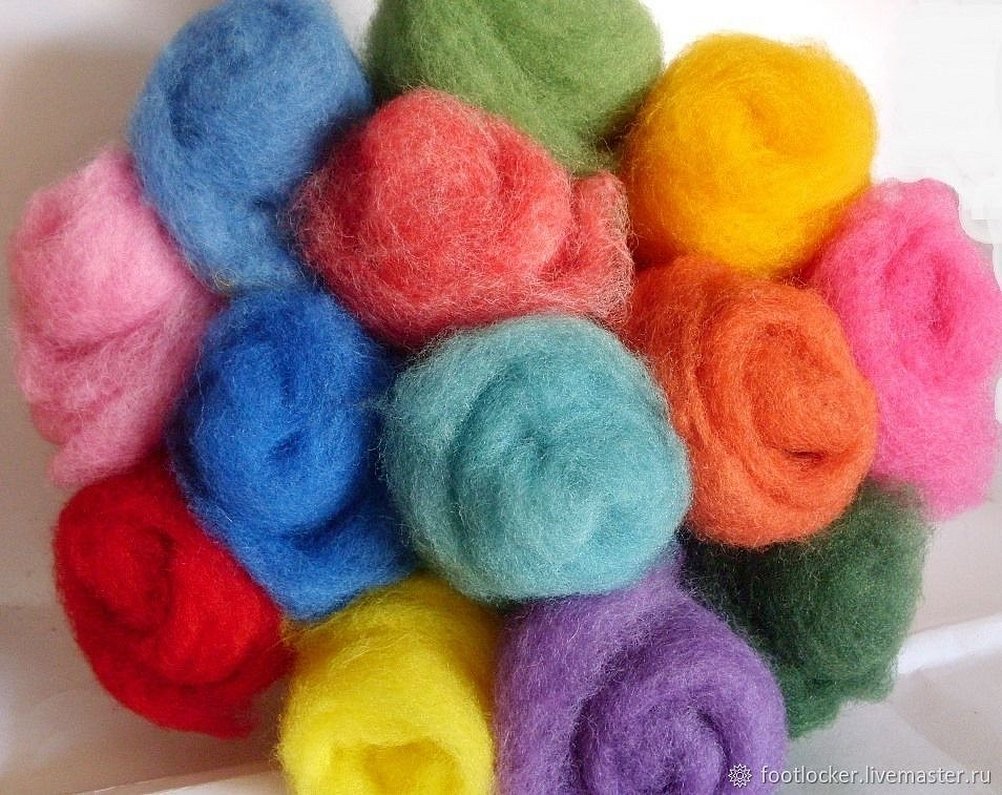
- carded wool - looks like cotton wool, only wool. This is already a disheveled mass, it does not need to be prepared for work, it falls off quickly. For a beginner, it is recommended to take carded wool - it is easier to handle;
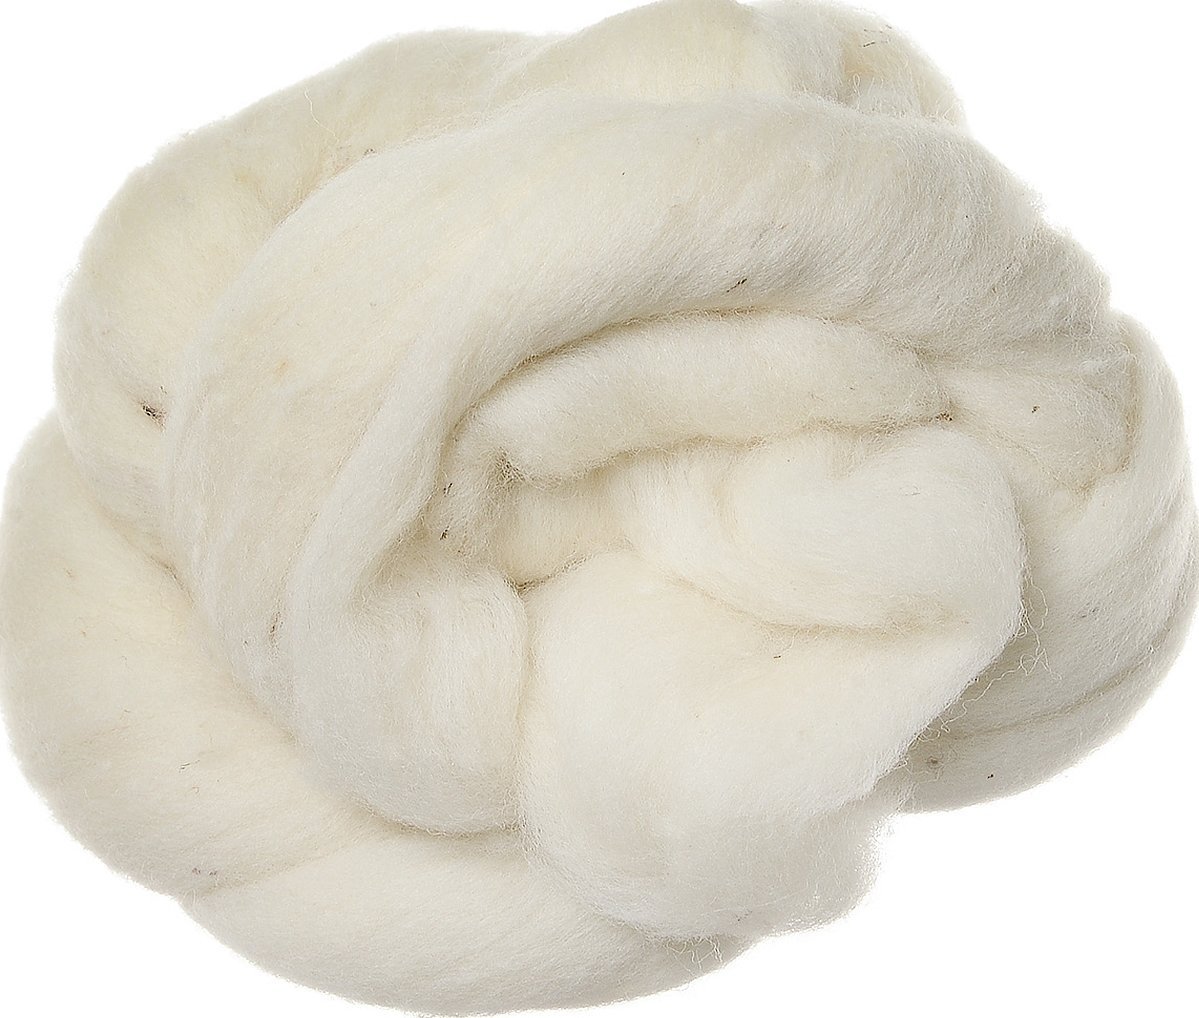
- For the base of toys, cheap, low-quality, undyed wool is often used - sliver, which is covered with high-quality material.
Other types of wool are often used for finishing:
- Merino is a soft, fine wool for delicate items.
- Roving is a lightly twisted yarn; finished products are felted in a washing machine.
- Cashmere – made from mountain goat wool, suitable for any type of felting.
- Mohair (fleece of Angora goats) is the strongest fiber with a characteristic shine. It is easily dyed and is suitable for any type of felting.
- Camel wool is less common, its fibers are thin, with soft curls, almost airy.
Please note! By using different types of wool for felting, you can achieve interesting decorative effects.
Where to buy and how much do felting kits and wool cost
You can buy materials in the departments of goods for creativity and handicrafts or to order in online stores, where there are various options with various toys. The kit immediately includes needles. If you have no experience in felting toys, it is better to buy a ready-made set for handicrafts.
The table shows some retail outlets in Moscow and St. Petersburg where you can buy wool felting kits:
| Store name | Address | Cost of sets, RUB* |
| "Felt" | Moscow, Malomoskovskaya street, 10 | From 35 to 900 |
| "Needle" | Moscow, Academician Yangel street, 6; Varshavskoe shosse, 32; Vernadsky Ave., 39; St. Petersburg, st. Baikonurskaya, 14, lit. And the shopping and entertainment complex "Continent". | From 160 to 850 |
| "Three Coils" | Moscow, Dmitrovskoe shosse, 157 | From 100 to 800 |
| PRYAZHA.NET | m. "Lublino", st. Krasnodarskaya, 57 | From 50 to 800 |
Online stores
| Link to the store | Product name | Price, RUB |
| time-handicrafts | Trinity wool for felting "Kamtex" Semenovskaya factory Felting tools | From 55 to 150
From 68 75 - 250 50-600 |
| lelekahobby | Material
Tools | From 80 to 900
70-700 |
| feltomania | Felting material | From 150 |
| feltingshop | Needles
Threads | 60-450
125-500 |
How to felt: basic techniques
There are two ways to make felt toys: dry and wet. The first method is used to create three-dimensional things, and the second for flat ones.
What you need to know before starting wool felting:
- It is worth remembering that during work the wool shrinks by about a third, so you should stock up on a large volume.
- After pulling the wool out of the combed, smoothed tape, it is recommended to rub it in your palms. This will help the fibers to tangle, after which they will felt better.
- When felting large crafts, experts advise using sliver for the inner segment. This will help save expensive threads.
- Needles for making felt toys should have small notches on their bottom. When using such a tool, wool fibers cling well to the notches, which helps them to intertwine with each other.
- Needles of different thicknesses are required. Thick needles are needed for felting itself, when wool is processed, the use of medium ones allows you to give shape to the product, and thin ones are used for small details and correction of the remaining traces.
- Handle the needles very carefully, they are sharper than machine needles. They often break, although they are elastic.
Wet felting of toys (felting)
The work uses soapy water, into which woolen balls are dipped. When making felt toys with your own hands, you need to make patterns, increasing them taking into account the shrinkage of the material. Step-by-step description of the work:
- First, prepare the solution: grate a piece of soap on a grater with large holes and pour hot water over it. Stir and let it sit for about 2 hours. You can also use liquid soap.
- The base layer of wool is placed on the bubble wrap, with the bubbles facing upwards, followed by the background layer, and then the layer with the pattern. None of them should be too thick, they should be laid out perpendicularly and overlapping. Then the workpiece is sprayed with water, covered with a net and soaked in a soap solution. The felting process itself is done by hand.
Wool yarn fibers are intertwined during mechanical processing. As a result, a solid flat sheet is obtained on a polyethylene base. This is how paintings, bags, carpets, parts of toys and other products are created.
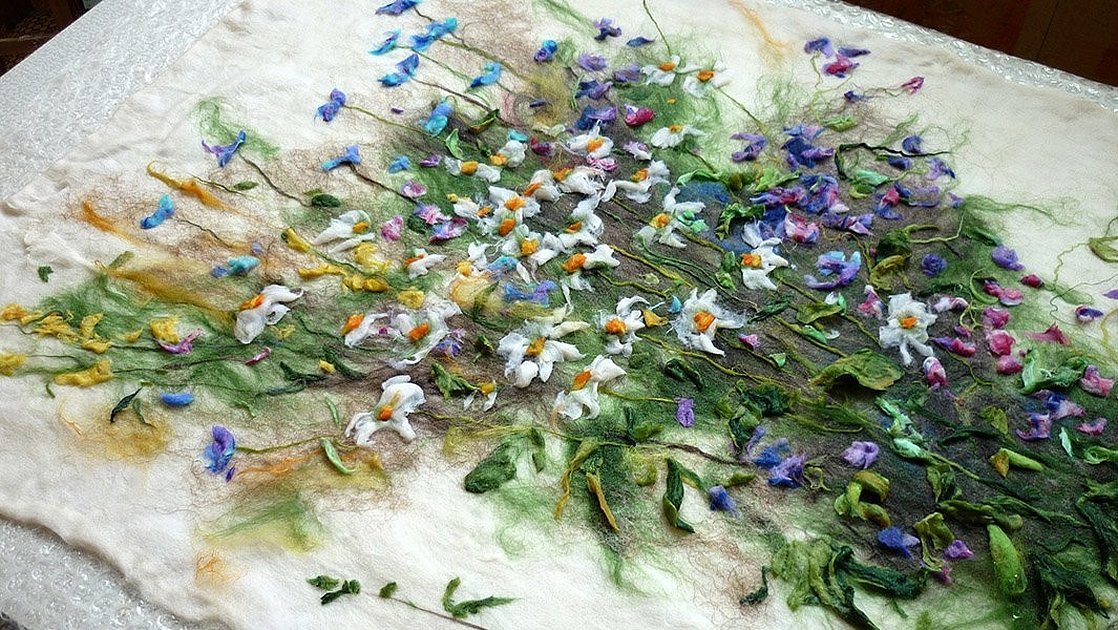
Additional information: It is necessary to select the right colors of wool so that the depth of tone is not spoiled when exposed to water or soap solution, and also so that different shades do not mix with each other.
Dry felting method
This type of felting is more common and is recommended for beginners. The technique of dry felting allows you to create three-dimensional products.
Felting is done with needles with a triangular and star-shaped cross-section. You need to prepare wool, felting needles, a brush (foam rubber), and then move on to practice:
- The material is applied to the brush in an overlapping manner, layer by layer, and tangled with a needle. The base of the craft is sometimes made of synthetic padding or special forms, and is covered with wool on top.
- The needle should be held perpendicular to the craft. The creation of any toy begins with the use of a thick needle, which is gradually replaced by a thinner one. This is how felt New Year's toys, dolls, decorative items, accessories are made.
Mixed felting
Quite often, both types of felting are combined in one product. For example, to make a toy animal, you can make its body using dry felting, and the ears, paws and clothes using wet felting.

Master class on felting toys from wool for beginners
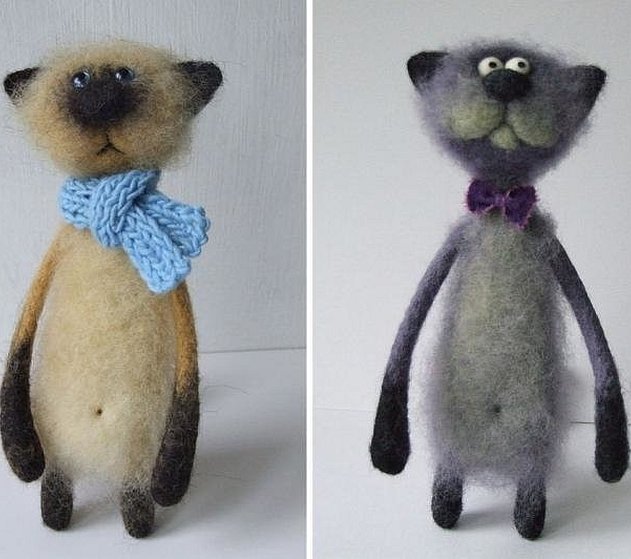
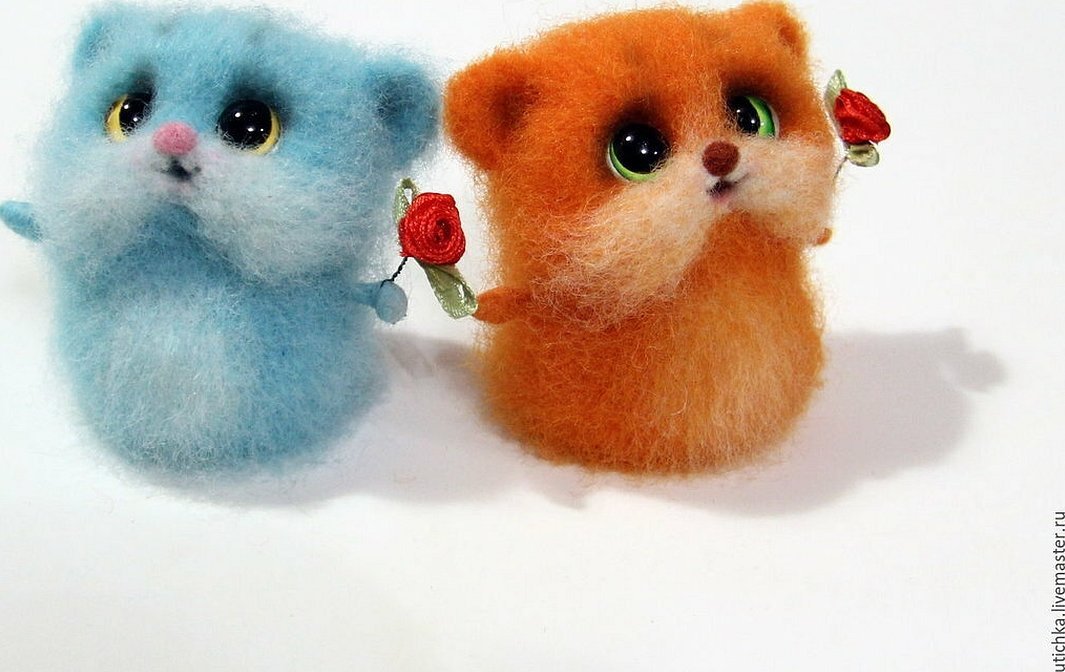
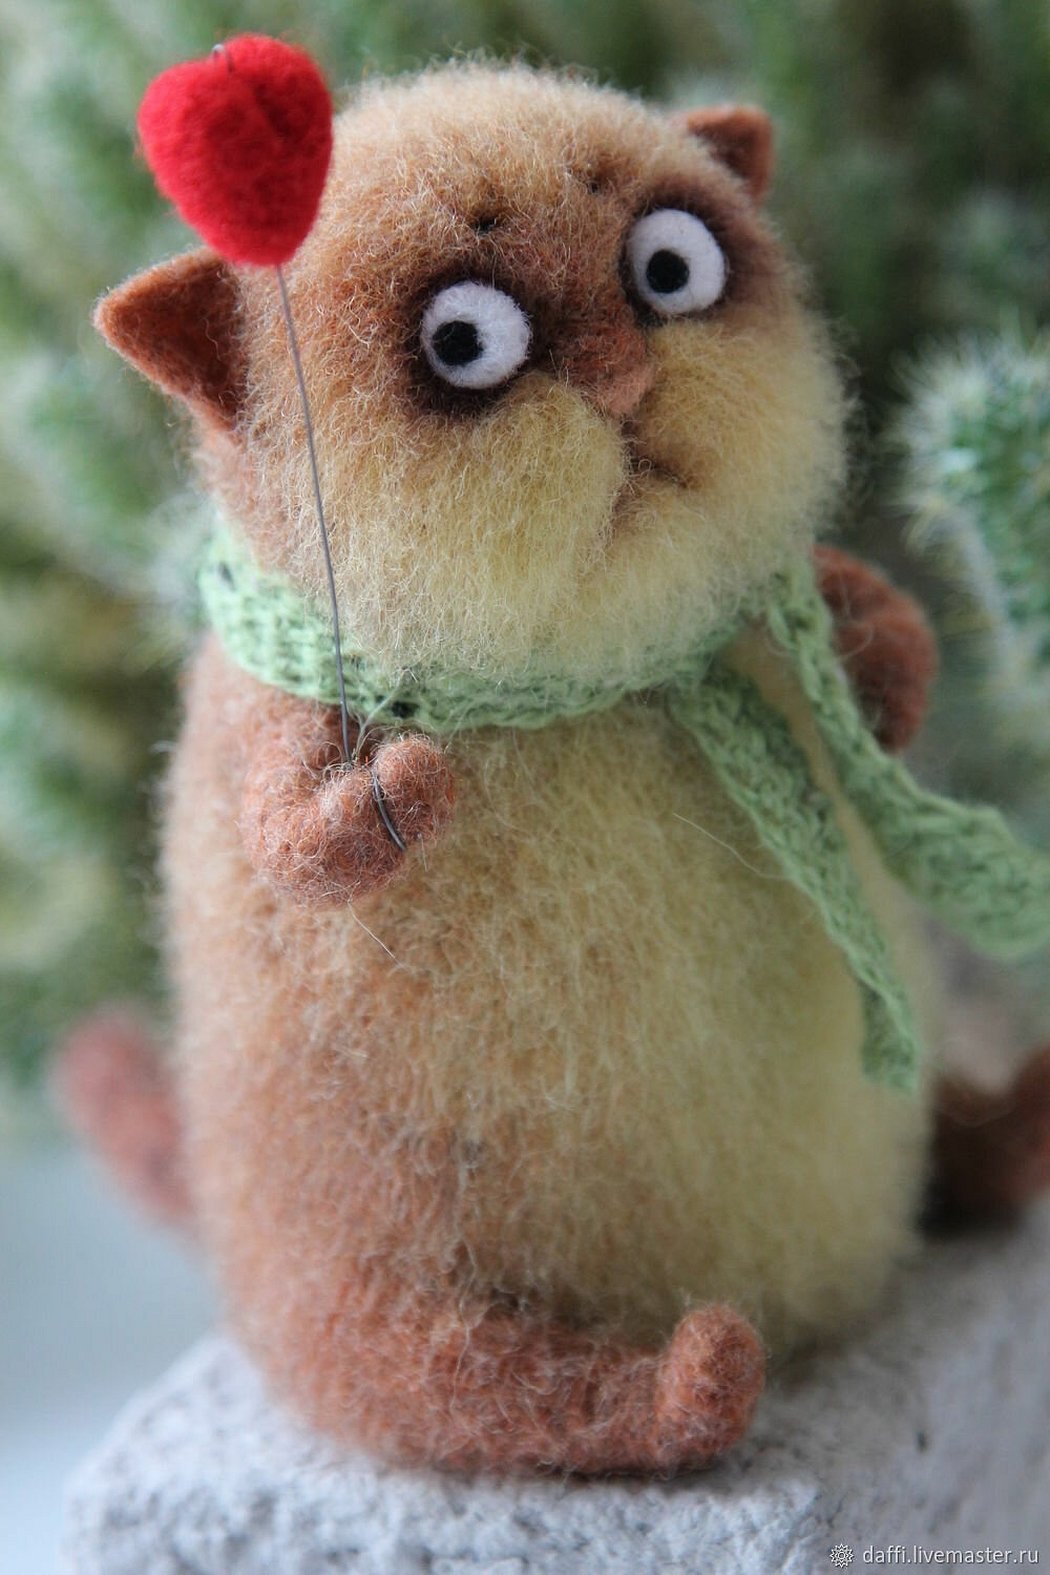
Having familiarized yourself with the basic felting techniques, you can try to learn how to make a simple toy, for example, a cute cat.
To work you will need:
- unspun wool of various shades;
- felting needles of different thicknesses;
- substrate;
- synthetic padding;
- threads;
- crayons or dry paints;
- tinting brush.
Please note! When making symmetrical elements, it is necessary to prepare absolutely the same amount of wool for each of them.
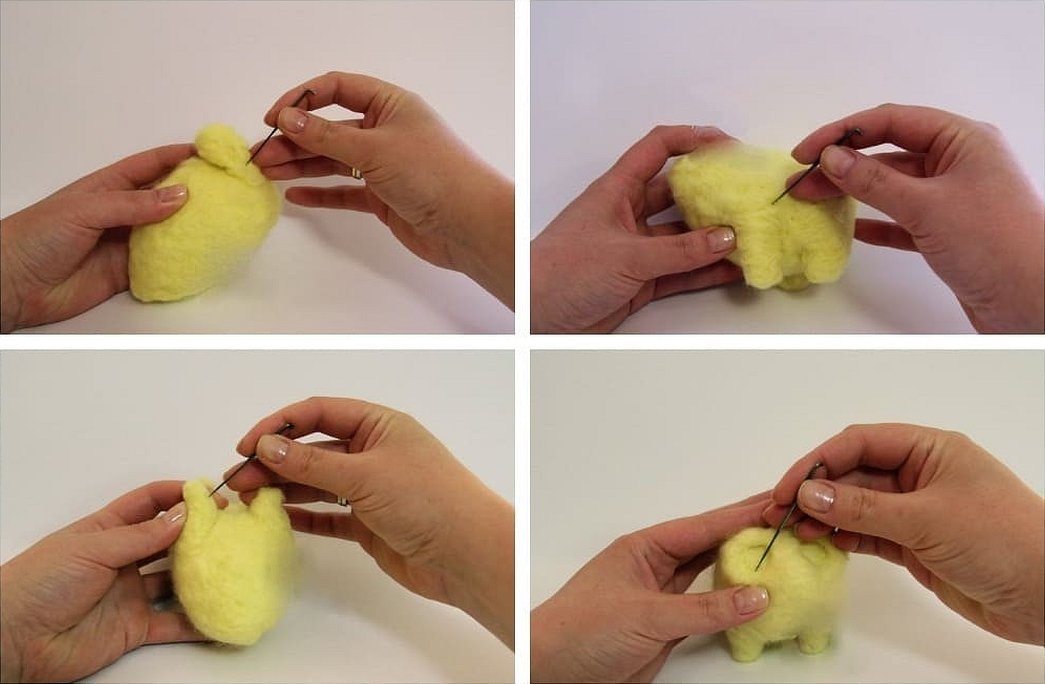
Step-by-step instructions for wool felting for beginners:
- First of all, you need to create a sketch of the future product.
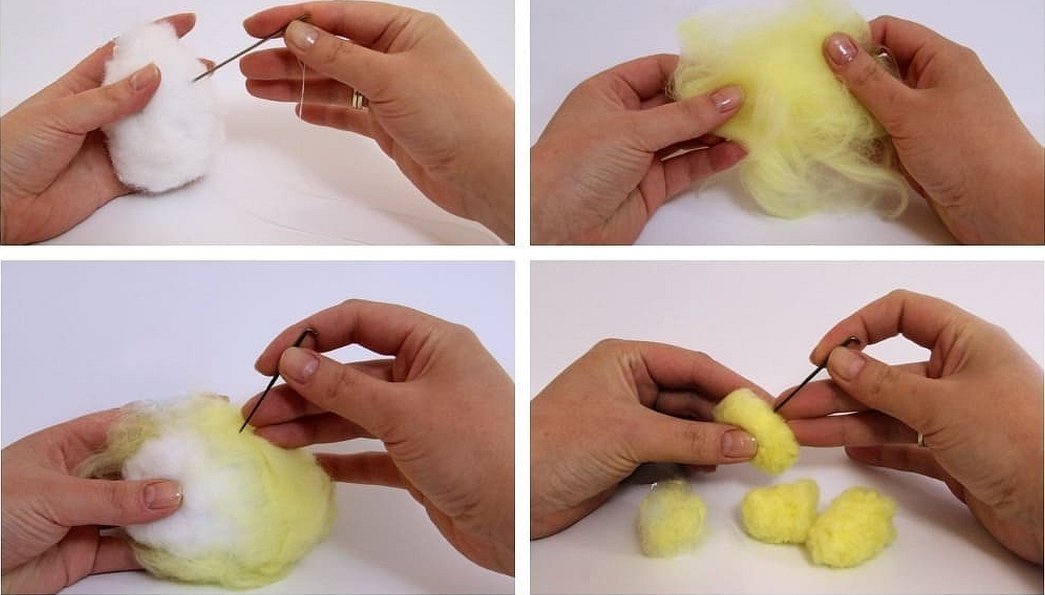
- Use a needle to form a figure in the shape of an egg from the padding polyester. Then apply wool of the desired color to the padding polyester. Felting should begin with a large needle. Stick it in as deeply as possible, compacting the ball from different sides. Then switch to a medium-thickness needle. As a result, you should get a body with a head.
- Next, you can proceed to the paws. For them, synthetic padding and wool are also used. The material must be pierced until the paws become dense. They should be attached to the body and given a shape. Fix everything together with a needle.
- In the area of the muzzle, add some yarn to increase the volume for the eyes. Form a triangular plane for the nose. Make cheeks from two pieces of wool and felt them to the muzzle. The chin is made in a similar way.
- Then you need to grind it with a small needle. The result should be a surface with a smooth and uniform structure.
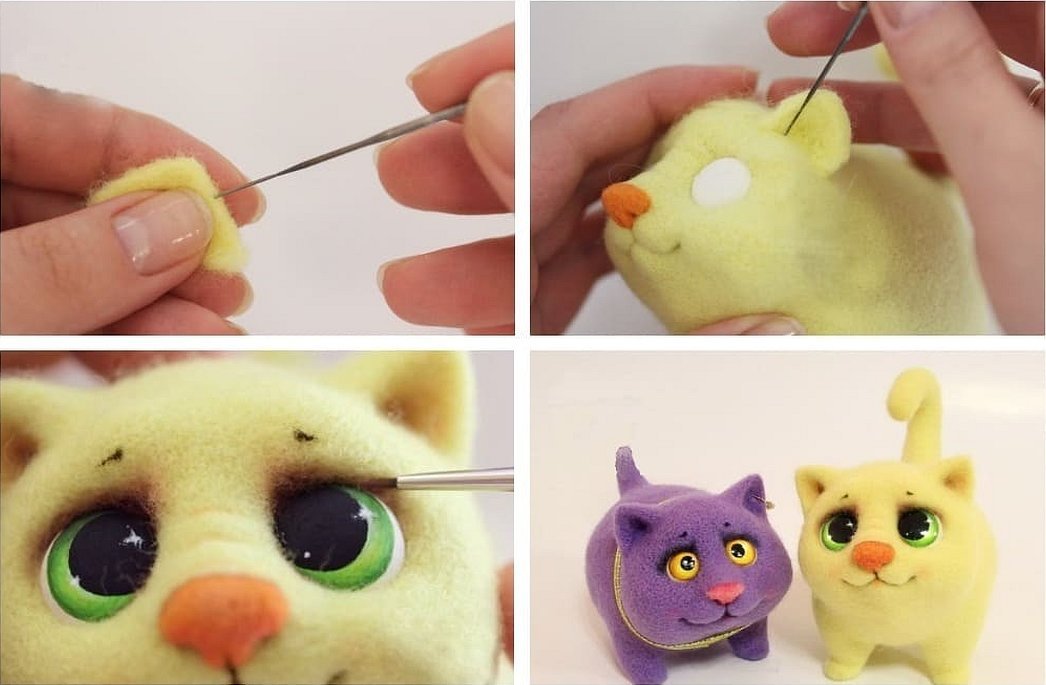
- From a separate piece of material you need to felt the cat's tail and attach it to the body.
- Eyes, nose, mouth are usually made from beads or buttons. They can be glued or carefully sewn on.
- Felt two identical triangles – these will be the ears. Attach them to the cat’s head.
- The final stage is the application of tinting, which gives the product expressiveness. It is necessary to crush colored chalk into crumbs and, using a dry brush, apply it to the part of the toy that requires more expressiveness.
Felting allows you to create a variety of interior items, decorations, children's and Christmas tree toys, shoes. When making voluminous things, it is better to use sliver at the initial stage. This will save more expensive yarn. At the first stage of the work process, thick needles are used, then you should switch to medium ones and finish creating any craft with thin needles.
Any beginner can master the technique of felting wool. Dry felting will be easier to work with, carding is easier to handle, and a ready-made set with needles and wool will help you not to get confused in choosing materials for felting a toy.
*Prices are valid as of March 2020.


