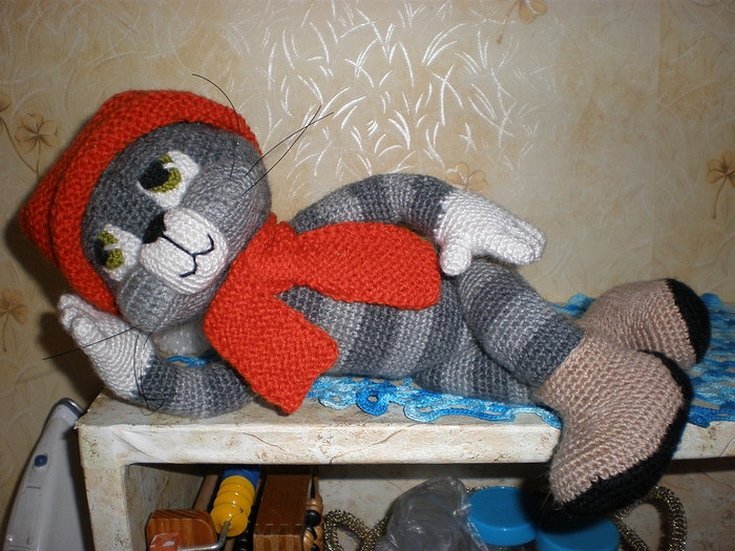
Cat Matroskin and dog Sharik are the heroes of fairy tales by E. Uspensky about the village of Prostokvashino. Cat Matroskin can be crocheted using the amigurumi technique.
Description of the toy and materials for work
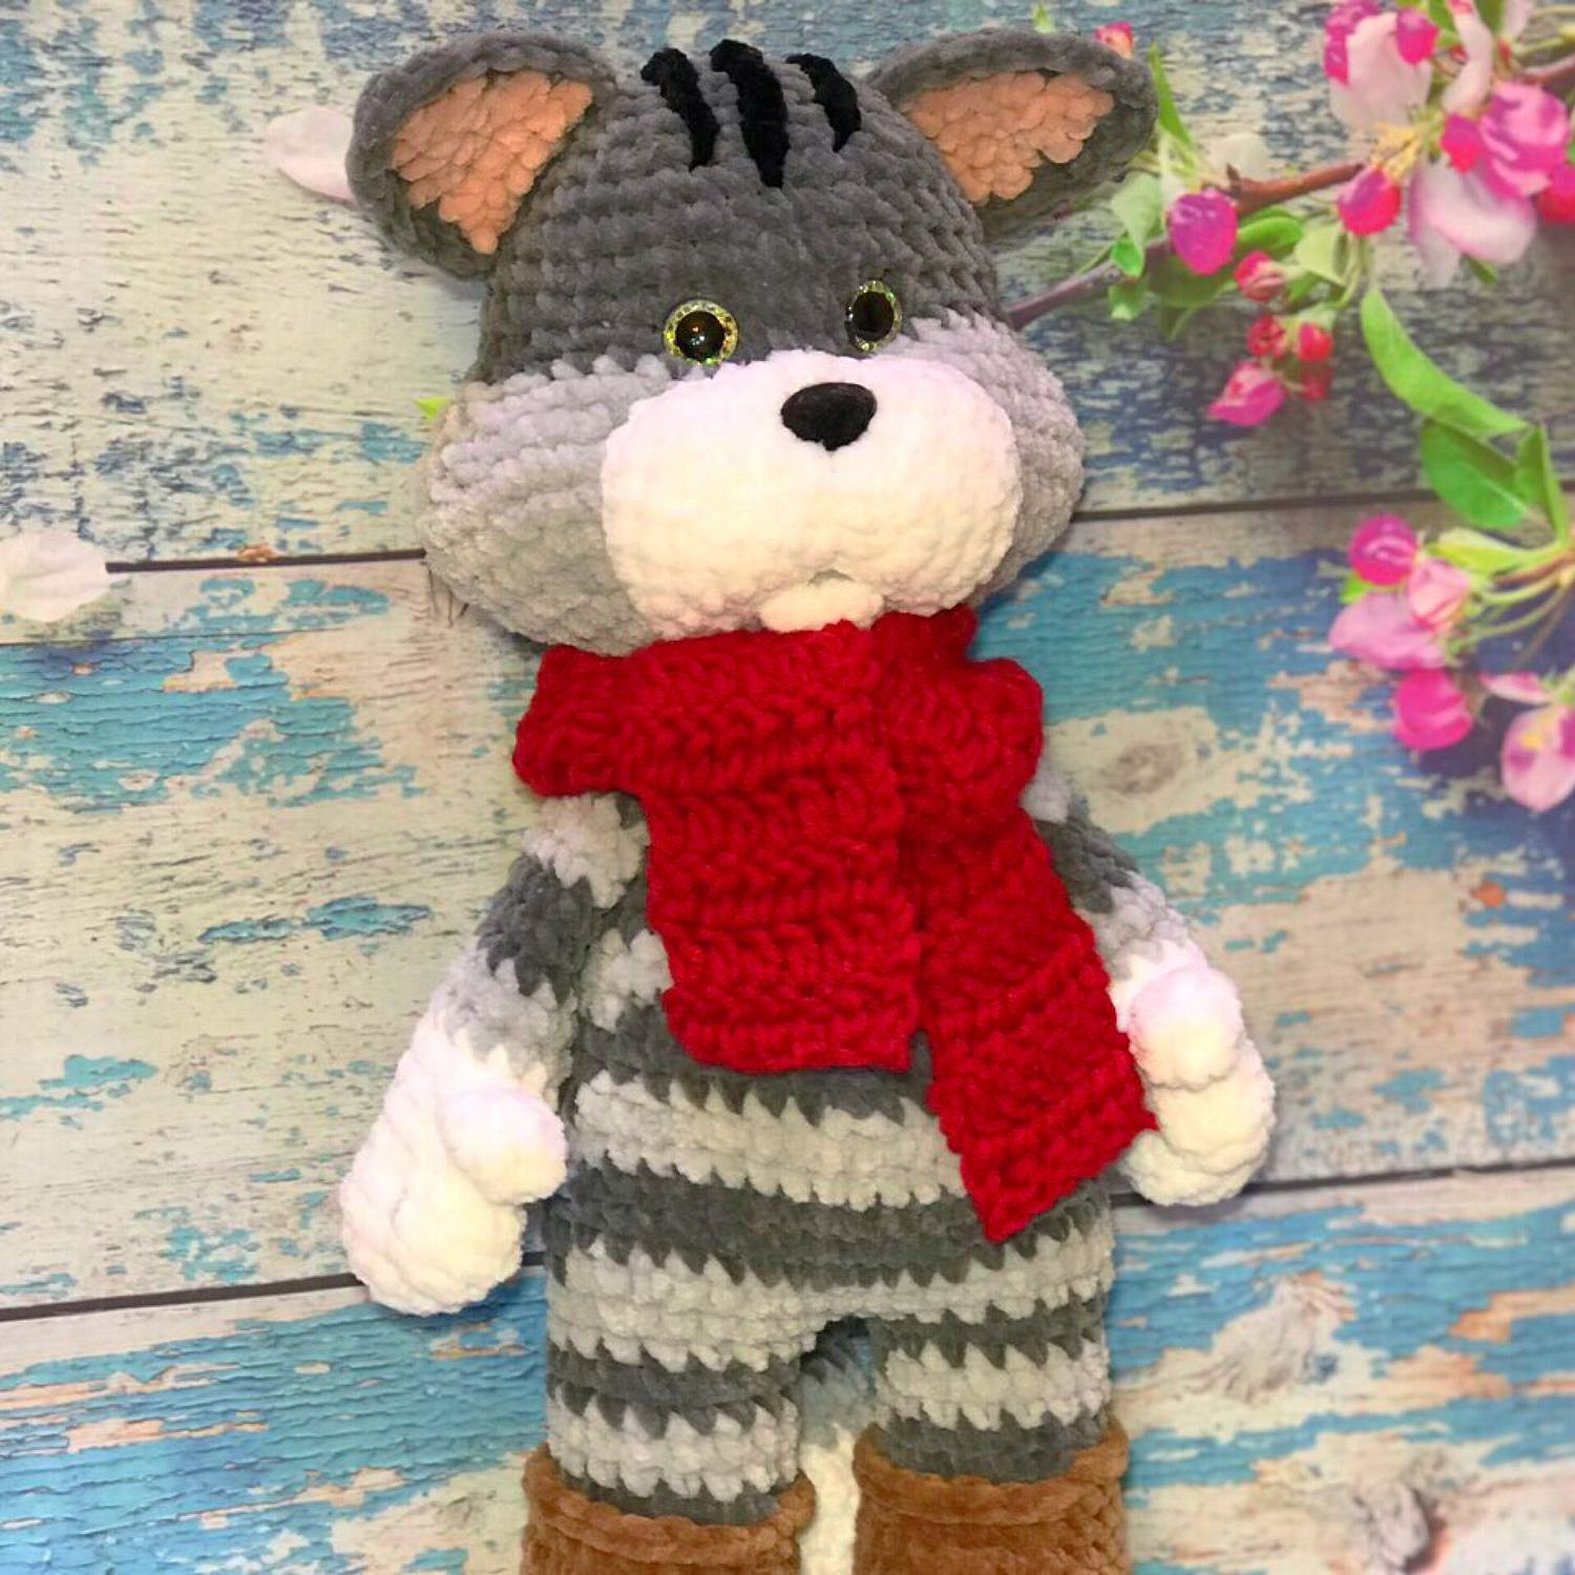
The paws and body of the knitted cat have horizontal stripes. In cartoons where the character is involved, 2 shades of gray alternate: light and dark. However, some prefer to introduce swamp, gray-green shades as the color of one of the stripes or make the animal black and white. Having chosen what color the toy will have, you need to prepare a sufficient amount of yarn of 2 colors.
Important! The master class below will cover knitting a cat with dark gray and light gray stripes (as in the top picture).
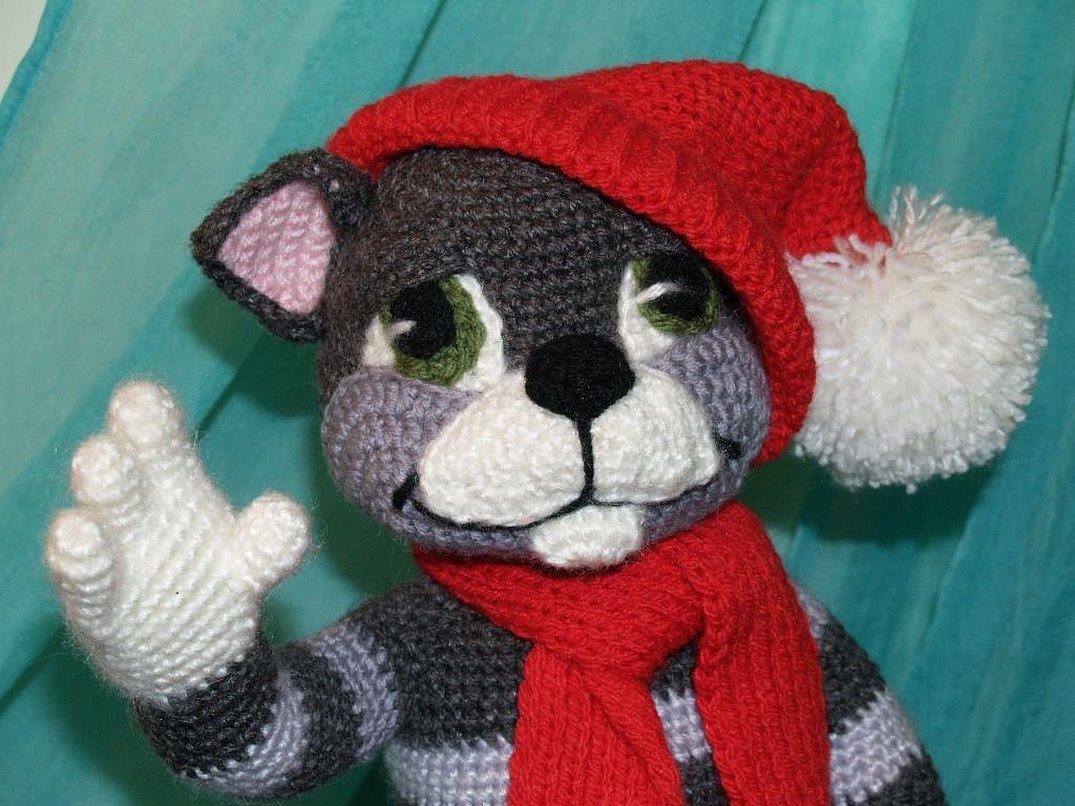
You will also need a small amount of white yarn for the paws and black yarn for the nose and mouth. The thickness of the yarn may vary, but the hook size should be appropriate. For eyes, you can use beads, ready-made plastic elements or knitted blanks, for which you will also need green yarn.
The toy is made using the amigurumi technique. This is a Japanese way of creating figures of animals and fairy-tale characters. They are knitted using a simple spiral method, and both knitting needles and a hook can act as a tool. A distinctive feature of the technique is the method of connecting the elements of the animal's body. Circular blanks for the body, limbs and other parts are stuffed with filler and fastened together.
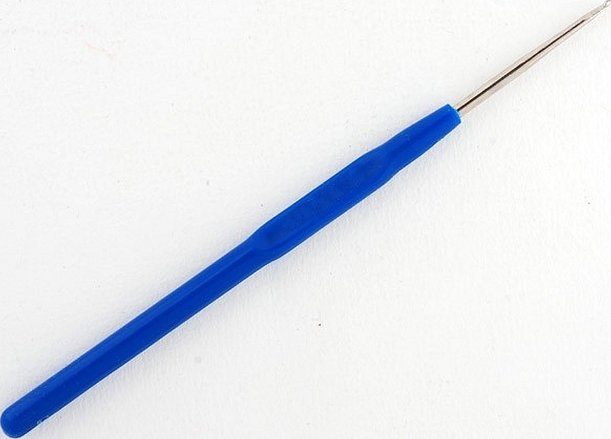
Important! The ratio of the hook size and the thickness of the yarn in this case differs from the knitting techniques accepted in Europe. The hook for amigurumi is selected slightly smaller. This is done in order to achieve greater knitting density: through such fabric the filler will not be able to crawl out.
The types of fillers used are traditional - synthetic fluff, artificial cotton wool, synthetic padding, holofiber.
Master class on knitting Matroskin the Cat in amigurumi style
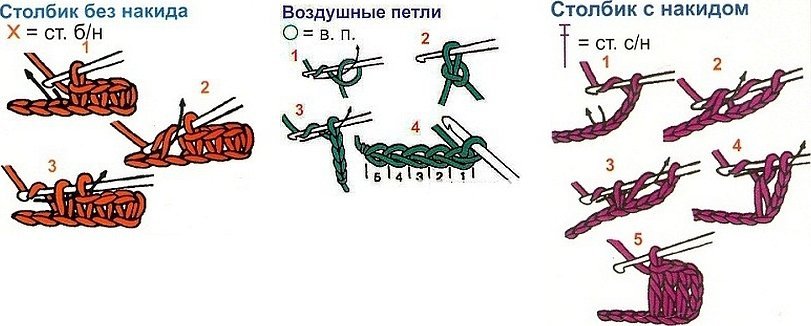
The diagram and description will help you crochet Matroskin the cat. After each part of the body is finished, it is filled with filler, and the loops that have entered the remainder are tightened. The main loops are indicated below.
How to knit the lower legs
The pattern provides for making the hind legs with 3 toes, and the front legs with 4, which differs from the indicators of real animals (in most cases - 4 and 5 respectively). The legs are knitted starting from the feet. This part is done entirely with white thread.
To make a finger, a pair of air loops are collected. In the one that is located further from the hook, 6 single crochets are knitted. The first 2 rows of each finger include 6 columns. Then they move on to knitting the foot.
To begin, tie three fingers in a circle with 18 single crochets. The first 5 rows are done the same way and consist of 18 columns. On the 6th row, begin to decrease. Subtract 6 columns, you get 12. Having tied them, the foot is stuffed with filler. On the 7th row, the loops are closed. The foot is ready. It is necessary to provide a thread to connect it to the main part of the leg. You can also mark the claws by embroidering them with a black thread.
To create the main part, 14 loops are cast on with white thread and a ring is made from them. In general, the workpiece consists of 15 rows, which have the same composition: air loop, 14 single crochets and 1 connecting column. Every 3 rows, shades of gray are alternated. Upon completion, the leg must be connected to the foot.
How to knit a body
When the hind legs are ready, they need to be connected with three air loops. Then the structure is tied in a circle with 39 single crochets. The next 20 rows have the same pattern: air loop, 39 single crochets and one connecting one. Every 3-4 rows, the colors alternate.
On row 21, 3 columns in different sections are decreased (there are 36 of them left in total). On row 22, they continue to decrease, and the decreases are distributed evenly - they are done one after every 4 columns. There are 6 of them in total.
On the 23rd row, 6 decreases are also made, but after every 3 column elements.
The same tactics are used on rows 24 (6 times every 2) and 25 (6 every 1).
Please note! Rows 26-28 are for the neck: they are identical to each other and consist of 12 sc (single crochet stitches).
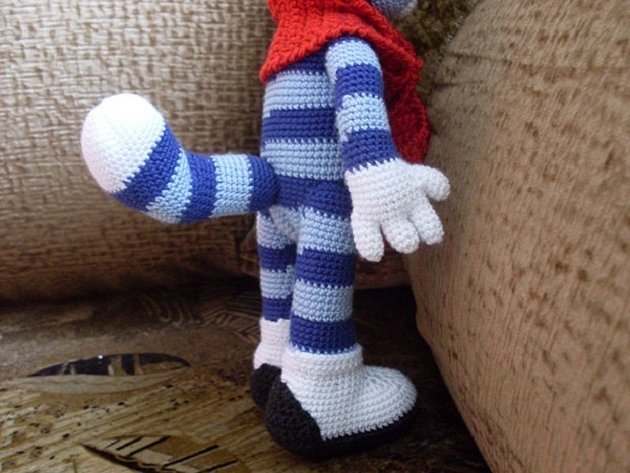
How to knit the upper legs
The technique for creating the front paws in this MK is generally similar to the back ones, but has some differences in the number of fingers and rows. For each of the 4 fingers, the pattern looks like this: dial 2 air loops (VP), knit 6 pieces of SC in the distant one, and also perform 6 of these elements on the next 2 circles. Then make a circular binding of the fingers using 18 SC. Further, the pattern looks like this:
- first 5 rows – 18 sc;
- 6 – 6 decreases, 12 columns remain;
- 7 – 2 decreases (remainder 10);
- Rows 8-22 also consist of 10 SC with alternating colors.
Please note! Then the arms are filled with synthetic fluff or other suitable material, the loops are closed and connected to the body.

Ears
To make them, you need to make 2 dark and 2 light triangles. Each triangular element starts with 8 air loops and is knitted in one direction and the other, without using lifting loops. The first row consists of 6 sc. Then a turn is made and the second one is made - from 5; on each subsequent row, the number of elements is reduced by 1.
Each of the dark triangles is paired with a light one and tied with dark columns (there are 3 of them in the corners).
Tail
It is made white on the basis of a ring of 3 VP. In the central part, 7 single crochet elements are knitted. On the 2nd row, 7 increases are made. Then, up to and including the 19th row, single crochets are knitted evenly. You can combine white and light gray colors. Having filled the workpiece with soft material, connect it to the body.
Design of the face
In this pattern, the lower part of the head is light gray, the upper part is dark. Start with 2 light VP, in the far one make 6 sc. On the 1st row, the increase is made in each loop, on the 2nd - through one, on the 3rd - through 2, and so on. As a result, the finished 5th row should contain 36 sc. Layers from 6 to 10 also have 36 elements. Then continue the work with a dark thread according to a similar principle, but with a decrease. First, make 5 row layers of 36 sc, then evenly decrease.
For the lower part of the muzzle, 4 white VP are tied along the oval with 2 layers of SC, adding elements at the turns. Another 2 rows are made without increases. Having inserted the filler, the component is sewn to the head.
The nose starts with 2 VP, 6 columns are inserted into the second one. Then an increase is made in each of them. The next row is done evenly. Then the part is connected to the head.
Please note! The eyes are made from hardware parts.
Assembling the toy
The head is connected to the body. The whiskers and mouth are made using embroidery. Claws are made on the paws in a similar way. You can also knit a scarf for the animal.
The toy can be knitted both from soft plush yarn and from fairly thin threads. In the latter case, a 1.5 mm hook is used. All the collected source materials can be put into a separate box and labeled, for example, with the inscription Kot Matroskeen.
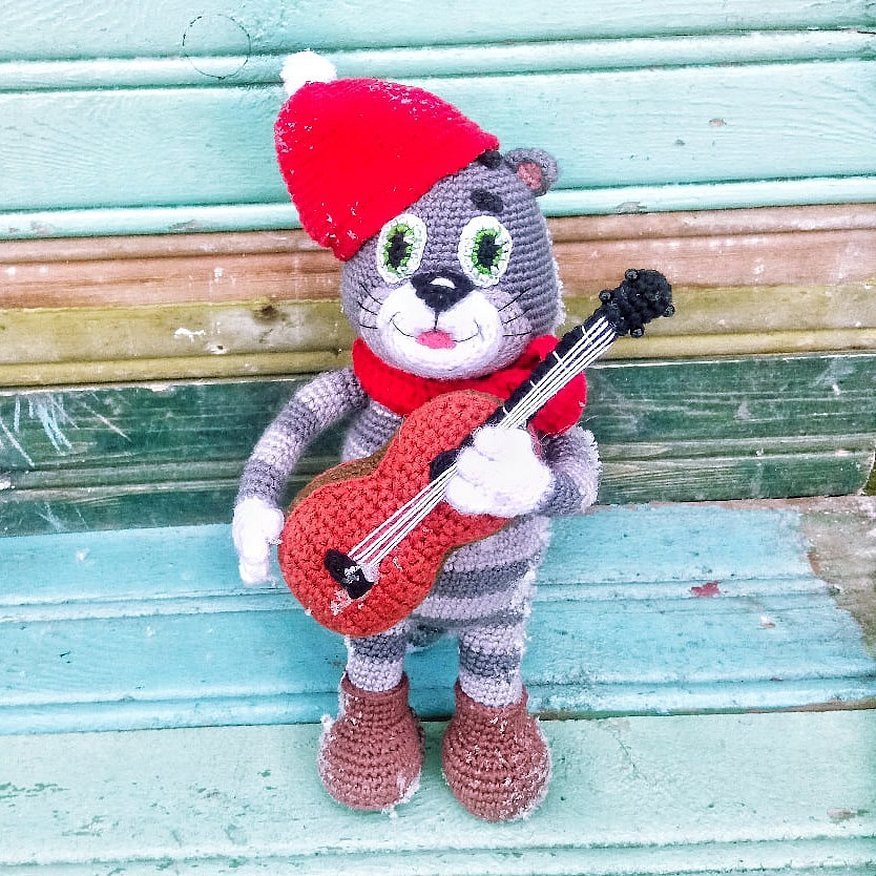
The Matroskin cat toy can be made from yarn of different thicknesses and in different colors. It will be a good gift for a child or a home decoration.


