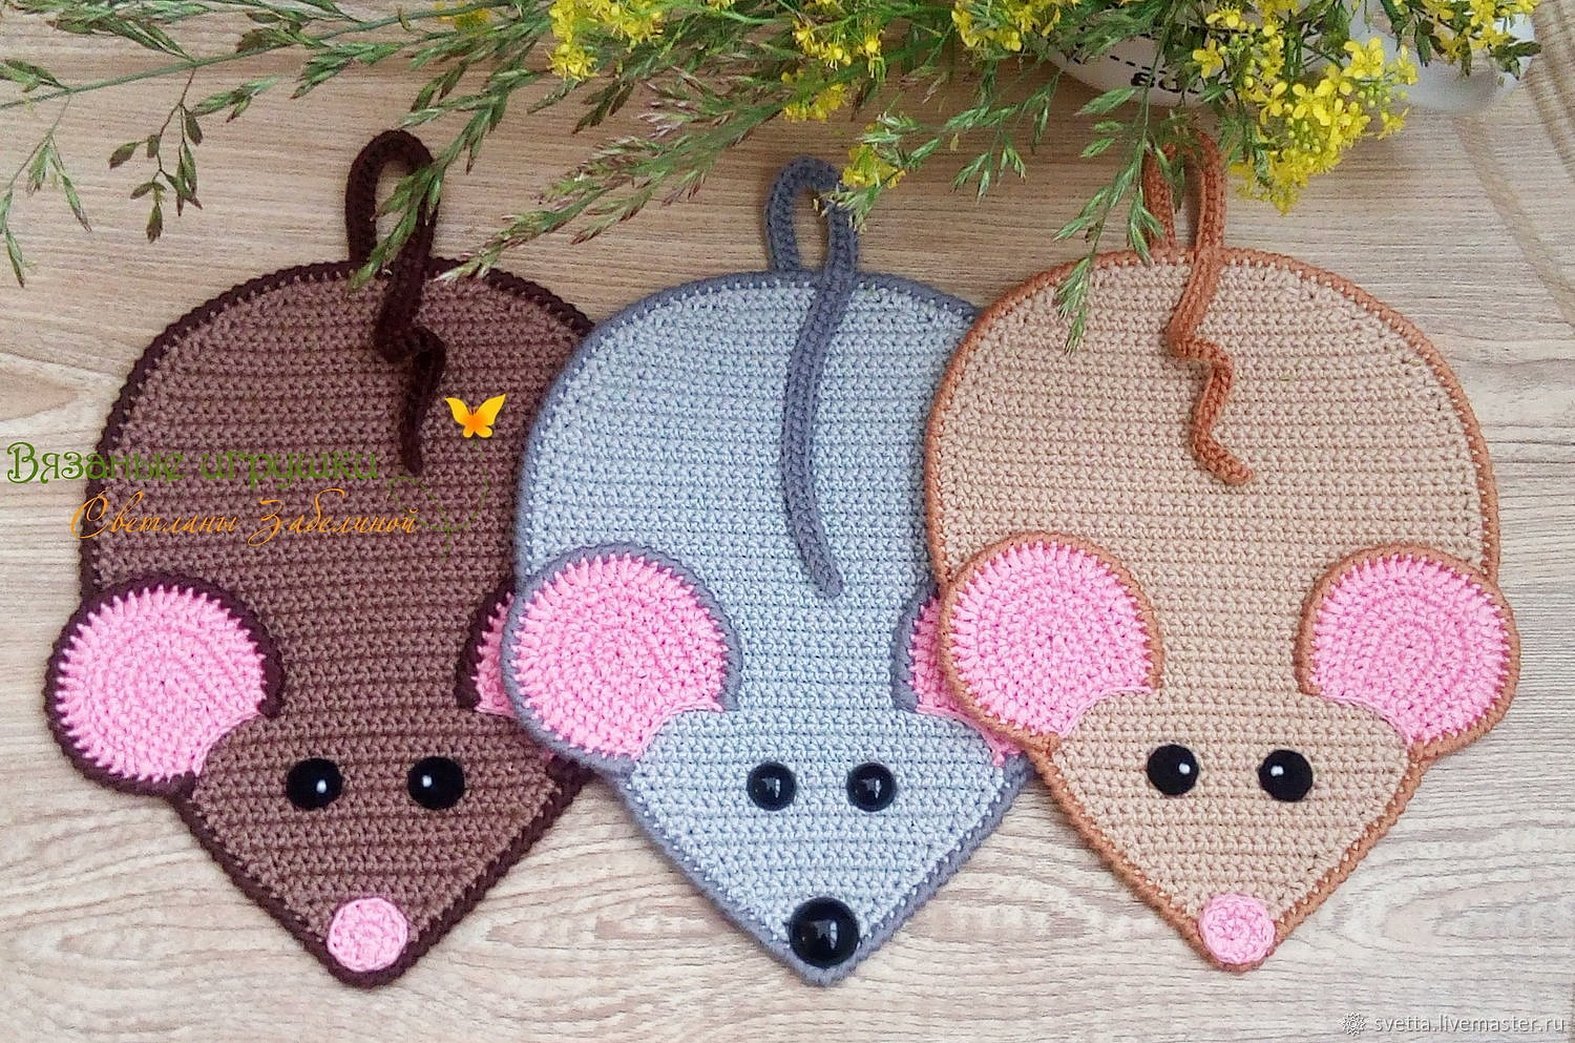
A great idea for handicrafts would be a mouse potholder, crocheted from any threads you like. This is not only a symbol of the current year, but also a fairly practical thing that can be used in the kitchen. Experienced craftswomen will easily cope with the task, but beginners should first understand the detailed knitting pattern.
What you need to get started
In order to create a beautiful and bright mouse potholder, you need to prepare the following materials:
- Crochet threads (100% cotton or acrylic). It is recommended to choose colors such as pink, brown and beige.
- Hook No. 3.
- White thread with a needle.
- Scissors.
- A piece of black felt.
Crocheted Potholders for the Kitchen: Description of General Principles of Knitting
Before you crochet a mouse potholder, you should familiarize yourself with some principles of this process. If the potholder will be used directly for its intended purpose, then the yarn during knitting should be of medium thickness. When you plan to use it as a hot stand, then in this case you should choose thicker threads.
Pink color is chosen for knitting ears, light beige color is perfect for the body of the mouse, but it is best to tie it with a thread several tones darker than the body itself. It is also used to knit the tail and nose of the mouse.
Important! When knitting, the hook must be selected in accordance with the thickness of the thread, otherwise the product will be either loose or too tight.
Mouse potholder crochet: step-by-step description of the symbol of 2020
The main symbols that will be used during knitting:
- air loop – VP;
- double crochet – dc;
- single crochet – sc.
Now you can start knitting. It is done in turns: first the body is knitted, then the ears, nose, eyes and tail.
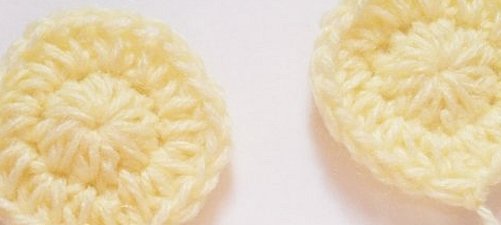
Torso
First, we move on to the body:
- Take beige yarn and a hook size corresponding to its thickness. The first row consists of 11 air loops, then 10 VP - the main chain and one - for lifting.
- The second row is single crochet. The hook is inserted into the second loop from it and 2 sc are knitted. Then, one single crochet is knitted in each VP until the end and, in the last one, 2 sc are knitted again. Thus, the number of loops in the row has increased to 12. Then one lifting VP is made and the knitting is turned.
- The third row is knitted according to the same pattern as the second. The result should be 14 sc.
- The product is knitted according to the same principle up to row 13. As a result, you should get 34 sc.
- There is no need to add loops any further. Single crochet stitches are knitted up to row 32.
- After row 32, you need to start decreasing them, and for this, with each turn of the product, you do not need to make one air loop for lifting, but you should immediately knit a single crochet.
- The decrease in stitches should continue until row 62, until only 3 sc remain.
- Next, you need to immediately tie the product. To do this, also sc is tied in a circle mouse, at the end the thread is cut, a knot is tied, which is neatly hidden among the threads.
- Using a dark brown thread, the mouse's body is also tied with sc.
- Having knitted to the middle of the body with a brown thread, a chain consisting of 40 VP is collected. After this, in reverse order, knit according to the following pattern: 1 and 2 loops - SC, and all subsequent ones - DC. Having reached the end of the tail, continue tying the body with single crochets. At the end, the thread is cut, a knot is tied and carefully tightened between the threads.

Additional information! At the end of each row, one lifting VP is required. Otherwise, the product will become skewed with each row.
Ears
Next, make the ears:
- Using pink thread, make a chain of 7 loops.
- The first row is single crochets, one lifting loop and the product is turned around.
- Starting from the second row, there will be a rounding. For this, the first 6 loops are made SC, and in the last seventh, 5 SC are knitted at once. 1 lifting loop and the product is turned around.
- The third row is knitted similarly to the second: the first 6 loops have 1 sc, in the 7th – 3 sc, in the 8th – 1 sc, in the 9th – 3 sc and then 1 single crochet. 1 lifting loop and the product is turned over.
- In the next row, the first 2 loops are SC, then from 3 to 8 - 1 DC, in 9 - 3 DC, then 3 - 1 DC. Next, the row is knitted with DC without increasing and the last 2 loops of the row are single crochets, VP lifting.
- The next row is knitted according to the same principle as the previous one: the first 2 loops are single crochets, then from 3 to 8 - 1 dc, in 9t - 3 dc, 4 loops - 1 dc. Then the row is knitted with dc without adding and at the end 2 sc, VP lifting.
- The very bottom edge of the ear is knitted with sc, leaving a 30 cm long thread, cut and tightened into a knot.
- Just like the body, the eye is tied with brown sc thread.
- The second ear is knitted in the same way as the first.
Important! If the potholder is going to serve as a stand, it is best to make it double.
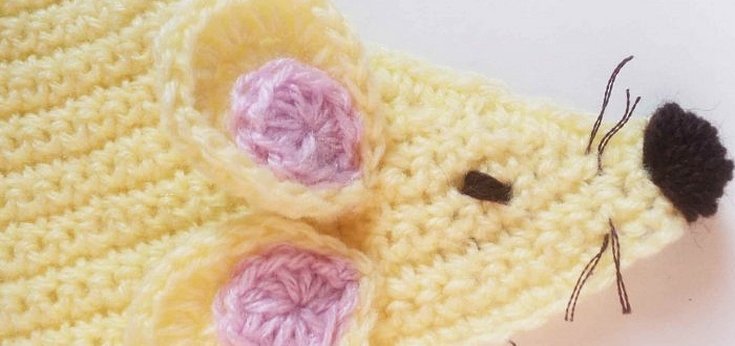
Nose
The nose is made as follows:
- You will also need pink yarn. Make a small loop, but do not tighten it and knit 6 sc in it.
- Next they are pulled into a tight ring by the end of the thread.
- Knitting is done in a circle. The second row is knitted in each loop by 2 sc. The result should be 12 sc.
- A 20 cm long thread is left, which is tied into a knot and cut off.
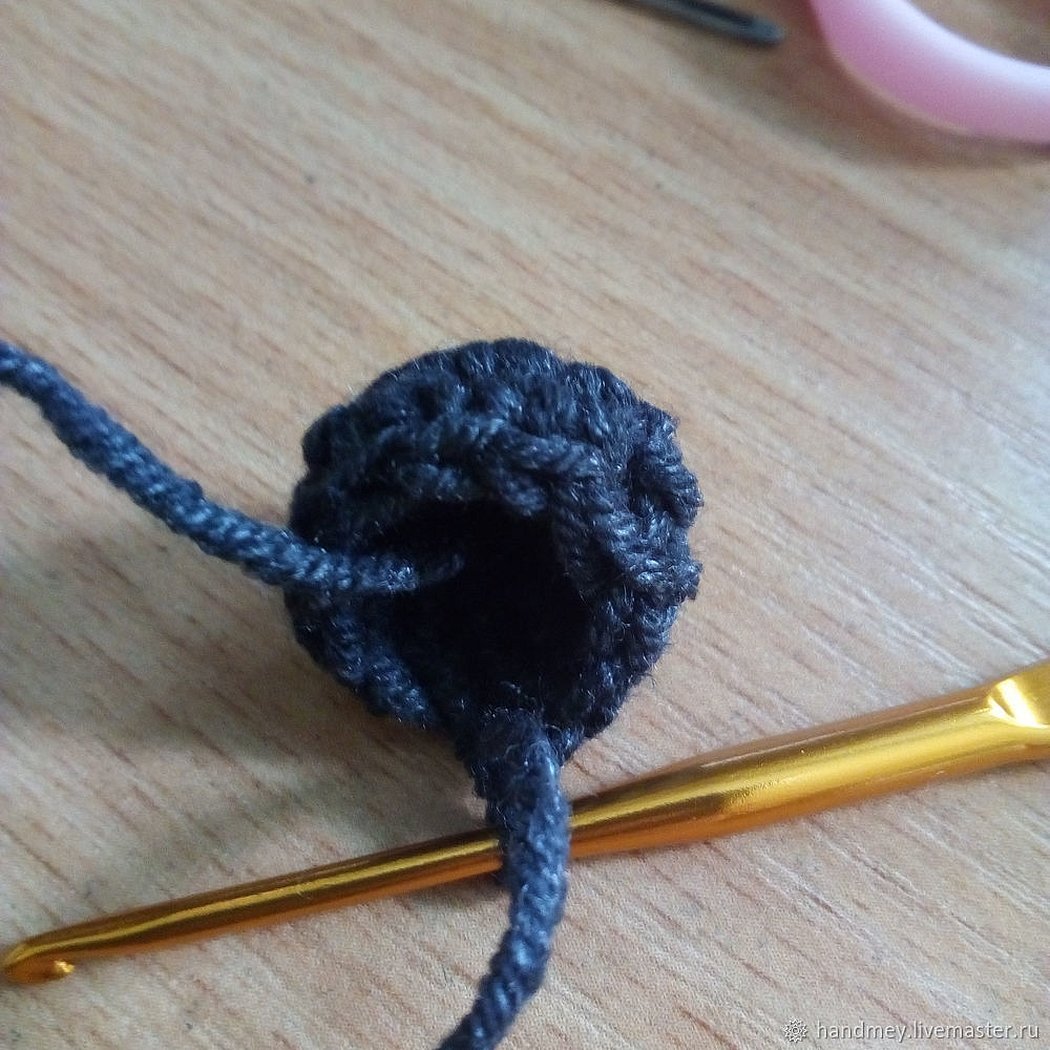
Eyes
To create them, you need to cut out 2 small circles from pre-prepared black felt.

Assembling the potholder
The product is assembled as follows:
- To begin, take the thread from one of the ears, insert it into the needle and sew it at an angle to the mouse’s body.
- The second eyelet is also sewn on at a small distance from the first.
- A knitted nose is sewn onto the bottom.
- The eyes are attached with a white sewing thread. This is done in the center of the eye so that white pupils are obtained.
Interesting to know! To make the potholder perform its task better, it is recommended to add a fabric lining underneath.
All remaining threads from knitting are hidden inside the product.
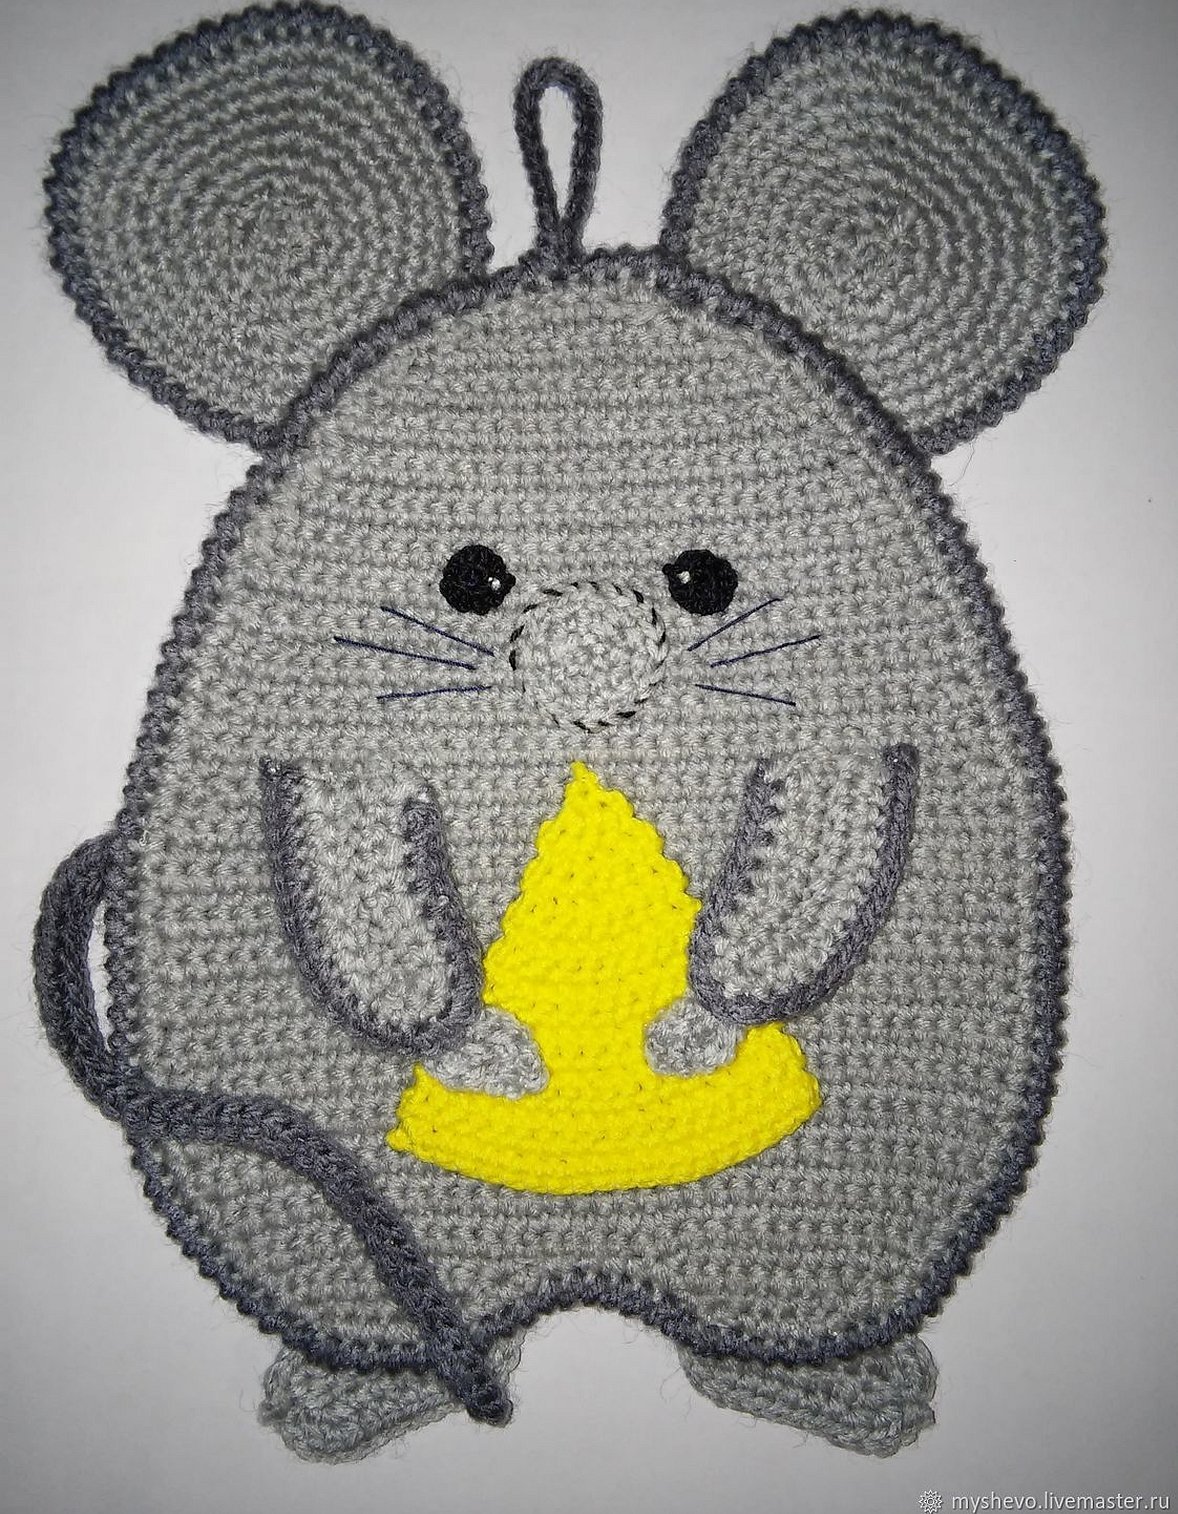
Thus, the mouse potholder crocheted according to the master class is ready. It is designed in such a way as to tell as accurately and step by step about the stages of creating such an interesting and unusual thing for the kitchen. If there are children in the house, they will definitely be delighted with the potholder. This is one of the possible options. There are also round products, so before you start knitting, you should familiarize yourself with all possible versions of the craft and choose the one you like the most.


