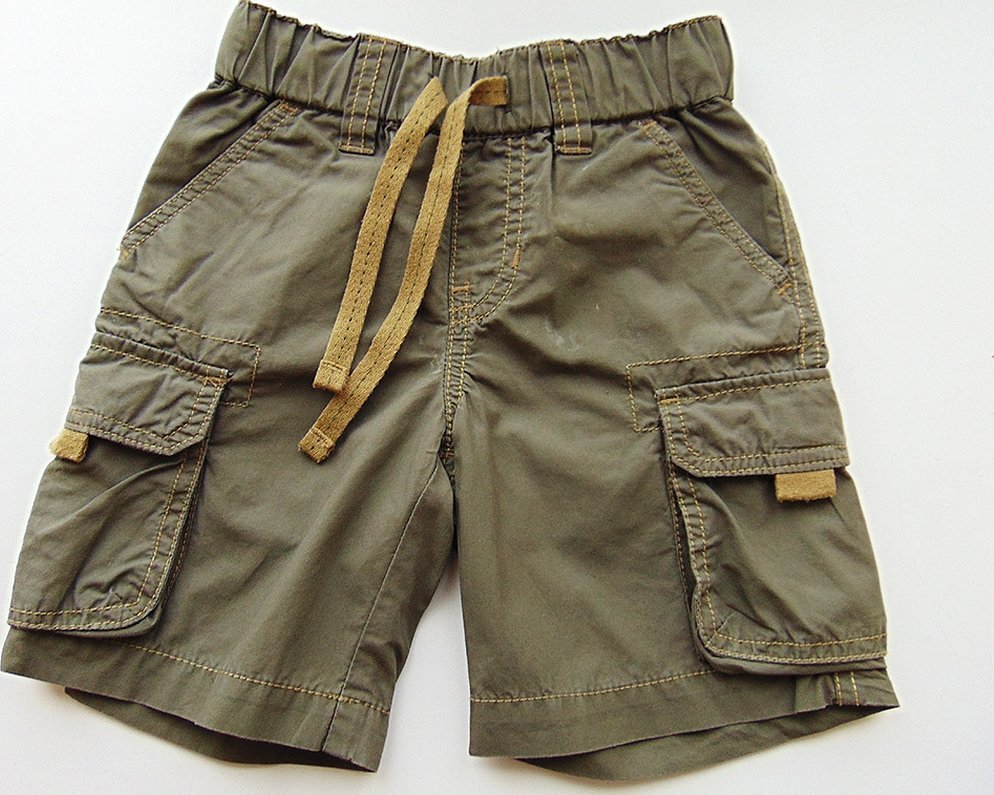
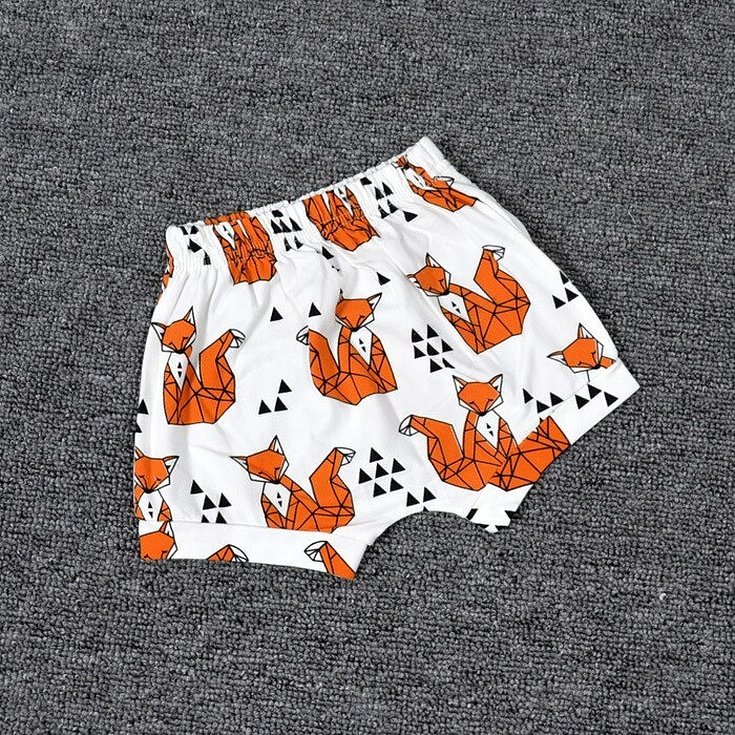
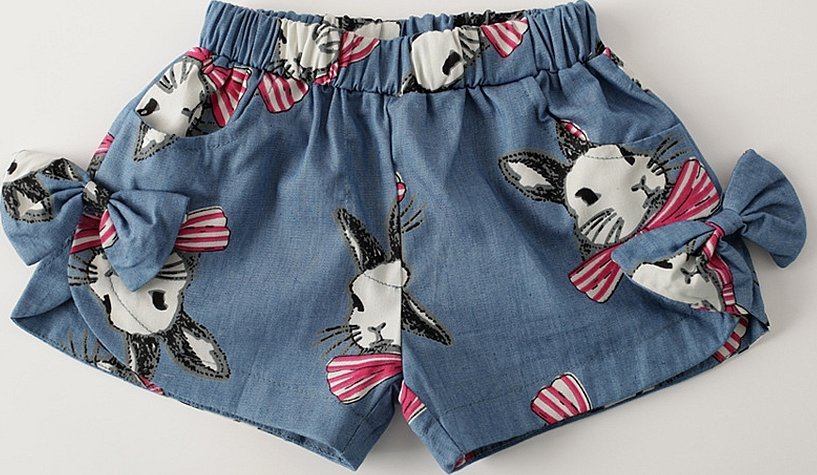
Children's shorts can be made with your own hands today, with minimal effort. What measurements to take to create a children's product, how to make a pattern, how to sew shorts for a girl and a boy, connect all the parts together? More on that below.
What measurements to take
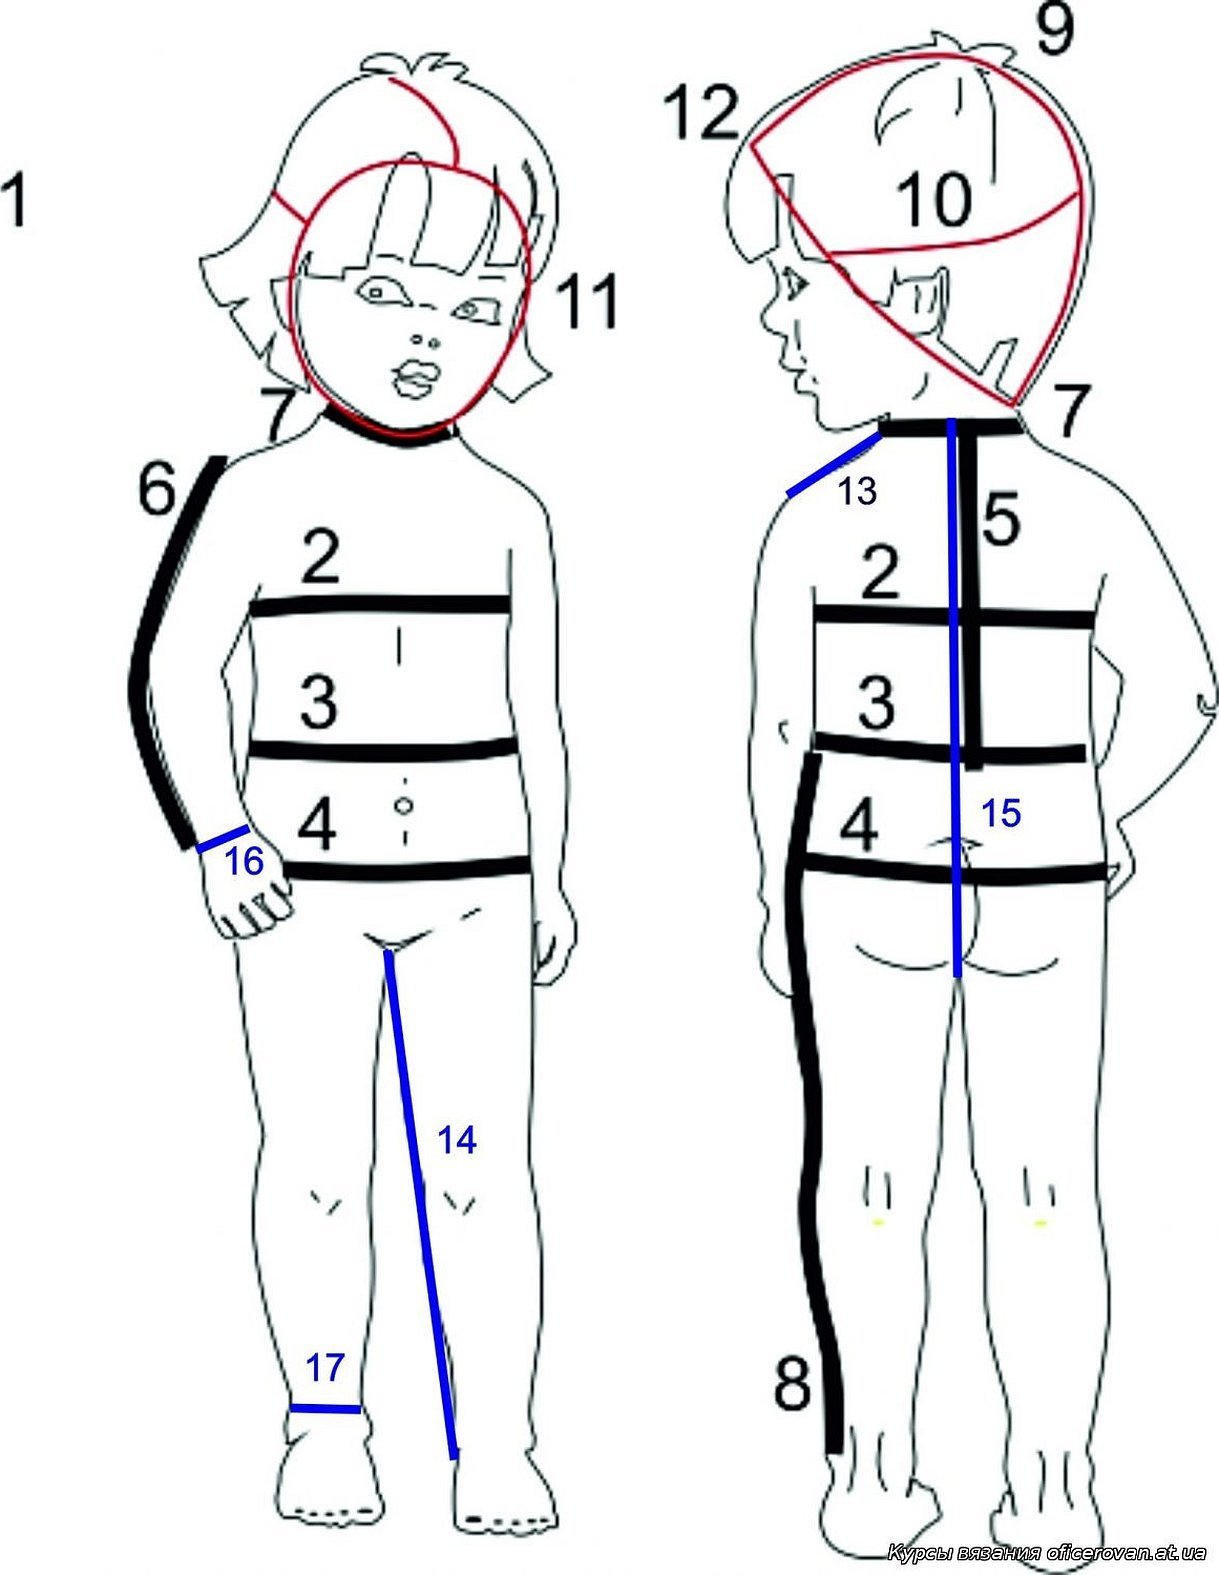
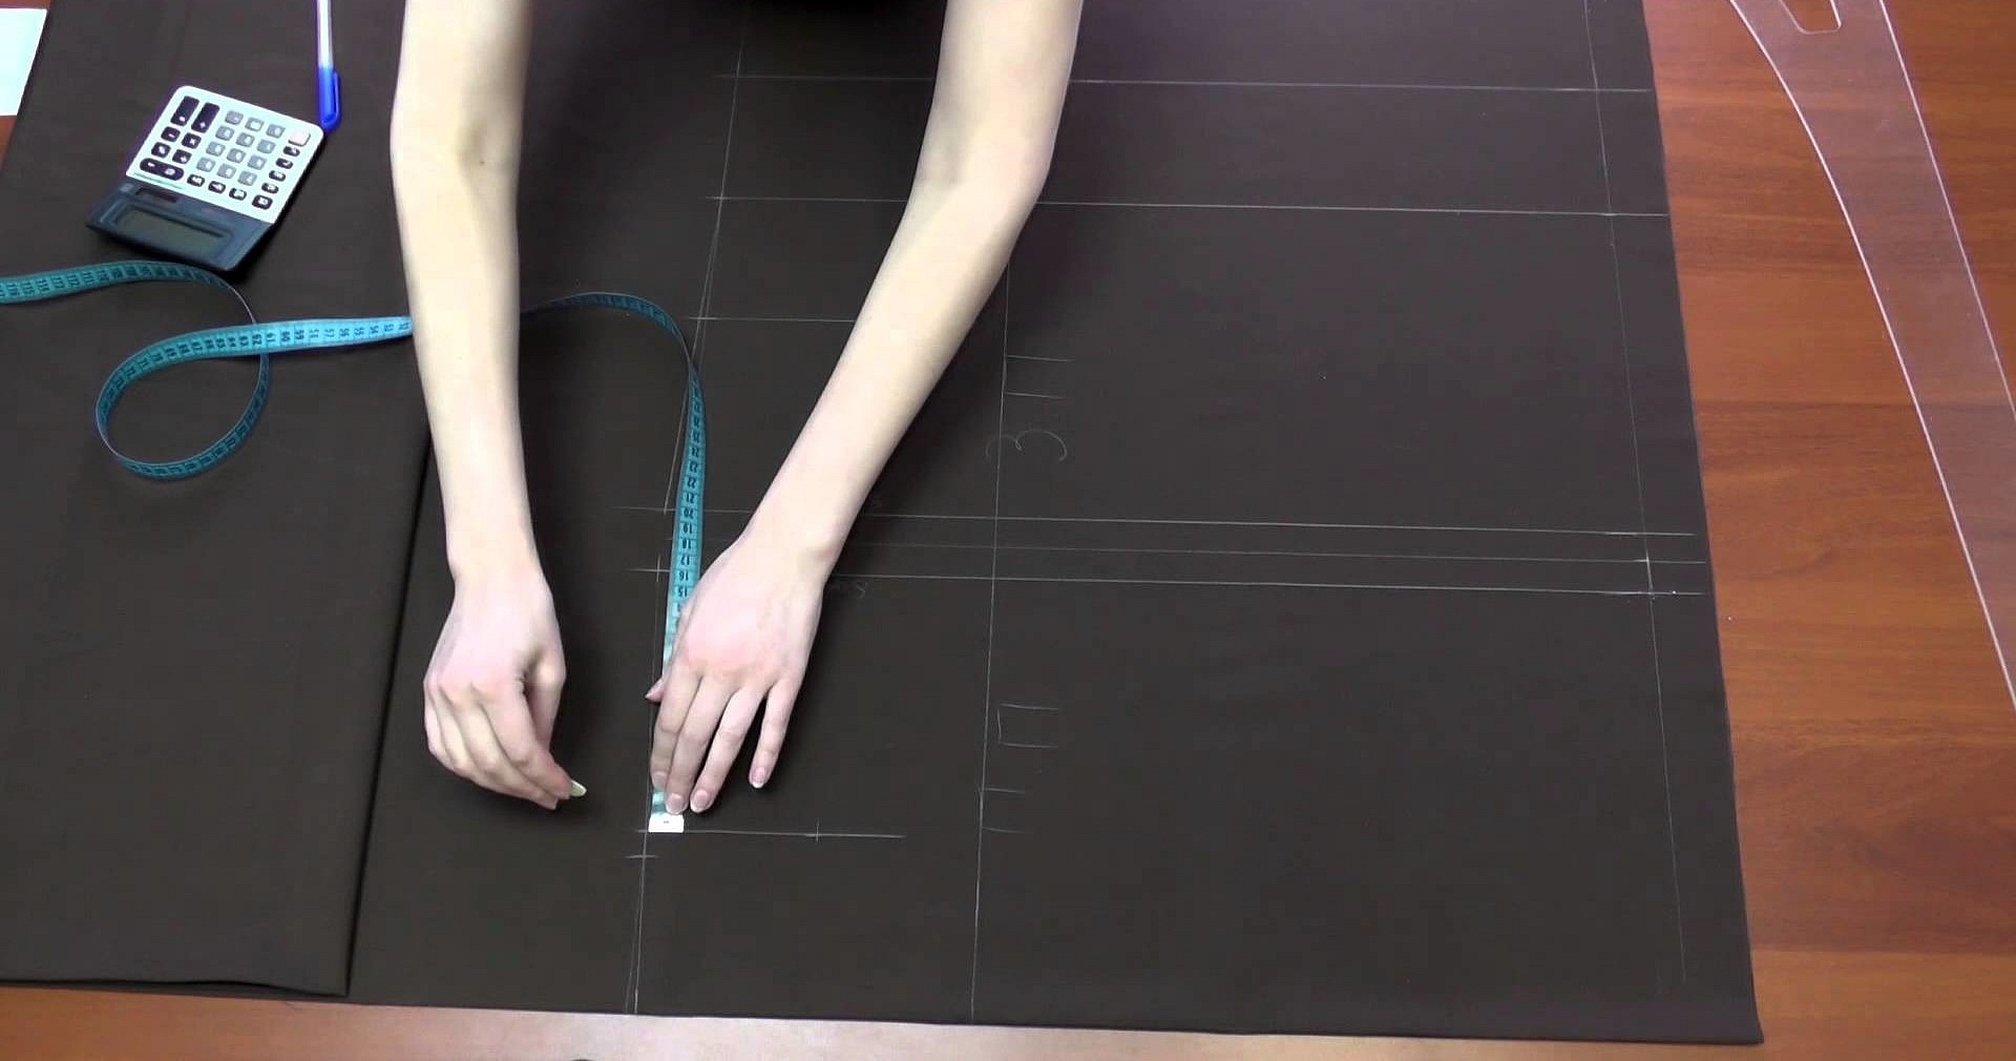
The pattern is the future basis of simple shorts and breeches. Before cutting, you need to decide on the overall dimensions. To do this, you need to take measurements and print them out for convenience. To create shorts, you need to know the circumference of the hips, waist, thigh, knee, seat height and the length of the entire product.
To measure your hips, wrap the measuring tape around your torso in the buttocks area. Do not press the measuring tape too hard against your body.
To understand the waist size, you need to find the thinnest part of the child's body and wrap it with a ribbon. You can use an elastic band or satin ribbon for this procedure, and then write the necessary data in the table using a ruler.
Hip and knee circumference - tape measurements of the hip just below the buttocks and knee. Also done by wrapping the tape or elastic around the hip.
Seat height is a measurement taken from the waistline to the seat of a chair with a person sitting on the chair.
Length of the product is a measurement taken from the waist to the end point of the shorts. It is taken with the child standing at full height.
Standard measurements should be taken using the appropriate recommendations:
- The measuring tape should be applied as close to the child’s body as possible.
- It is better to use an old model of shorts as the basis for the product.
- To ensure that the measurements are accurate, they should be taken calmly. The measuring tape should follow the silhouette. It should not cut into the body or hang loose.
- The centimeter should be positioned parallel to the floor.
You can learn how to take measurements without making mistakes by using the following recommendations:
- The measurements should be taken from the child in home clothes. Heavy things add extra centimeters. This is especially important for putting together a set.
- If you plan to design a pattern for high-waisted shorts, you should first tie it with a cord or elastic band. This will make it easier to take measurements.
- When taking readings, you need to ask the child to stand up straight and not slouch. Any unnecessary body movements lead to the final volumes changing and new concerns are added that are related to correcting the result obtained.
Please note! It is worth understanding that some measurements need to be taken in full, and then the figures divided by 2. This applies to hip circumference and waist size.
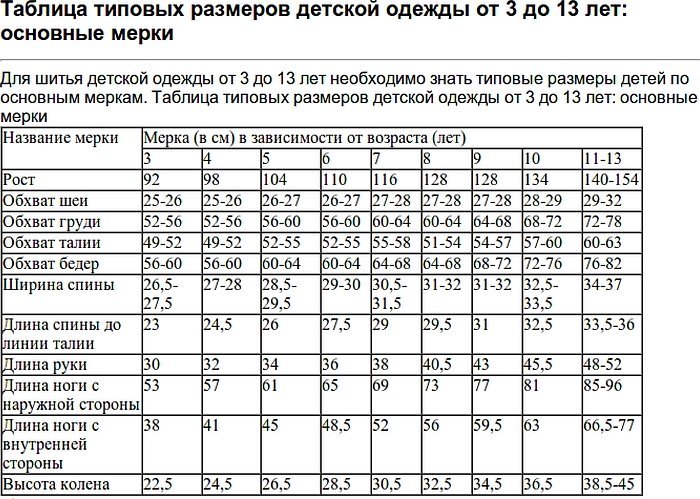
When taking measurements to create shorts, leggings or tights, it is worth following a special table or size chart. It will allow a novice needlewoman to roughly determine the sizes and make a beautiful product.
Construction
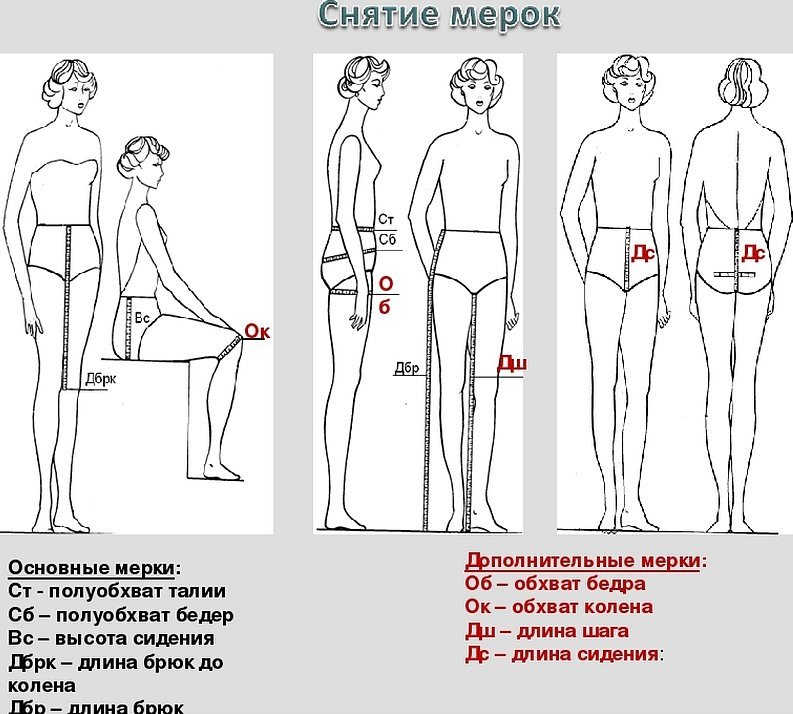
To sew knitted shorts for a child for the summer or autumn-winter season, you need to make a pattern. Modeling of future shorts should be done carefully. Since the success of the work will depend on the pattern. To get a beautiful thing, you need to measure the half-girth of the waist with the length of the product, half-girth of the hips, the length of the product along the side seam, the height of the waist from the place under the buttock.
To make the shorts fit loosely to the body, it is worth adding a few centimeters at the edges. For classic models, you need to add 5 centimeters.
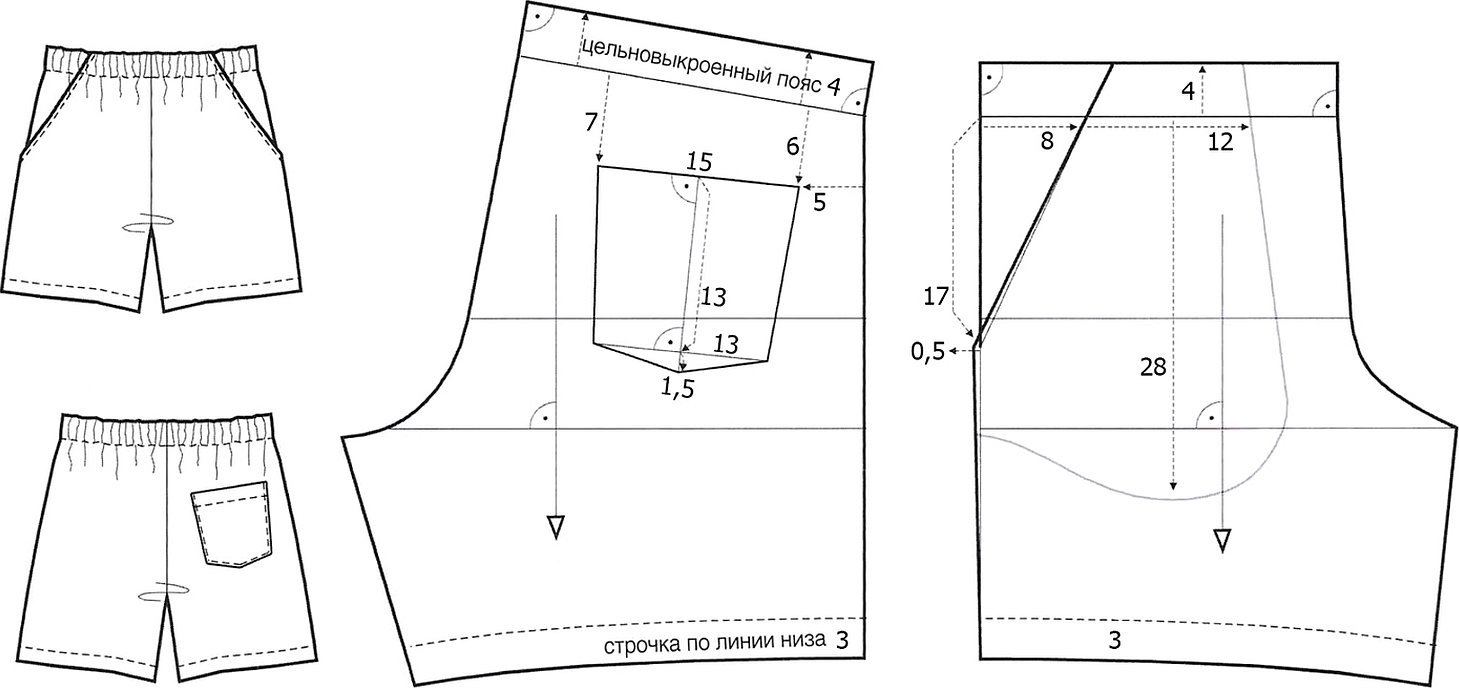
Shorts made of jersey or cotton are usually cut using a trouser pattern. Therefore, the trouser pattern is presented below. To make a pattern, you need to draw the hip lines, seat length and the direction of the main thread. Next, mark the direction of the grain line and accurately transfer it from the trouser pattern to the shorts pattern. Before cutting, remove the fabric edge, lay them face to face and align the edges. Their direction is the grain line. This material needs to be laid on the pattern of the front of the product and mark the fabric boundaries with chalk. Then cut out the fabric along the created boundaries and perform the corresponding actions with the back half of the pants.
Preparing the fabric for sewing includes cutting and processing the edges by sweeping the parts or removing the threads with fire. To answer the question of how much fabric is needed to sew shorts, it is necessary to indicate that the standard width of a roll of textile is 150 centimeters. One length with a reserve of four centimeters will be enough. It should be clarified that the width will depend on the volume of the hips. If the fabric is narrow, then you will need to take fabric for two lengths of the product.
Please note! To decorate the inside of the pockets, you need to use a fabric with a thin structure. To sew light calico, linen or cotton shorts, the main or lining fabric can be used for the pockets.
Building the front of the model
To construct the front of the model, after the measurements have been created and recorded, you need to draw the future product on paper. If you are going to work with fabric for the first time, you should take ready-made shorts. In this case, you need to carefully fold the clothes along the seam to get half of the back. Then carefully draw a line of hips with the length of the seat on paper, indicating the direction of the line. Do the same with the back half. Then draw the belt.
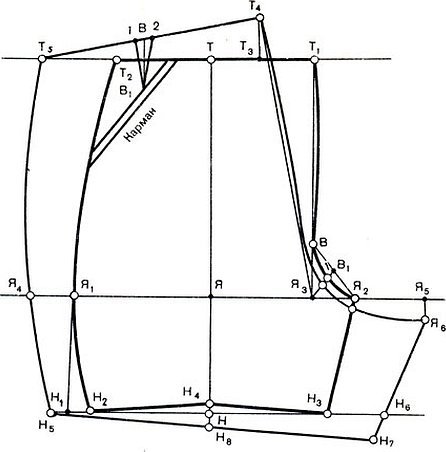
When constructing the front of the model, it is important to take into account the characteristic features of the child's physique. Only those shorts and trousers that have a similar size are suitable for the pattern. If the product contains additional details, then more complex actions will need to be performed.
Please note! Some craftswomen use ready-made drawings, having first checked all the dimensions, since each figure is individual.
How to sew children's shorts yourself
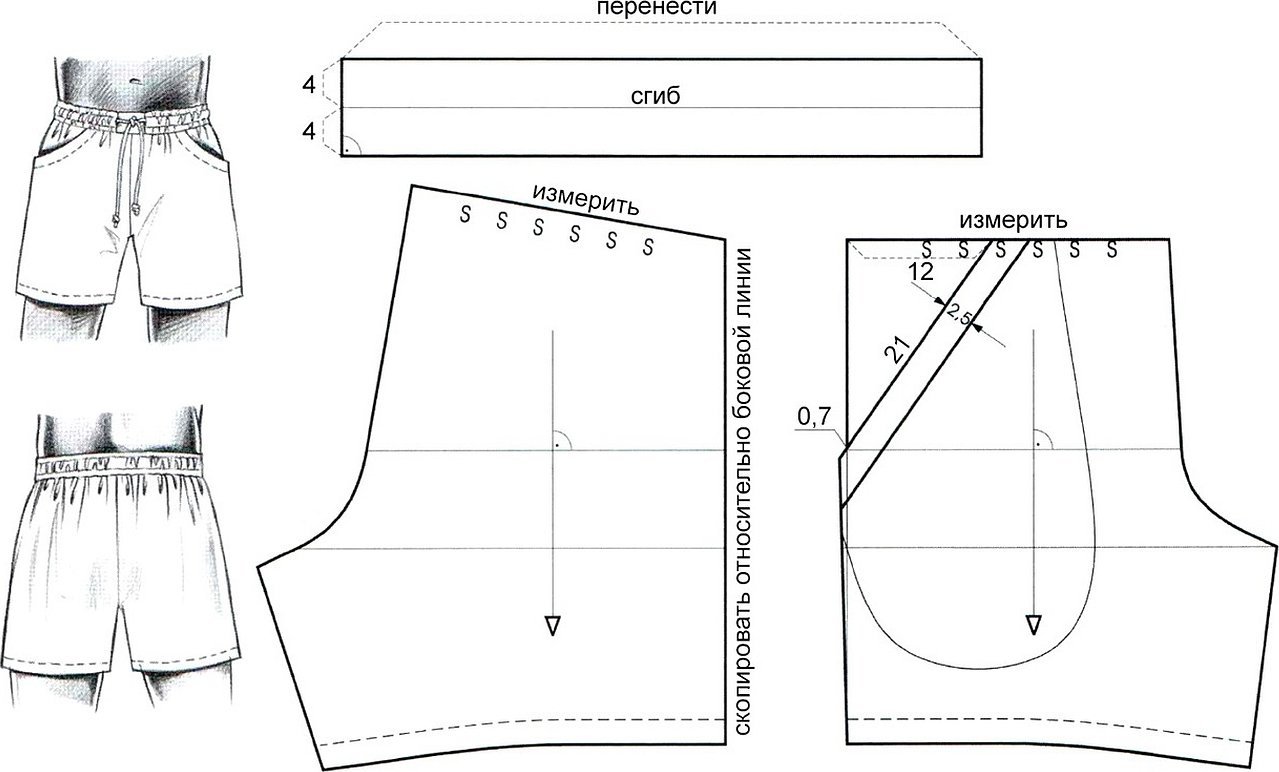
To make shorts, you need to take the main fabric, patterns, threads, measuring tape, pins, scissors and chalk. Only after understanding the availability of the listed elements, you can start working. It is worth noting that the amount of necessary fabric is calculated individually. It will depend on the length of the product, since shorts can be embroidered according to the pattern. On average, the consumption will be equal to the length. To understand how much fabric is needed, you need to measure the length from the waist to the bottom and add 5 centimeters for processing the waist cut with sewing the belt.
To make beautiful shorts, you need to do the following:
- Redraw the details of the product on the finished fabric, using the diagram as a guide. Add a couple of centimeters for the seams. For shorts that have turn-ups, add a few more centimeters from the bottom.
- After creating the necessary details on the material, you should cut out the patterns with scissors. Make a cutout of the details to form the pockets and their internal parts. Make the waist details.
- Start sewing the product from the side lines, folding the cut pieces face inward. Stitch the inside of the shorts - the legs. Make a line at the back and overlock all the edges so that the fabric does not fray.
- Make a zipper or add buttons, if desired. If the fastener is needed on the right or left, you can add it there.
- Then construct the inner pocket part, stitching it so that when you turn the stitched parts inside out, the seams are not visible. To prevent the pockets from crumbling, be sure to overlock them along the edges. Then design the pockets from the front.
- If you plan to make shorts from denim, you should stitch the product with a double line using a special needle. In this case, children's shorts will look like fashionable branded items. You should also build in rivets where they are usually found on denim models. In this case, all the rivets should be matched identically.
- Decorate the waistband and the bottom of the shorts. To do this, fold the item over several times, iron it and pin it. Then make an even seam. The waistband should be made rigid to hold the shape. Such a product can be suitable for a classic model.

You can sew children's shorts without a pattern. Due to the lack of a template or the necessary knowledge in constructing a pattern, you should not give up the idea of self-sewing. If you have an old pair of trousers or shorts, then this thing can become the basis for the future product. All that is required from the craftswoman is to cut out the old product, iron it and apply it to the fabric. Then, overcast the contour and trim the details, taking into account the allowances, and then create the legs.
Processing the upper edge with an elastic band
To process the upper edge of the product with an elastic band, you need to insert the elastic band into the belt, fix it with pins, overcast the upper edge with the elastic band. After that, overcast the lower edge. According to the created overcasting, make a hem to the wrong side and lay a seam from the front side. To make the built-in belt look beautiful, you need to overcast the fabric from the bottom and sew it on the machine, having previously removed the overcasting and ironed the seams.
Making a belt is easy. To do this, fold the material in half with the wrong side up. Tie it and slightly embroider it along the edges to get a nice bow. After constructing the finished model, you need to fix it with pins, iron and stitch. Be sure to insert a ribbon inside the belt and glue it with an iron. Then you need to turn the belt inside out and carefully iron the seams with corners. Remove the inner folds to eliminate too thick corners.
Then make the top line on the front side to fix the waist edge. Before that, go over the inner edges with an overlock.
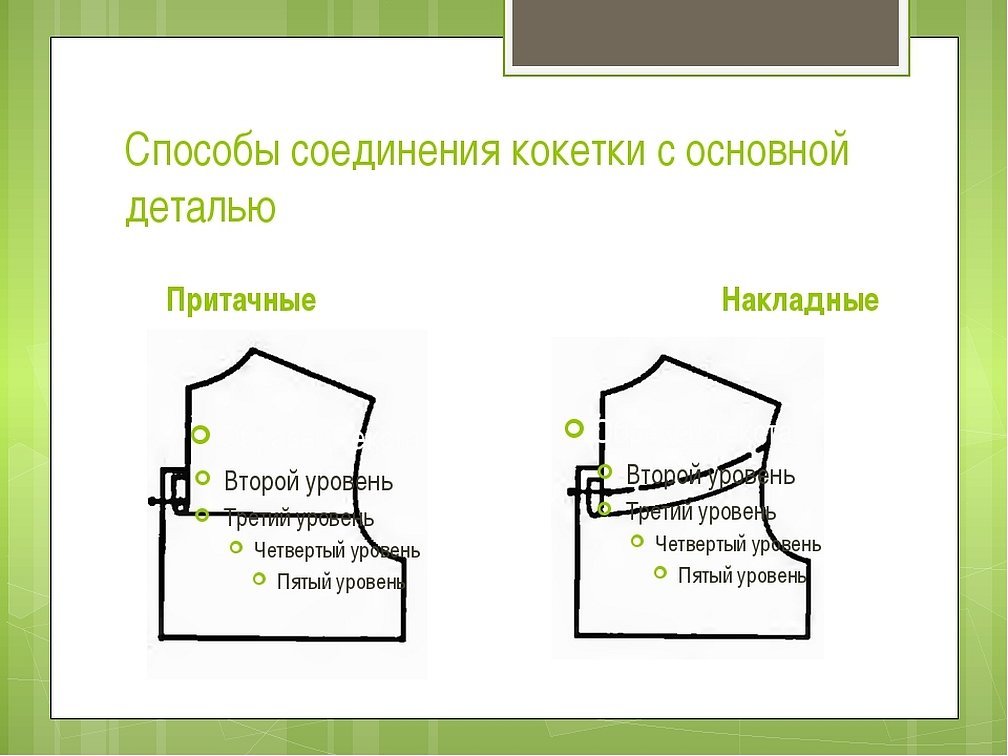
Connecting the yoke to the shorts
To connect the yoke to the shorts, attach the back of the yoke to the back half, and the front of the yoke to the front half of the shorts. Place the side seam on the yokes in the middle. Then sew, overcast the edges and iron onto the yoke. Then, from the front side, lay finishing lines along the yoke 0.1 centimeters from the seam, and iron the cm seam. Next, connect the trousers along the middle seam using a double stitch and match the seams on the yoke. Process the seams and match the middle seam.
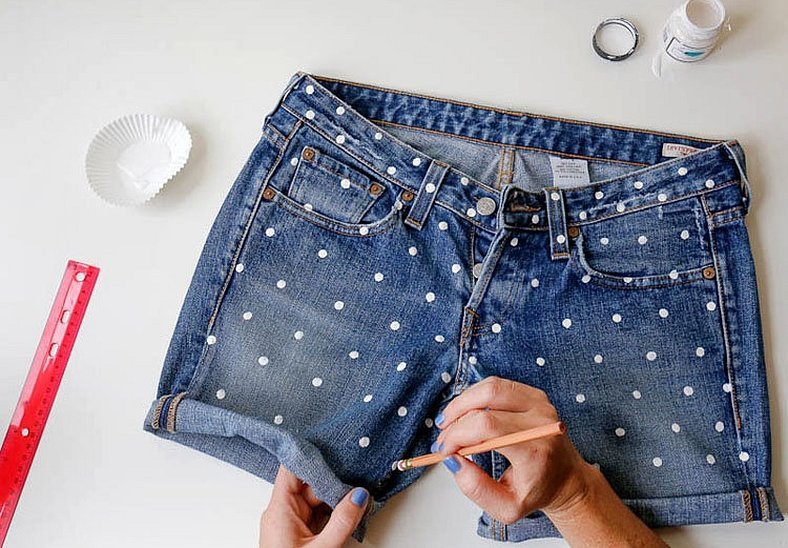
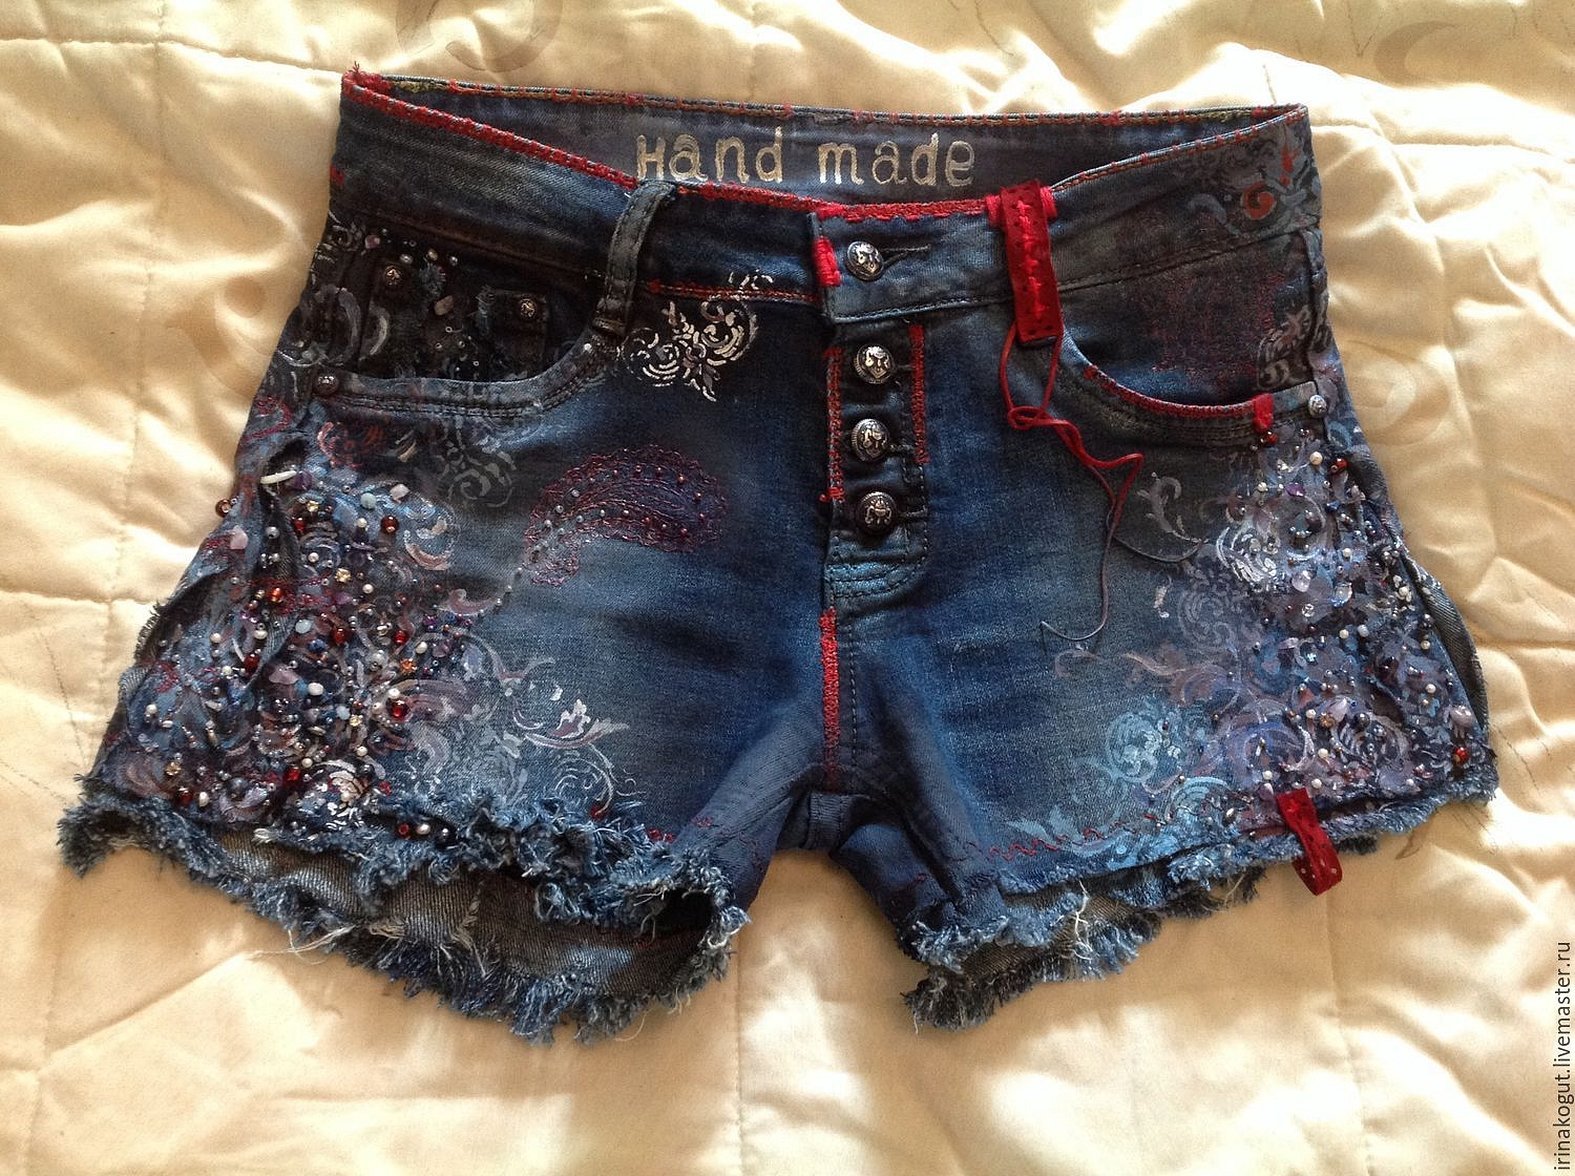
To decorate a finished product, you can use ready-made ideas from the Internet. For example, you can decorate shorts with lace ribbon, beads, sequins. Items with machine embroidery on pockets or ends of the product look beautiful. Shorts with patches or knitted inserts look unusual. You can make items in the patchwork style or try knitting them. You can decorate shorts with fabric paints, drawing an image of an animal or a flower.
Today, shorts can be decorated in an original way by sewing lace or satin fabric to the model. Children's shorts look interesting, complemented with satin ribbons, chains, inserts from a different color and texture of fabric. Stylish are those models that are decorated with braid or have holes, which have chains along all edges.
In general, it is not difficult to make a pattern for children's shorts, having basic details and knowledge in the field of sewing clothes. The main thing is to correctly remove the patterns and follow the instructions presented above.


