In autumn, a raincoat will come in handy. It is convenient to store and carry in a bag - it does not take up much space, but will be indispensable in a very heavy downpour. But stores mainly sell expensive or low-quality options, so the best solution would be to sew a raincoat with your own hands. Even a novice needlewoman can handle this. It is enough to find instructions and tips on how to sew a raincoat, and you can get to work.
Requirements for raincoats
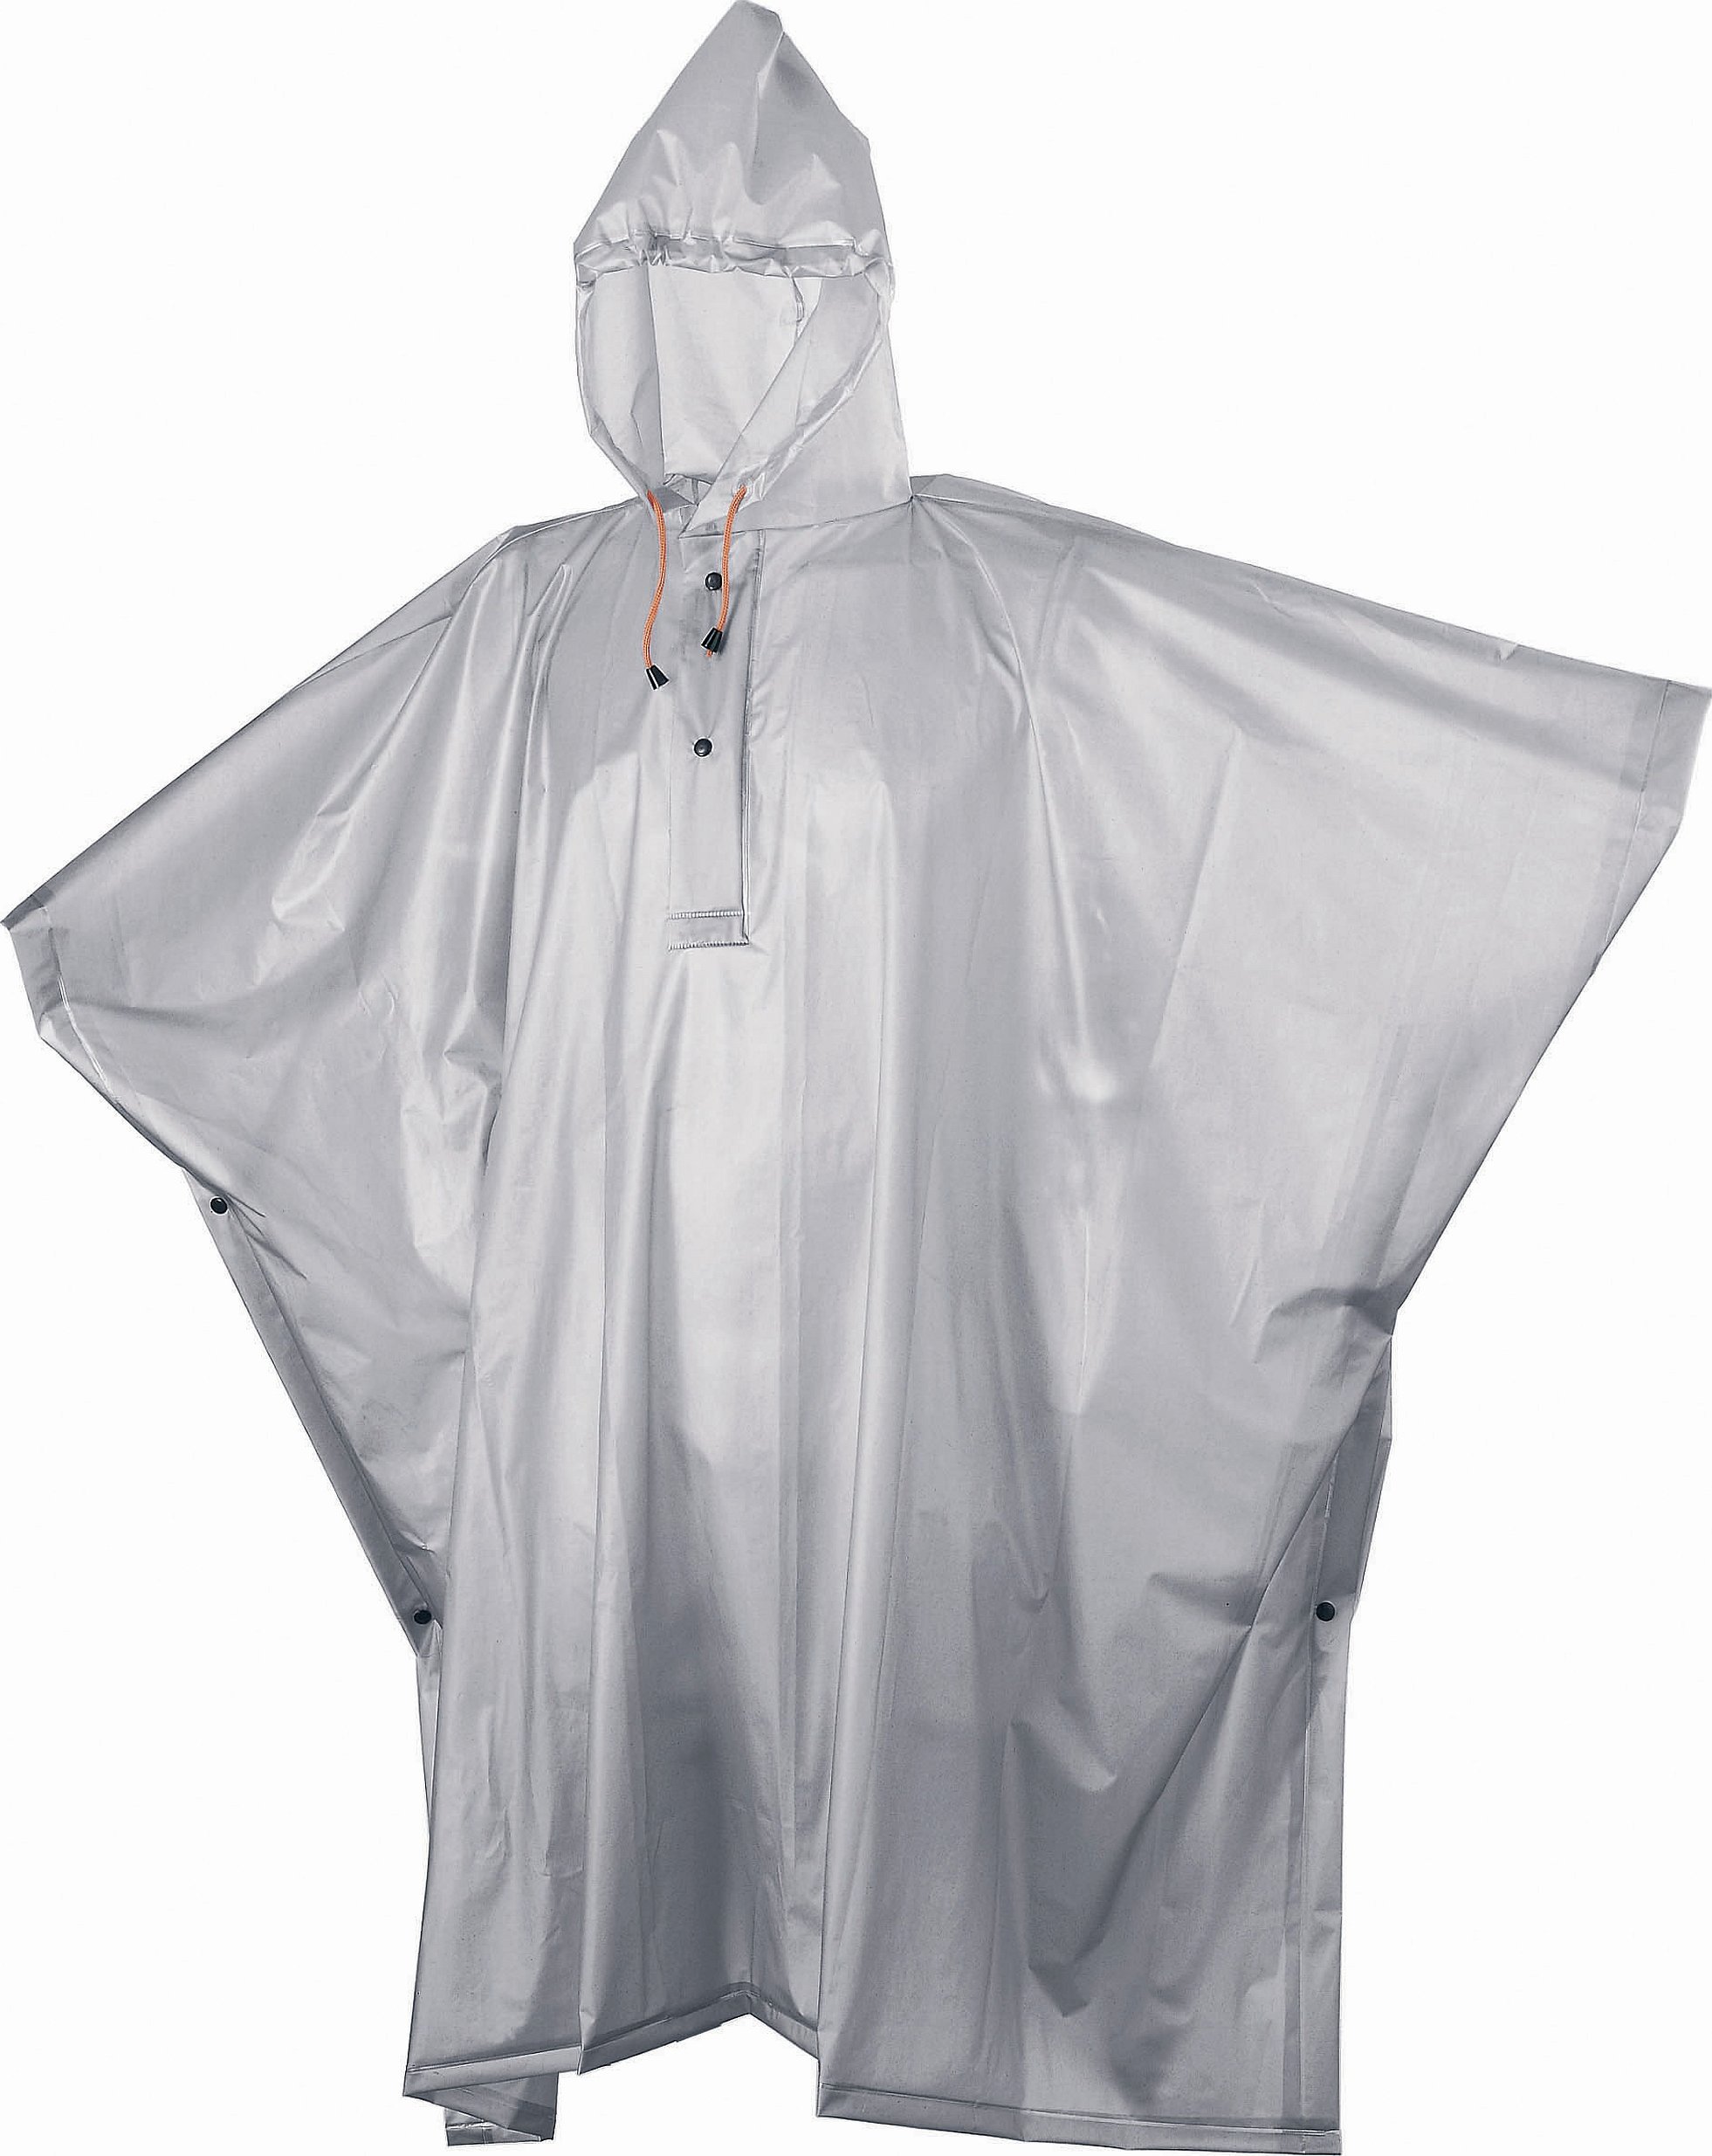
This type of clothing is necessary to protect a person from rain. Therefore, the following requirements are imposed on it:
- It should fit comfortably and not restrict movement.
- When choosing fabric, you should give preference to not very hard and dense materials. This will allow you to easily fold the raincoat without fear of kinks and breaks.
- Of course, you need to choose a completely waterproof fabric.
- In polyethylene models, the seams must be welded, and in membrane versions, glued. Stitching of seams is not allowed.
- Rivets should be preferred as water may penetrate through the button holes.
- The hood should have elastic bands or ties. This will help keep it on your head during strong winds.
Additional informationIt is recommended to provide holes under the arms. They will provide air circulation and eliminate the "greenhouse" effect.
Choice of style and fabric
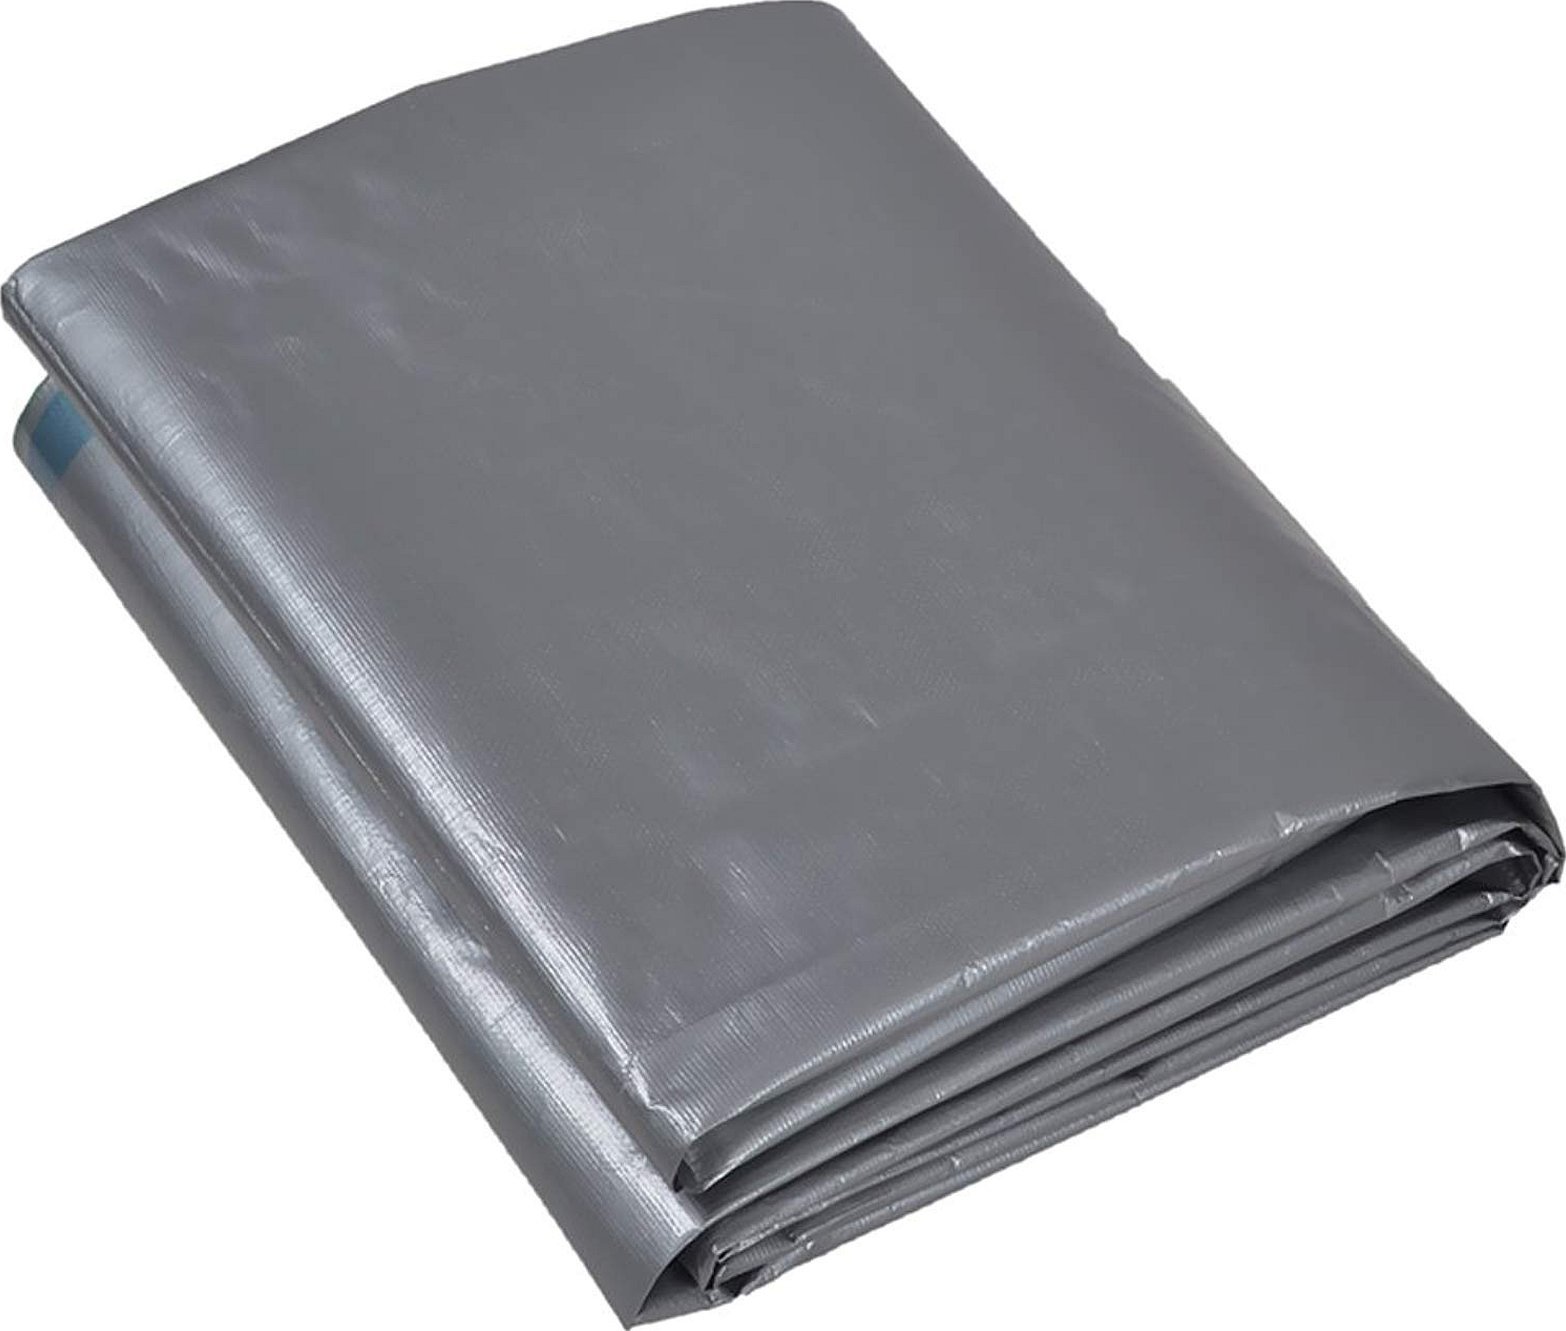
In order to sew a reliable and high-quality raincoat, you need to choose a waterproof and water-repellent fabric. Such material can be easily found in construction or sewing stores. In this case, it is best to check with the seller whether the selected option is suitable for sewing a raincoat, and what characteristics it has.
As a rule, a raincoat is not used regularly, so there is no point in choosing a very expensive fabric - even lavsan or polyethylene will do. On average, for standard-sized clothing, you will need about 3 square meters of material.
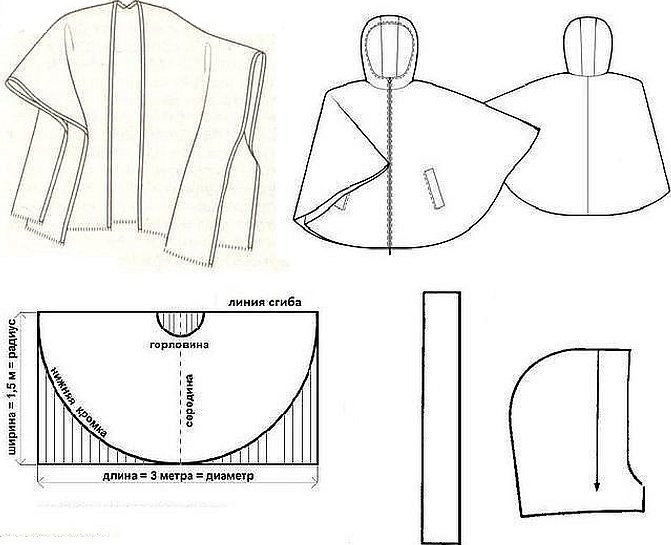
Important! Raincoats can be of two styles - a two-piece raincoat or a semi-circular raincoat. The length and width can be different, their choice depends only on personal preferences.
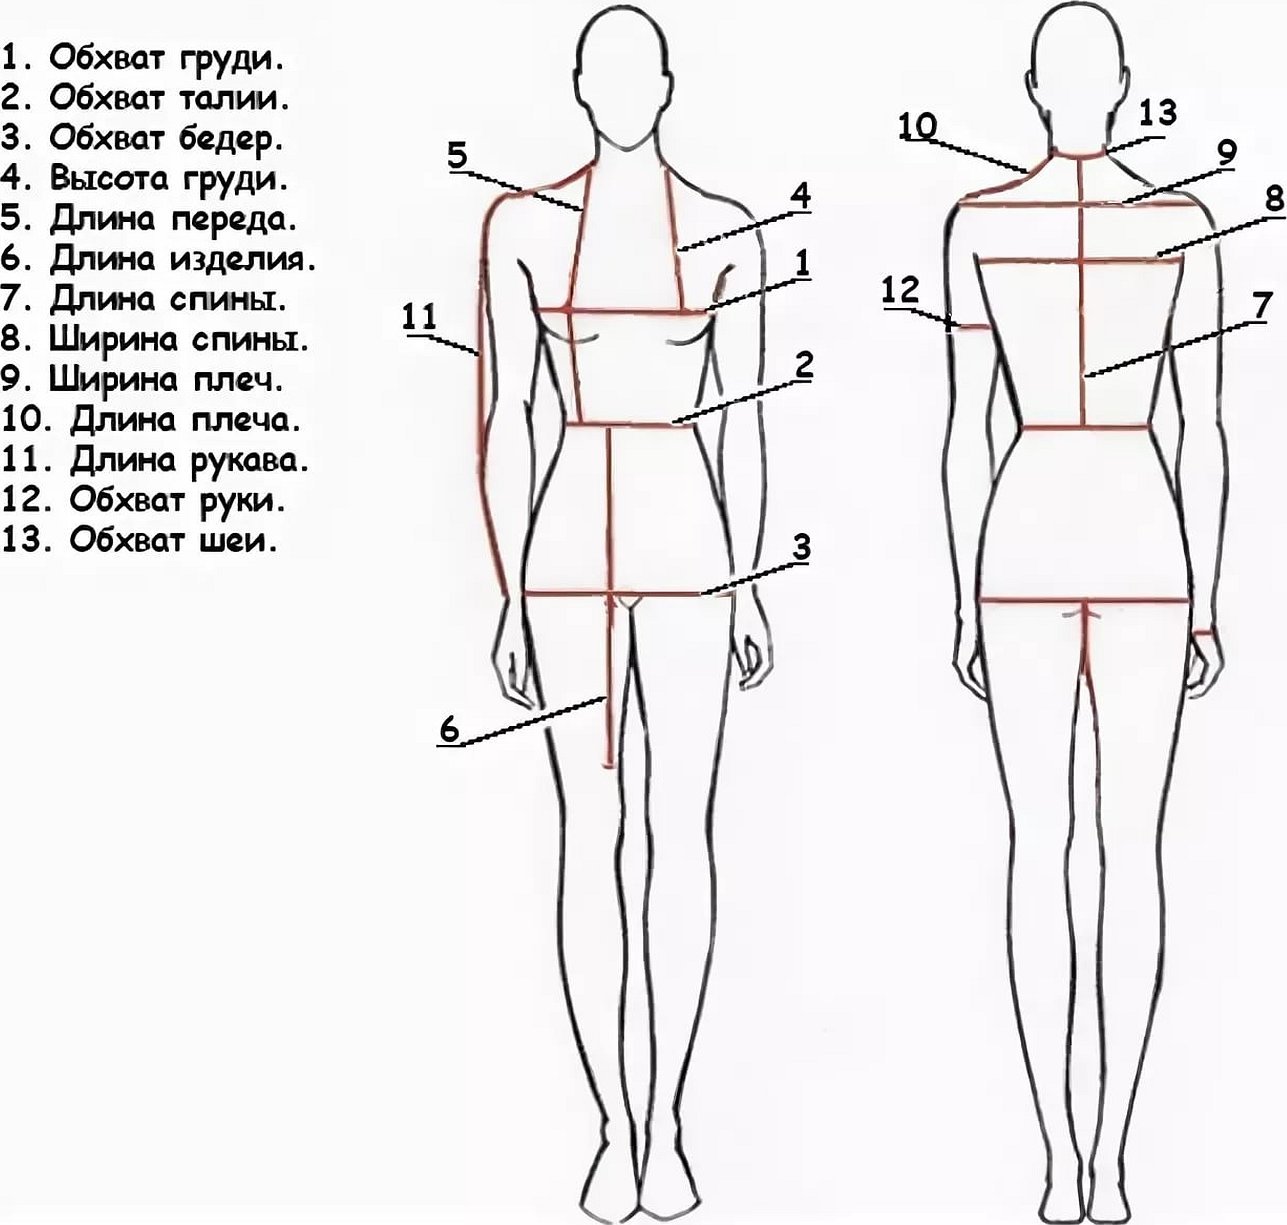
Taking measurements
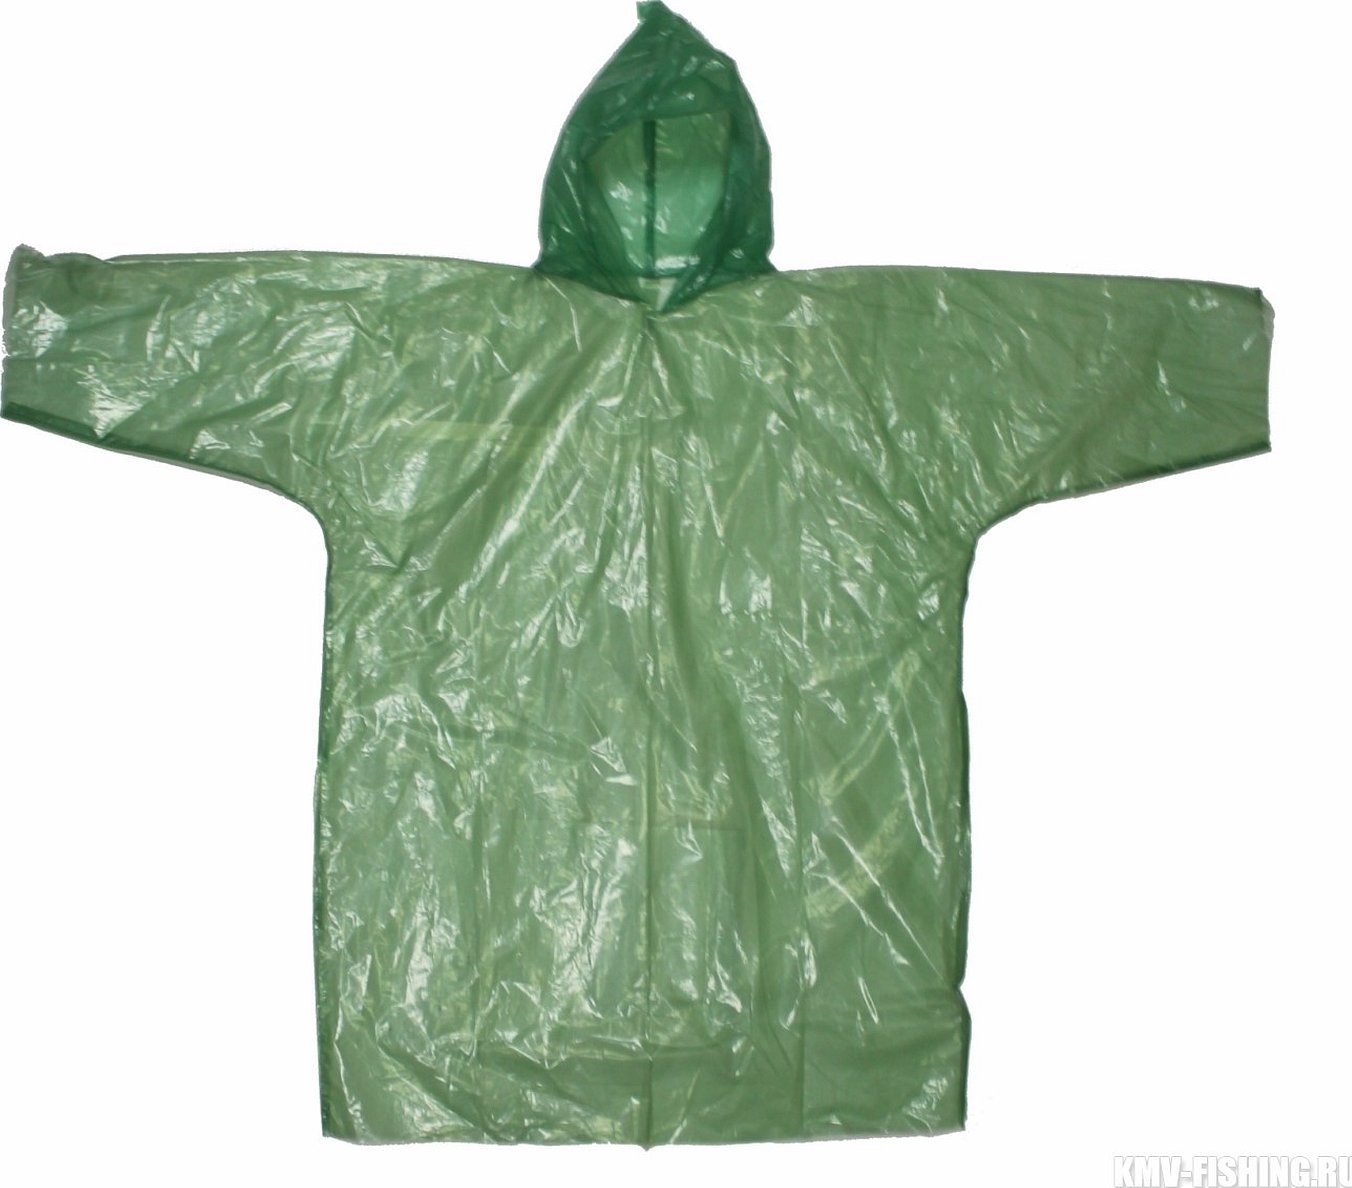
A pattern for a hooded raincoat for a woman, man or child in any case begins with taking measurements. Since this item of clothing is generally quite spacious, its length will be the main characteristic. It can be determined by measuring a coat or dress of the appropriate size with a measuring tape, and the best option is to transfer it to the pattern. To protect yourself from moisture as reliably as possible, it is recommended to sew a long raincoat.
If you are making a semicircular cloak, you will need two lengths of fabric plus some extra for finishing the edges and the neck. If you want to sew a garment that will fit well, you should take measurements of the hips and chest. But in most cases you can do without them.
DIY Raincoat: Pattern, Tips and Recommendations
Before you start working, you should prepare the necessary tools. A piece of fabric, a piece of chalk, a measuring tape, scissors, a needle, an awl and threads will be needed to sew the cloak. When everything is ready, you can start making the pattern. Drawing its pattern is quite simple - even a beginner can do it.
The easiest way to make the option is without a pattern. To do this, you will need to take a piece of material measuring 180 × 150 cm, fold it in four layers and estimate the desired shape of the raincoat by eye. Then you should cut out holes for the head and arms, and cut the shelf in half.
Additional information. Polyethylene is a fairly cheap material, so you can make trial samples and check whether they fit or not. Once the size is determined, you can start sewing the final version of the raincoat.
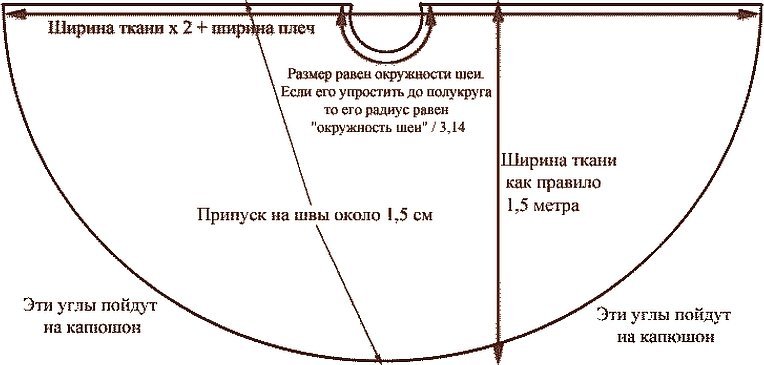
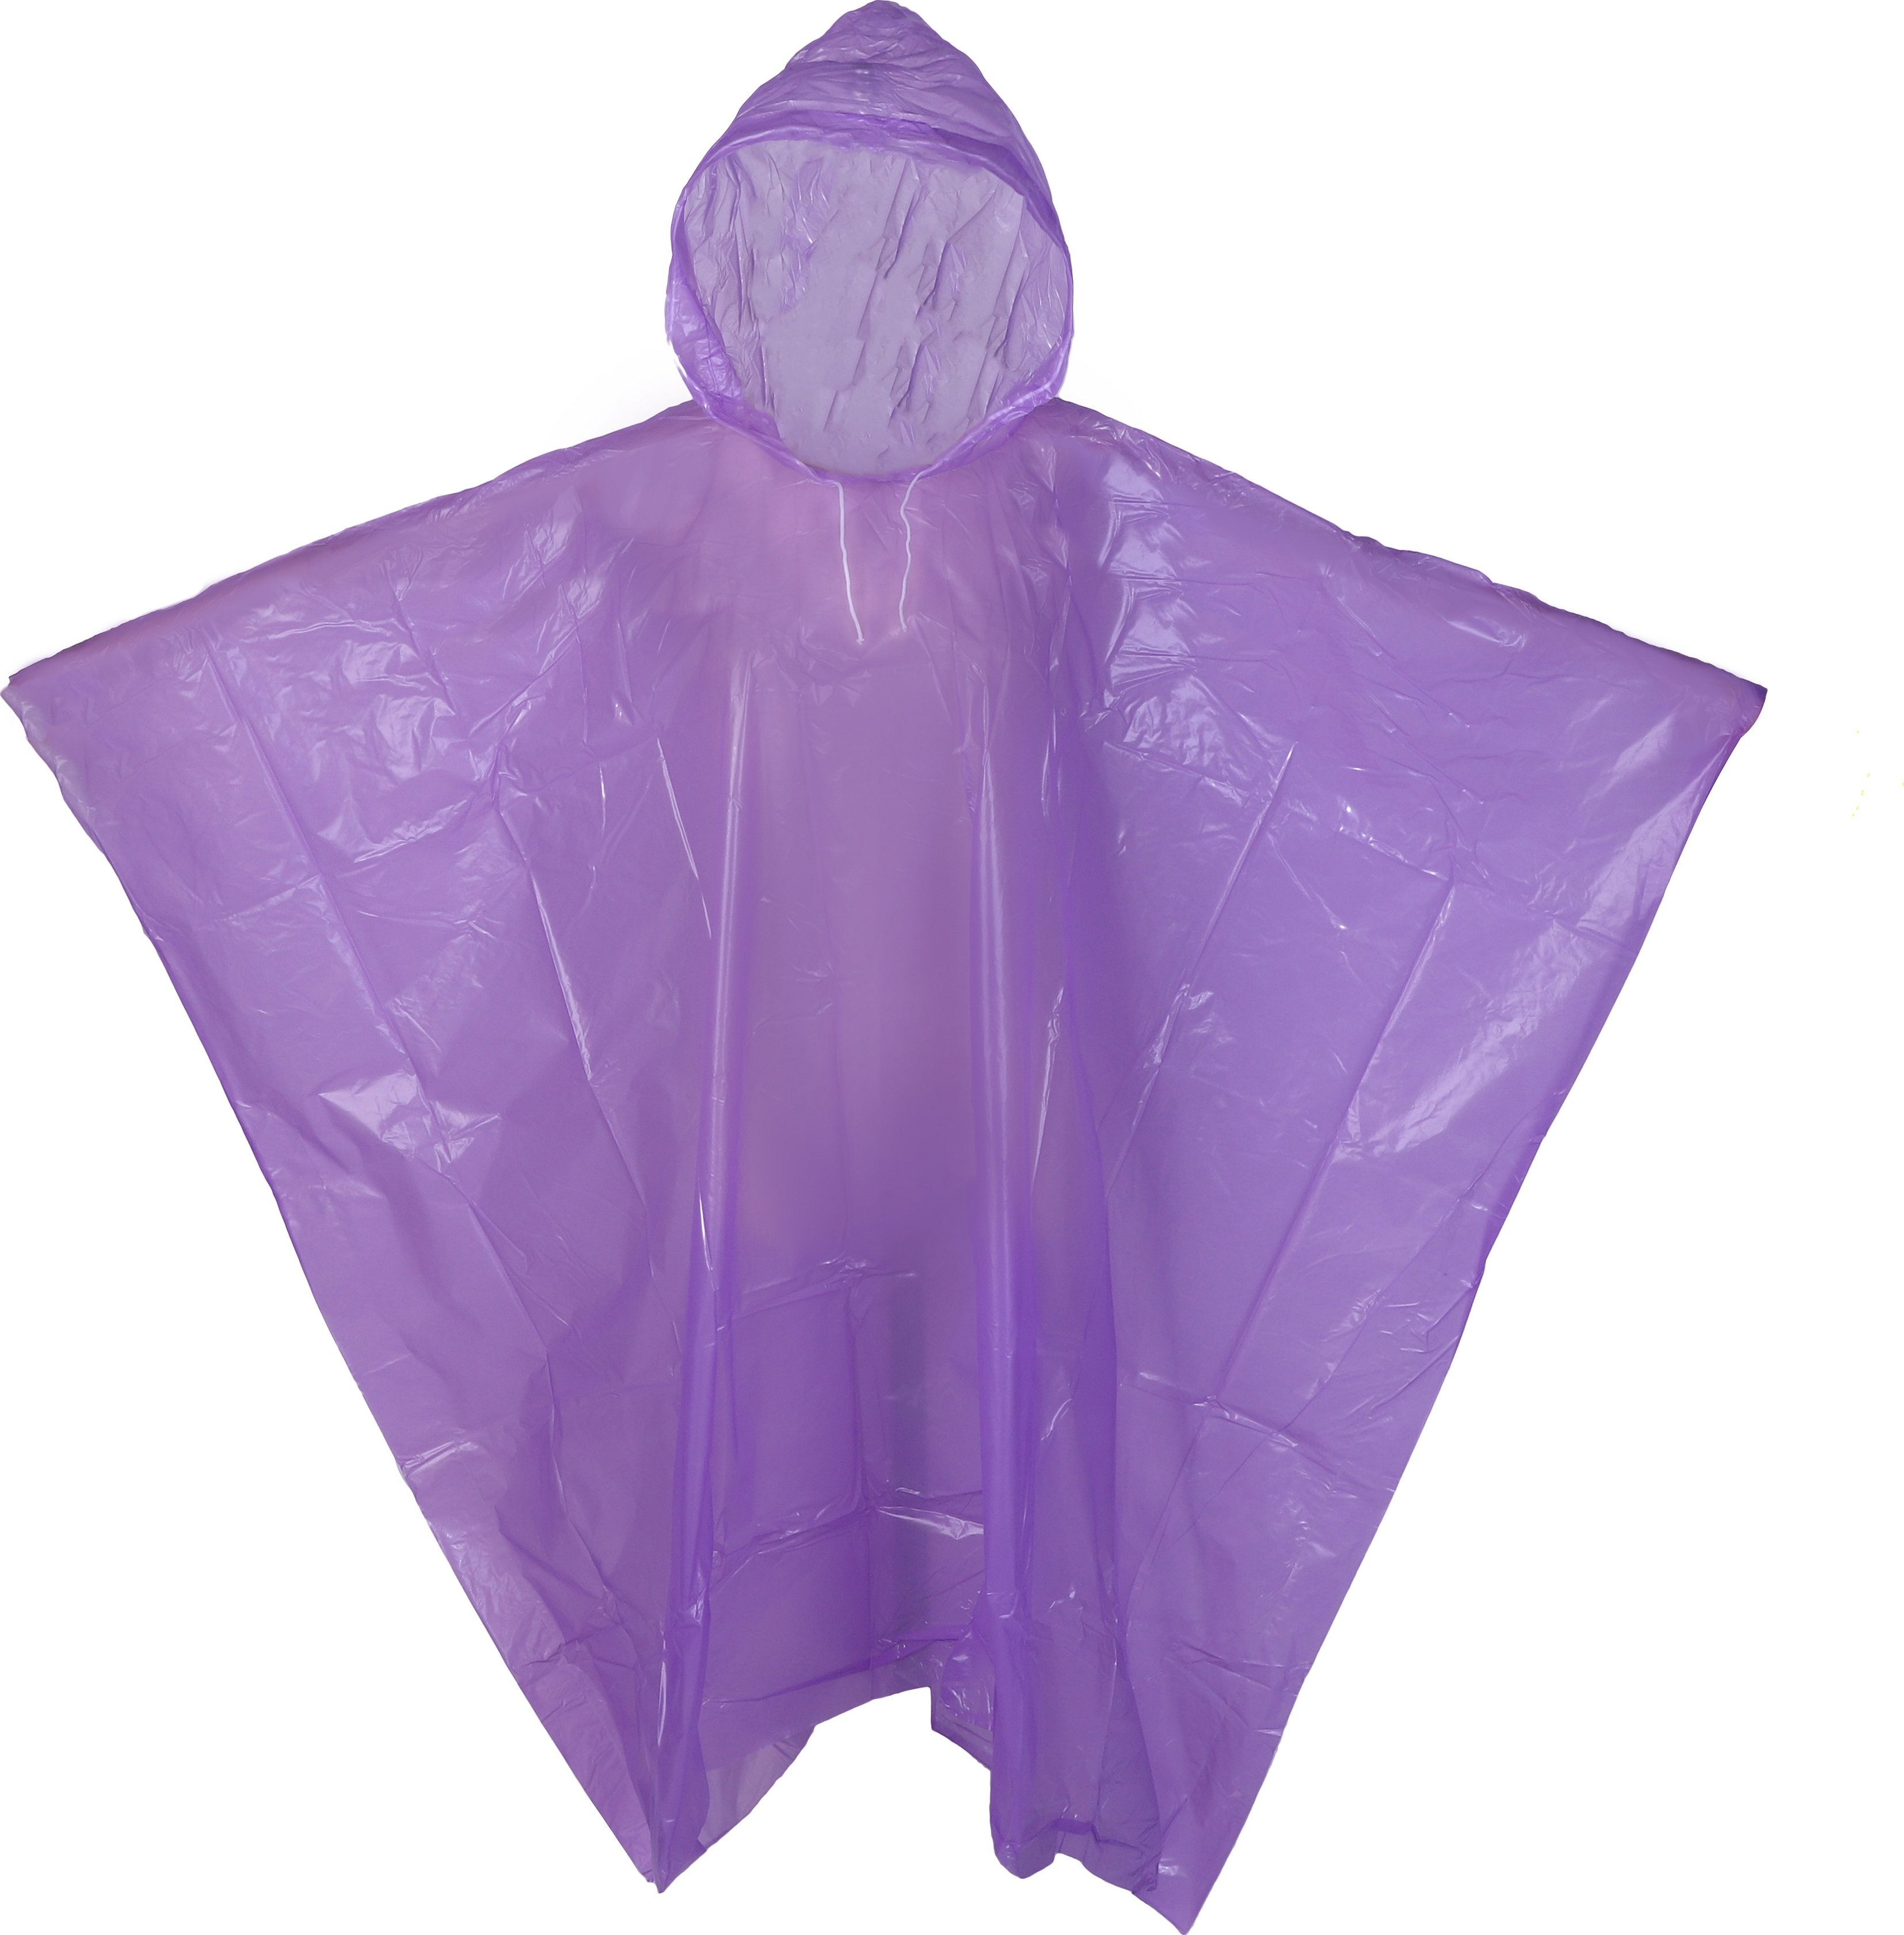
You can also sew a raincoat like a cape. The material needs to be sewn diagonally and made into a semicircle. The radius of the workpiece is taken to be equal to the length of the arms. After this, you can start cutting out the neck and making a cut in the front of the raincoat.
Hood pattern
When patterning a raincoat, a poncho with a hood is made in the same way, and the hood is made from the remaining piece of material. Another option is to make a raincoat in the form of a stole - it will suit those who do not have a sewing machine. If you have an old raincoat, you can make a pattern by simply tracing it along the contour.
A cloak that fits your figure
To make rain protection that will fit your figure perfectly, you need to take a sweater of the appropriate size and draw a pattern on it with some allowance for seams. The bottom part should be made longer. The openings for the neck and sleeves are cut out according to the pattern, and the hood can also be made according to an existing version.
Stages of work
The sewing of the product should be carried out step by step:
- The side seams are joined by hand or with a sewing machine.
- The hood is applied to the neck and sewn on.
- The sleeves and edges are finished with additional seams.
- Fasteners are attached to the finished product.
- If necessary, the product can be decorated.
Decorative elements
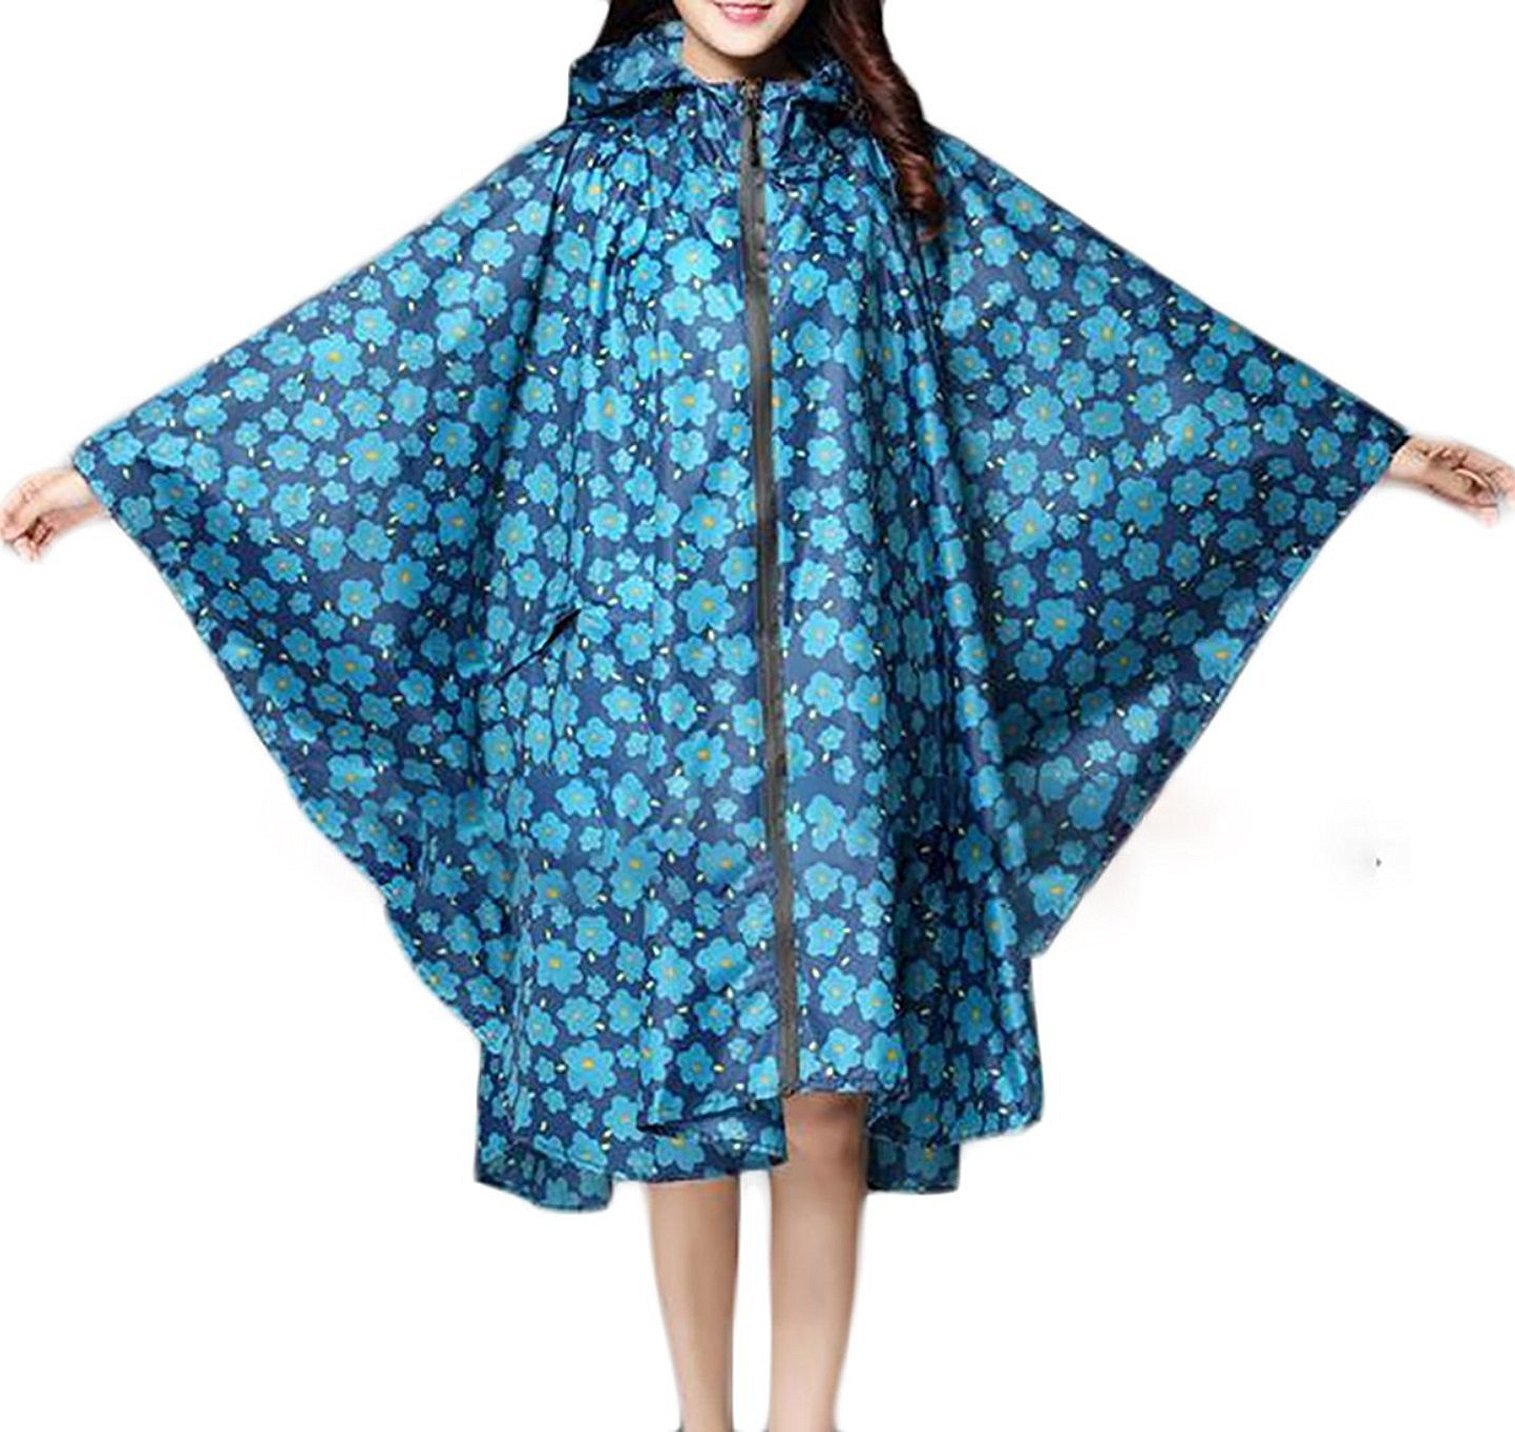
In the case when a women's or children's raincoat is made, additional decorative elements can be added to it for beauty. The best option would be to decorate the raincoat with heat-sealed stickers. However, this option is not suitable for raincoats made of polyethylene. You can also think of a raincoat option made of different materials.

Raincoat without a pattern
If you need to make a raincoat very quickly, you can use the option of making a raincoat without a pattern.
The main thing is to choose the right amount of material and you can start working:
- The material is folded in half and the length of the raincoat is measured.
- Add 10 cm to half the hip circumference to get the back of the product.
- The length of the sleeves is measured from the back, taking into account allowances.
- The neck is cut out.
- The hood pattern is made from square pieces, all sharp edges are rounded off.
- Fasteners and decorative elements are attached to the finished product.
Thus, following all the tips and recommendations, you can easily sew a children's or adult raincoat, which is convenient to carry in a bag in cloudy weather, so that in case of precipitation you have reliable protection at hand.


