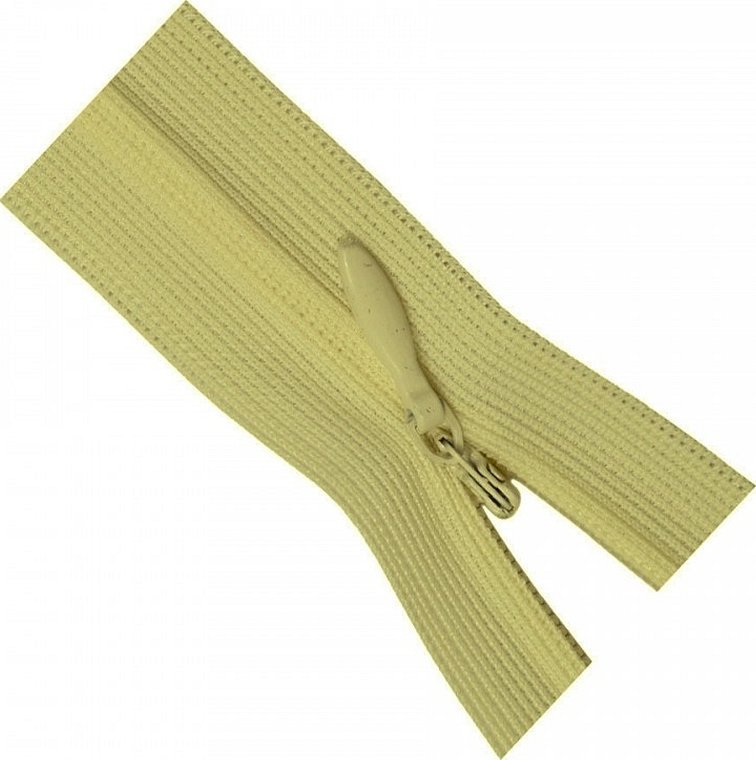
A concealed zipper is a model of an invisible fastener for a blouse, dress, jacket, or any other item. This is a fitting that allows you to visually emphasize the design of clothing and add elegance to it. About the features of sewing concealed fasteners into parts made of thin and thick fabrics, what is needed to sew a concealed zipper and how to do it, below.
Sewing in hidden fasteners into pieces made of thin fabrics
The hidden fastener is sewn on precisely and consistently. It is important to secure it correctly and work carefully with the fabric, understanding the thinness and fraying at the edges. Then the clothes will be aesthetically pleasing, and the lock will be invisible and durable.
Before sewing it, you need to choose a place for it. It can be located in the middle, on the side seam, on the back and in the center of the seam. As for the first option, such hidden fasteners are placed on a top, a dress with a cut-off waist. In the second case, it is important to be careful in the work to avoid distortion of the side of the product. In the third case, there are no sewing features. The fastener on the back and in the center looks equally good on thin and thick fabric.
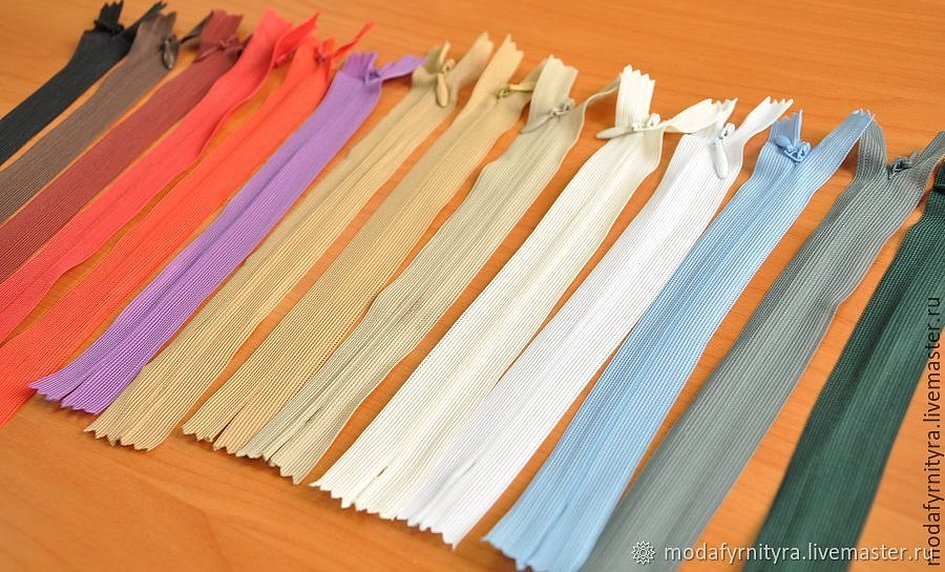
Please note! Fasteners do not need to be selected according to the shade of the product if we are talking about a dense fabric. They will look like a continuation of the seam. When buying parts, you need to measure the cut for it. They should be a few centimeters longer.
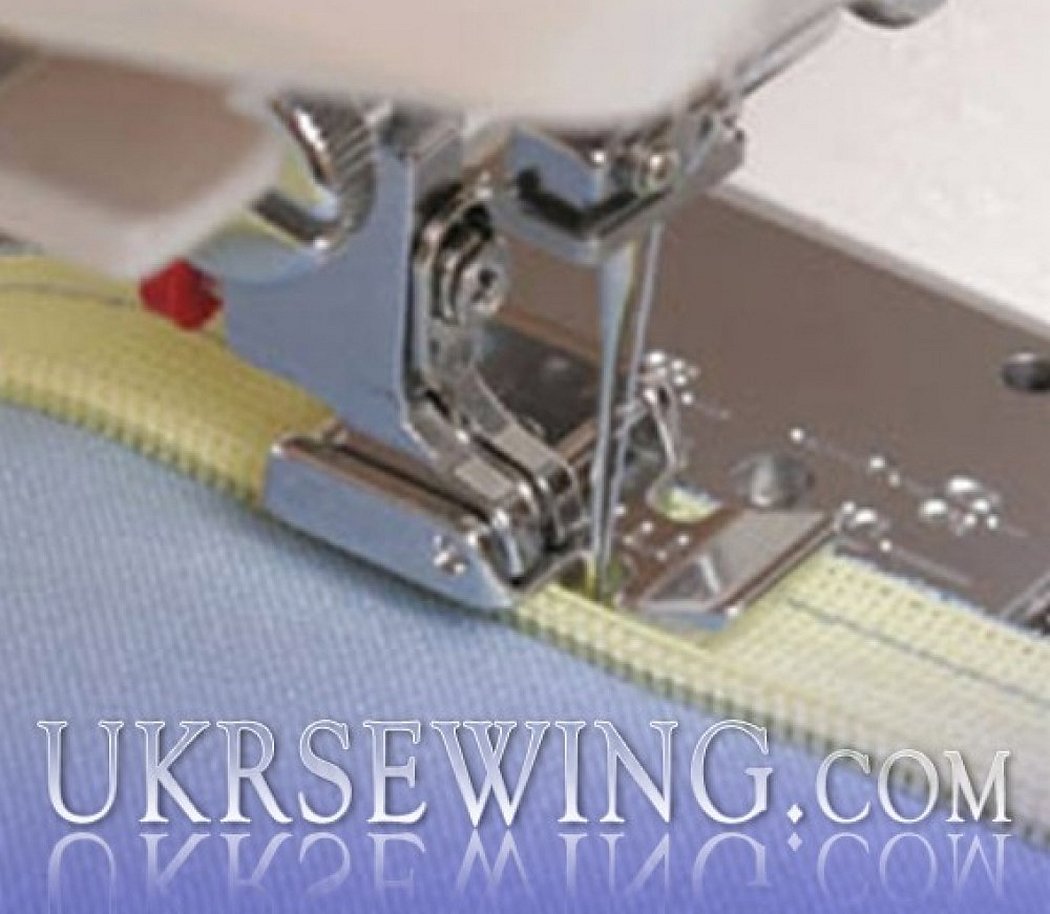
To sew in hidden fasteners into the parts, you need to use a special foot. It comes with the equipment, but can also be purchased separately. An overlocker may also come in handy. It is needed to process the seams. If you don’t have the equipment, you can use a silk bias tape.
Tools and materials
To sew a fastener into a skirt or dress, you need to take a concealed zipper that is 55 centimeters long, sewing threads of a suitable color, a sewing machine and a special foot for sewing in a zipper. Additionally, a designer zipper can be selected.
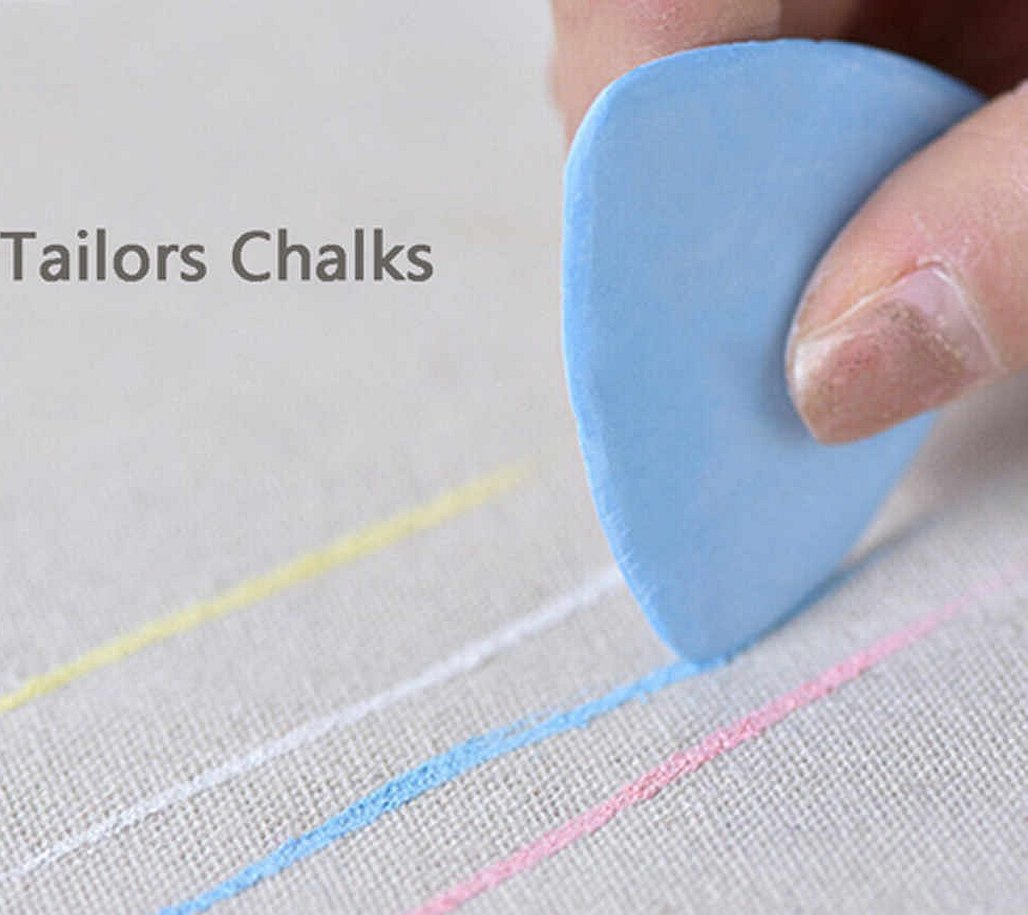
You may also need a basting needle with scissors, 1.5cm adhesive tape and an iron. You may also need a sewing pin, chalk and a ruler.
How to sew a hidden zipper correctly
The secret of how to sew in a concealed zipper correctly is to perform all the steps of preparation, basting and sewing in precisely and consistently. Otherwise, there may be distortions with creases, bulges and show-through. In addition, there is a possibility that the seams will be visible and the material of the dress will deteriorate with each wear.
Preparation
To answer the question of how to sew a concealed zipper into a dress on the back, it is worth pointing out that the following steps must be taken. You should measure 1.5 centimeters from the fabric cut of the back side, draw the future blank with a ruler, glue the interlining strips to the sewing place (formband or containband), baste the seam according to the markings made and overcast using an overlock and your hands. Then you need to iron the seam on one part, and then iron it apart on the other two.
Basting
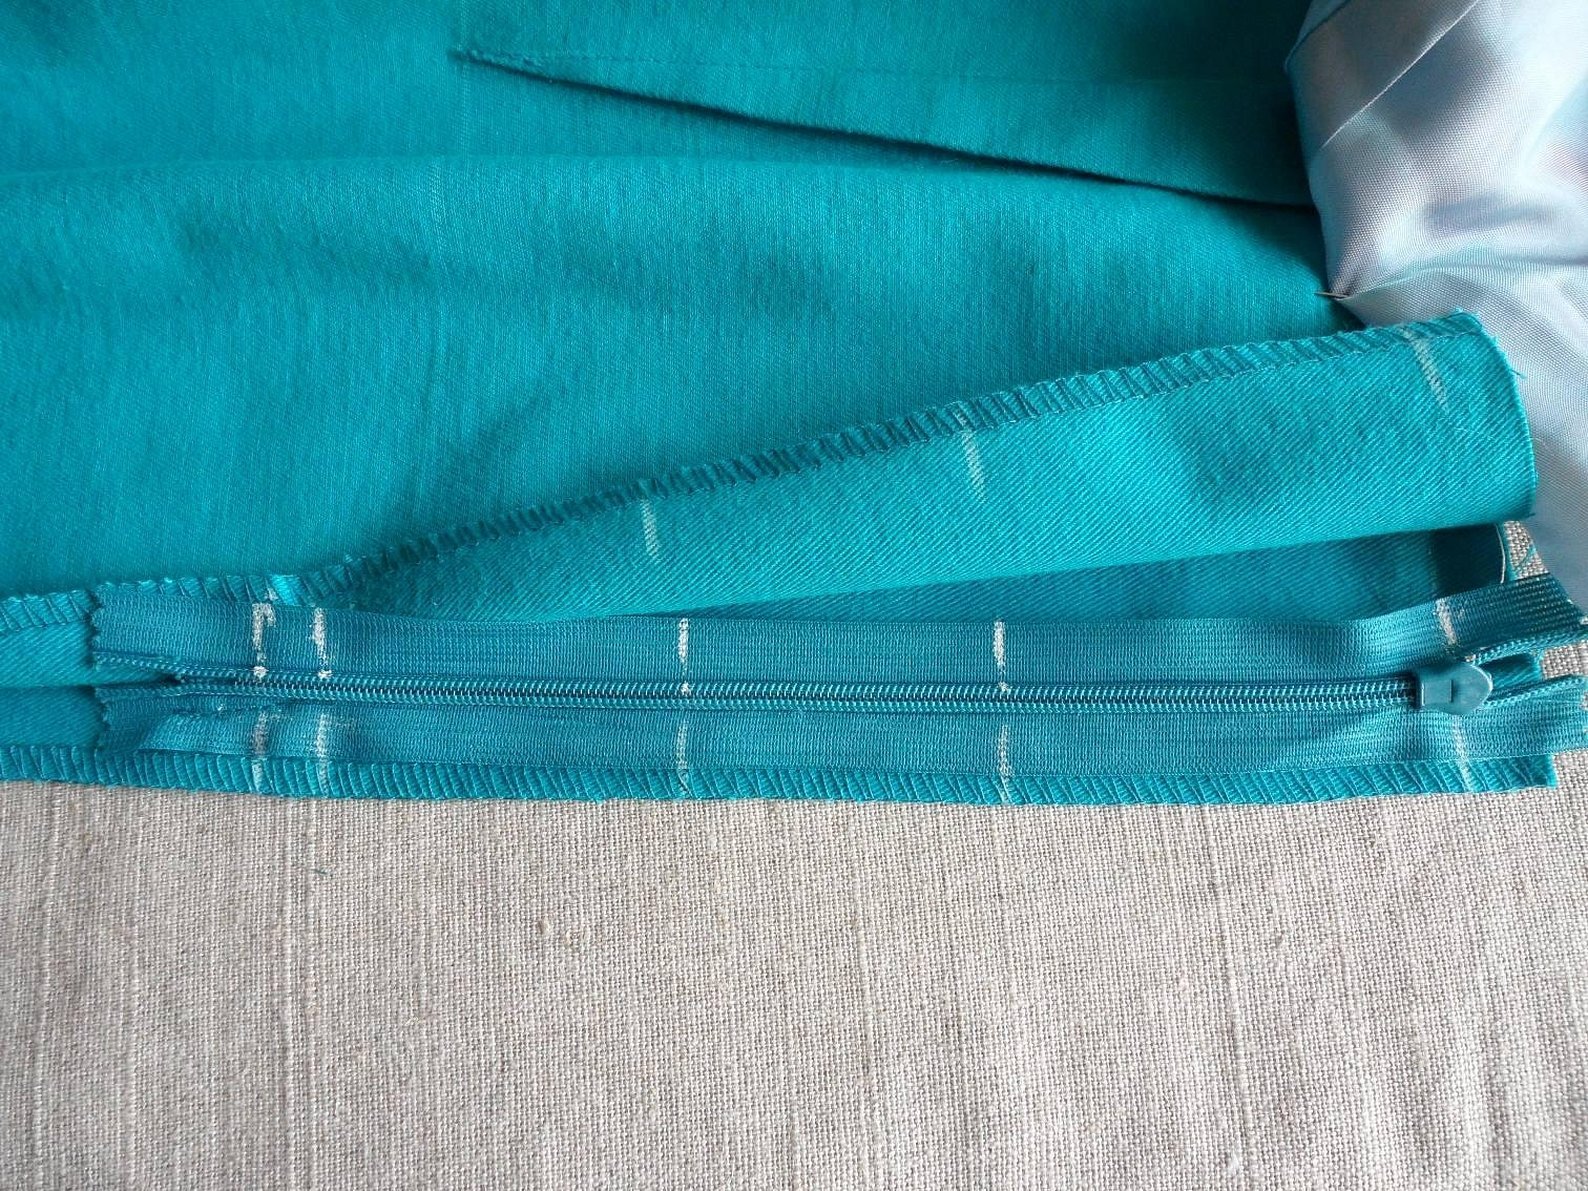
Next, as you go along, you need to make a basting mark. To do this, attach a part of the zipper to the sewing place, outline it with chalk on the seam allowances and the zipper tape symmetrically on several sides. The marks are needed for precise sewing. The upper part should coincide with the part of the waist stitching seam. Next, insert pins along the basting marks across the fastener and fasten the zippers using seam allowances under part of the teeth. After that, you need to baste the zipper on the seam allowances and pierce only one layer of fabric, remove the pins and remove the seam basting marks. Then open the zipper.
Sewing in
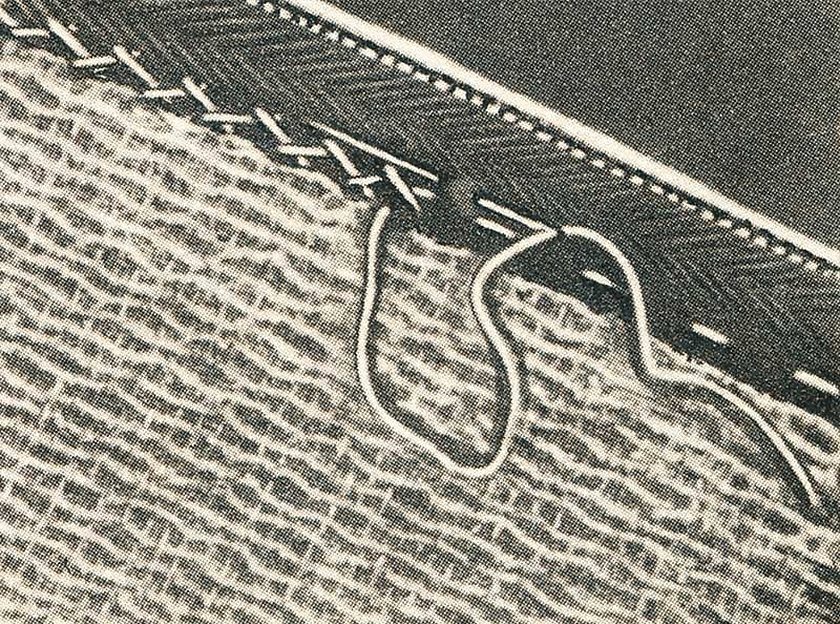
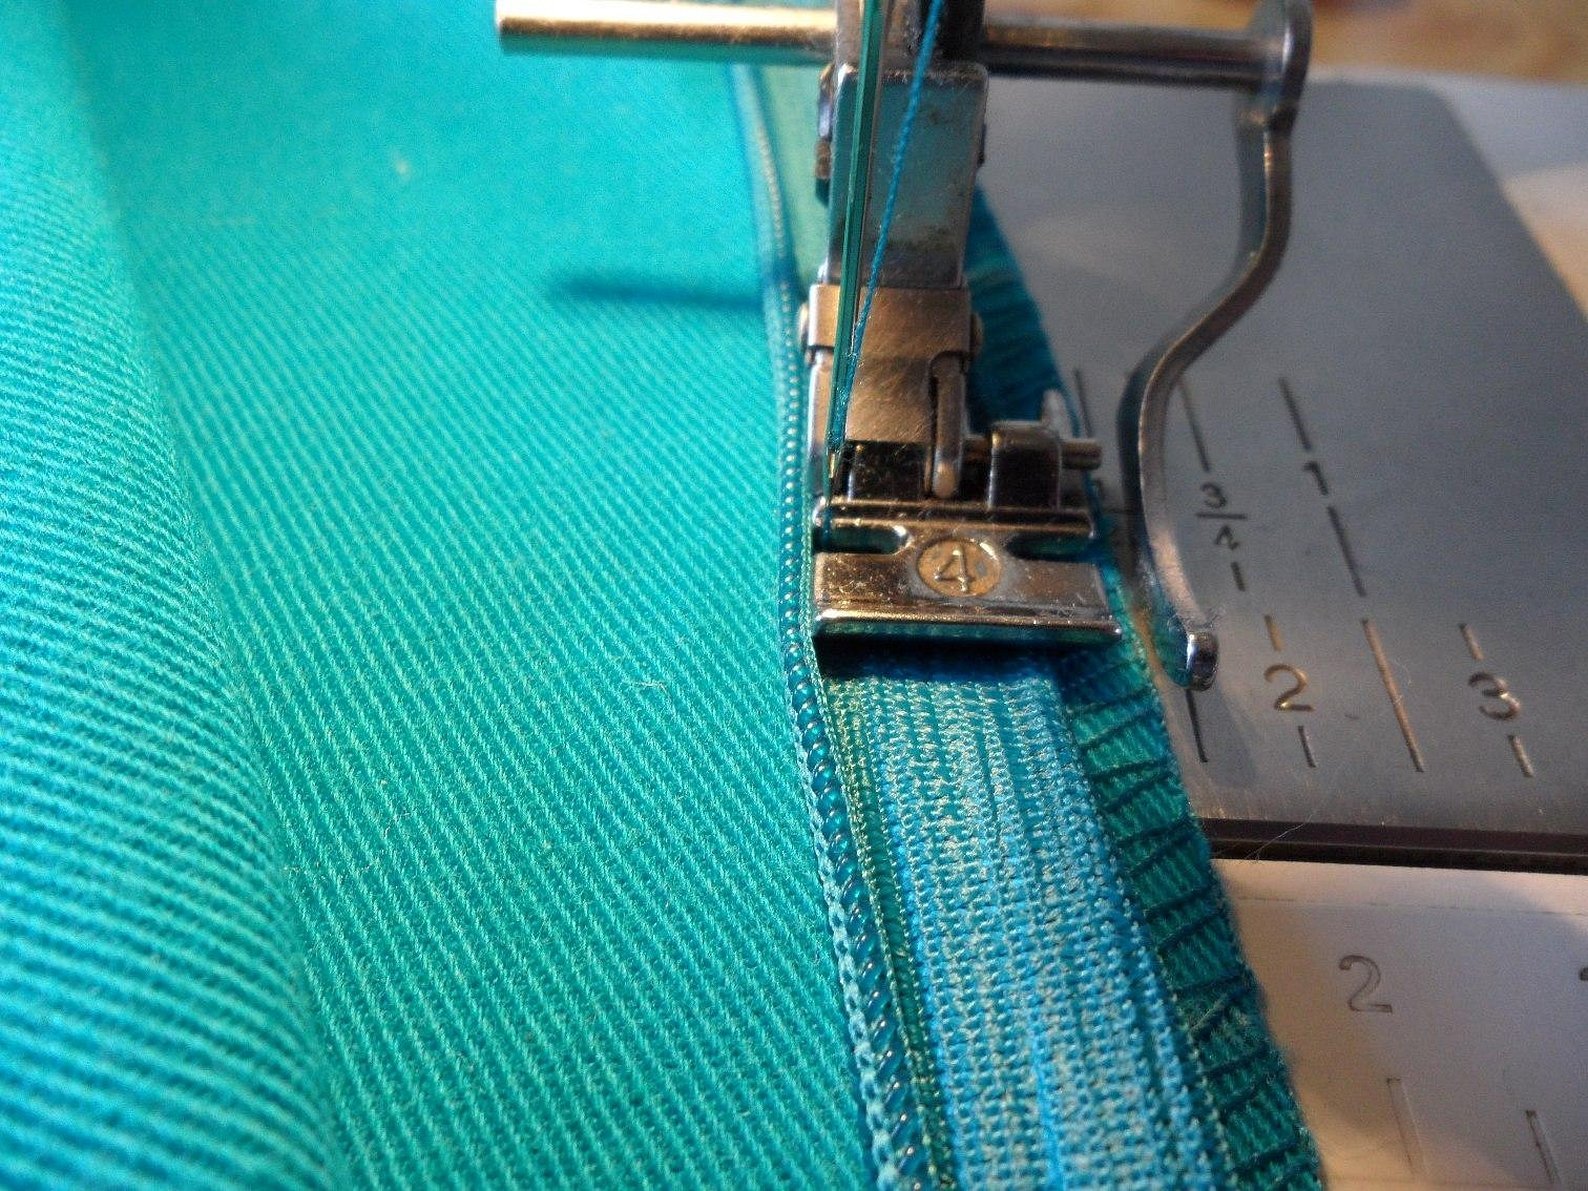
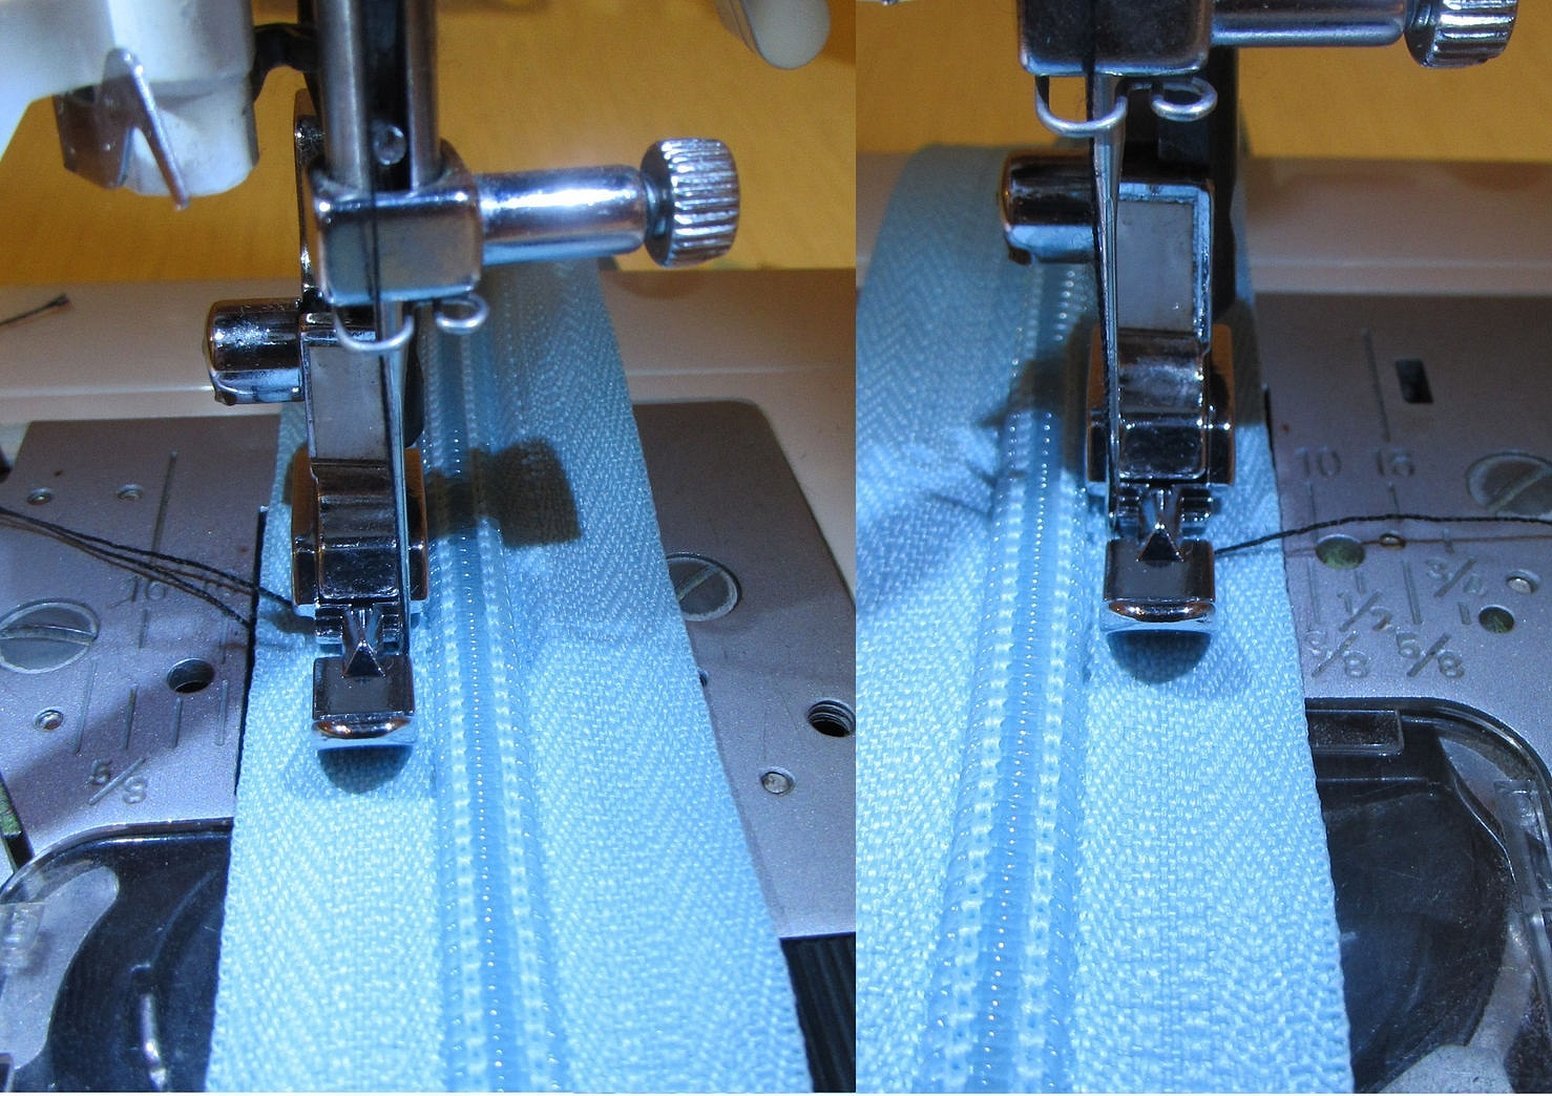
At the stage of sewing the product into trousers, a sweater, a jacket, a pillowcase, a cosmetic bag and any other thing, you need to sew the zipper on a sewing machine with a special foot until it reaches the fastener. If there is no special foot, use a regular one. Then you need to manually bend the zipper spiral and make sure that the seam is closer to the spiral, but cannot damage it. If you do not have the necessary experience, it is better to sew both sides from above to avoid skewing. Next, you should fasten the zipper and look at the quality of the finished product. Then you should continue creating the side seam so that the lower fastening is not visible.
Please note! It should be 0.5 centimeters lower than the seam end. At the end, the basting should be removed.
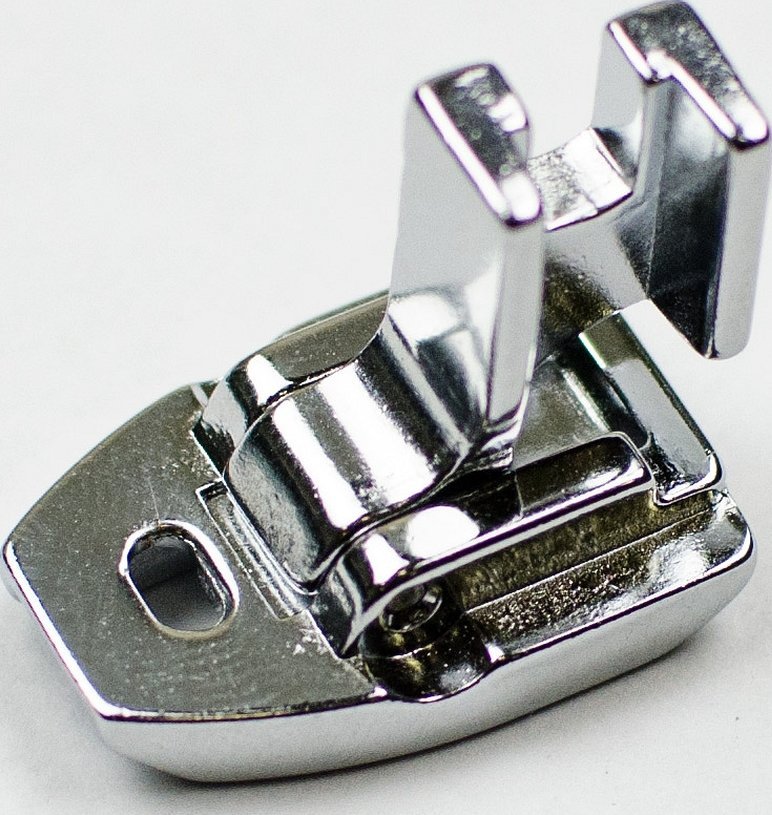
Sewing machine foot
A foot for a hidden zipper is a metal or plastic accessory that allows you to make a high-quality row and lining without tightening the fabric. It has a universal divider that moves the zipper teeth while working. It facilitates the process of sewing on accessories.
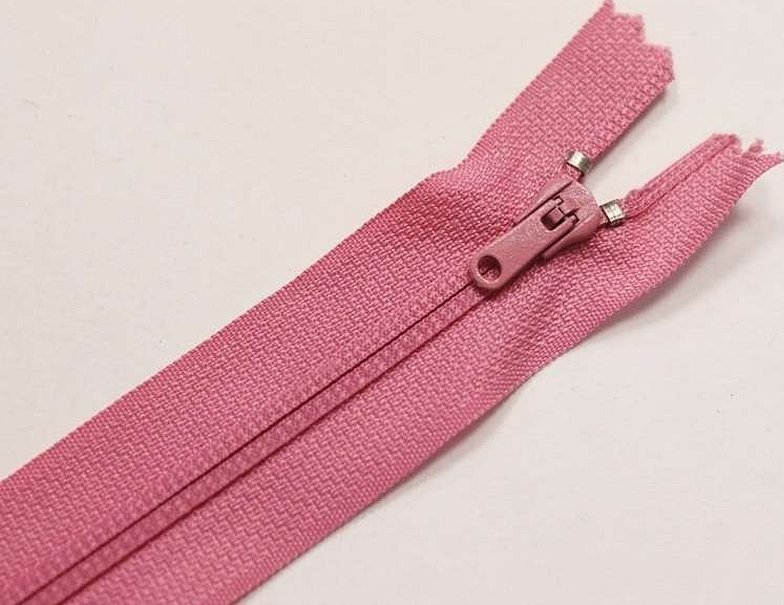
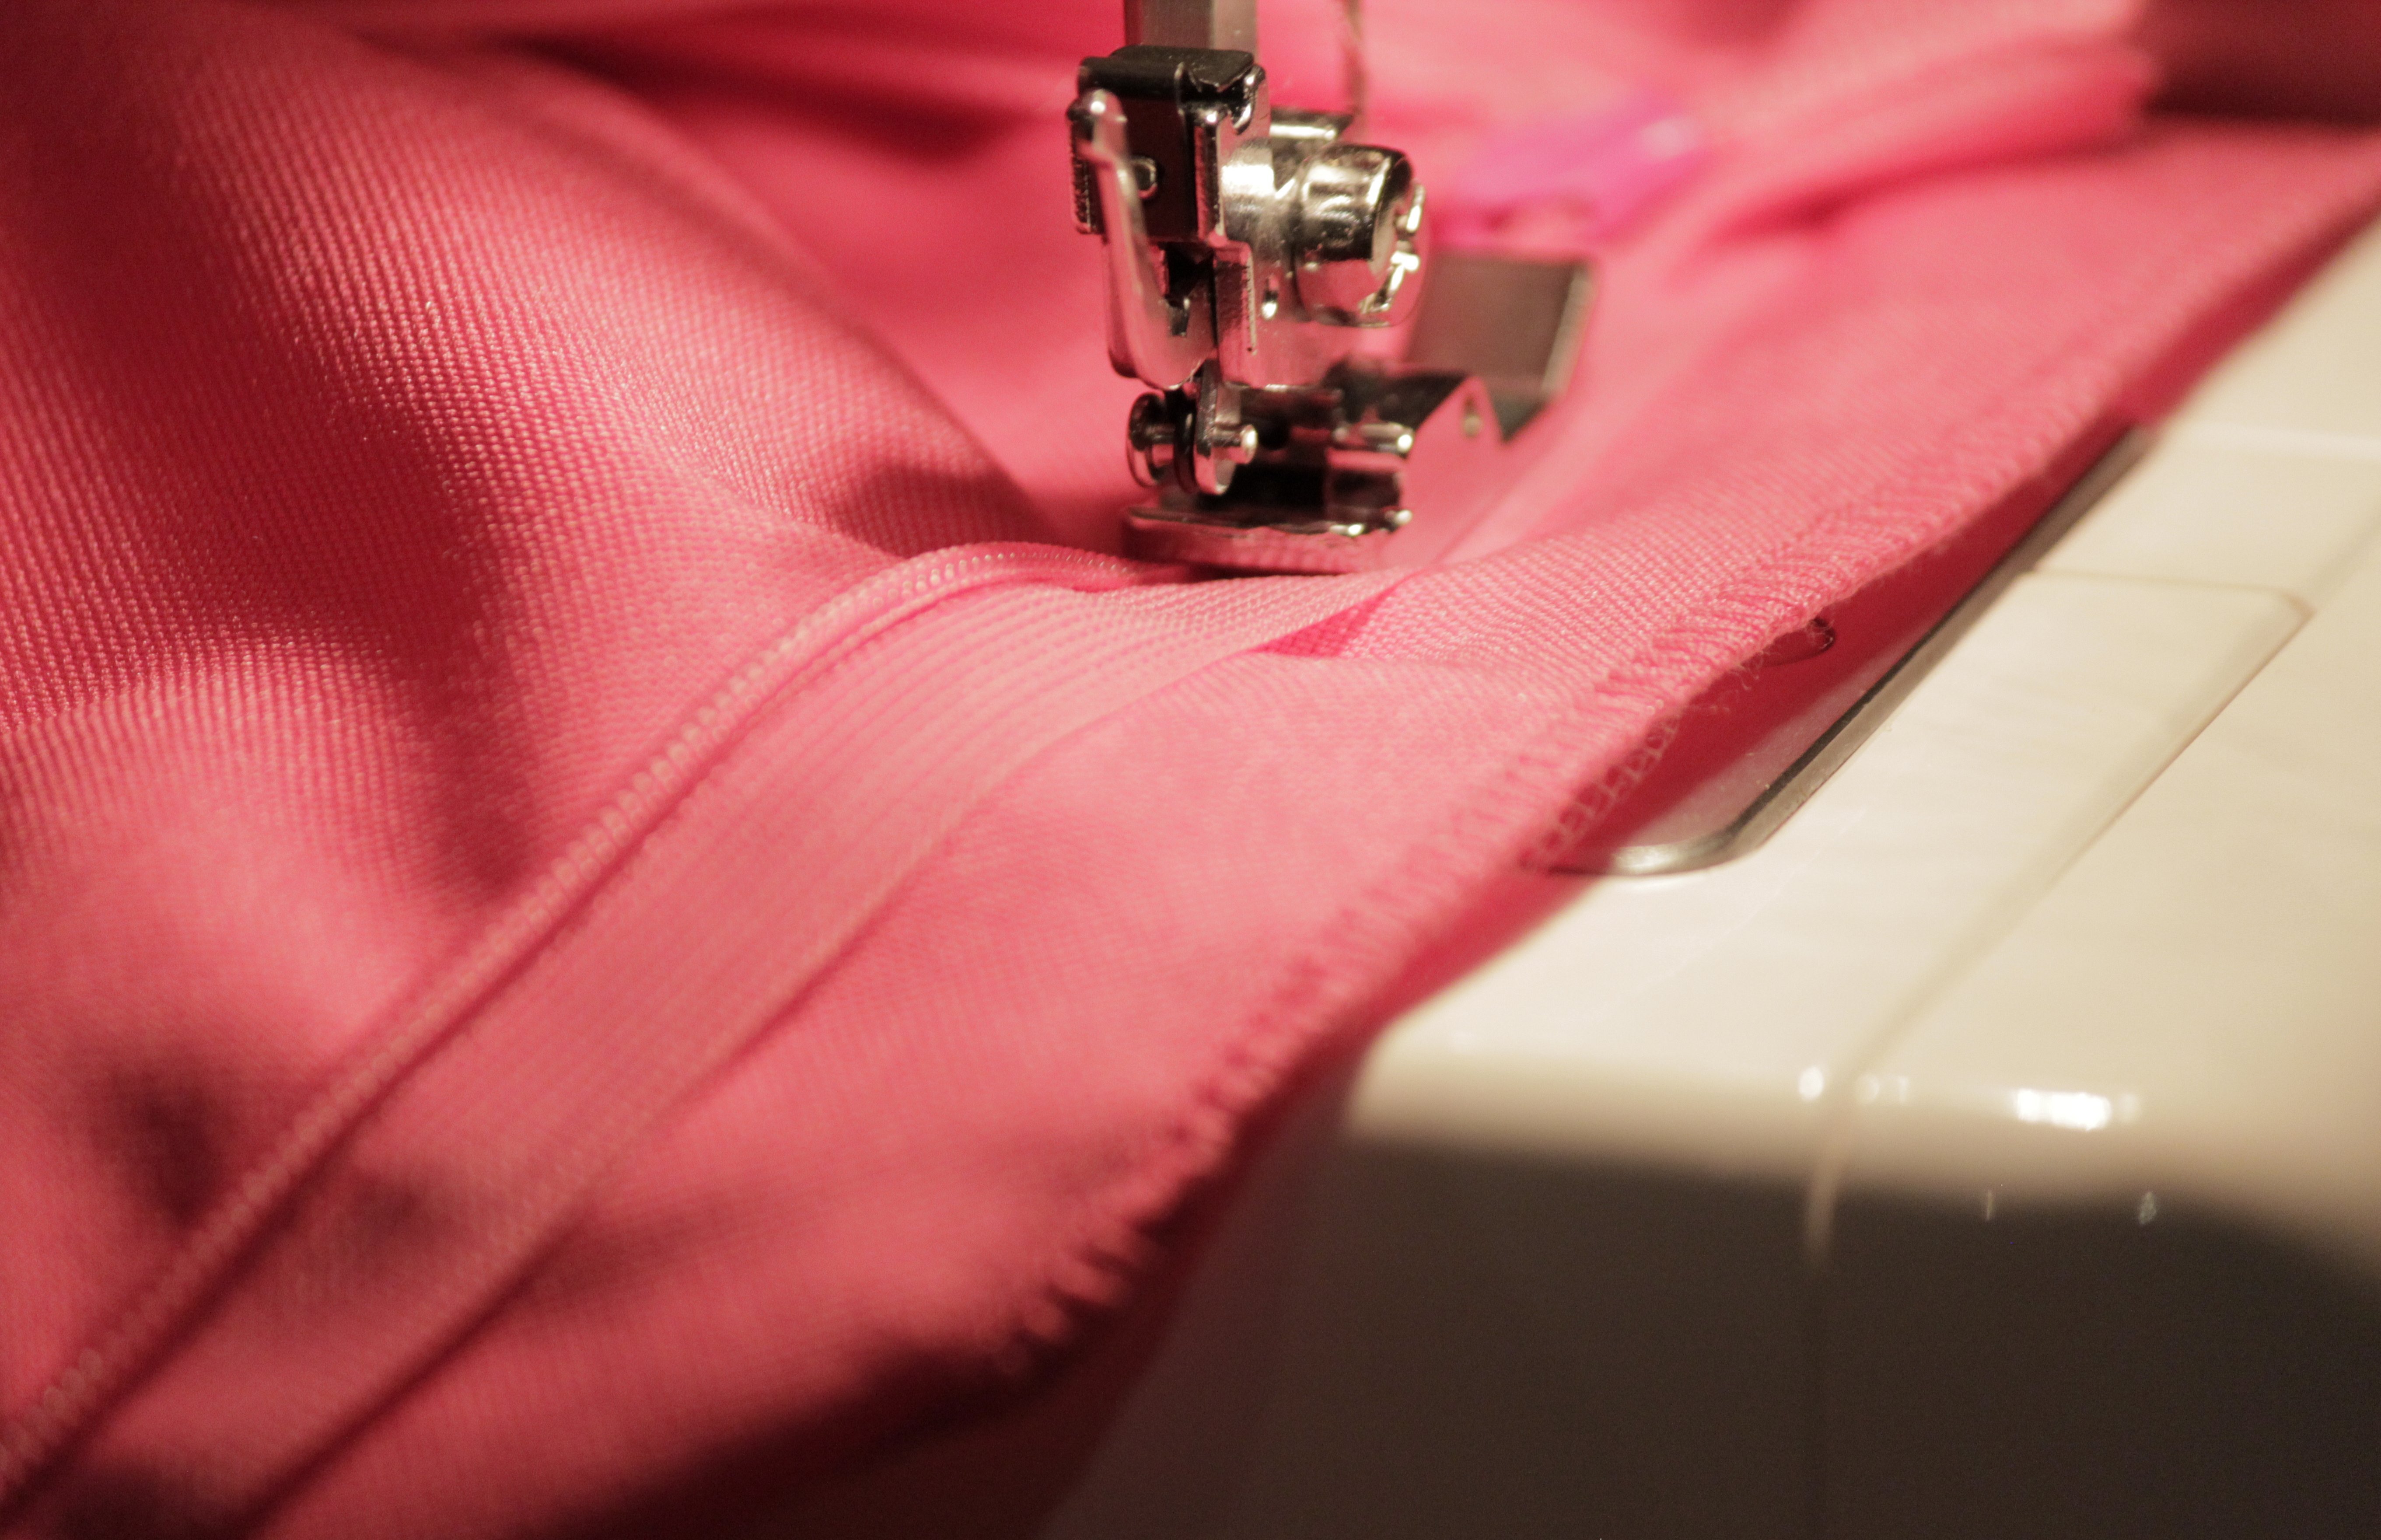
How to sew a hidden zipper with a regular foot
To sew a concealed zipper with a regular foot to any product, for example, a pillow with a lining, according to the master class, you first need to process the place where the fastener will be installed. To do this, mark the place on the cutting with chalk. The edge of the fabric cut should be glued from the inside with small interlining strips using an iron, and then processed using an overlock.
Place a place for the fastener on the seam, 5 centimeters before the zipper end. On the front side, make a mark with chalk upwards and towards the end. All marks should match each other.
The zipper should be sewn unzipped. After unzipping it, you need to secure all its parts with pins. Then baste the fittings manually, stepping back 6 millimeters from the toothed line. It is better to baste to the very end of the seam. Such meticulousness is not accidental. Otherwise, the fastener will slide off the intended place when sewing. The first and second baste should be positioned correctly.
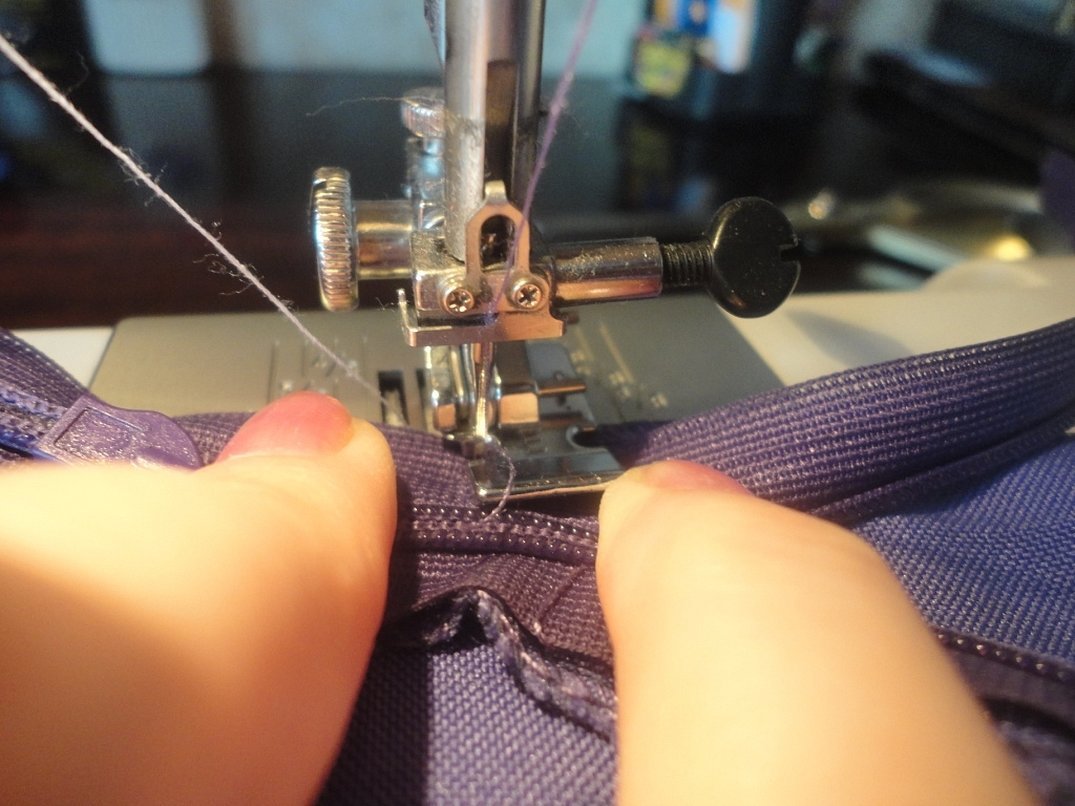
The main thing is to follow the rule. Do not stretch the fabric too much, so that the tape does not go bumpy after sewing. Next, you need to start stitching using a sewing machine. If the fastener goes bumpy, you need to rip off the basting and lay it again.
Please note! You need to start making a seam so that the needle is lowered just a millimeter from the teeth. Such care will help you sew in the zipper with precision, without having a special foot. You need to sew it in according to the marks. After the operation is completed, a careful inspection of the seam is necessary. It should be neat, even, without curvature.
How to sew into a pleated skirt
To sew a zipper into a pleated skirt, you need to iron the allowances, make a bend, remove it and bend it again. Then pin the zipper to the skirt behind the folded fabric. Make seam bastings and stitch between the seam and the teeth. Next, baste the zipper and stitch so that the seam is close to the teeth. Excess threads need to be removed by making a transverse seam line.
Please note! When working with knitwear, you need to purchase a needle with a rounded end. You also need to glue the interlining or interlining in advance.
Skirt with belt
If the skirt includes hooks and buttons, then the zipper should start under the belt. If the belt does not have hooks, then the zipper should be sewn in starting from the top. In this case, the fastener should be sewn from top to bottom. In this case, it will not deform the fabric. It will be easier to put it on.
After attaching the lock, the top should be hidden under the belt. To do this, the lock edges should be folded and stitched. You can put fabric pieces on top of them. This is done so that the fittings do not create unpleasant moments when wearing the skirt.
It is worth noting that the side concealed fastener must be placed carefully. The back seam has symmetry, stretching evenly to both edges. If the zipper is on the side seam and is sewn carelessly, the skirt will be skewed and the fabric will gather in waves. Therefore, the zipper is the final element of the skirt. It must be installed carefully.
Please note! As for sewing a fastener to a knitted skirt without a belt without problems, first you need to sew on a zipper, then fold the top of the skirt edge, tightly sew the product on the machine, disguising it under a piece of fabric. The teeth should be located at the same level as the skirt edge. It is imperative to comply with the condition: at the bottom of the zipper, the seam should have a neat overlay. To do this, you need to make a high-quality facing
In general, a hidden zipper is a fastener designed to improve the appearance of a product and make it more interesting. To sew it, you need to take high-quality fittings, prepare materials, make a basting and stitching. It is imperative to take into account the density of the fabric before starting sewing and the stitching technology presented above. This is the only way to achieve success in the endeavor and do the job as carefully as possible.


