Probably everyone who does embroidery has at least once asked themselves the question - how to transfer a drawing from paper to fabric and do it quickly and accurately as much as possible. And very often it is quite difficult to find an answer to it. In fact, there are many methods and there is no one universal one. Any self-respecting needlewoman should know at least 2-3 methods. In this article you can find a description of each of them.
Materials and preparation
In order to better understand how this or that option works, it is necessary to implement it. It is not at all necessary to try everything at once, for a start you can choose one or two that you like. Here are the necessary items that may come in handy.
- Carbon paper;
- Ordinary chalk, as well as an ordinary pencil;
- Pins or paper clips;
- Special transfer pencil;
- Needle;
- Tracing paper;
- Prepare a solution (blueing, kerosene, tooth powder) in advance;
- Scotch;
- Freezer;
Besides this. It will not be superfluous to have embroidery skills. And also, it is recommended to prepare the desired picture in advance (print it on a printer or draw it by hand, it does not matter) and the material on which it is planned to be transferred.
Important! The illustration must be clear and neat. Otherwise, it may negatively affect the final result.
Translation methods
There are different translation methods:
Through carbon paper
This option is the most popular and easy to do. But it is no less effective. How to transfer a picture to fabric with it? To do this, simply apply carbon paper to the item and a picture on top. Then simply start tracing it with a regular pencil or pinning it with a needle along the outline of the image. Then you can start embroidering (for example, with a cross).
The downside is that it is impossible to make a very detailed drawing. It is also worth noting that carbon paper is available to every beginner craftsman and is sold in any stationery store.
Important! You shouldn't use this method on "fluffy" things. In addition, you need to match the paper to their color.
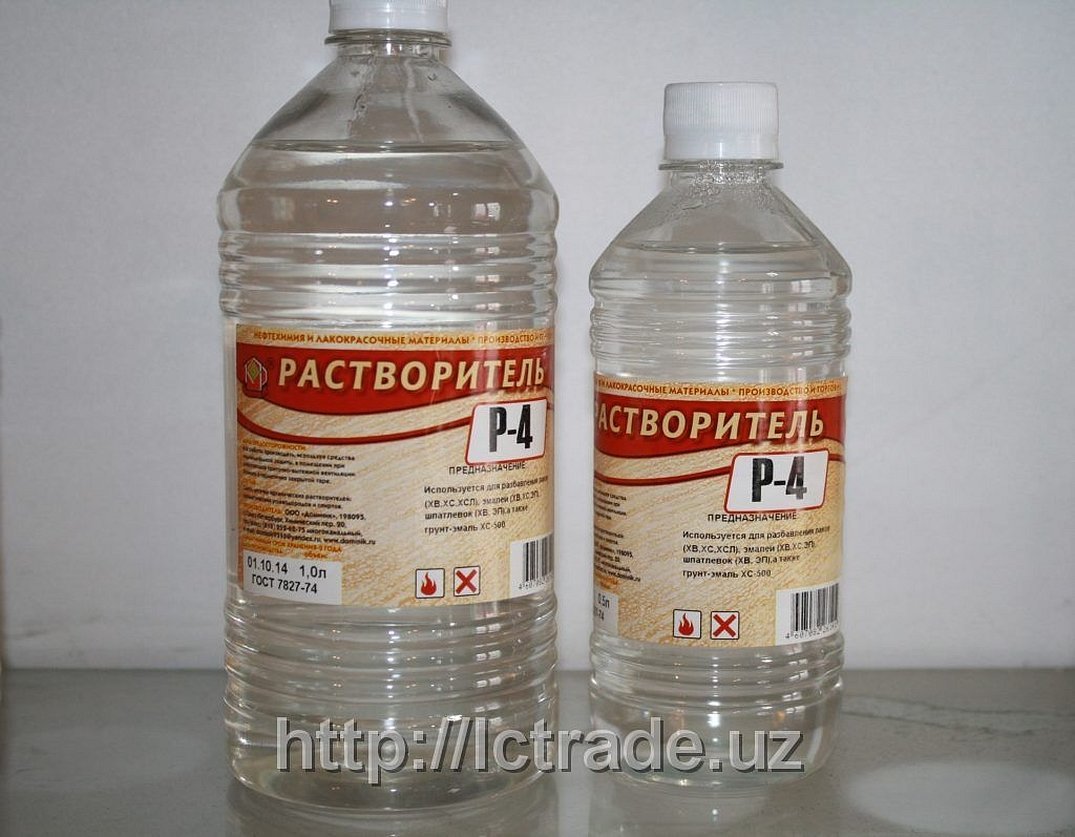
Using a solvent
In this case, you need to print a mirrored image on a glossy sheet. Then apply it to the desired place and start developing the drawing using a cotton wool or sponge soaked in solvent. For a clearer development, lightly press on the contours with some third-party smooth object (a spoon works well). Do not forget that when using this option, an unpleasant smell may remain, which will have to be gotten rid of later.
Important! Before starting work, you must put on gloves.
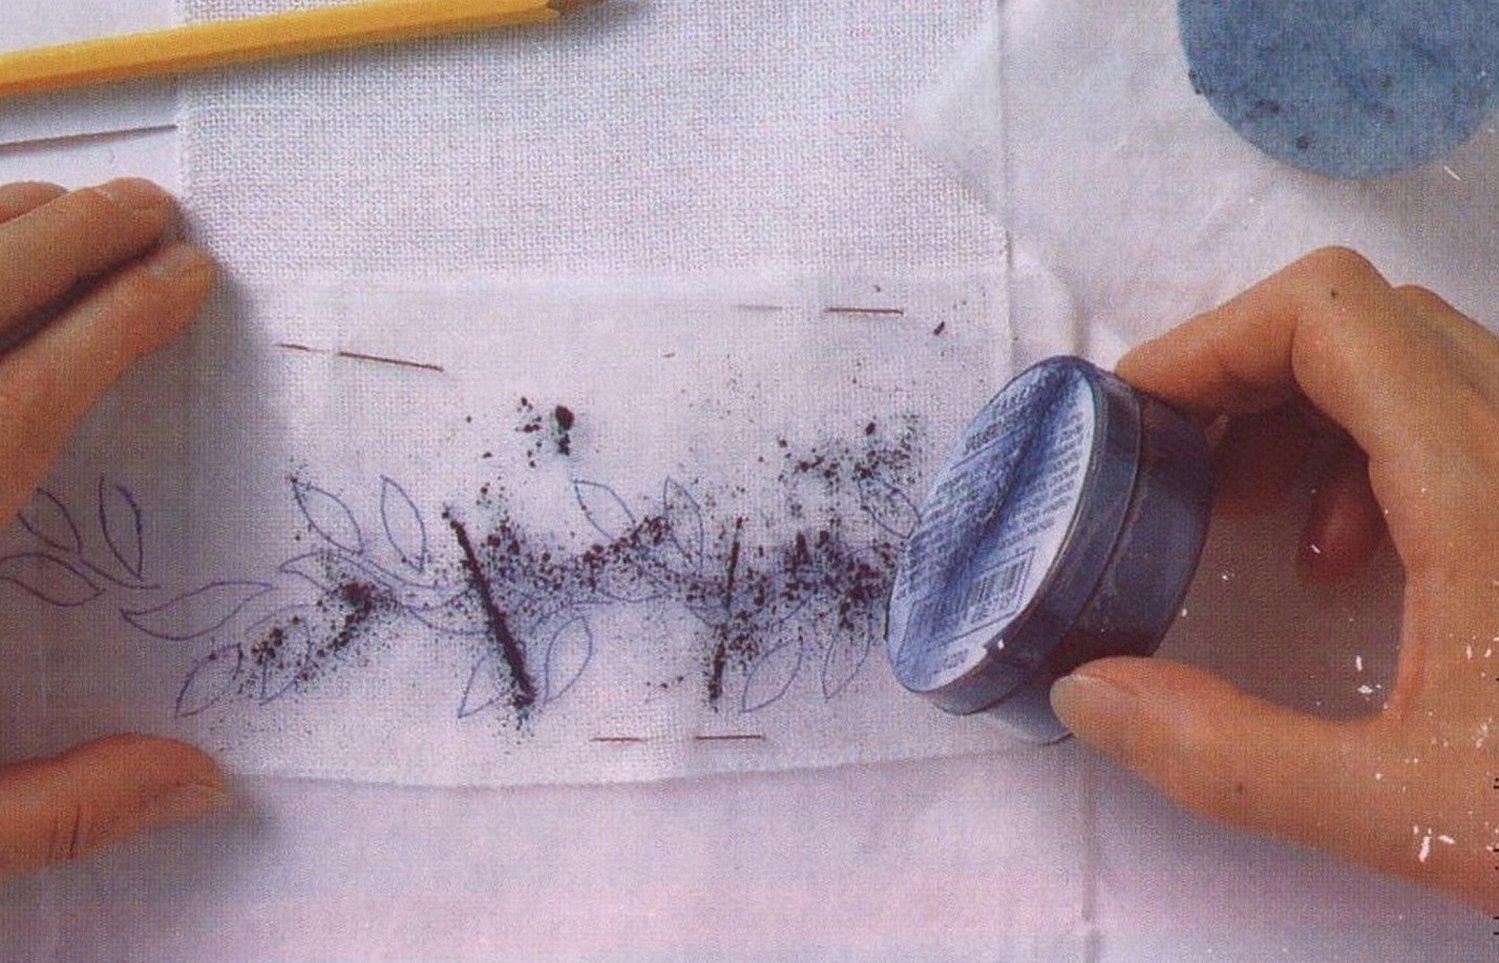
By sprinkling
If we consider this method, it is suitable for different colors and types of material (even denim). In addition, it is allowed to be used in several places at the same time.
The downside is that later, as in the previous method, you will need to kill the unpleasant smell. It is quite easy to translate this way.
How to transfer a design from paper to fabric?
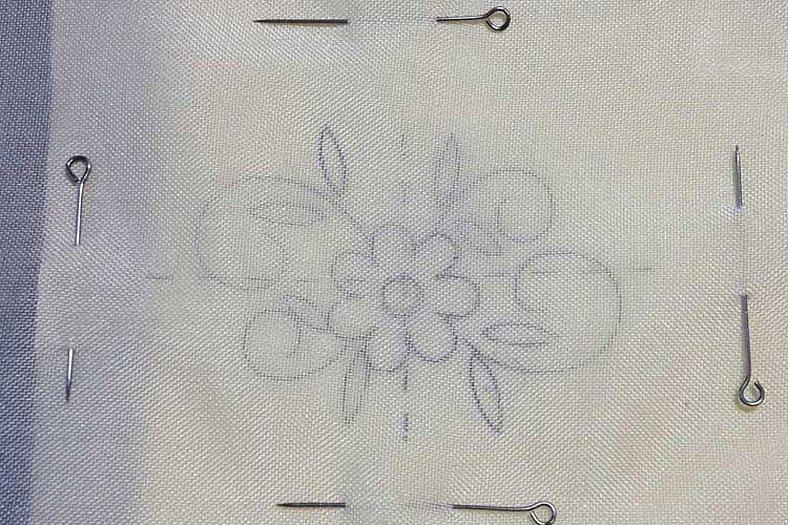
- You need to take a board covered with felt and apply the desired amount of tracing paper (maximum 6 sheets);
- Attach the picture on top. Next, start piercing it with a needle along the outline. To make it more convenient, it is better to stick the needle into the pencil with the back side.
- Each resulting sheet of tracing paper (they are also called matrices) is applied to the required place and pinned. Then wiped with some solution.
- Dry the item for an hour.
- Start drawing the picture or stitching it with threads.
Translation by this method takes quite a long time. Some craftsmen simply use blueing instead of the solution, this is also possible, but the development effect will be worse. To prepare the solution, you need to mix 2 g of tooth powder, 100 g of kerosene and 10 g of blueing, or without blueing, but use 10 g of powder.
Important! Mixing must be done in a ceramic container!
With stitching
This option is advisable to use if the material used is cloth, shiny or velvet. Its positive quality is that it is ideal for cross stitching. In implementation, everything looks very simple. You need to take a matrix (its production is described in the previous method) and pin it to the clothes. Then stitch the sketch along the contour and finally get rid of the tracing paper.
Using non-woven fabric
We can say that this is the second version of the previous method, only in this case the mirrored pattern is applied to the interlining and stitched from the back. The method is ideal for stretchy material.
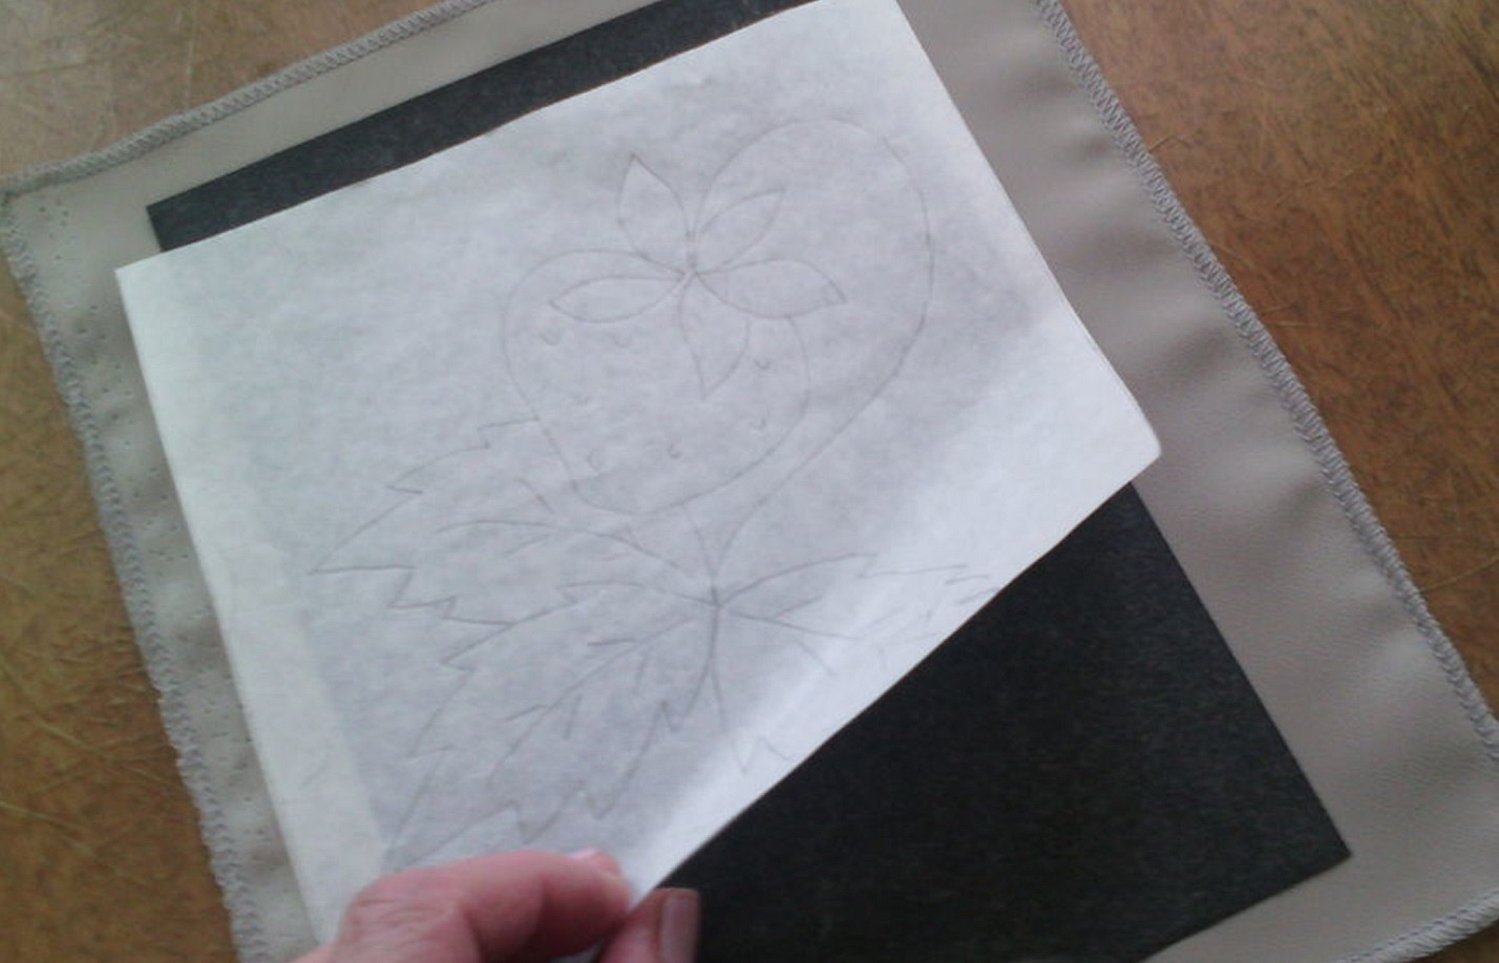
Through tissue paper
The technique is applicable to velour, shiny material and velvet, i.e. it is suitable for thick fabrics. First, the image is transferred to the so-called tissue paper. Then the resulting template is fixed to the clothes in the right place (with pins or clips) and embroidered along the contour. Then the blank is carefully torn off. Some needlewomen say that this method is especially convenient for bead embroidery.
With the help of enlightenment
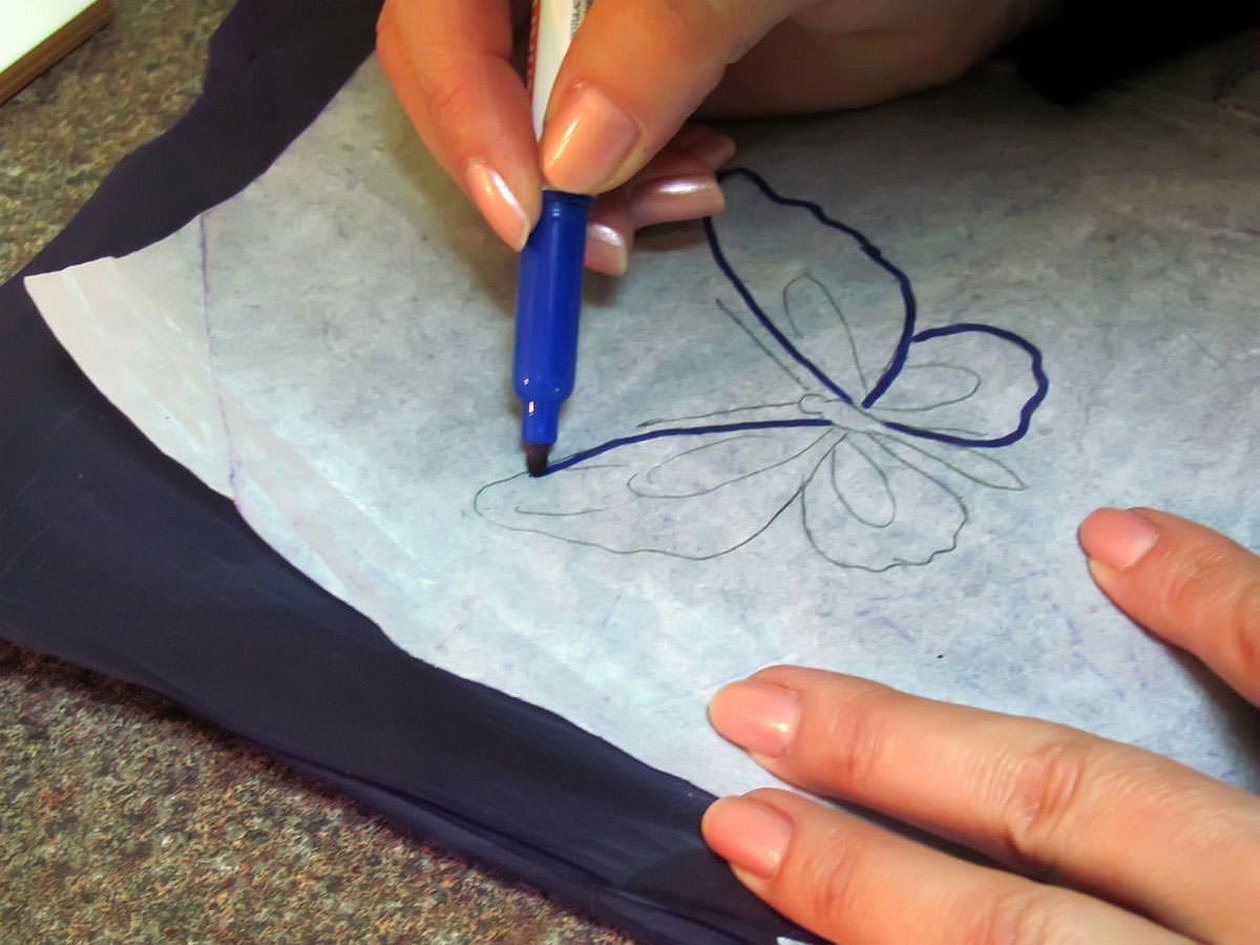
This is probably as popular a method as transferring with carbon paper. Because for its implementation only household items are needed, which should be found in everyone. Transferring an image to fabric is carried out as follows. It is necessary to fasten the image prepared in advance to the material. Then attach all this to the window, adhesive tape (scotch tape) is ideal here, and start redrawing.
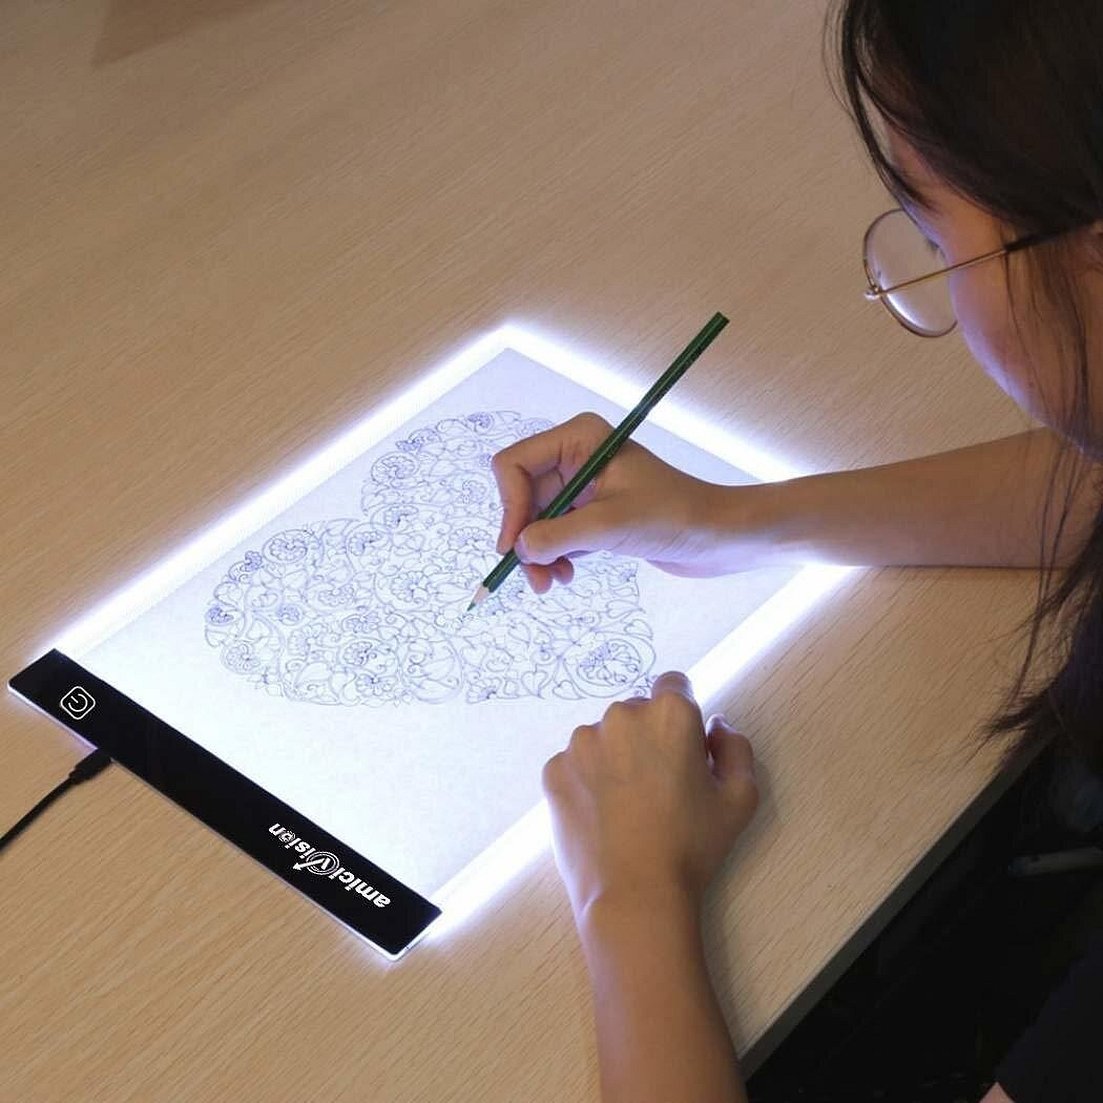
Experienced craftsmen usually use a LED tablet instead of a window, but it already costs money - you can find it on ozone for 4500 rubles.*
With an iron
First, you need to transfer the illustration with a marker or pencil onto tracing paper, then apply the resulting template to the material and iron it generously and warm it with steam. It is very easy to embroider the resulting image.
Important! The material must be cotton or linen. If any other types are used, the image does not hold well and therefore it is recommended to use another transfer option.
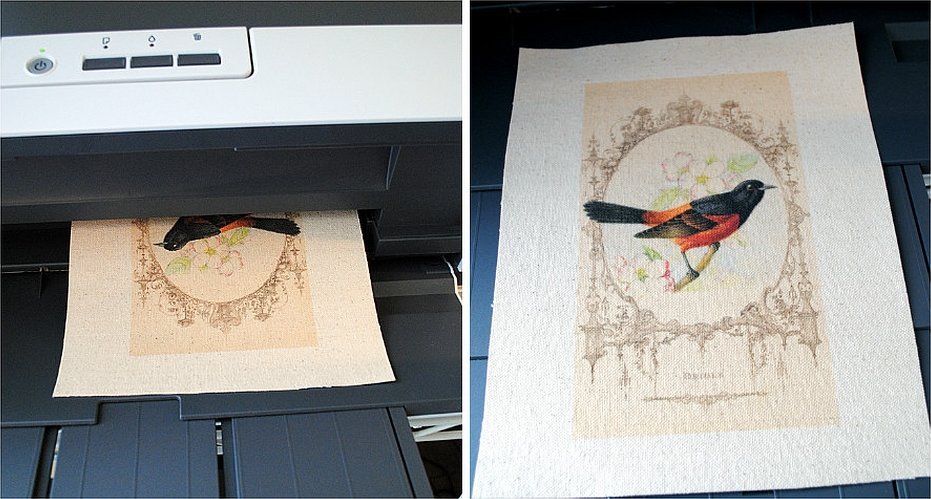
Using a printer
For this method, a freezer (freezer paper) is a necessary condition.
Action plan.
- Take the fabric, the freezer sheet and cut out pieces of them to fit the A4 sheet size.
- Press the freezer well with the smooth side against the material.
- Send to be printed on the printer.
The pattern embroidered this way will be very detailed and neat. The disadvantages of this option are: possible printer failure, which is quite reasonable in principle, and the impossibility of washing the resulting fake.
Important! Before placing the blank into the printer, you need to make sure that the image will be printed on the correct side.
Thermal transfer paper
This case requires relatively little investment and is considered “advanced” because at least a little experience is required.
First, you need to print the image on heat transfer paper (you can buy it in any online store), then apply it to the desired place and iron it well. The result will be impressive, and most importantly, this method is the least labor-intensive. The picture will not deteriorate after washing.
To sum it up, we can say that this article will definitely answer any needleworker's question - how to transfer a drawing onto fabric. All the above methods are easy to perform and are suitable for both beginners and professionals.
*Prices are valid as of July 2019.


