Making a dress is a complex process and requires painstaking work. Each part must be carefully cut out. And the process of sewing the lining of the dress is especially difficult. The question arises: is it necessary? Do all dresses need a lining? And how to sew a lining to a dress? These questions should be considered in more detail. Sometimes it can be seen on dresses, and on some it is missing. This part is very helpful. Some people specifically complement their clothes with it, in particular dresses. How to sew a lining to a dress with your own hands will be described in this article.
The need for a lining for a dress
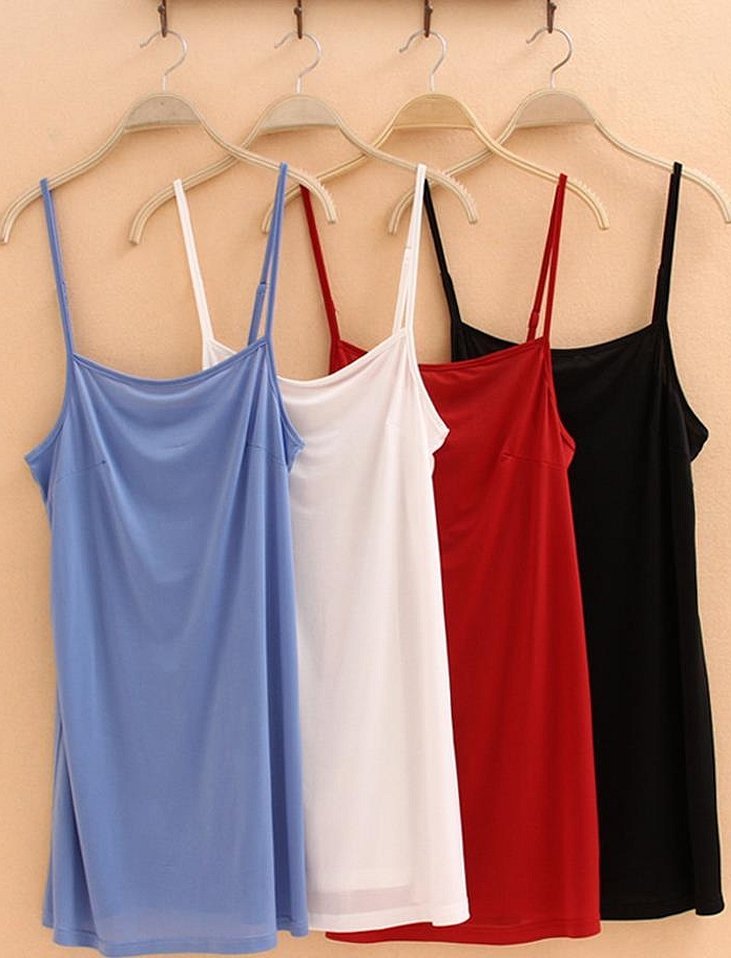
A lining is not always provided for a dress; in modern times there are plenty of models where it is simply not needed.
However, there are styles where you simply cannot do without a lining:
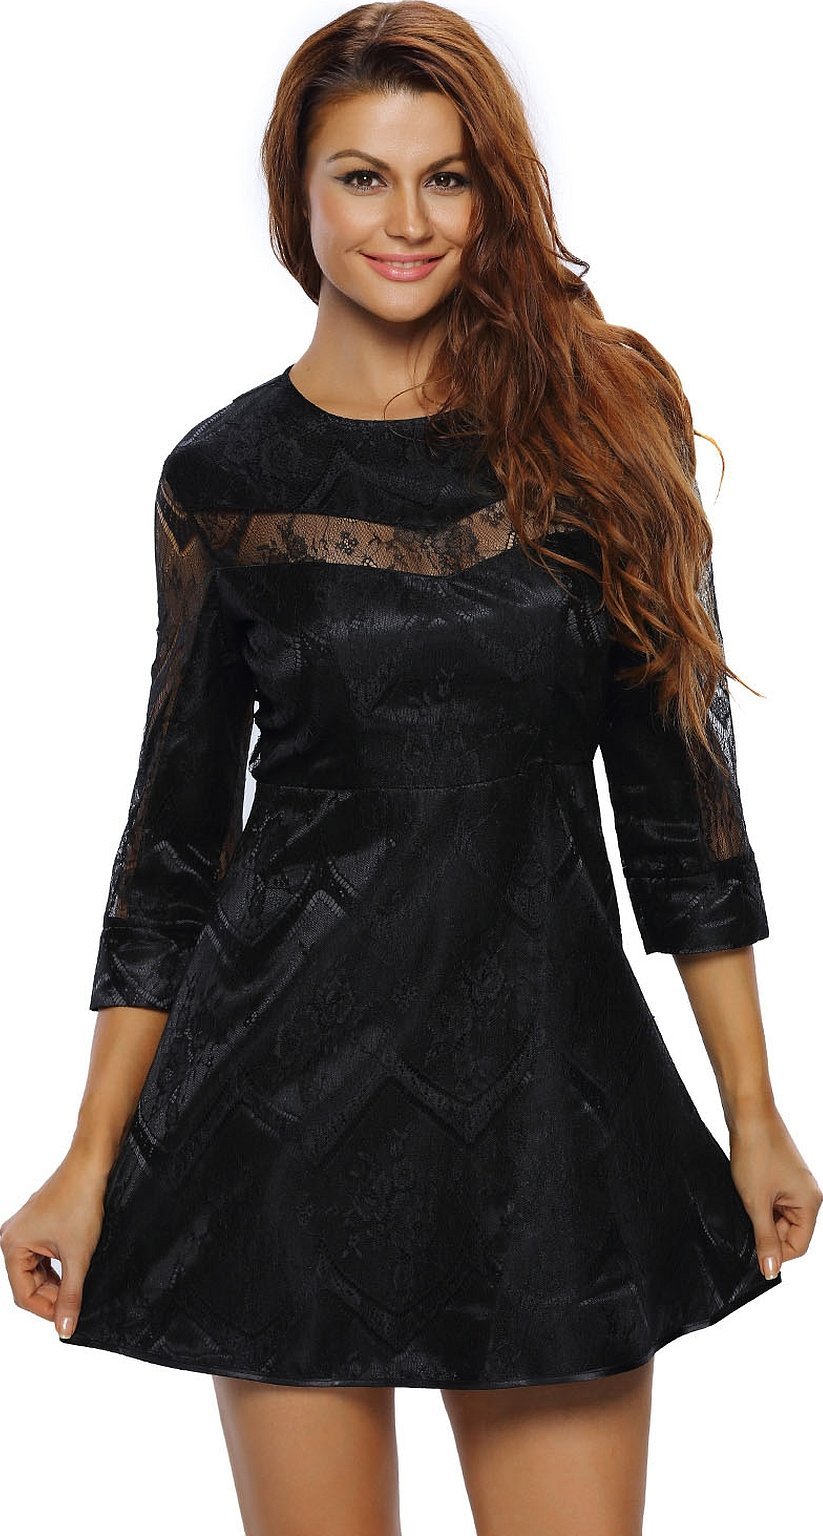
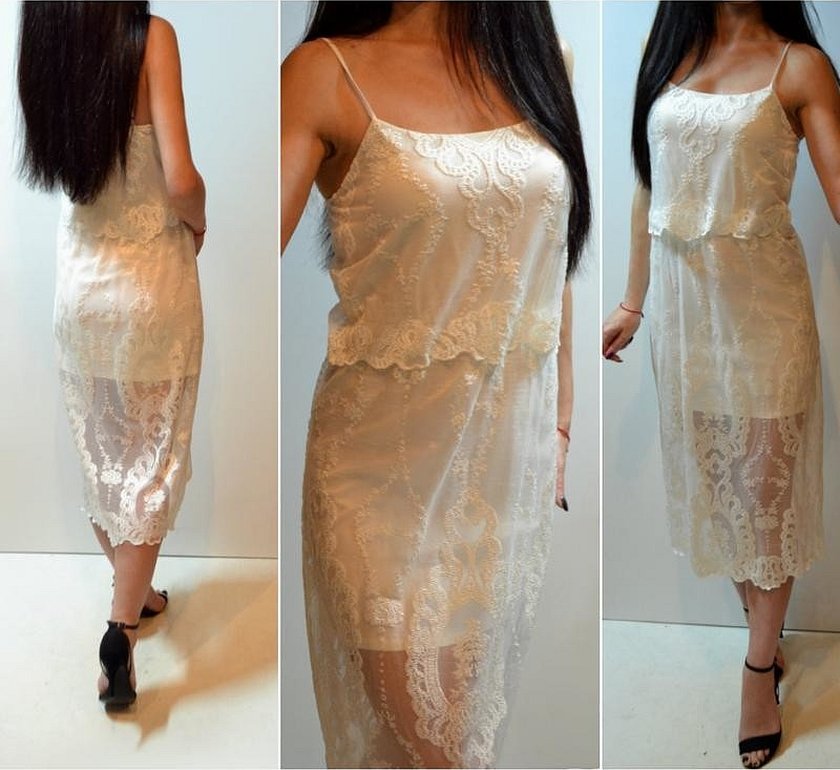
- The fabric is transparent, loose or mesh, sewing a dress from lace with your own hands will not work quickly, you will need to tinker with the lining.
- For a white dress;
- At least a partial lining is required for lace and guipure;
- If the dress has a large number of seams and a complex cut, then without a lining it will rub;
- For sensitive skin, pads are also desirable to protect the body;
- There will be less hassle if there is a lining and for those who sweat a lot;
- And in general, a good, expensive dress should have a lining.
Rules for working with lining
There are some rules for working with lining. For example, to make it comfortable to wear a dress, it is better to take a soft, sliding fabric, such as chiffon. Knitwear for a slip will not be very comfortable. The question arises: how to sew a lining for a dress?
Important: It is also necessary to pre-decate the future lining so that it does not shrink and shrinks during wearing.
Only then do they start cutting out the dress with lace. There are two options for creating the lining:
- It covers all facings and trims.
- Sewn separately to the dress.
Features of sewing on the lining
First, about working with the lining.
- They start working with it only after all that remains to be done is to sew on the fasteners to the base of the dress and finish the neckline.
- Now all the seams and darts are done.
- Next, you should iron all the cuts.
- The hem is folded and sewn on.
- Now it's time to overcast the armholes.
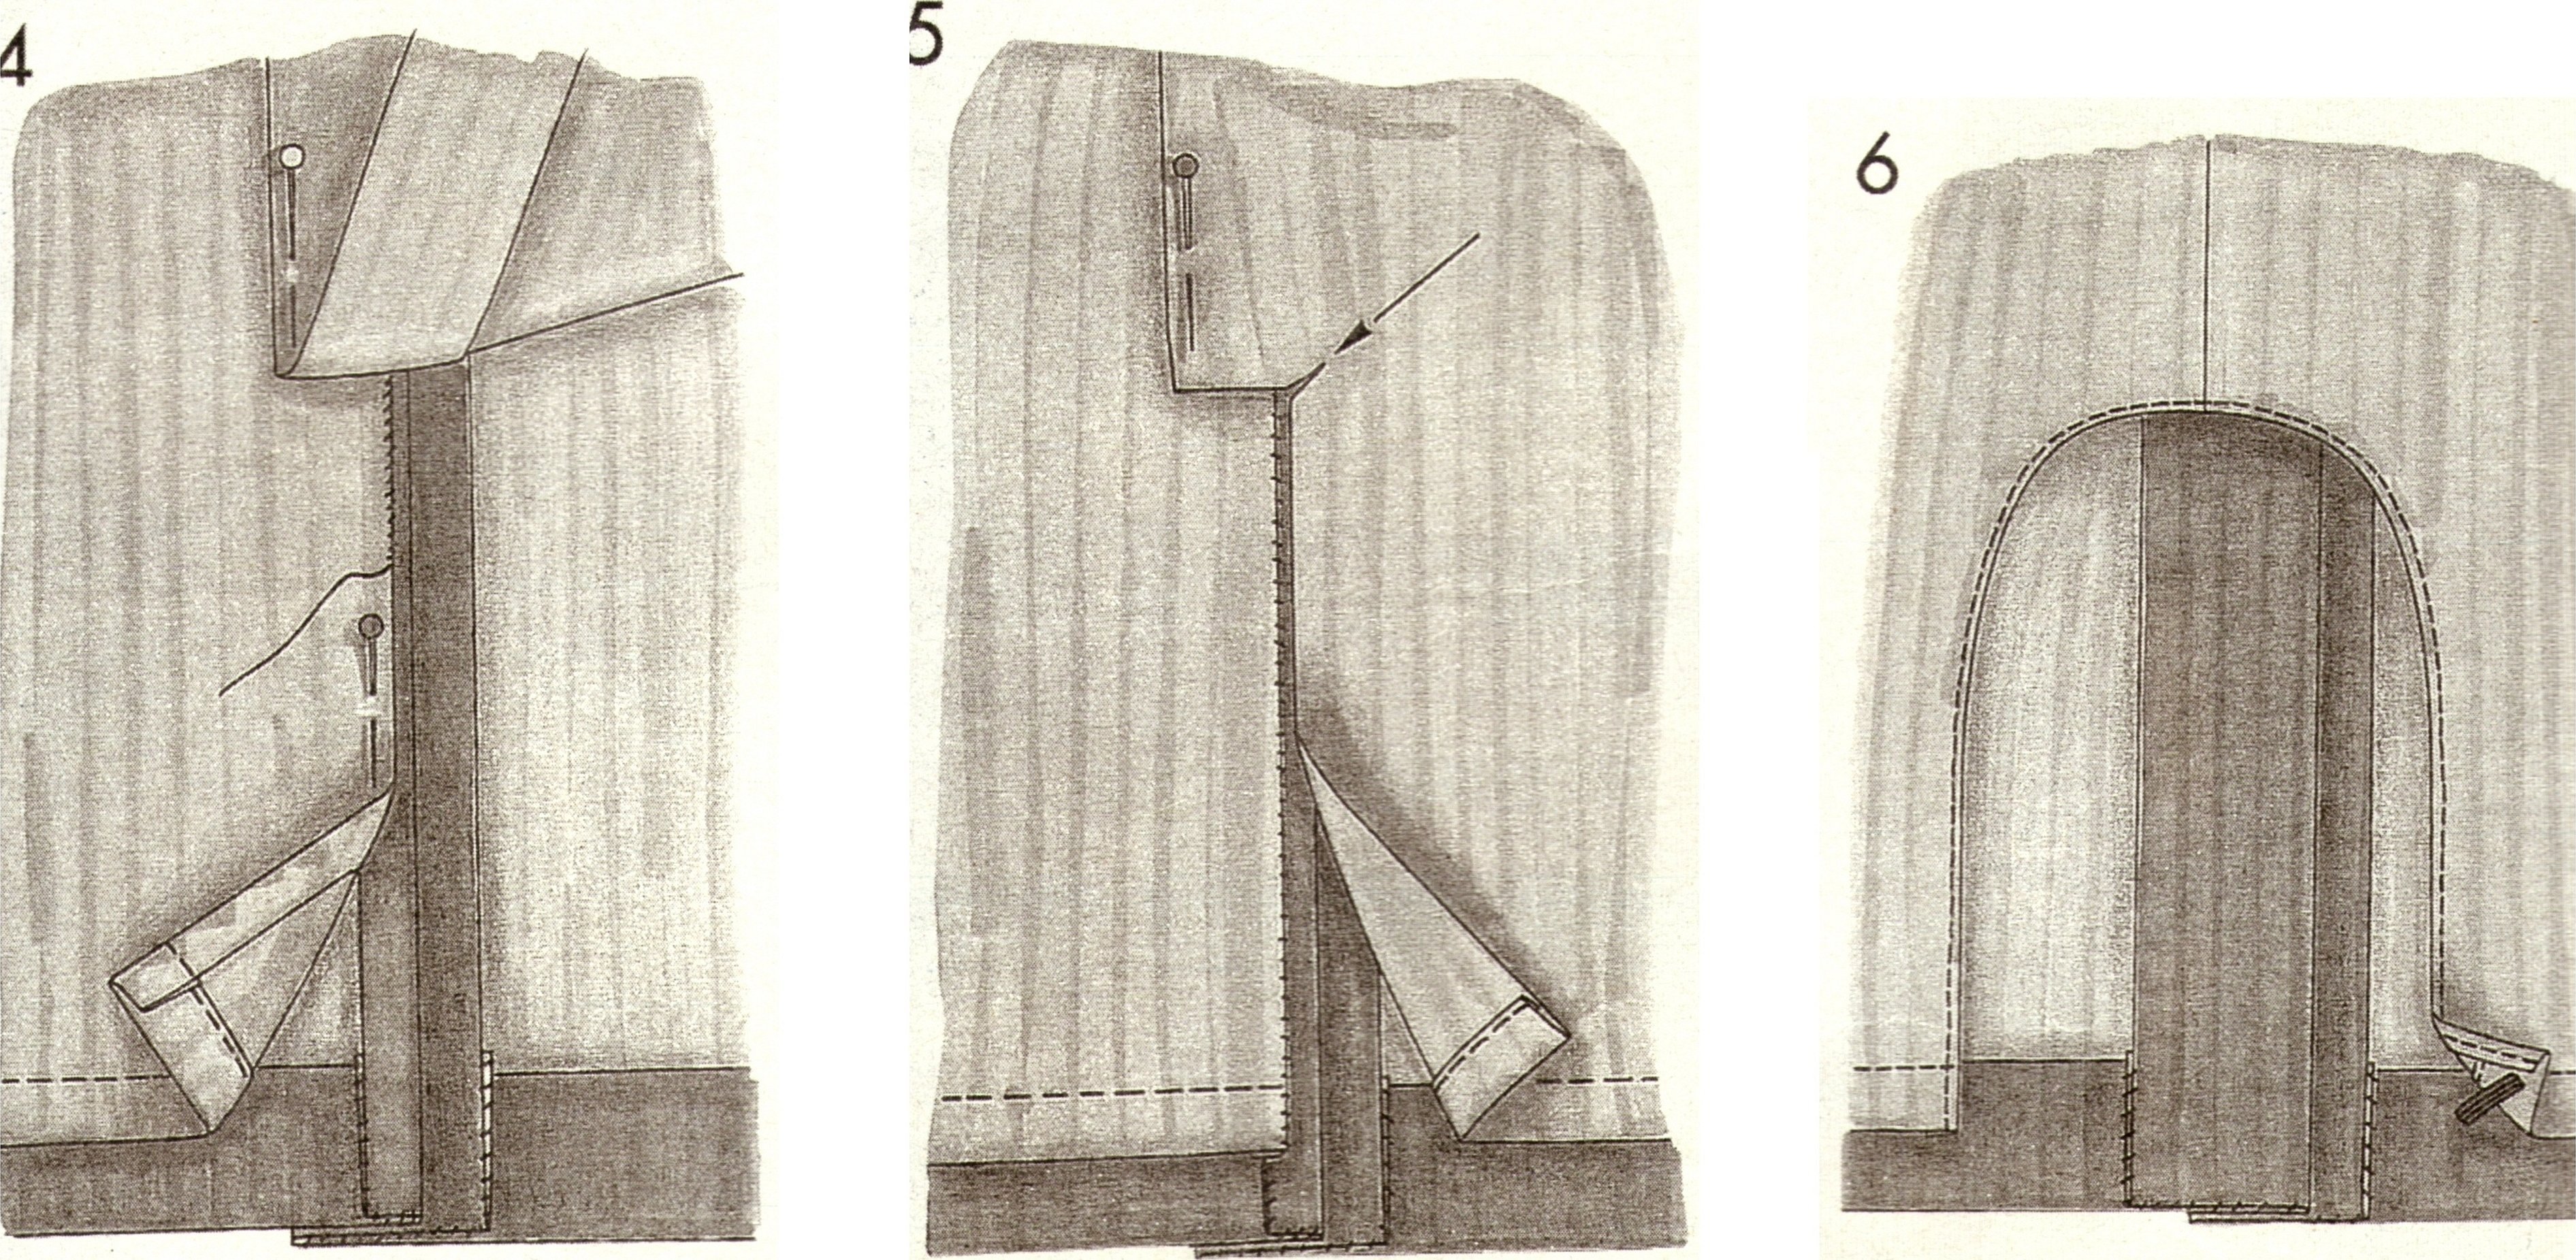
- Connect the cover to the dress, check the seams along the shoulders. Sew in a zipper between the cover and the base. To do this, turn the lining inside out, attach the zipper to the fastener and to the neck.
- The zipper is tied and sewn in. The ends of the zipper on top should be between the fabric and its layers.

Progress of work
The blanks of the shelf are pinned together with the lining material. The allowances are turned back. Now they are sewn together in pairs along the neck and armhole, without touching the side and shoulder seams.
- They turn it inside out.
- The front is pinned and sewn to the back along the shoulder.
- Now all that remains is to sew on the main parts and the lining.
- Perform a side seam.
- They sew in a fastener.
There are a number of features when working with lining. For example, the pattern. For a dress, the bodice pattern is attached to a straight lining. It must be done without a seam along the waistline, only without a neck facing. The facing must be drawn on the pattern. Next, make a cut along the line. Transfer from the shoulder seam to the neck. A seam is needed in the center of the cover shelf. On the central part of the shelf, it is worth closing the dart. Now the pattern of the neck facings and the lining pattern are ready.
Modeling a raglan
Raglan is a cut in which the sleeve is cut out together with the shoulder section.
Please note! The main feature is the armhole, which starts from the neck and is slightly deepened.
Now a small master class related to the question of how to sew a lining to a dress.
To model, you need to transfer the dress bodice to a clean sheet. To do this, outline the backs and fronts. To mark the end shoulder point on the back, make A, and B will be the armhole control point. C is the end shoulder point shelf. D is the armhole control point.
- Divide the armhole line of the back along the segment AB in the middle.
- Now connect it to the top of the shoulder notch.
- From D, measure 2 cm and combine with the top of the chest dart.
- Draw a line from the top of the chest to the waist dart.
- Using scissors, divide the back and transfer the dart line to the armhole line.
- They divide the front part and transfer it to the armhole line.
- Now the remaining bust dart is transferred to the waist dart.
- Next, lengthen the back and front together with the armhole equally. Move on to lengthening the armhole along the side cuts. Call these points by their proper names, for example K and L.
- Now combine A with B and K, and on the shelves C with D and L.
- From point K, you need to set aside half the armhole of segment AK and minus the shoulder dart. This will be P.
- Again divide SL and get R.
- From the prepared neck and back, measure 4 cm and connect to points P together with R.
- Connect P1 together with P1 with a neat line with a centimeter indentation with points P and R.

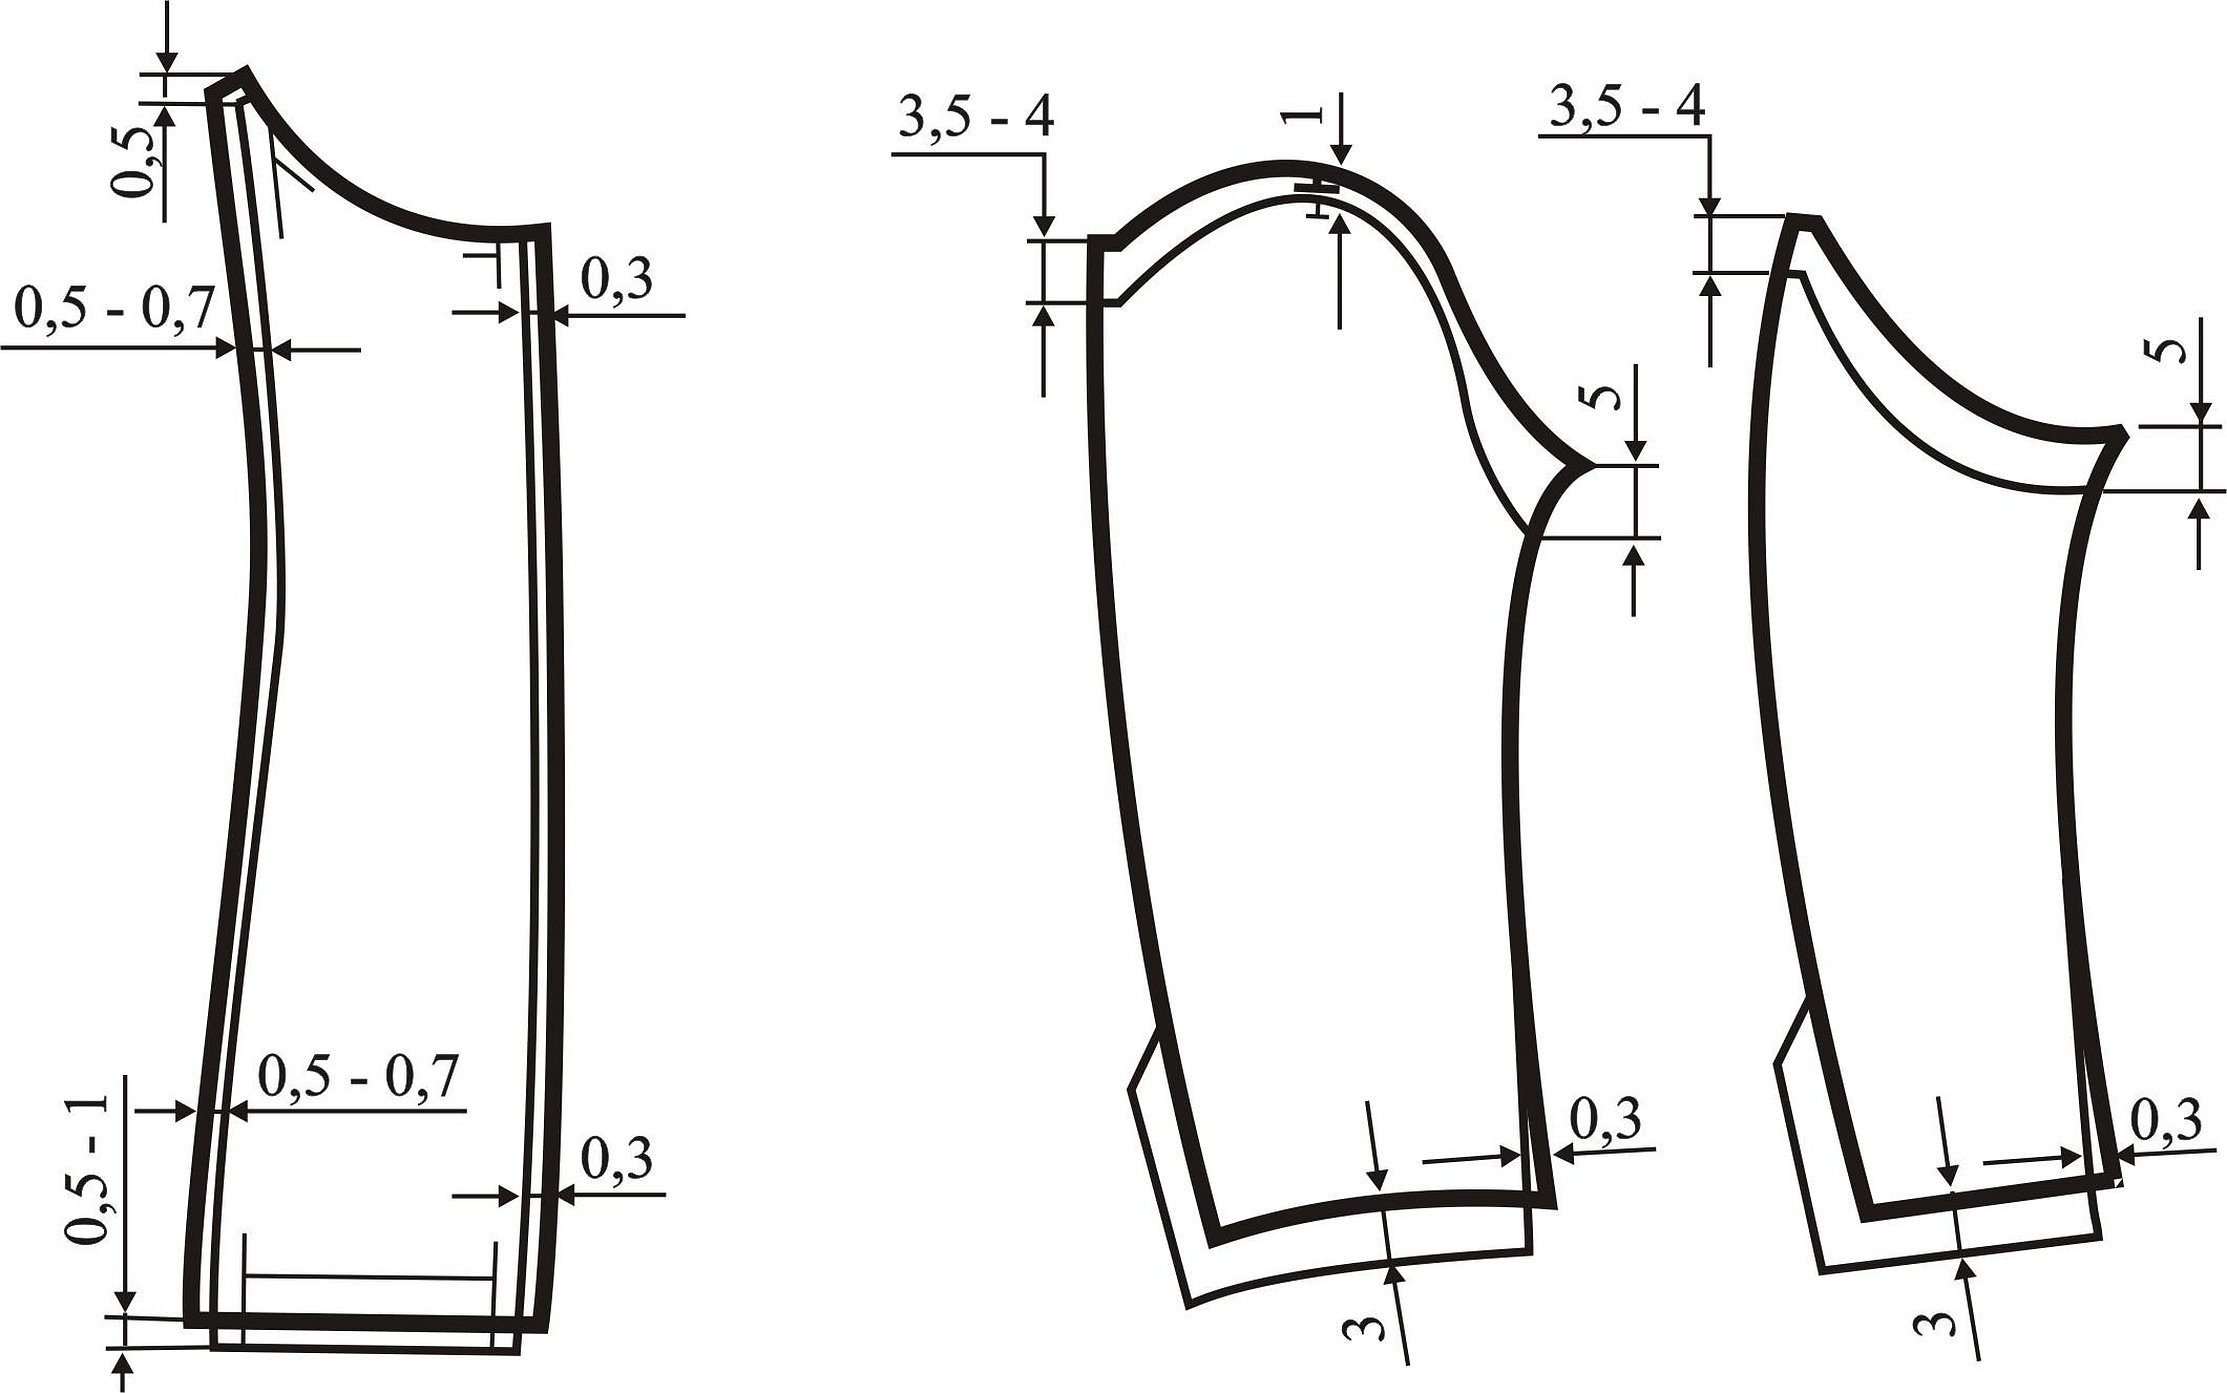
Here is an approximate modeling for the back together with the shelf. Next you need to work on the sleeves themselves.
- Transfer the patterns onto paper, increase the elbow by half a cm from the first cut.
- The size of the sleeve cap is also increased.
- They lower it 2-4 cm lower and call these points M and H.
- They are combined with the points of the cap, which will be the control points.
- Reduce the elbow darts by half a centimeter and raise the lower edge of the sleeve by this amount.
- From point M, measure upward the size of the arc of the interval AP and make point P.
- The size of SR is raised higher from H and done as R.
- The central part of the sleeve is increased by half a centimeter and a line is drawn through the assistant point.
- Combine the P and R parts of the shoulder pattern with the P and R of the sleeve cap.
- Points A and C must be on the drawn horizontal line.
- The AC section is divided in two.
- From the bottom of the sleeve, measure one and a half cm and align it with the strip, obtaining the T mark.
- The resulting sleeve is divided along a line.
- Draw a smooth line from M through H to T.
- They are divided according to the obtained lines.
- Transfer the contours onto paper, raising them by 5 cm.
- Starting from A, together with C, count off half a centimeter in the direction of T and connect with the cut marks.
- Measure 8 cm up and down. Now everything is ready.
How to sew a lining by hand and by machine
Sewing and cutting a dress, no matter what it is, knitted or made of any other material, is a complex process that only professionals can handle. And only a true master can sew a lace dress with his own hands. This is hard and painstaking work, which is similar to a carefully built structure. There are a lot of different zippers, hooks, needles.
It is possible to sew a lining on a sewing machine, but some are able to do it by hand. Such work is only possible for a master of his craft. Many will not even understand a third of what is written above due to the complex concepts and structures that must first be drawn and then transferred to the fabric. It is impossible to come up with this on your own; you must have certain knowledge and skills. Then the lining will be done well.


