One single incorrectly sewn or sagging button can ruin all the efforts of a person to look stylish and attractive. You should also remember how many buttons were missing on the child's clothes after he returned from a walk: sometimes - quite a lot. Based on this, you need to know how to sew a button correctly so that it will last much longer than one sewn in a simple way without using equipment. Any sewing process has its own nuances and subtleties that need to be taken into account. Today's article tells how to sew a button with 4 or 2 holes correctly, how to choose a needle and thread.
What threads are best to use?
When choosing threads, there is no need to reinvent the wheel and come up with something new and your own, since everything has already been done long ago. In choosing, you can rely on several rules, which include the following points:
- If flat buttons are used, the threads for sewing them on are selected to match the color of the elements themselves;
- If shank buttons are used, the threads for sewing them on are selected to match the color of the clothing fabric;
- The denser and thicker the fabric of the target product, the stronger and thicker the threads should be.
You should avoid using cotton threads, otherwise it will become a "hobby", since such elements will quickly tear and wear out with daily wear. The whole point is that threads made of natural material have positive environmental properties, but their strength is zero, compared to synthetic materials.
It is best to use durable and high-quality reinforced threads. They have increased strength characteristics and, due to their color range and properties, are suitable for almost all types of materials.
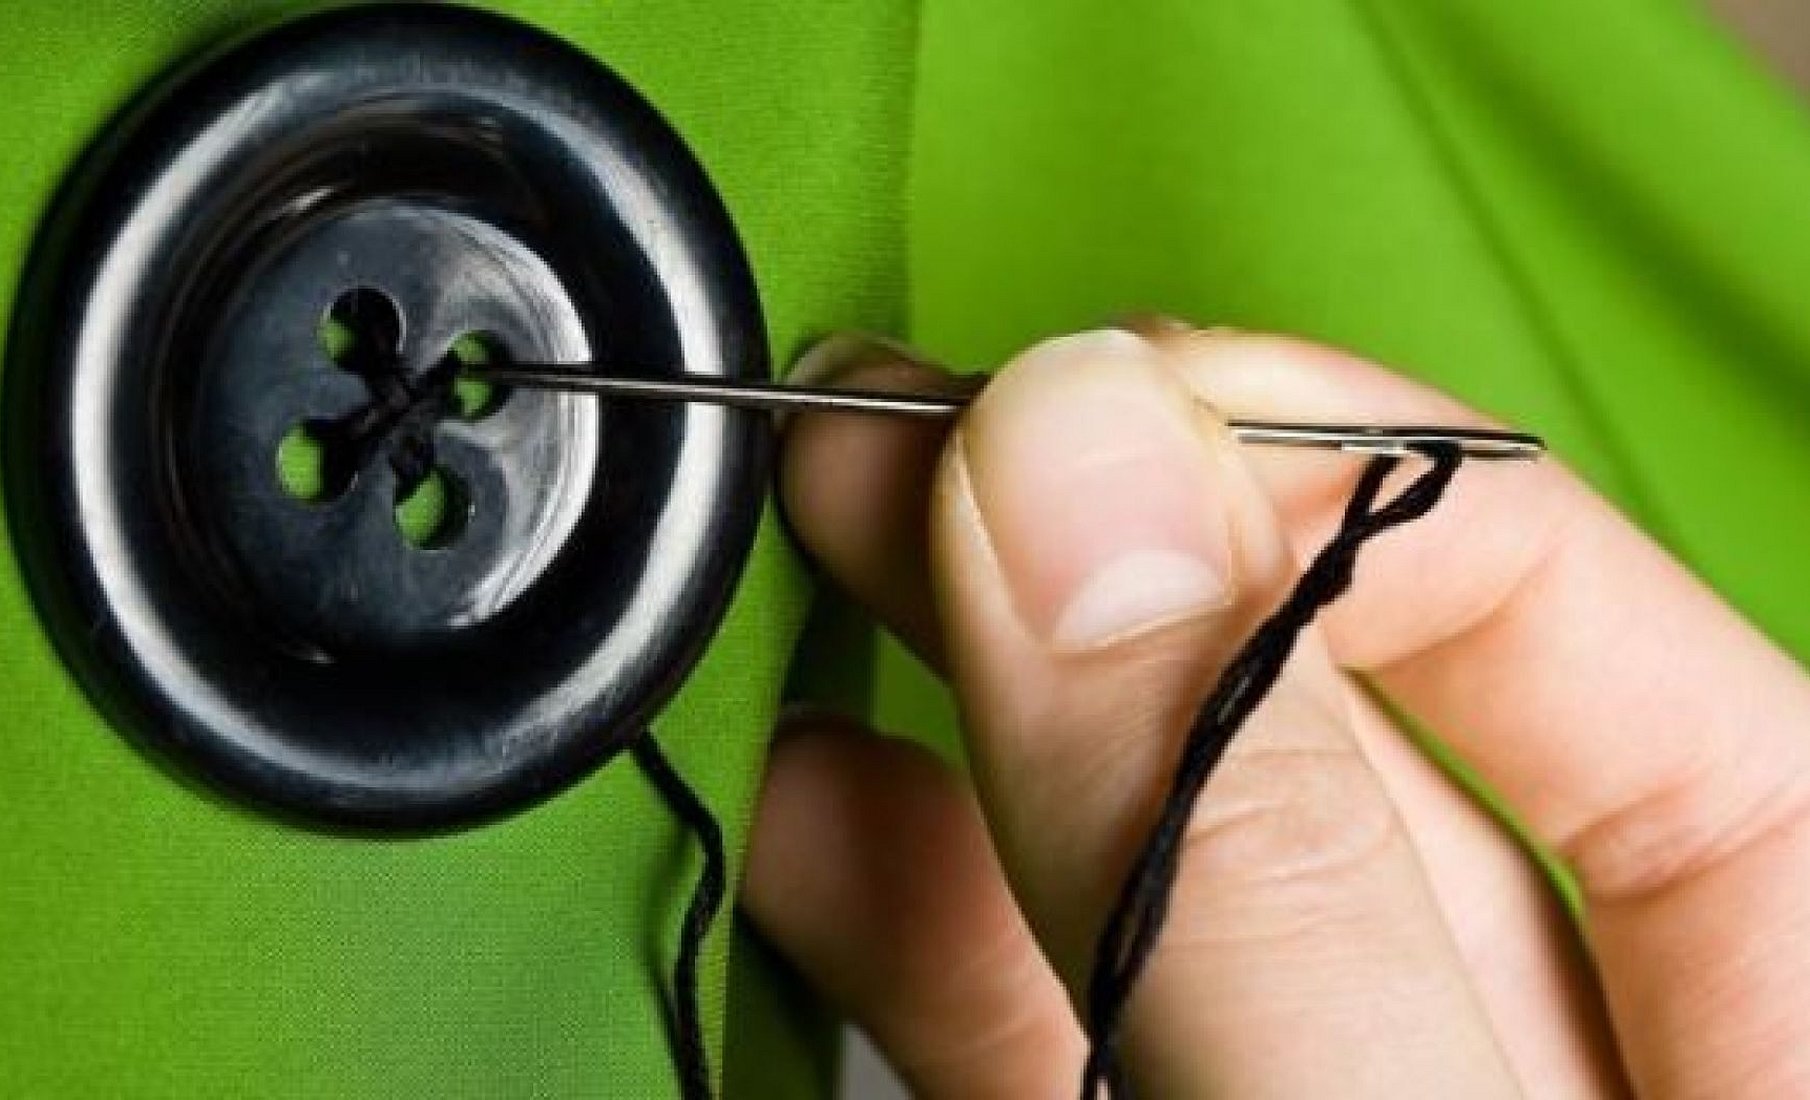
Selecting a needle and initial thread fixation
As you can see, when choosing a needle, size matters. Here are some simple rules:
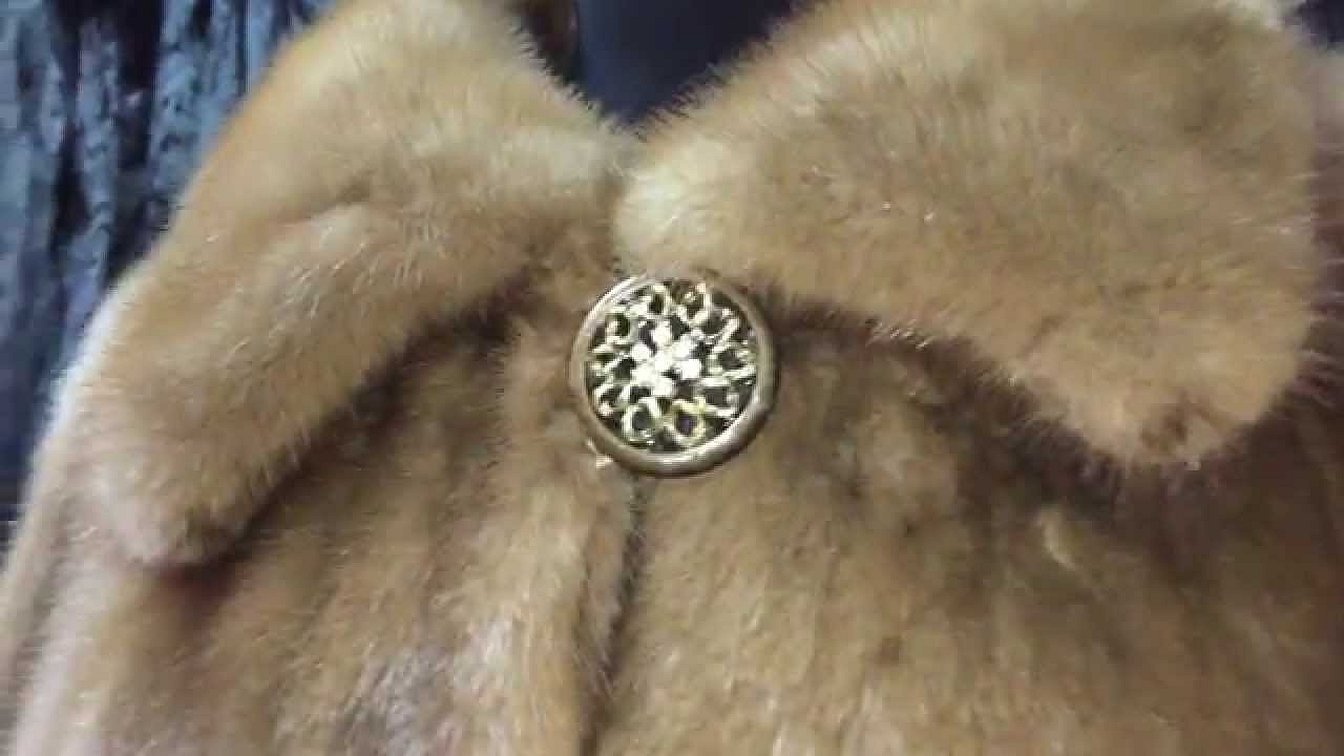
- For thick winter clothes such as fur coats, sheepskin coats, and leather goods, you should choose thick needles with a large eye;
- For light and thin fabrics such as satin, silk and viscose, thin and sharp needles are ideal, capable of piercing the fabric evenly and without snagging;
- Don't neglect the use of a thimble. It will help you avoid pricking your fingers when sewing buttons to thick and dense fabric.
The best option for any type of fabric is to use a medium-sized needle, but you should understand that it cannot always “take” dense material. At the end of a small piece of thread, you must make a knot to give it an initial fixation.
Important! When working with small buttons, sewing with one thread is suitable, but if the element is large and the fabric is thick, then you should sew and sew in two layers.
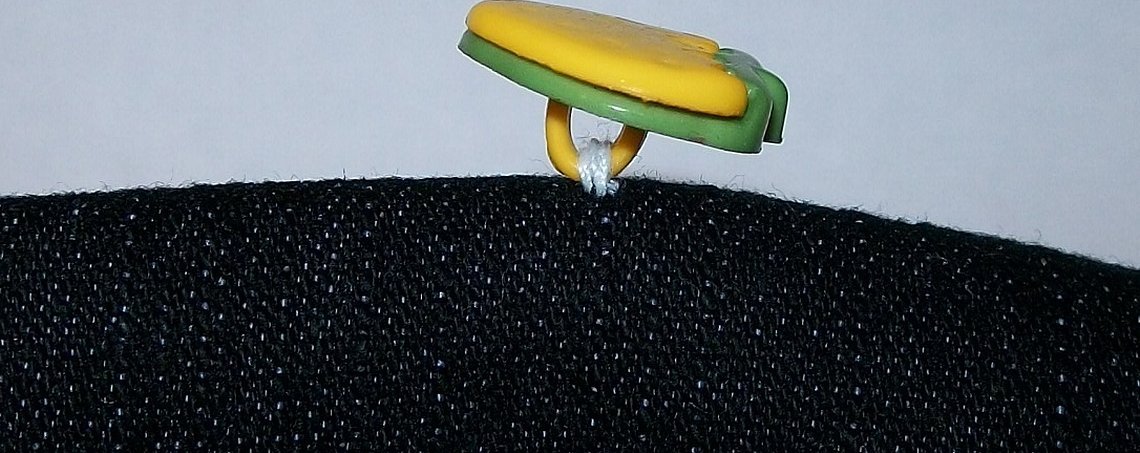
How to sew a button on a shank
If the button itself is flat, you can make a shank for it yourself. Such an element will easily pass through the loop and will not come off. Even if the button has its own shank, an additional one is often made to expand the garment and increase the durability of the fabric and attributes. Only those items that are sewn on with a sewing machine do not have a shank.
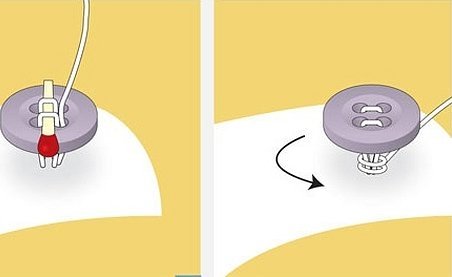
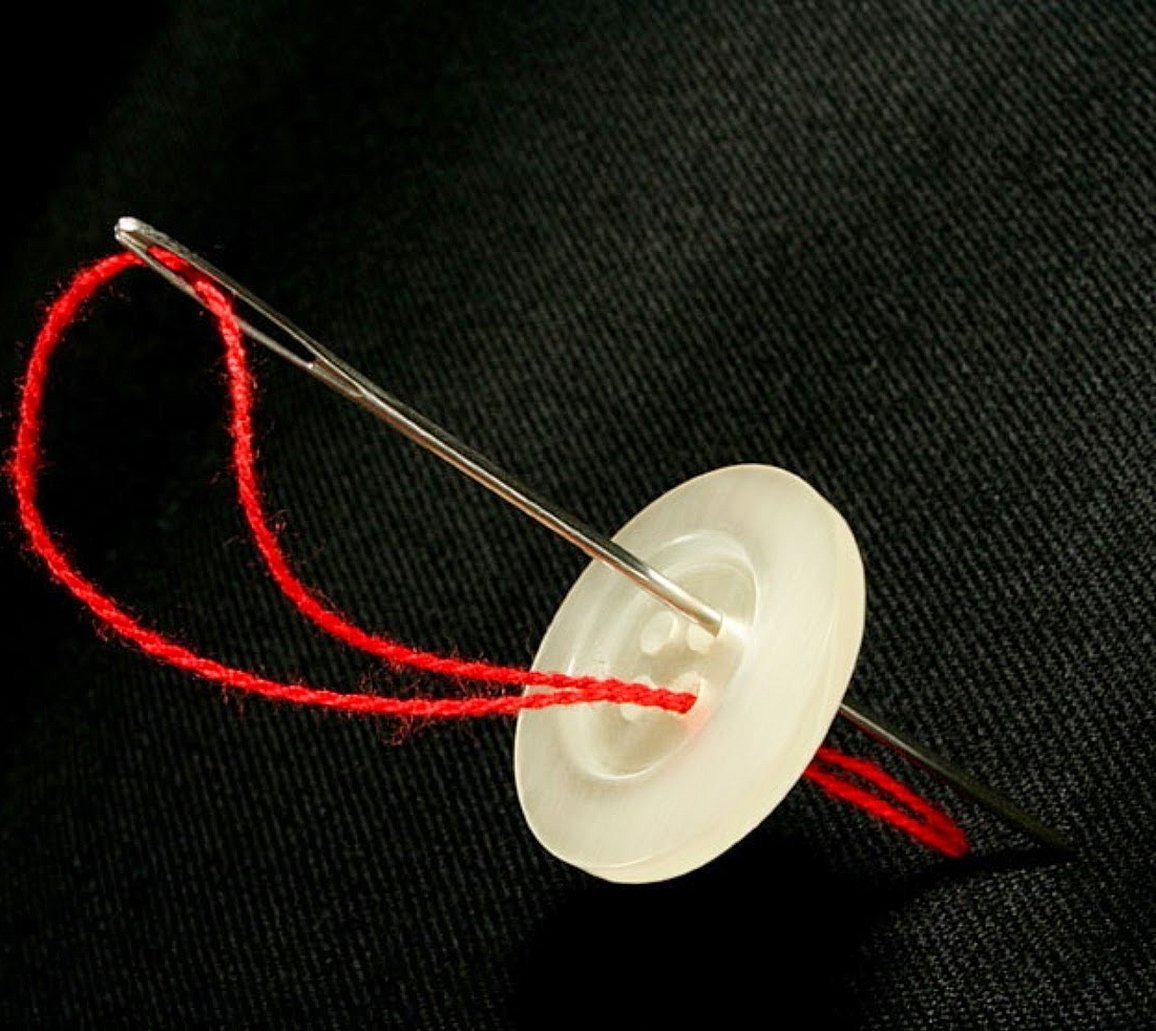
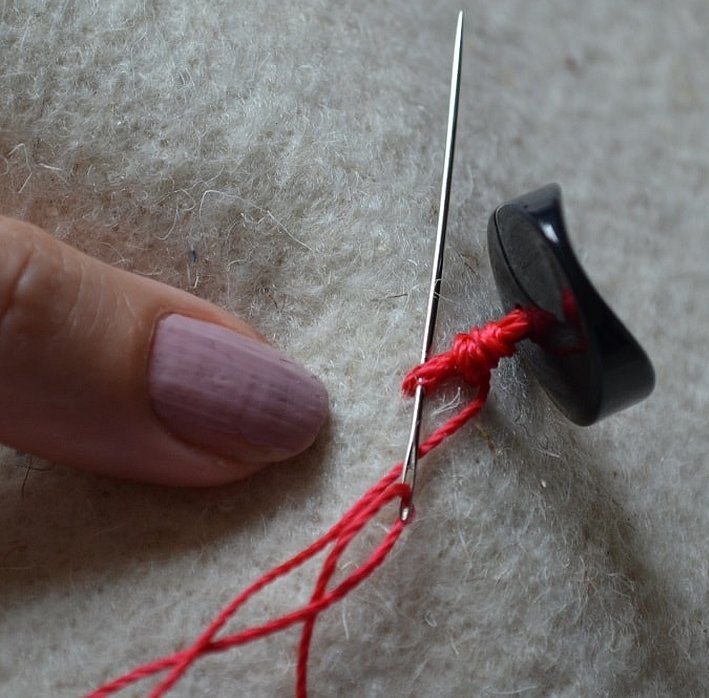
To make a "leg" between the element and the material, place a match or a pen rod to create a small gap between them. This is necessary in order to wrap the leg with a thread and easily put the loop on the button.
Important! A lining in the form of a match or rod can be inserted not only under the product, but also above it. This is shown schematically in the figure.
For thin and delicate fabric, you should use pins or thin needles, but for thick and durable material, a match for lighting an oven will be just right. The sewing process is as follows:
- Find the place where the old product was sewn;
- Remove old threads;
- Carefully pierce the fabric from the wrong side at the point where the old thread was;
- Pull it out to the end and bend it past the match;
- Pass the thread through the hole and pull it tight;
- Insert the needle into the other side of the list or pin.
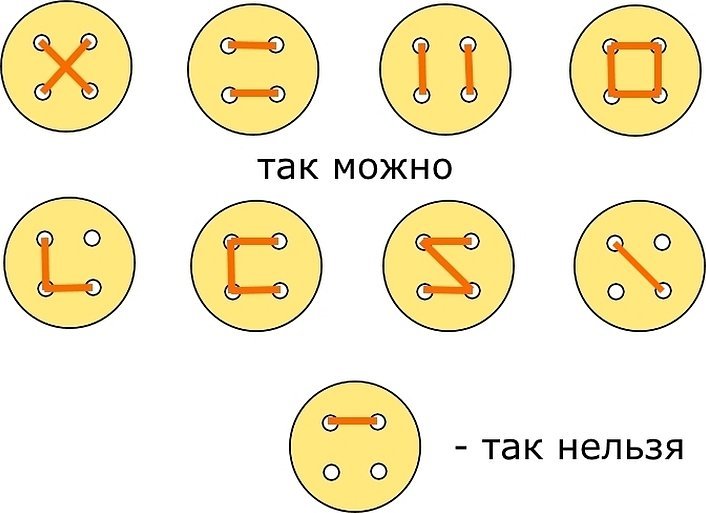
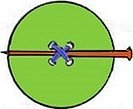
If the items have 4 holes, you can make stitches with a cross or parallel lines. Ten times will be enough. You just need to remember that each new stitch should be made on the other side of the match.
Flat with two holes
When working with such a button, there is an important nuance: make a kind of "stand" from threads when sewing on a flat button. Thanks to this, it will be easier to thread it through the loop when buttoning clothes. The size of this leg should be equal to the size of the lining in which the loops are placed.
To achieve the same height of the foot-pad with each new stitch, you should use auxiliary tools that act as a pad between the fabric and the product. As mentioned earlier, pins, hairpins, matches, and pen rods are ideal for this. When the work is finished, such a pad will be easy to remove.
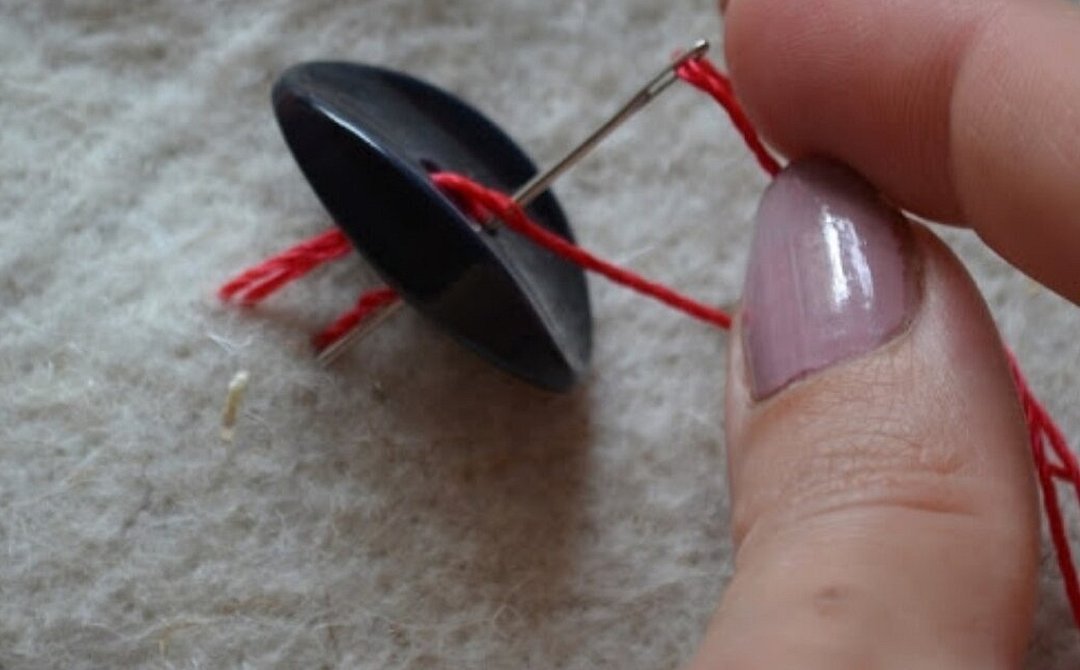
Once all the tools are ready, you can begin the step-by-step sewing process:
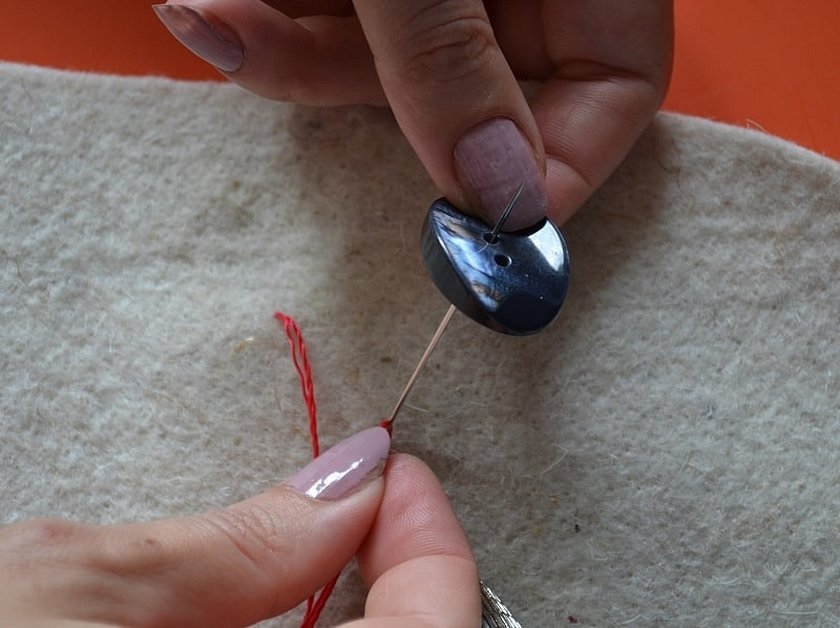
- From the inside of the edge of the material, pierce the previously marked place with a needle and tighten a knot in it;
- From the “face” of the fabric, place a button through any hole onto the needle that has come out;
- Place an element under the product. You can use a pin or a match;
- Pass the thread through the second hole and pierce the fabric of the edge of the garment again;
- Repeat these steps several times until the button appears to fit properly. You should hold it so that it does not slip and the lining does not fall out or become crooked;
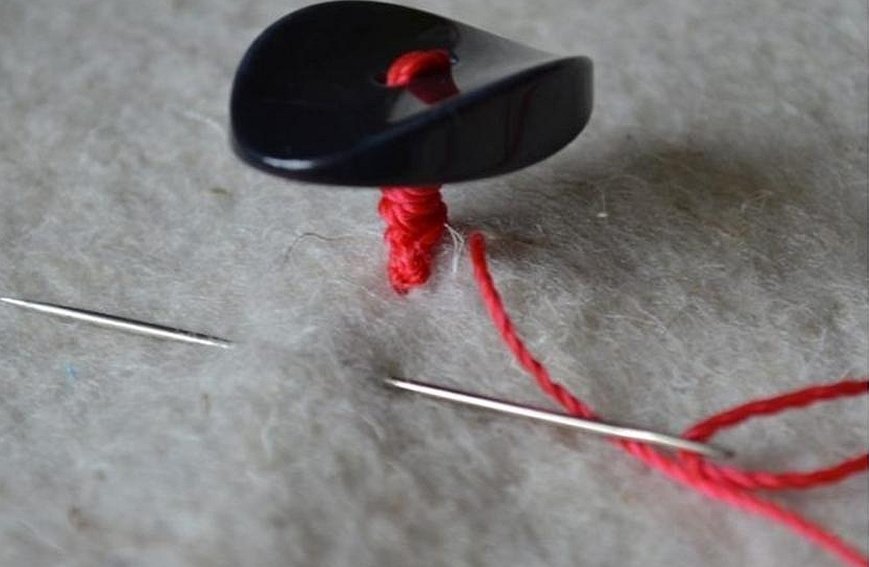
- Secure the product. To do this, in the last stitch, the needle is passed not through the button hole, but through the fabric edge;
- Remove the lining tool and wrap the resulting leg several times to give it rigidity and strength;
- Secure the thread with a knot or stitch on the wrong side of the fabric and trim off the excess.
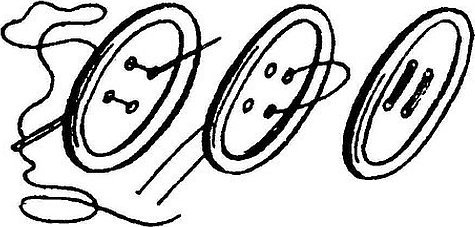
Flat with four holes
Sewing on such an element is no more difficult than the previous one. The processes are very similar and the difference, naturally, is that there are two holes there, and here there are four. They should be sewn on one by one. First, a stitch is made through one pair of holes, and then through the other. This continues until the button firmly and qualitatively “sits” on the material. In order to give the button a raised leg in this case, you can also use linings in the form of rods, pins and matches.
Important! All actions are valid, but you should use a longer thread, since there are twice as many holes.
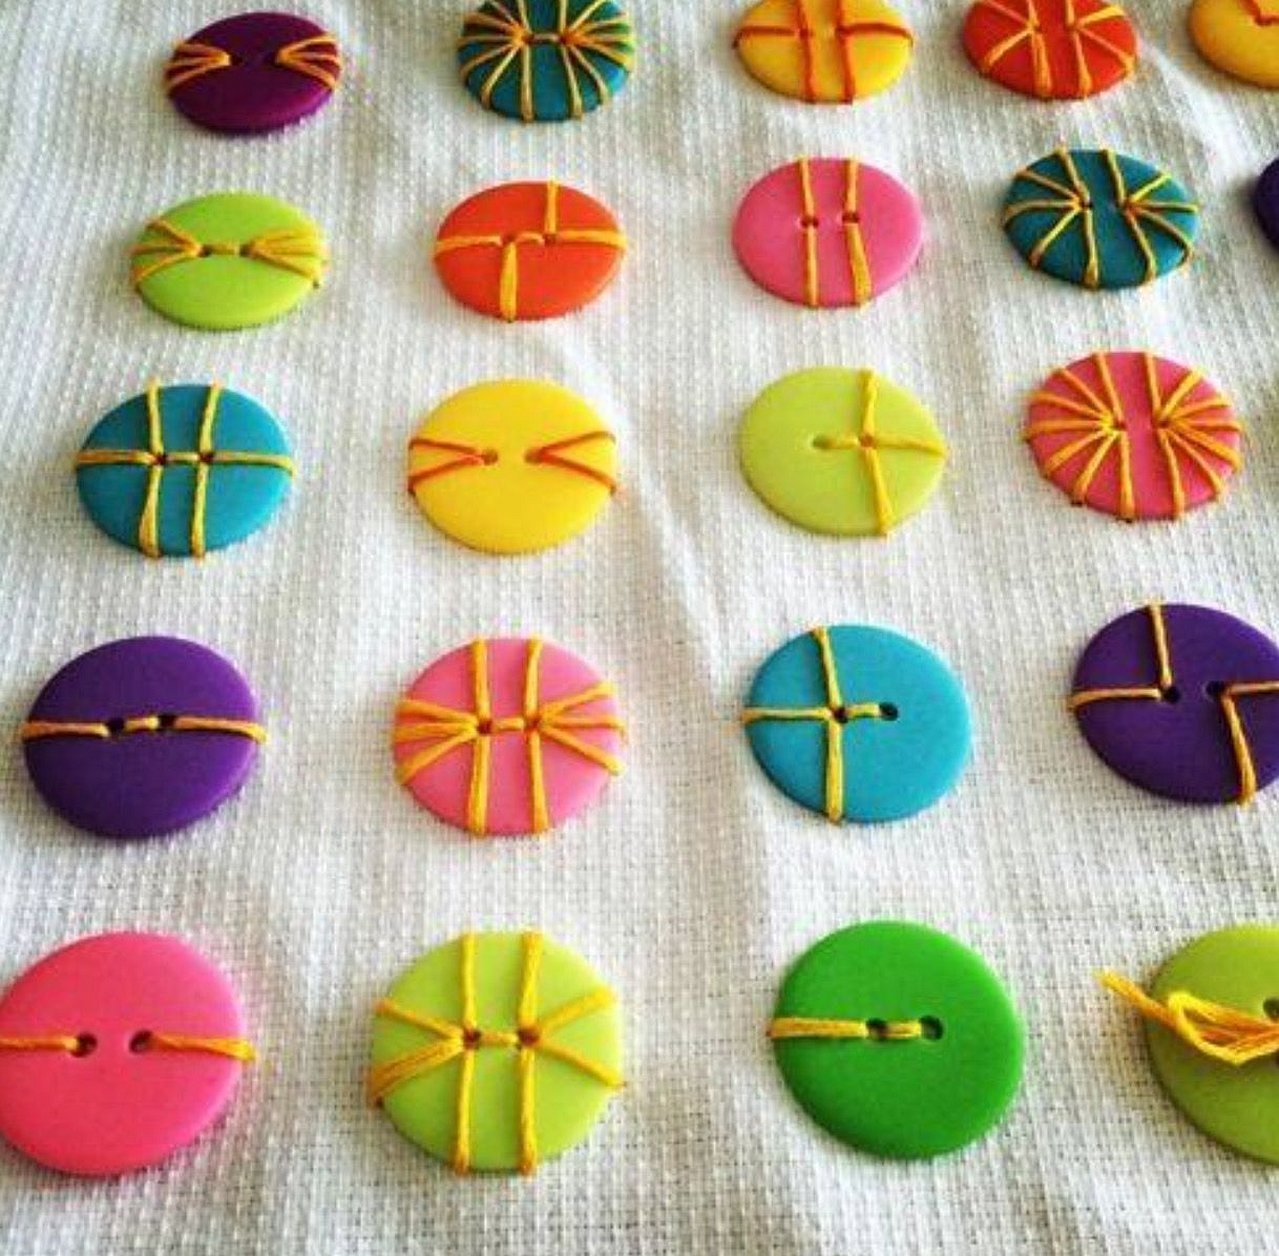
There are a lot of options for how exactly to make stitches. The simplest and most popular of them are:
- Parallel lines;
- Square stitch;
- Cross stitch;
- Arrow stitch.
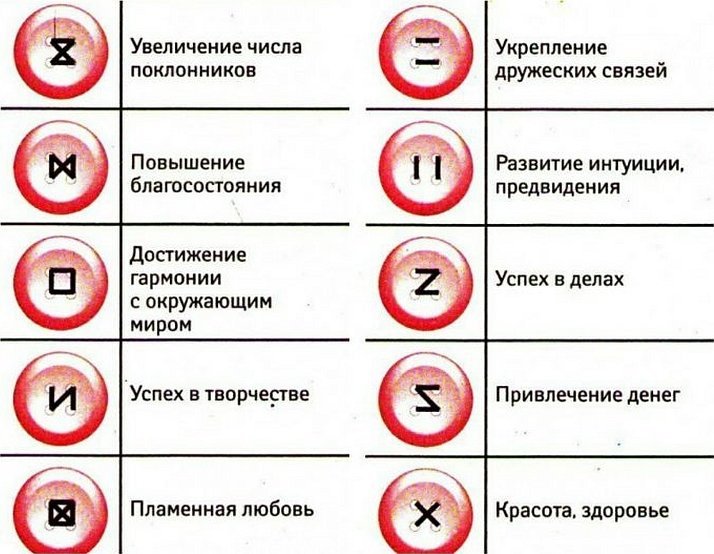
For those who believe in magic and omens, there are a couple more stitches that, according to some people, can influence fate. It is unknown how true this information is and how buttons sewn on in this way can cause a change in the course of affairs, but you can try the following stitches:
- In the form of the Cyrillic alphabet letter "I" - success in creative endeavors and popularity;
- In the form of the Latin letter "Z" - success in material terms and money;
- In the form of a square with a cross - passionate love.
Thus, sewing buttons on trousers, jeans, a coat, a jacket, a shirt or even shorts is easy. The process does not require in-depth knowledge of sewing, but you still need to familiarize yourself with the basic points. They will help you avoid beginner mistakes and not sew buttons every day.


