A pillow is an item without which it is impossible to imagine a calm and comfortable sleep. It is classified by shape, size, purpose, filler and hardness. But the process of sewing a pillowcase depends on only two of them - shape and size, let's talk about how to sew a pillowcase in detail.
Types of pillows
Depending on the shape, the following types of pillows are distinguished:
- square;
- rectangular;
- in the form of a horseshoe;
- in the form of a roller.
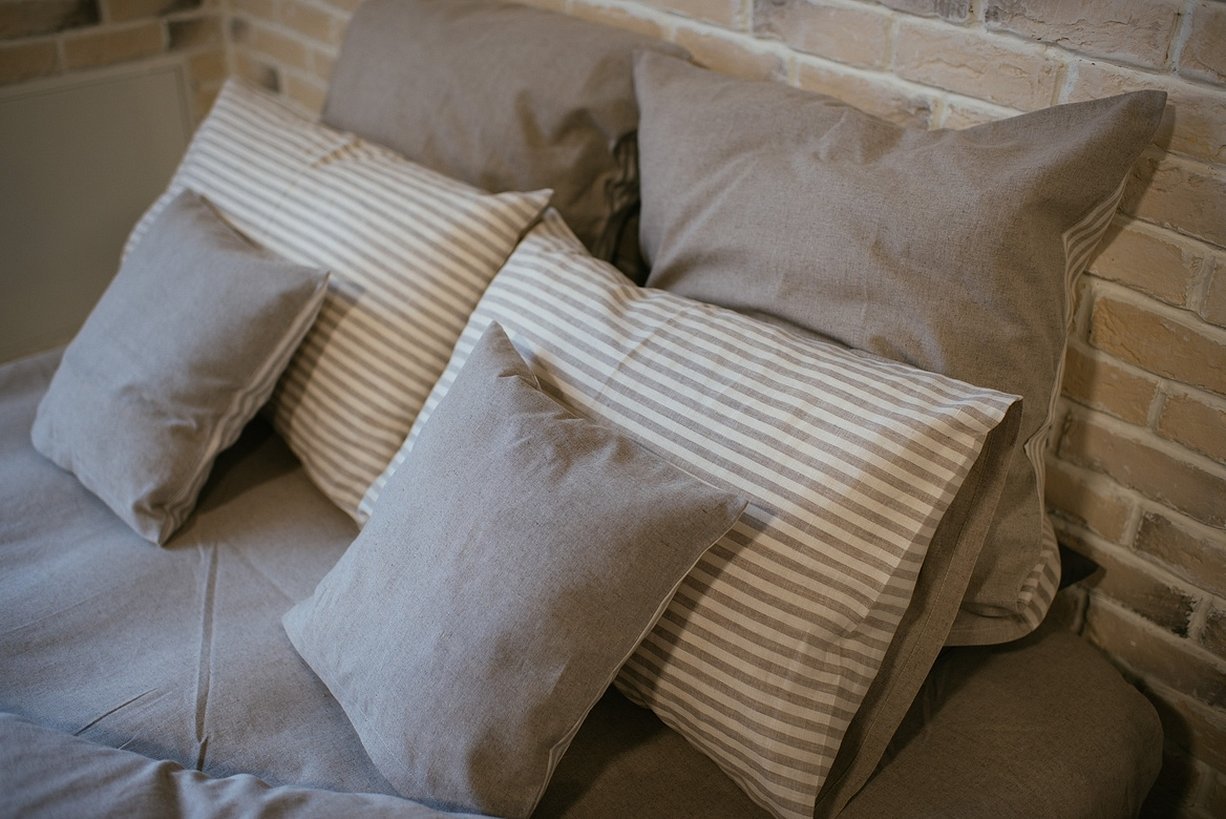
The most comfortable and safest way to sleep is on a rectangular pillow. Square products often have a decorative purpose. Orthopedic pillows take a rectangular shape, since this shape is considered the most acceptable from the point of view of orthopedists, suitable for the body to completely relax and rest during sleep. Horseshoe pillows are used on the train and in cases where a person is forced to sit for a long time, leaning against the back of a bed or chair.
Such pillows are also called anti-stress. The shape of the bolster is suitable for any purpose, elongated pillows are used for sleeping together, in addition, they are popular with pregnant women, since they reduce the load on the spine, which is present even in sleep, which makes the question of how to sew pillowcases very relevant.
The minimum size of a standard pillow is 40 x 40 cm, the maximum is 70 x 70 cm. But there are also other sizes, for example:
- 50 to 50;
- 50 to 60;
- 50 to 70;
- 60 to 60.
The size depends on the person's preferences, in principle you can order a pillow of any size or shape, the only problem is finding a pillowcase for it.
Materials
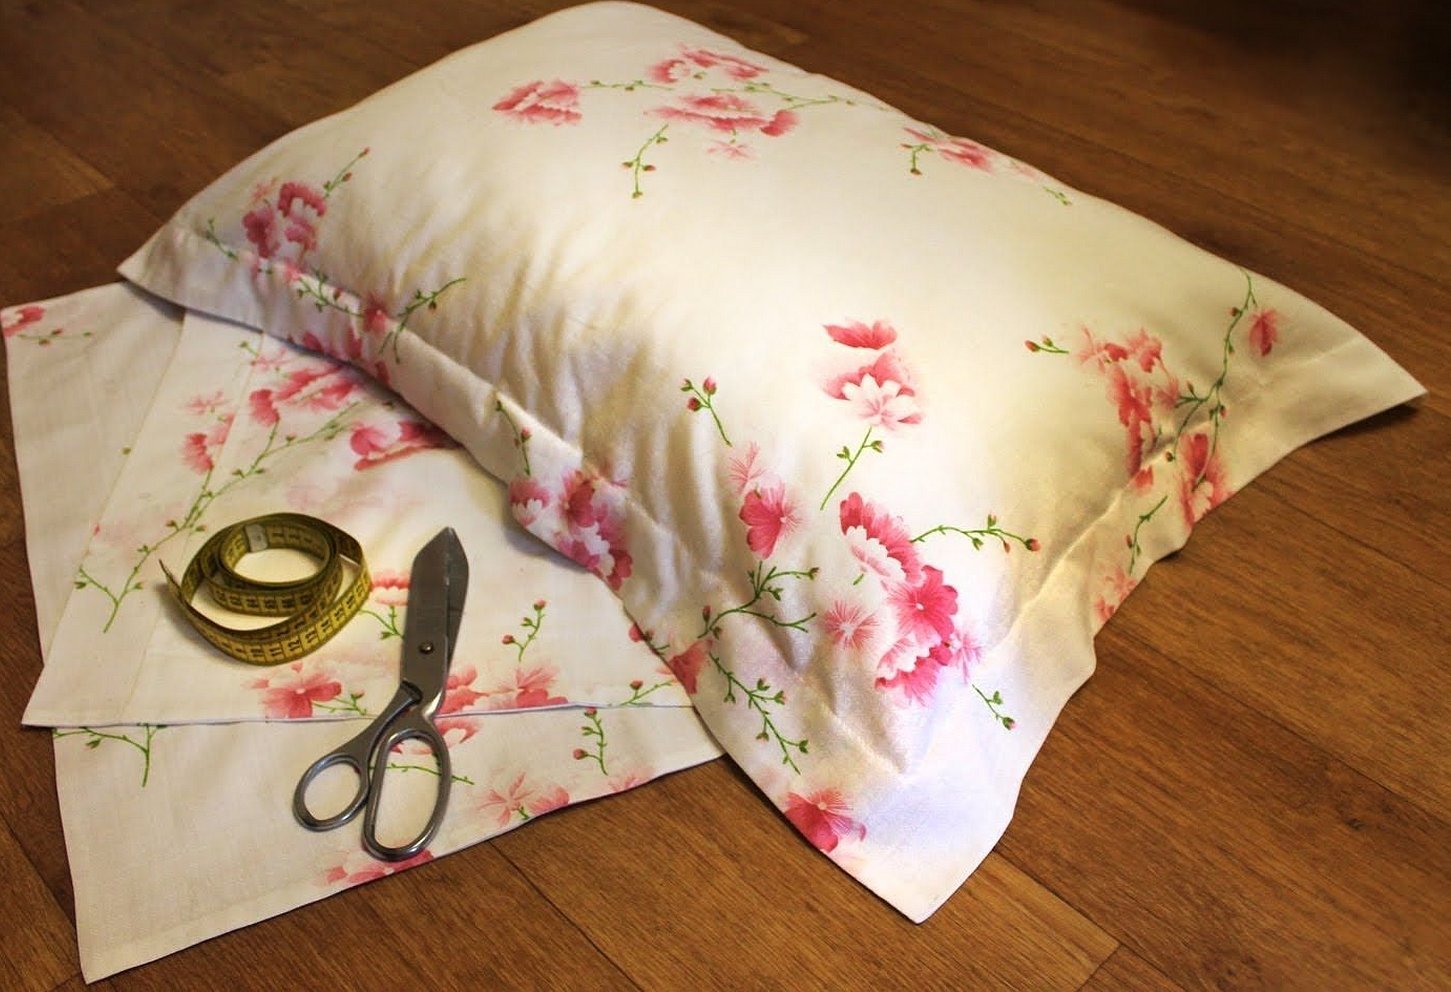
To sew a pillowcase you will need:
- thick linen fabric - preferably calico or satin;
- threads;
- needles;
- sewing machine;
- scissors;
- decorative material, if any (buttons, tulle);
- centimeter;
- ruler and pencil for drawing cutting lines.
There is no need to make a special drawing on paper, so there is no need for paper or cardboard. The only thing you may need is pins to connect the fabric along the temporary scar.
Important! When calculating the required amount of material, the required centimeters are taken into account and another 5% is added to them. So, if you plan to cut a product measuring 50 by 50 cm, then you will need two pieces of fabric, each at least 100 cm wide and high, plus 5-10 cm. You need indents not only for the scars, but also for the wrap, if we are talking about cutting a pillowcase with a wrap.
How to sew a pillowcase with a smell
When buying material, keep in mind that when cutting it in the store, the seller rarely makes sure that the edges remain even and do not stick out. With this in mind, experienced seamstresses always take 10-20 cm more material than necessary.
40 to 40
To cut out a pillow measuring 40 x 40 cm, you will need:
- material, 60 cm long and 60 cm wide;
- scissors, needle, thread, ruler, pencil or chalk.
The fabric is laid out on the table, with the wrong side out, and then:
- bend the edge from each of the four edges, stitching it on the machine;
- turn the material face up, fold it on one side, preferably the left one, 15-20 cm and draw with a pencil, fixing the place of the future seam, holding the fabric with your hand;
- the edges of the fold are sewn together on the side and turned inside out, resulting in something like a bag;
- The fabric is folded in half with the wrong side facing up and stitched from both side ends, leaving the side with the folded edge unstitched.
Important! The finished product is turned inside out, ironed, and the iron should remain on the scars for at least 30 seconds to iron them properly.
50/50
The principle of sewing a 50 x 50 pillowcase is the same as 40 x 40. But you will need a little more fabric - about 1.2 meters. Upon completion of the operation with the fabric, the finished product is ironed and put on the pillow, it should turn out to be a perfectly even square.
50 to 70
To sew, you will need a piece of fabric 1.7 meters long and 0.6 m wide. A 20-25 cm wide hem is made on the left edge. The edges of the fabric are stitched with a bias stitch or turned under. The fabric is folded in half lengthwise. Stitching is done on the left and right edges. The side opposite the fold is left unstitched.
60 to 60
For a 60 x 60 pillowcase, you will need fabric 1.5 meters long and 0.7 meters wide. Otherwise, the sewing process remains the same as in the case of sewing a 50 x 50 product.
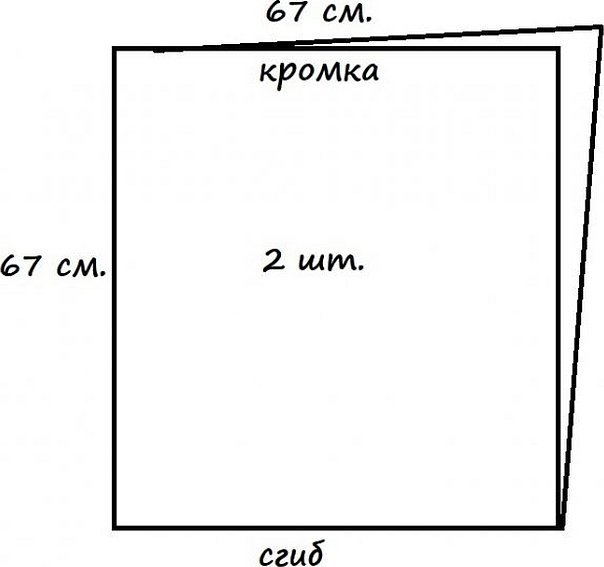
70 to 70
A square pillowcase of the maximum standard size is sewn from fabric, the length of which should not be less than 1.7 meters, and the width 0.8 meters. About 2.5-3 cm of fabric is used to hem the edges. As a result of sewing, you should get a perfect square with sides of 70 cm each.
Sewing a pillowcase with buttons
The fastest way to cut out a pillowcase is with buttons. To do this:
- select the fabric and size of the product;
- prepare materials at hand - scissors, threads, needles, pins.
The step-by-step sequence of actions is as follows:
- a rectangle 0.5, 1, 1.3, 1.5 meters long and 0.5 to 0.8 m wide is cut out of the fabric (pattern);
- the left side of the rectangle is folded over by 5 cm, stitched and several elongated holes are made in the resulting seal using scissors (the number of buttonholes depends on the size of the pillowcase);
- the edges of the loops are stitched with a zigzag stitch, and the same is done with the edges of the entire rectangle as a whole;
- the rectangle is folded in half with the wrong side up, the sides are stitched, leaving the side opposite the fold free, the result is a bag with loops;
- the pillowcase is turned over to the front side;
- buttons are sewn on opposite the loops (the optimal distance between buttons is 10-15 cm).
Important! The product is ready. It is put on a pillow of the appropriate shape and size. Buttons are fastened.
Sewing a pillowcase with ears
Pillowcases with ears are also known as Oxford covers. The size depends on preferences, the pillowcase is sewn according to the same pattern as any other:
- a rectangle is cut out of the fabric;
- the edges of the rectangle are folded back by 1 cm, stitched and ironed;
- after this, another fold is made on each side, this time by 2 cm, the folded area is ironed;
- the rectangle is folded in half, the edges are stitched;
- on the side where you plan to sew in the zipper, leave an edge;
- make a double seam, up to 5 cm wide;
- the corners are trimmed and the pillowcase is turned inside out;
- using a ruler and pencil, draw straight lines along each edge, 5 cm away from the seam;
- stitch along these lines.
The pillowcase with ears is ready.
How to sew pillowcases with ruffles
To sew a pillowcase with ruffles you will need:
- thick fabric;
- threads, needles, scissors, ruler, pencil.
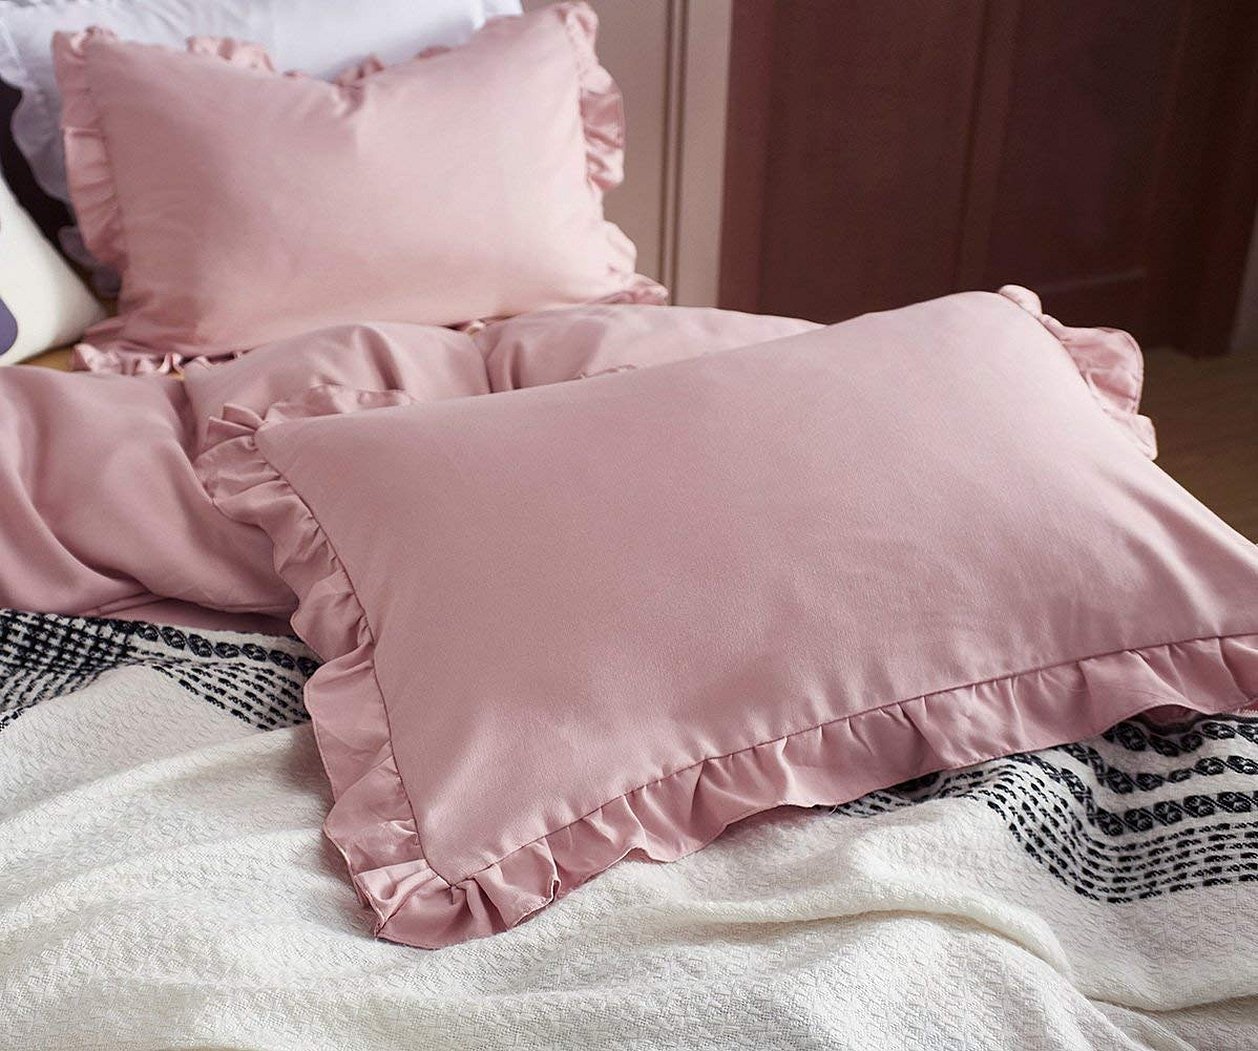
First, you will need to choose the size and shape of the product and decide on the fabric. The amount required for sewing depends on the type of fabric (some fabrics stretch, others do not). A pillowcase with ruffles will require more fabric than a regular one. So, if sewing a small 40 by 40 pillow requires a rectangle with sides of 0.9 by 0.5 meters, then decorating it with ruffles will require twice as much fabric. Once the size of the pillowcase and the quality of the fabric are determined:
- draw lines on the prepared piece of fabric so that you get a rectangle of the desired shape and size - the pillowcase itself (sew a regular square, rectangular or round pillowcase with a button or zipper);
- the remaining fabric is cut into 4 strips, each 2 meters long and 20 cm wide (provided that the pillowcase is square and 40 by 40 or 50 by 50 cm in size);
- the strips are sewn together to form one long belt, folded in half widthwise and stitched with a gathering stitch;
- the assembly is pulled together;
- The resulting frills are sewn to the edges of the pillowcase from the front side.
Important! The frills can be arranged in several rows (you will get something like a skirt), but in this case the width of each subsequent row will be greater than the width of the previous one. So, if after folding the strip of fabric in half you get a frill up to 10 cm wide, then the next frill should be at least 13 cm wide.
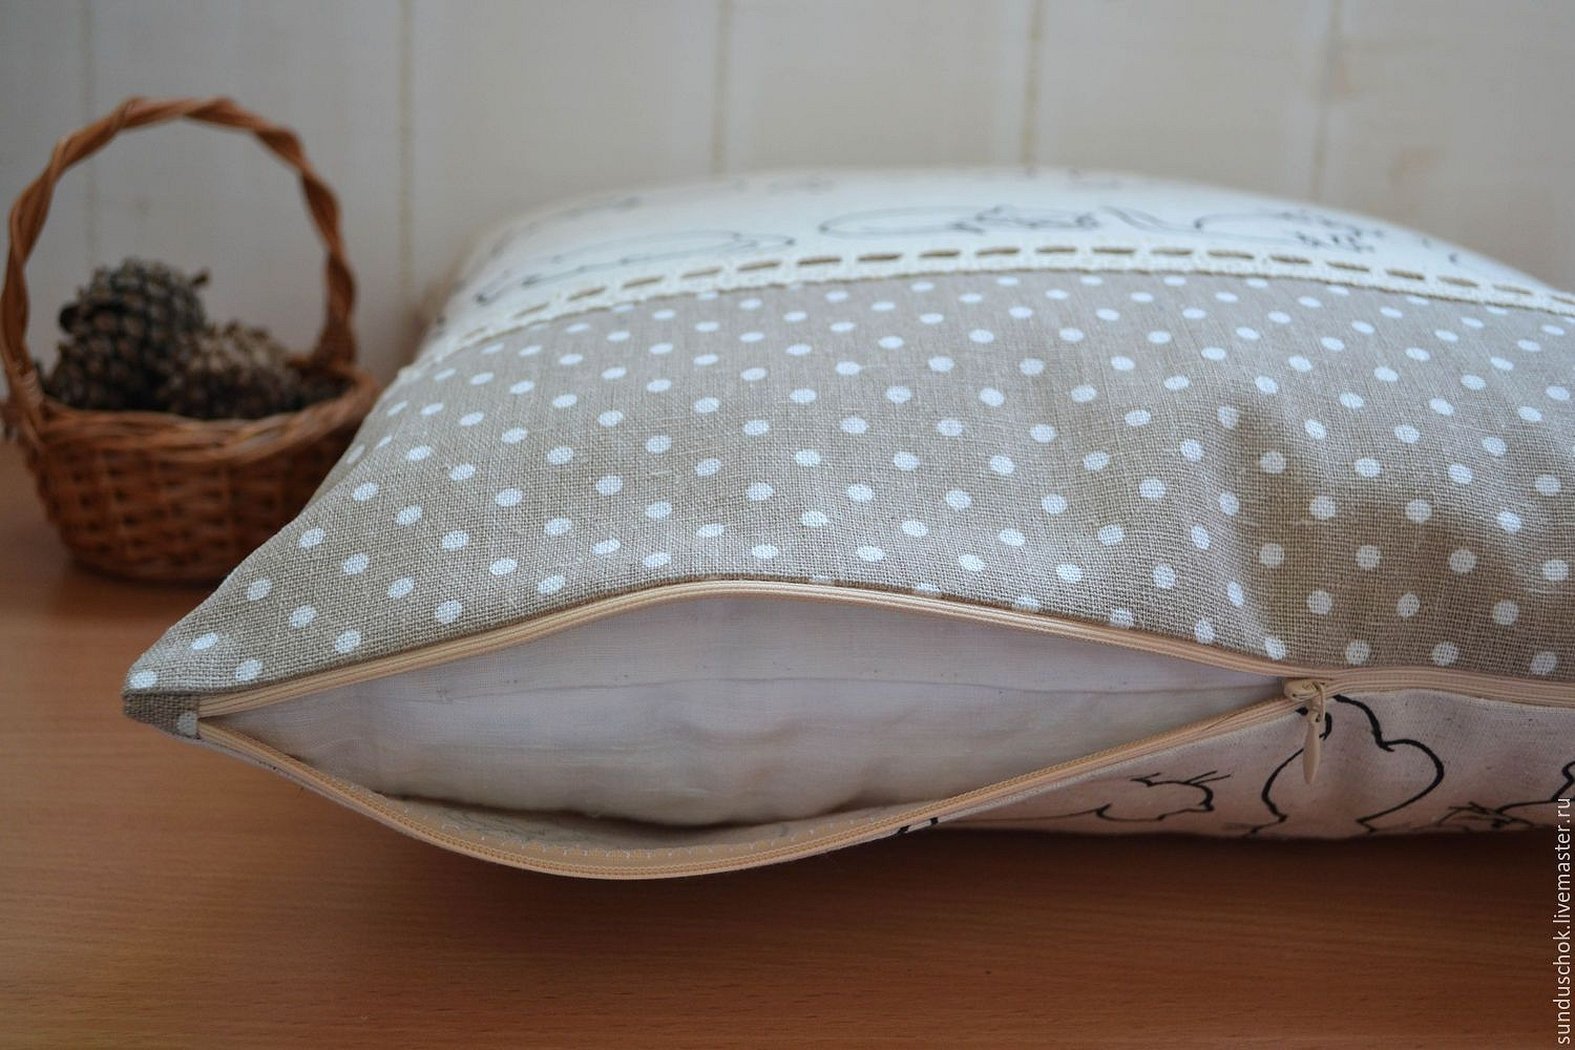
Sewing a pillowcase with a zipper
If you have very little fabric and it is not enough to sew a regular wrap-around product, you can always sew a zipper to the pillowcase. To sew such a pillowcase:
- calculate the size of the product;
- choose high-quality, dense fabric;
- decide on the shape of the pillowcase;
- make (on the fabric using a ruler and pencil) a drawing of the future pillowcase (determine the boundaries of the right and left edges along the length, width, leave allowances for the seams);
- cut out the resulting rectangle;
- fold in half (this is necessary to ensure that the product is the desired shape);
- from the fastener side, make a machine basting stitch;
- the fabric is unfolded and ironed (this is necessary to align the fabric along the scars, everything is done on the wrong side);
- place the zipper on top of the scar with the zipper facing down (it should be half open, the teeth should go exactly along the basting seam);
- a zipper foot is installed on the machine and it is sewn to the fabric using a straight stitch rather than an overlock;
- Through the open clasp, the pillowcase is turned inside out to the correct front side.
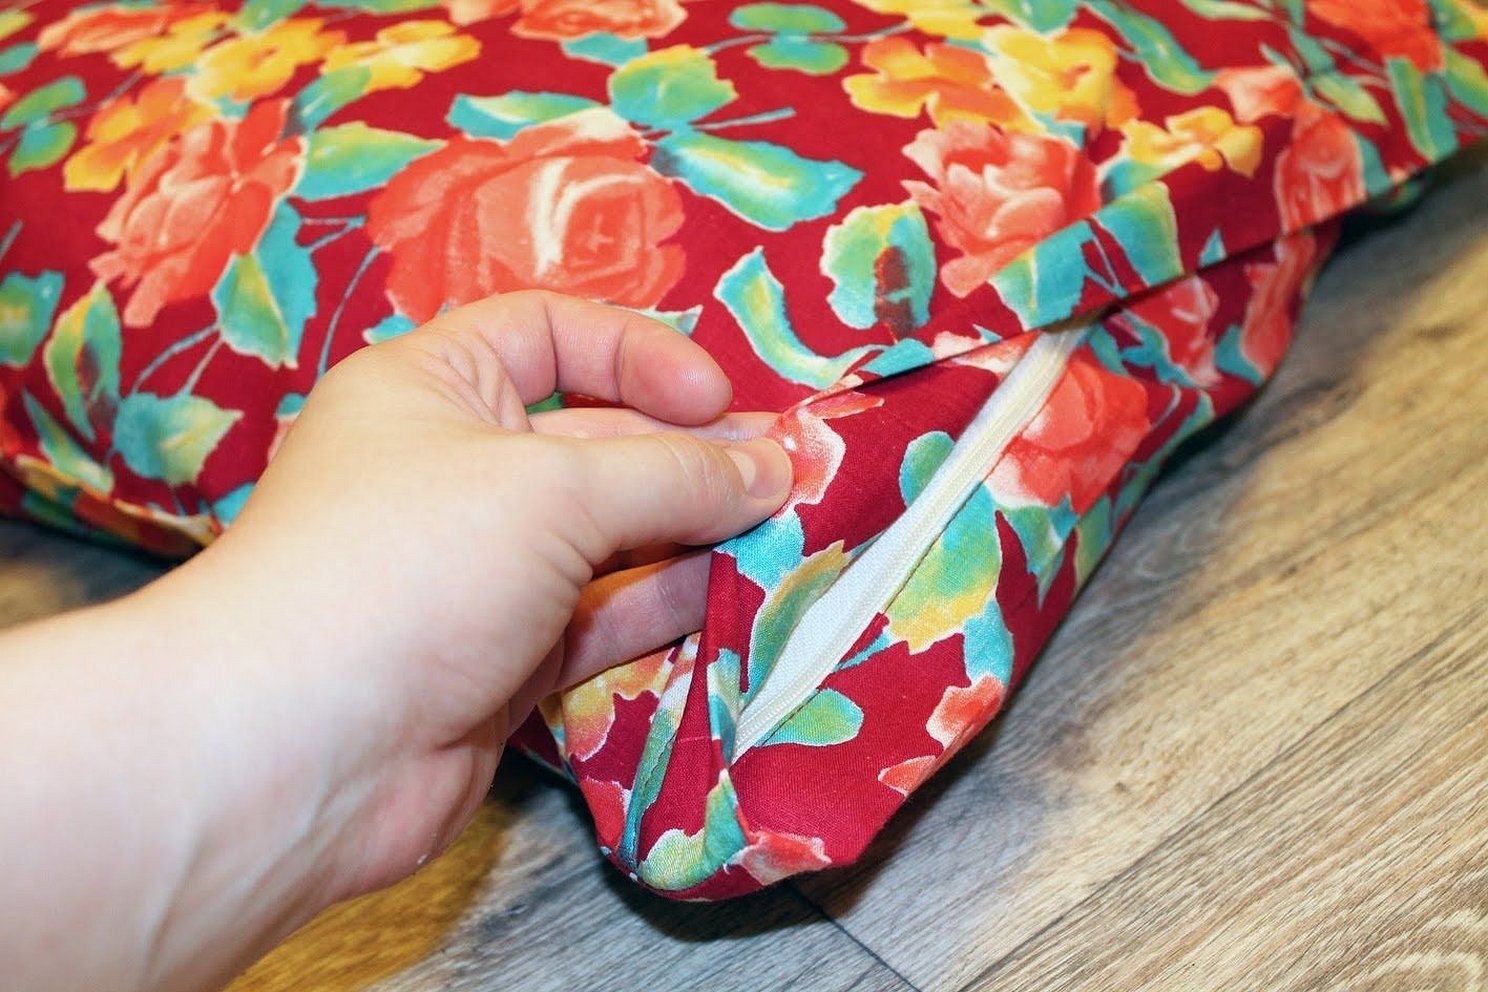
The pillowcase is put on the pillow and fastened. The saving of fabric is quite large, approximately 20-30 cm.
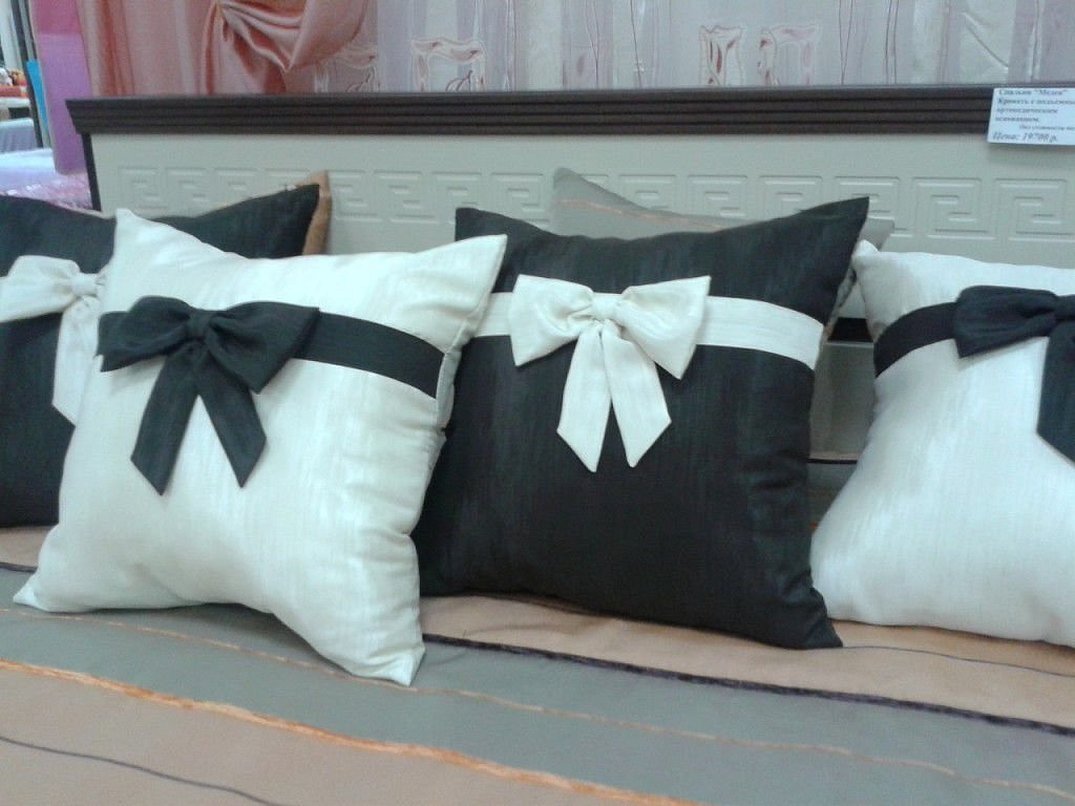
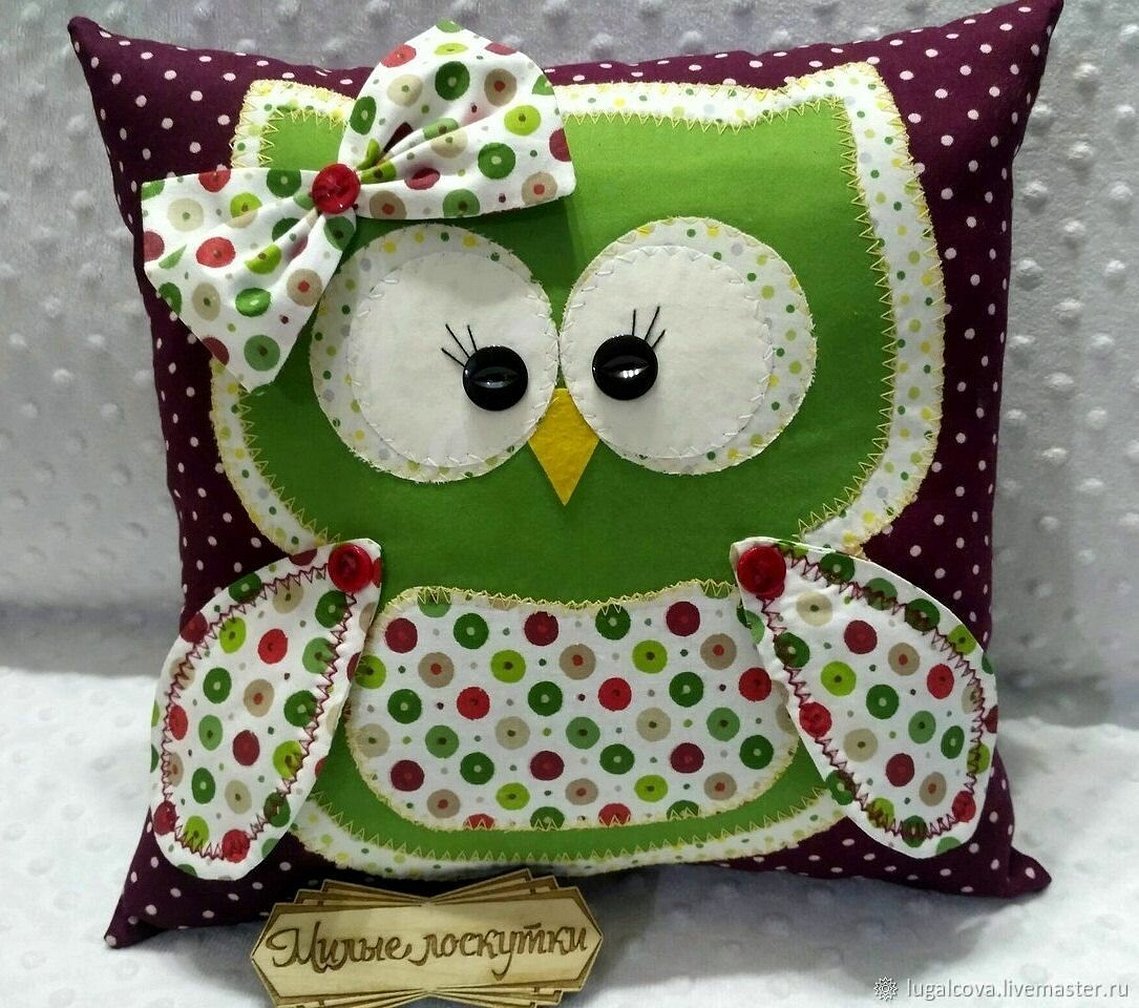
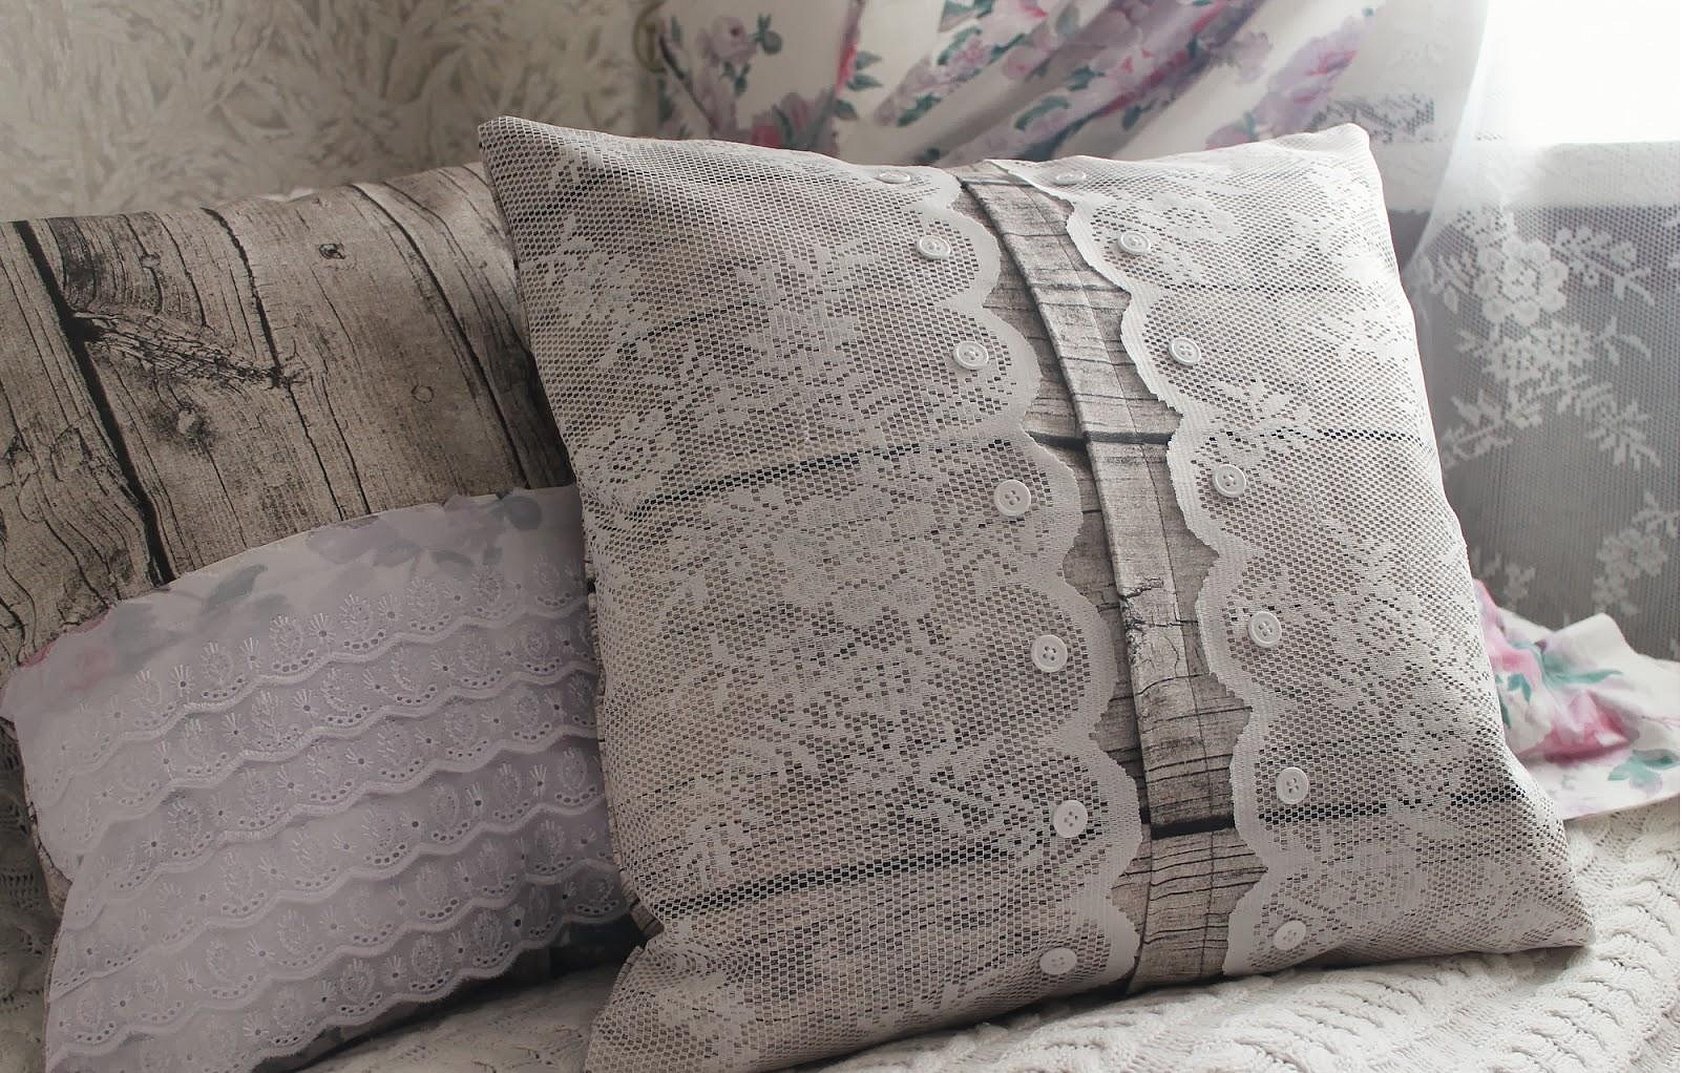
Decorating
You can leave the pillowcases as is, or you can decorate them using (any craftsman knows how to do this):
- buttons;
- colored ribbons;
- embroidery;
- felt;
- scraps;
- beads;
- tulle;
- lace.
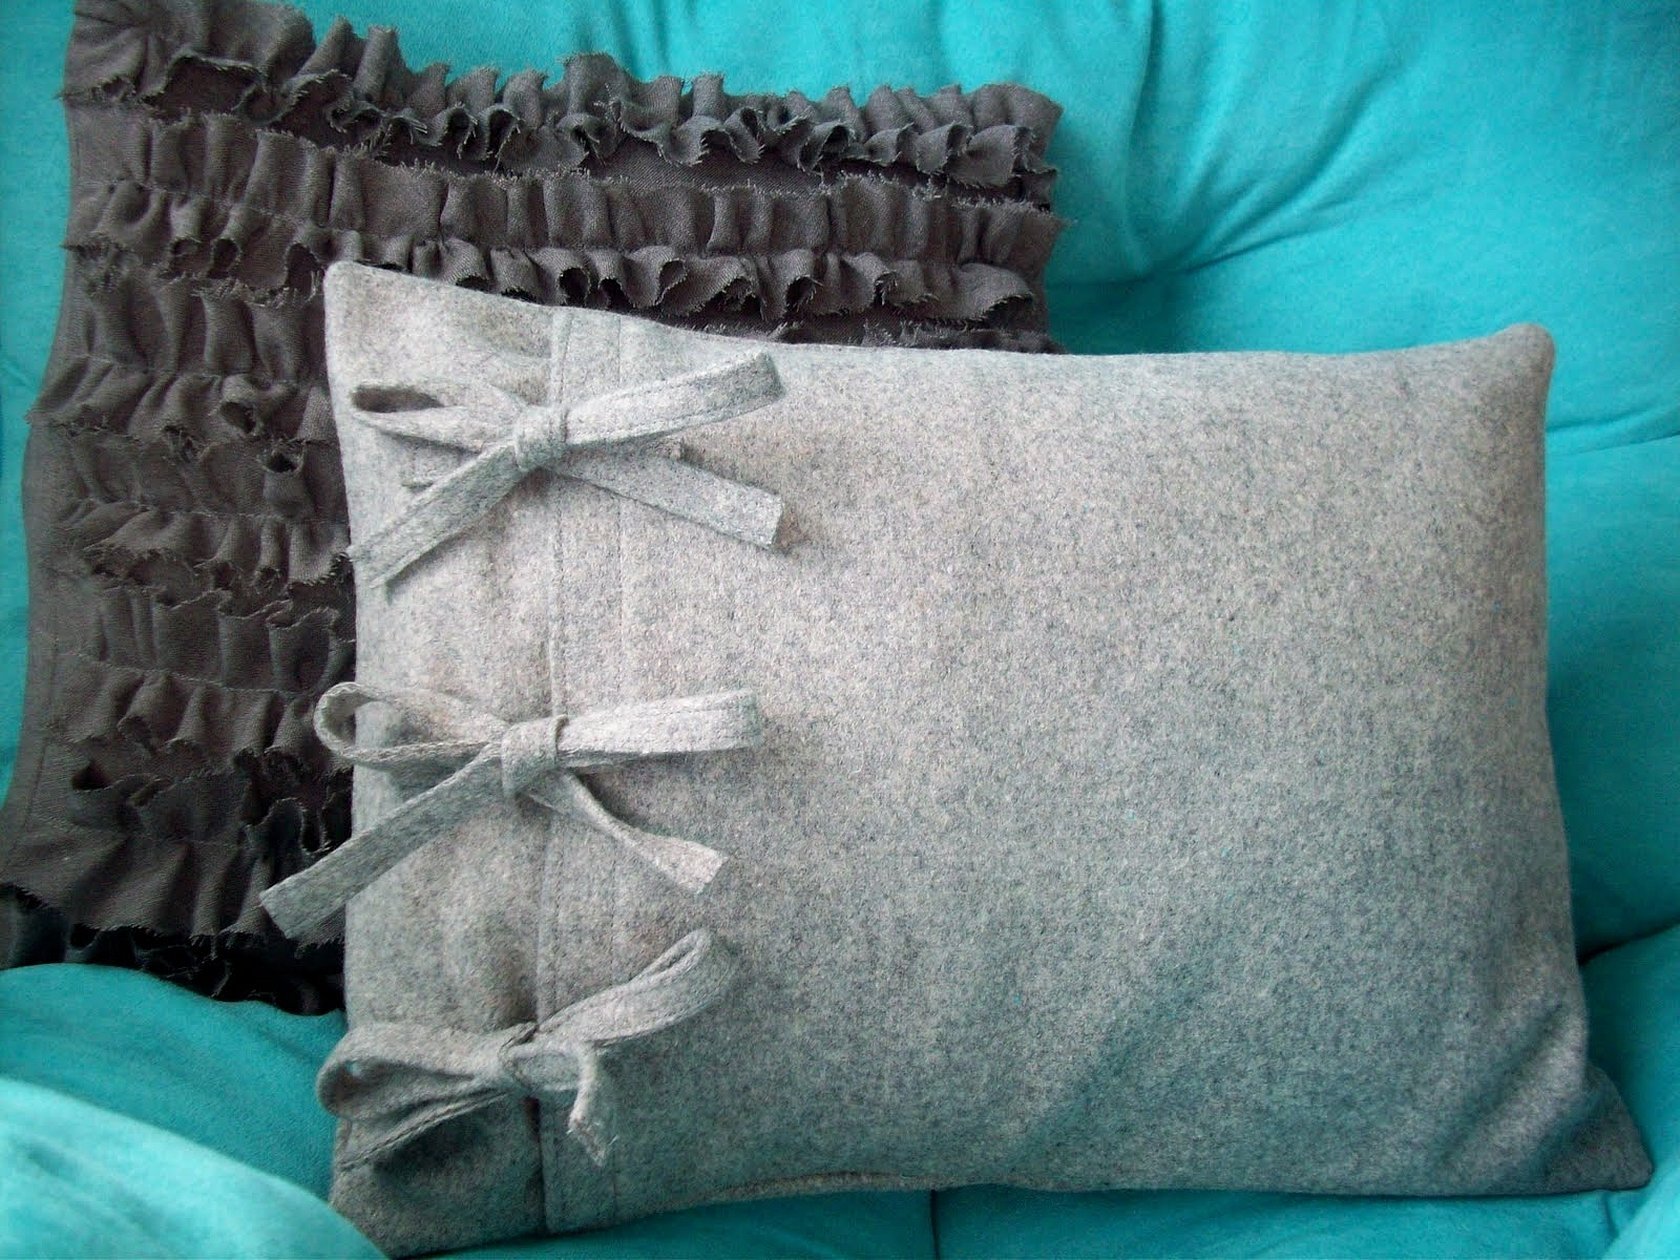
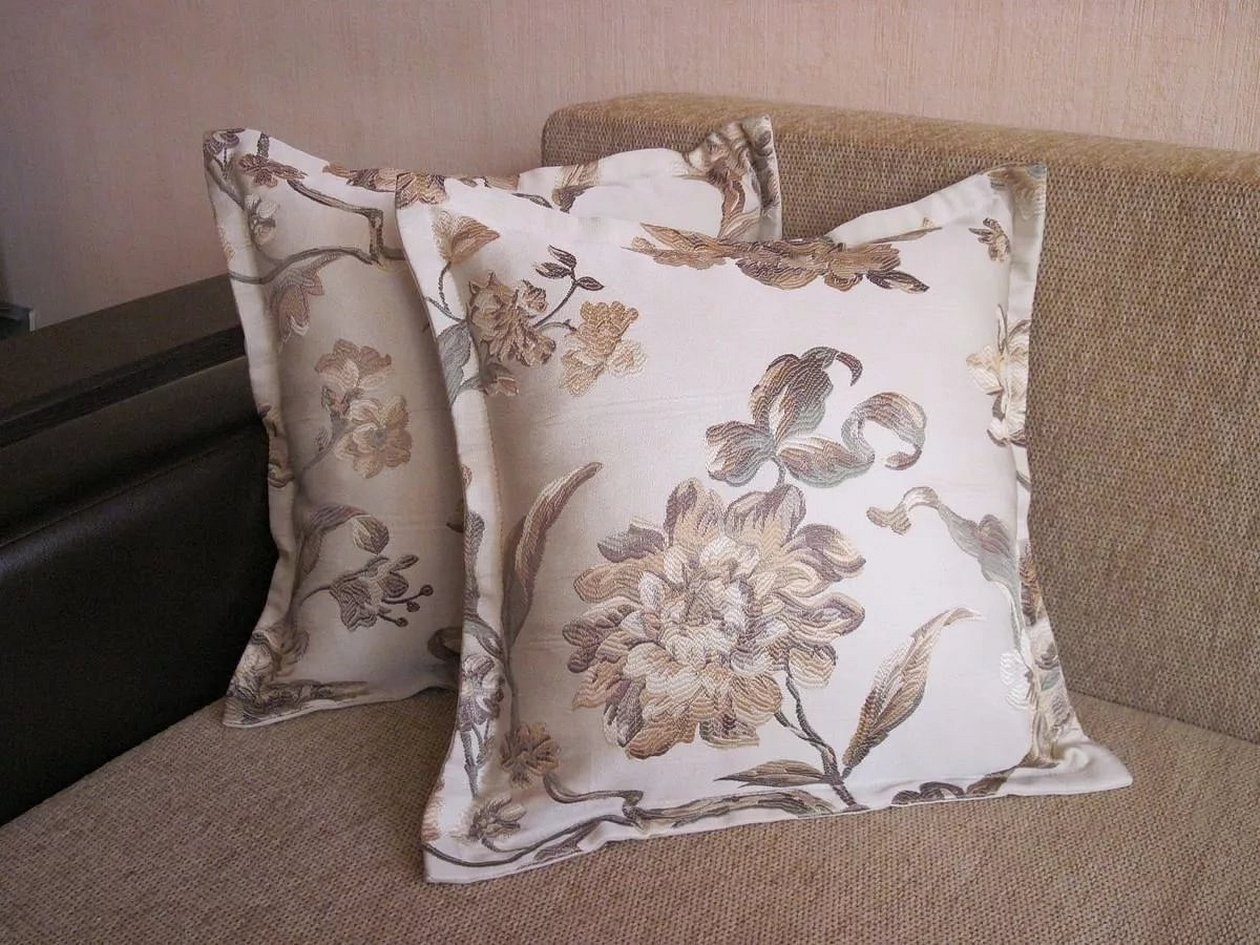
In this case, the finished product can be simply trimmed with multi-colored buttons or beads, or you can create entire pictures from ribbons and other materials at hand. But here you should remember that an intricately decorated pillowcase can hardly be put on a pillow for sleeping (the decor will quickly wear out, it will be extremely uncomfortable to sleep), such pillowcases are suitable for sofa cushions:
- Decorating a pillowcase with felt and beads. To decorate, you will need multi-colored felt, threads, scissors, and large beads of a contrasting shade. Cut out petals from felt (you can make a model of the petals on cardboard in advance, and then only attach them to the felt and trace the outline with a pencil), which are sewn together into a flower. The core of the flower is a bead. The number and shade of flowers depends on the decorator's imagination. You can make flowers of different sizes, sew leaves cut from green felt to them. The main advantage of this material is that its edges do not need to be processed, but if desired, you can stitch each side of the petals with a zigzag stitch on a machine, using beautiful threads of a different shade.
- Owl made of buttons. If you have a large number of abandoned buttons, you can use them to create an applique in the form of an owl. To do this, make a sketch of a bird on the fabric - a head in the form of a circle, an elongated oval body, sharp wings in the form of triangles at the edges, sharp ears, large round eyes and a nose. For the body, use buttons of brown, gray or white shades (the belly is white), the eyes are made of black or yellow buttons, the paws are also yellow. On average, an owl will require up to 100 buttons of different shapes and sizes.
- Patchwork pillowcase. The pillowcase can be decorated with patches. To do this, cut old unnecessary things into squares. Each square is treated with a zigzag stitch along the edges (edging), sewn together and stitched to the fabric prepared for sewing the pillowcase (it is the lining). You can decorate the product with patches on both sides or only on one of them. It is not at all necessary to make an applique exclusively in the form of squares, you can cut out circles or triangles and sew them onto the pillowcase in a chaotic manner.
It is quite easy to sew a pillowcase according to the instructions, because it is just a rectangle folded in half and stitched from the left and right edges so that something like a bag is obtained. Pillowcases can be with a smell. On buttons or on a zipper, the shape and size depend on the size of the pillow. If desired, the pillowcase can be decorated with beads, ribbons, buttons, patches.


