To start working on a sewing machine of any type, you first need to make basic settings. The most basic is threading. It is very difficult for beginner seamstresses to do this manipulation for the first time due to ignorance of the mechanism of the device. To carry out all the steps correctly, you need to know the principle of how to thread a sewing machine correctly and without disrupting the operation of the device.
How to Properly Thread a Standard Sewing Machine
It is not difficult to figure out how to insert a thread into a sewing machine if the work is carried out on a modern device of an electric or electromechanical type.
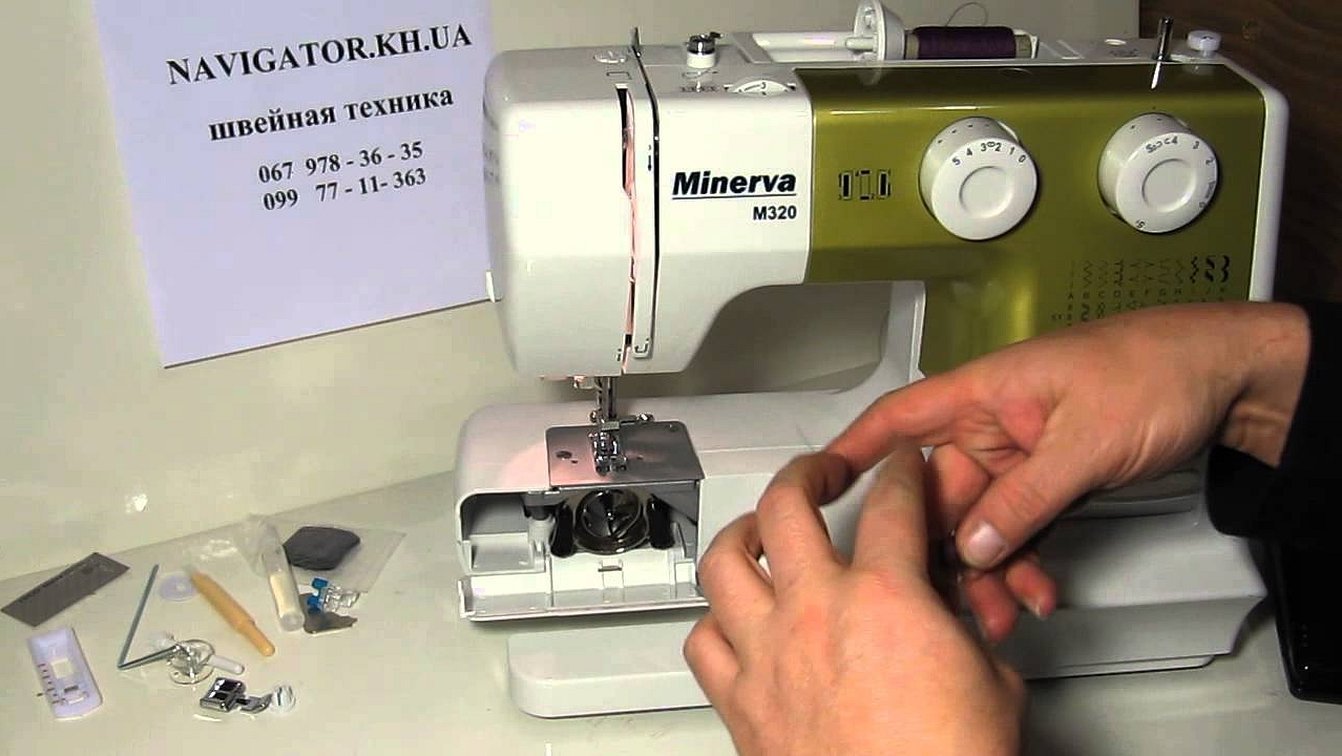
The most popular company at the moment is Minerva. There are many models that differ in the complexity of the arrangement, functional moments, the number of operations. But between them there is one thing in common - the principle of threading.
Please note! Another popular company is Veritas. The principle of threading is completely identical to Minerva.
The advantage of modern sewing devices is the presence of an electric principle of operation, therefore the procedure for winding the bobbin and further actions. The standard threading pattern can be used in other similar models of modern production.
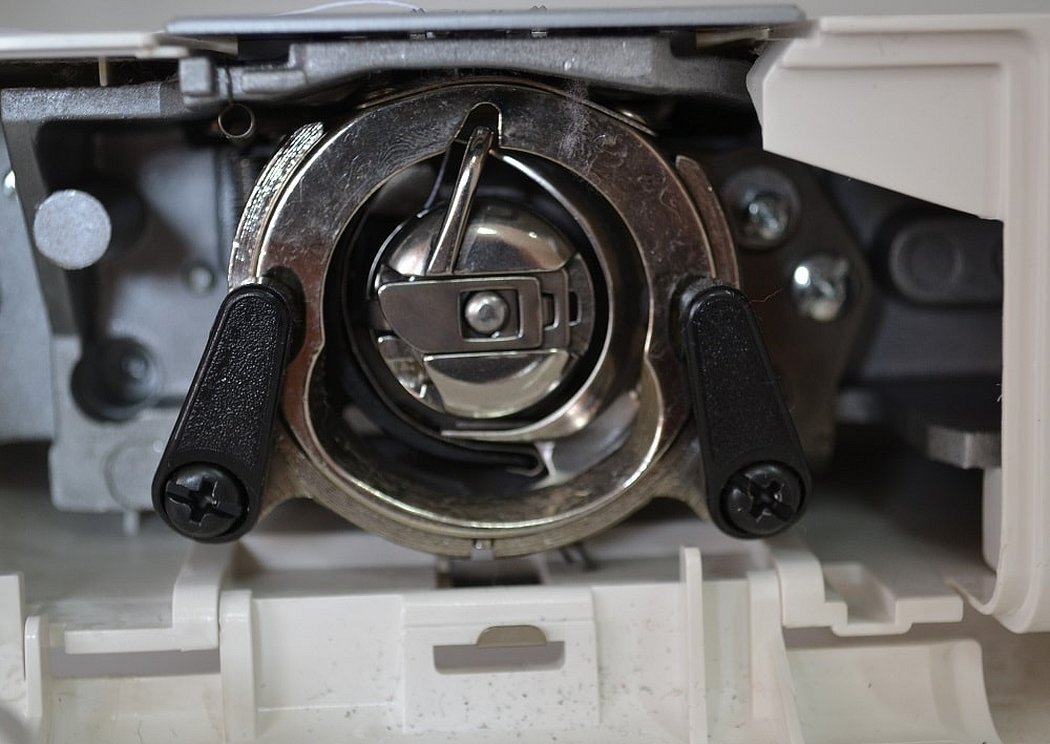
Installing the bobbin
The most important stage is loading the bobbin. The principle of winding the thread and fixing the element (using Minerva as an example) is as follows:
- The removable work table needs to be removed. To do this, the plastic plate needs to be moved to the left and completely removed. The principle of removing the table may vary on a certain model.
- There is a plastic door in the case. Open the compartment. Behind it you can see the bobbin mechanism, which needs to be removed. Raise the needle first, using the flywheel. To do this, simply pull the "setting pin" towards you.
- Pull the bobbin out of the mechanism. Install the device on the upper pin. Pull the "yarn" from the spool to the bobbin, using special windings to hold it. Thread the thread through the hole in the bobbin to fully secure it.
- Press the pedal, having previously set the "Idle" mode. The thread will be automatically wound onto the bobbin. You can use a flywheel, but this winding principle will take a long time, since it is done manually.

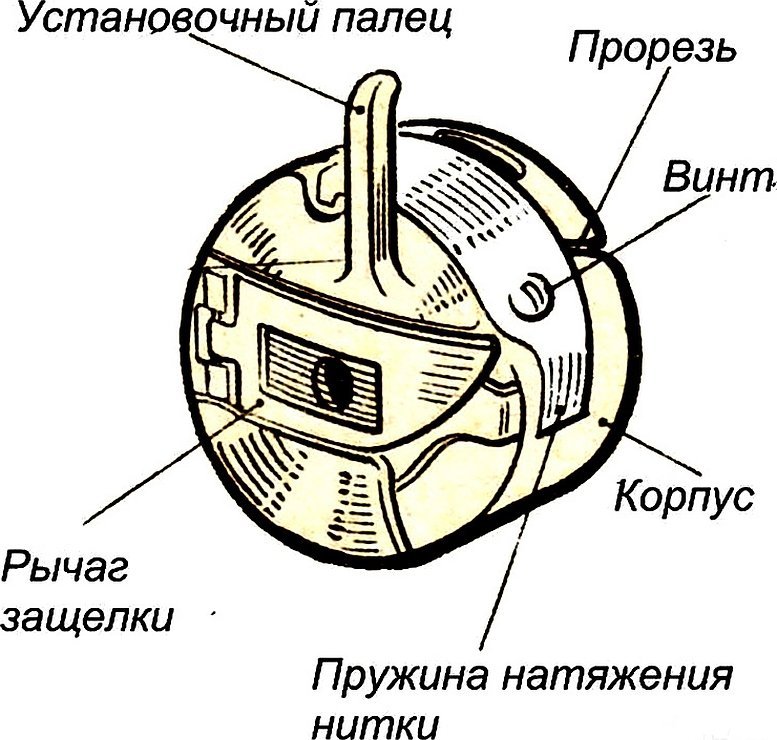
It is necessary to correctly install the bobbin in the mechanism and the machine itself. Insert the device into the mechanism so that the thread is located clockwise relative to the slot. Then the bobbin element is placed in place, while you need to hold the "working finger". On most machines, the principle of installing the bobbin is carried out in accordance with such a mechanism.
Threading the upper thread
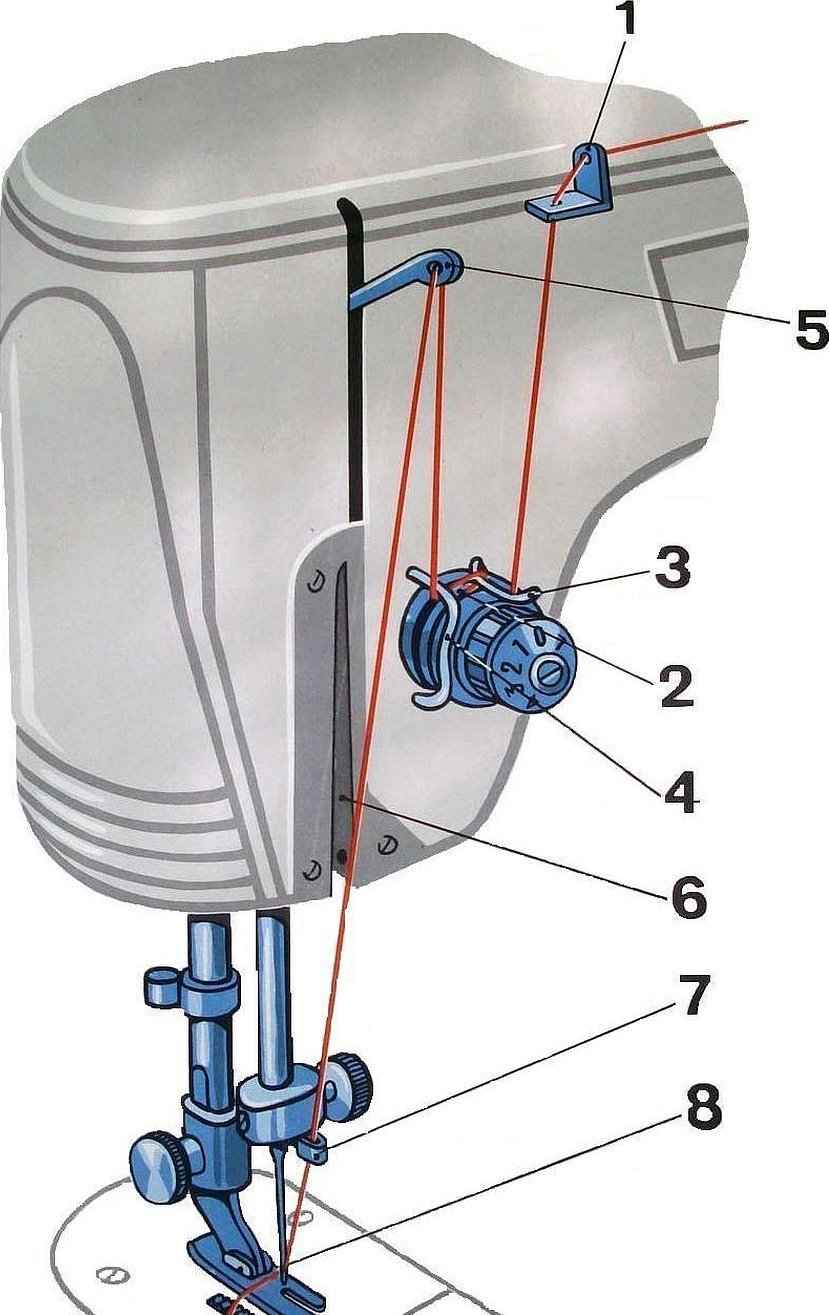
The sewing mechanism of any model of the device is designed so that 2 threads are involved in the work - the upper and lower. It is easiest to place the upper one. The algorithm of the arrangement:
- Fix the coil on a special pin.
- Pull the thread using the prompts and pull the thread through the fasteners on the body of the device.
- It is necessary to pass the thread through the fasteners that are responsible for the tension force of the thread and the hole responsible for the compensation spring.
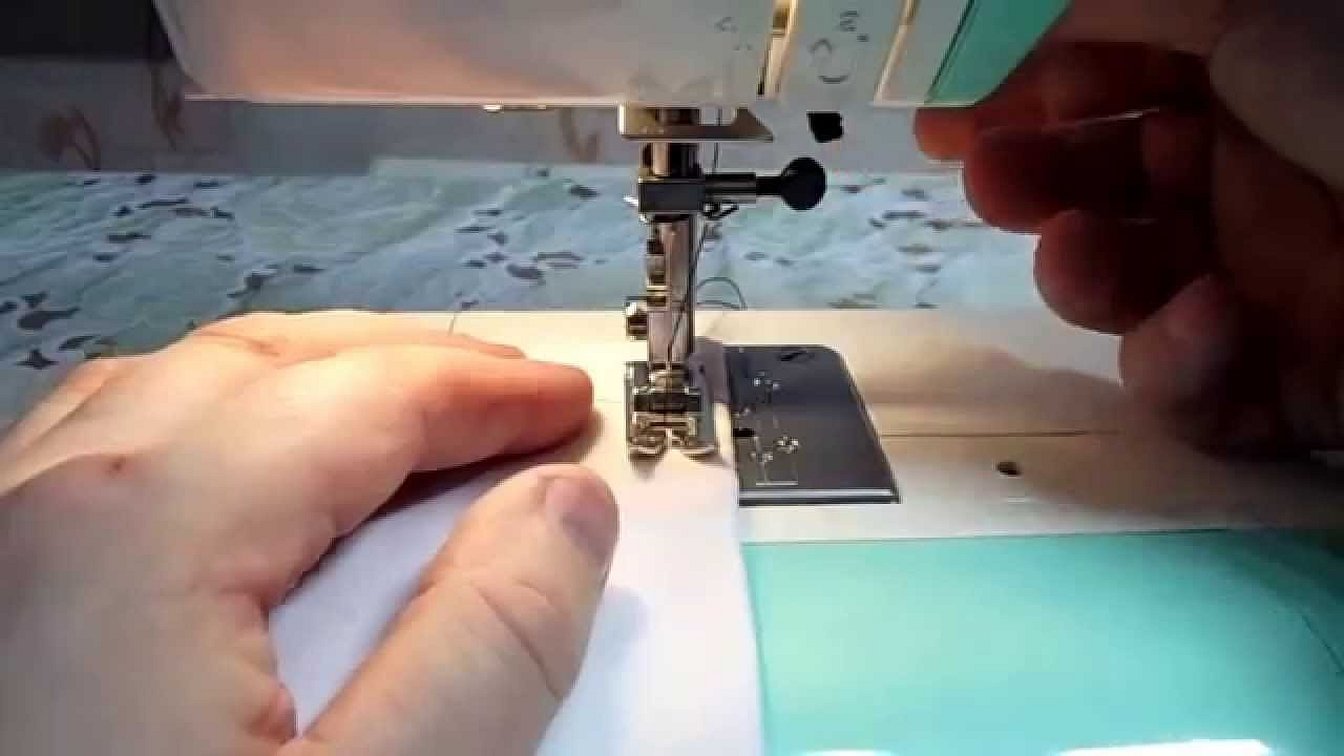
- Insert the yarn into the thread guide near the foot.
- Next, pass it through the guide hook and only then thread it through the eye of the needle.
At this stage, the upper mechanism is set up. You can insert the yarn into the needle manually, aiming at the eye, or use an automatic threader - a special mechanism for inserting the material for sewing into the eye of the needle. It is located on the left side of the foot and is adjusted using a lever.
Threading the lower thread
After installing the bobbin mechanism, the yarn is introduced into work. The main thing is to insert the bobbin correctly and place the sewing mechanism in it. Then the thread is pulled up under the foot.
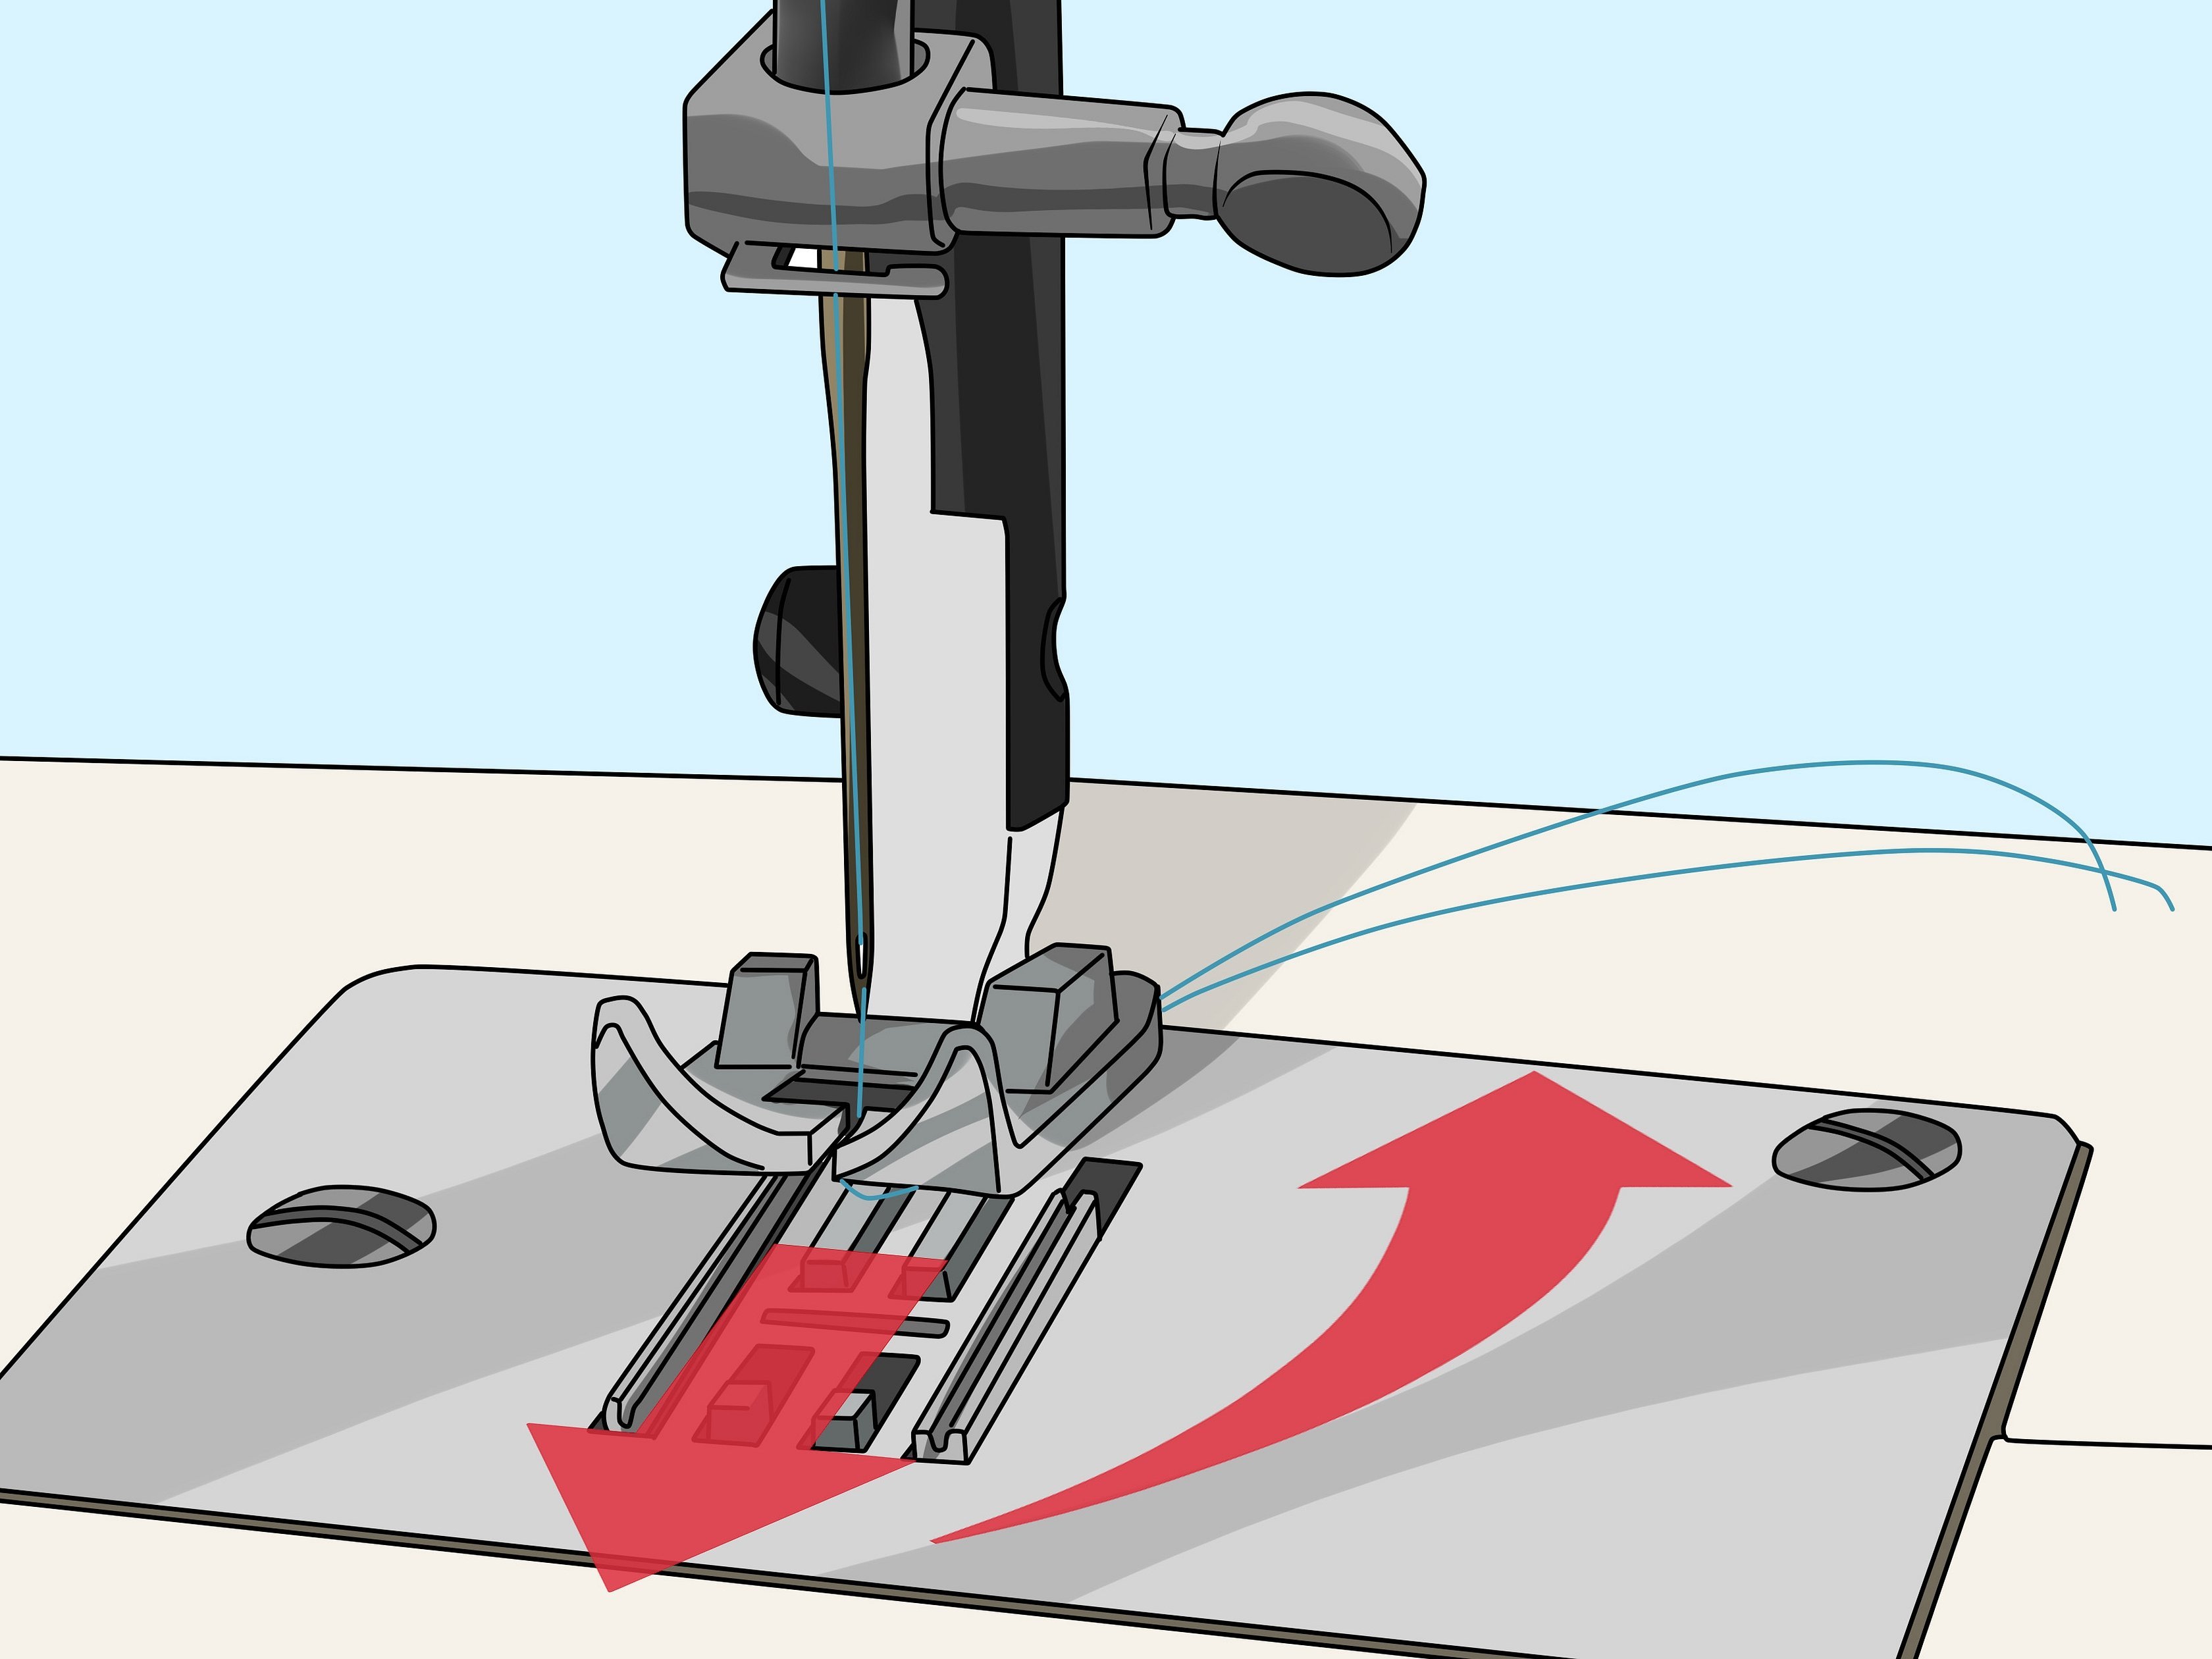
Turn off the device and lower the needle using the side wheel. At the same time, hold the end of the thread threaded into the eye of the needle. By making one scroll, the upper yarn catches the lower one. By pulling the upper end, you can pull out the material that comes out of the bobbin.
Checking the correct threading
The correct threading option is checked in several stages. First, the location of the threads. The lower one should lie under the shoulder blade, and the upper one should be located between the teeth of the shoulder blade.
We also check the quality of the stitching. You need to take a small piece of fabric. Sew the textile with several types of stitching. If the thread breaks or passes with difficulty, then you need to adjust the fastening responsible for the tension of the material.
It is quite easy to carry out the check, the procedure will not take much time and will provide complete information about the device settings.
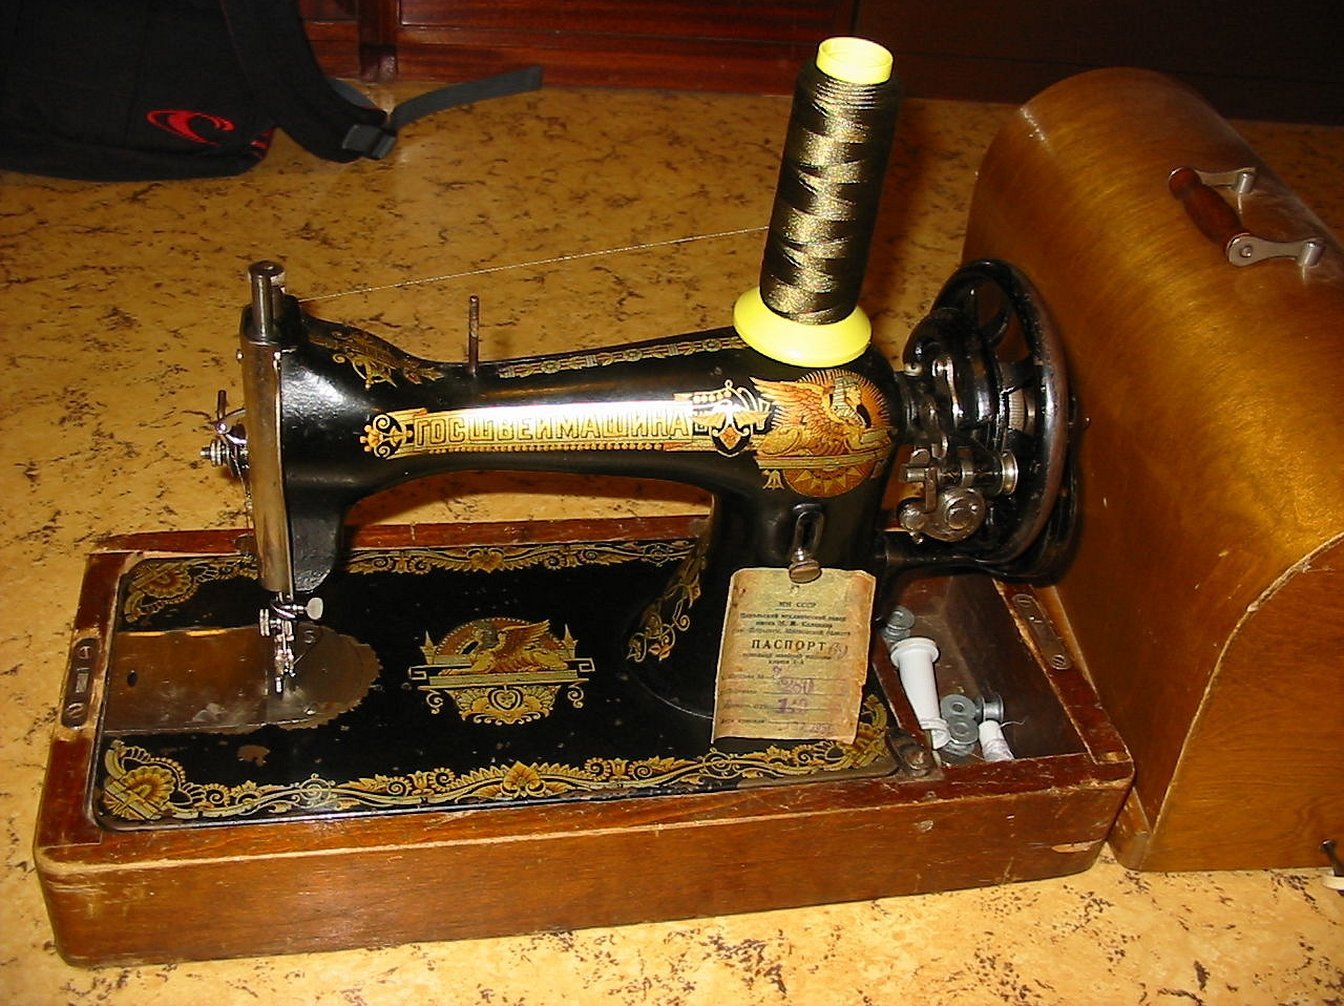
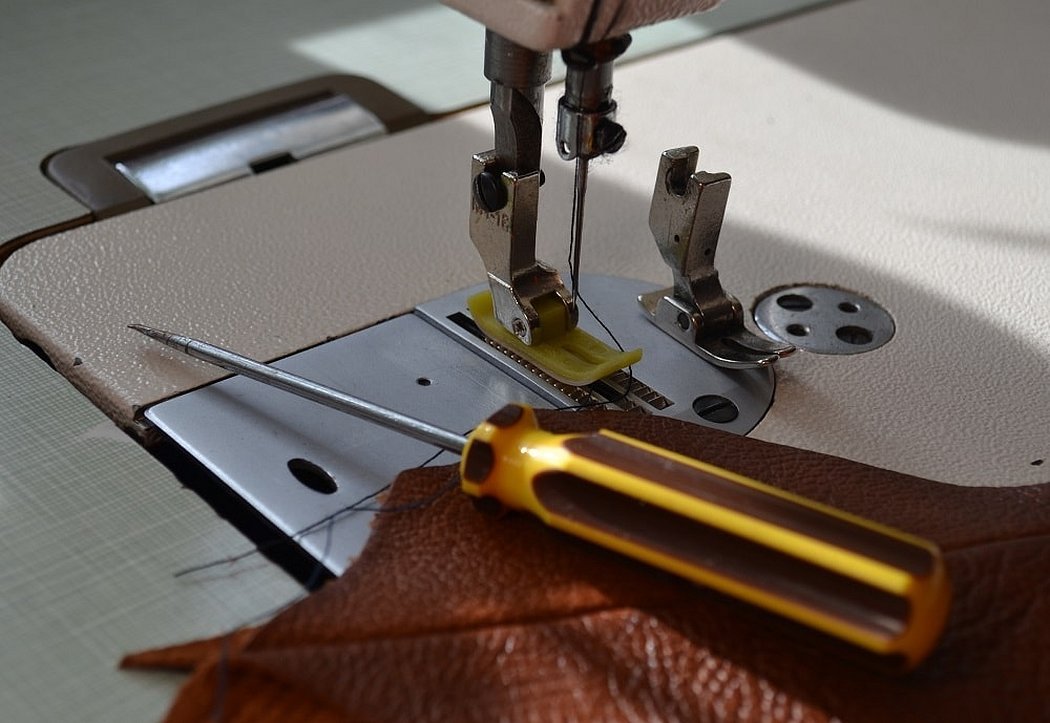
Detailed diagram: how to thread an old-style sewing machine
Old models of sewing machines have a slightly complicated system, so threading the thread here will be more difficult. But if you know the detailed algorithm, then there will be no problems with setting up the device. The procedure is carried out in 2 stages: top threading, bottom threading.
Additional information! Each old model has its own thread guide route, so you need to carefully follow the procedure, without missing a single hook.
Scheme of the mechanism adjustment:
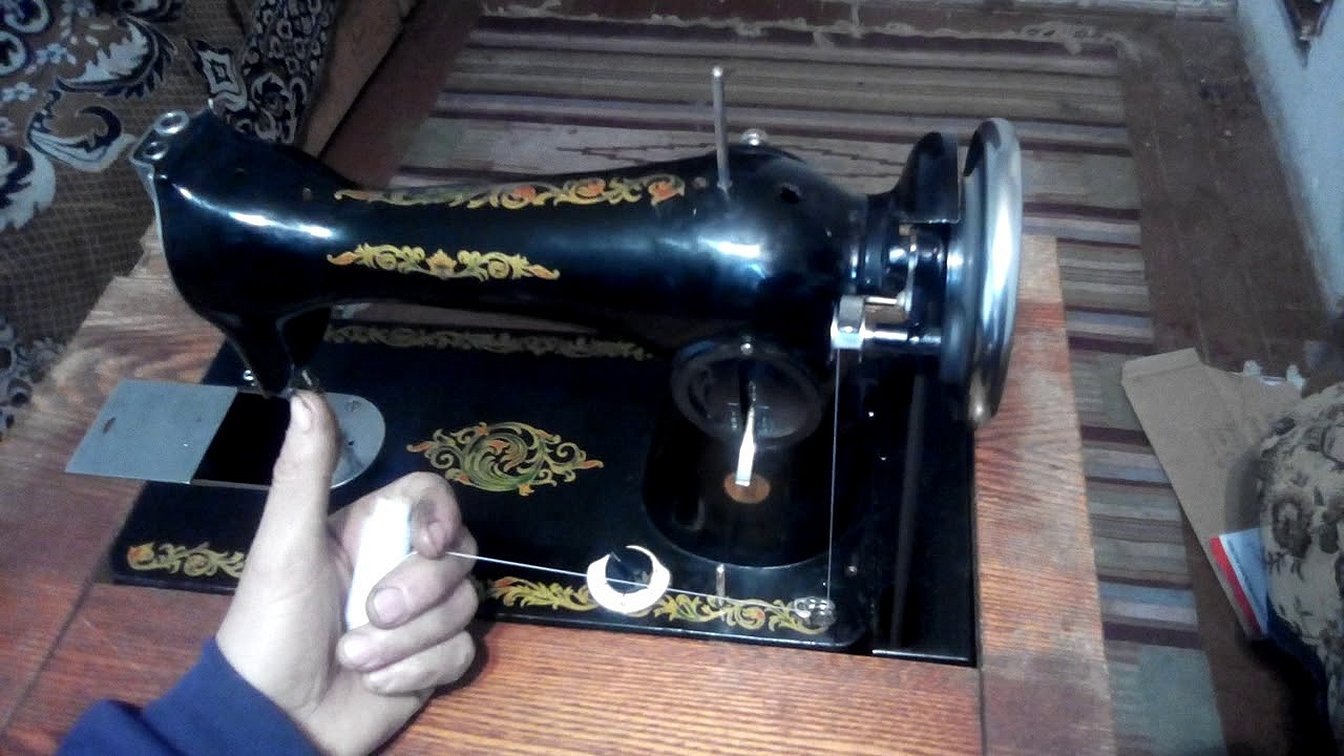
- The needle should be in the upper position. Fix the spool on the rod. Pull the thread according to the thread guide route. Place the material under the tension regulator and insert it into the spring. Use the thread guide (thread guide near the needle). Insert the material into the eye of the needle.
- Step-by-step algorithm for the second stage. Thread the bobbin, insert it into the shuttle. Secure the shuttle itself in the socket, which is located under the platform of the device. Adjust the thread tension with the handle. Pull the yarn up.
Important! When adjusting the tension, you need to turn the wheel in the direction "away from you". Otherwise, the yarn will break or get tangled.
To secure the result, you need to connect the upper and lower parts of the thread and wrap the ends behind the foot.
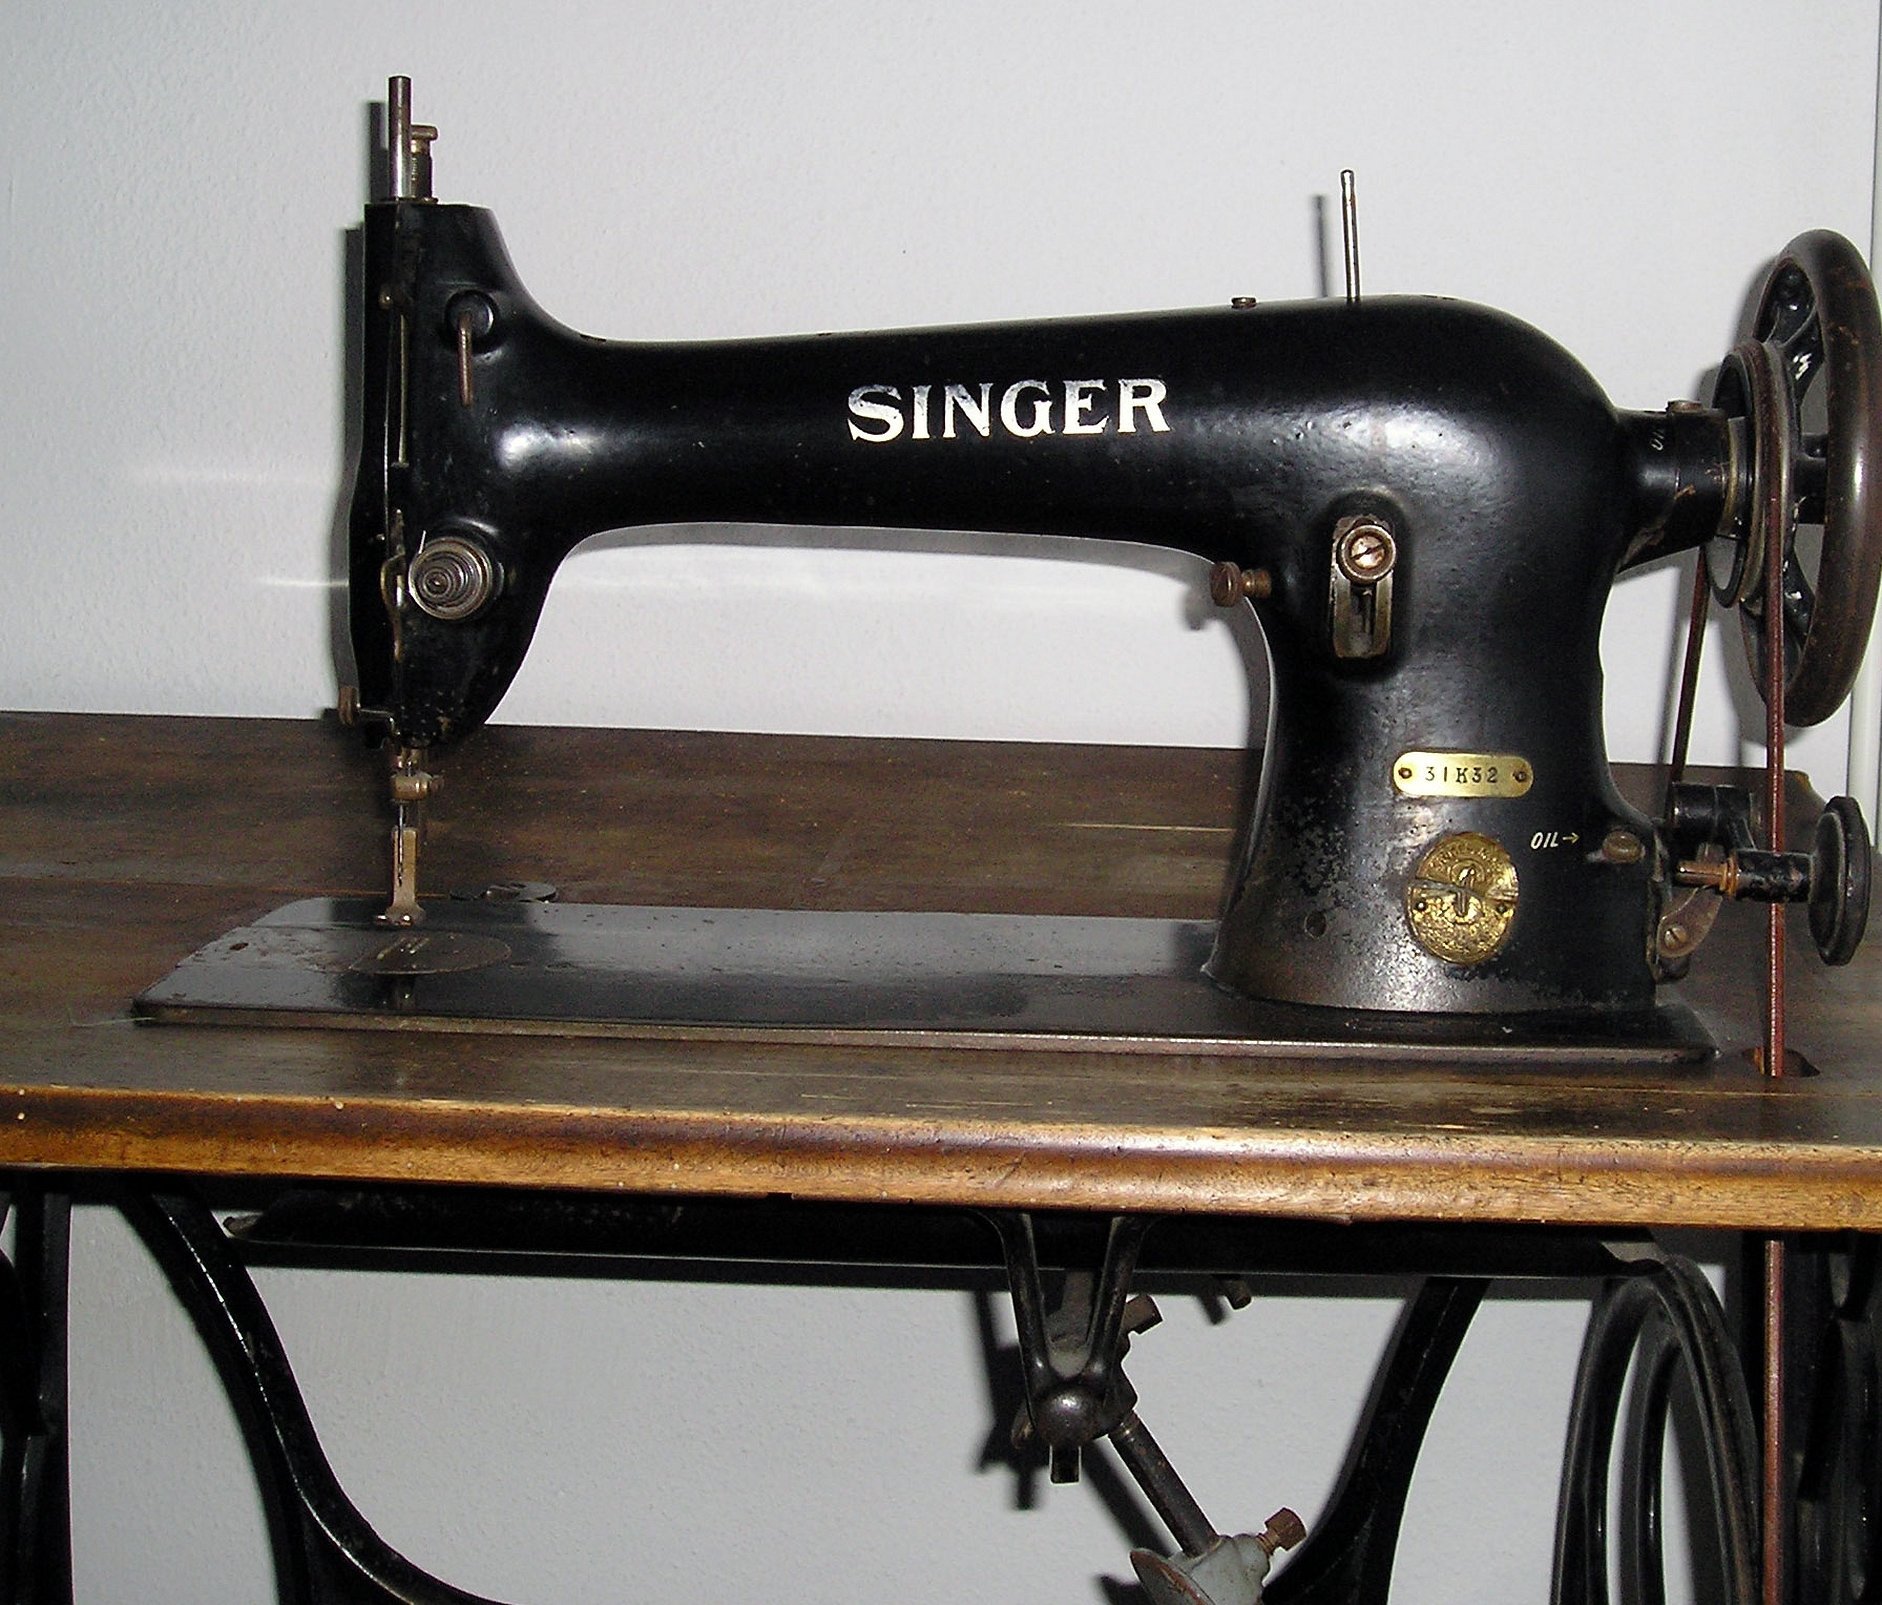
Diagram: How to thread a Singer sewing machine
Sewing machines of the brand "Singer" are distinguished by the complexity of the device and can be equipment for amateur sewing and professional machines. In most cases, old equipment of this brand is used at home, since new models are quite expensive.
Please note! All Singer models are divided into 2 categories: with one or two thread guides. The threading algorithm depends on the type of the "route" device.
Instructions for mounting sewing yarn:
- Disconnect the machine from the power supply (remove your foot from the pedal in mechanical models).
- Raise the needle to its highest position using the side wheel. Lower the foot onto the sewing platform.
- Fix the coil on a special pin.
- Thread yarn through thread guide #1. Pull material through second thread guide, if available.
- Be sure to secure the material in the thread tension regulator.
- Pull through the recess in the tensioning mechanism.
- Fix the material that is located above the needle into the hook.
- Insert the thread into the needle.
The lower thread is inserted according to the usual scheme - you need to wind the yarn for sewing on the bobbin. As an assistant, you can use an automatic winding mechanism.
Possible errors in threading
It is important not only to correctly thread the thread and start the process, but also to avoid mistakes that can worsen the sewing procedure. Although the algorithm for mounting the upper and lower threads is simple, some shortcomings can worsen the operation of the device.
What to pay attention to when mounting yarn:
- After installing the thread, it is necessary to use a test piece of fabric to check the operation of the mechanism. Strong or weak tension of the material can distort the shape and size of the seam.
- The material may not be properly secured with the hook, which is responsible for the tension of the thread.
- The yarn may turn over or twist. To solve this problem, it is important to properly adjust the tension of the material that is fixed on the bobbin.
- Incorrectly selected threads at the bottom and top of the mechanism. If you put on threads of different texture and density, the seam will be uneven and slightly deformed.
There are a few more points that could be added that would highlight the main issues, but they are quite basic and can be easily identified during the process of yarn assembly.
Depending on the model and "age" of the sewing machine, a more detailed principle of threading is determined. In general, the procedure is carried out in several stages: installation of the material in the upper part of the device, the lower part and laying of threads. Threading the thread according to the route will not leave any difficulty - all stages in modern models are almost completely automated. Older models are more complicated in terms of automation, but are easily "trained".


